This week, we focused on molding and casting. Our assignment was to design a 3D mold, machine it, and cast parts from it.
Materials and tools:
- Block of machineable wax
- Shop Bot (full size or desktop)
- Silicone rubber (we used OOMOO)
- Plaster like DryStone or cement like Hydro-Stone
- Liquid plastic
- Various materials for casting: scale for mixing, small cups, tounge depressors
I designed my mold part in Rhino this week. I first designed a rocketship, but then realized I couldn't mill it on the Shop Bot as it had overhanging parts. Oops. So I opted to make some simple gemstones which I decided to cast in a variety of materials.
The milling process went fairly smoothly, though I did encounter a problem. The first time I milled the mold on the Shop Bot, it did not come out correctly. Although the toolpath simulator in PartWorks 3D made the parts looke smooth and correct, when I actually milled it the rough cut took away too much area on the lefthand side of each gem so the finishing cut could not smooth them out. Two faces on the left side of each gem were stepped and not smooth. To fix this problem, I tried re-exporting the STL from Rhino and regenerating the toolpaths. This seemed to solve the issue because the next cut worked perfectly.
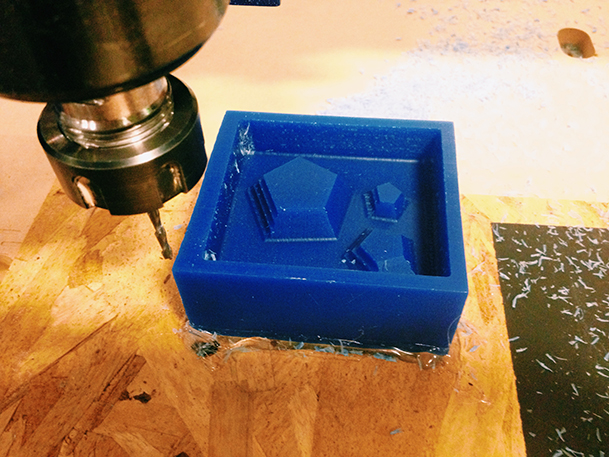
Failed mold with stepped edges on the left.
After I cut the wax positive, I poured Oomoo into the wax to create a silicone negative mold. After stirring the mix for quite a long time, I spent about 3 minutes tapping out the bubbles. Although it felt tedious at the time, my mold come out extremely smoothly so it seems worth it. I sprayed a little bit of mold release before pouring, and the finished mold popped out easily.
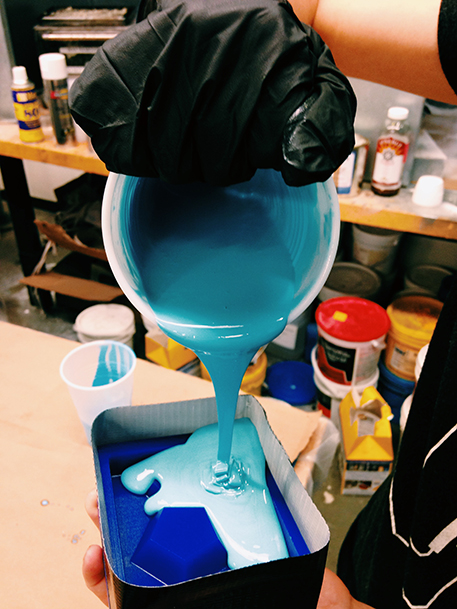
Pouring Oomoo.
When the time came to cast, I experimented with adding colors to the different materials with limited success. I first used DryStone and dyed it with RIT fabric dye. This did not work at all. The casted part never really dried and instead crumbled into a thick paste. Next, I tried adding food coloring to the liquid plastic. Unfortunately, I did not read the side of the bottle that said not to add water. As the food coloring drops I used were water-based, I learned first-hand what water does to the liquid plastic. The plastic ended up bubbling up a lot and created a foam-like substance.
In the end, the faces of the gems were not ruined by the foaming (and in fact looked pretty cool), but the backs of the pieces ended up looking quite frothy and not flat. I would like to re-do the gems in metal and with a dye appropriate for the liquid plastic.
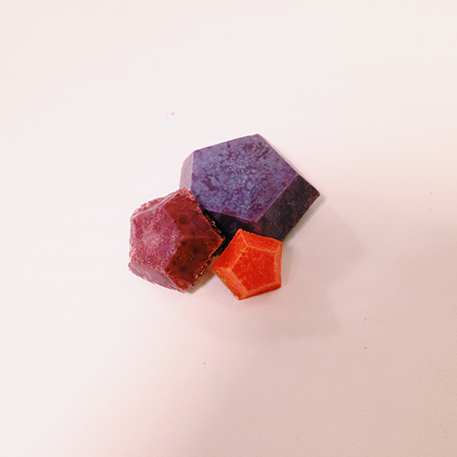
Finished gems