Laser Cutting A Joint System
This week's assignment is to design and laser-cut some 2D pieces, and use those 2D pieces to create a joint system forming a 3D geometry.
Stage 1: Brainstrom
The idea comes from a toy called snowflake I played in my childhood.
The geometry of snowflake is really simple. It is basiclly a circle with cuts on the edge.
Each piece has eight cuts on the edge, which provide a huge degree of freedom to make a 3D object.
I am a super fan of starwars, so I decided to make a lightsaber using the geometry of a snowflake.

Snowflake Toy
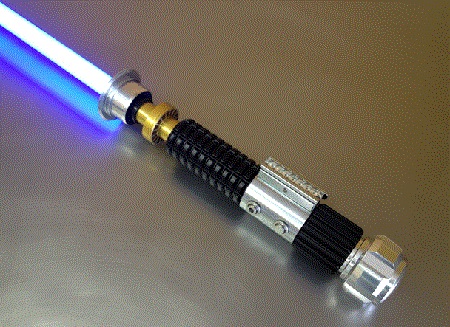
Avenger LightSaber by Parksabers
Stage 2: 3D Modeling and Geometry Design
The thickness of cardboard is 0.15 inch. I tried different width for the opening on the snowflake.
I found 0.14 inch is the perfect size. 0.14 inch opening squeezes the cardboard a little bit,
provides enough friction I need to hold two piece together but not too tight.
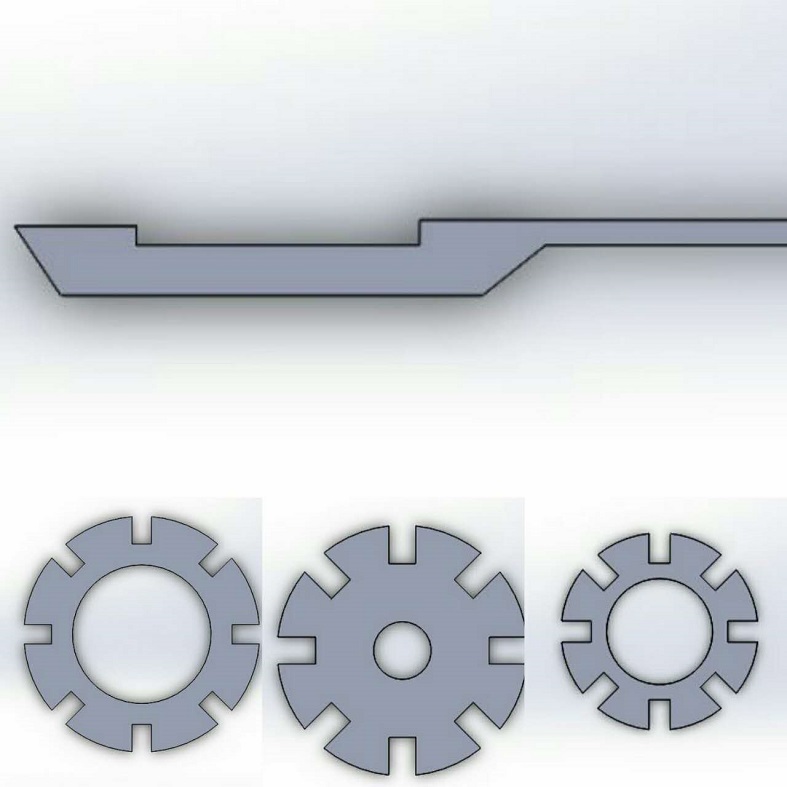
I modeled my lightsaber with four baisc compoments using Solidworks.
The long stem in the top image will hold the snowflakes together when assembled.
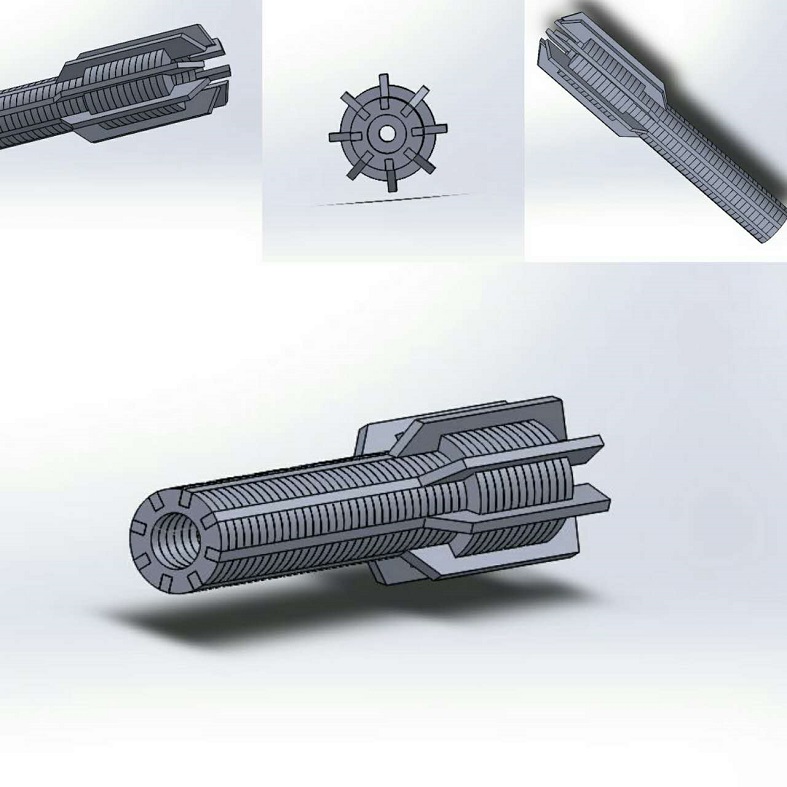
The final 3D view of the lightsaber.
The hollow cylinder design accounts for future improvement of the electronics.
I want to have enough space for a CR123A battery to provide 3V power.
Stage 3: Laser Cutting and Assembly
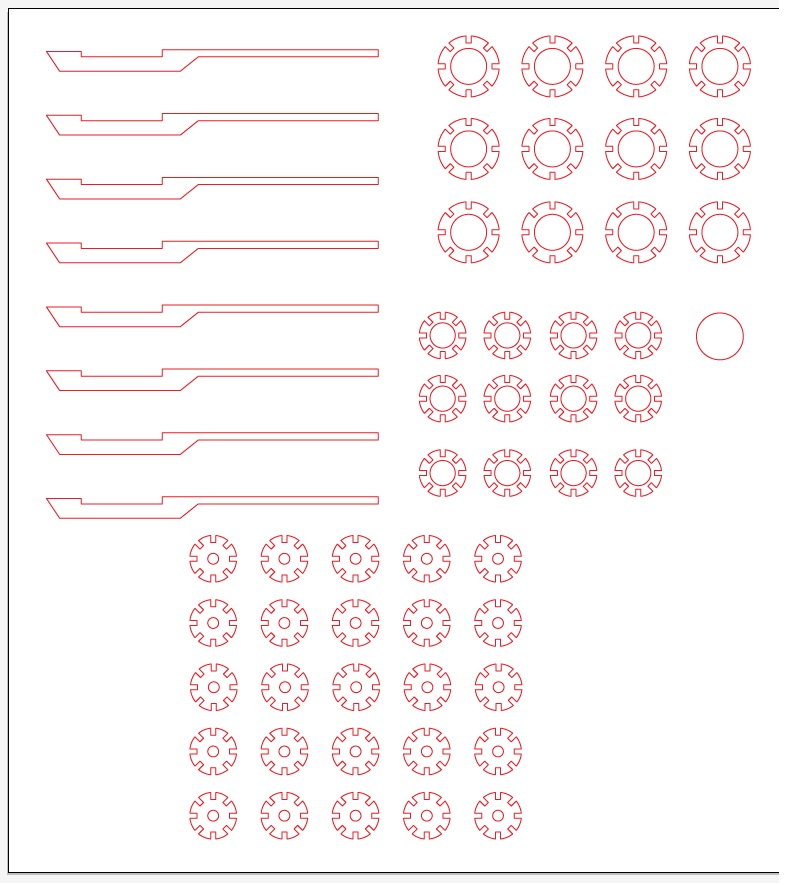
Layout of Pieces.
I used 120w laser cutter. The speed was set to 30%, power 8% freq 500.
The first time I picked combined mode, the laser was just rastoring over the entire cardboard.
After waiting for a long time, I stopped the process, and change the setting to vector mode.
Vector mode is much faster and cut the piece through.
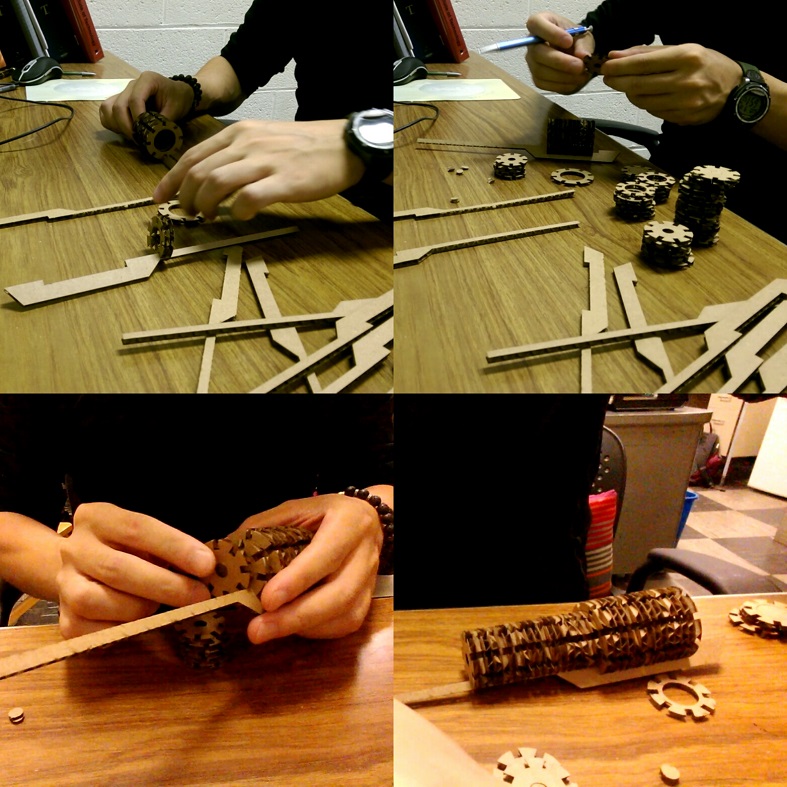
Assemble my lightsaber
After I had all of my pieces cutted, I started to put everything together.
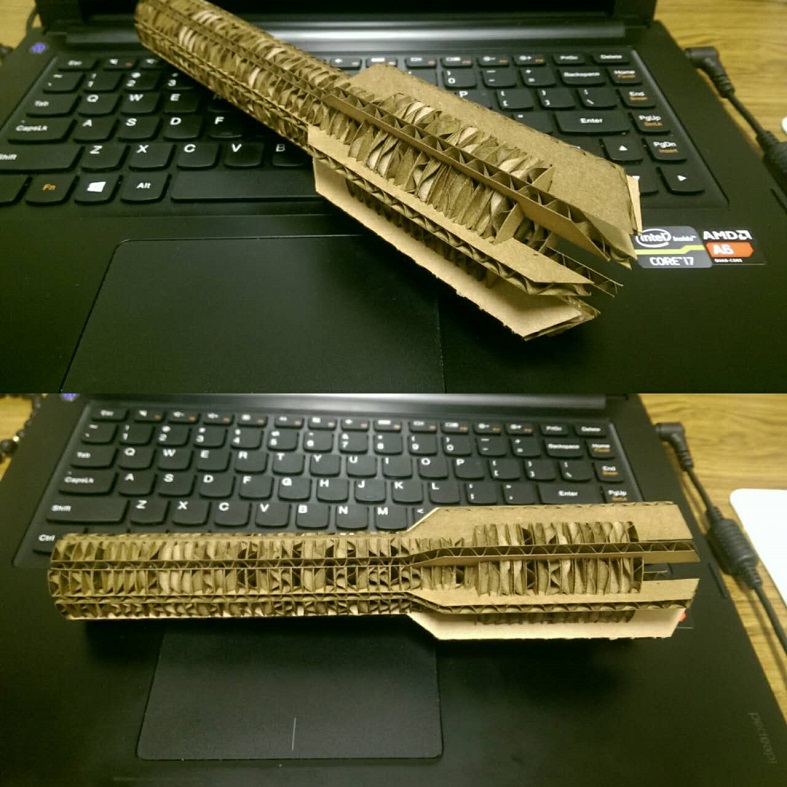
Lightsaber fully assembled.
I really like the final product, the dimension is perfect for one hand blade.
I would like to cut the pieces in plexiglass and make the handld longer for two-handed blade in the future.
Vinly Cutter

I tested vinly cutter with a fishbone figure. The image is not a solid color, I need to change
threshold setting(0.95 is a good number) for the software to calculate a complete path, otherwise the cutting path also go inside
the image. The default setting for cutting force is 50gf, it does not penetrate at all, I increase the force to
100 gf, it cut through but not deep enough as shown in the upper row midder figure.
150 gf and speed to 3cm/s, it cuts through nicely, but the speed is a little too fast, as shown in the upper row right
figure. With a setting of 150 gf and 2cm/s, I had a perfect cut of fishbone for my laptop sticker collection.
-------------
-------------
-------------
-------------