FabISP Programmer
This week I am making a programmer for burning programm into a microcontroller.
I used the provided traces and interior designs for milling.
-------------
Stage 1: Milling the Circuits Board
I used the default design on the class website.
I used a double-sided tape to firmly place the copper board on the milling machine bed.


Designs for my programmer.
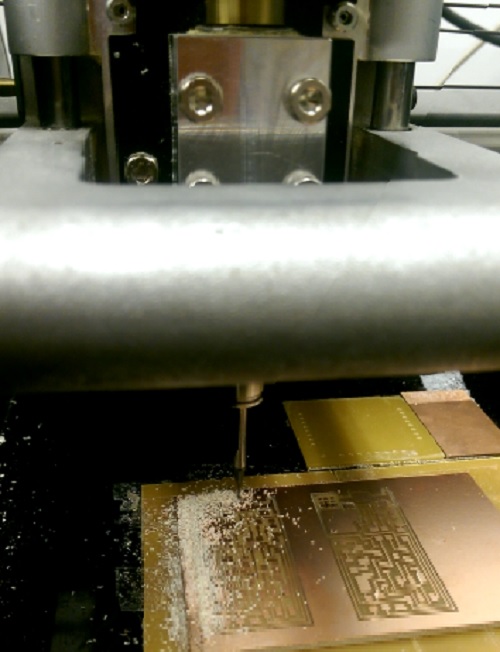
Copper board is milled by a milling machine.
The first time, the upper part of the circuits board copper is not totally cut
The endmill did not penetrate deep enough to have a enough clearance between
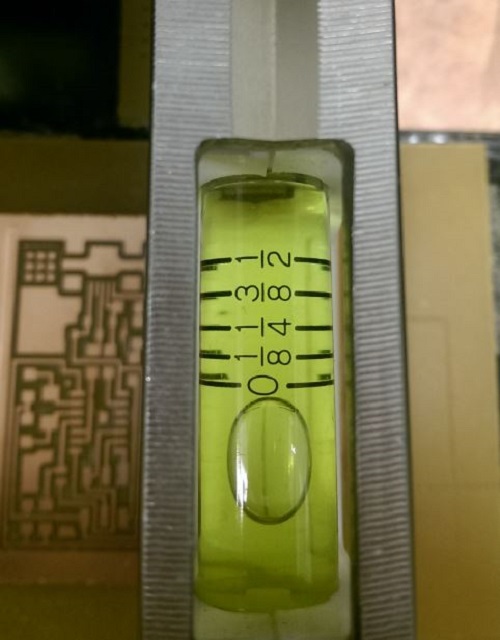
two traces. I found out the bed is not level, the upper part of the bed is lower.
Cosidering the unlevel bed, I zero z-coordinate relative to the upper part
of the board, then set the lower left side as origin.
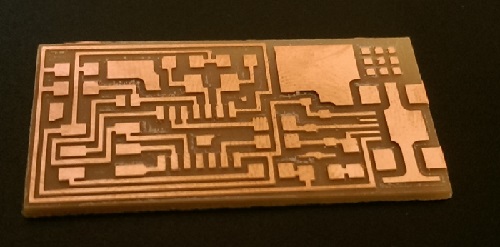
The second time, my PCB board was perfectly milled.
Stage 2: Soldering the Components
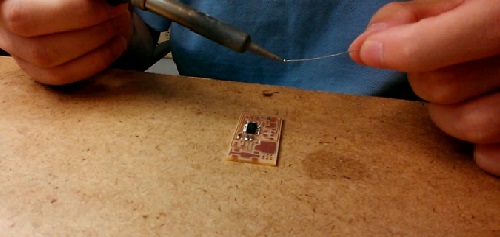
With PCB board ready, I just soldered the resisters, capcitors, diodes
and microcontroller to the board,
Stage 3: Burn Code into my Microcontroller
If the soldered circuit is a vessel, then the program I am about to
burn into the microcontroller is the soul of this entire board.
This step is very straight forward, I connected my board to a programmer,
the programmer was connected to a computer. I opened the firmware and wrote
the code into my microcontroller.

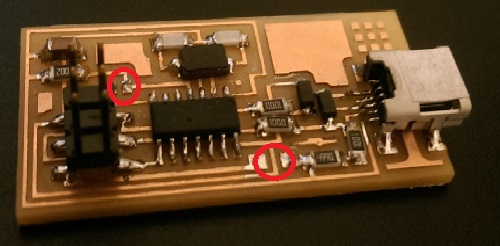
Stage 4: Desolder the Jumper wire
I desoldered the jumper wires, where the red circles were.
and I have a programmer to program other chips.
-------------
-------------
-------------