Week 8: Molding and Casting
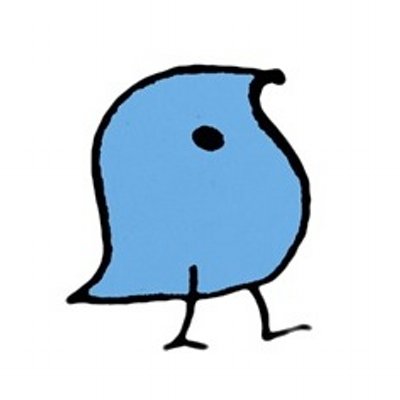
For this week's assignment, I made a wug.
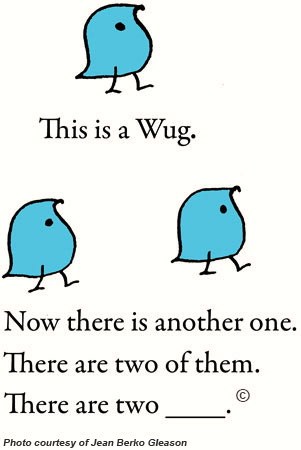
The correct answer is wugs. Specifically, the plural form of wugs ends in a z sound, not an s sound, if you pay attention. You probably didn't even notice you were doing it, but, if you're a native English speaker, you definitely said "wugz" and not "wugs". The reason it's "wugz" and not "wugs" is because there is a rule in English about how plurals of words are formed, based on whether the last consonant of that word is "voiced" or "unvoiced". "Voiced consonants" are consonants where your vocal cords are vibrating while you are pronouncing them - if you put your hand up on your throat near your voice box, you will be able to feel the vibration. "z", "g", "b", and "v" are all voiced consonants. Each voiced consonant has a corresponding unvoiced consonant, where, if you pronounce it, you won't be able to feel any vibration. "s", "k", "p" and "f" are the corresponding unvoiced consonants to the voiced consonants I listed earlier, respectively. The pluralization rule in English is that, by default, if a word ends in an unvoiced consonant, it will be pluralized by adding the unvoiced consonant "s", but if a word ends in a voiced consonant, it will be pluralized by the corresponding voiced consonant to "s", which is "z". Since "wug" ends in a voiced consonant, "g", the last sound in the plural form will be "wugz".
Now, that's an incredibly complicated rule. I mean, it took me like a full paragraph to explain. But the interesting thing about the wug test is that everyone, even children - even childen so young that you'd never be able to get them to sit still enough to explain the voicing-pluralization rule to them! - always get it right. Native speakers of a language, the wug test tells us, know a lot of things that they could never verbalize. This is called implicit knowledge.
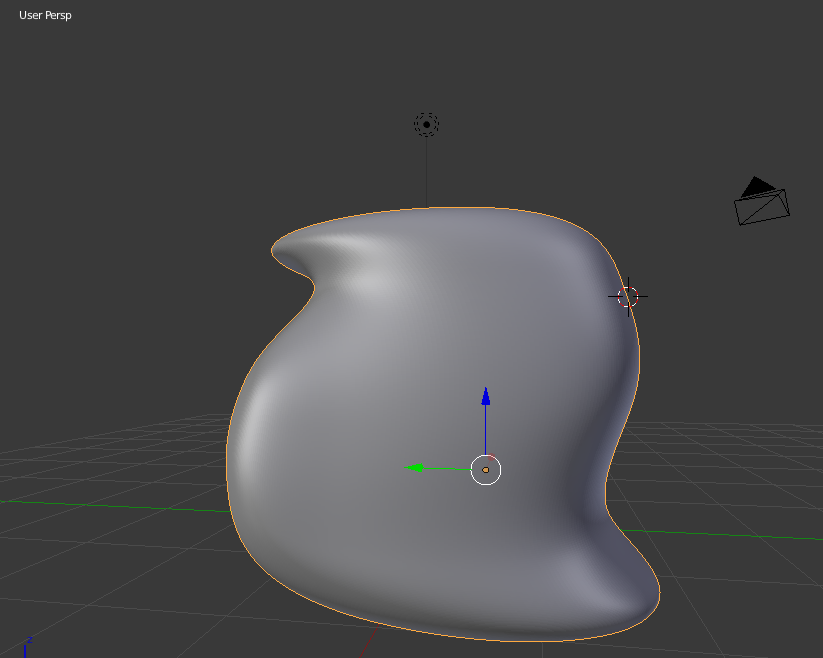
Anyway, as a linguistics nerd, I decided I wanted to have a wug. I began by designing the positive of the wug with which I would make the Oomoo negative mold. I've been using Fusion360 for all my CADing, but when I had tried doing 3d models of my final project in Fusion, Fusion was...uncooperative. It's really not a great program for 3D sculpting. So I returned to Blender. All went well, I got my wug sculpted, but I encountered some issues while trying to make the mold that the wug would go into. Blender, while good for 3d modeling and sculpting, is not a good CAD tool; it's kind of hard to set lengths, the zoom is limited, and tools that I had gotten used to in Fusion360 were absent. (Wow, it's almost like Blender is not a CAD program!) One workaround that may be useful to future generations is that it turns out you don't need to dimension precisely in Fusion since mods is able to scale your model when you import it, so just get the proportions of your base block in Blender the same as the proportions of the real-life wax block, and everything should turn out OK.
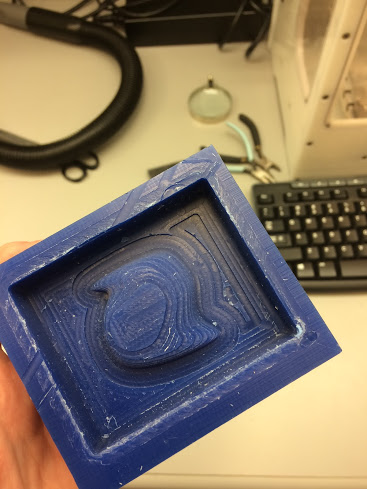
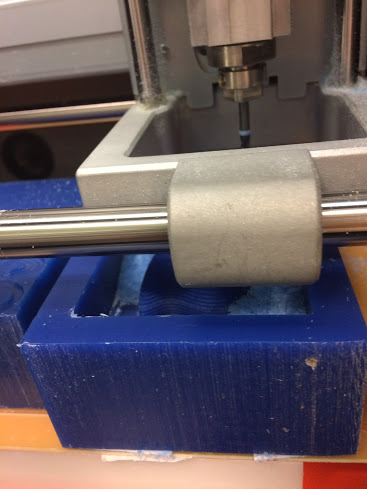
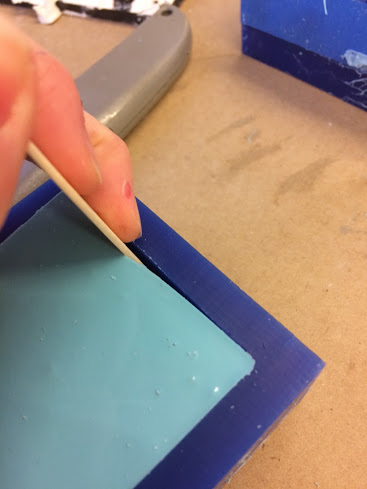
The next step was cutting out the positive mold from the block of wax. This went fine, except I lost a block because I didn't realize that the bit had to be sticking out to the depth of the deepest part of the mold (otherwise the collet will catch on the uncarved "frame" part of your mold). Just a PSA here.
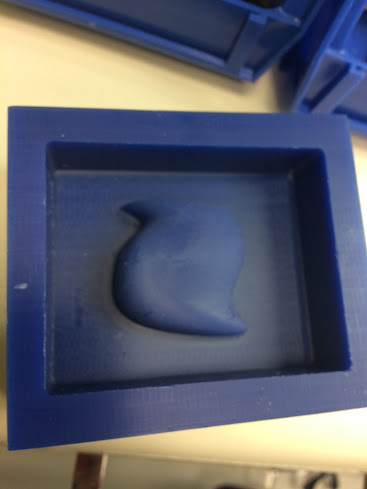
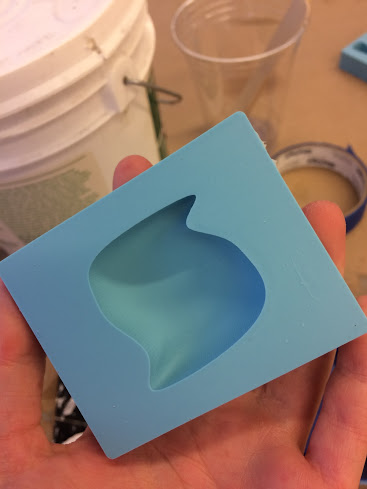
The next step is to create a negative mold, which will have a hollow shaped like the thing you want to make, into which you will pour metal or ceramic to create your final cast. The negative mold is made of Oomoo, a pliable rubber, so that you can simply bend the mold to get the metal/ceramic piece out. My Oomoo mold came out without any bubbles, I'm pleased to say; to achieve this outcome, I ended up pouring the mixture back and forth between cups twice, to force bubbles to the surface by spreading the mixture thin where I was pouring over the edge of the cup, and then once the Oomoo was poured into the mold, I bounced the mold between my hands to get bubbles below the surface of the Oomoo to float up.
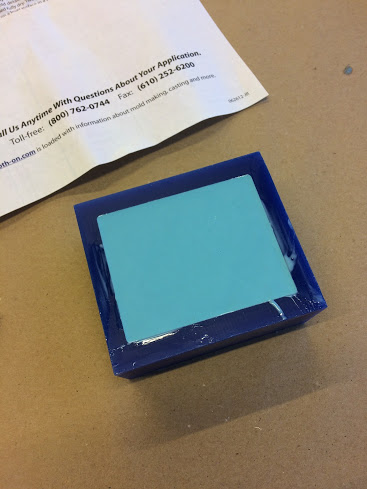
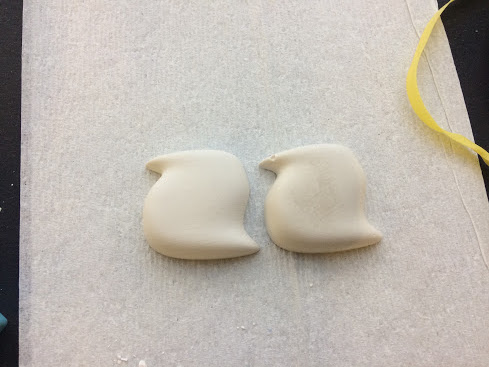
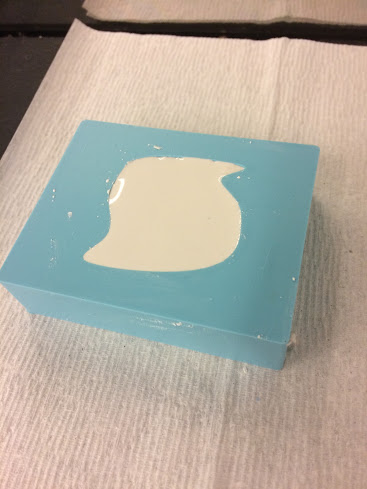
The final step is to actually make the wug. I chose drystone, which is intended for statuary, is simple to make and similar to ceramic, but doesn't need firing. All you have to do is mix the drystone and pour the drystone into the Oomoo mold, and then let it sit and cure.
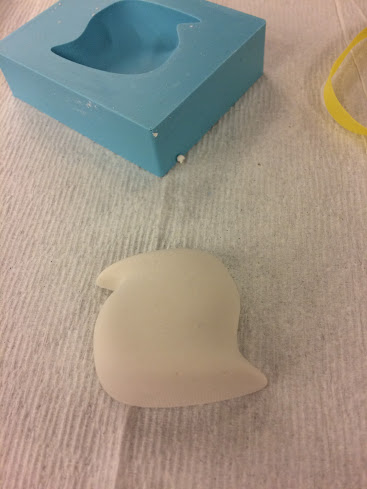
Then, you can bend the Oomoo mold away from the drystone casting, and you have a wug!