Week Fourteen: Composites
Composites are materials that contain two separate materials, one that is not hard but difficult to shatter, and one that's hard and shatterable. Typically, the first is a fiber, and the second is a resin. You combine the two to create a material that is both hard and difficult to shatter. Composites are used in, for example, aerospace applications because they're just that good. Aerospace composites are typically made of resins and fibers that are horrifyingly dangerous to handle, though, so this week we'll be making a simple composite out of cloth and an epoxy resin, which is only a little dangerous to handle.
Me: Missing The Point of Composites Since 1995
"Wait," you might say, "but weren't you a baby in 1995? How could you have any opinion about composites then?" This is true, reader, but I was definitely missing the point of composites in 1995, since I was an infant and my interests mostly consisted of the profound mysteries of balloons and grabbing the cat's tail. This week, though, having been informed what composites are, I ended up missing the point of composites in a new and exciting way. Since I don't have any airplanes I need to make - or boats or bicycle frames for that matter - I decided to make something where the tensile strength and composite of my carefully made composite would completely go to waste. Namely, a decorative bowl. Since my project is mildly boring, I decided to do a walk-through of the composite-making process for future students' reference.
1. Make a Mold
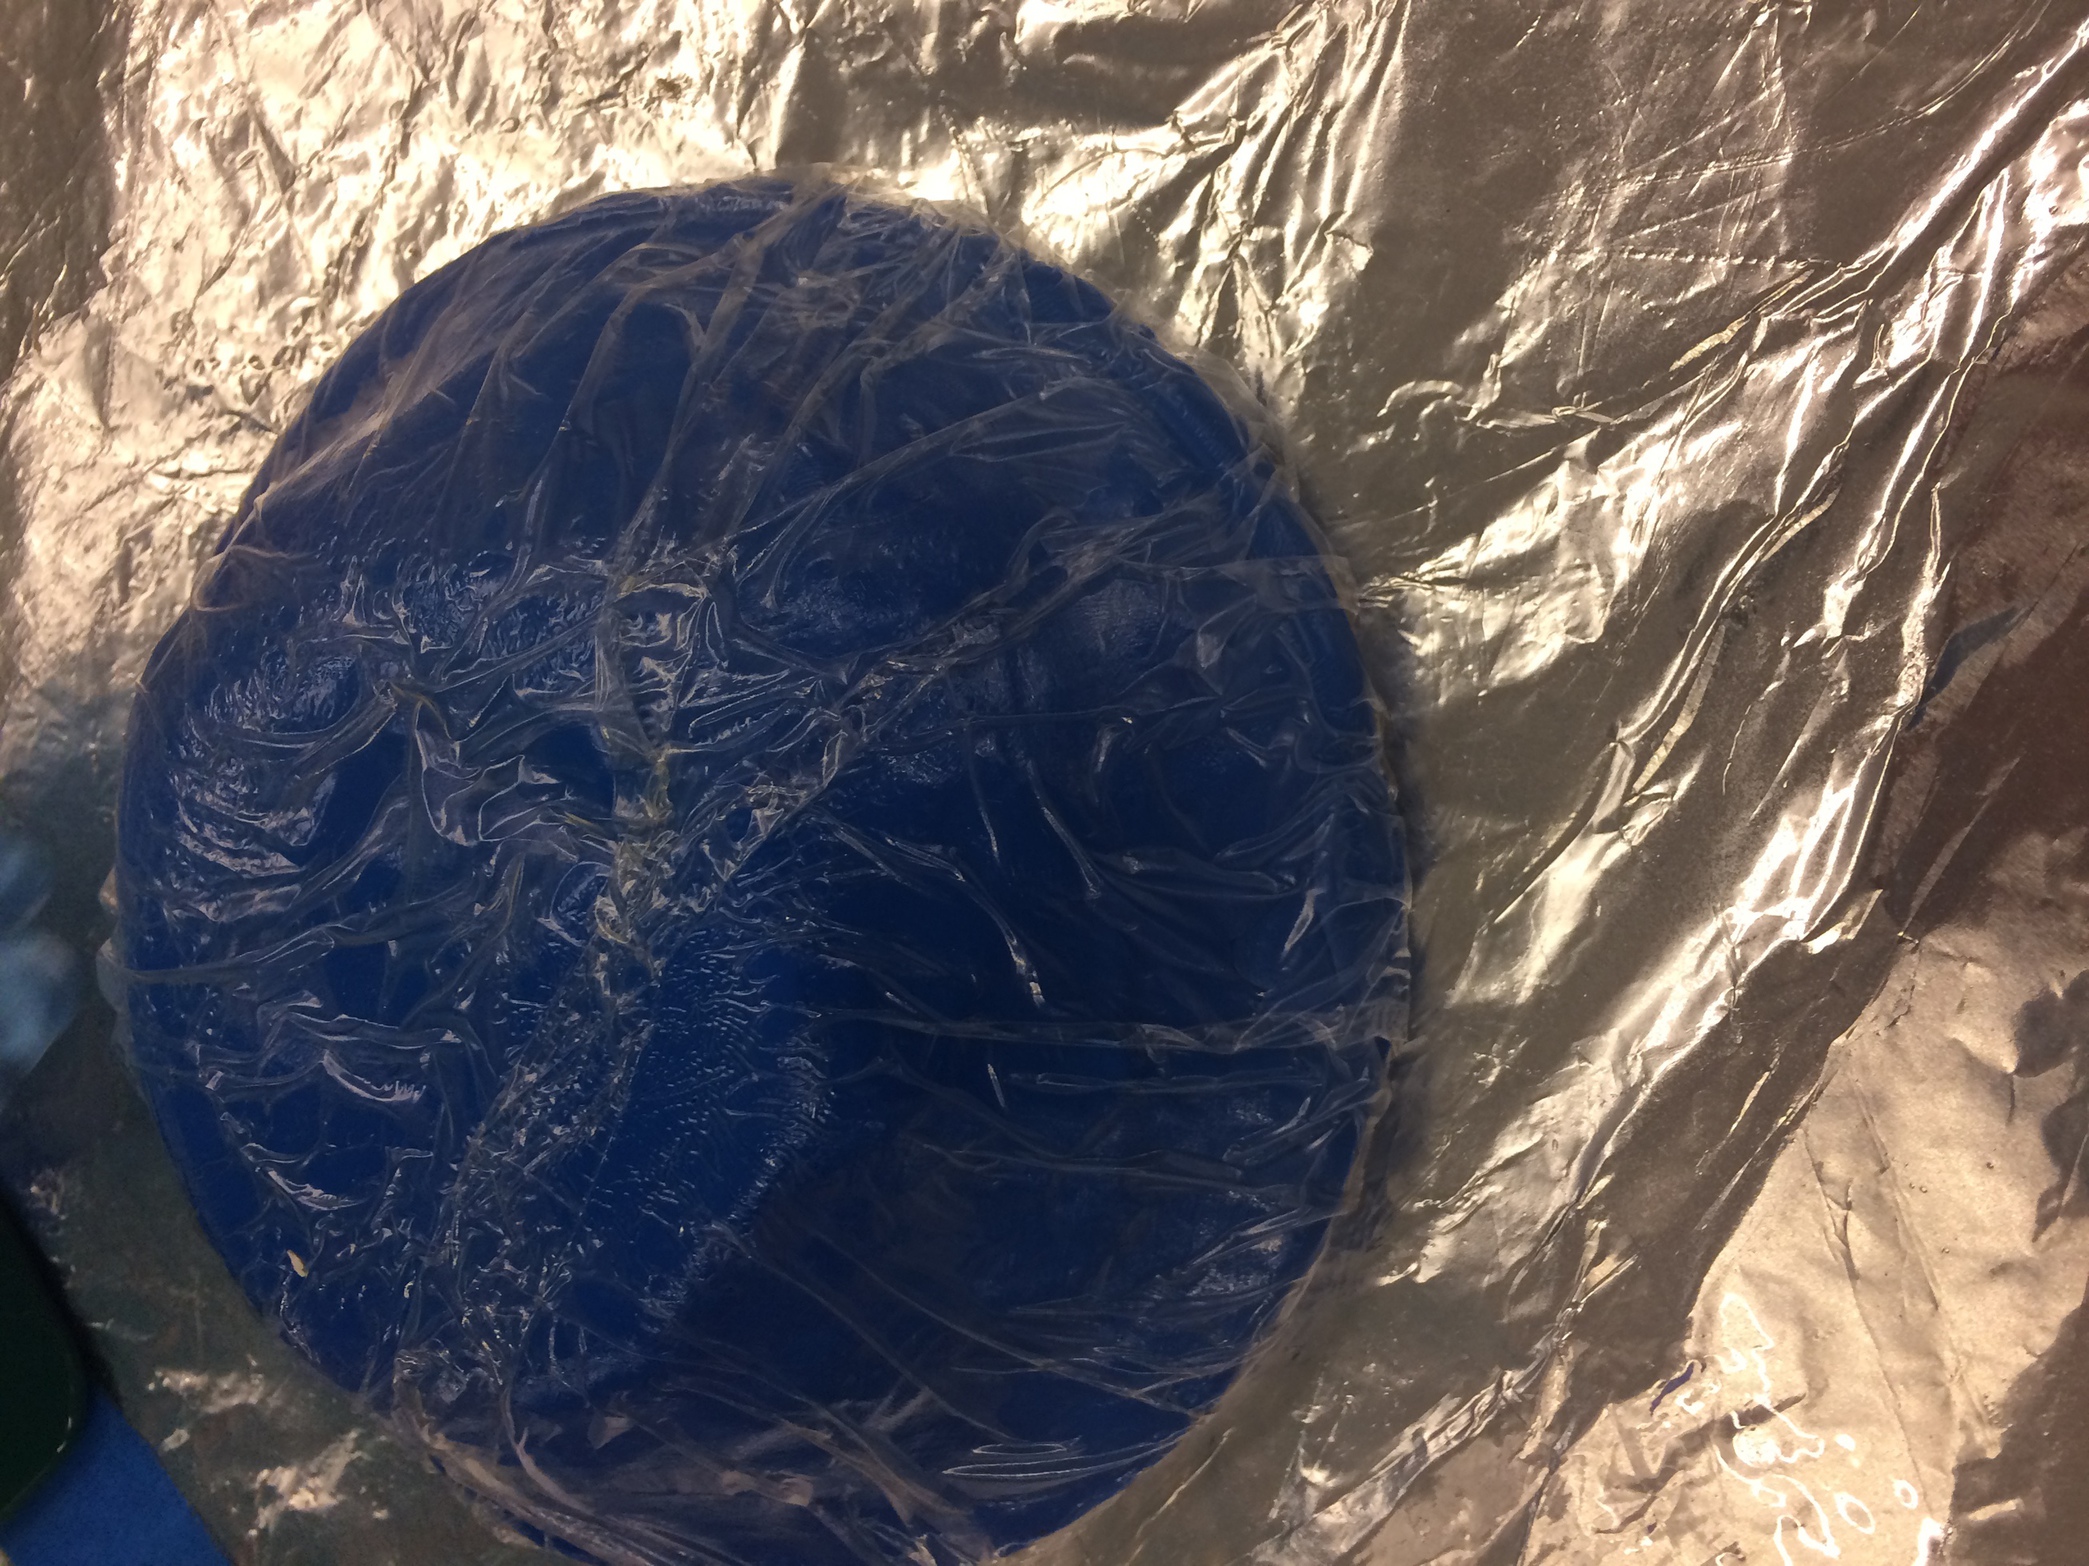
You'll probably want to make your mold out of wax or foam, but I did mine with modeling clay, because between final projects and composites projects, my lab's mills were busy all. the time. If you have a bowl-like, i.e. concave, form you want to make, you should probably do a positive rather than a negative mold. Before you begin, place Saran wrap over your mold and spray the upper surface with a release agent. This is so that the composite you're about to make will be removable, instead of being stuck to your mold and/or the Saran wrap you just laid down for the rest of time.
2. Put Down Fiber with Resin
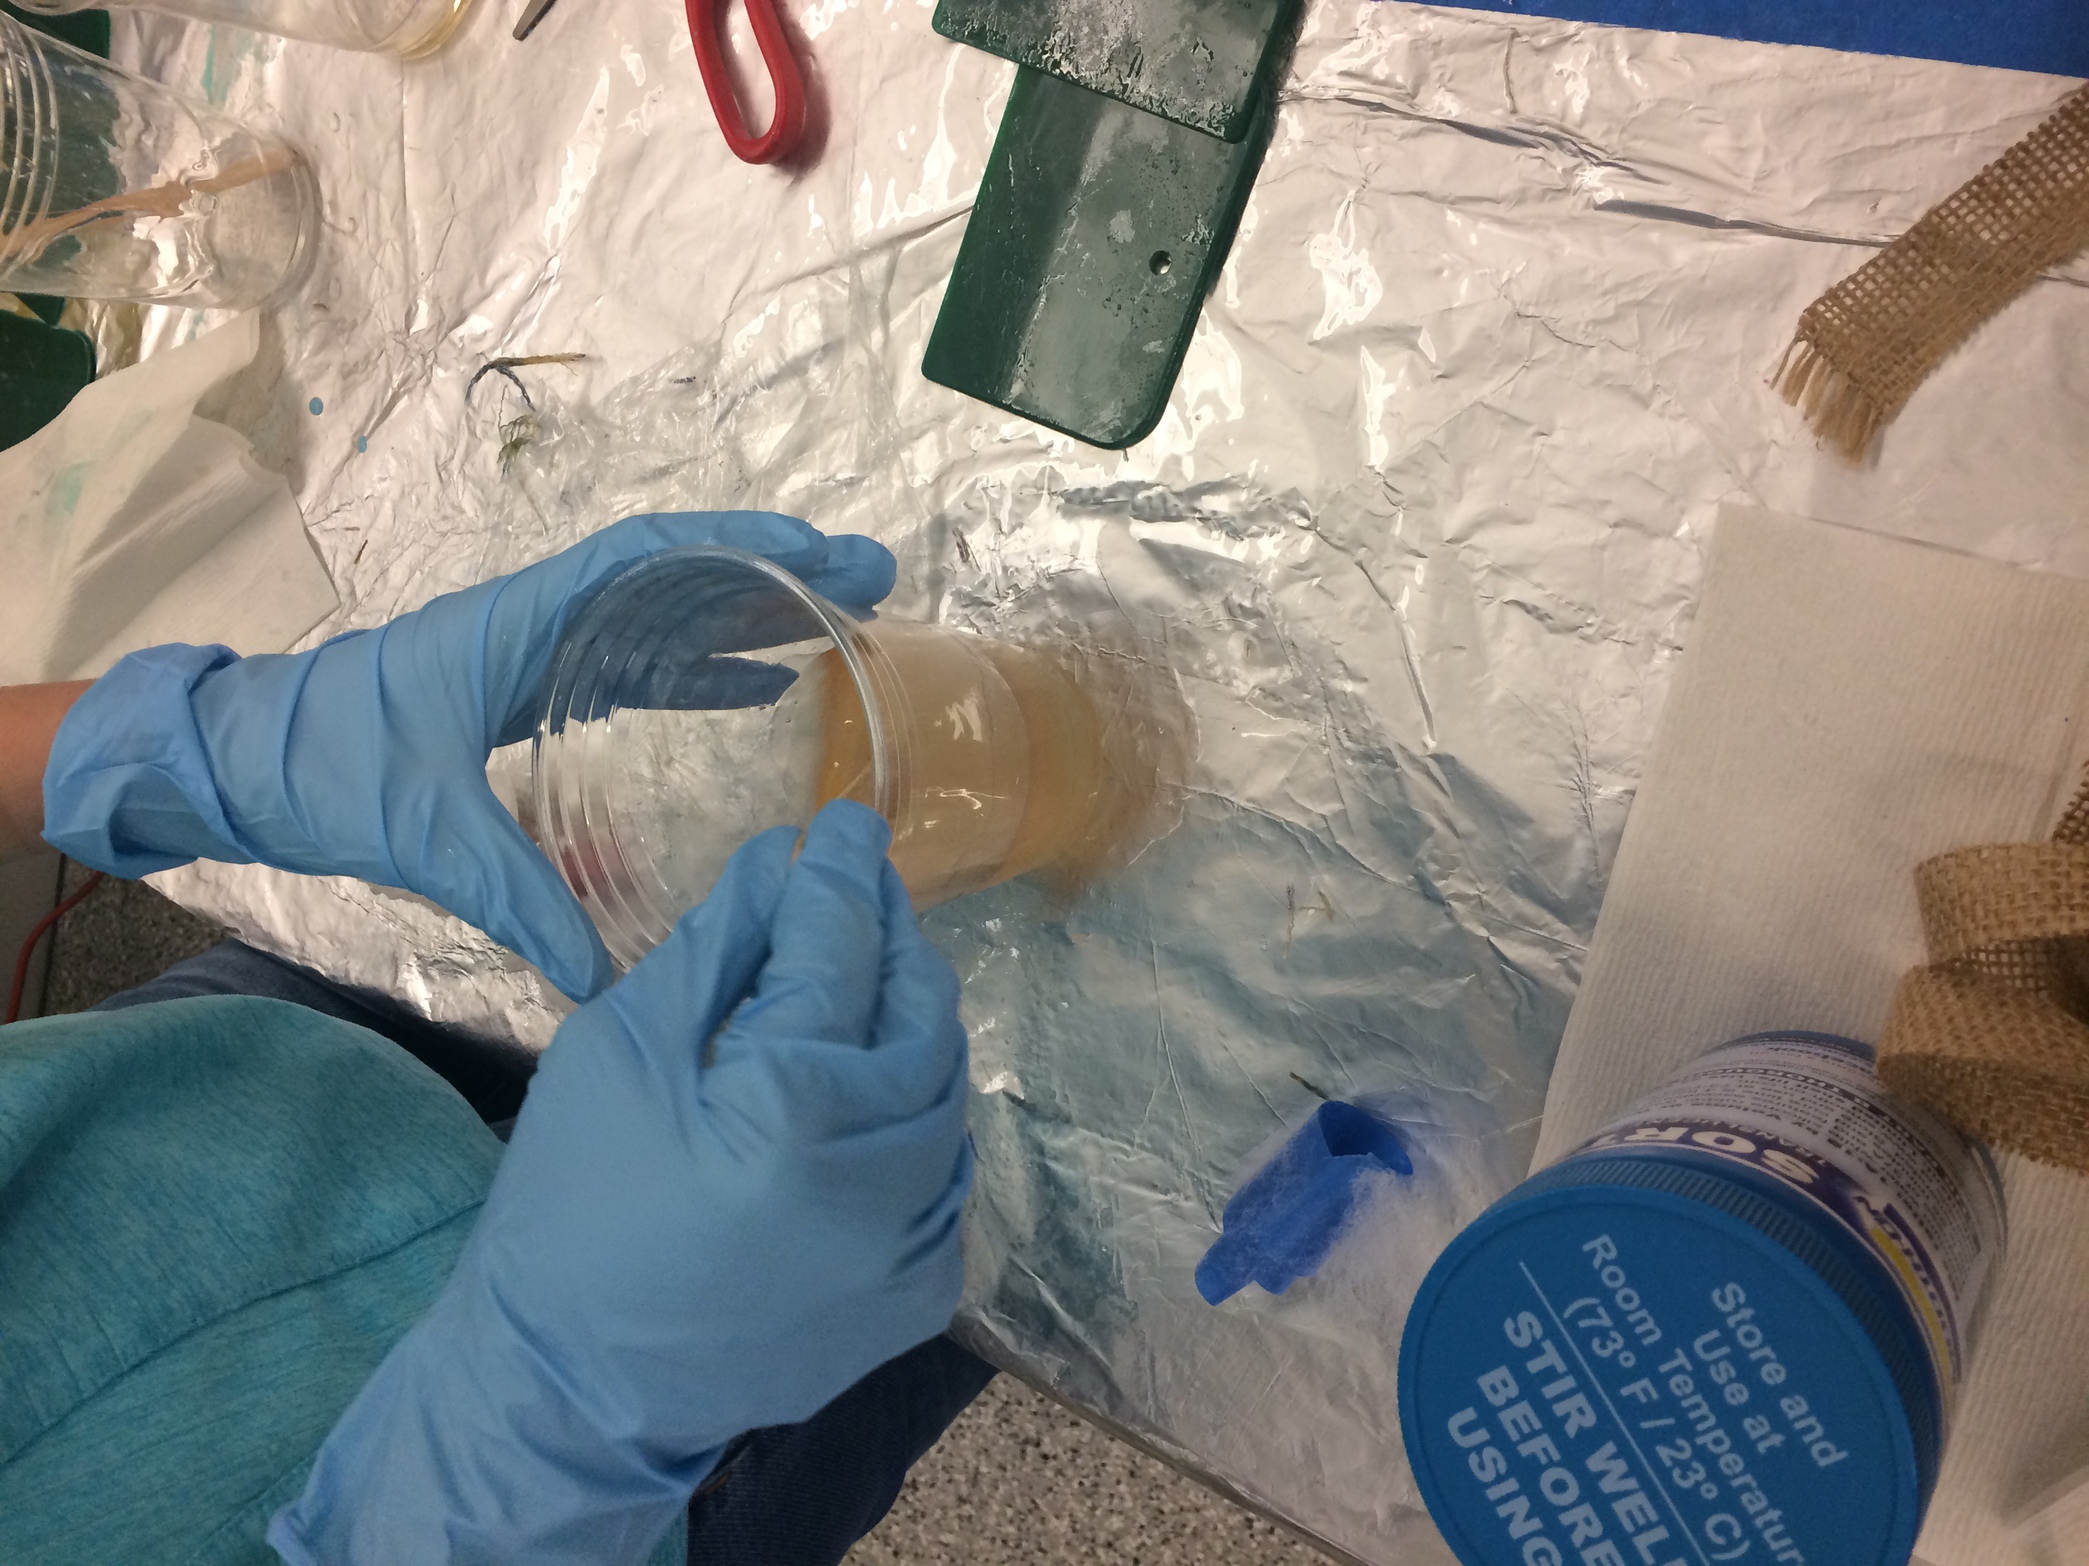
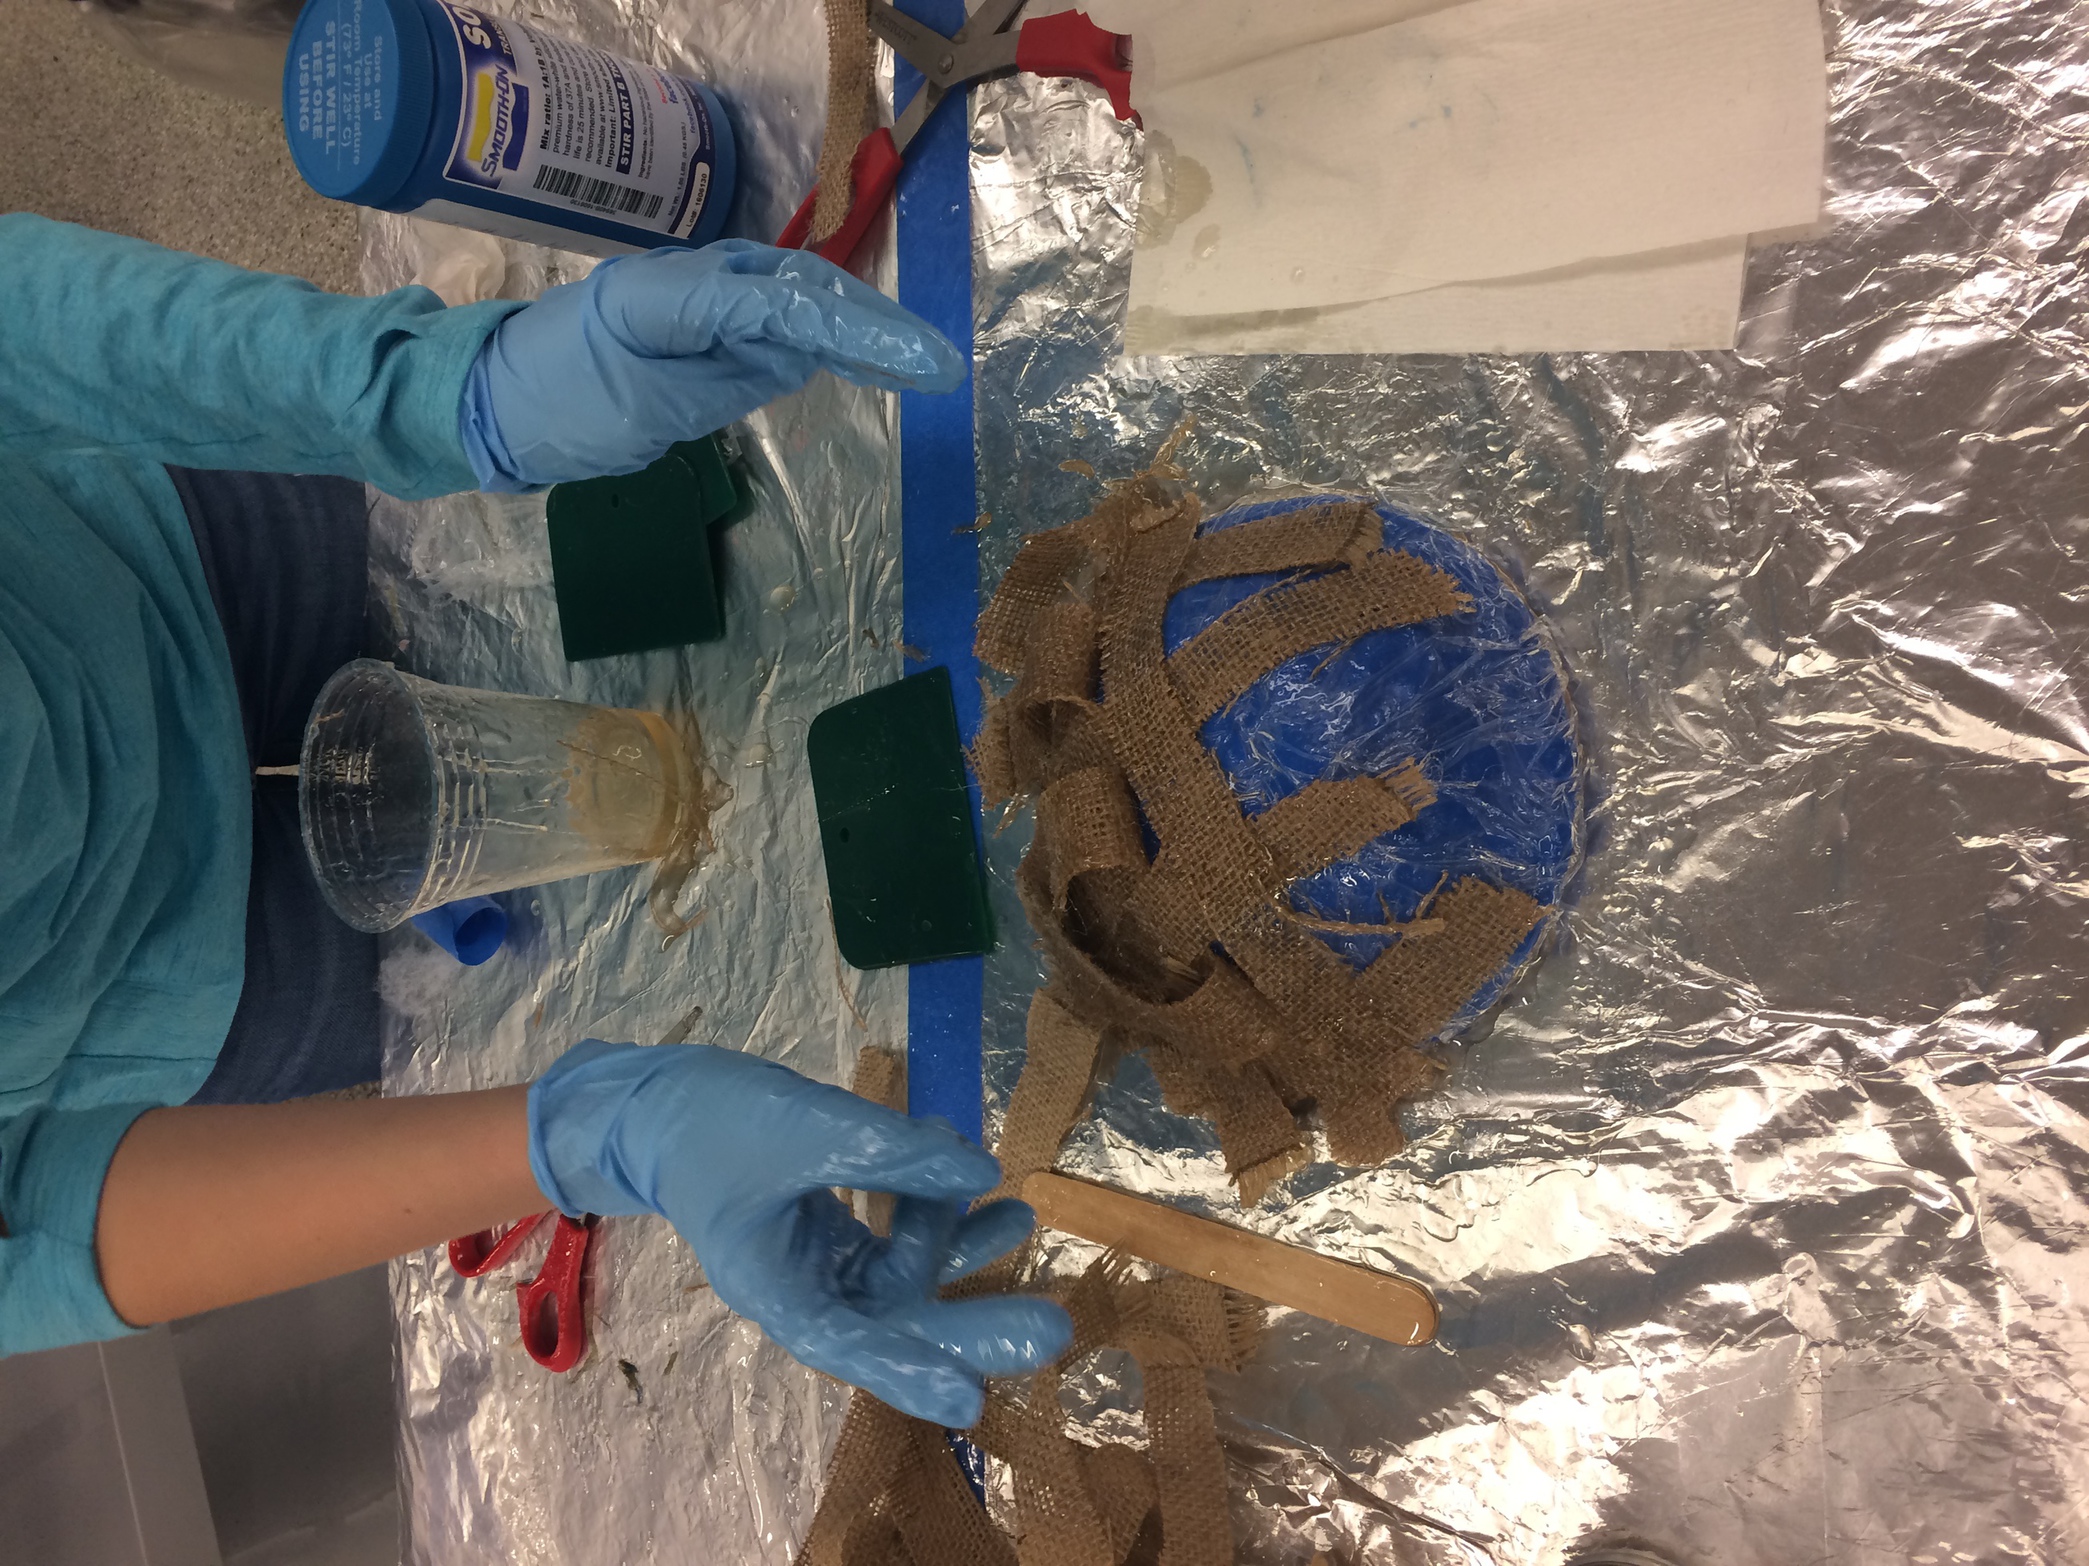
Mix your resin according to the directions on the bottle(s). There is less concern here about bubbles than there was the last time we mixed something out of two bottles (in week 8) because this mixture is going to get applied to your fiber anyway. As I was saying: apply it to your fiber! At this point, I got inspired, and decided to go for a sort of basketweave pattern to add visual interest. I alternated strips of burlap coated in the resin, going back and forth, like in a basket. Or like in a pie, if you prefer. You should do multiple layers in order to get the full effect of the fiber on the tensile strength.
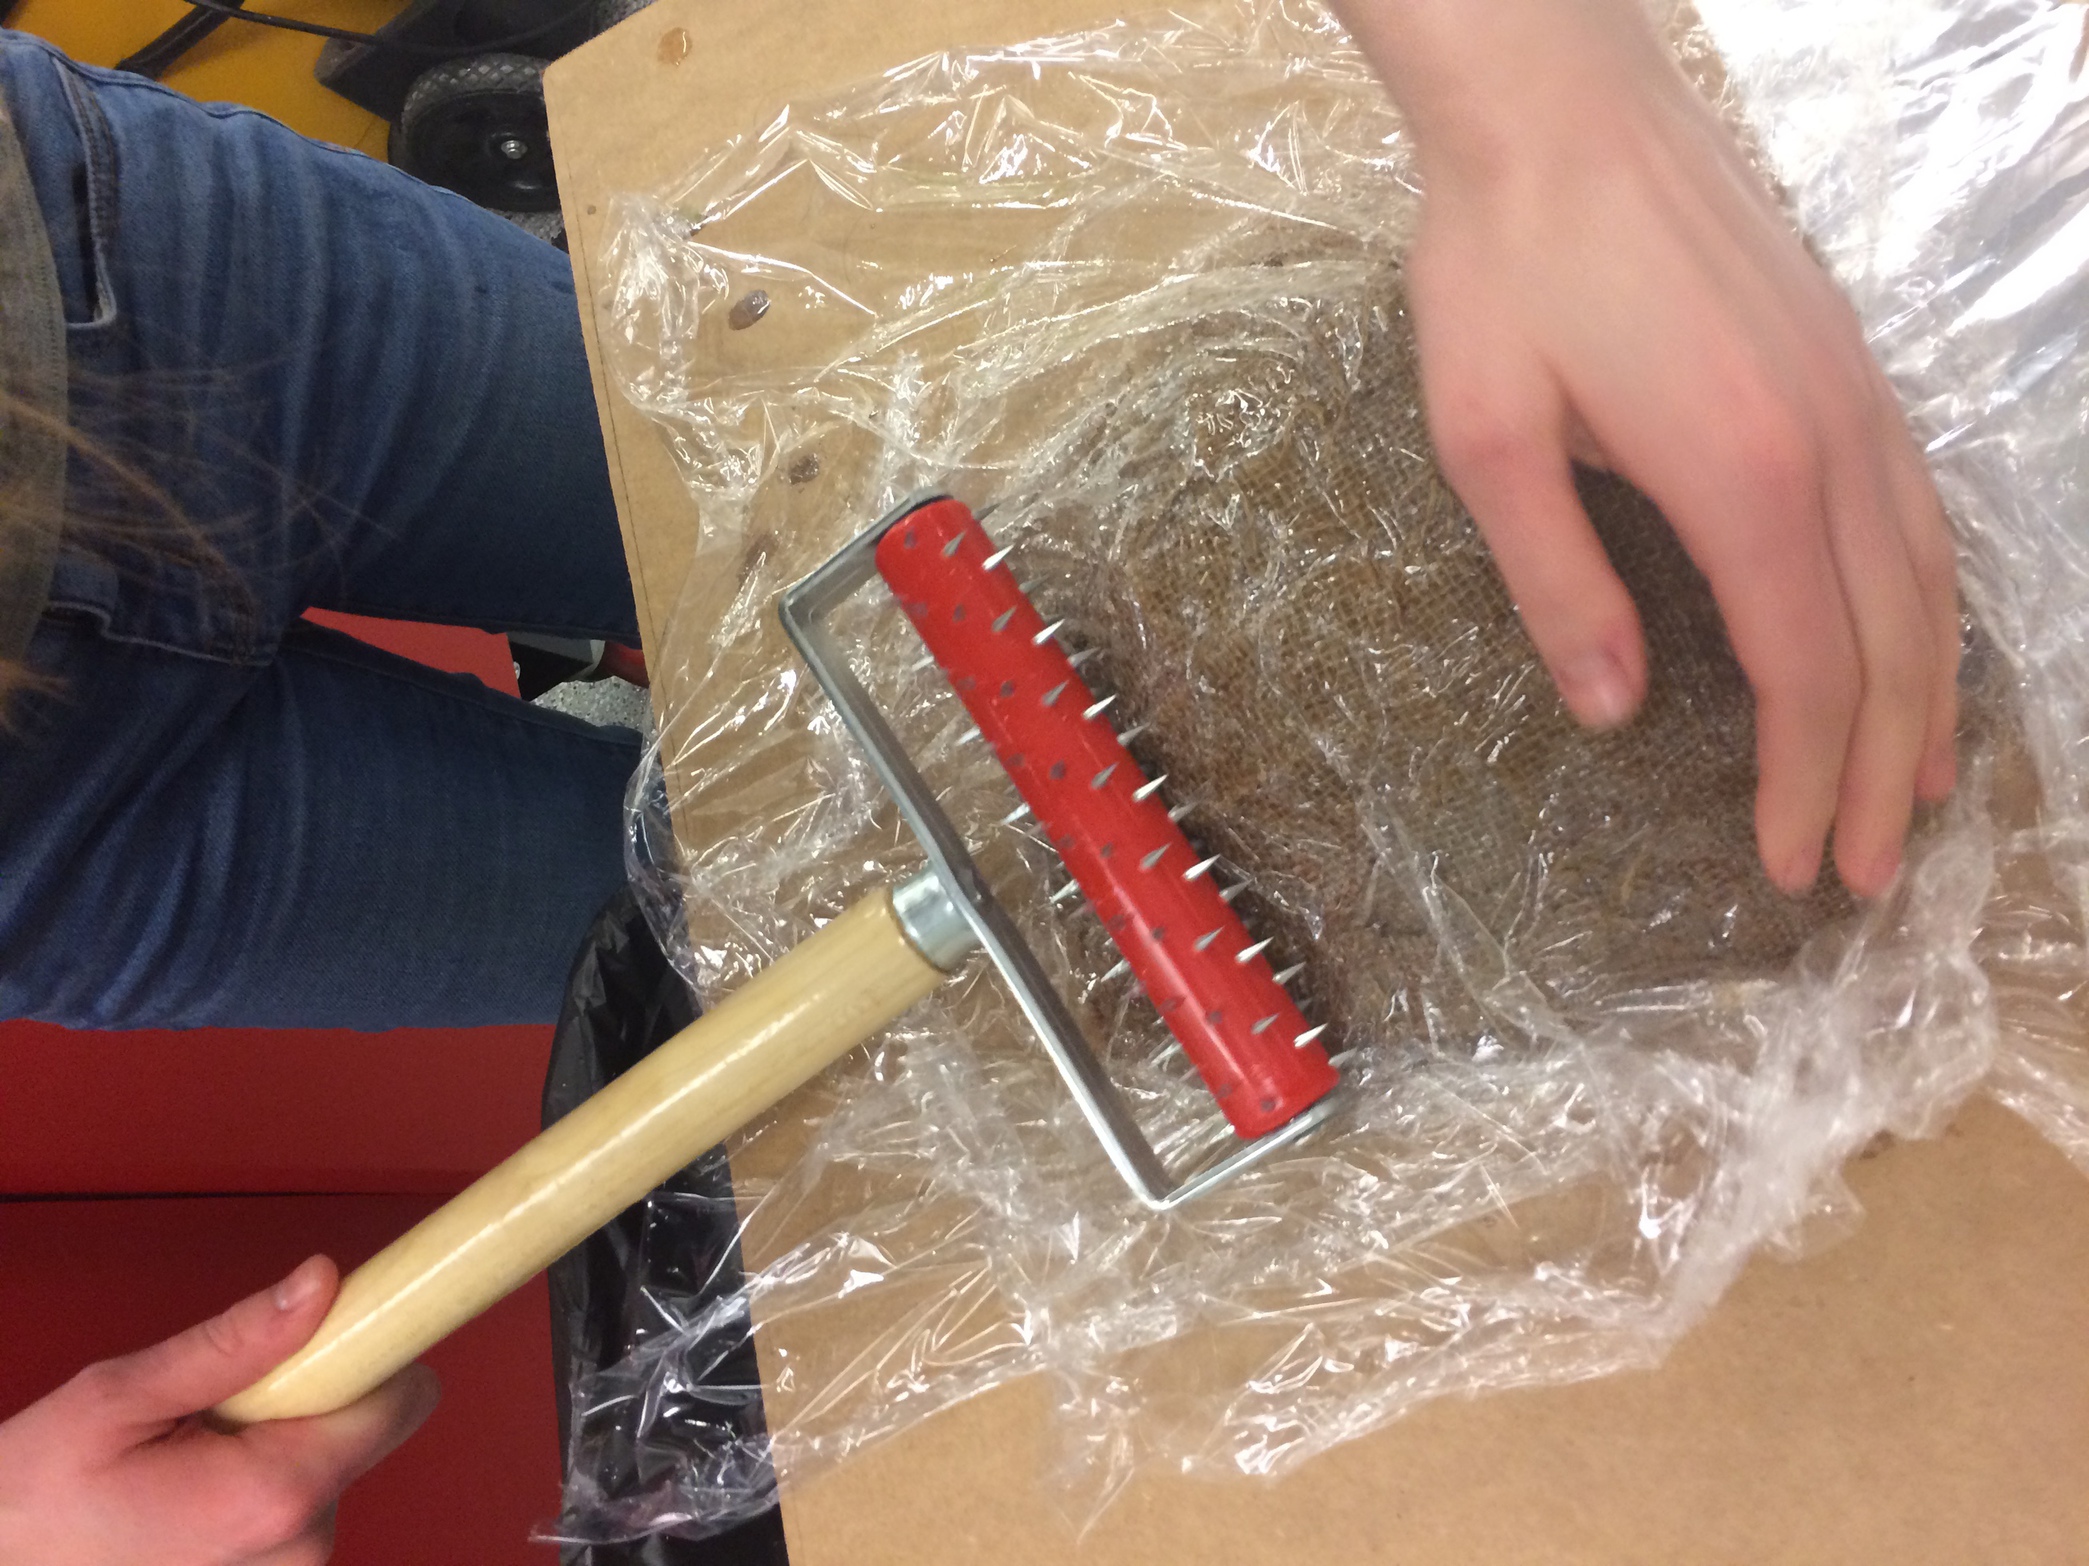
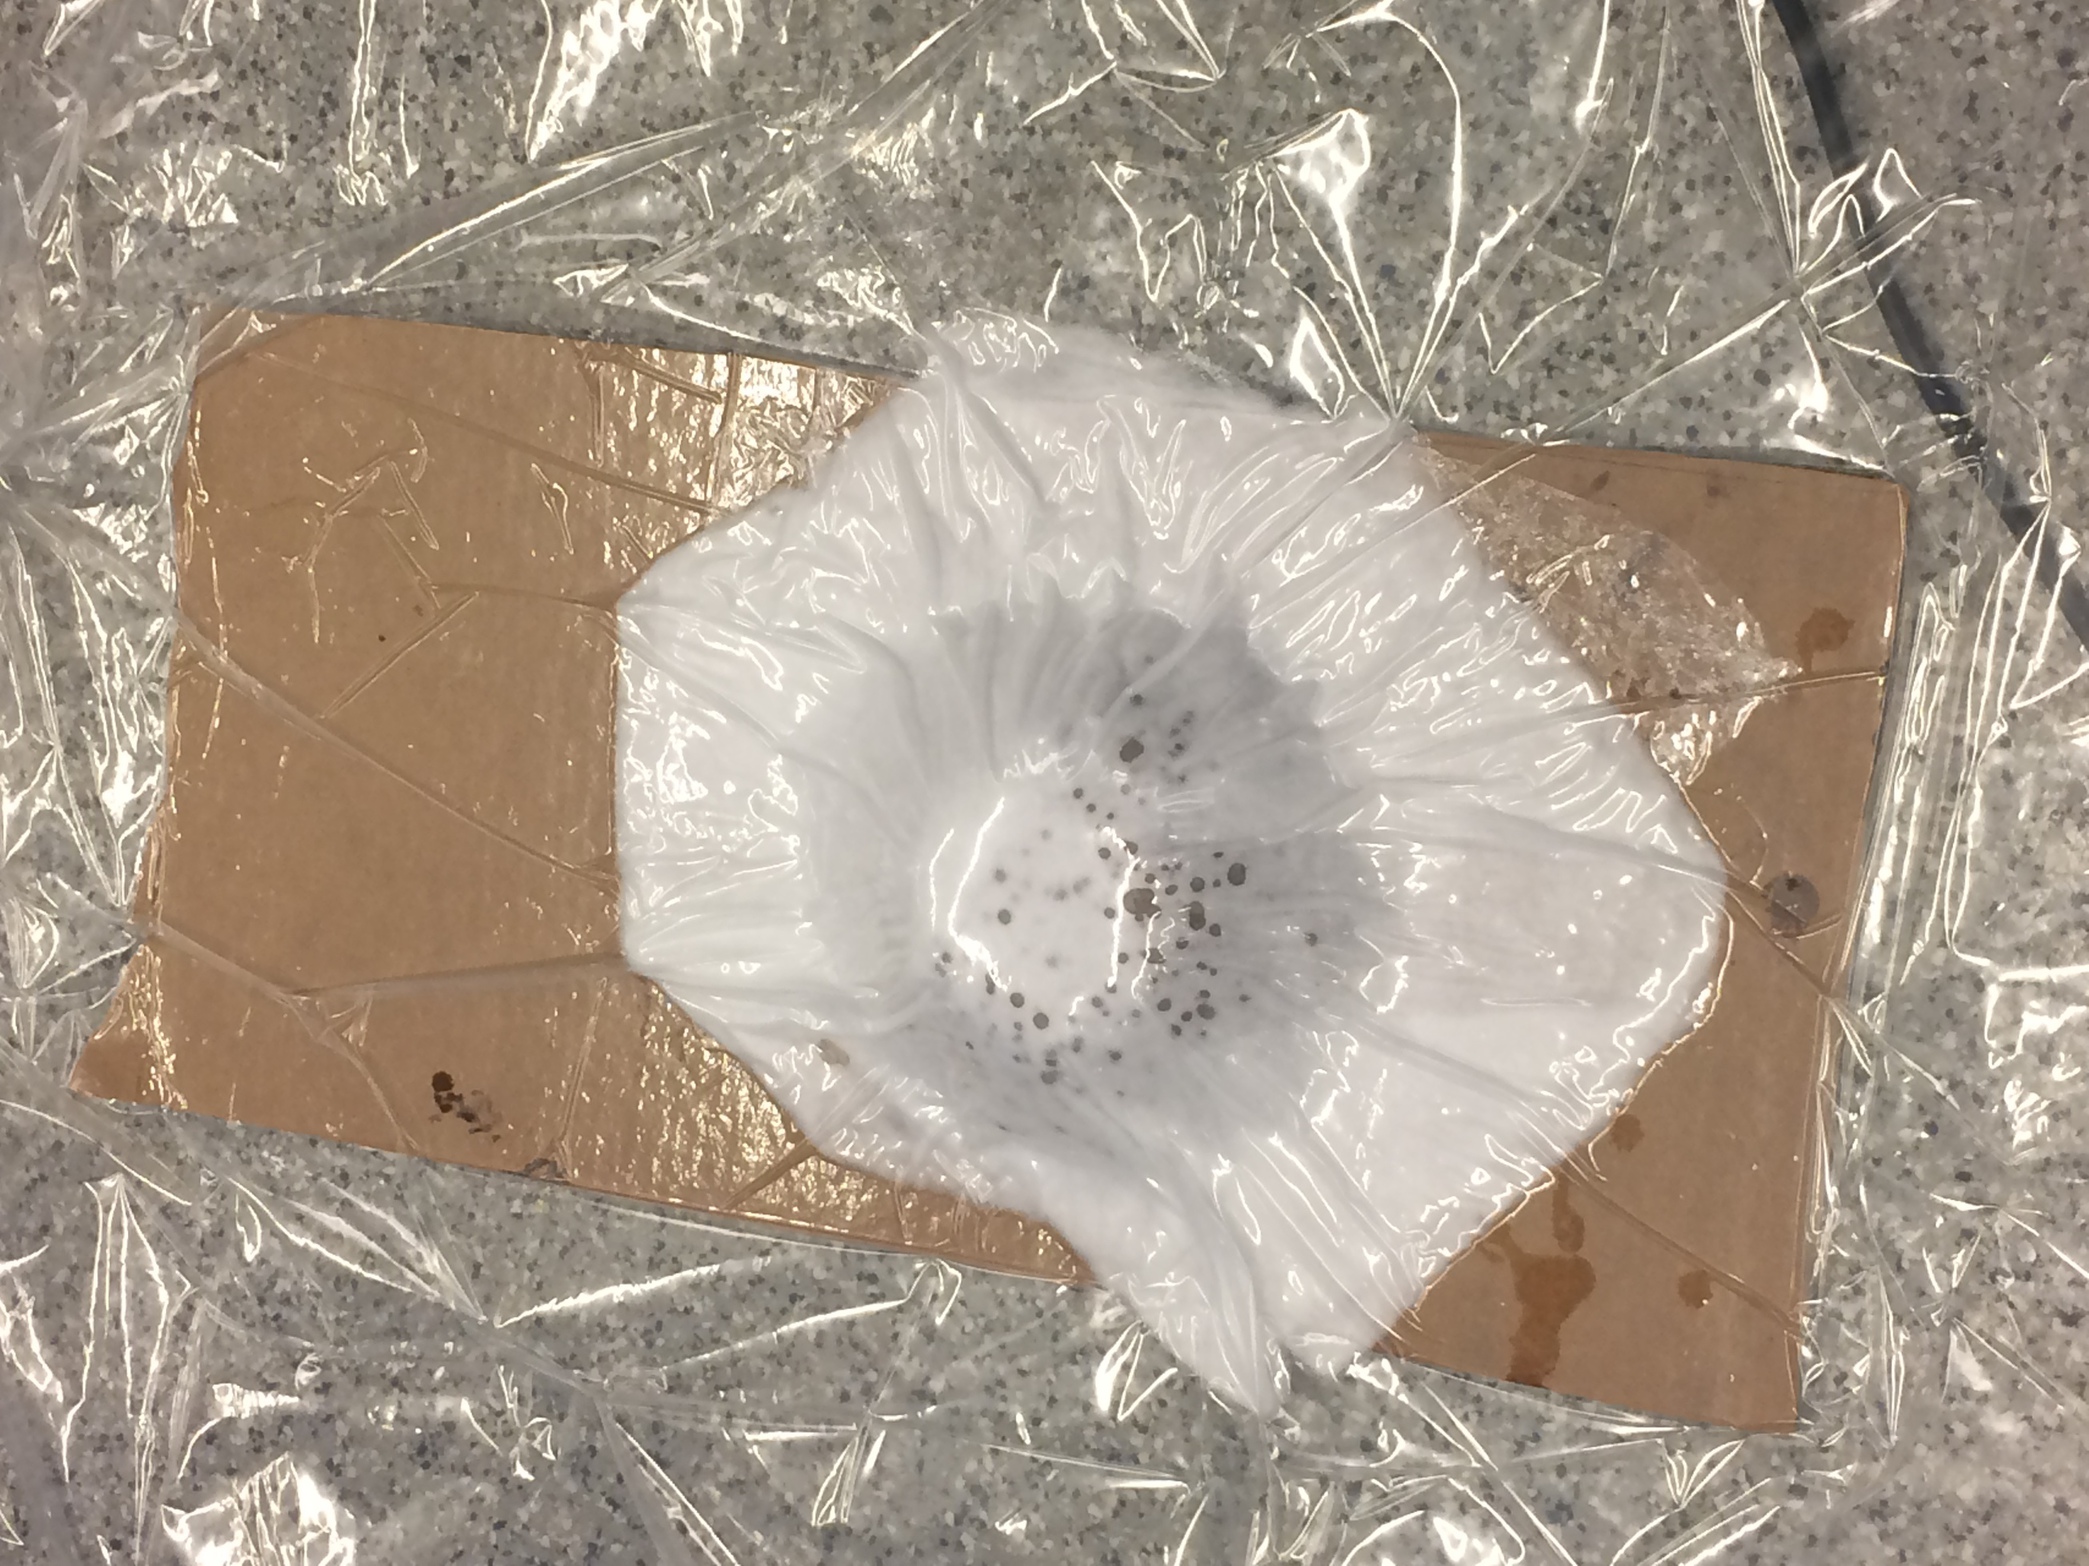
3. Pack It Up, Put It In A Bag
Now that your resin and fiber is in place, you need to prepare it to get dried out. Lay down another sheet of Saran wrap, with the inner layer coated in release agent, and use an implement that looks like a terrifying medieval torture device to poke holes in the sheet of Saran wrap. This is so that excess resin can escape through the holes. Next, lay down a layer of cotton matting, to absorb the excess resin. Finally, take the entire thing, and insert it into a vacuum bag, and use the vacuum to suck all the air out, closing the valve as you shut off the vacuum cleaner to keep air out. You should leave it to dry out in the bag for a while, preferably overnight. Tada! Now you have a composite.