Week Five: Electronics Design
Potentially useful note for future students in this class: this girl produced some really comprehensive documentation. Also, she has...almost the exact same tag line as me. Dang it.
This week, in anticipation of my final project, which involves lots of colored lights, I wanted to use an RGB LED instead of a regular LED. An RGB LED appears to consist of four LEDs in the same package. Unfortunately, I don't really know a lot about electronics. Things I learned this week include: the arrow in an LED points in the direction that current flows in the circuit (i.e. toward ground), every LED needs a current-reducing resistor in between it and power, and generally speaking, the marked side of an LED points downward. The RGB LED operates by pretty much the same principle, but the marking on the RGB LED marks the red LED and not the side that points towards ground. But beyond the electronics things, there was still much to learn, about Eagle and about fabrication.
Designing PCBs in EAGLE: Or, A Series of Unfortunate Glitches
To begin this project, you will need to go into EAGLE, start a new project, and first add a schematic. You cannot add a board first; you will end up with a problem in which half the parts are missing from the part list.
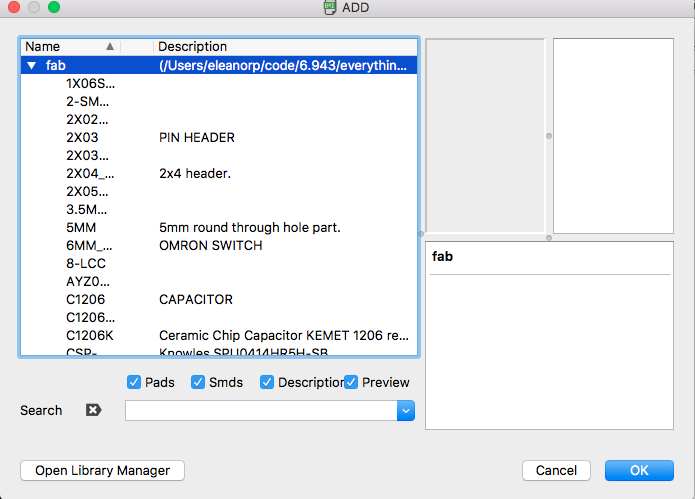
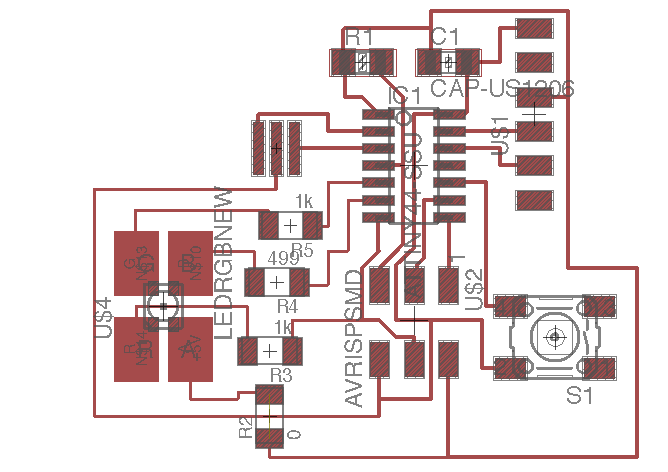
Then import the fab.lbr by way of Add > Library Manager. Place all your parts, then use the net command to connect everything up according to the hello world board image. You can actually make your board schematics look a good deal nicer by using stubs of nets instead of full nets. This works because any nets/wires that have the same name in EAGLE connect to each other on the schematic, even if they are not physically connected. The label tool might also be useful here, in keeping track of what you named one half of a wire before you name the other half.
Now we switch to board mode. Another entertaining mistake at this point was to use wire instead of route in order to place wires on the board. This resulted in me having quite a few yellow 'net' lines criss-crossing the board after I'd placed wires, which resulted in me trying to figure out how to get rid of them, and then being annoyed when it also deleted the wires that I had placed. route is the correct command here; think of route as deciding where to physically place the connections you've already decided are there. Finally, you export the board design as an image, making sure to check the Monochrome box, select Window instead of Full, and increase the DPI (I used 500 DPI for my export settings).
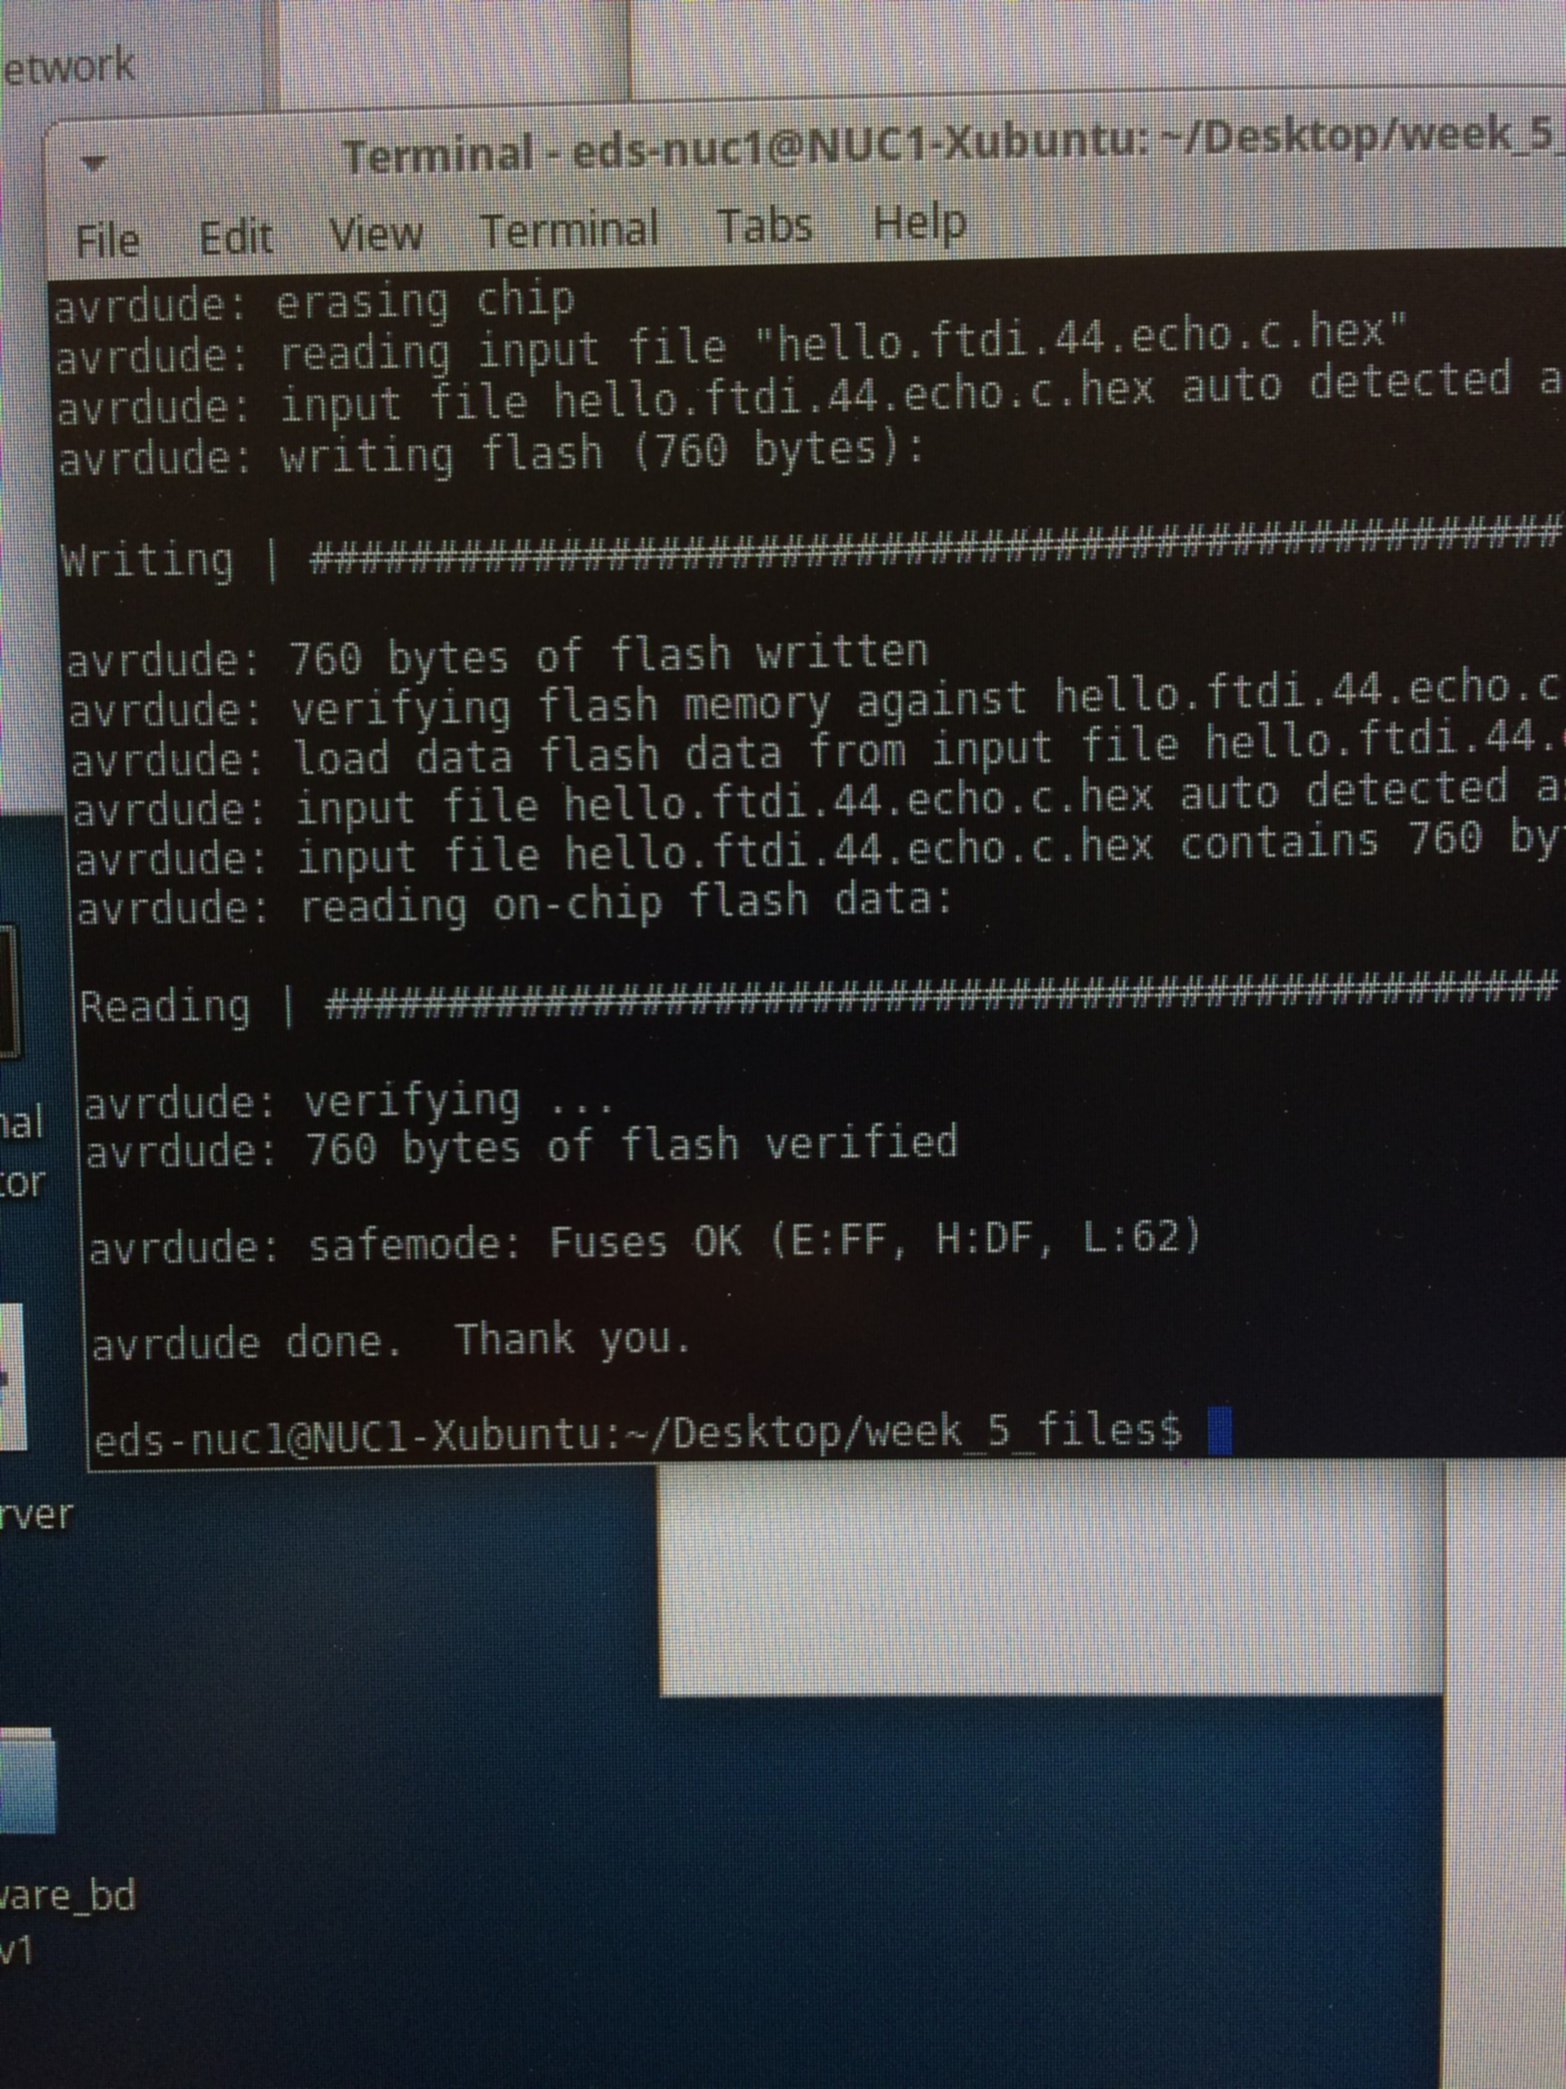
Fabricating and Testing The PCB: If You Thought That Was Involved, You Ain't Seen Nothing Yet
I next milled the PCB, stuffed it, and began to test it. Unfortunately, I then ran into the dreaded "Initialization failed" error.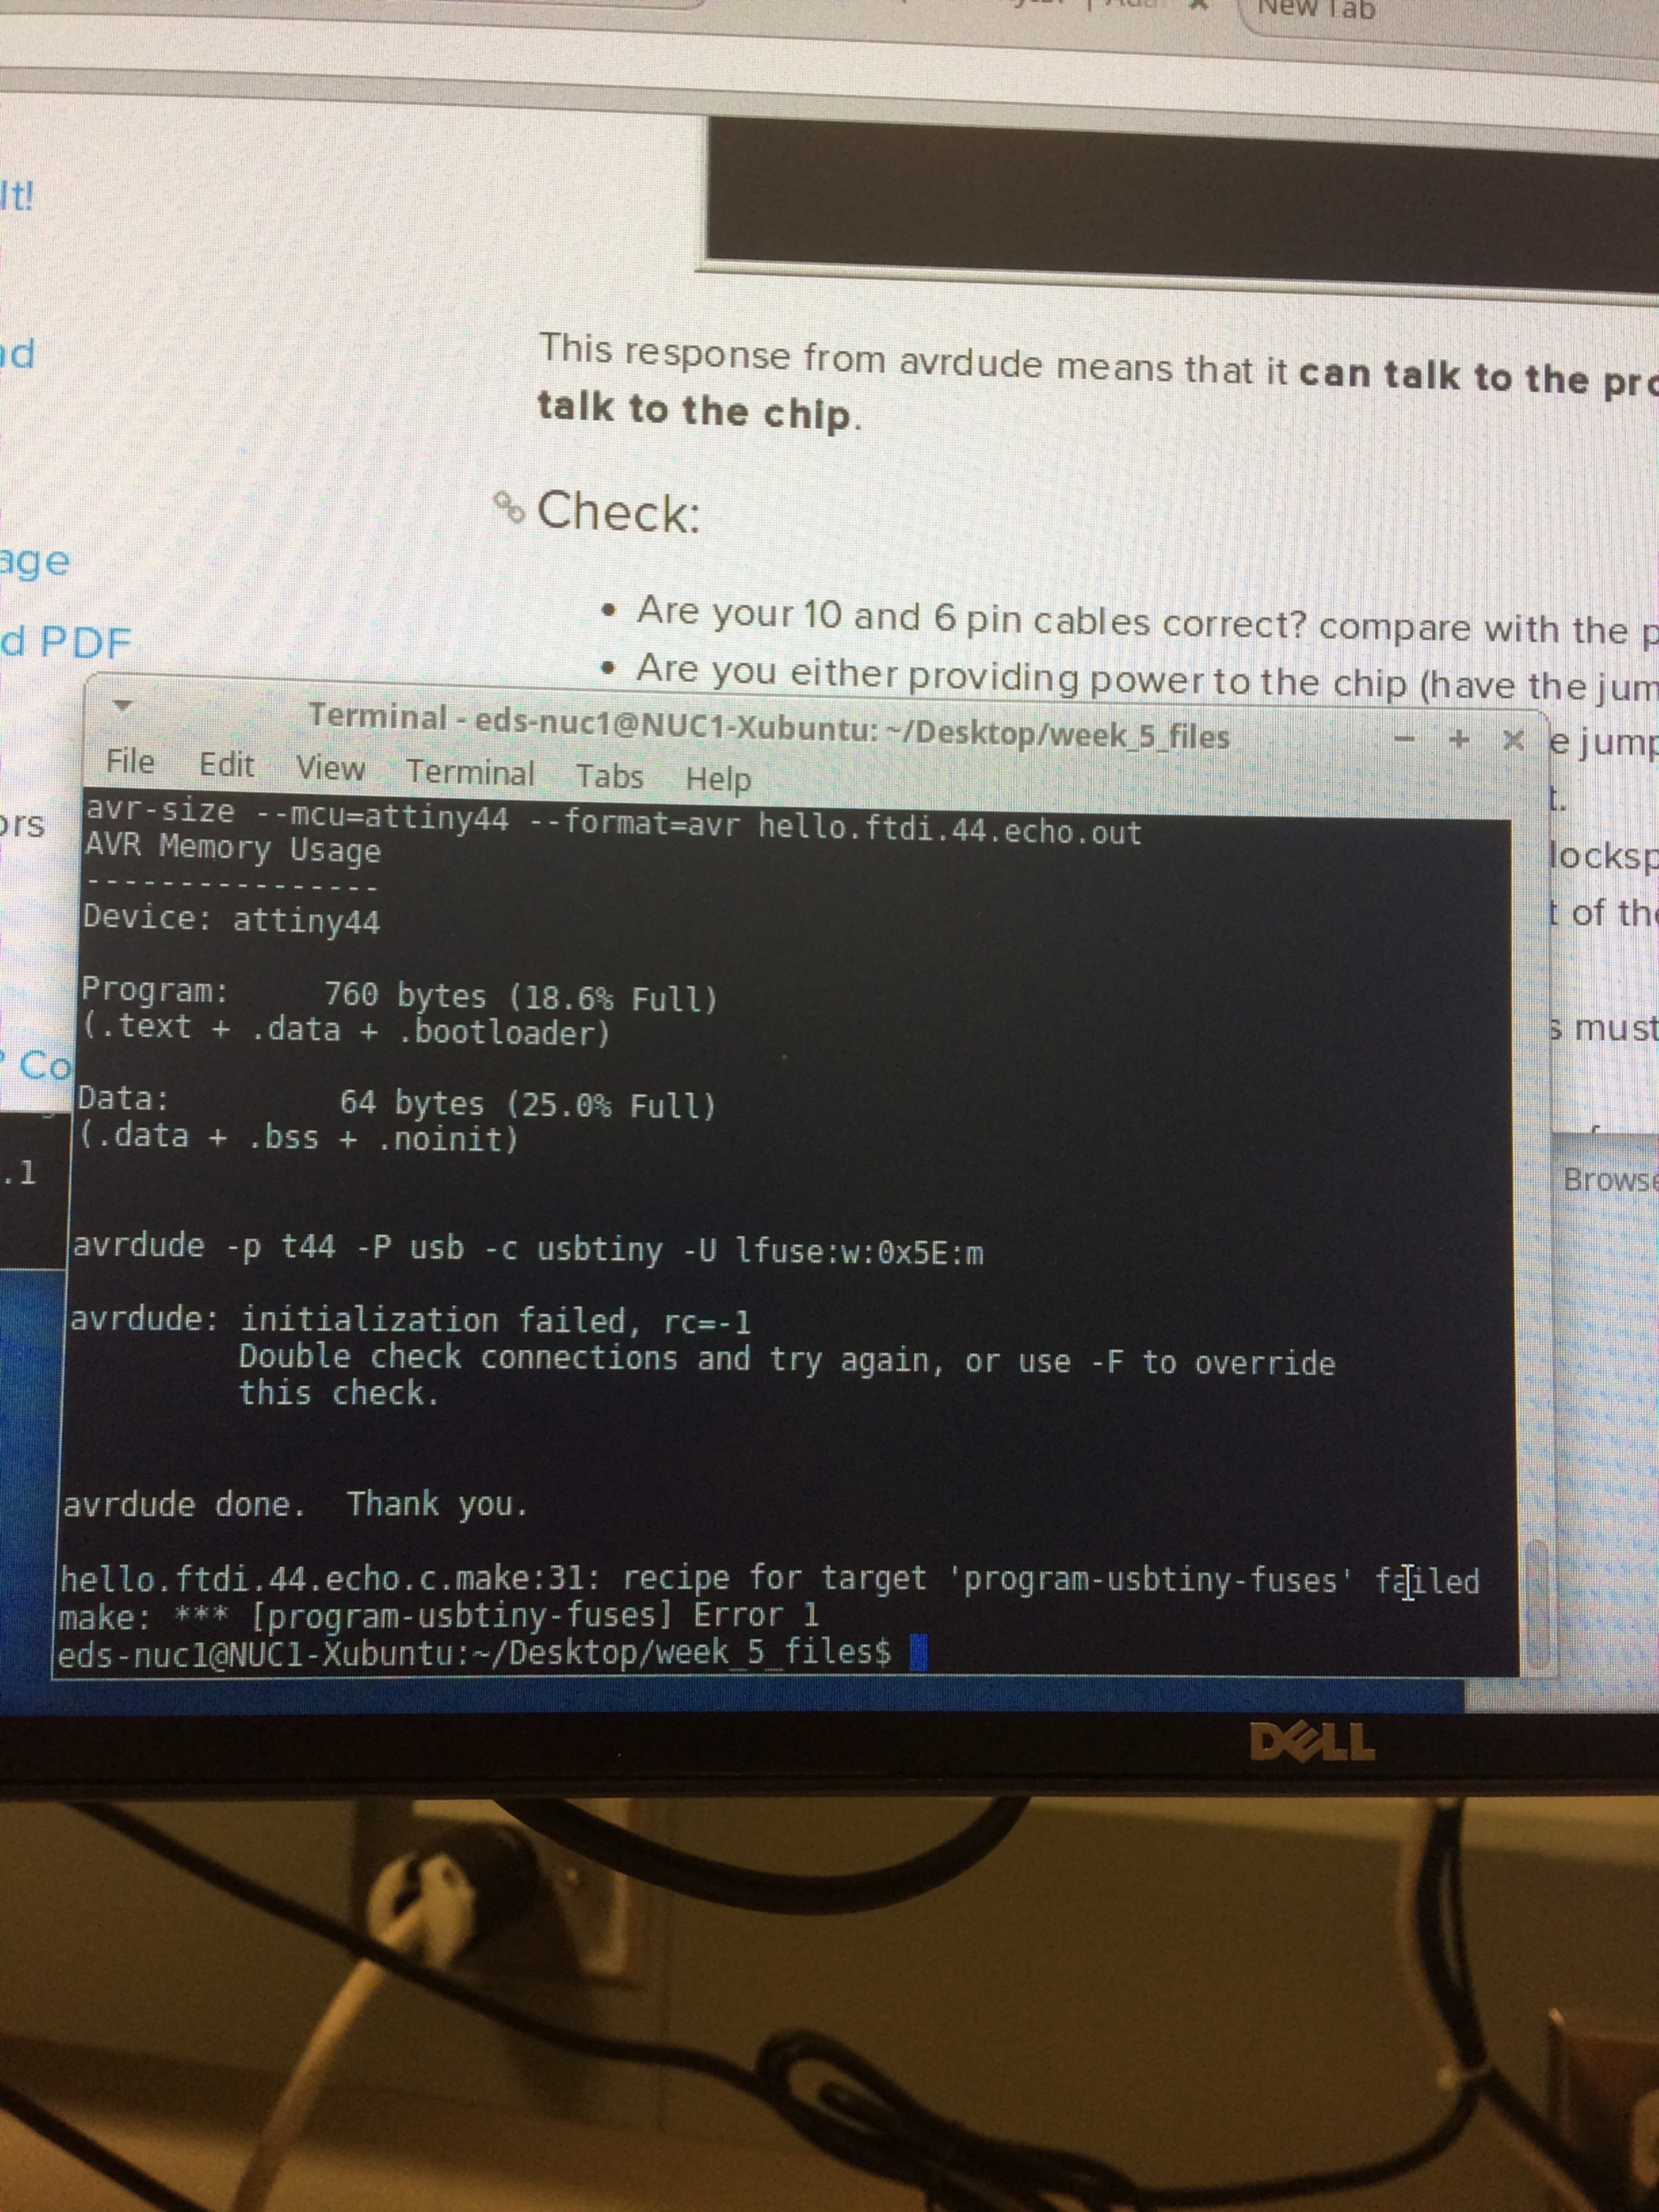
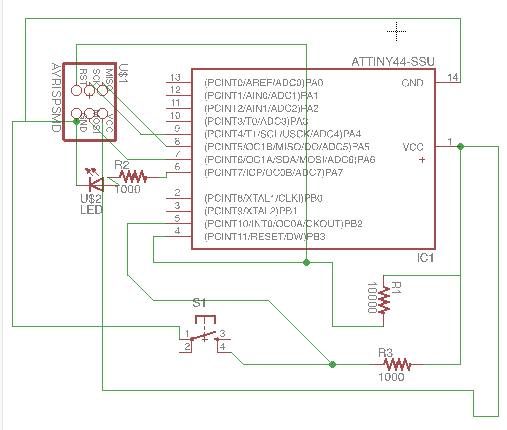
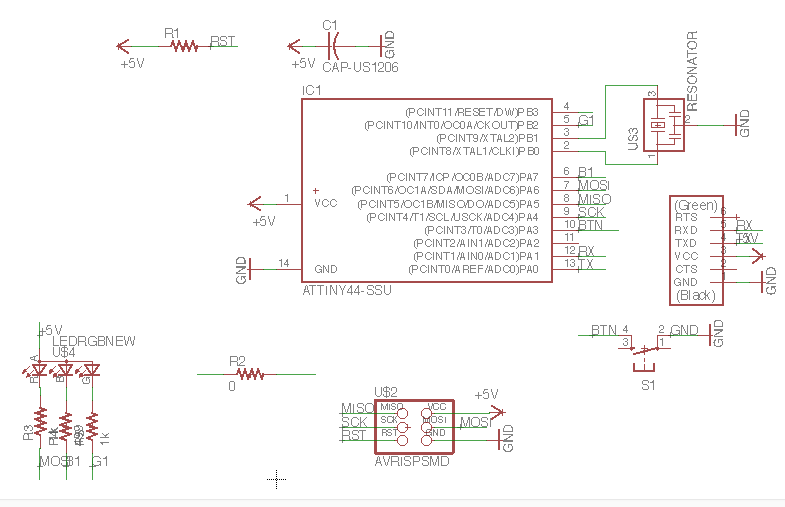
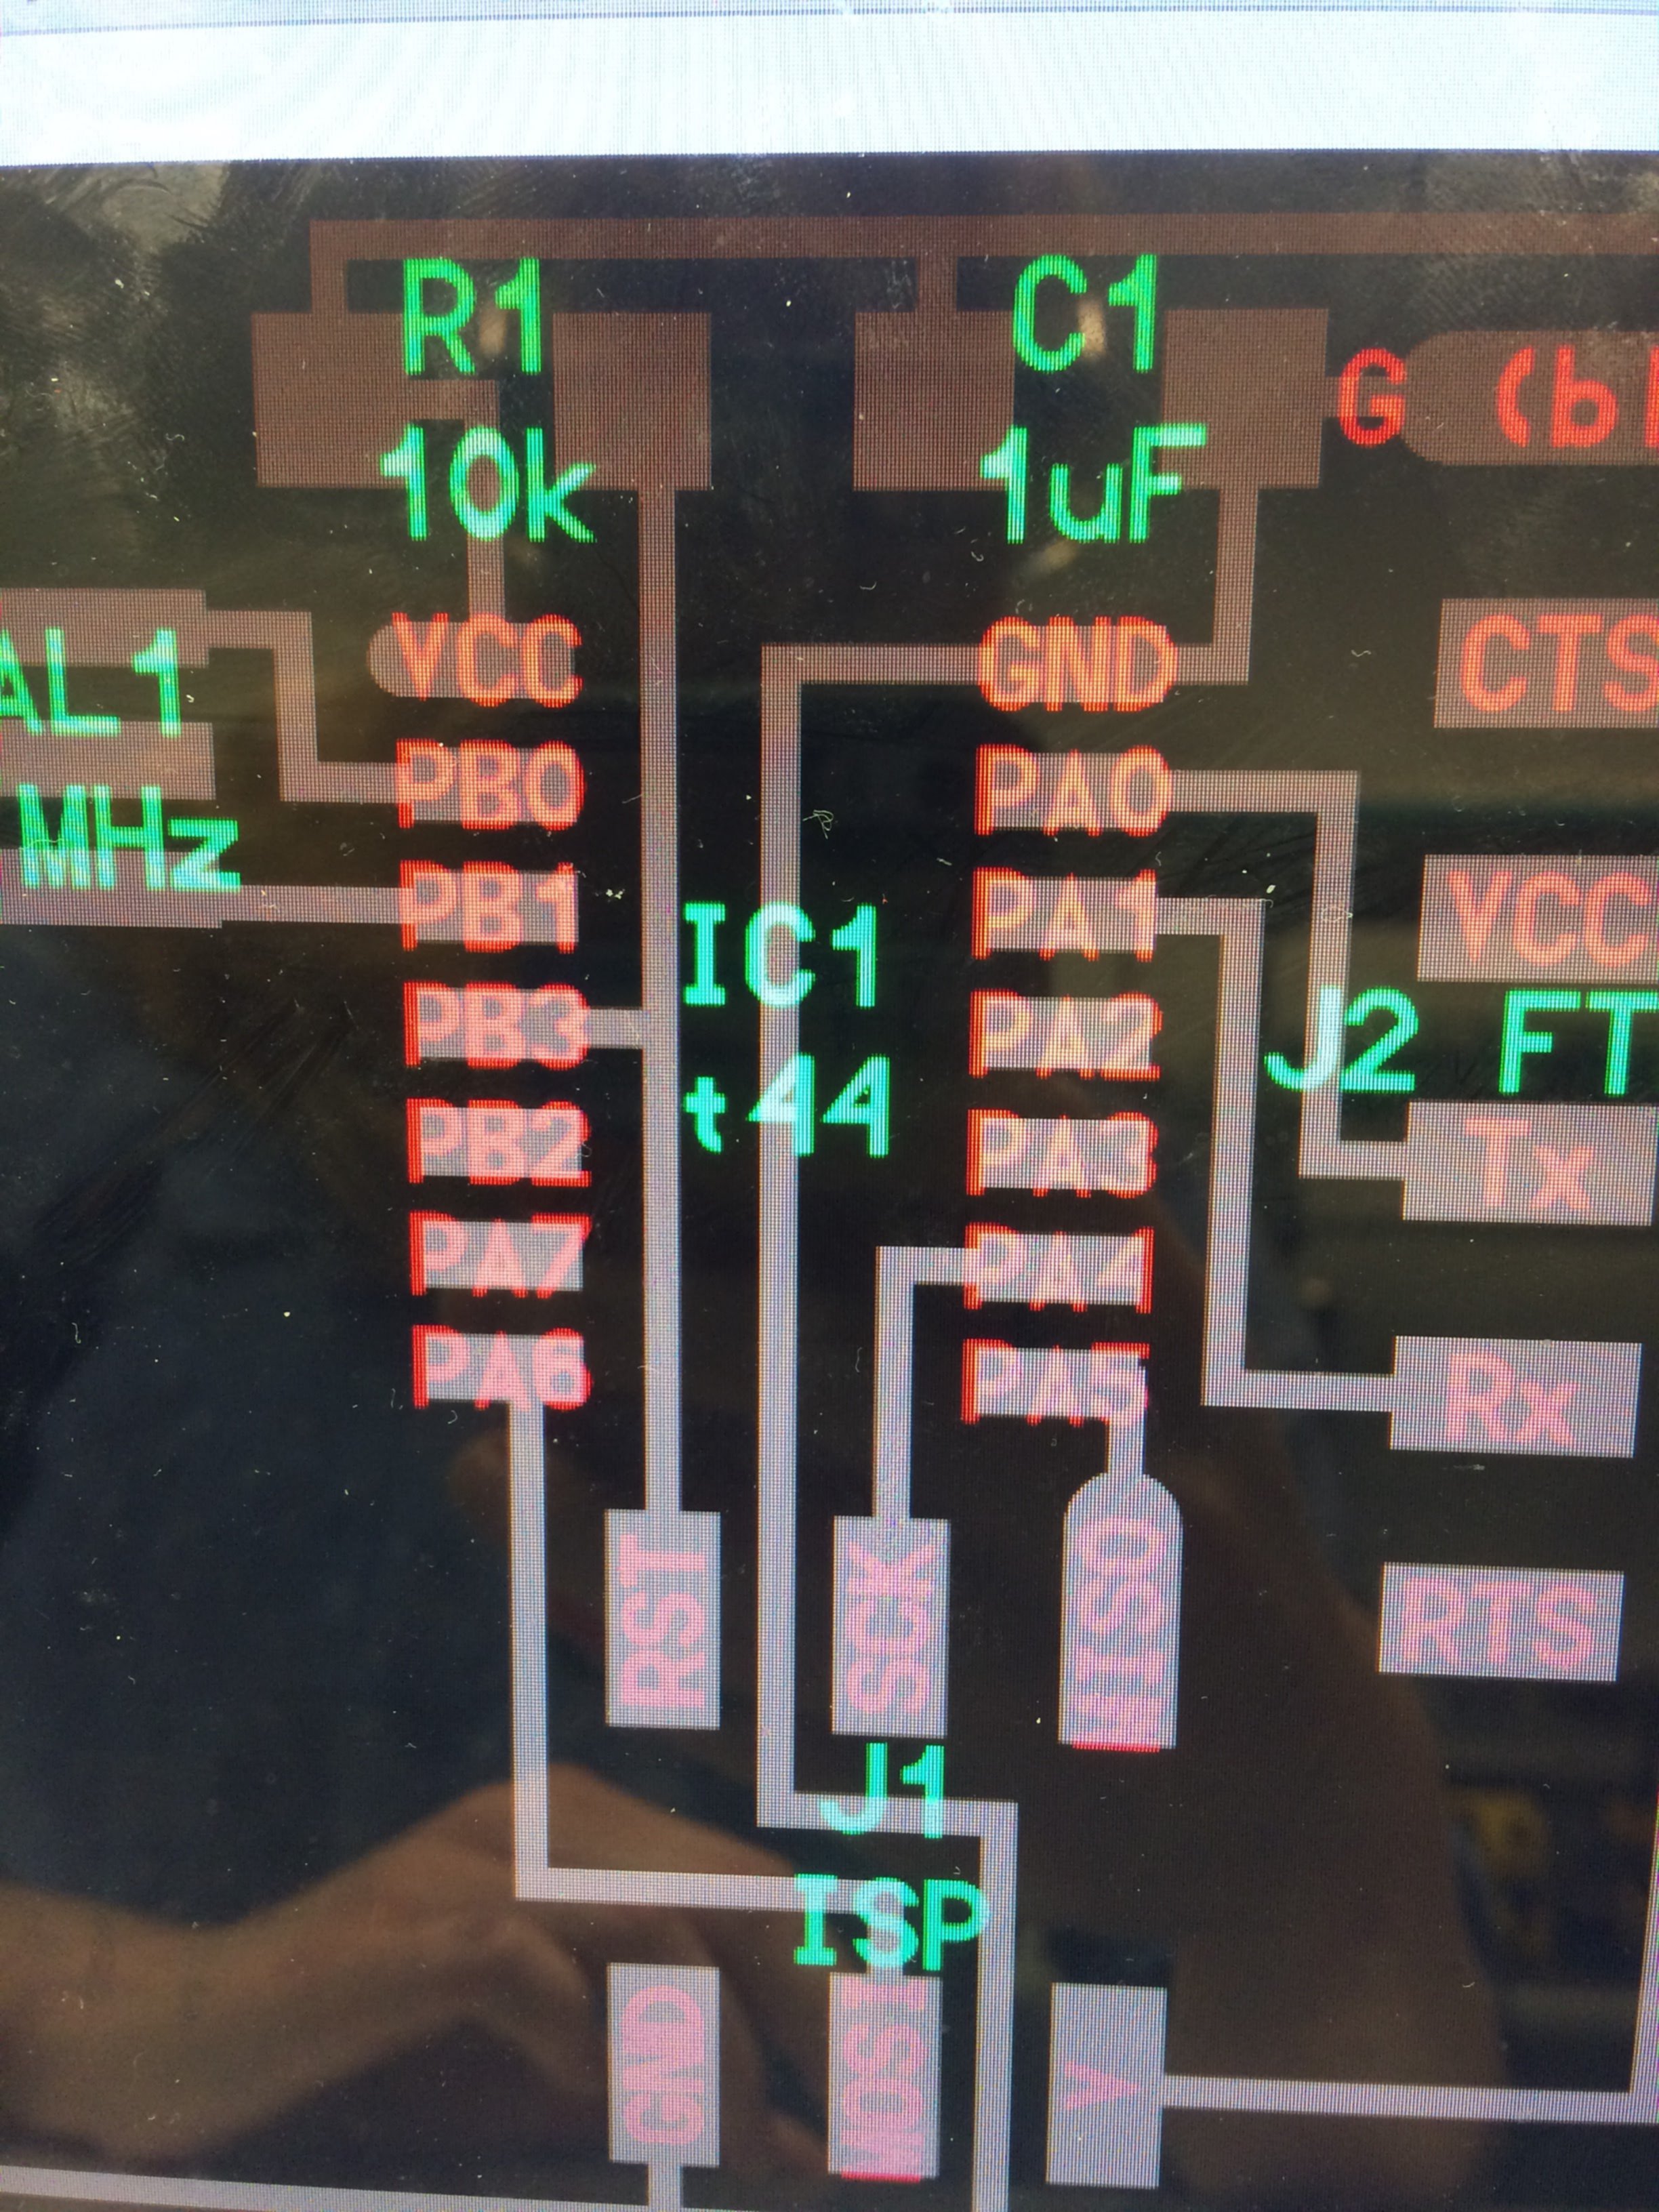
The problem with the "initialization failed" error is that it could mean practically any hardware thing could be wrong. I checked all my connections, checked all my soldering, and still couldn't find anything, so I recruited Gavin, the leader for the EECS shop section. Over the course of a couple hours, we rechecked everything, and replaced both the resonator and the microcontroller. (Did you know there's a desoldering tool that's a heated gripper that simultaneously melts the solder in parallel on each side of the part, and lets you lift the part at the same time? It is a beautiful invention, and I love it.) This, however, didn't help. The only problem we could detect was that the resonator didn't appear to be, well, resonating. So I decided to come in the next day and see if any of the other TAs had any ideas. Mike figured it out almost right away, after comparing my design to Prof. Gershenfield's Hello World board. The reset pin on the microprocessor was actually supposed to be attached to the resistor - as in, that's the entire purpose of the resistor - but mine was not attached, because I'd missed the tiny wire connecting them when I was copying over the parts of his design I was going to reuse.
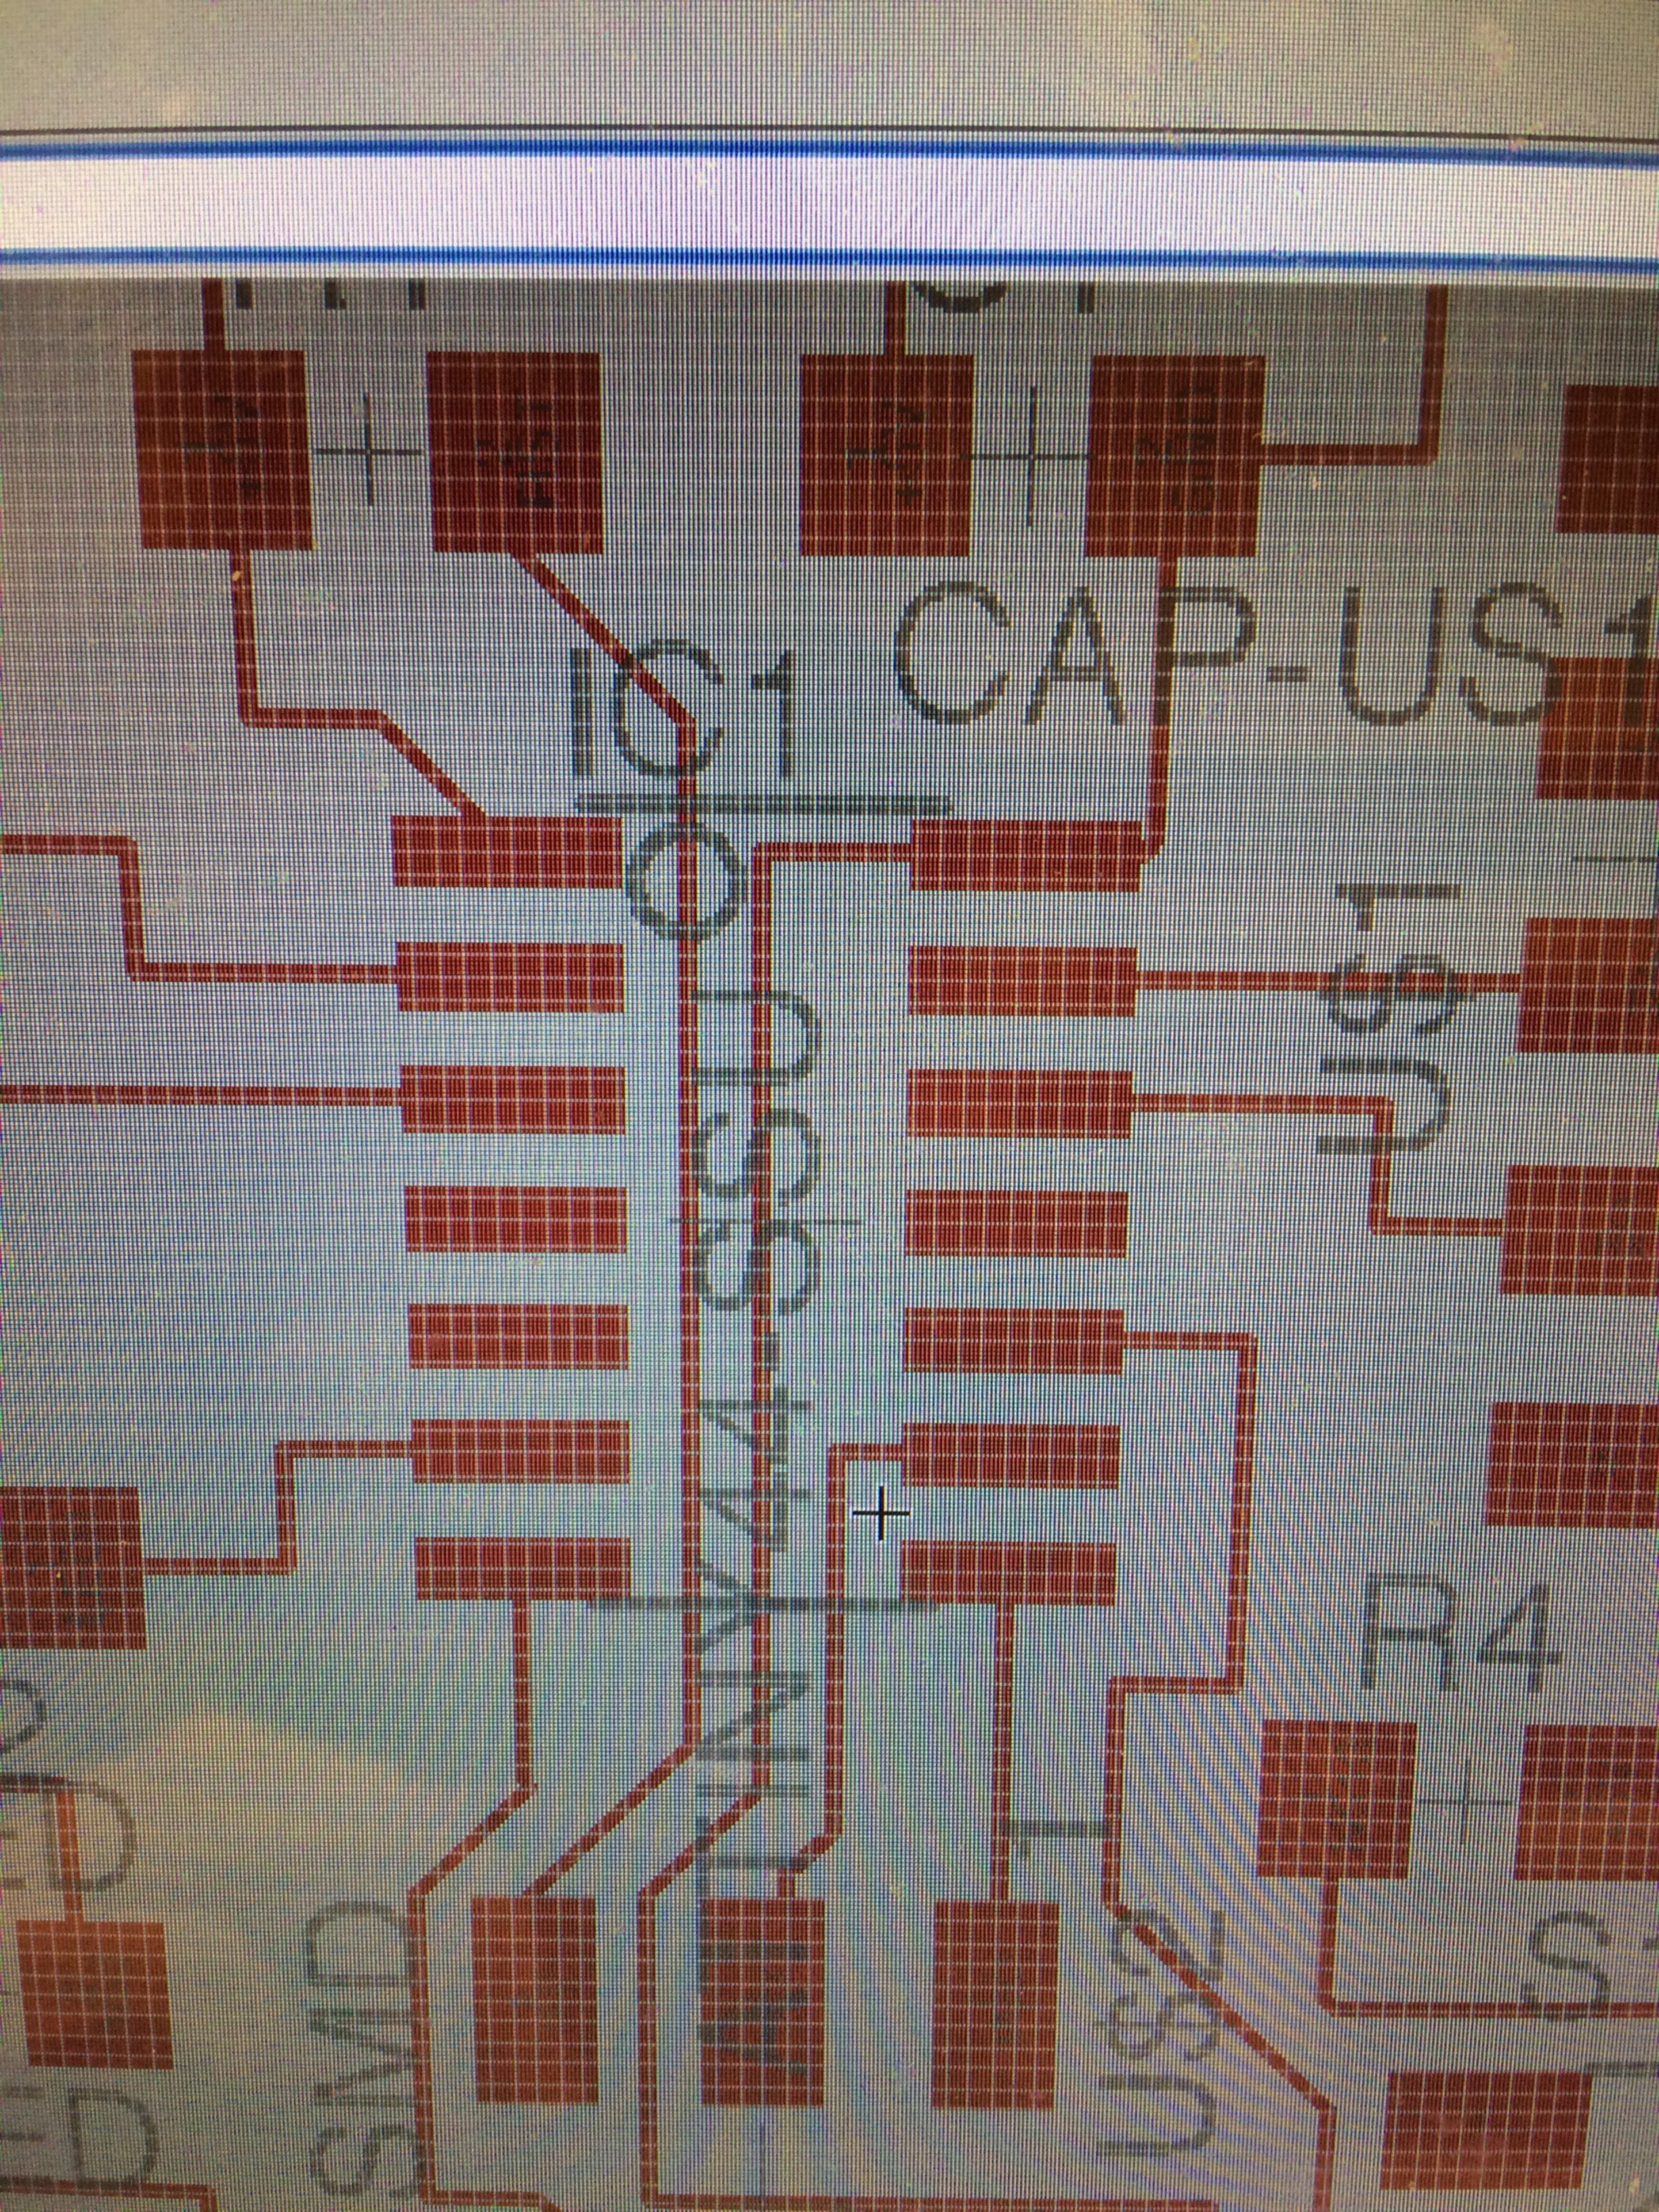
So I remilled the board - there were also a few other issues I wanted to correct, including getting rid of some unnecessary slots for resistors that I had added due to being confused about how the internal pull-down resistor of the board worked - restuffed it, and voila, it worked!
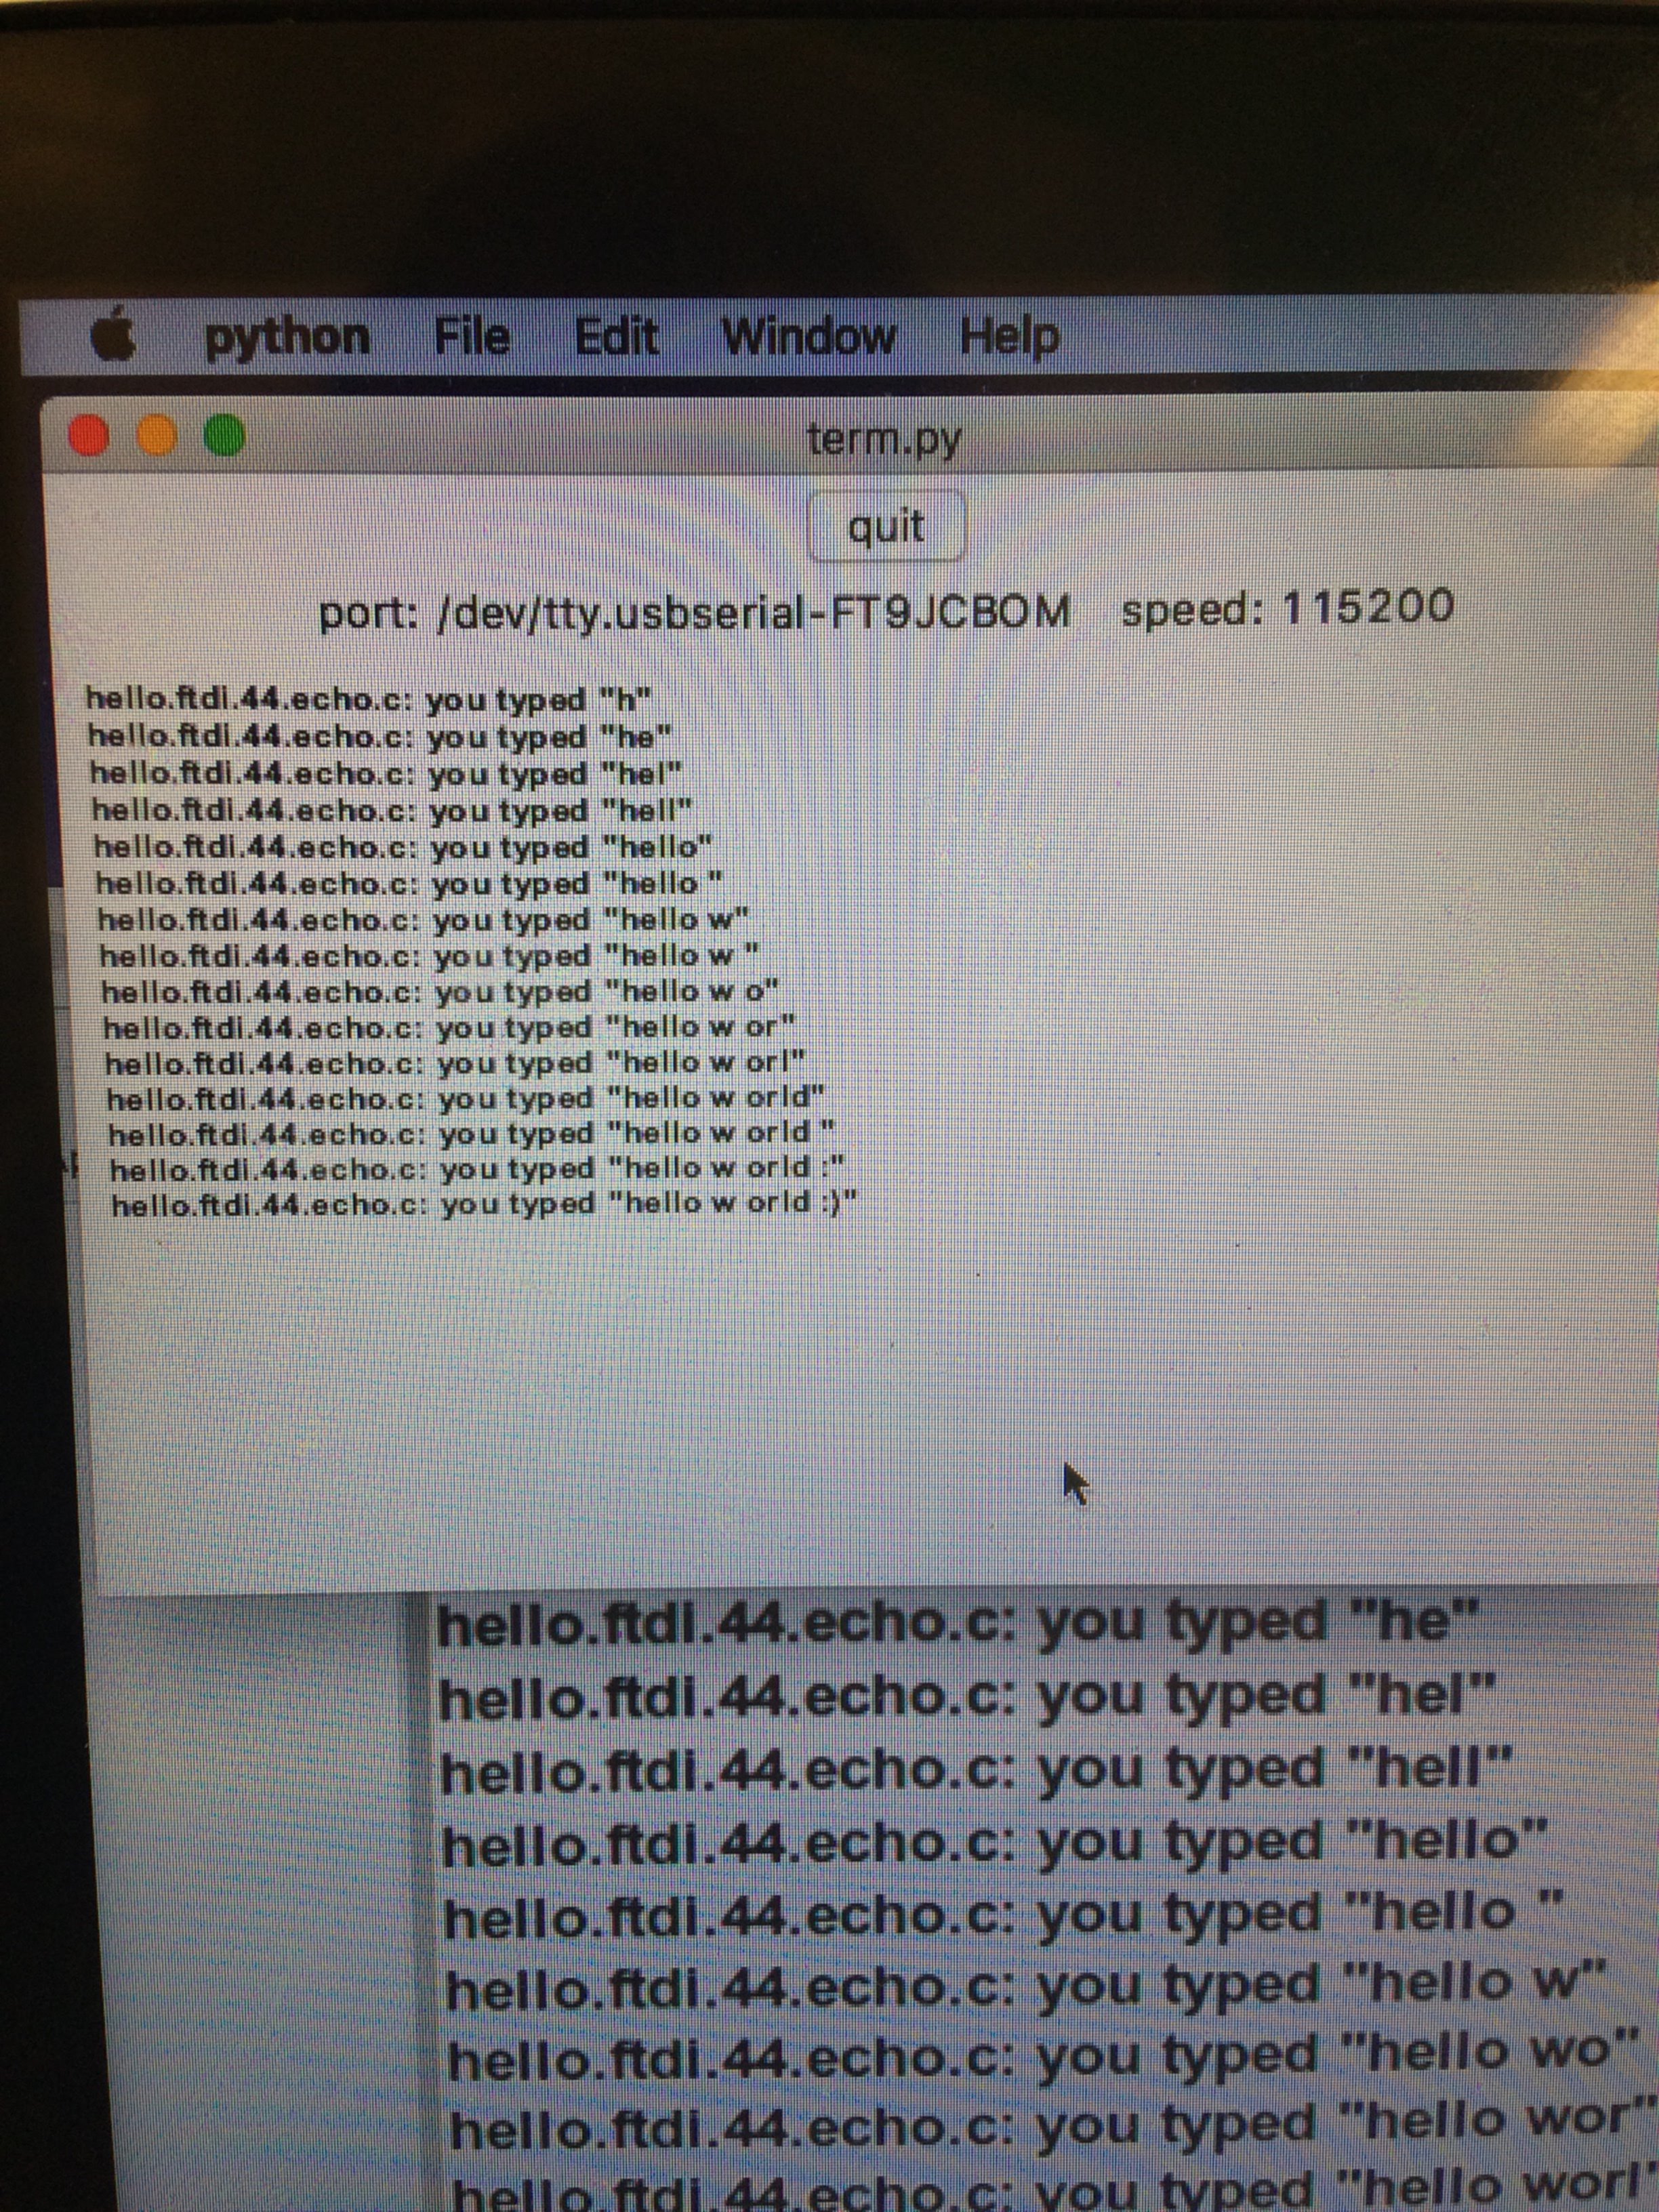
The test also worked surprisingly quickly, after all that. A few hints for this part: the term.py program is written for Python 2 - so you'll either have to change all the instances of print, with no parentheses, to instances of print(), with parentheses - and you'll have to install tkinter, probably via conda as tk, and the serial module via conda or pip. Additionally, if you're having difficulty getting Crosspack, the AVR toolchain for macOS, installed, it might be a problem with your PATH variable. For the uninitiated, the PATH variable tells the computer where to find program files. Mind you, you can run programs without putting them in the PATH variable, by telling the computer the full path for the location of the binary for the program, but if you want to just type the name of the program and run it, then you'll need to point the path variable at the right directory. All of the binaries for your default CrossPack version are stored in /usr/local/CrossPack-AVR/bin by default, but for some reason the CrossPack installer didn't add that path to PATH, so when I tried to run avrdude through make, it couldn't find avrdude. I added the line export PATH="/usr/local/CrossPack-AVR/bin/:$PATH" to my bash profile (~/.bash_profile is the default on macOS, I believe). If you continue to have issues, you can probably also install all the individual components of CrossPack with Homebrew, which is a lovely third-party package manager for macOS.