Danielle Aspitz
MAS.863 | How to Make (Almost) Anything
Molding and Casting
Three step Process to cast a Petri Dish
_1. Model and Obtain Toolpaths
2. CNC Cut
3. Silicone Mold
4. Plaster Cast
_
1. Model and Obtain Toolpaths
The goal this week was to create a solid to negative to solid mold.
It was a bit tricky to wrap my head around the solid to negative to solid workflow, and I began with a more complex figurine but ultimately switched to this petri dish interpretation as it is more in line with my final project goals.
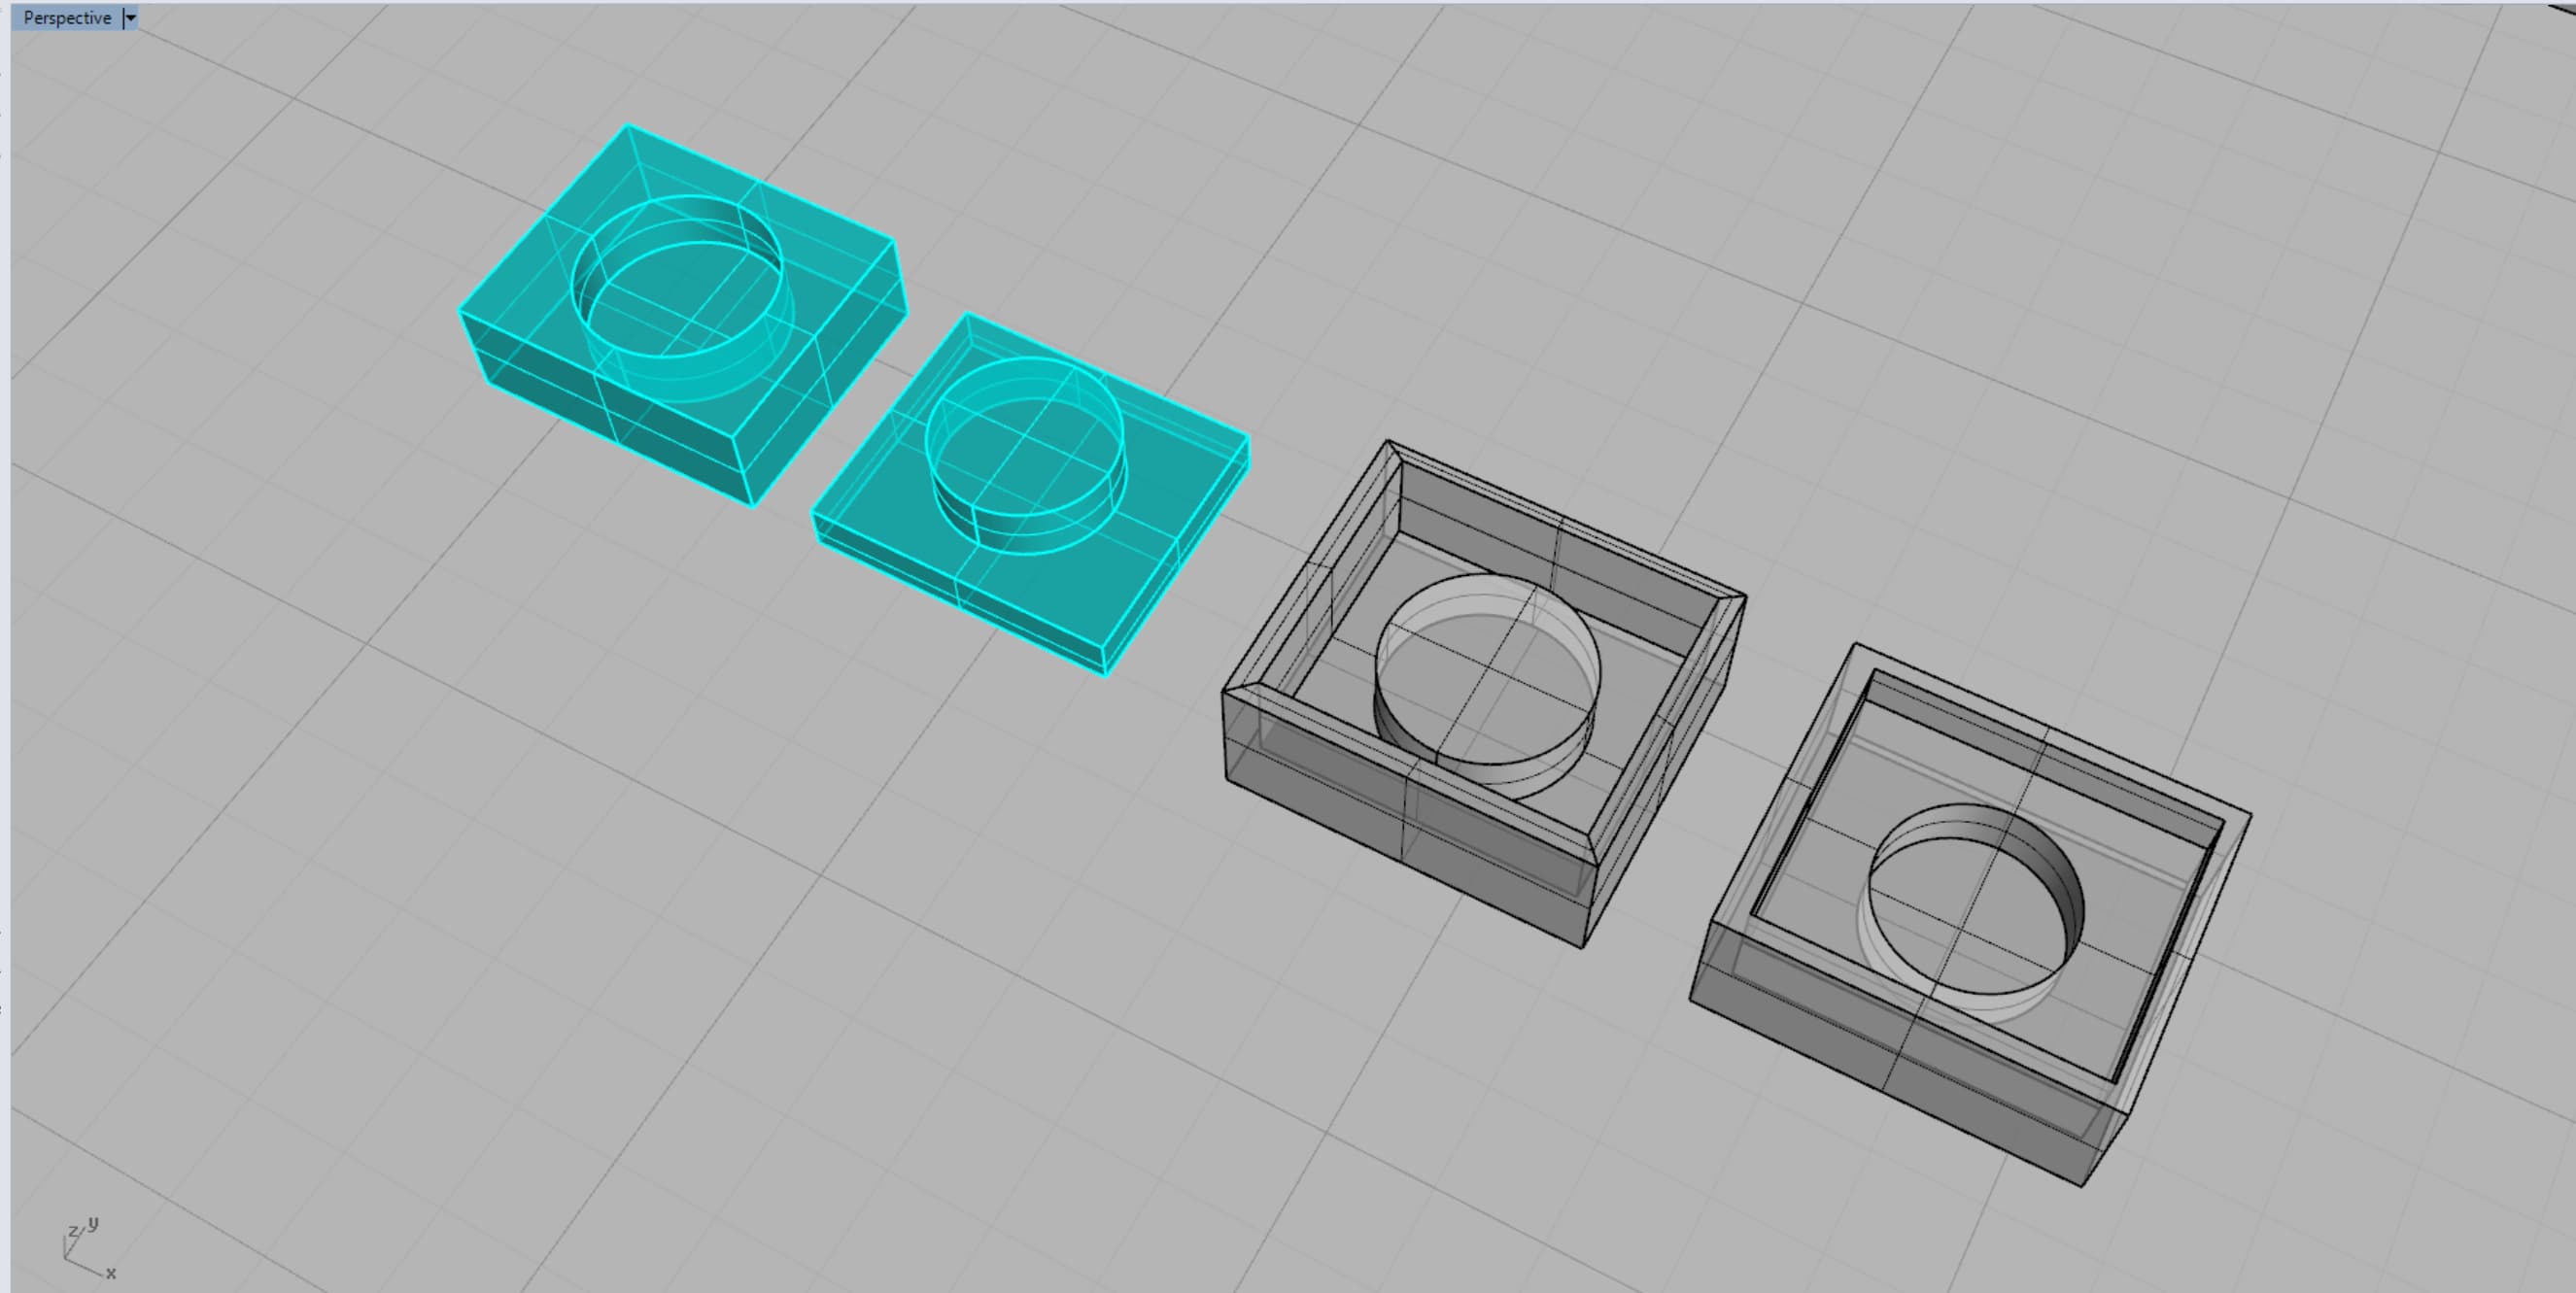
Figure 1. Model Workflow
I ultimately modelled out my solid and boolean differenced it (flipping the model so the solid part is on top) from the wax block.
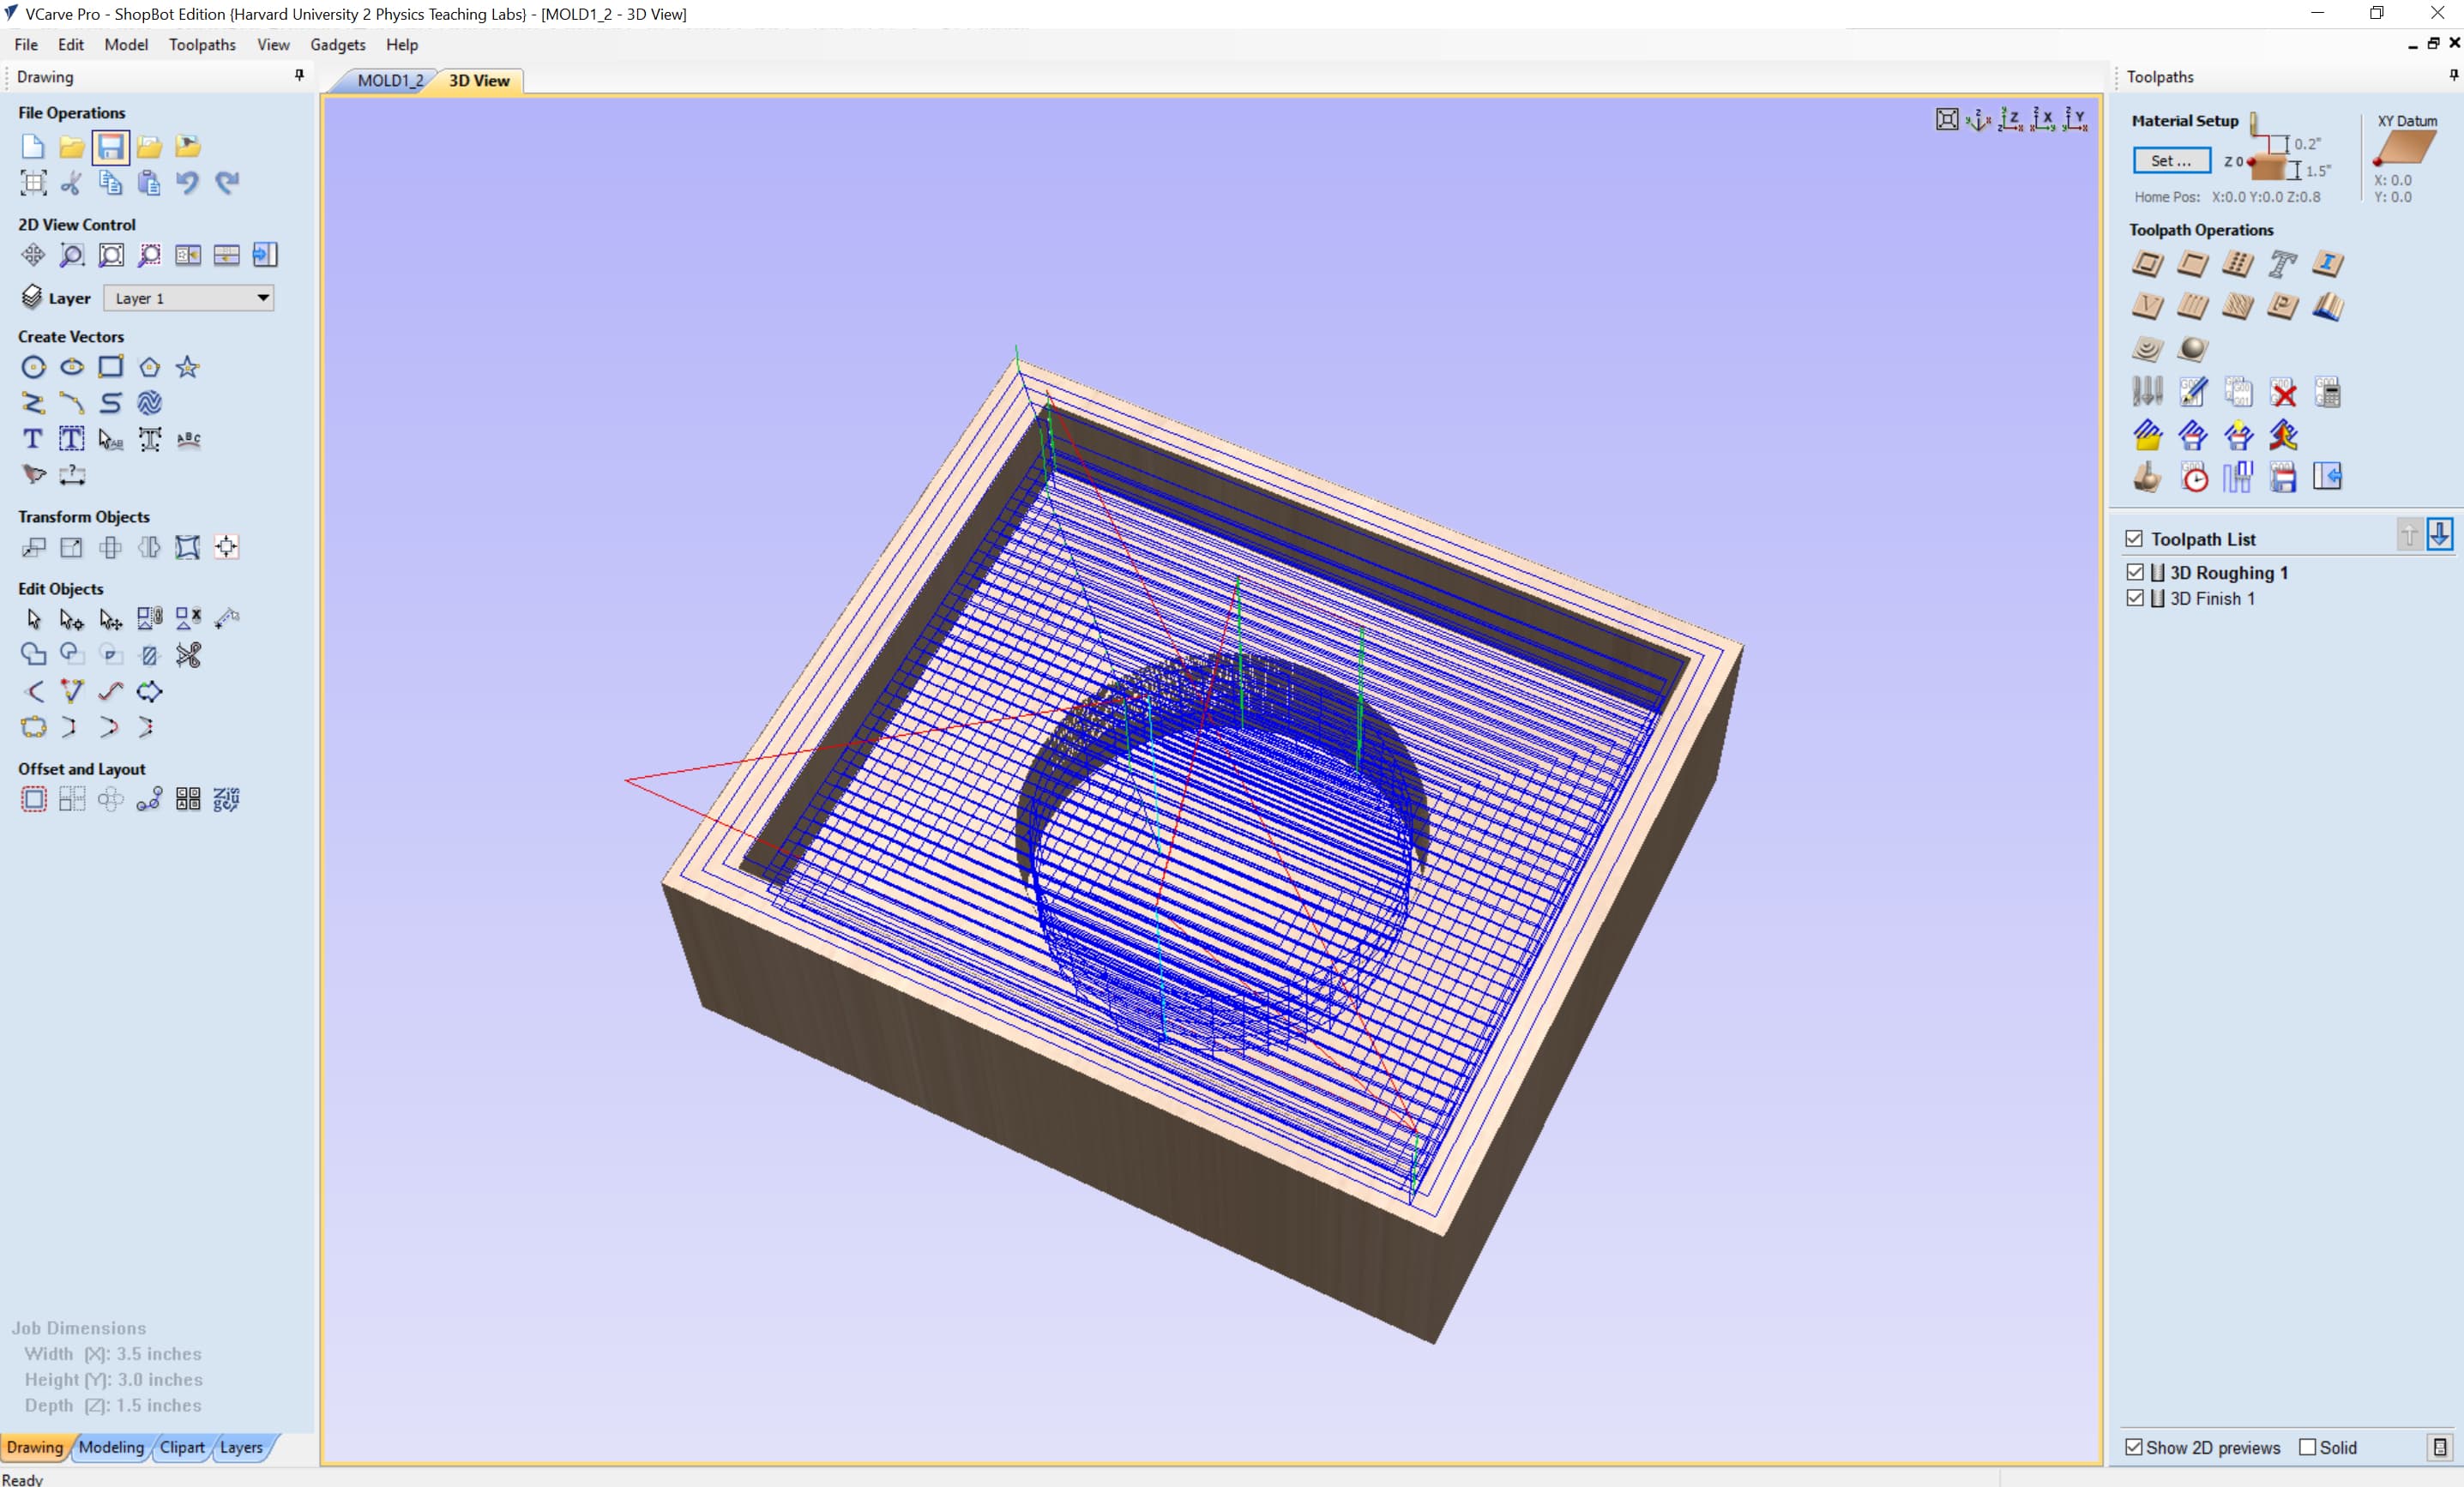
Figure 2. First Part of the mold in VCarve Pro
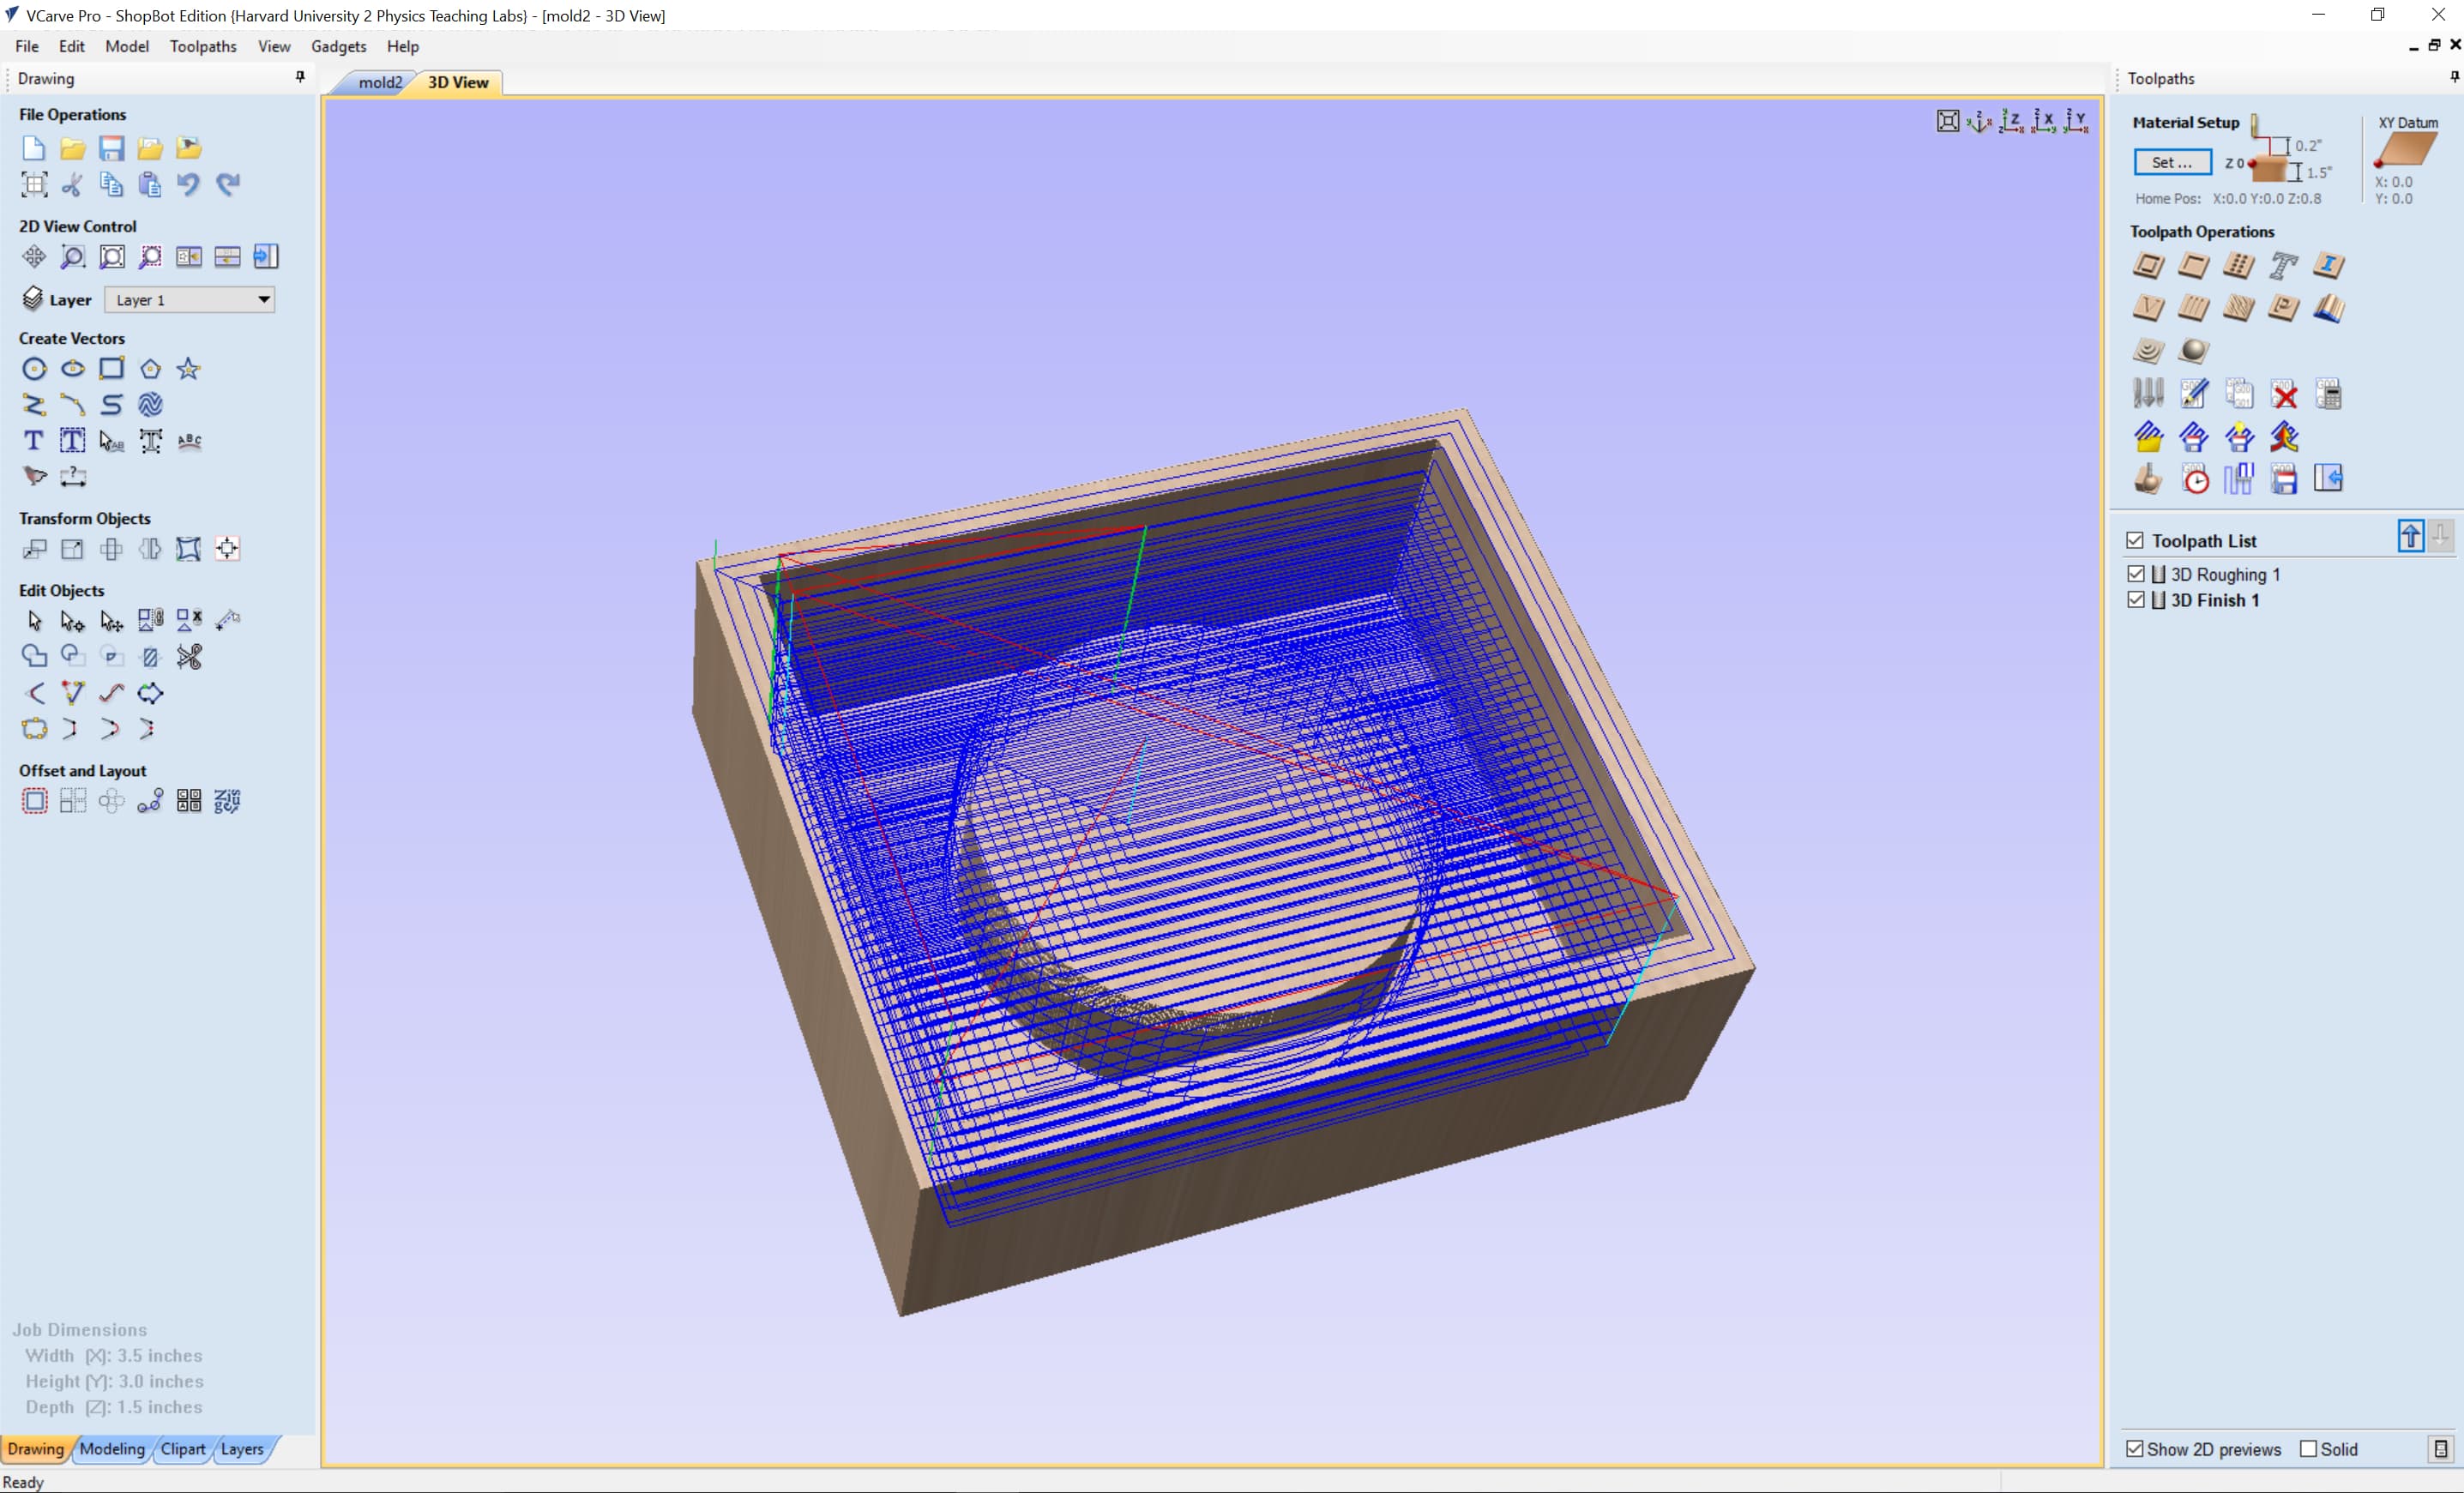
Figure 3. Second Part of the mold in VCarve Pro
2. CNC Cut
I had never worked with this wax material before, but it was really nice to cut, and you could simply hot glue it to the sacrificial layer to secure it.
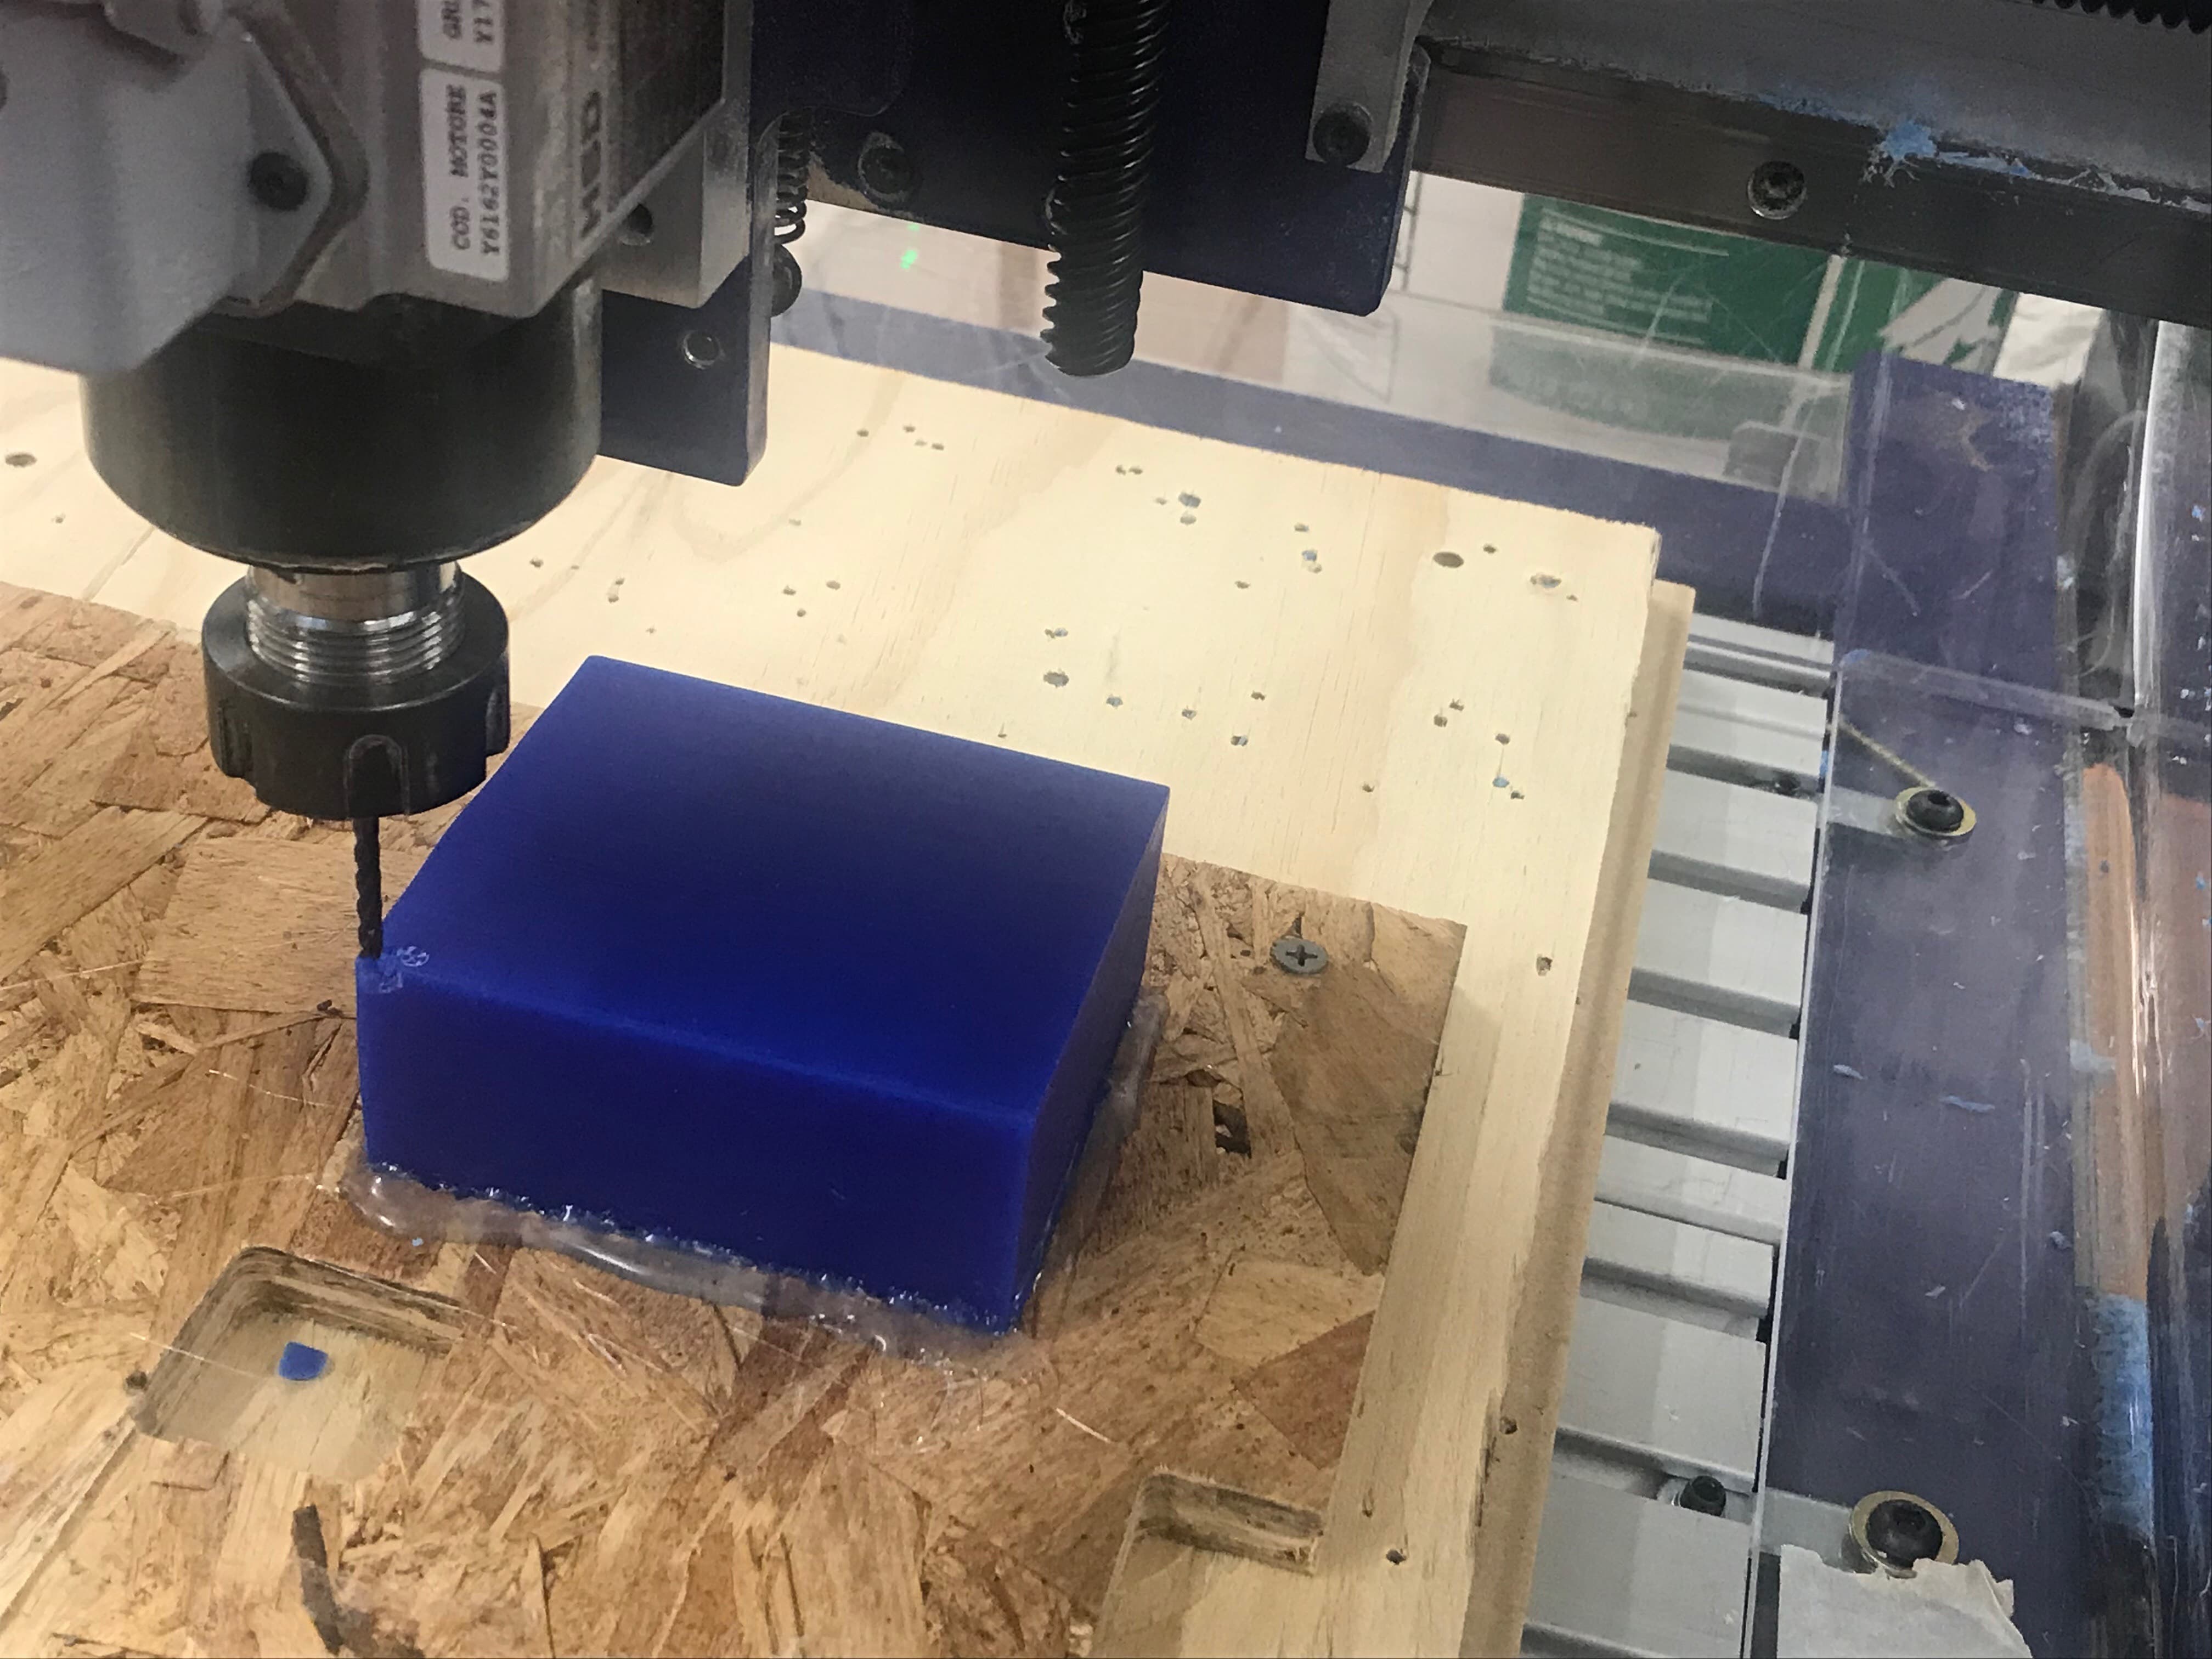
Figure 4. Homing the axes
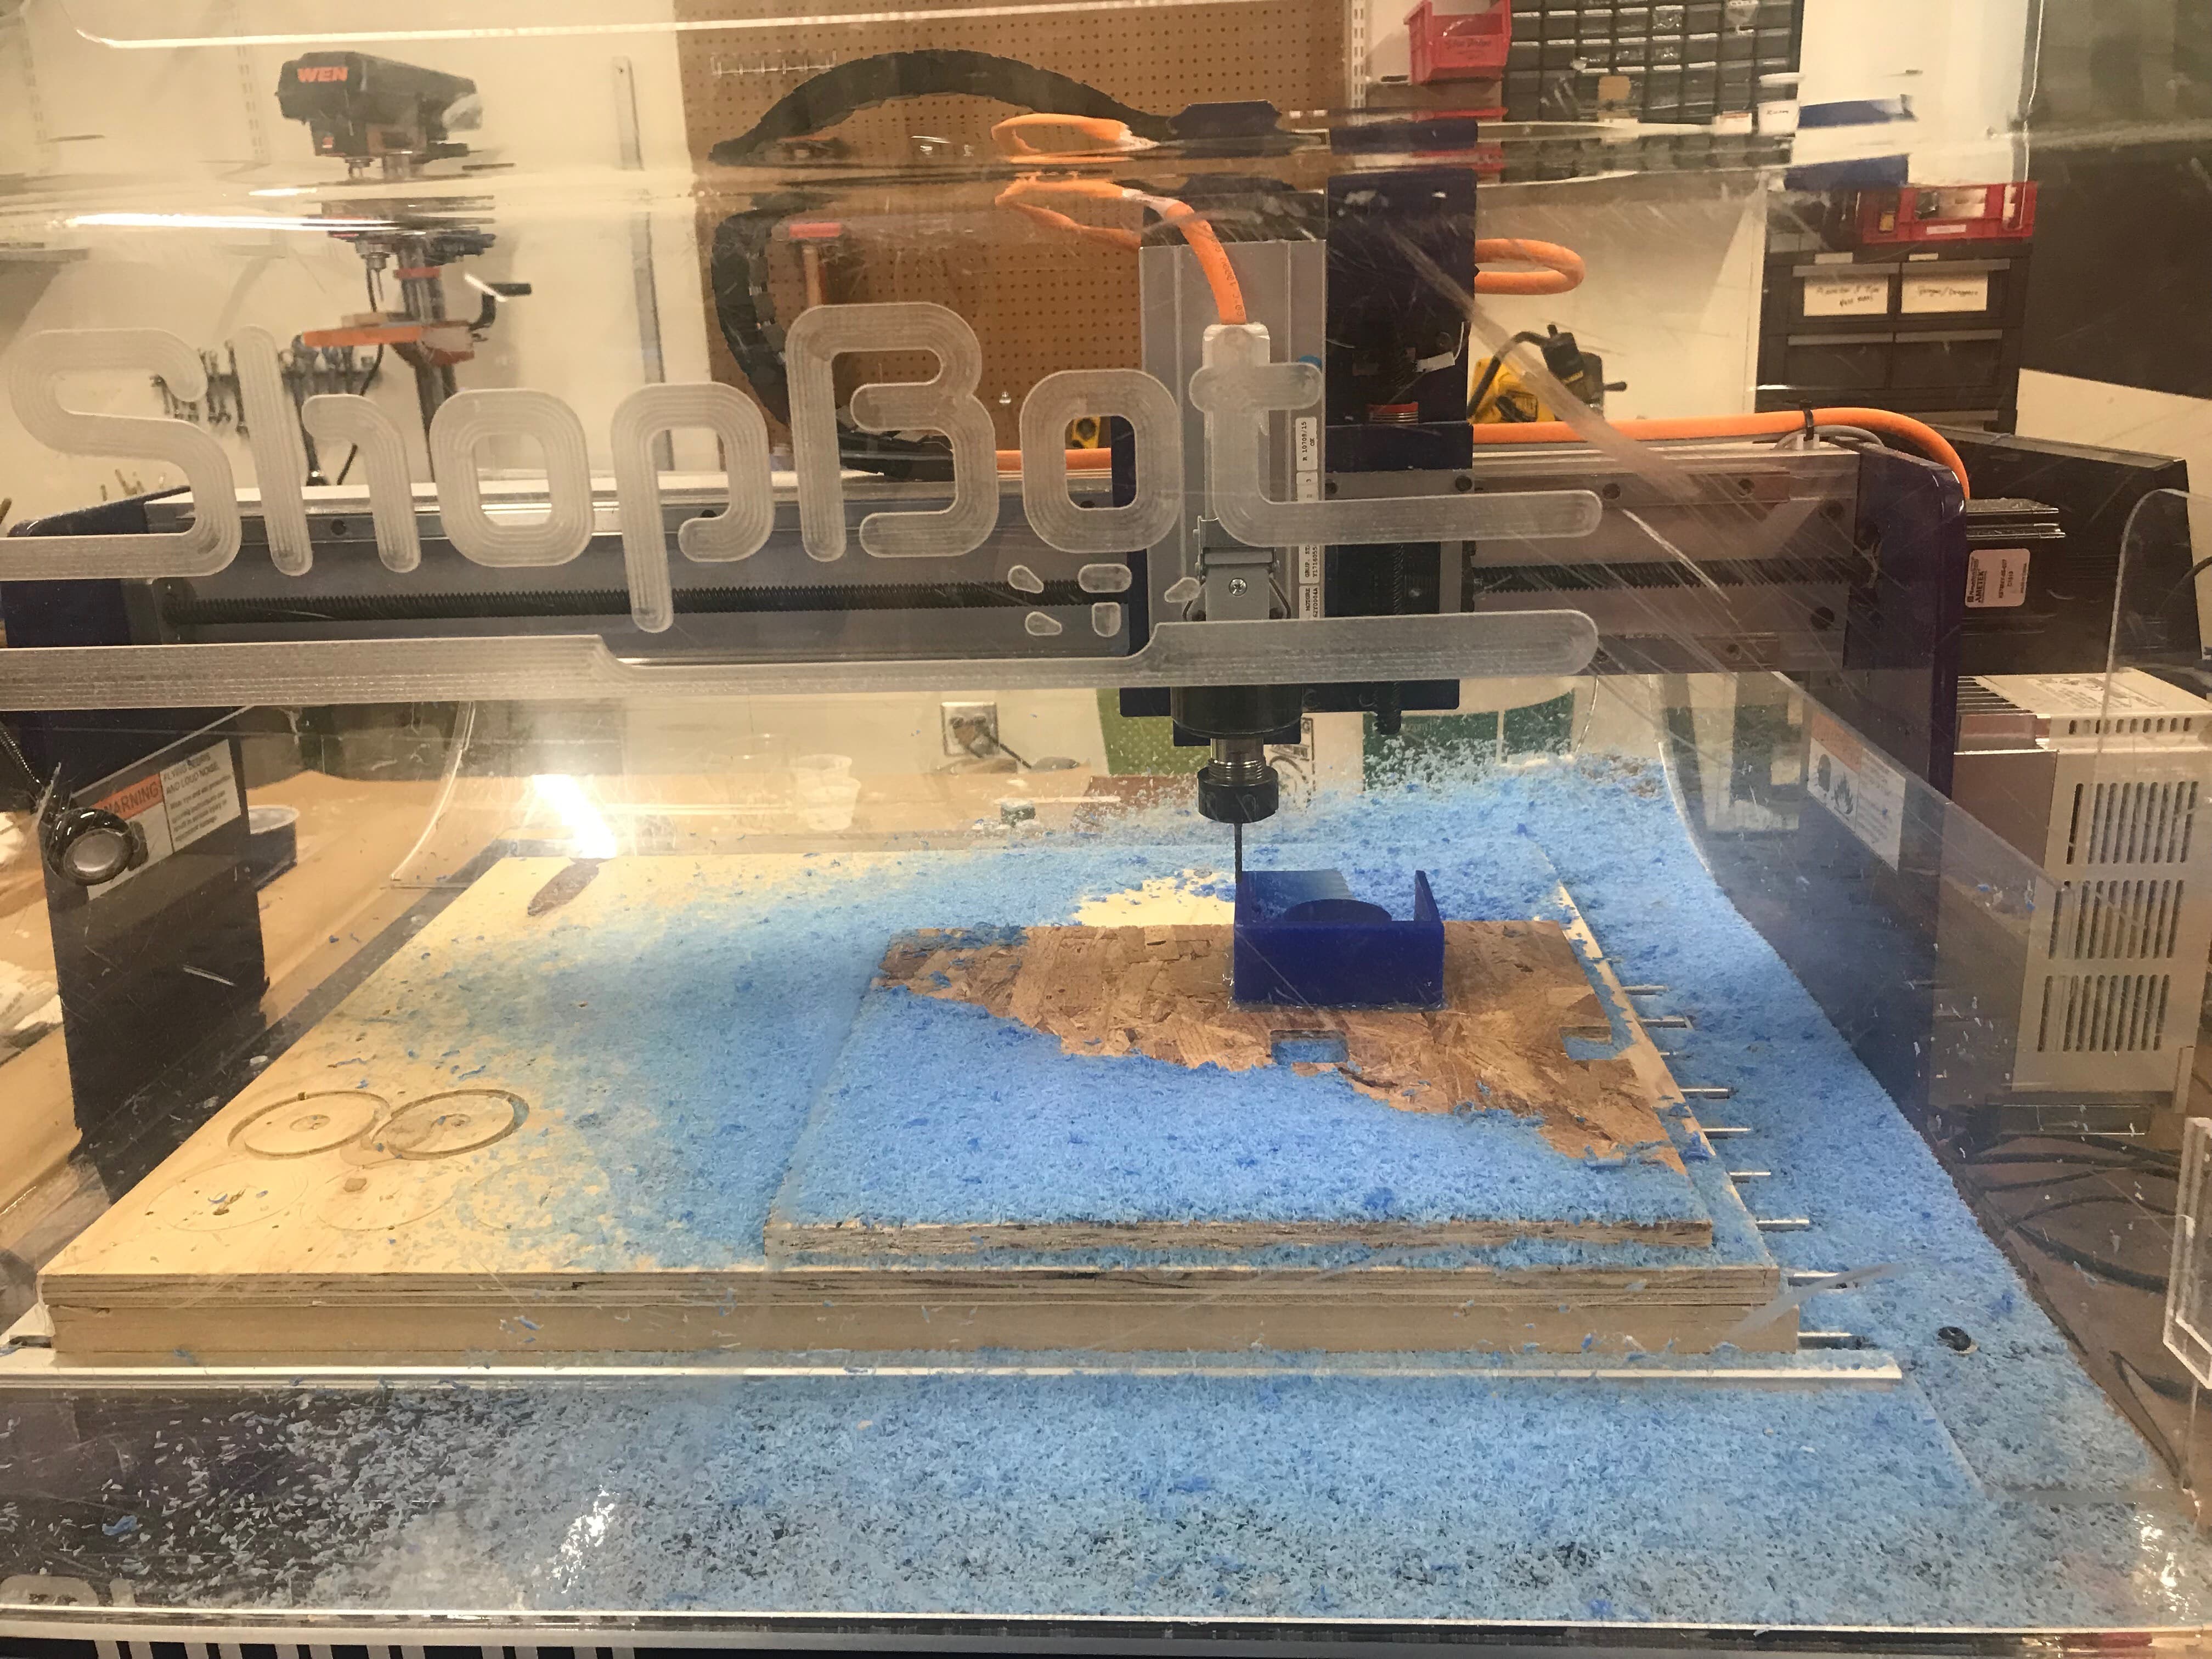
Figure 5. Creating a beautiful mess
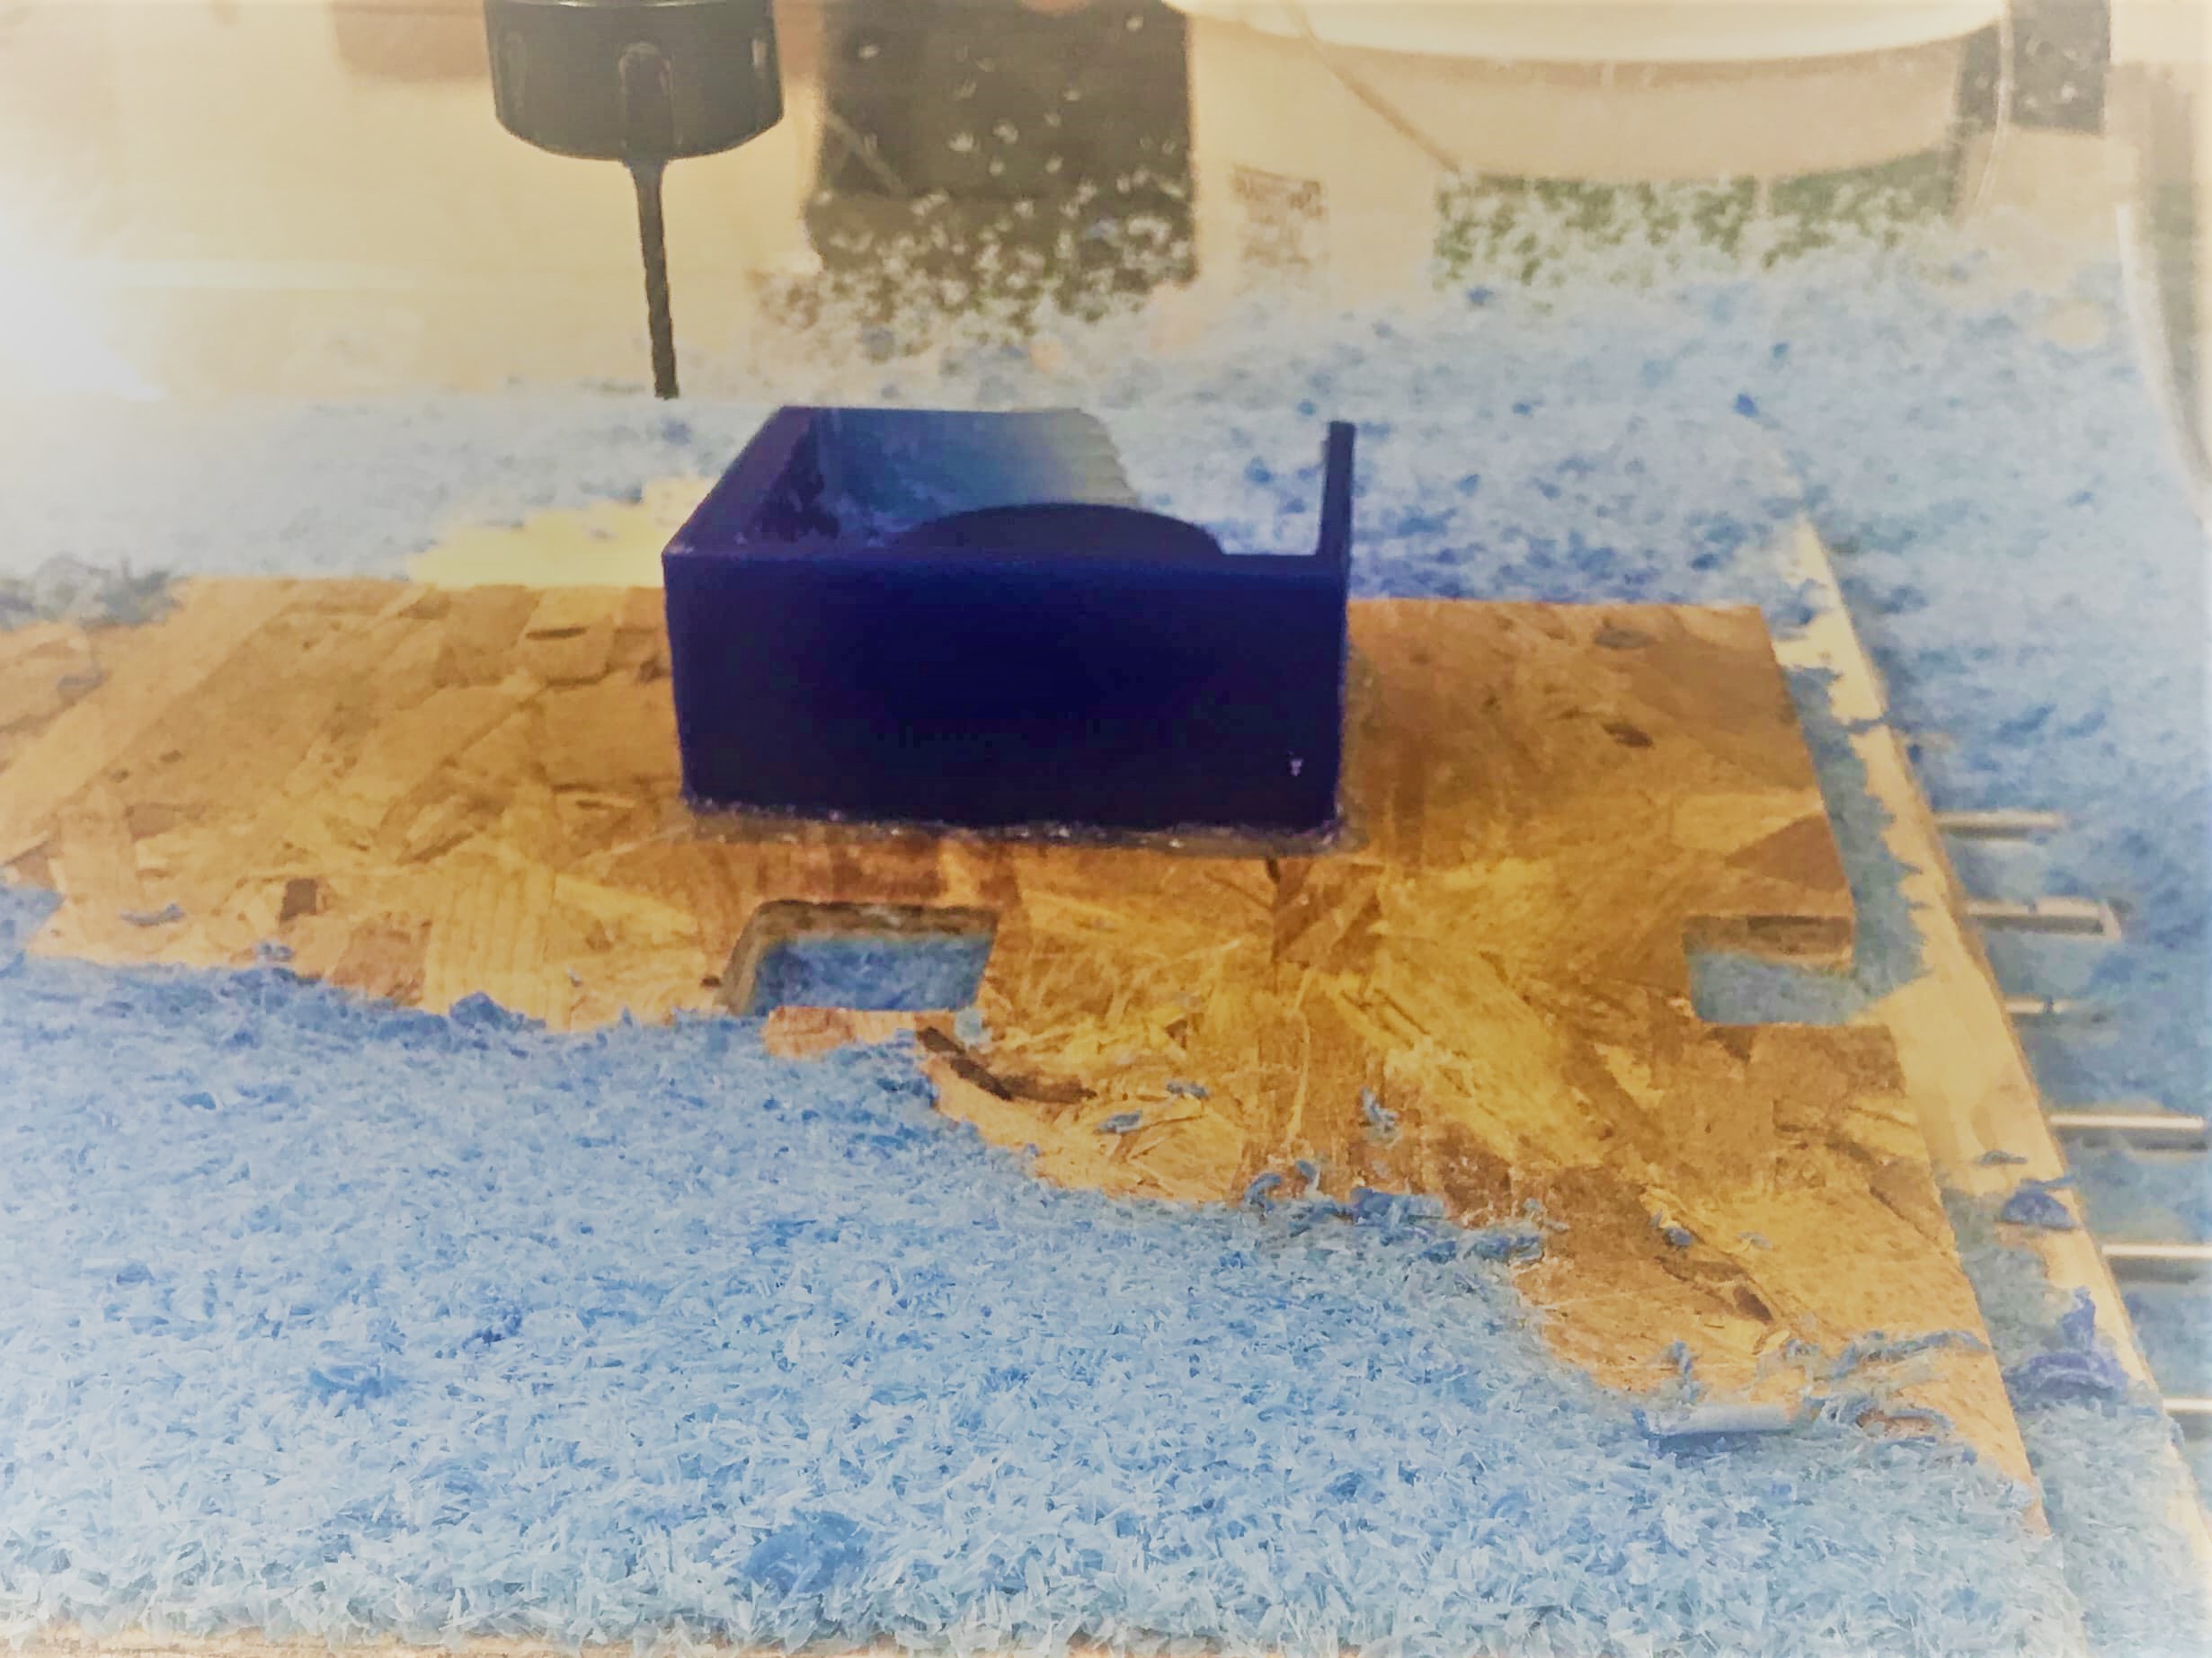
Figure 6. As the blocks were not exactly the same dimensions this one got quite close to the edge
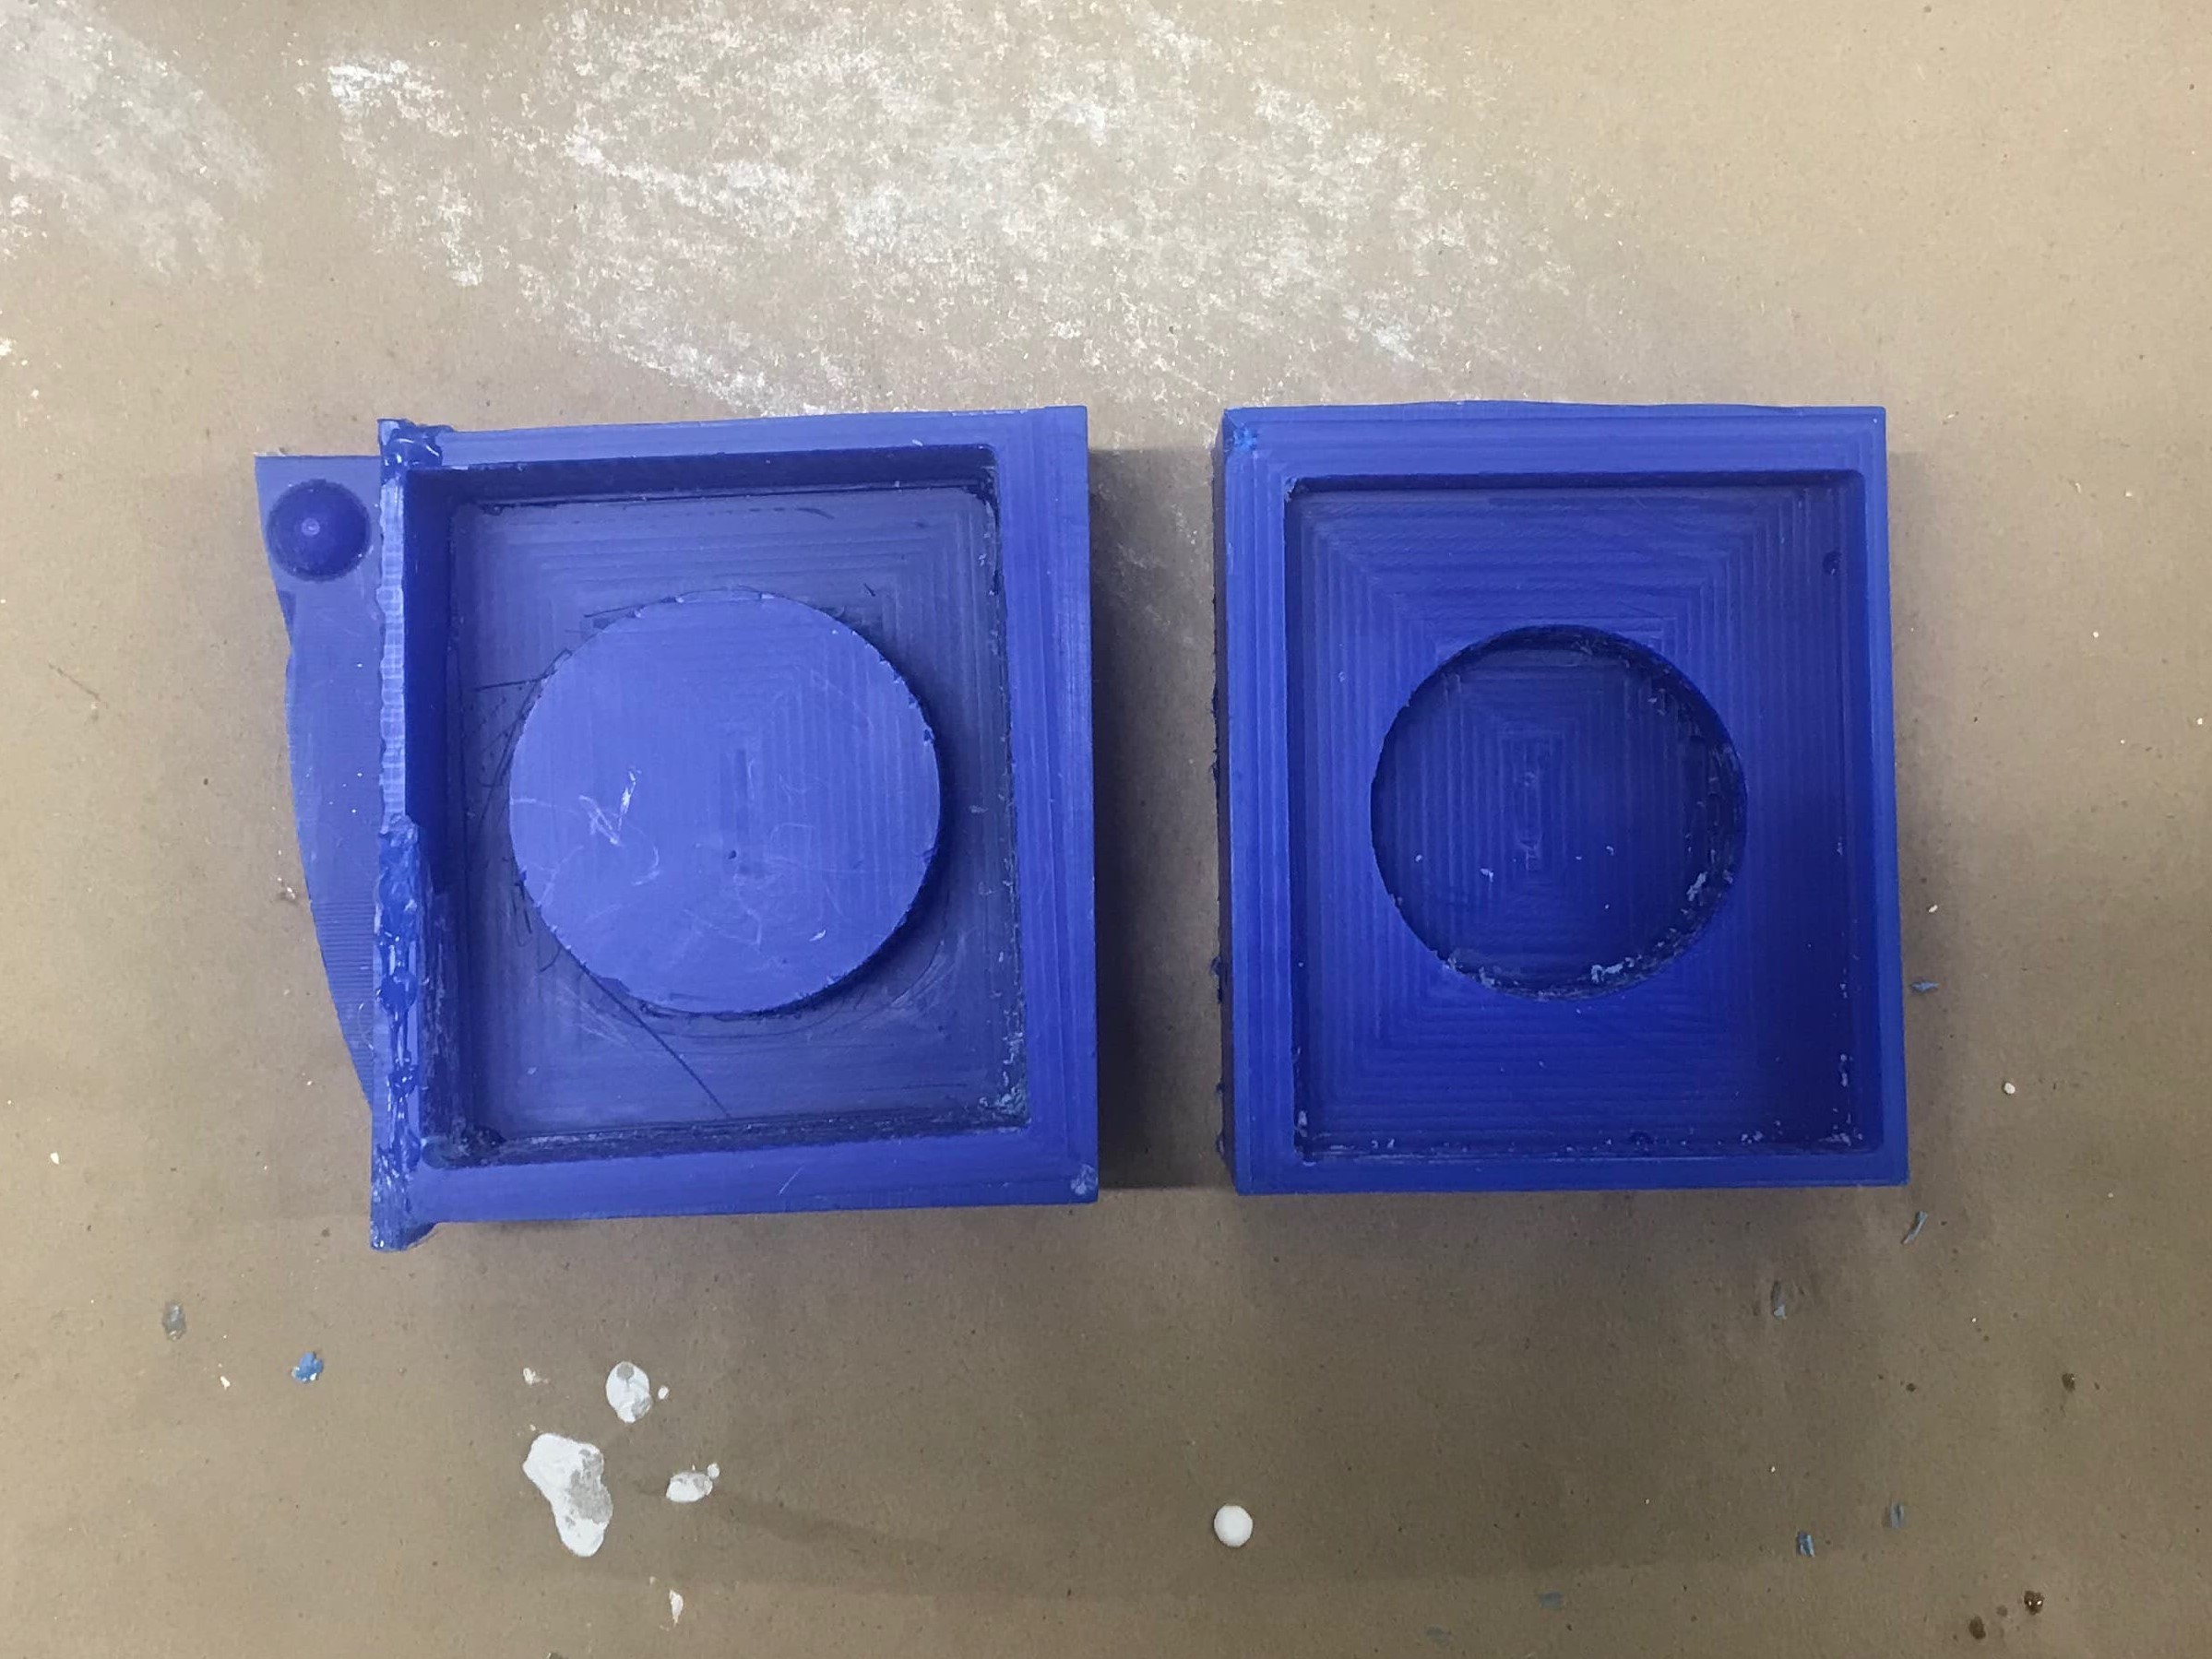
Figure 7. I was able to glue on a piece of scrap wax to seal up the faulty side
3. Silicone Mold
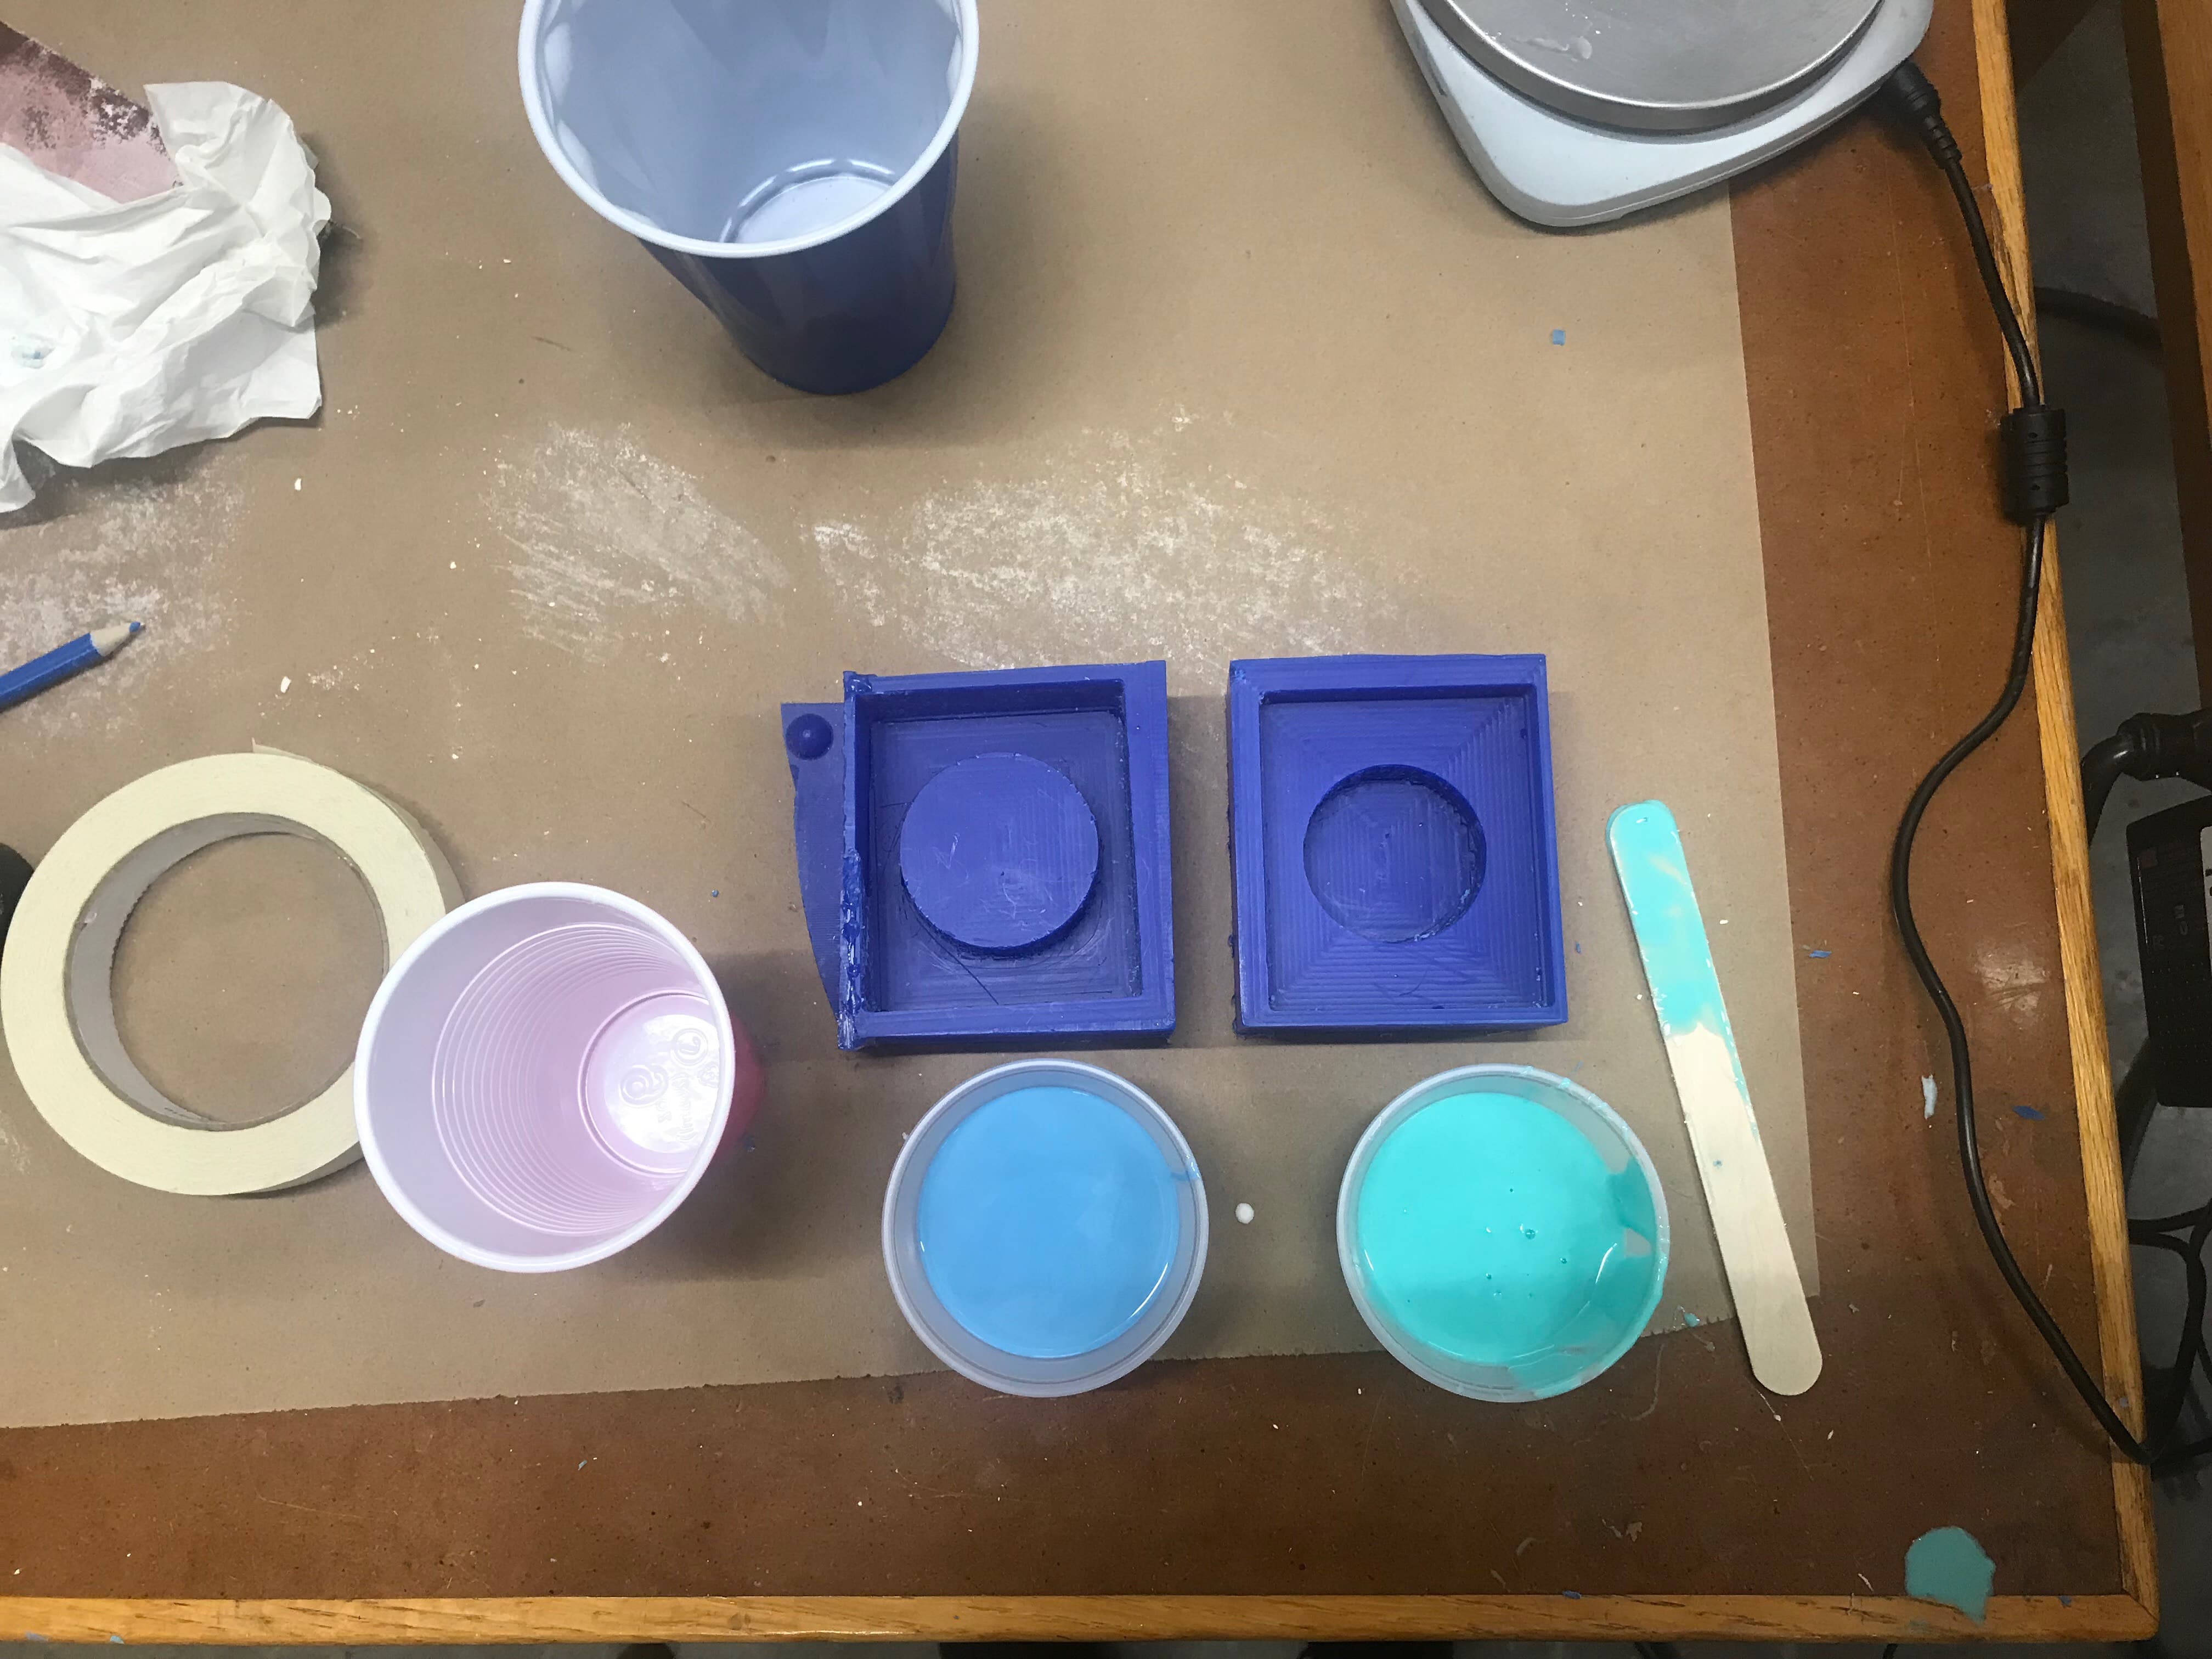
Figure 8. Gathering OOMOO quantities - 1:1
I must have been one of the last ones to pour my mold as there was hardly any OOMOO left, specifically the PART B. I had to scrape out a few remains from three separate containers and I must admit this led to a very bubbly formula. In the demo the Reynolds expert mixed everything using a transfer between two cups, but upon trying this with the OOMOO I think this should be specifically left to resins or epoxies. As I think with the OOMOO it simply added more bubbles. I was able to - quite aggressively - throw the mold against the concrete ground to remove most bubbles.
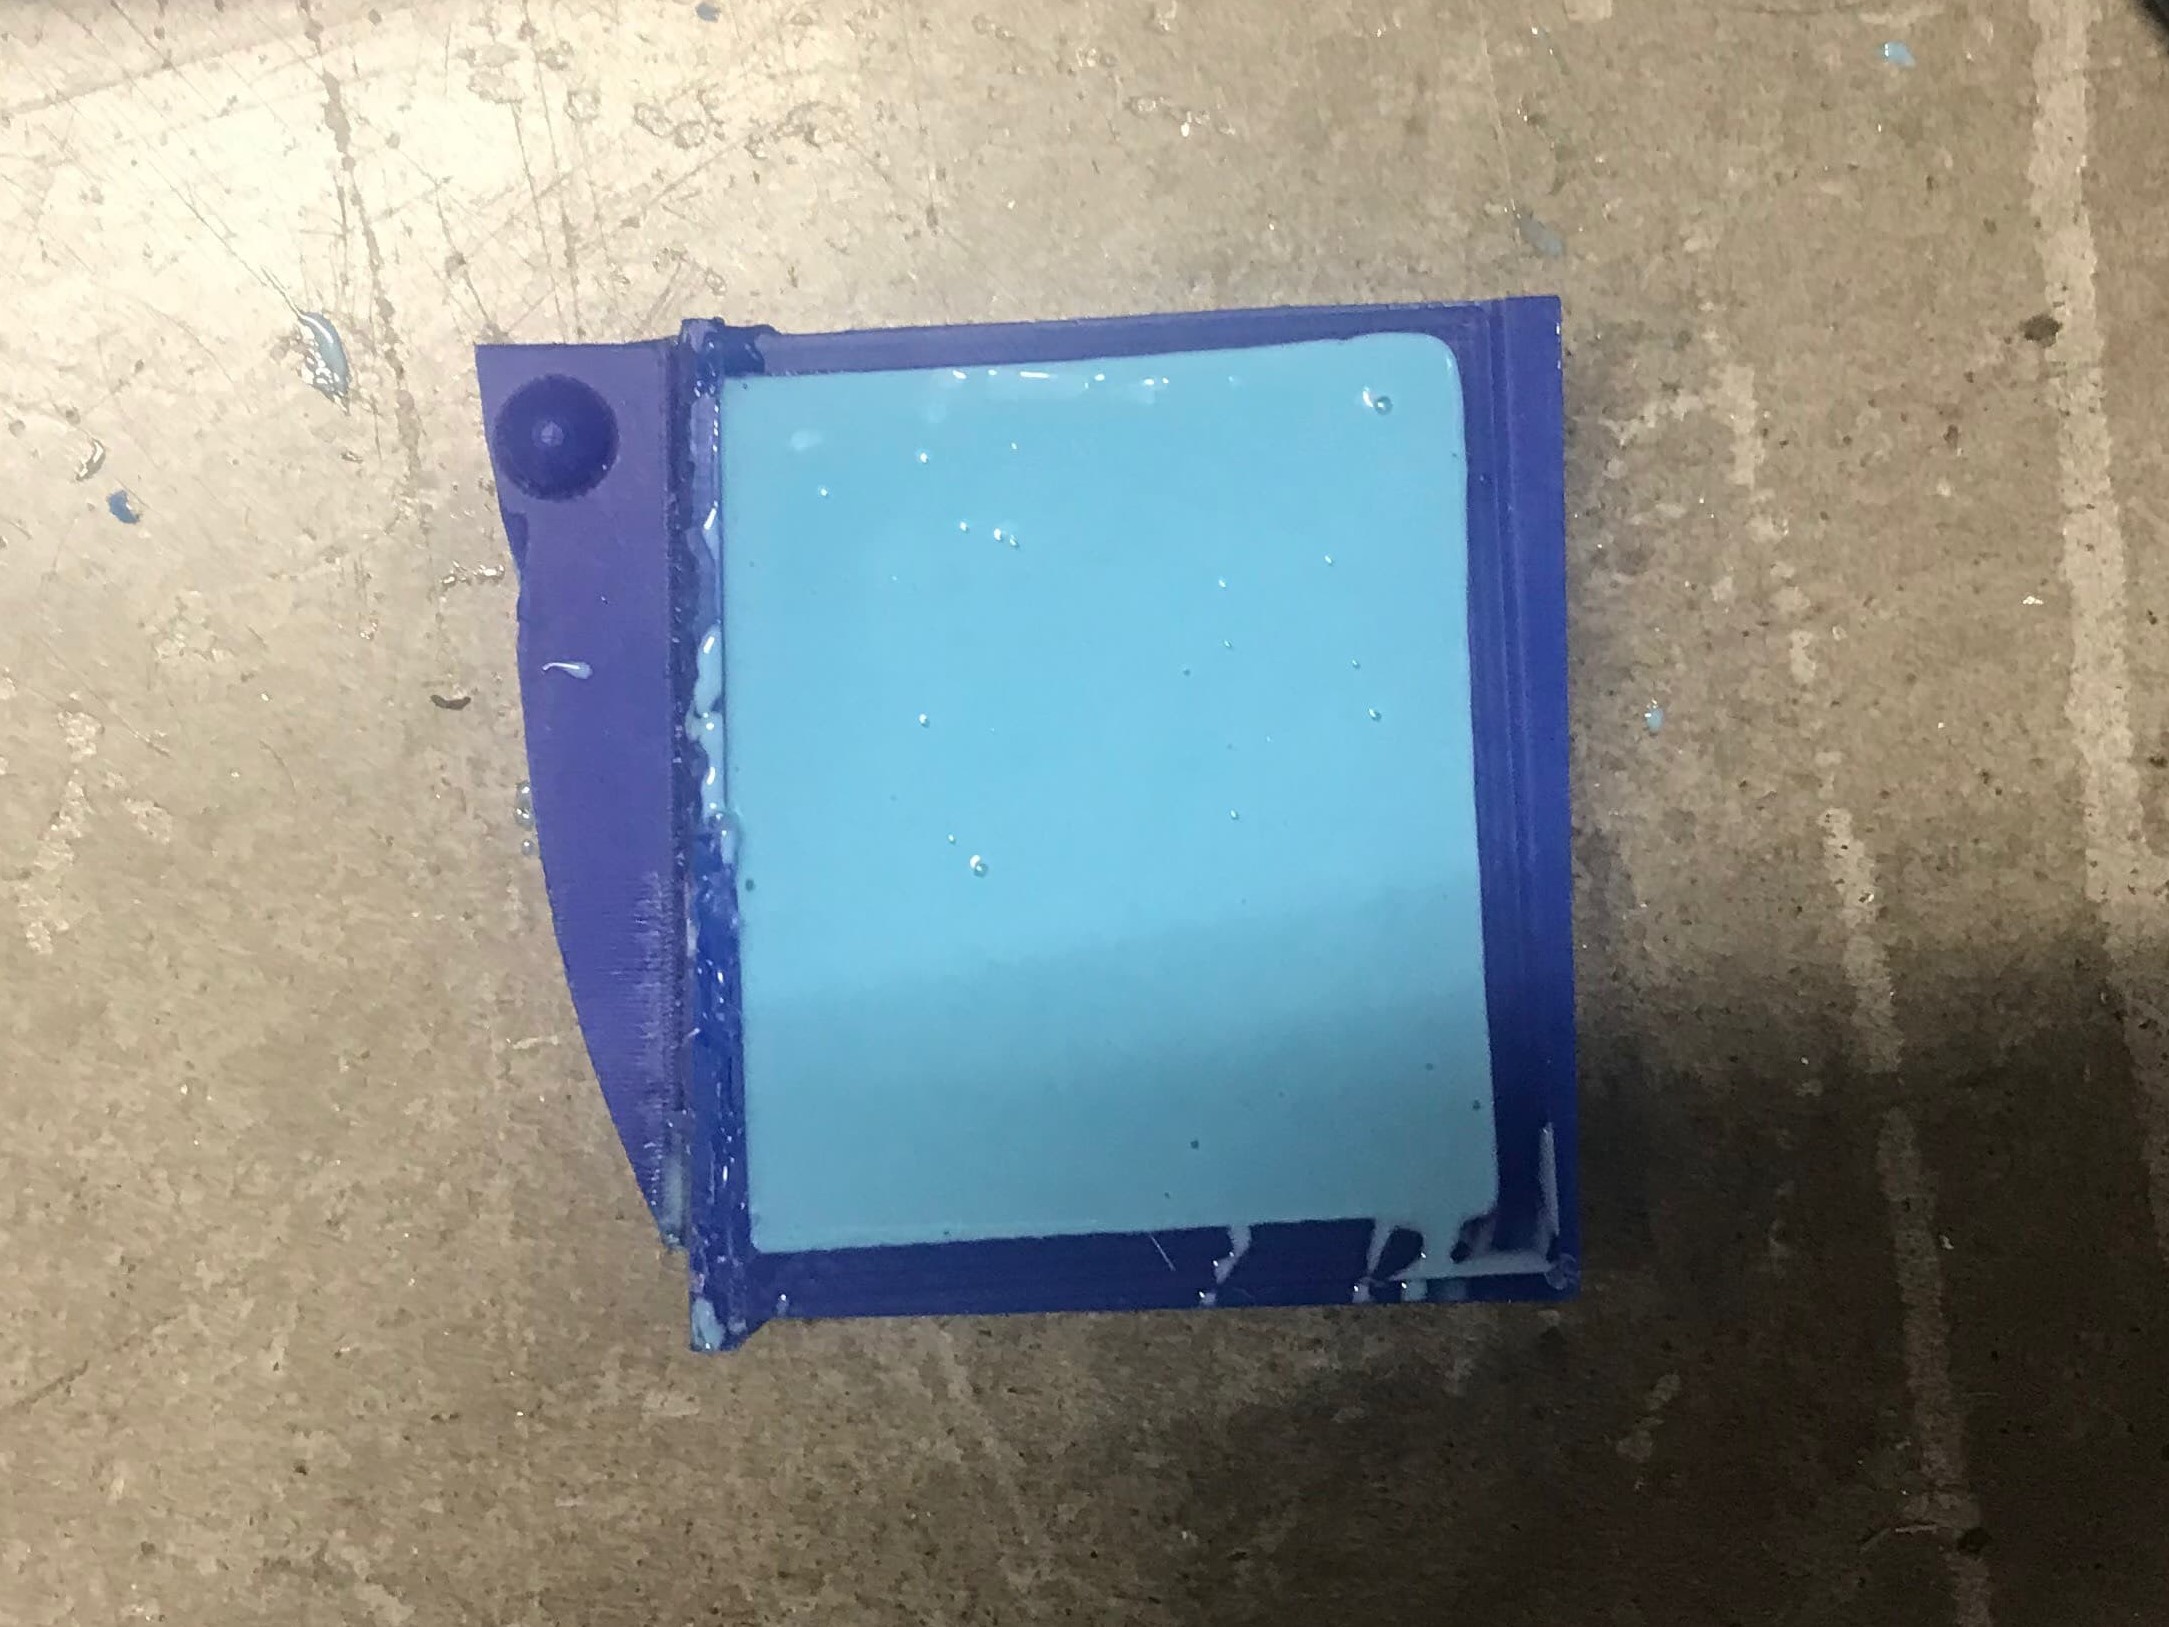
Figure 9. Slamming model against ground to remove bubbles
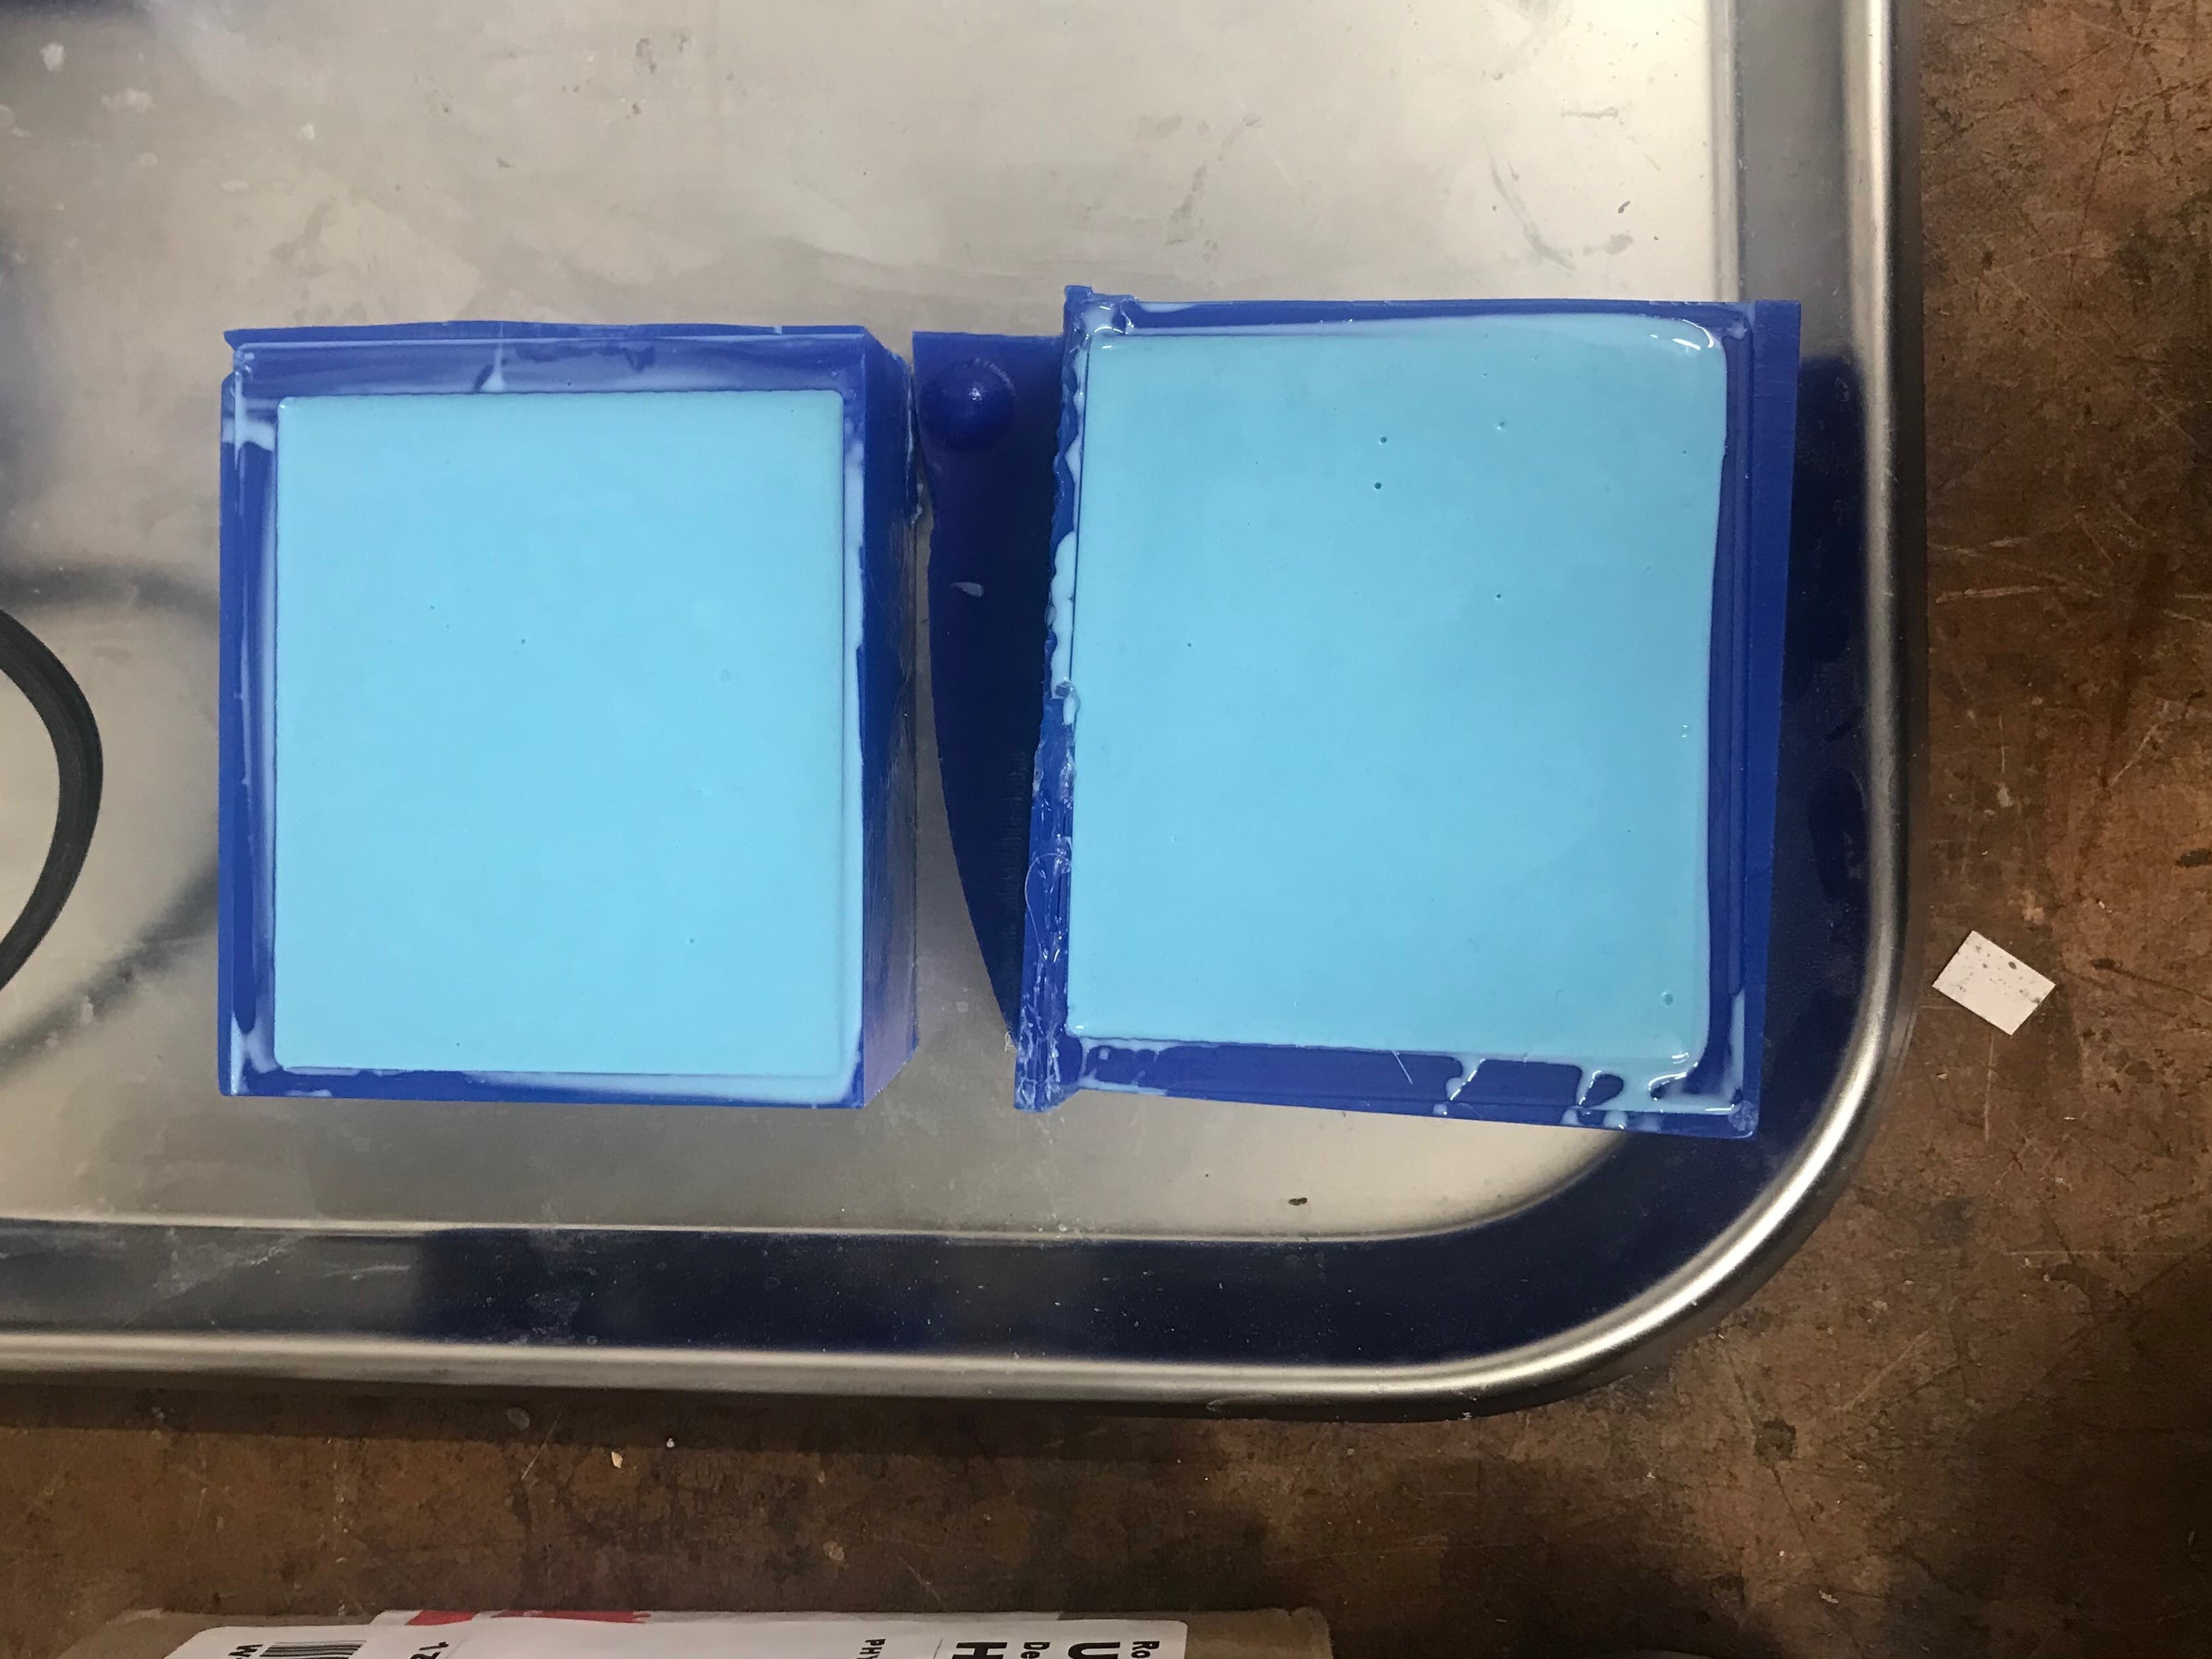
Figure 10. Silicone Pour
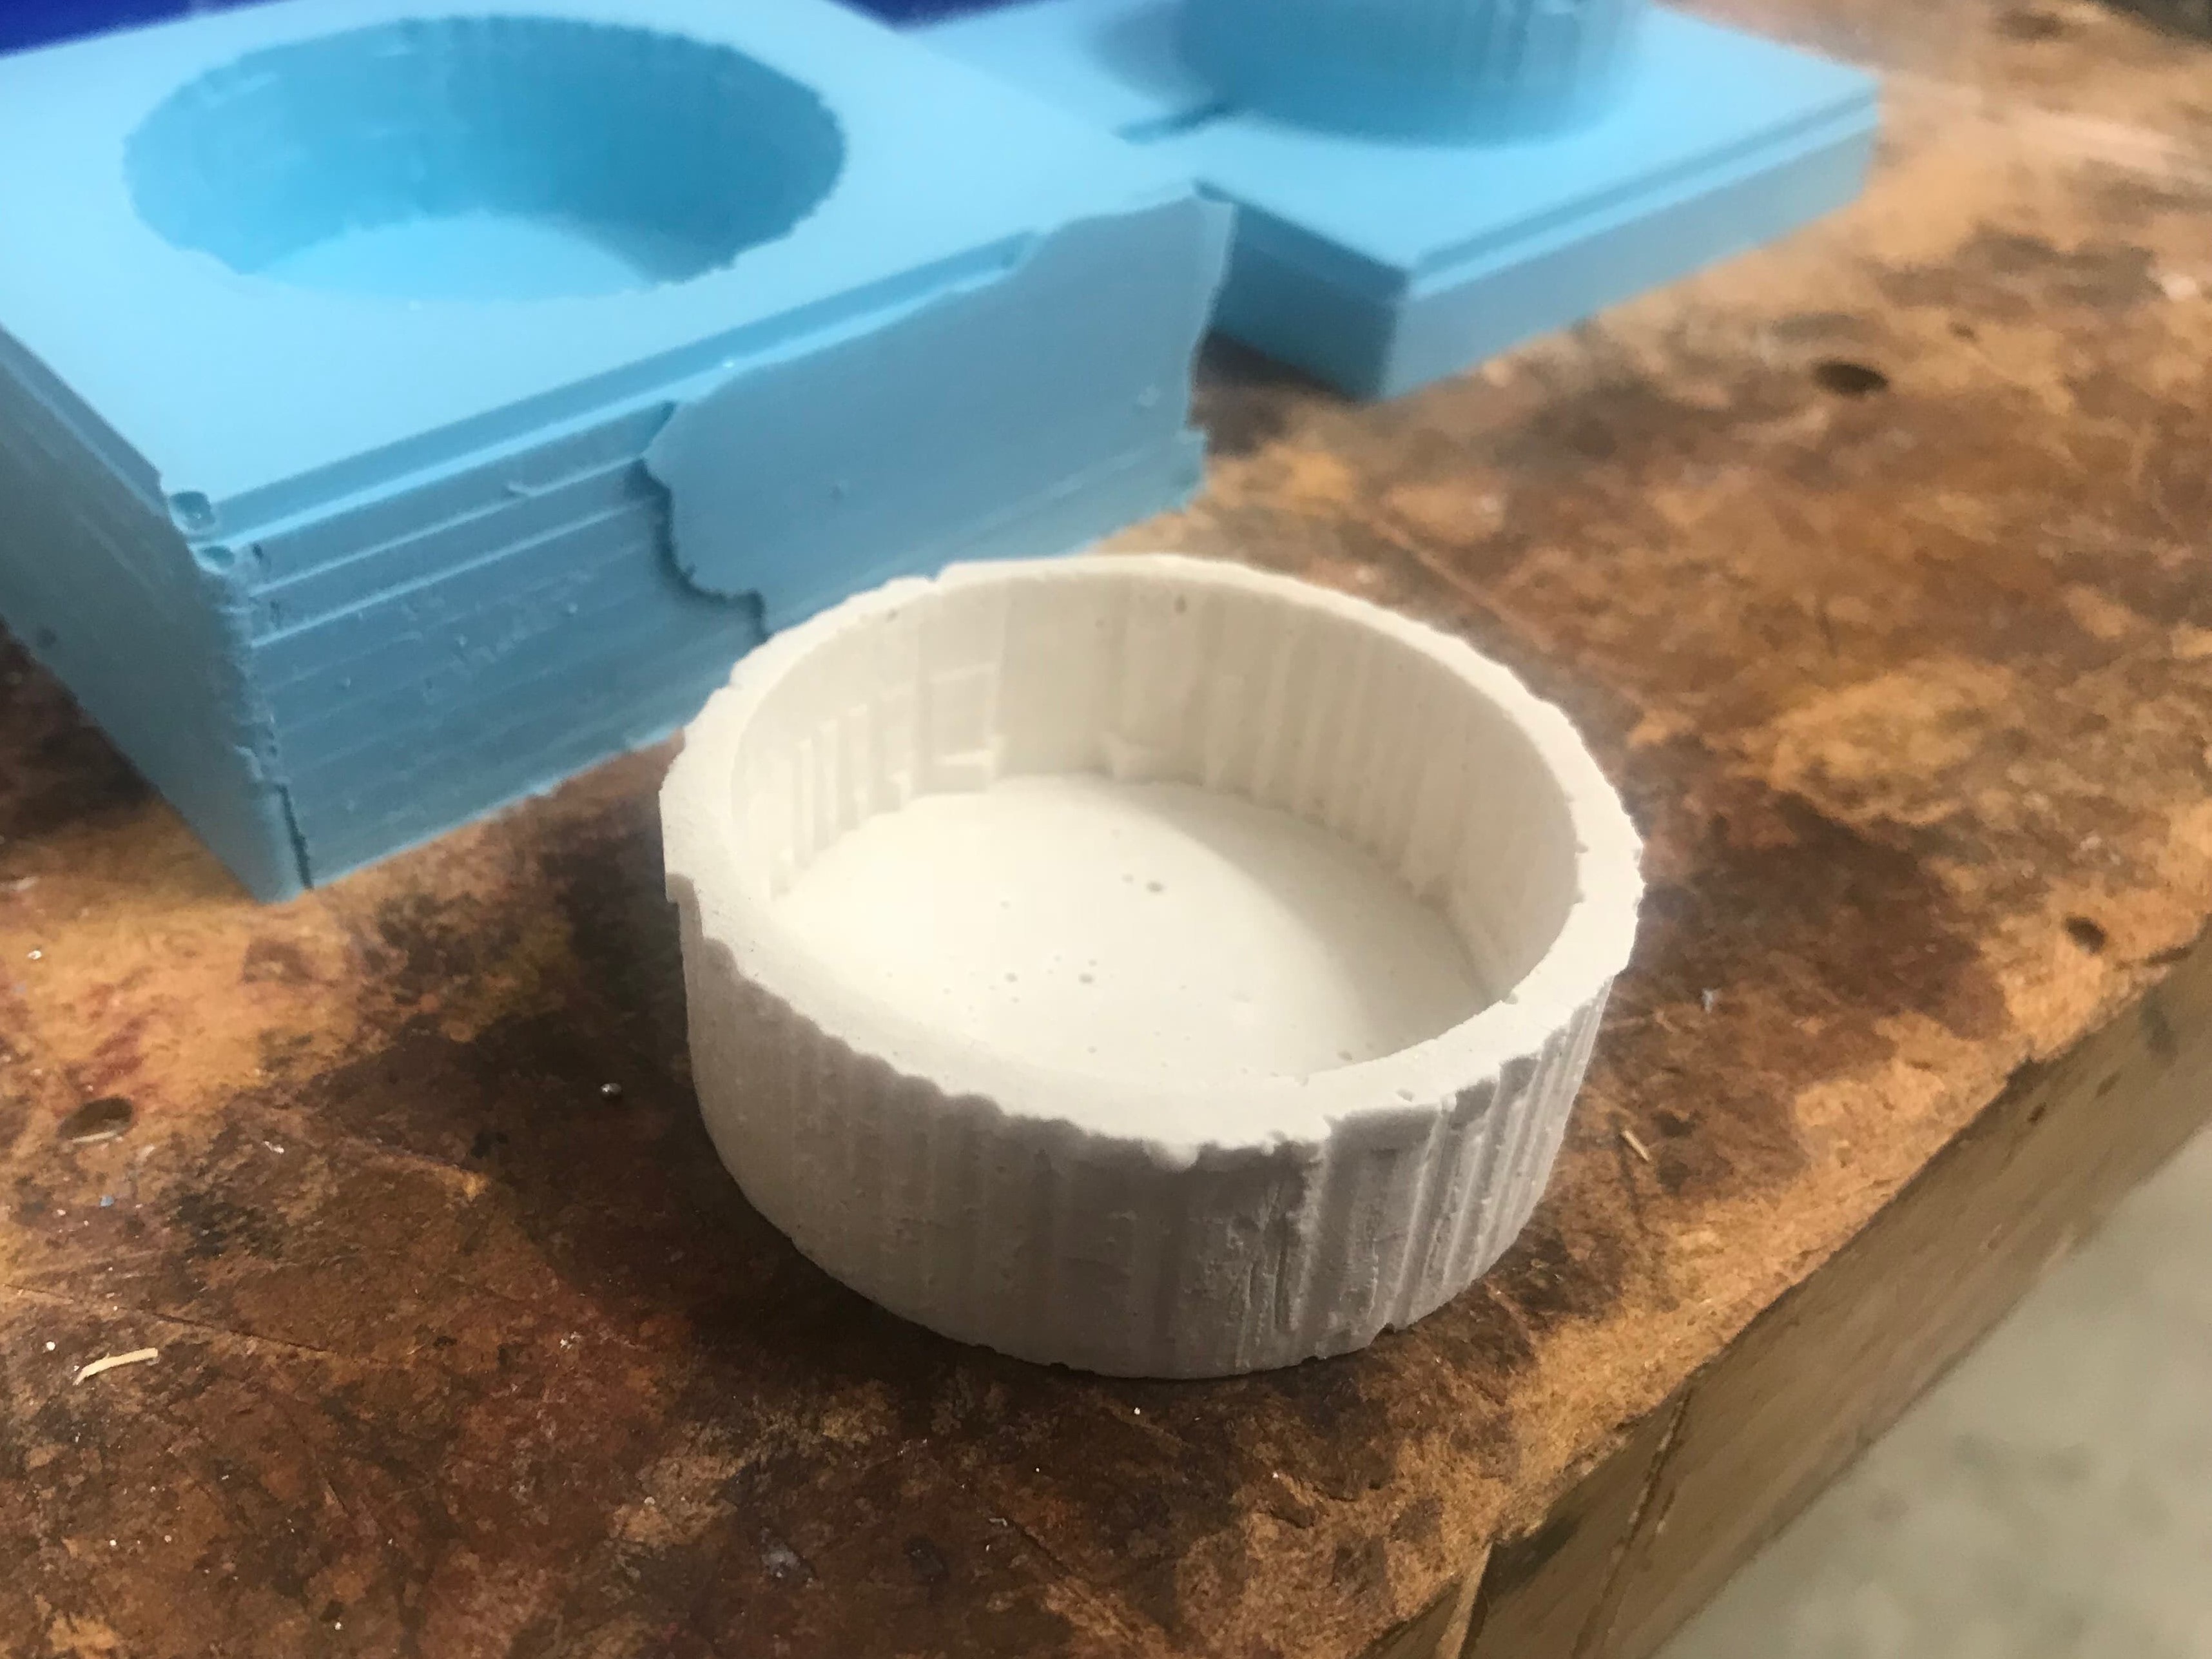
4. Plaster Cast
I completely forgot to add a sprue into my design, so in the last minute I carved out this "drain pipe" using an X-acto knife. I should have made two, but was in a rush as I had already mixed the Hydro-stone plaster.
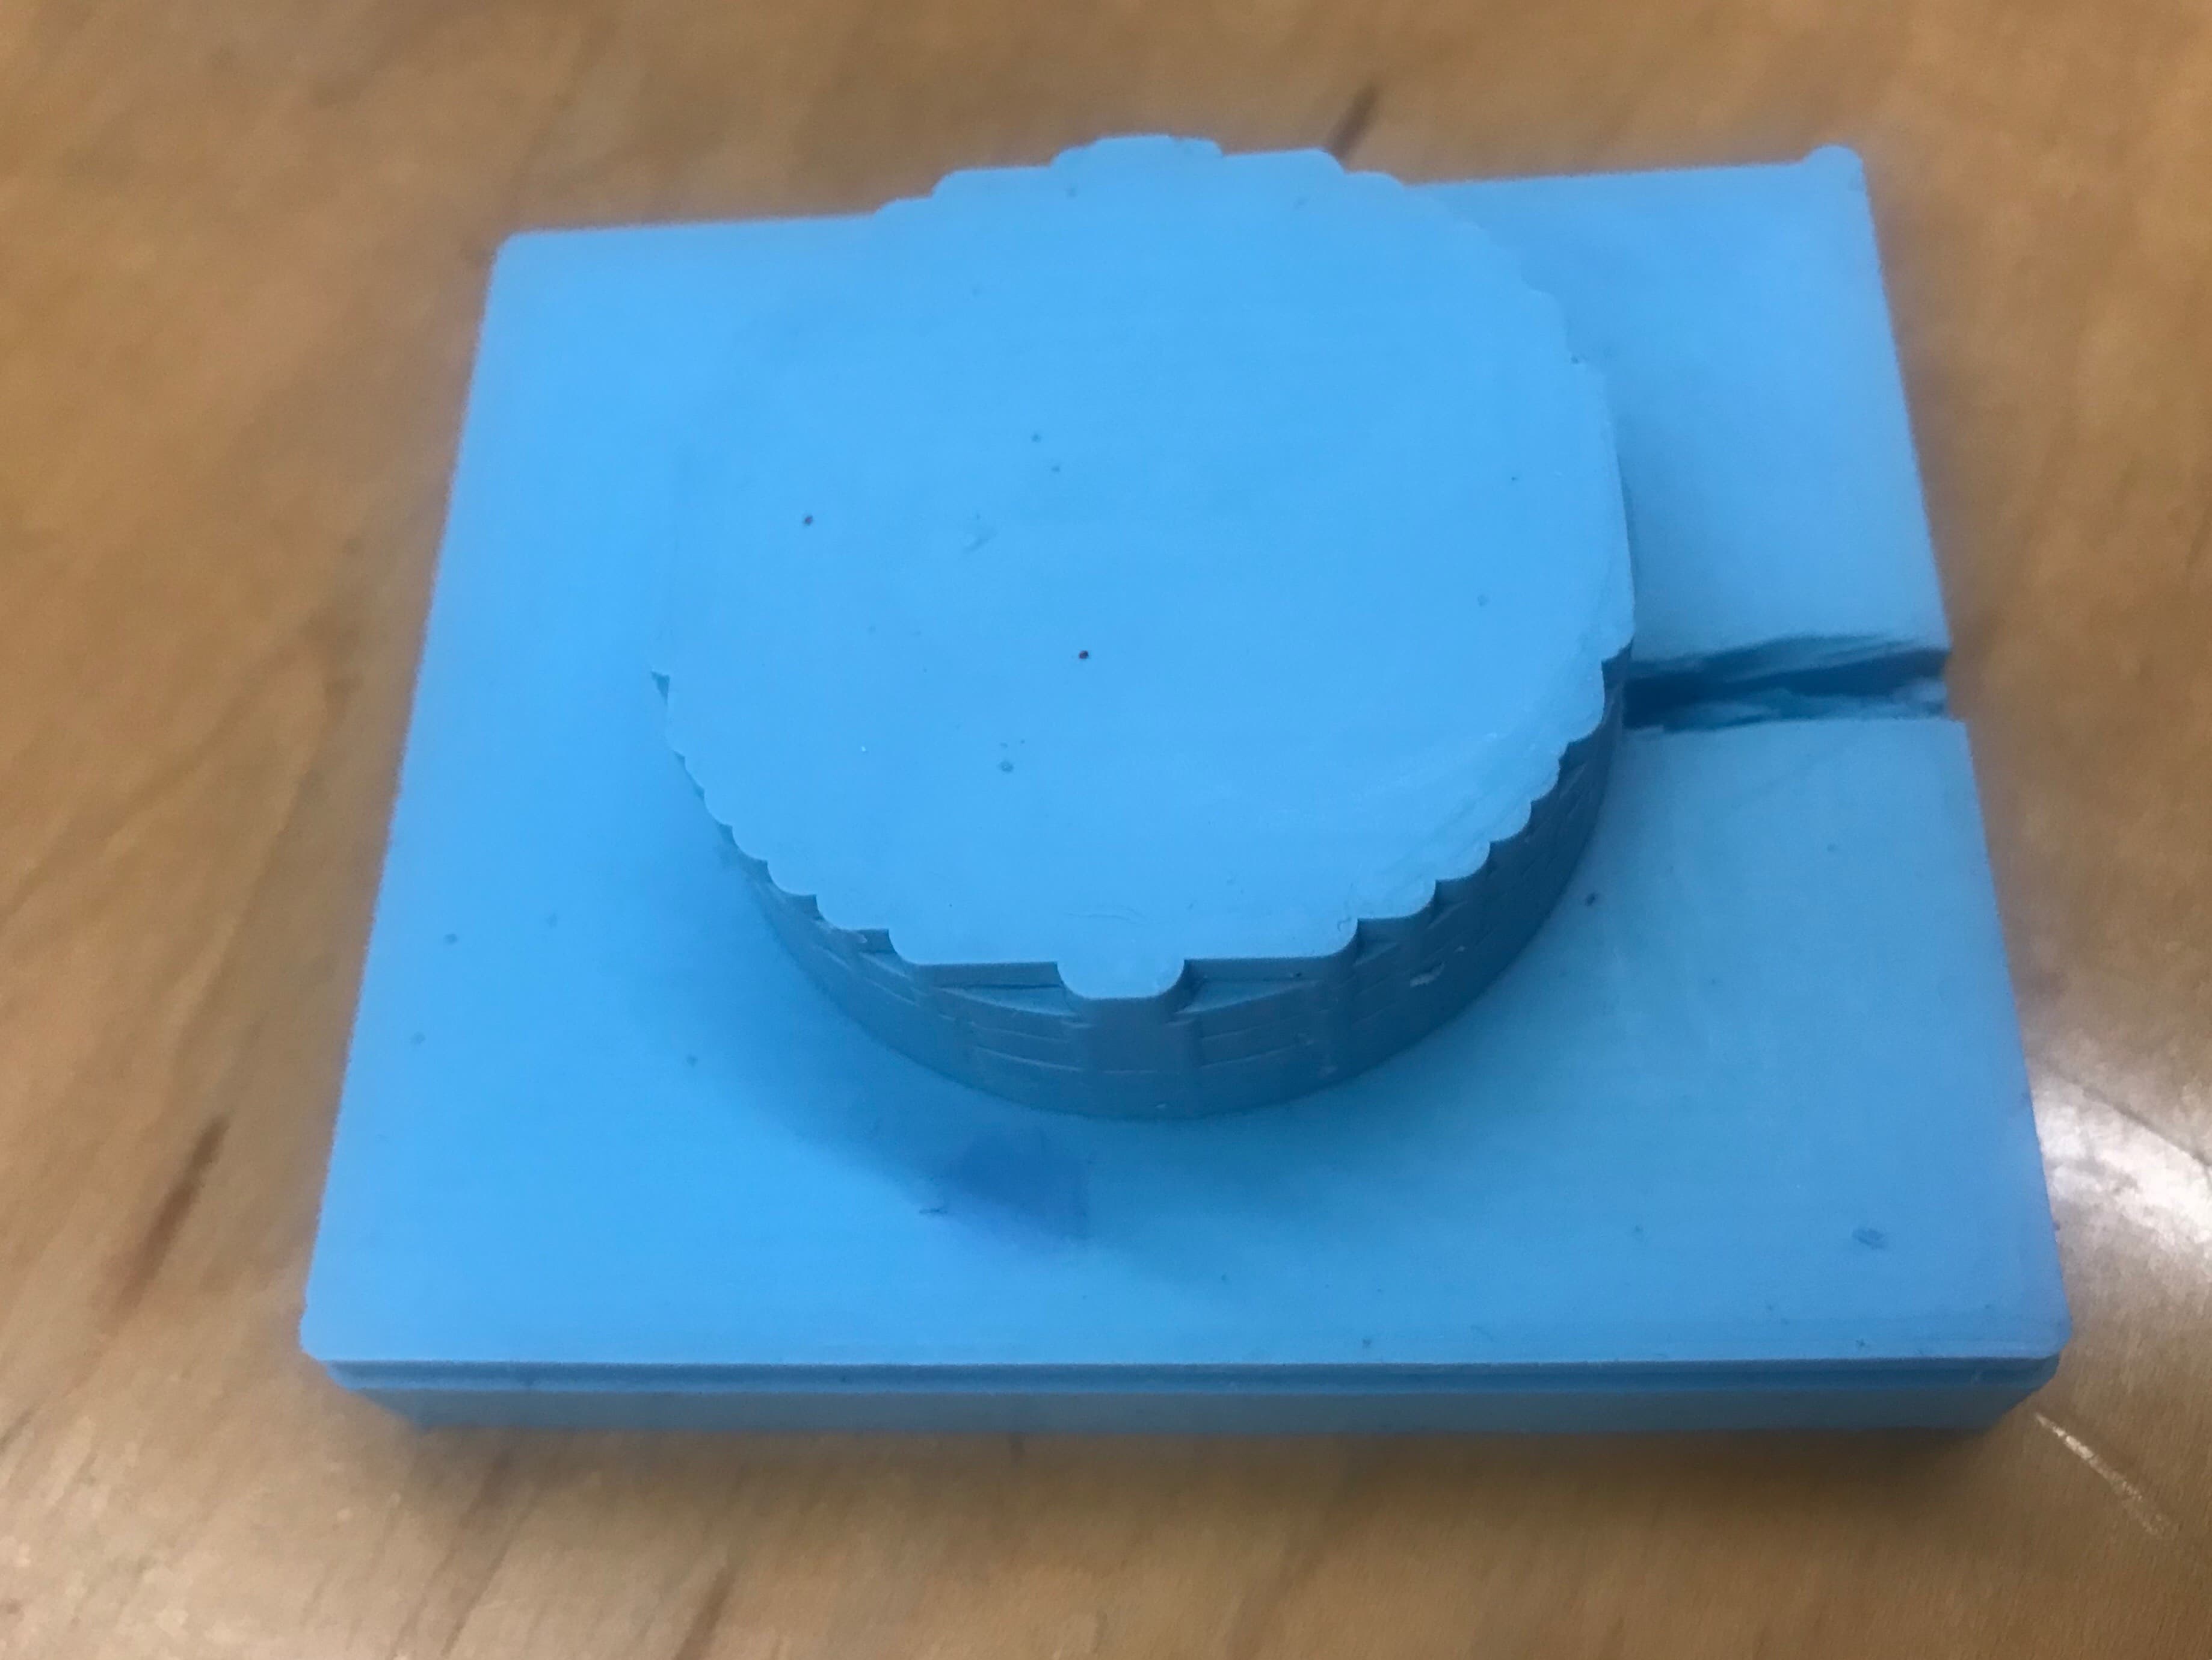
Figure 11. Make-shift Sprue
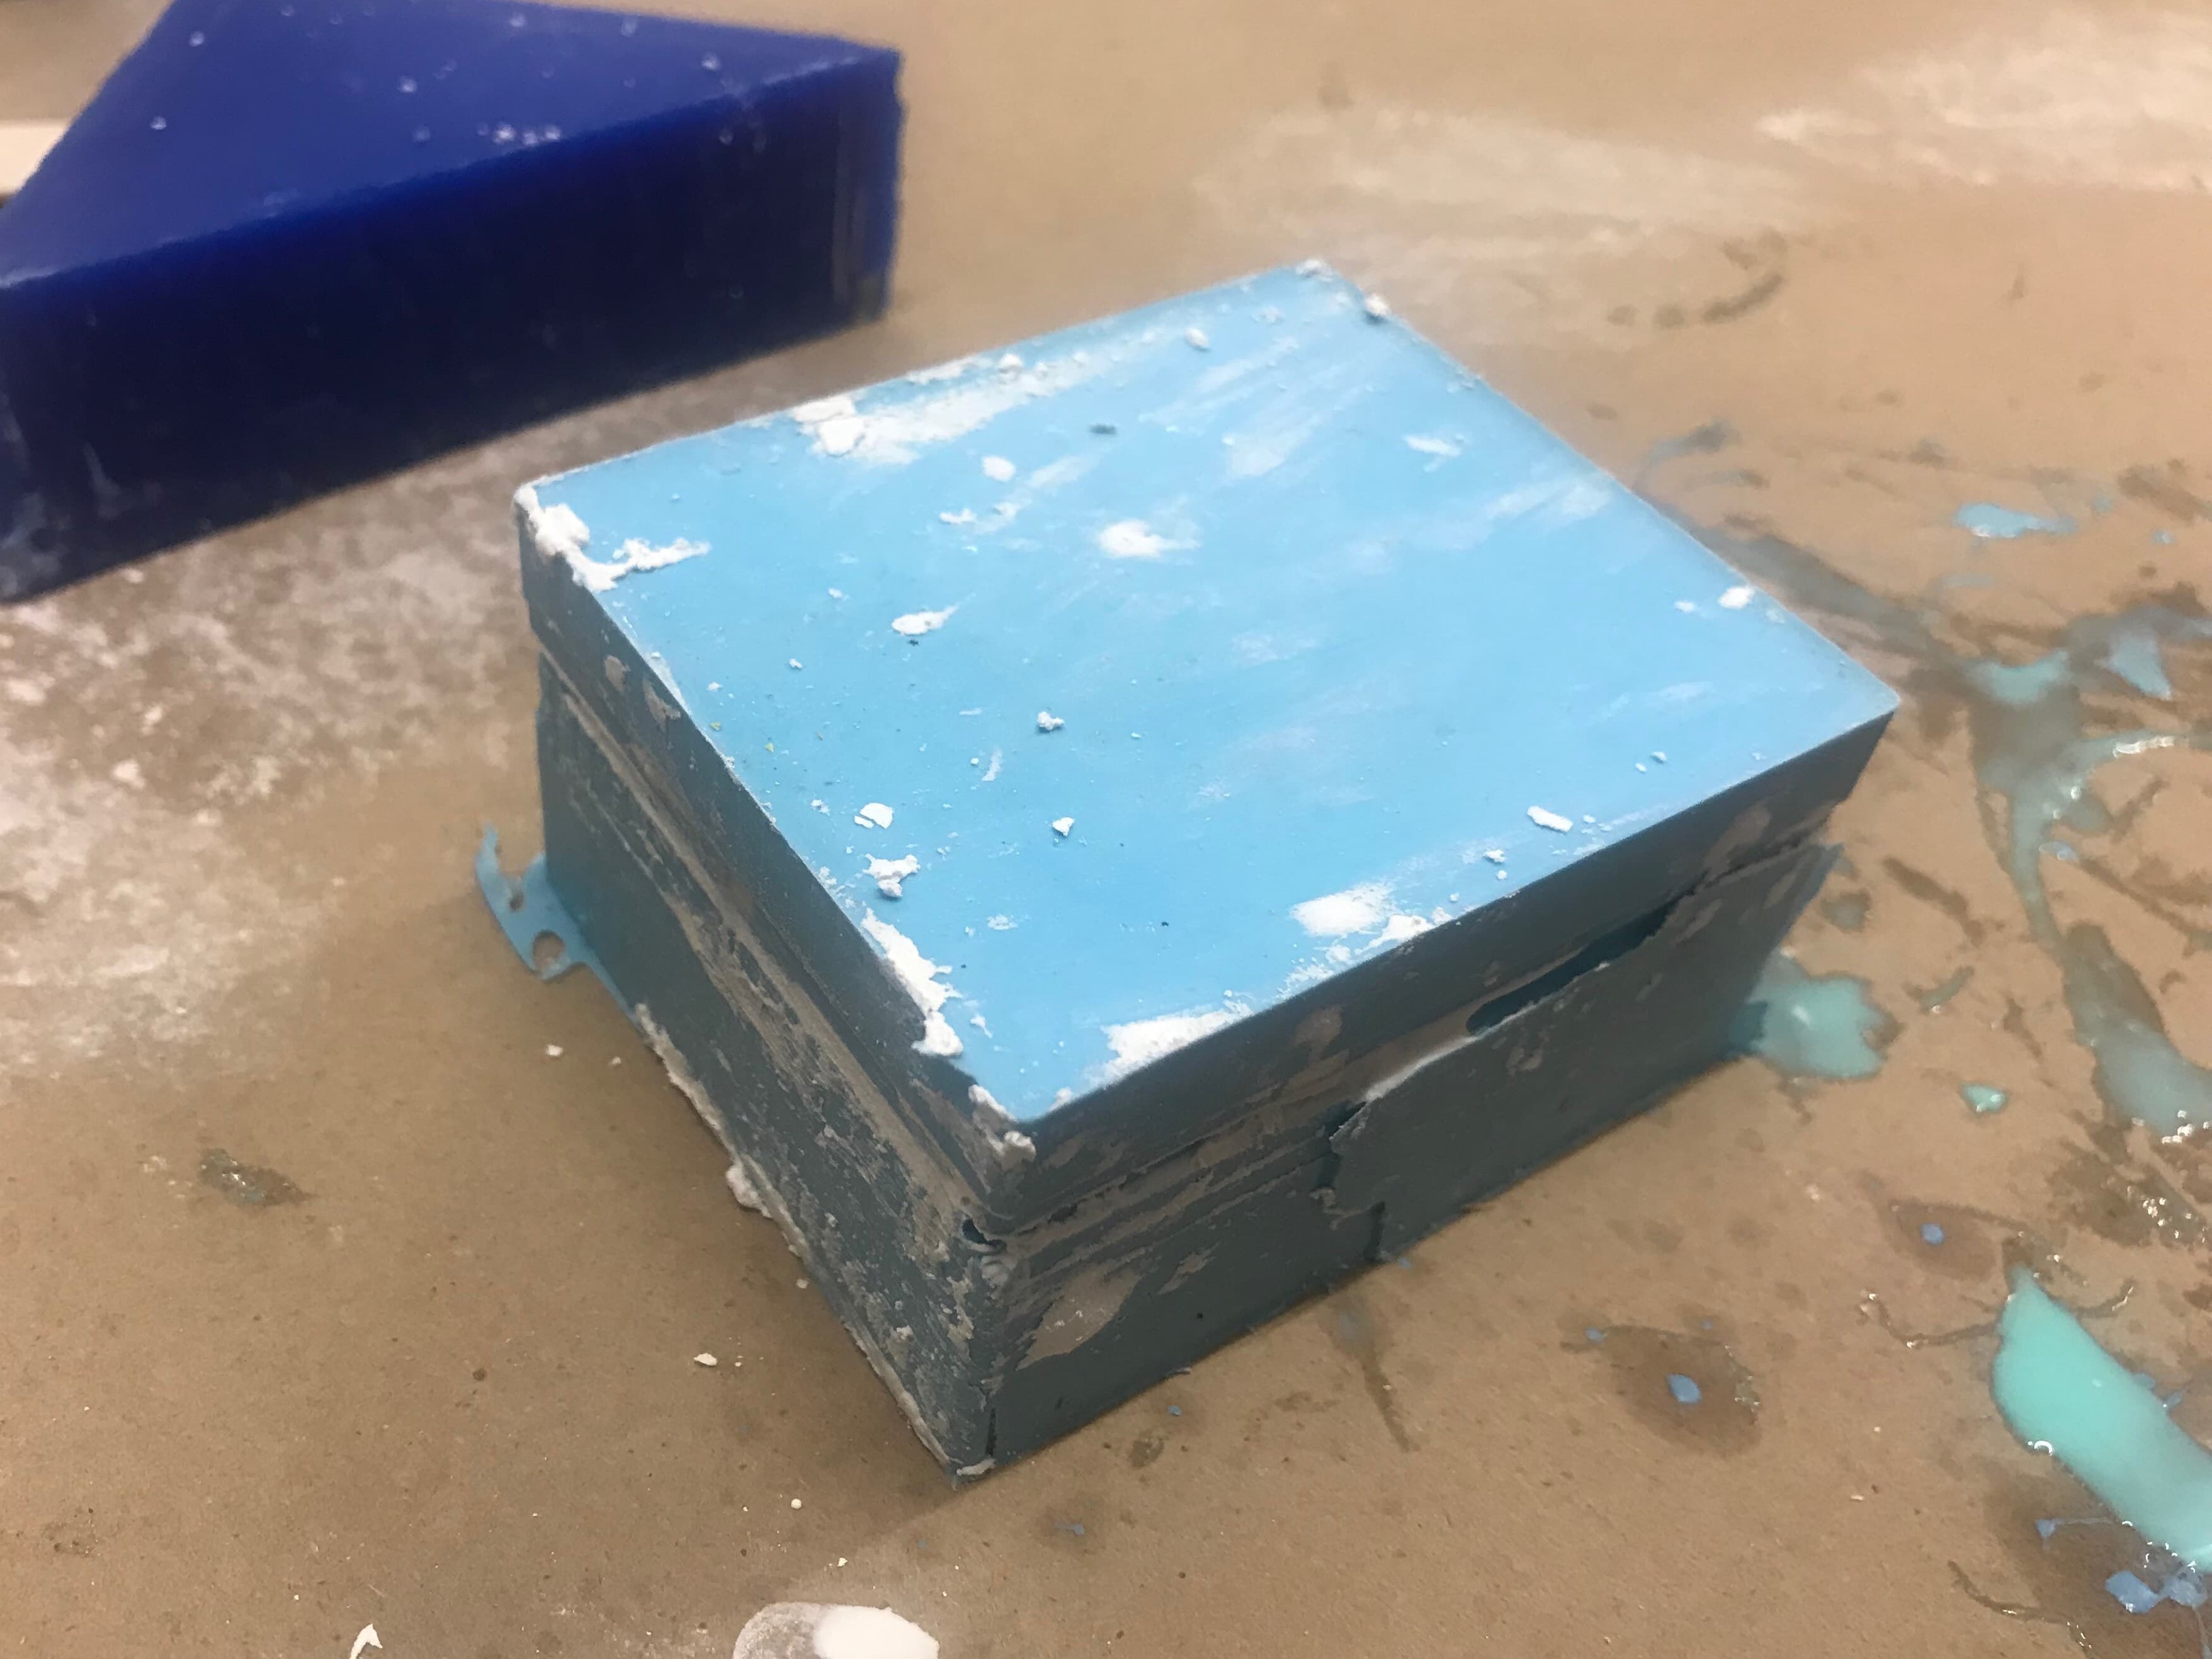
Figure 12. Plaster Pour
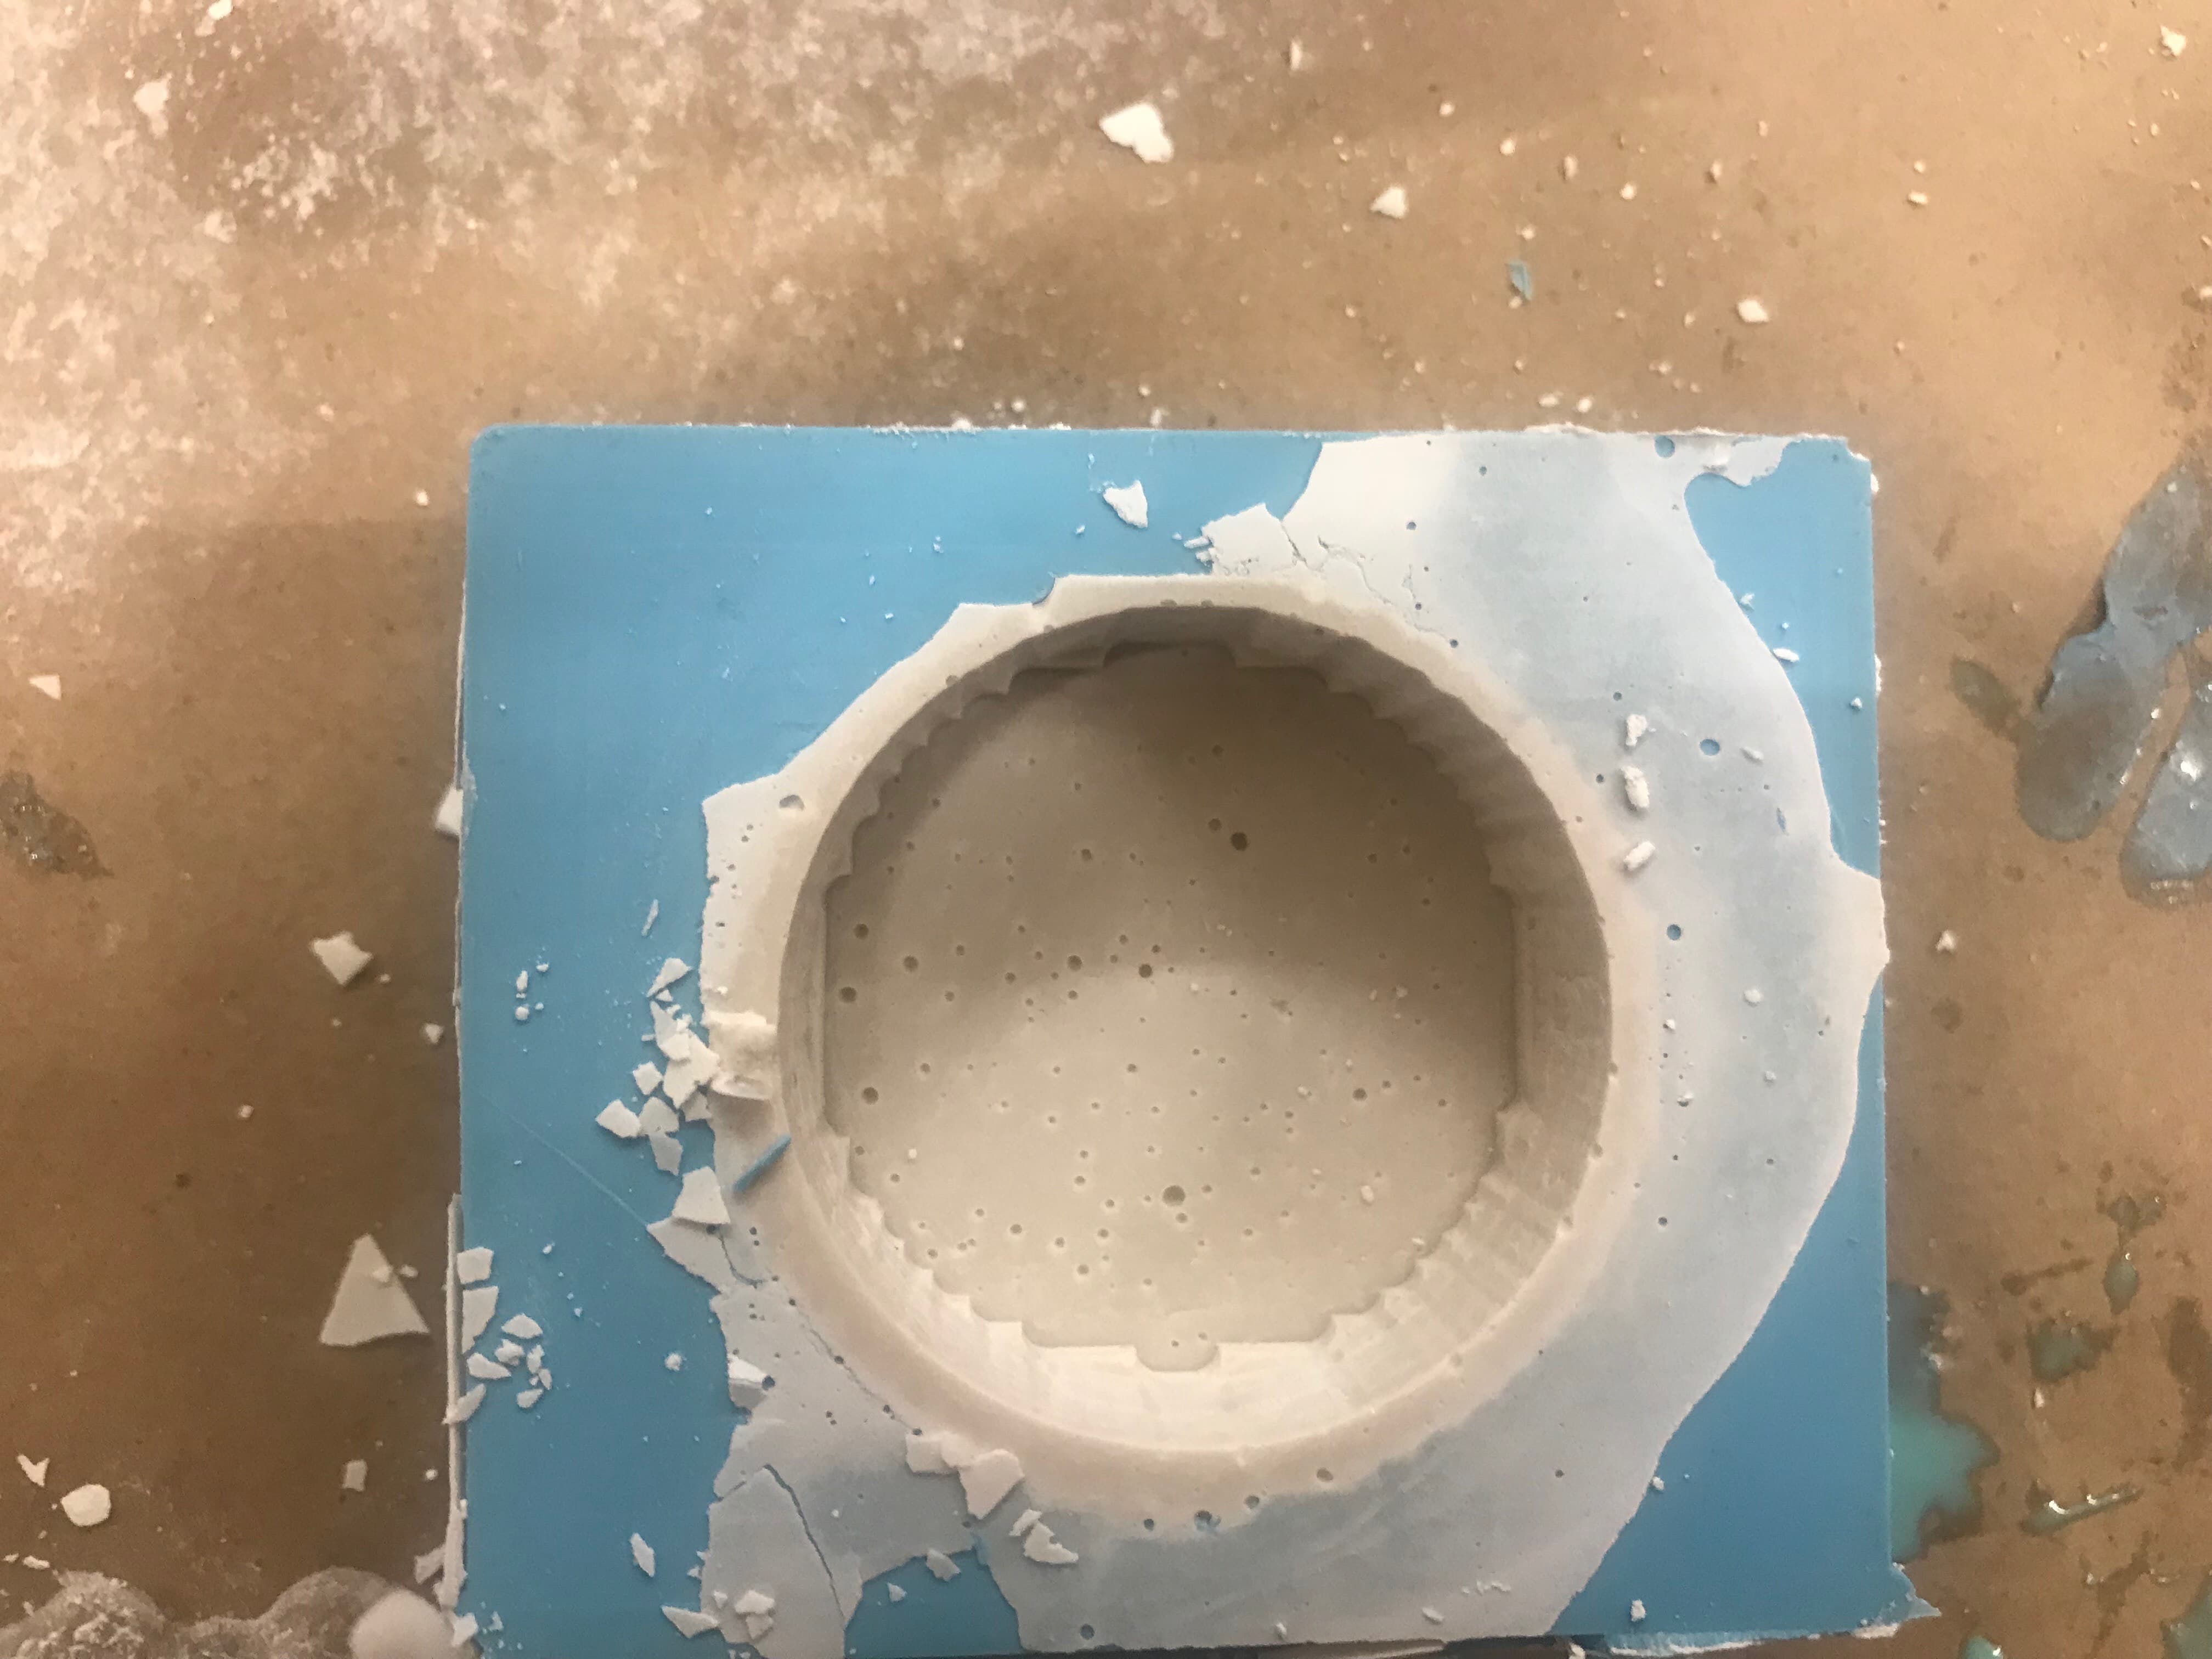
Figure 13. After one hour
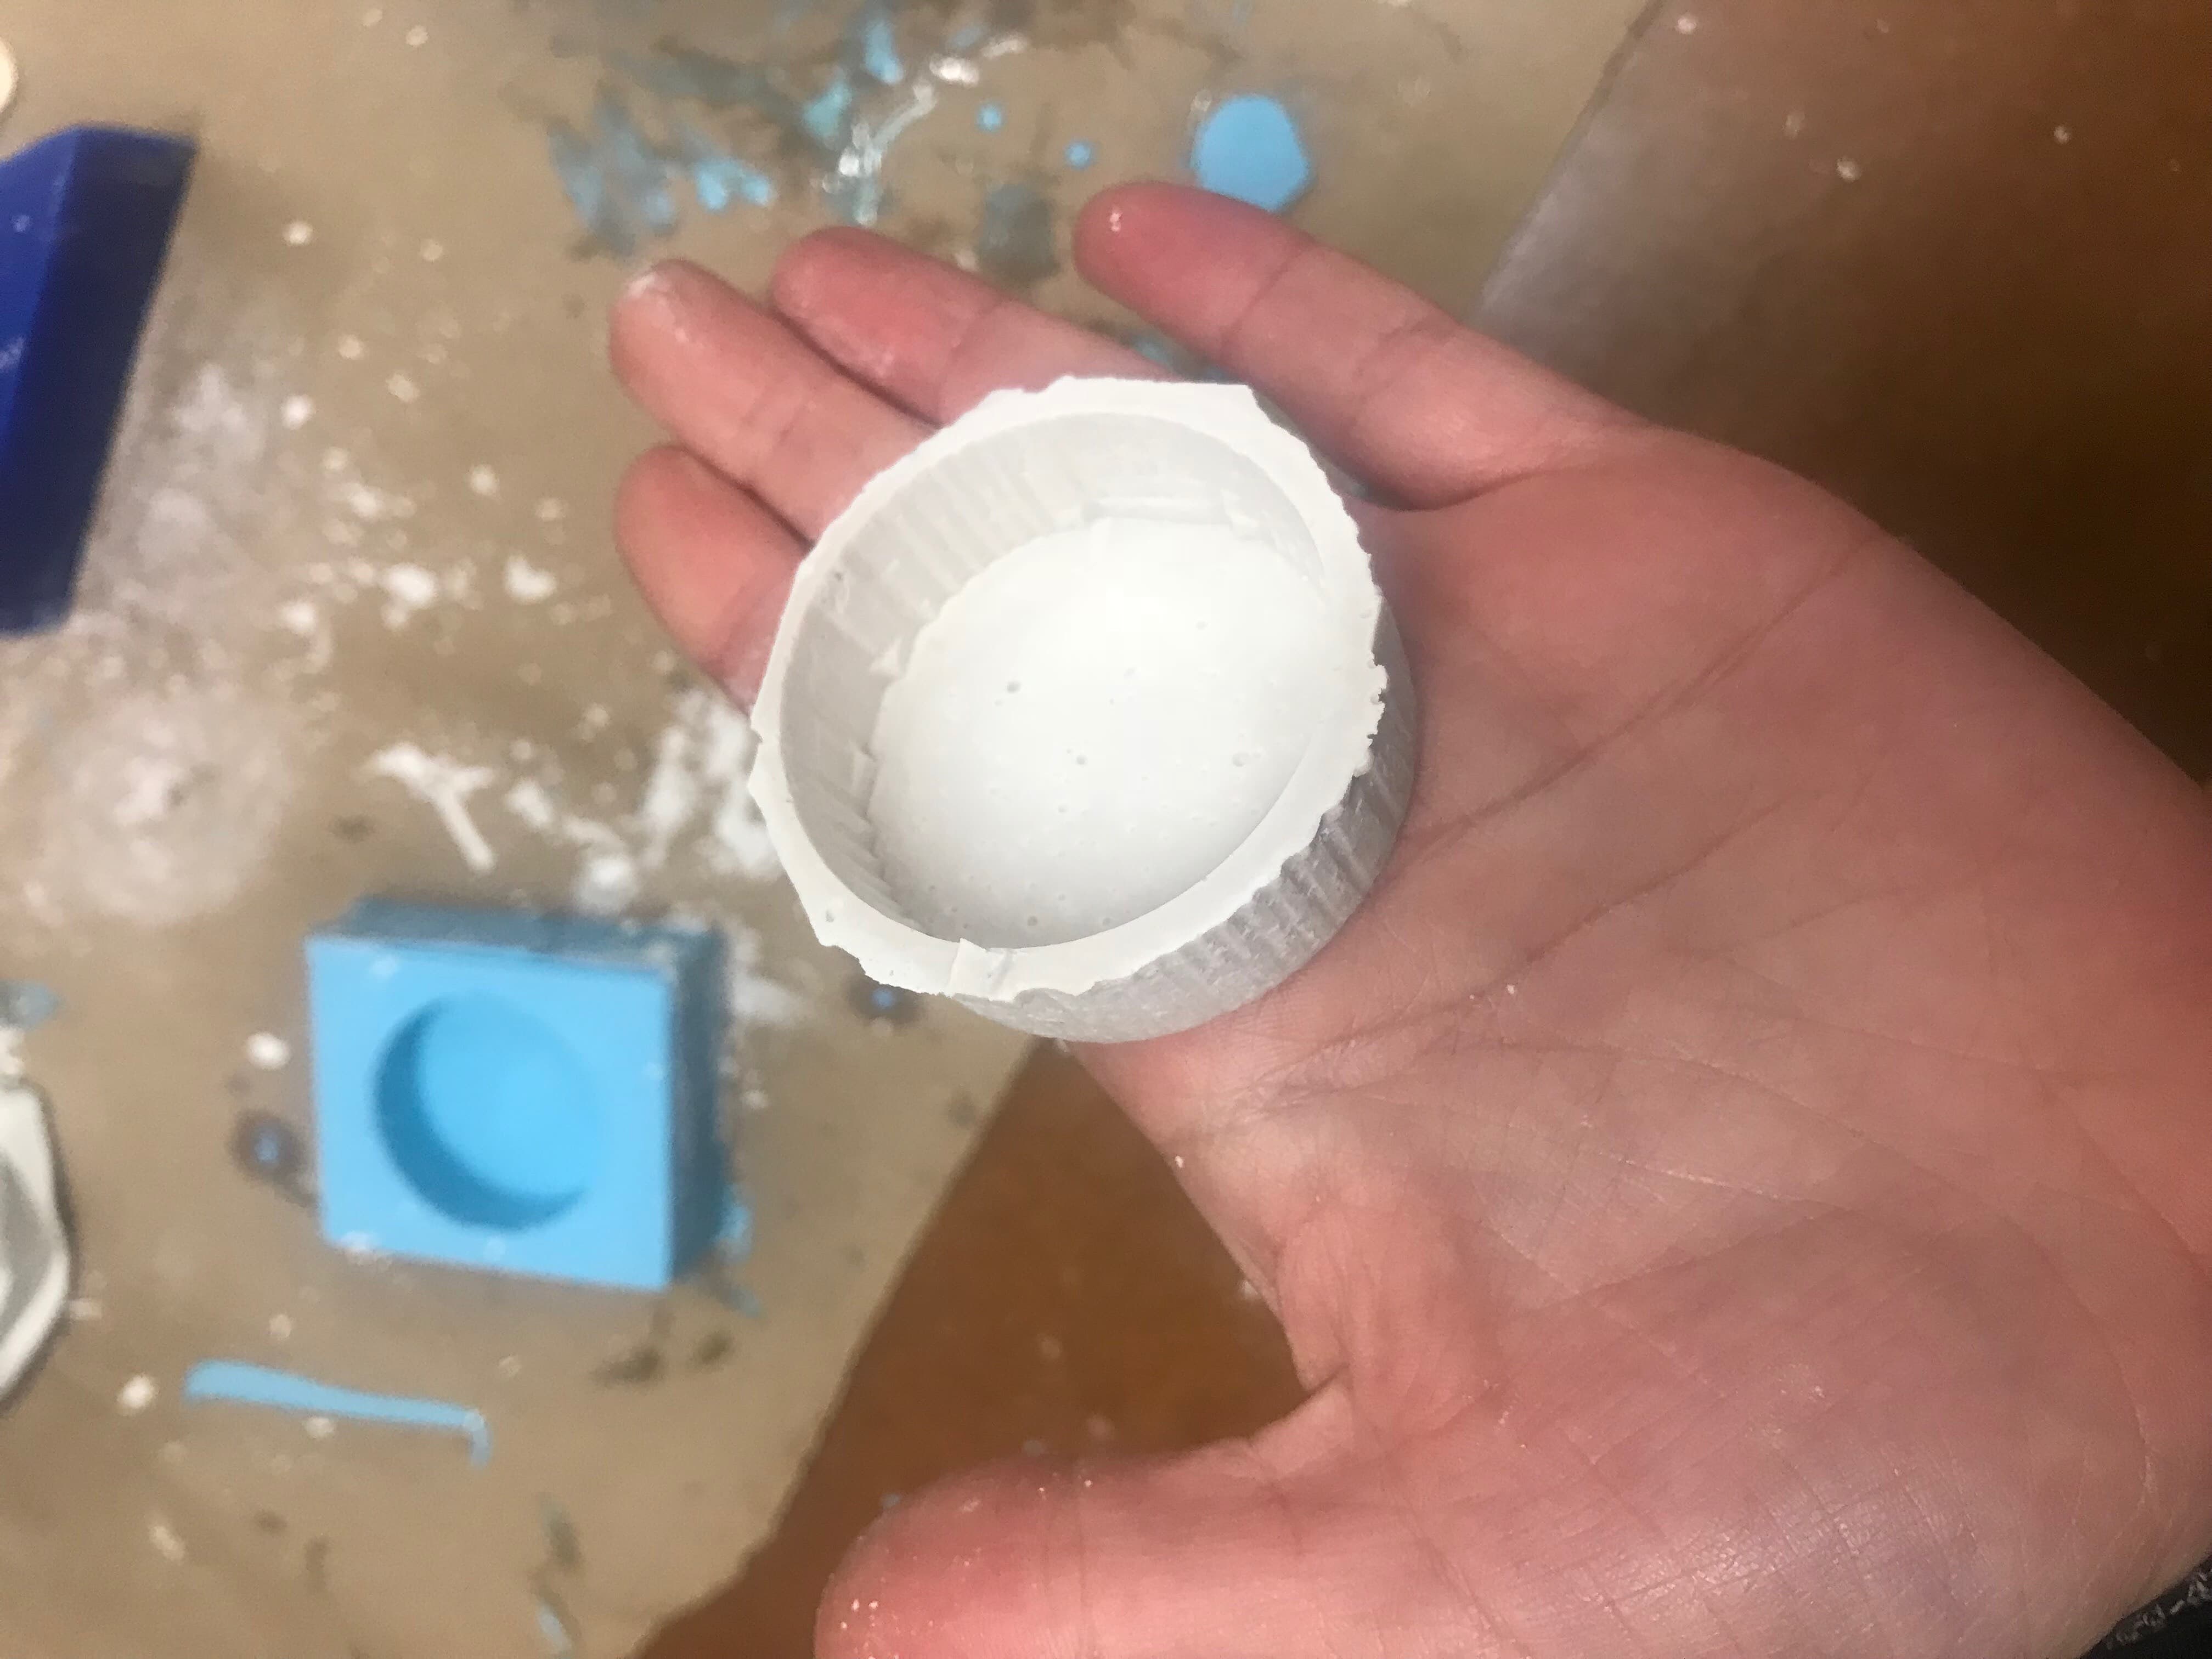
Figure 14. Success!
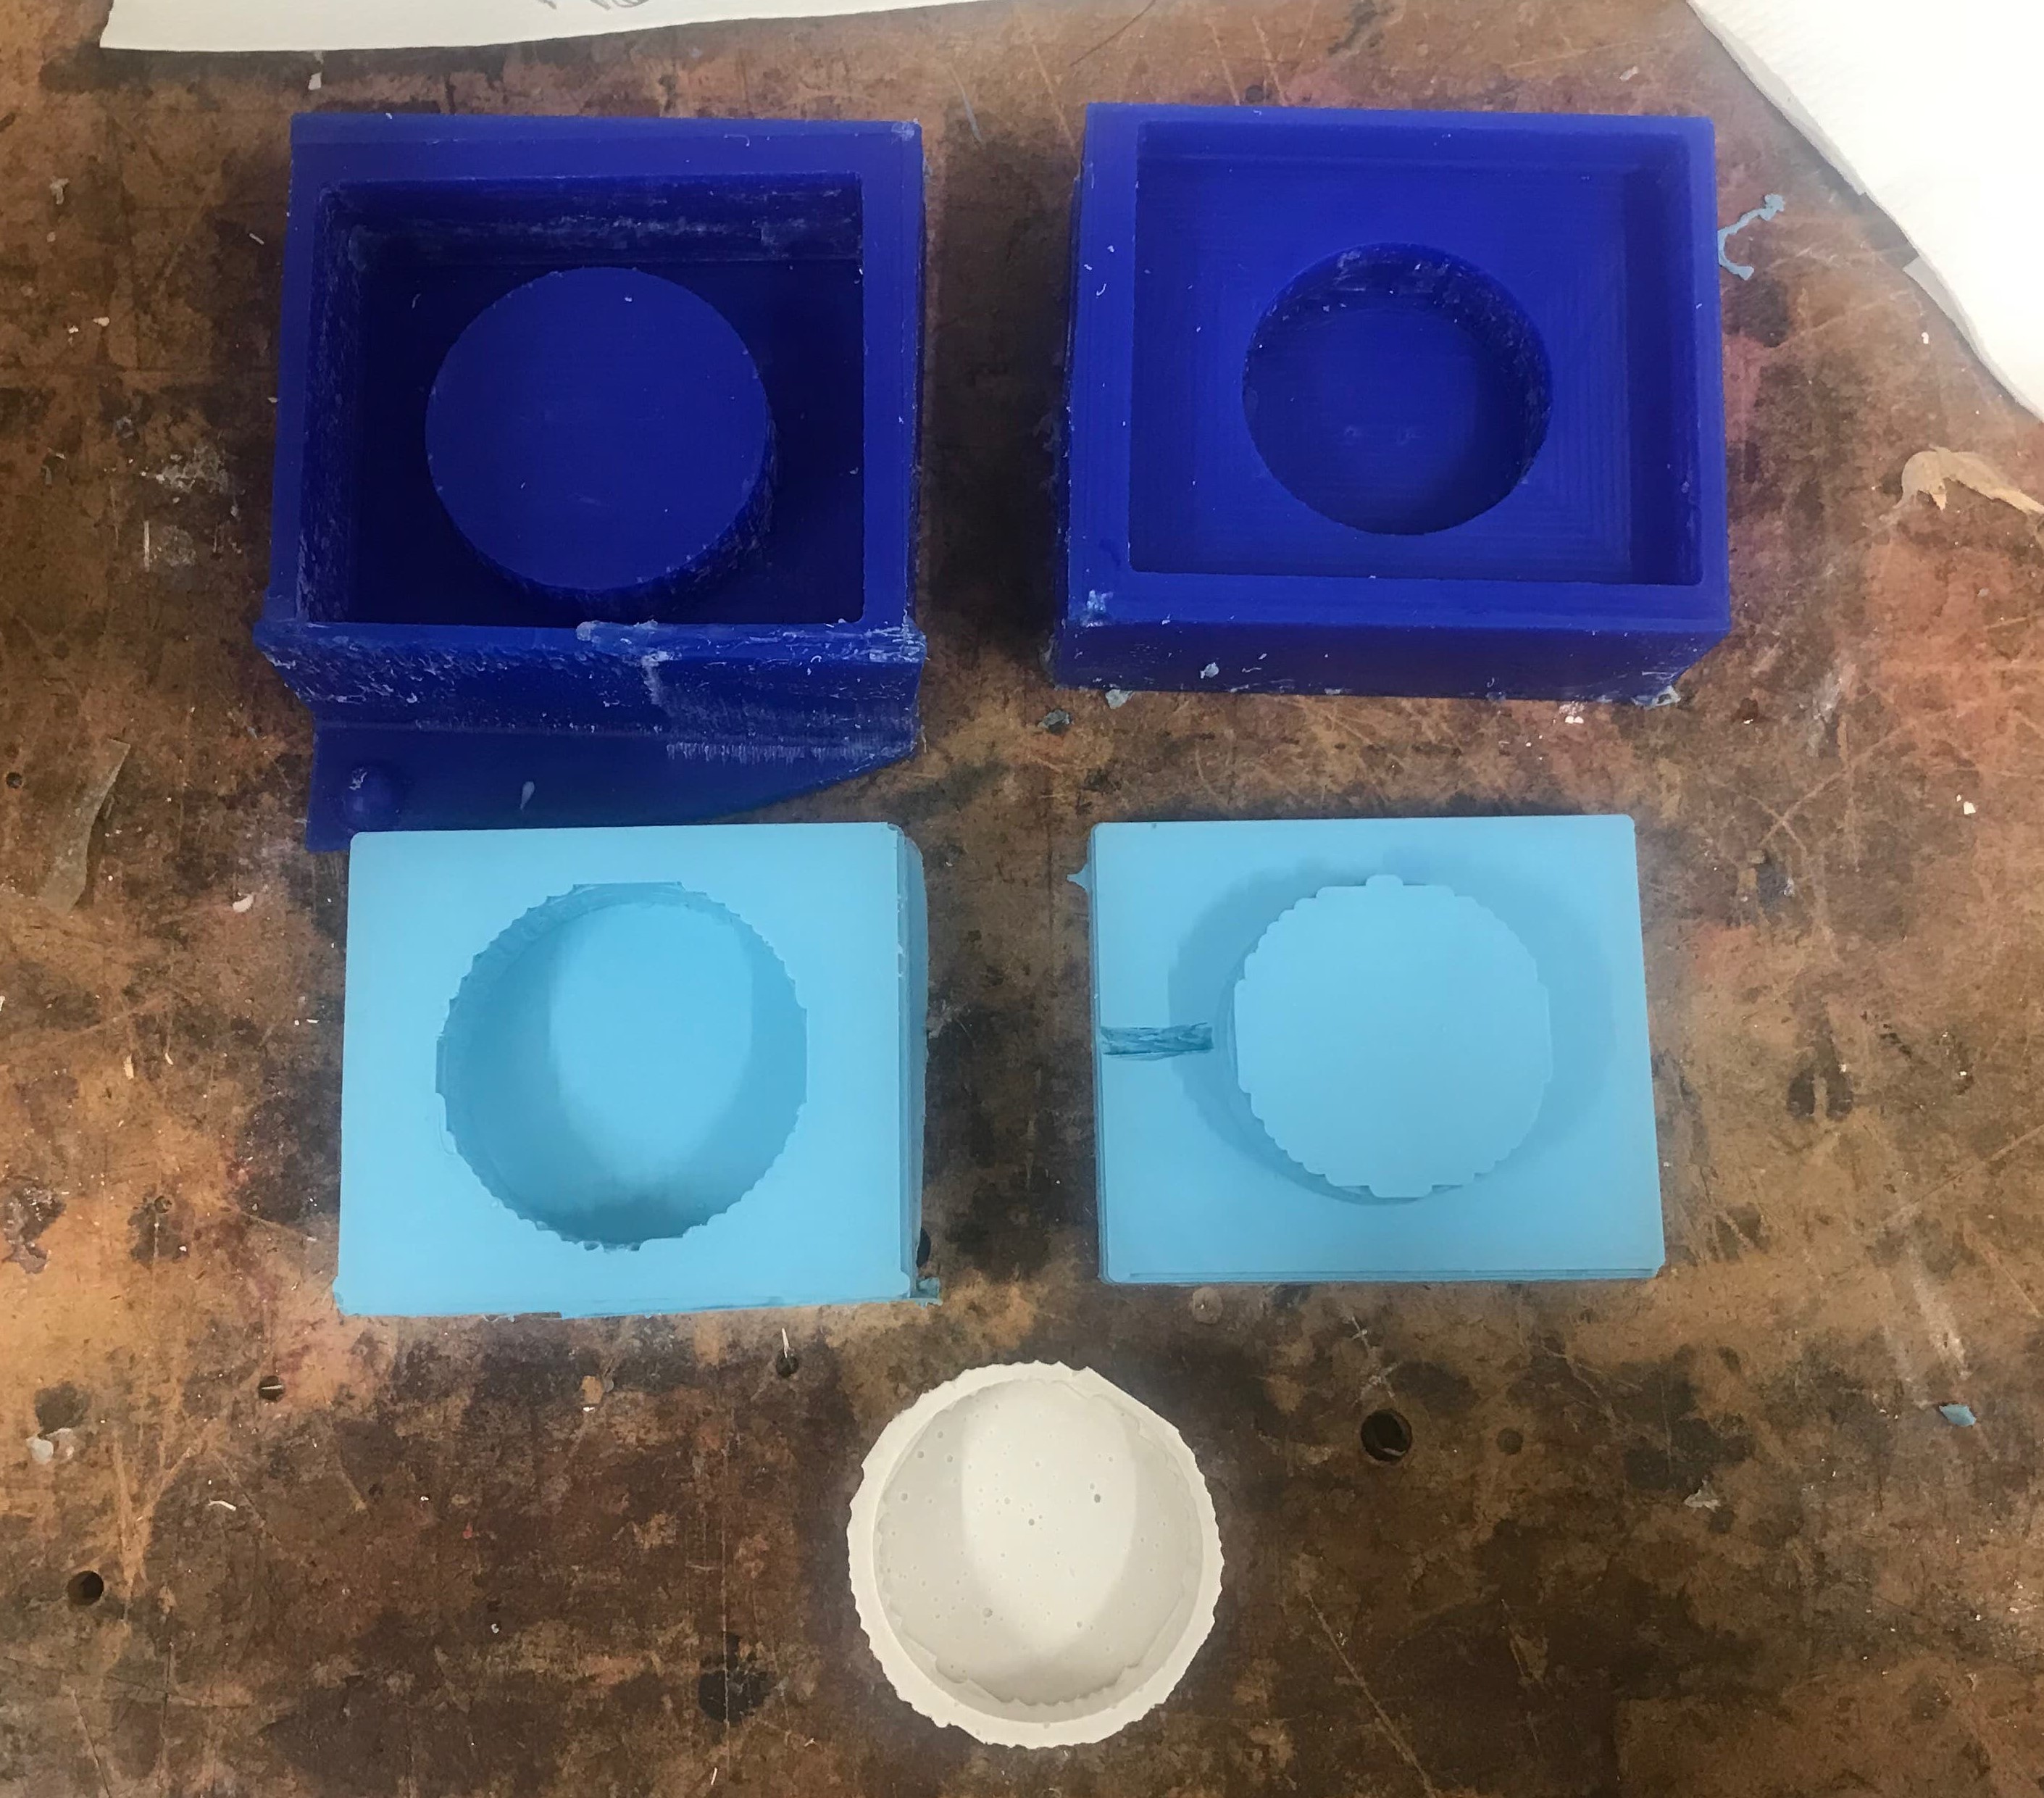
Figure 15. Full Process