Kim
0
1
10
11
100
0101
0110
0111
1000
1001
1010
1011
1100
1101
1110
1111
final
Neil introduced many different ways of making PCB, but we use a milling machine to make a PCB. Hopefully, I can try different PCB designs and make methods like vinyl cutting after master milling.
Running a machine is straightforward. Generate G-code in a script offered by Neil with PNG file and push to a machine. However, there are many things you have to pay attention to.
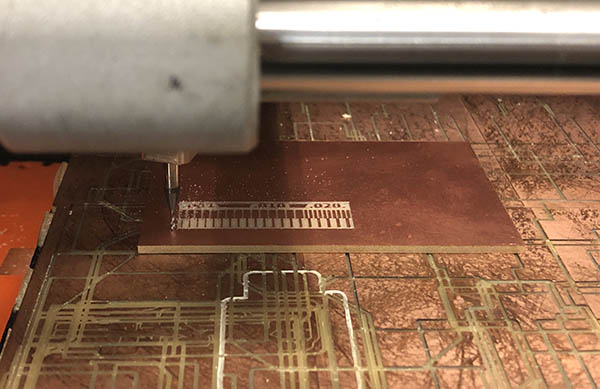
Through the group project, I learned how to generate G-code paths in mods and operate PCB machines, SRM-20 and Modela. I was using SRM-20 for milling my PCB. It didn't take long to realize that I didn't learn anything. Yet.
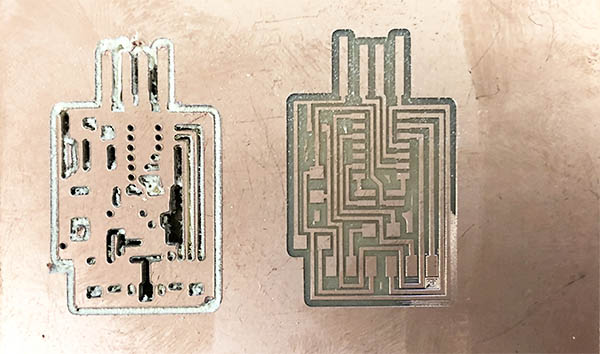
I failed to make PCB twice for different reasons. First, I used 1/64in head in SRM-20 and calculated the milling path with 1/32 plunge depth. I could not see it was cutting too deep because of the dust, but it turned out horrible. I didn't only waste the board but damaged the milling bit(Sorry Jen). I will never forget to check the milling path before I send my job to the machine.
The second round seemed going well. I checked the drill bit I'm using, milling path, plunge depth. However, one corner of the board didn't cut deep enough to remove the copper sheet. I could not see my board was detached from the bed or warped, but I guess it was because I didn't apply double-sided tape in the middle of the plate, where the shallow cut happened. So here are my two takeaways from these failures.
1. Check your G-code path before you send it to the milling machine.
2. Make sure your bed and material are leveled and calibrated.
The most difficult par of this practice was not soldering but knowing all the parts I will solder on the board and continue using for advanced board for my future projects.
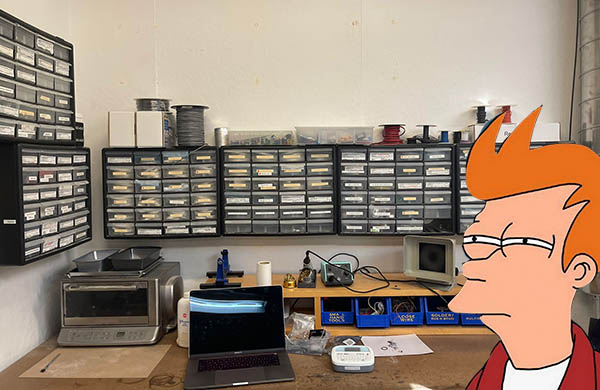
I was intimidated the first time I looked at the wall with small drawers with tiny electronic parts.
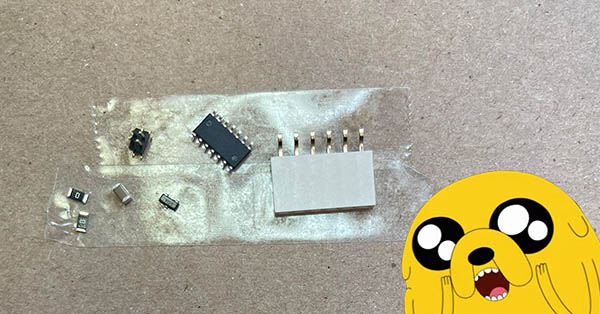
It took some time to understand and get familiar few names, such as a resistor, capacitor, header, Voltage regulator, parts we're using for SAMD11C USB.
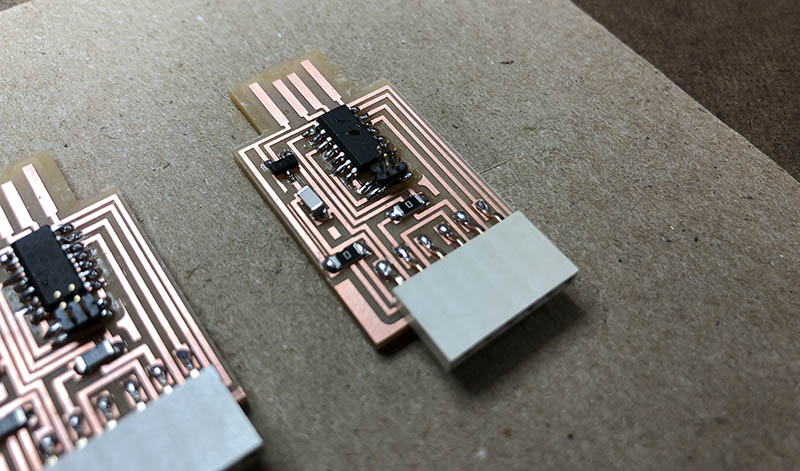
It didn't take long to solder parts. I guess my muscle memory from making a hobby radio kit helped me.
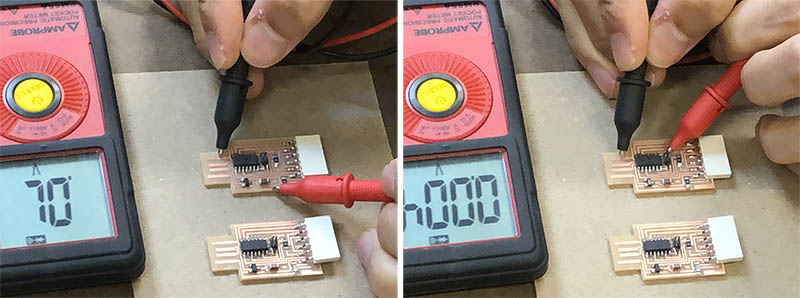
Laura and Calvin taught me how to test whether the board is soldered successfully by Voltmeter. Put down (-) to the GND and pick (+) to the circuit and see if it doesn't connect except other GND. So far, successful.
1. making PCB(by mods, SRM-20)
2. Soldering