10 Networking & Communications
ESP32 WiFi HOTSPOT
This week was all about making a dev kit that could be hooked up to a web UI! This week was particularly tough. Thanks to Cathy Fang for helping me out debugging my devkit!
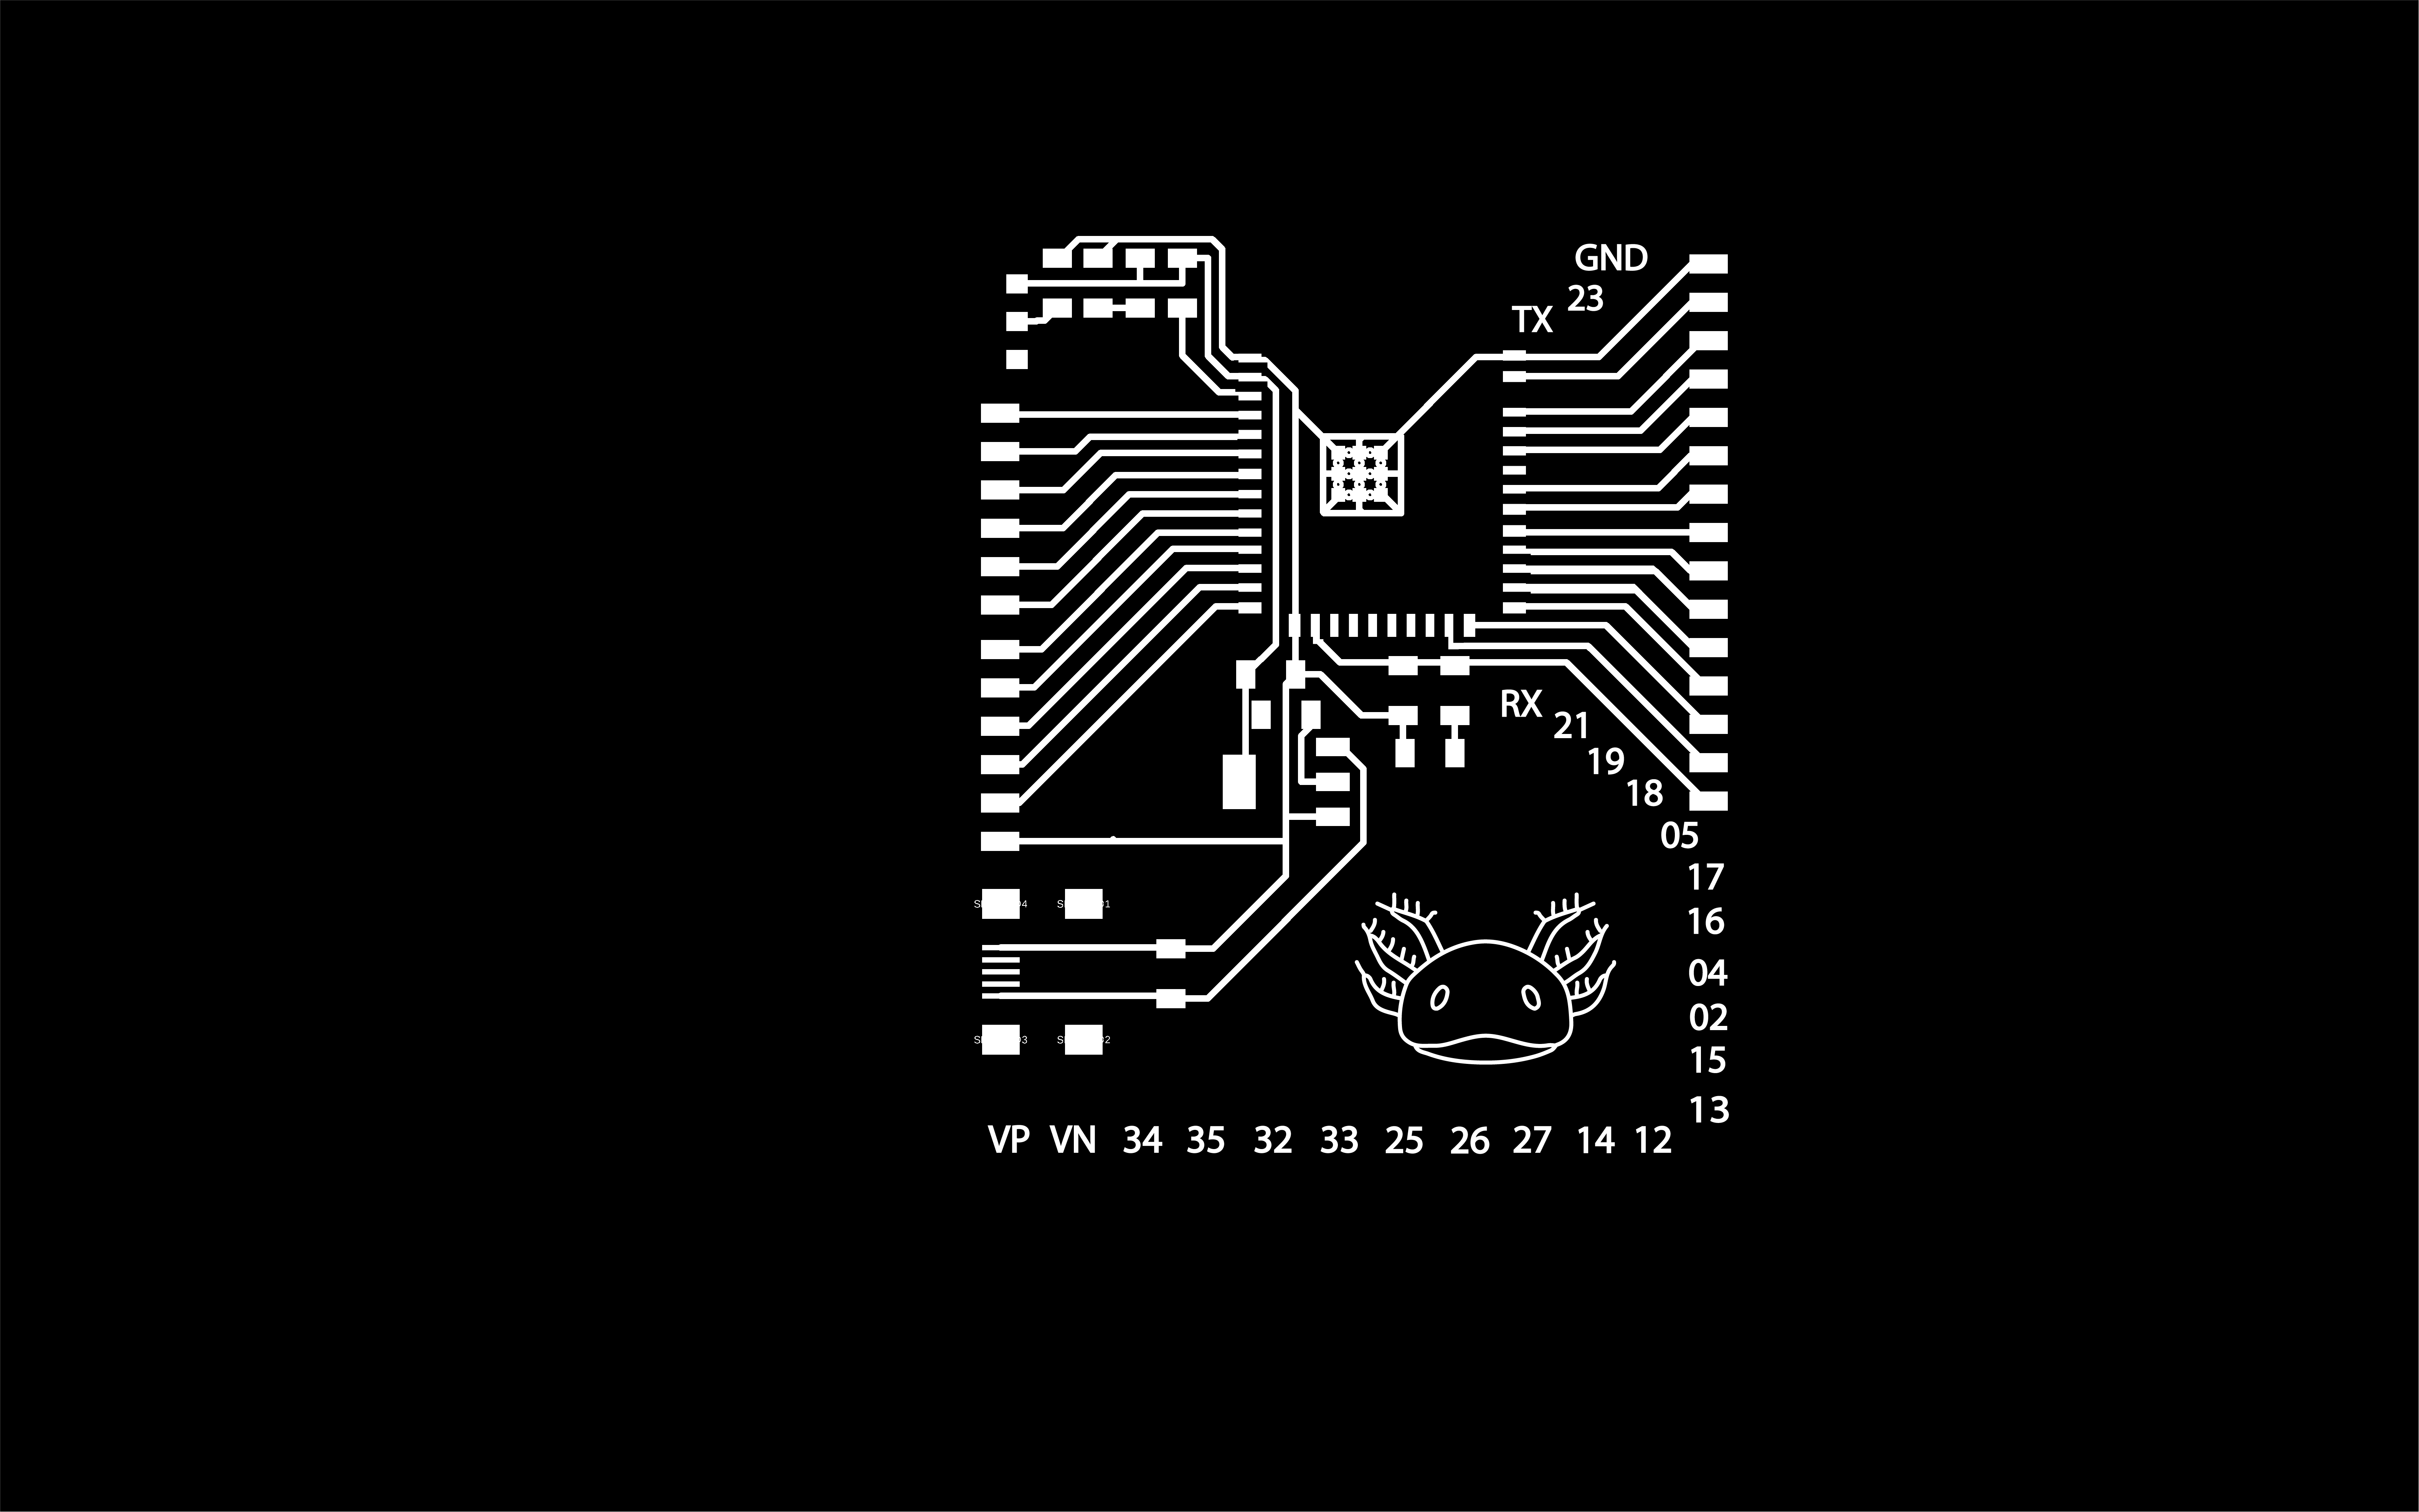

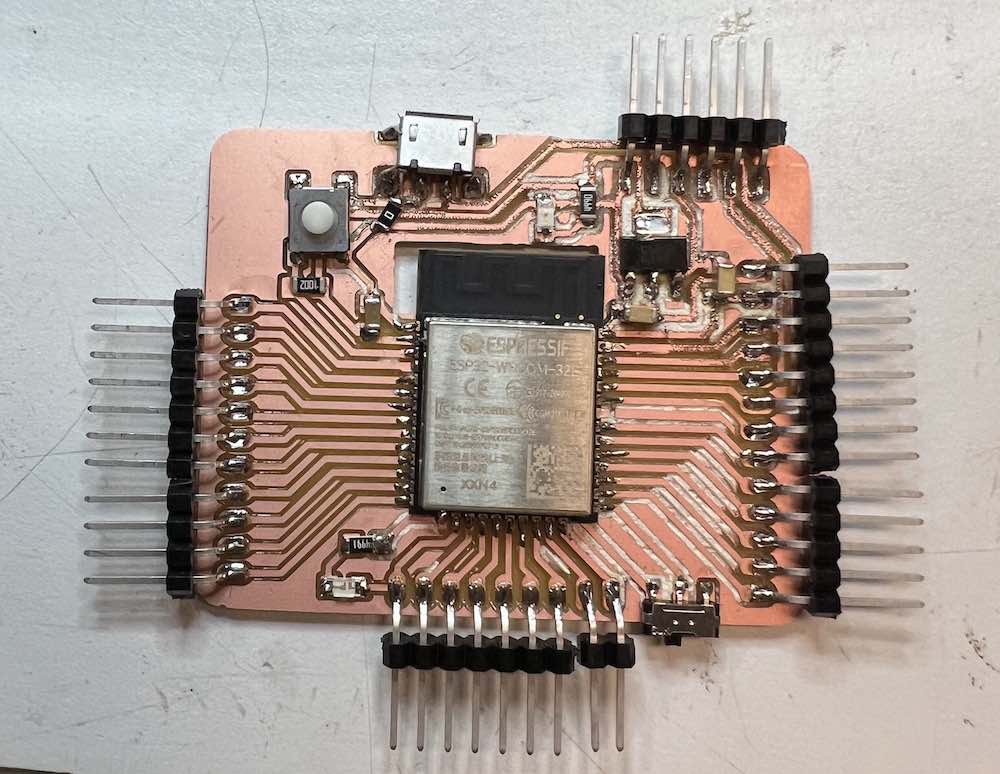
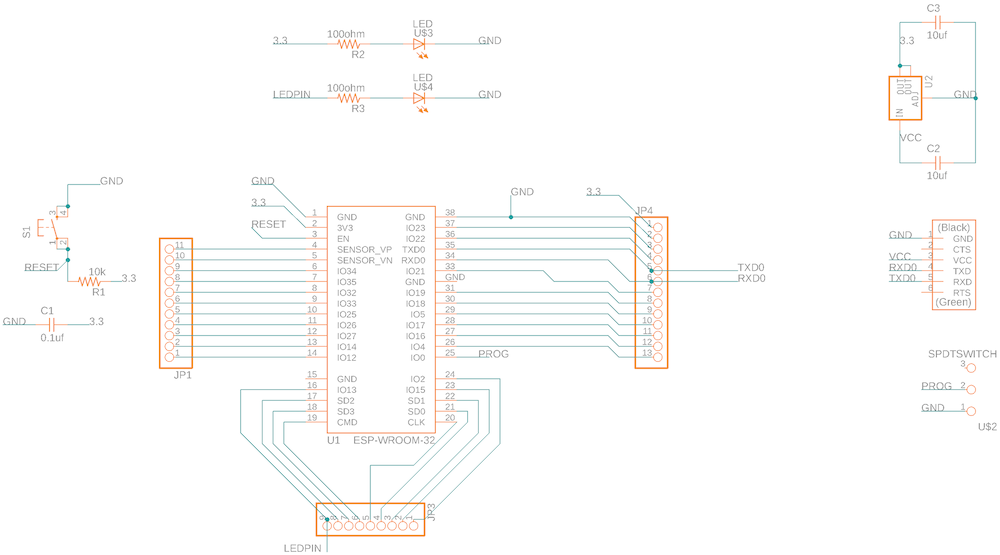
For this week I built a new devkit using the ESP32. With references from Cathy Fang I started building the schematic and routing the components in Fusion 360. Then I added my personal touch (an axolotl) and the pin numbers for easier reference in Adobe Illustrator after exporting the files as pngs. I then proceeded to mill the design. After numerous issues with the tape under the copper plate being too weak and ruining the print, I was eventually able to get two PCB layouts that I could stuff. With them stuffed however, I hooked one in to power, and quickly found that the circuit had been shorted. After consulting with a few TAs, we were unable to pin point what the problem was. I then moved on to the second pcb which also shorted. I figured that it'd be a flaw in the design and as such with limited time, I went to implement a new design from scratch in Fusion 360 that follows the Barduino 2.0 design.
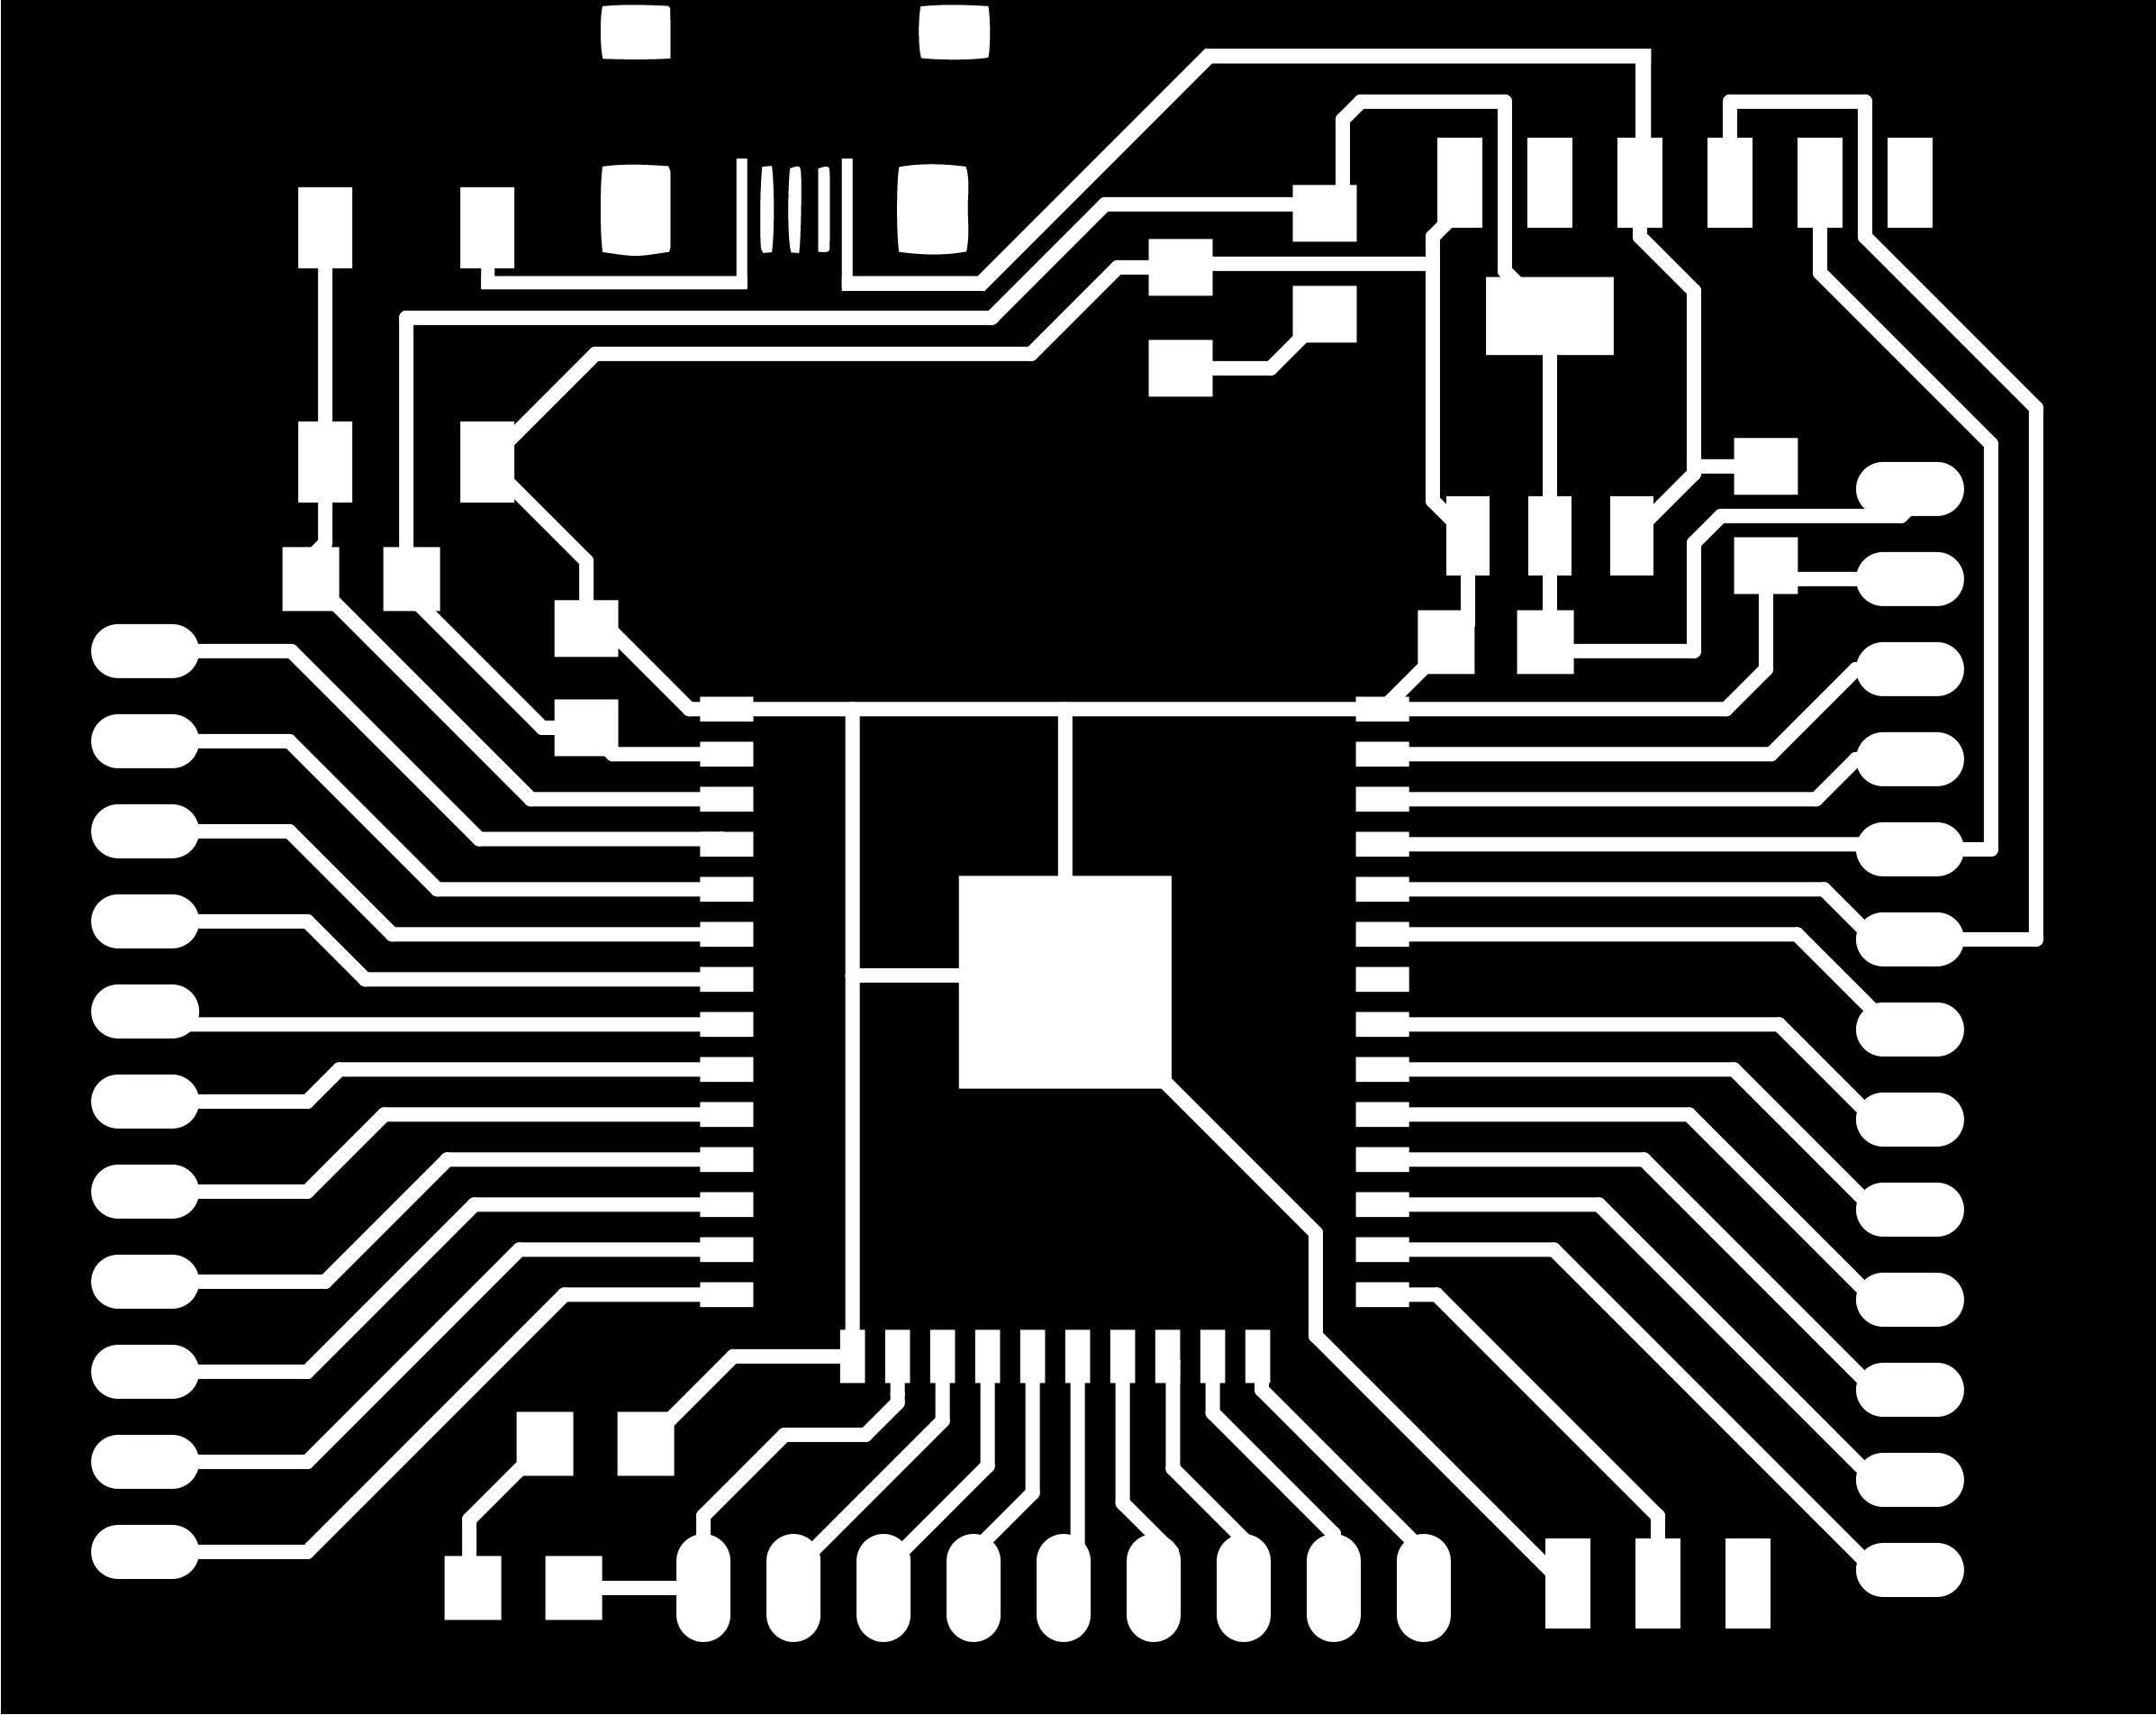

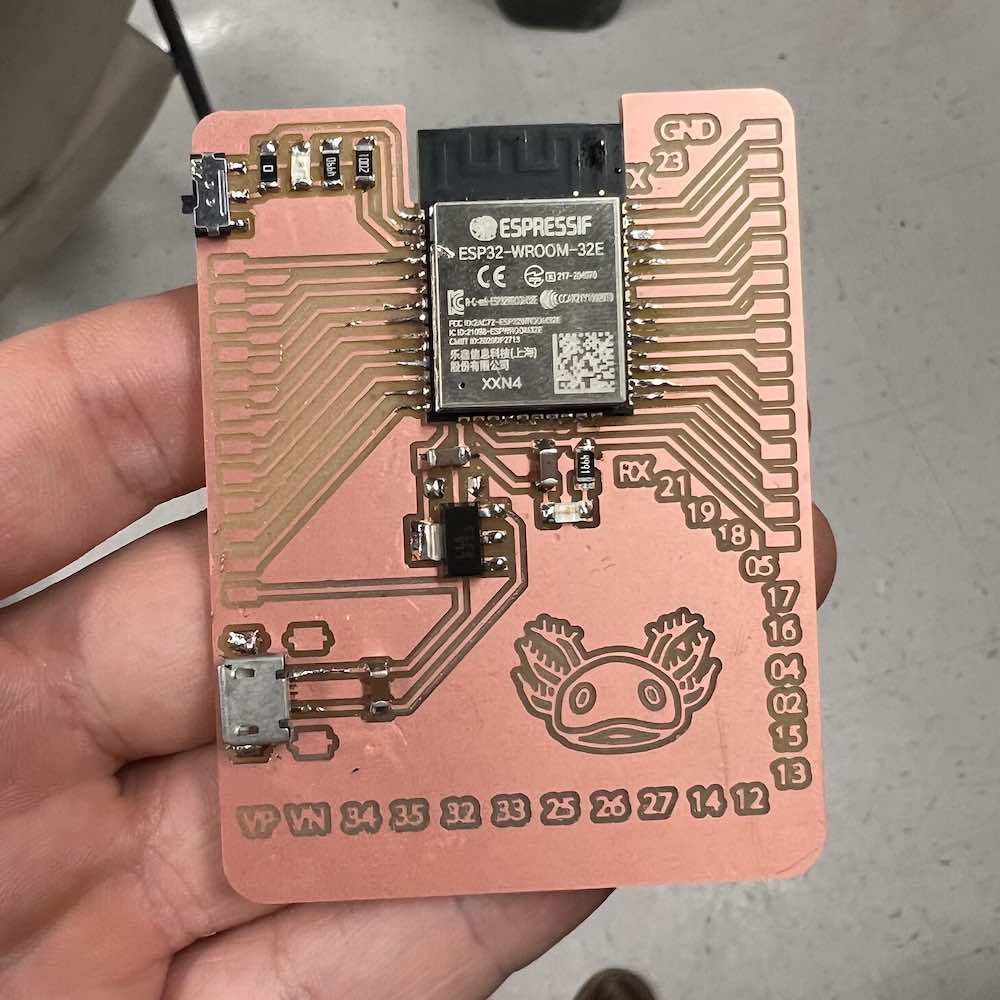
With the new design, I quickly exported the images and went ahead and milled and stuffed them. I then attempted to set the ESP32 up following this guide but was unable to download to the chip. After hours of debugging with the help of Cathy Fang, we found that there was a very small connection between the traces and the outer unmilled copper area. With a boxcutter, we quickly cut the connection out and were able to download the code to the device.
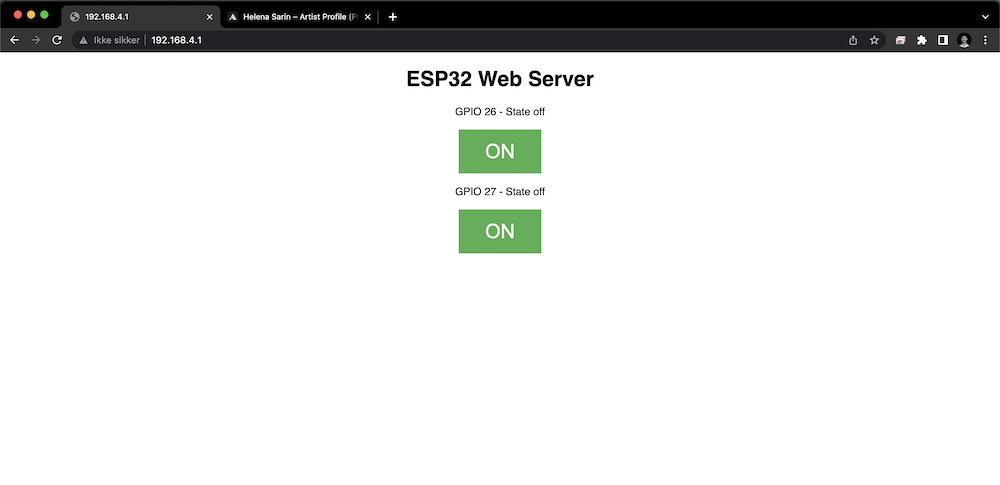
I wanted to have a private connection between the PCB and a web-ui and so I decided to make my ESP32 into an Access Point, which is basically a wifi router that other devices could use. It was pretty simple to do just following this tutorial.