Week 1 - Computer Controlled Cutting
Characterizing the Laser Cutter
I worked with a group in the MIT Architecture Shop to characterize the laser cutter I will use for the rest of the class.
Laser Cutting
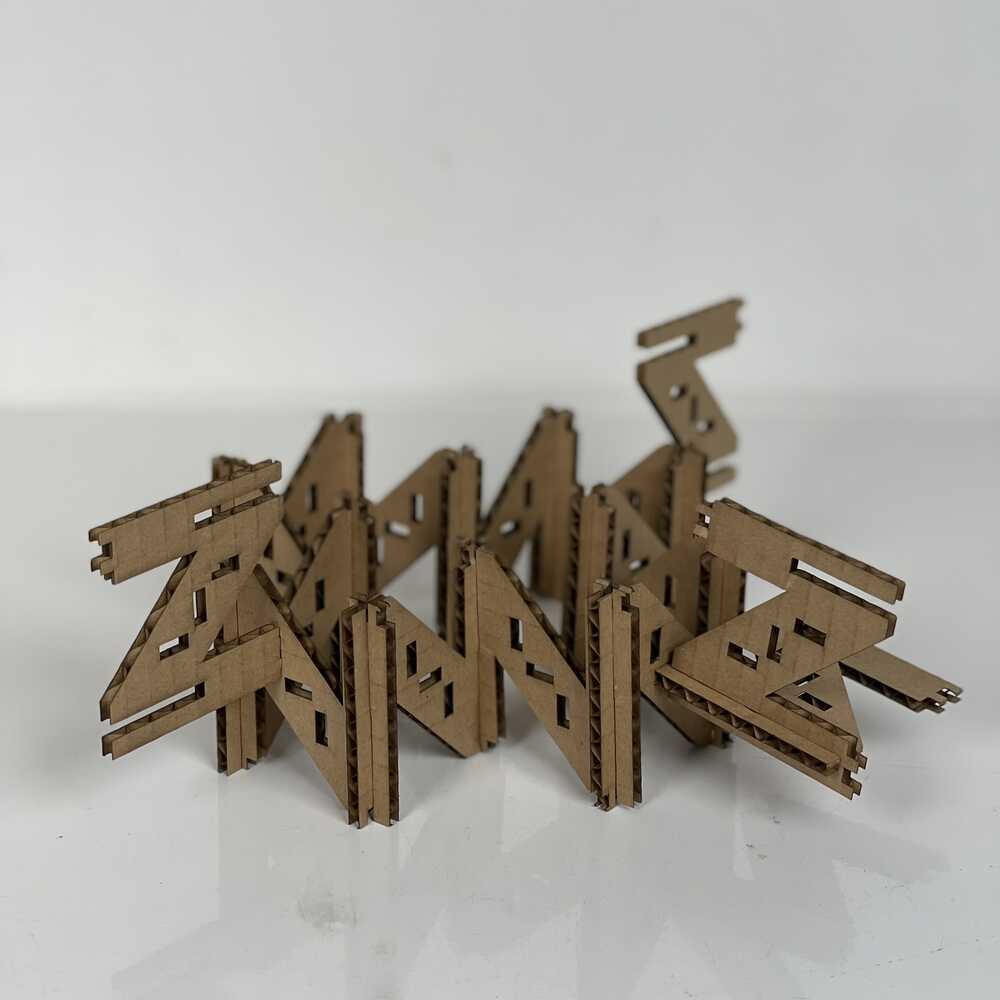

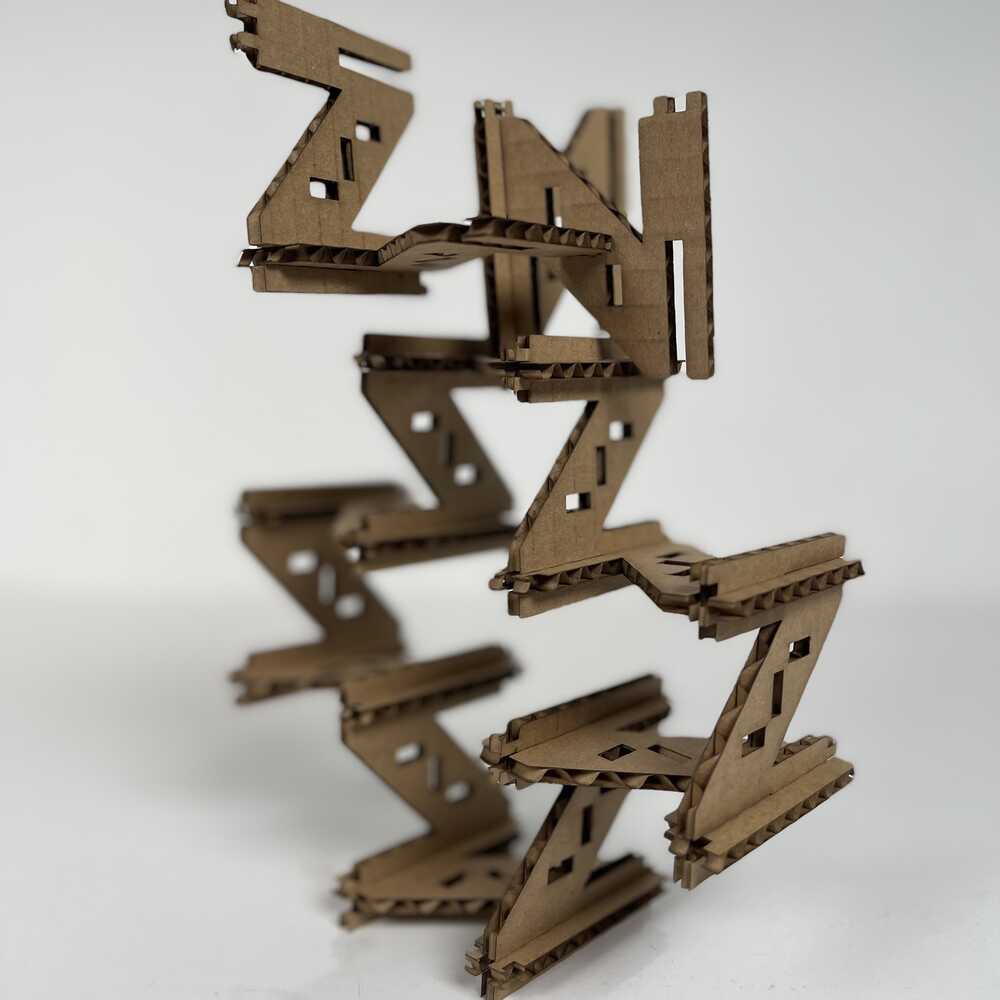
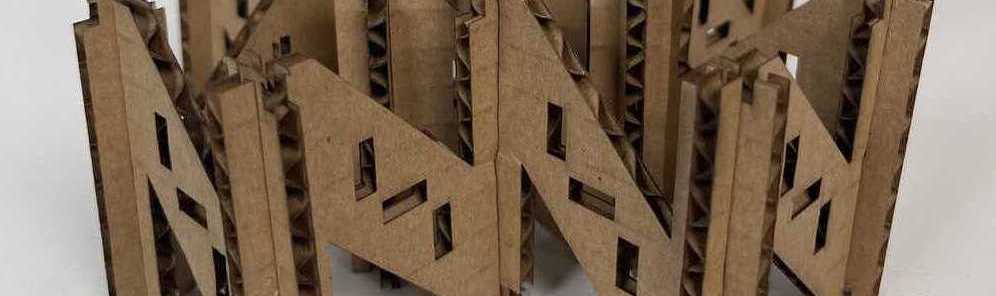
 My design for a parametric construction kit incorporates the letter Z nestled within a square frame, featuring three distinct types of joints: press-fit, finger, and snap. I was drawn to the concept of offering multiple assembly options, thus I crafted a minimalist design that not only reflects my name but also complements the logo I created for vinyl cutting.
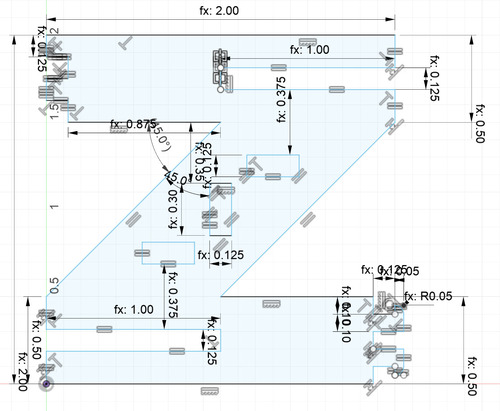
I invested significant effort into implementing constraints for all the components to achieve full parametric functionality, but it proved challenging to make every element entirely parametric. In the initial iteration, I successfully prepared the design for laser cutting by simply scaling it proportionally to accommodate the cardboard's width. However, after gaining valuable insights into constraint-based design through this first attempt, I chose to embark on a complete redesign from scratch.
Attempt 2

Attempt 3
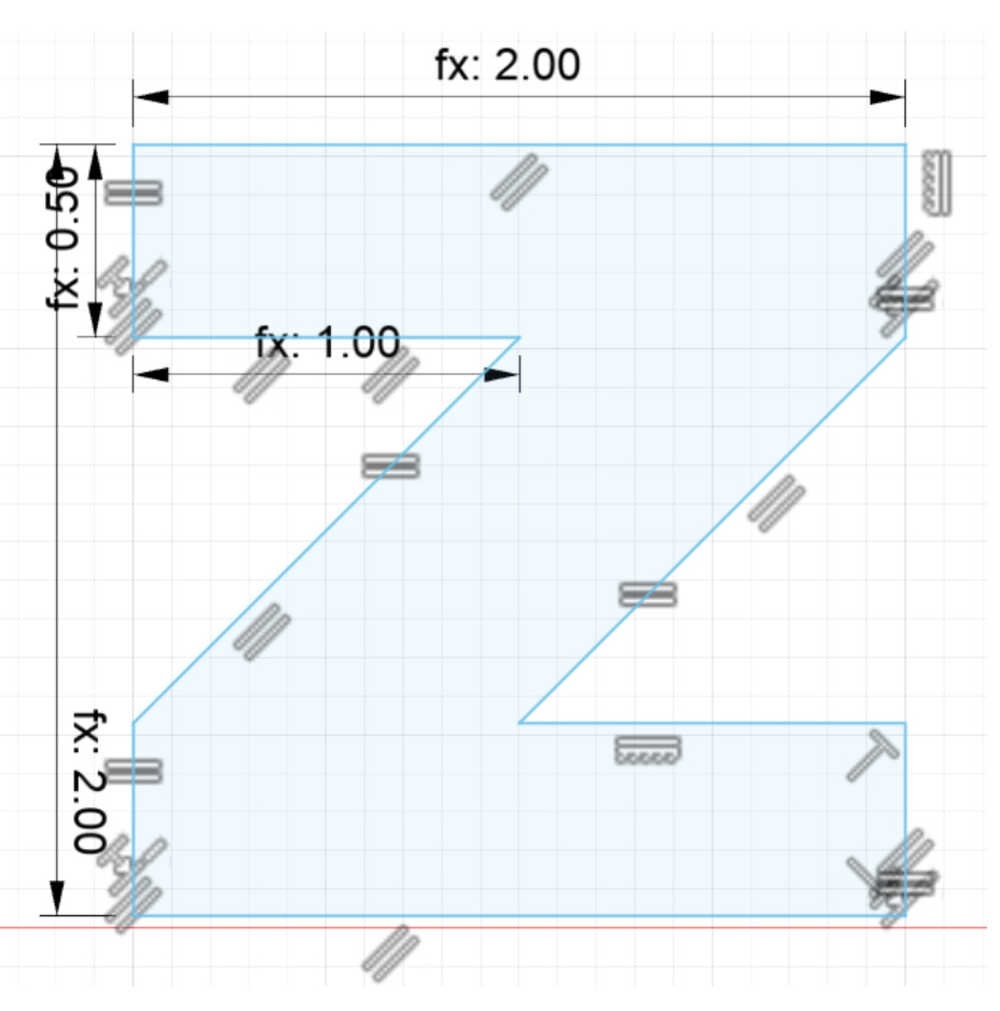 I finally was able to parametrically design the basic Z but its not all black lines??
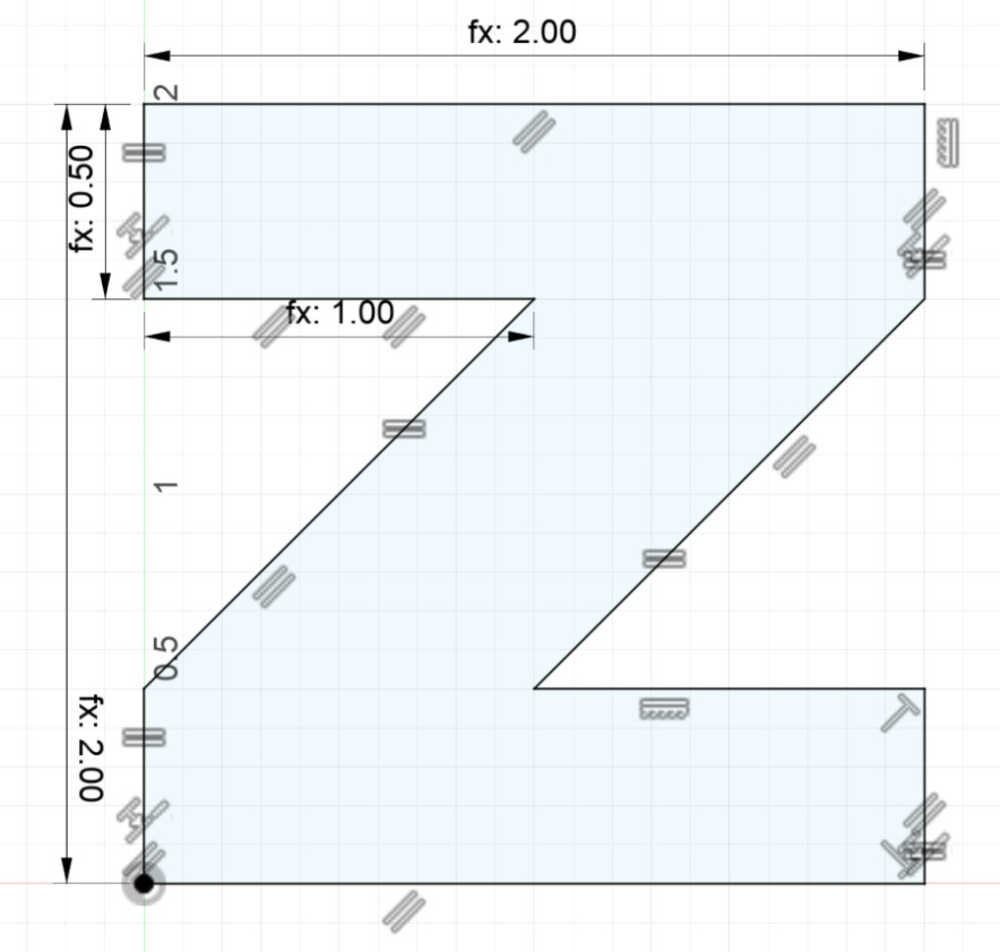
Then I consulted a CAD pro and learned that I need to coincident a point to the origin. Then it all worked!
I finally was able to parametrically design the basic Z but its not all black lines??
Then I consulted a CAD pro and learned that I need to coincident a point to the origin. Then it all worked!
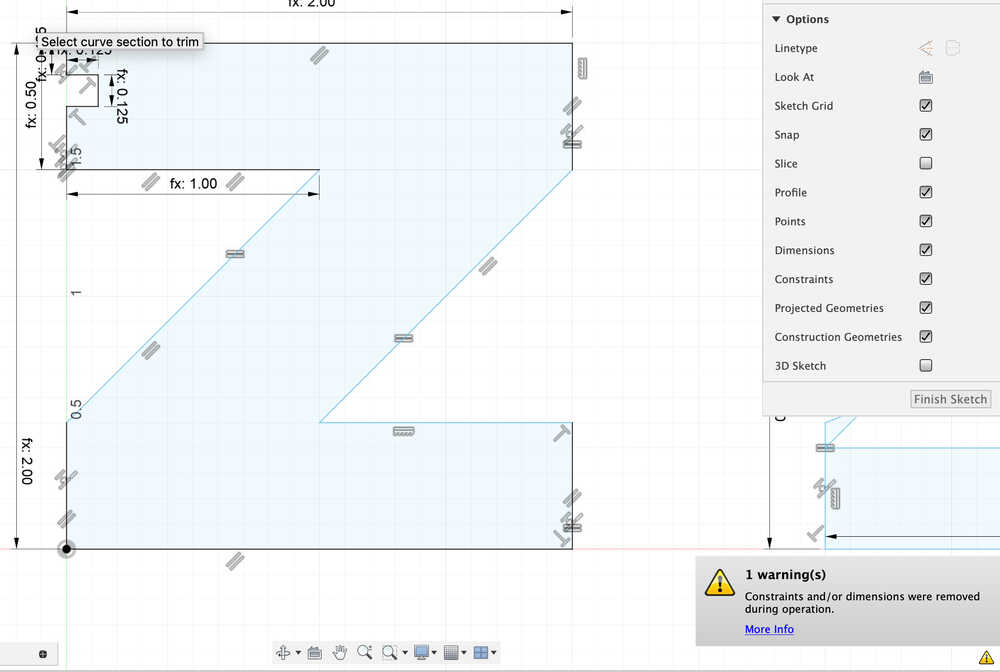
Attempt 3.5
As I continued to add the details of the points, I learned that trims and fillets break EVERYTHING. So I’m just going to ignore them now
Tadaa!
 It should be parametric now because all the lines are black!
Time to test my parametric design
 I changed the one and only parameter "cardboardwidth" to test if it actually works…
Turns out everything is red and I’m out of time so that is all I will do. I’ve learned a bit about parametric design through the process and I will continue to practice this concept throughout the rest of the class.
I changed the one and only parameter "cardboardwidth" to test if it actually works…
Turns out everything is red and I’m out of time so that is all I will do. I’ve learned a bit about parametric design through the process and I will continue to practice this concept throughout the rest of the class.
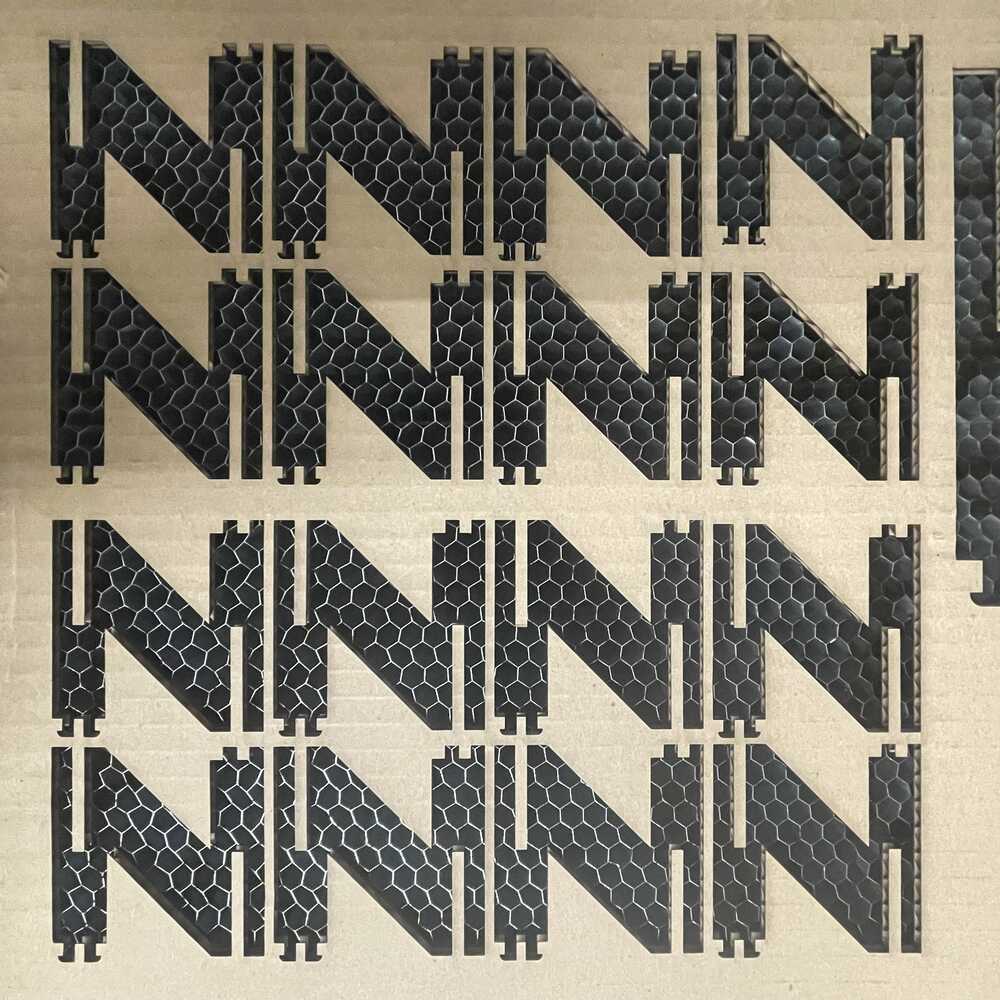
My design cut on cardboard
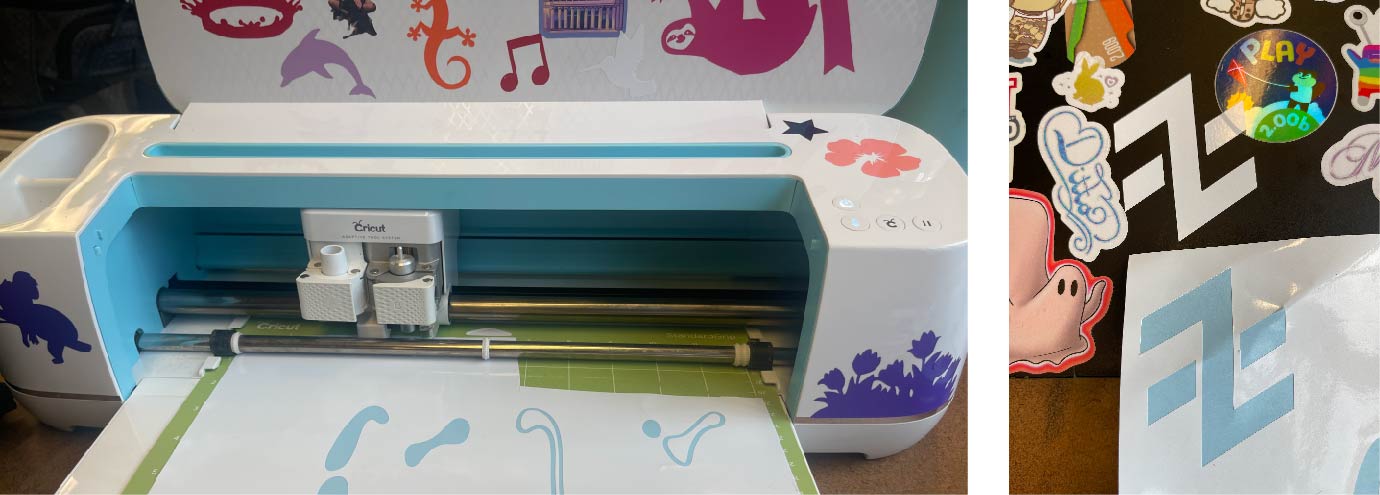
Vinyl Cutting
I designed a logo for my website (top left) and I vinyl cut the design using a Cricut. I have experience using this so everything went smoothly. Most time was spent sketching ideas for the logo.