
Week 7 - Computer-Controlled Machining
Make something big!
Deciding what to make...
For week 7, I want to CNC some furniture! My room does not really have space to fit any more furniture, so I sent my free furniture offer to some group chats to see what my friends want. I'll just make something big for them. The biggest candidate is a bookshelf! I found some inspirations online:
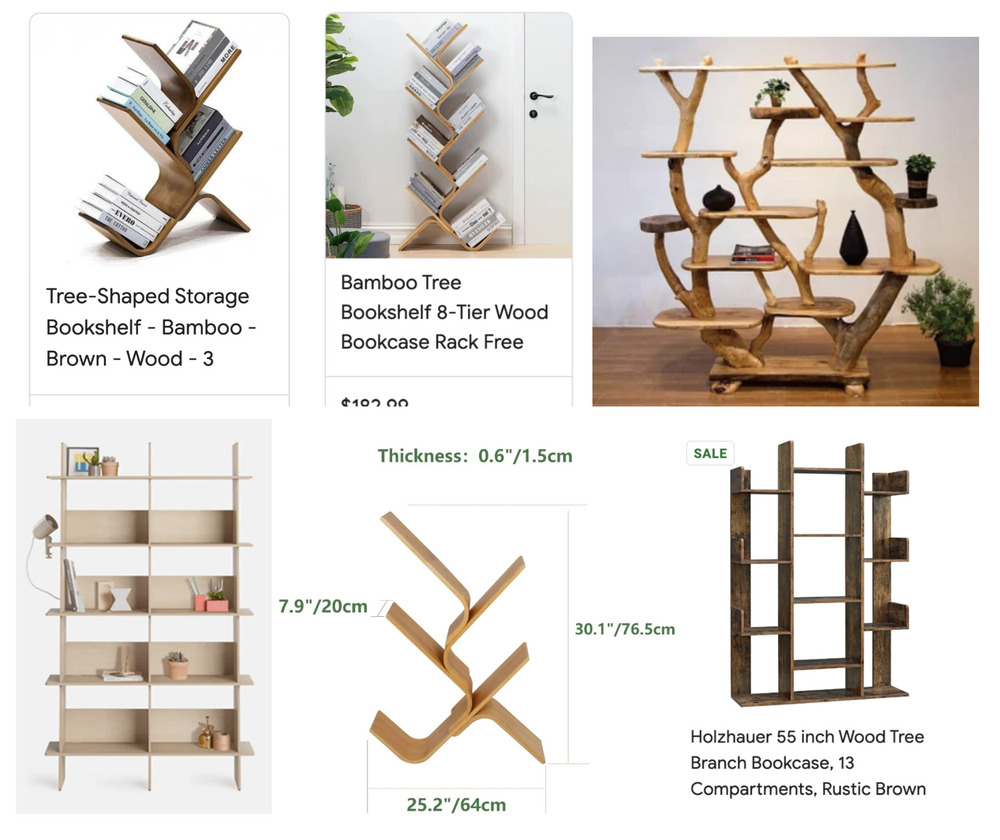
I really like the idea of curving my wood with living fixtures but I could not think of a good joint connecting the different pieces for the tree shaped bookshelf othe than wood glue. I do not want to use wood glue or fasteners so the constraint I'm following for this project is to only use joints built into the design.
I spent a lot of time trying to design a new shelf with all the constraints.. But i just like dont have enough time to get a design that I really liked. Usually in my design classes, the brainstorm phase takes like 2 weeks and from start to finish it takes at least a month. I’m trying to do this process in a few day...
thinking too much over this...
After a few hours of designing over the weekend, I realized that this is not a design something really cool and unique project but a make something big project. I don't have to design something from scratch. I will run out of time if I stay stuck at the brainstorming phase. So, I went with the Linnea Bookshelf from Opendesk because I thought through the process of creatingit. I set out on a journey to recreate it (but smaller due to my size constraint).

Designing the shelf
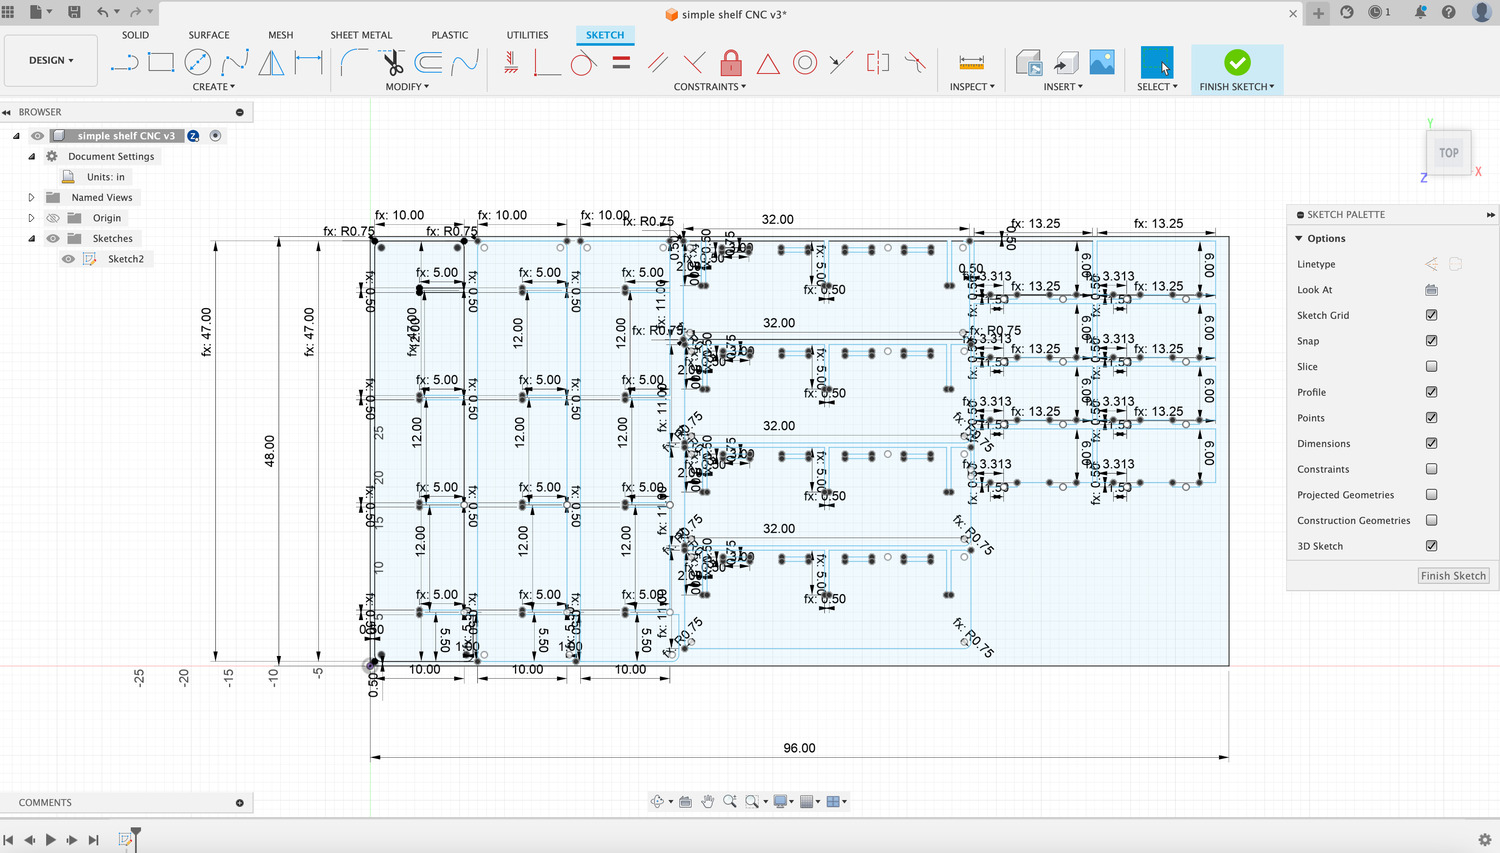
Wow! Another opportunity to work on parametric design! This time is important because all my joints have to fit in perfectly.
after a bit of analyzing the 3 images and thinking...
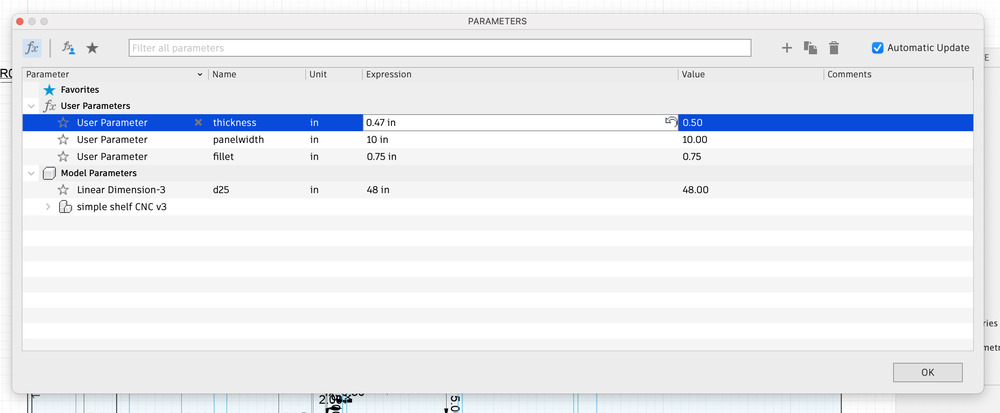
With the initial design done, I head to the shop to test my material for the perfect fit. My particular OSB measures 0.48 in so while a 0.43 notch worked for a few other people. It probably would not work for me.
The CNC Machine: Onsrud

Perfect Joint test
I redoing the group assignment cut test but for my own material.
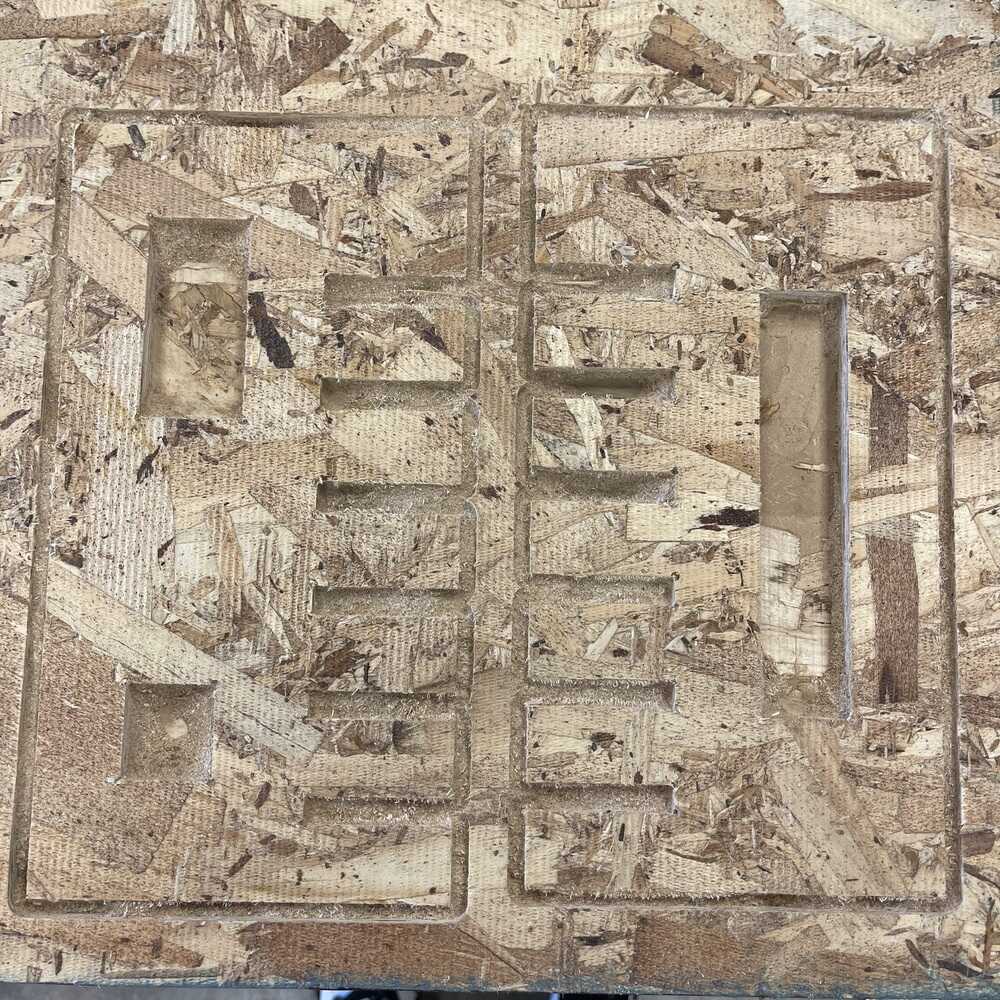

The joint that fit the best is 0.47 in so this will be the new number for my thickness parameter.
My design nicely adjusts to the new parameter and I export to Rhino for touchups and making it easy for Chris. I made sure my parametric design worked by measuring tight fitting parts. I also moved things around to allow for space to drill the material onto the platform. And the points for the dog bone are put in a separate red layer.

Machining my shelf
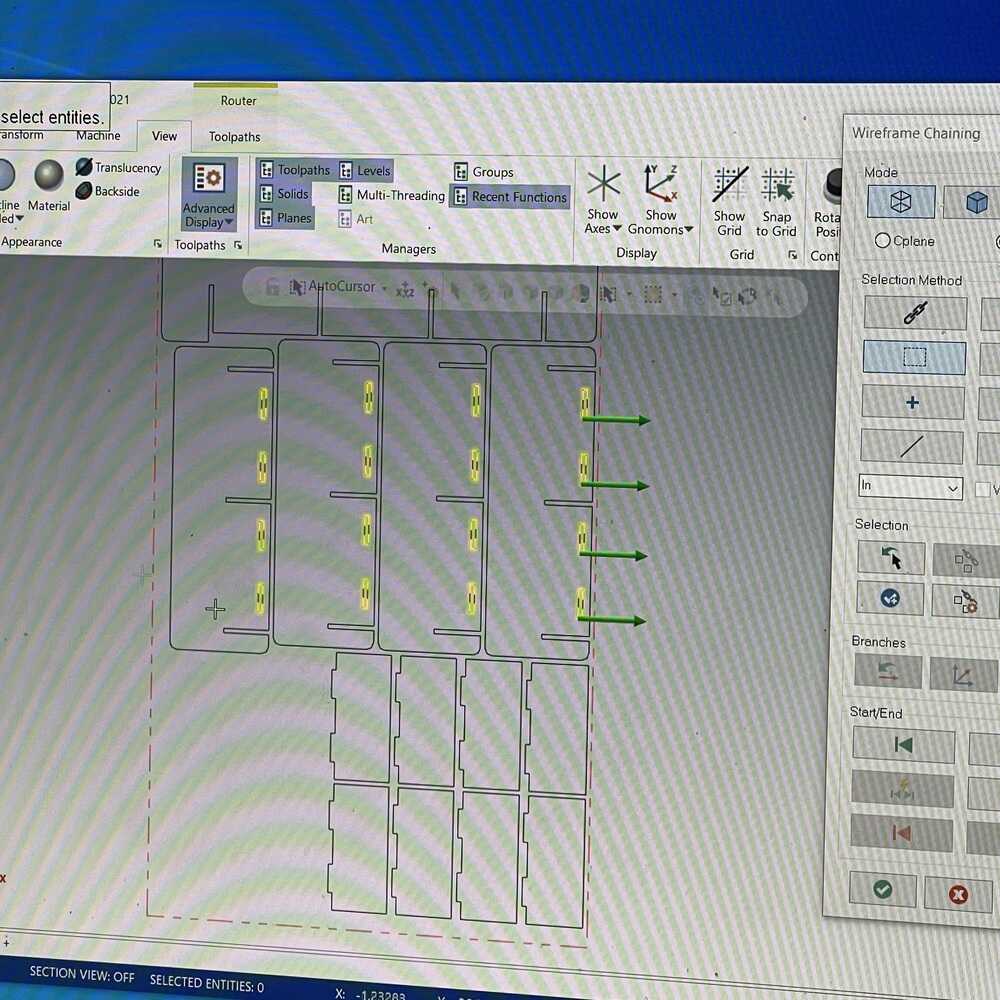
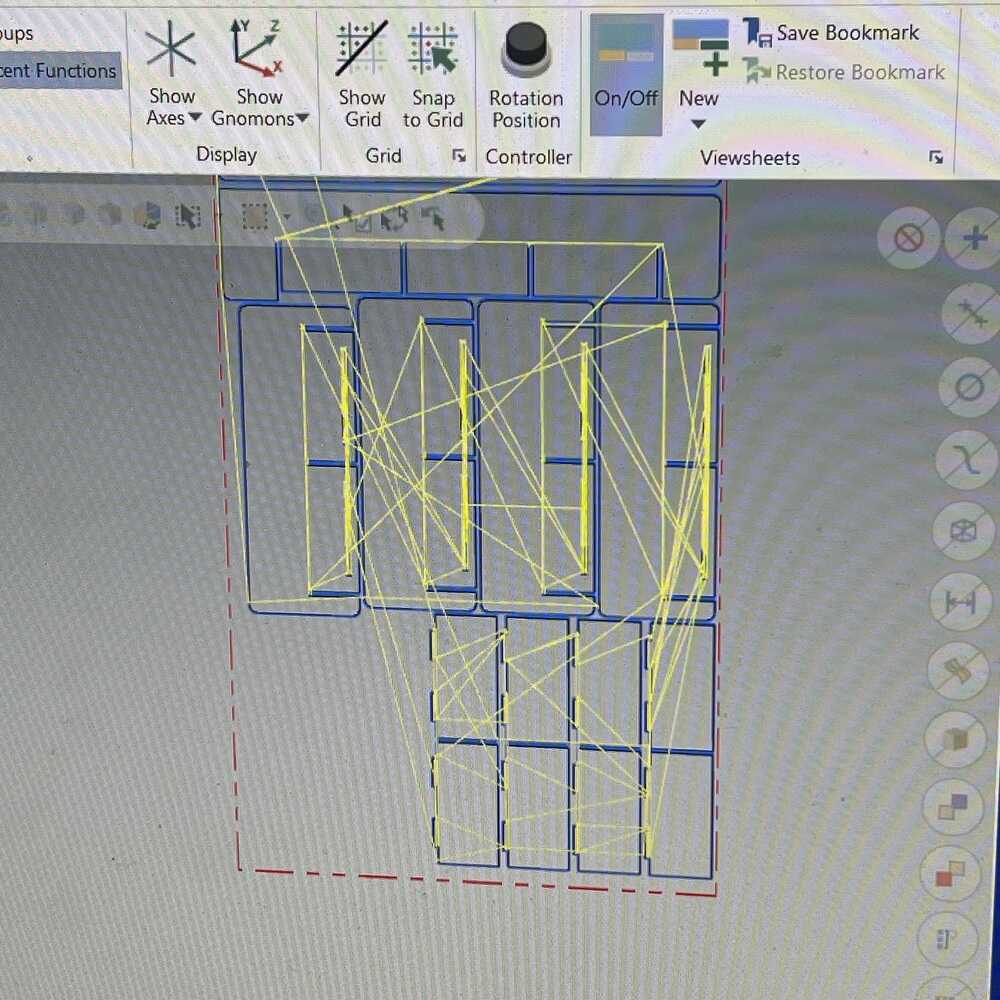

Chris helped me with setting up the master cam but it was pretty simple, took like 5 minutes. The main takeaway is that the interior lines should be set up to cut counter clockwise and the exterior should be clockwise. This determines whether the endmill goes inside or outside the line.
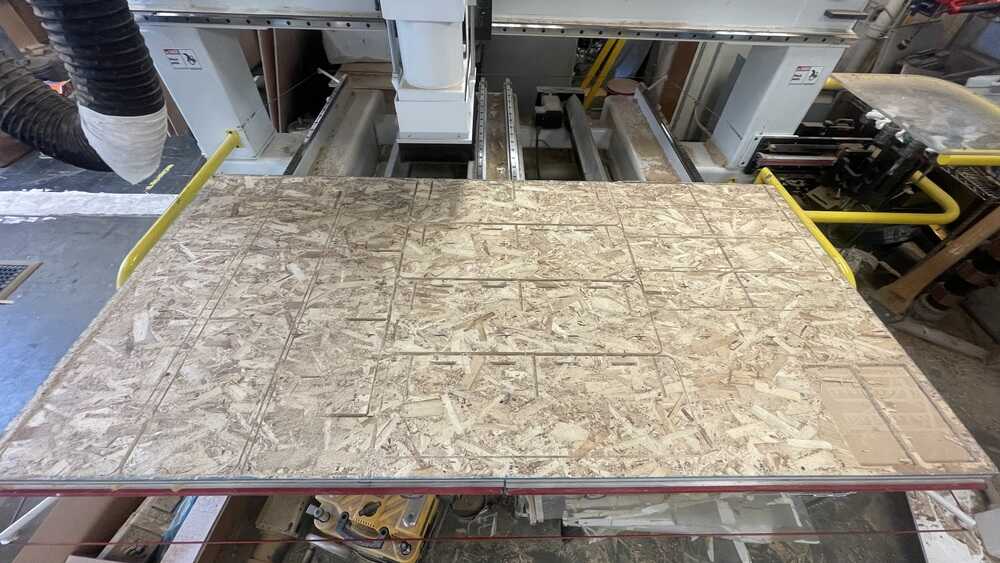
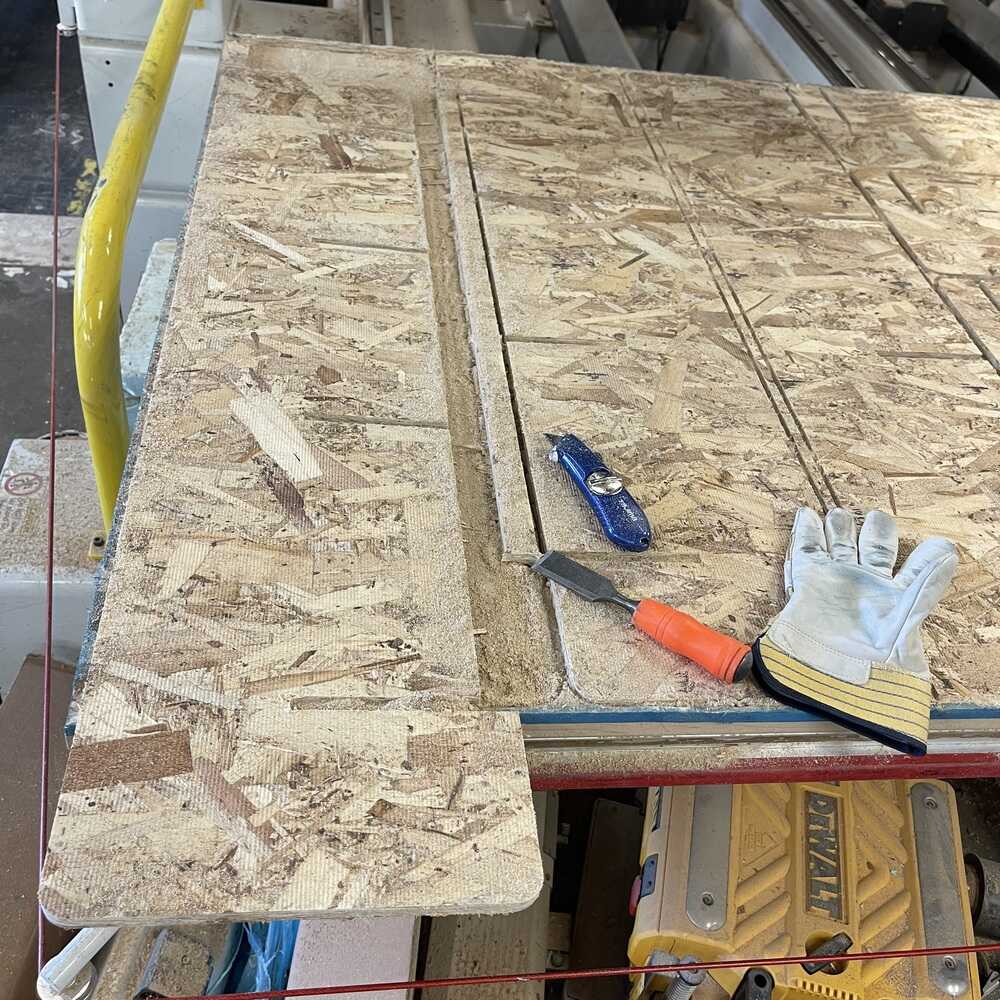
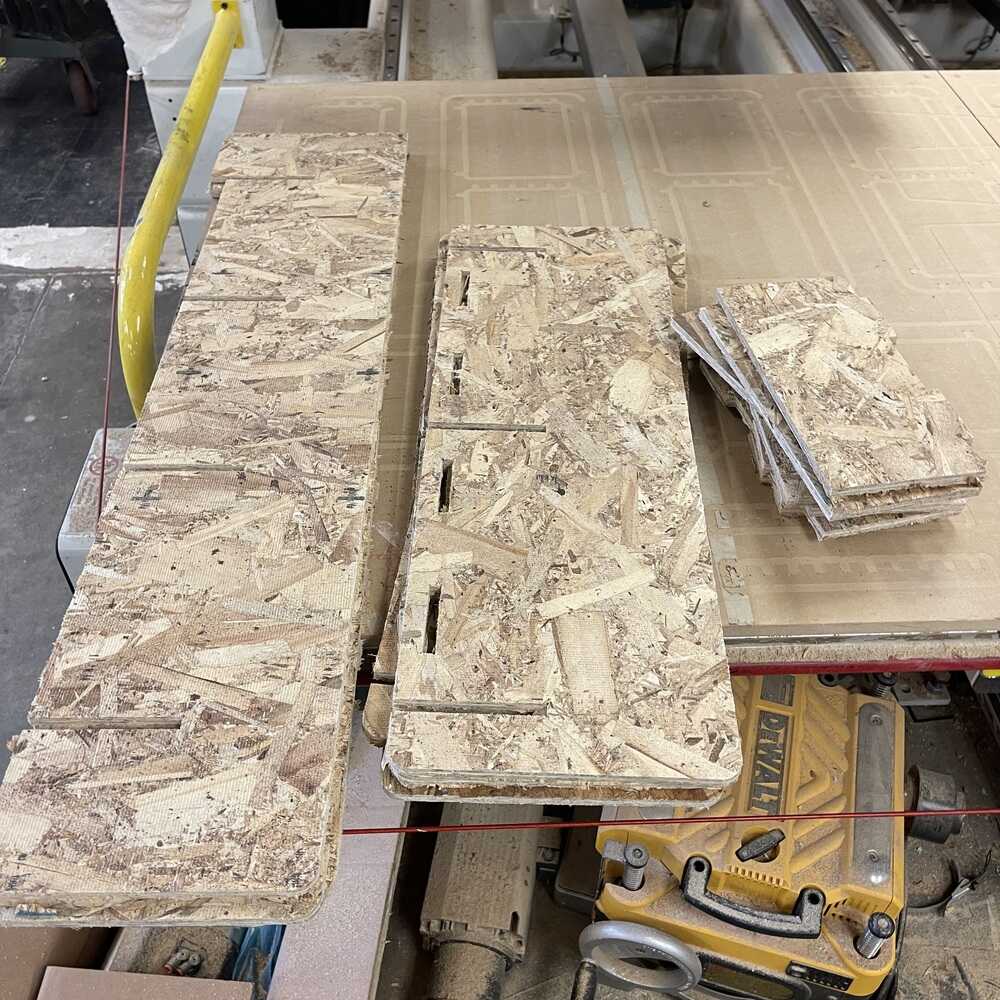
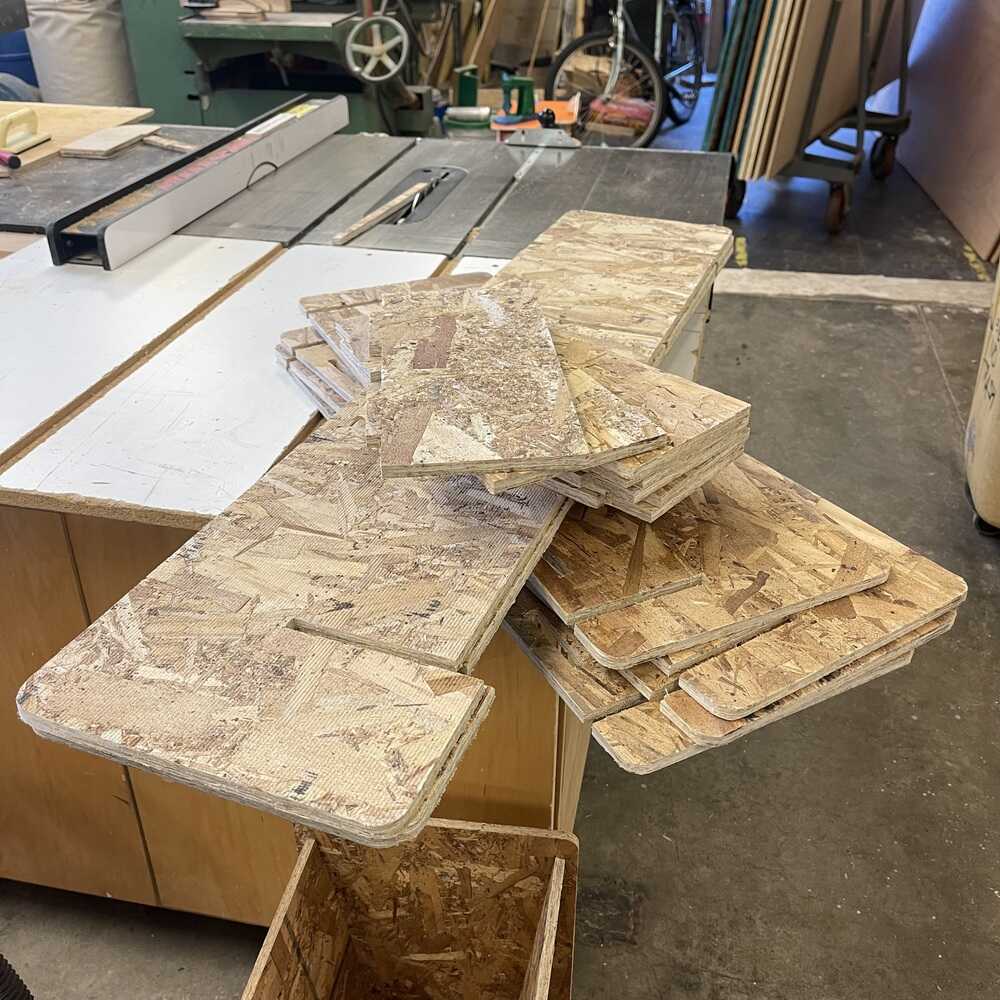
Here are all my pieces cut! I used a dull chiesel and knife to take the parts out and make sure nothing breaks. The edges are super rough so I polished them on a long strip sander and a router. I went in to make finishing touches with files.
Assembly
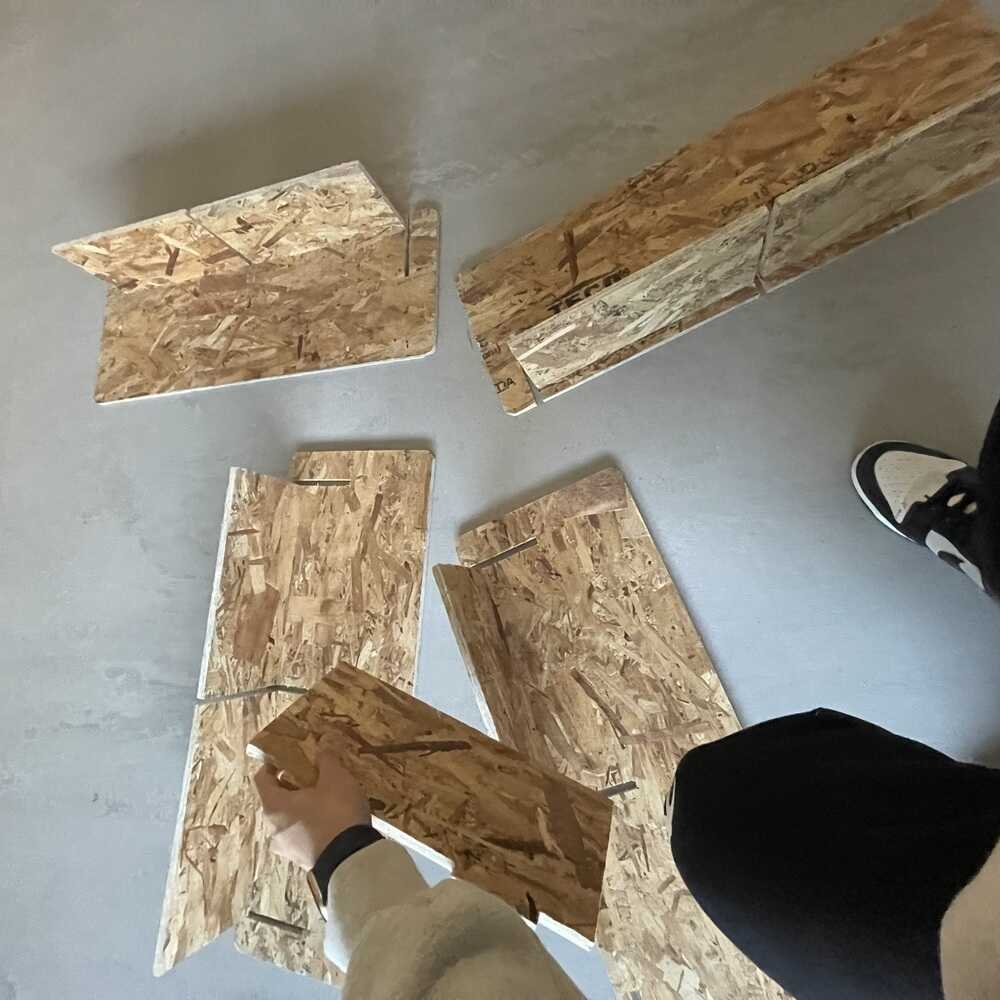
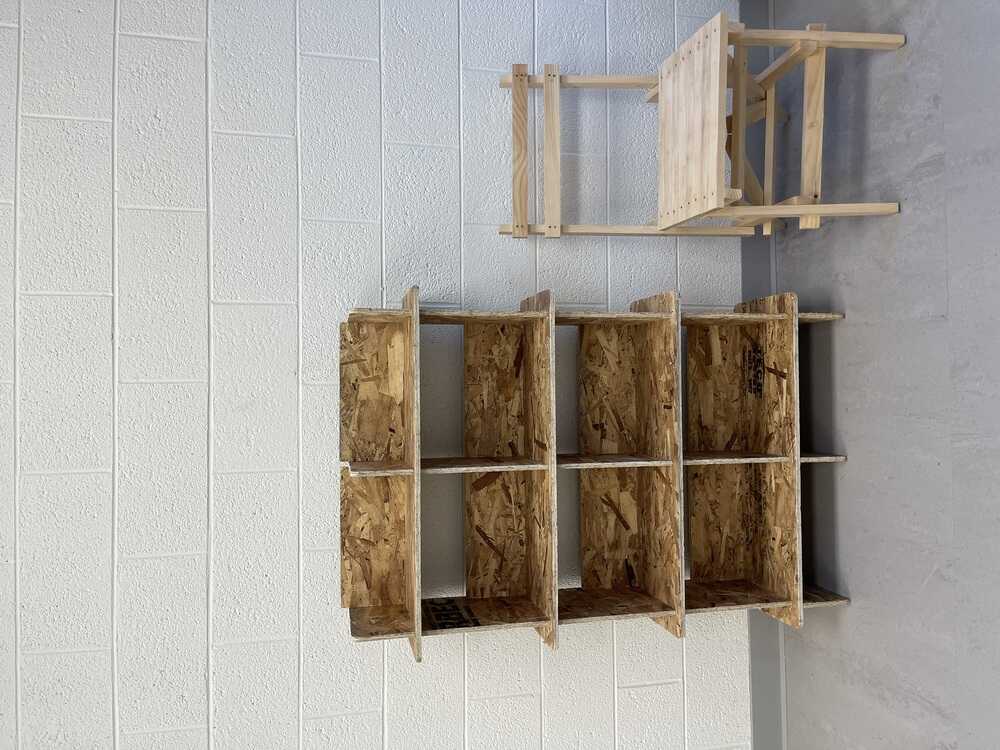
I transported all my pieces to the DTC (an office space for one of my dance clubs) and assembled my shelf there. I probably was able to carry everything on my own but it would've been a lot. I bumped into Simon on my way out of the woodshop luckily and he helped me carry some. It was a decent amount of weight.
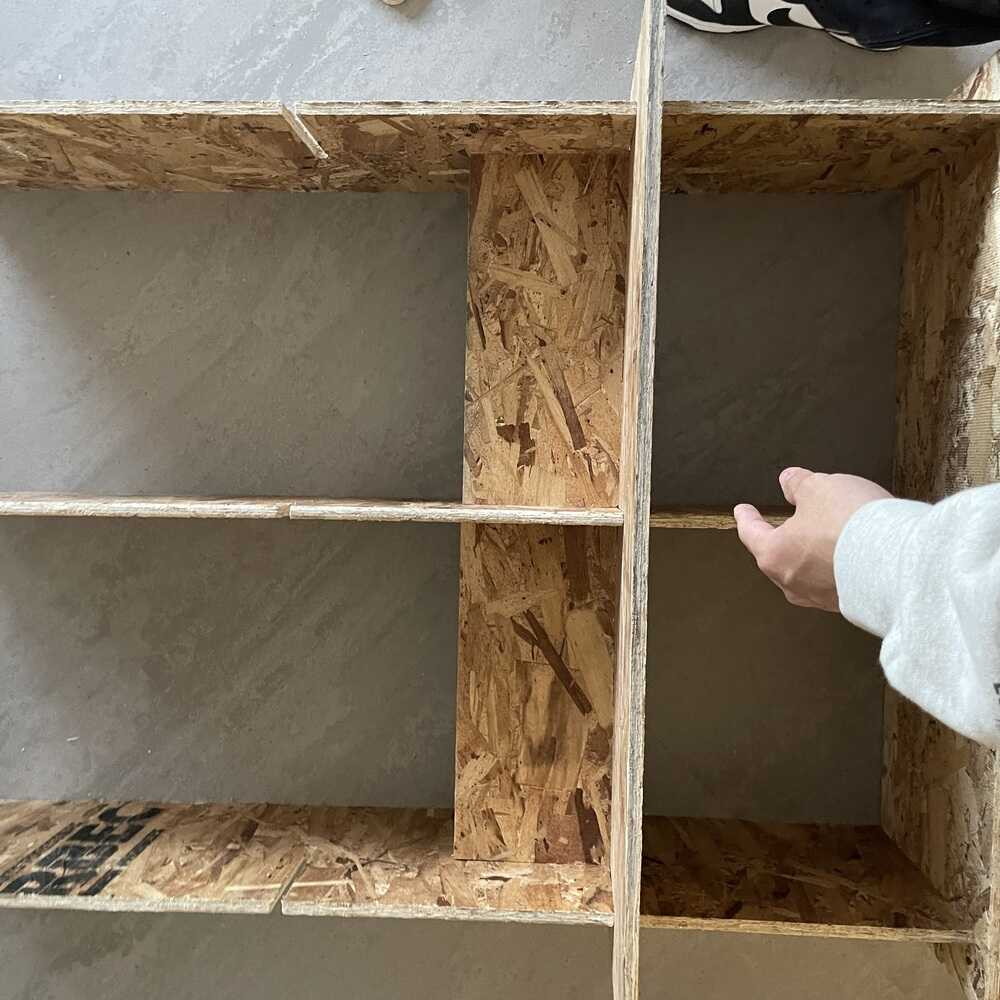
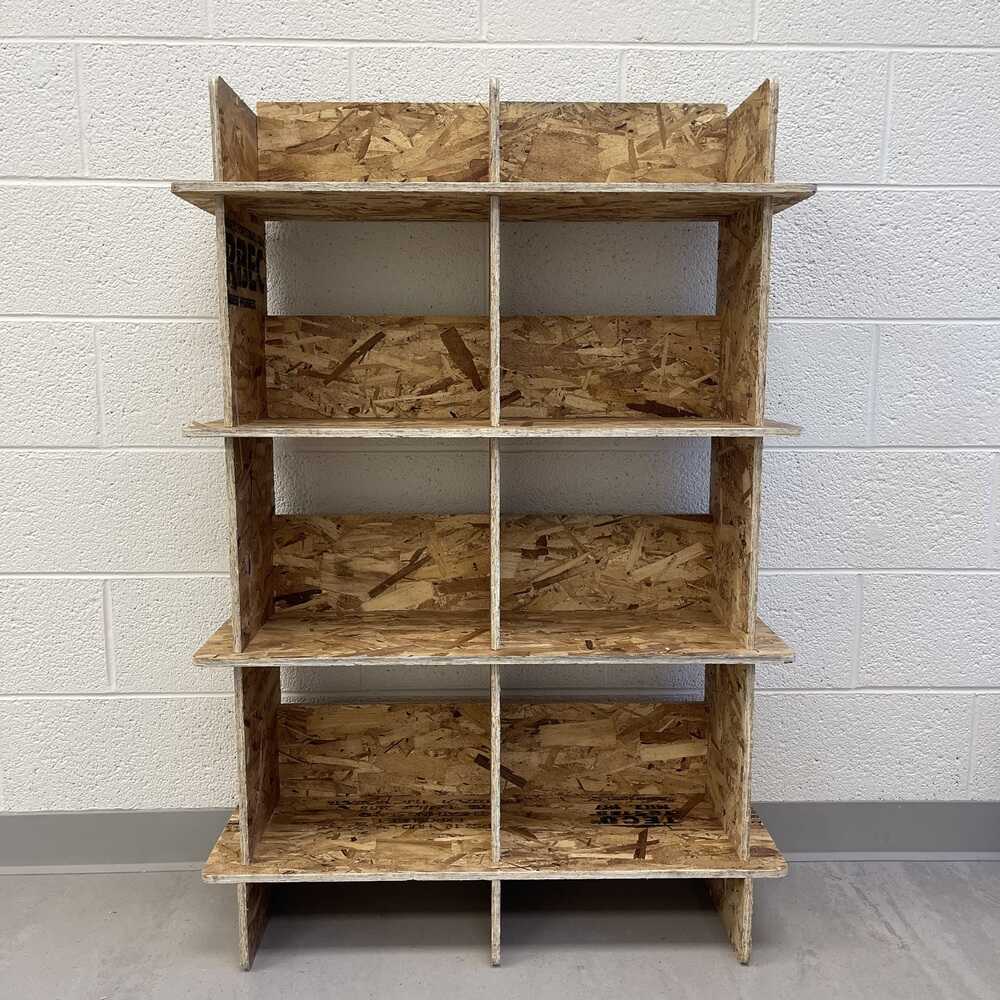
My simple shelf!
Week 7 Final Thoughts
Overall, Week 7 was awesome. I have used a CNC this big before (4 x 8 ft). The design process helped me sharpen my parametric designing skills and I'm glad I'm now able to make something partical like furniture in just a few days! (I probably could have done it all in one day if I wanted to!)