
Week 6 - Molding and Casting
Group Assignnment
With a group, we cut we practiced molding and casting with Jen. Link to group assignment
Designing my Mold
Week 6 is the week I will cast and mold for the first time. And I am EXCITED. In the Architecture section we have a specific set of steps to follow. (INSERET LINK).
At first, i wanted to make an AirPod Pro case but then I realized it would be difficult to make just the shell and have like the oomoo to go in between two molds. Also because we are machining the molds, I thought this was difficult, especially as a beginner. I thought about the constraints, especially machining subtractively. After an hour searching the web, I found the perfect object to mold: Ditto.
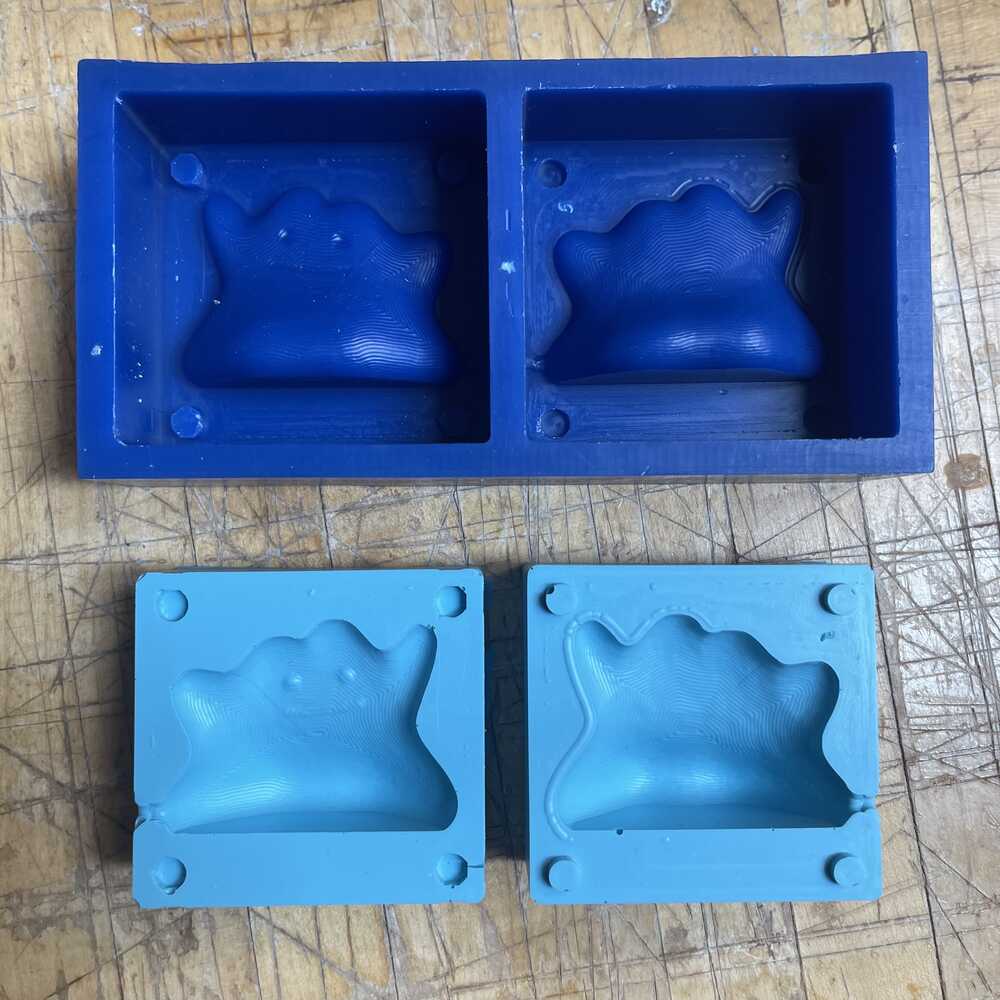
The object seems to fit within the constraints I thought about in my head around creating subtractively with a 3-axis milling. I have used CNC machines before so I imagined how I would machine the mold. I also wanted to make a 2 part mold, just because. Now I set up my file.
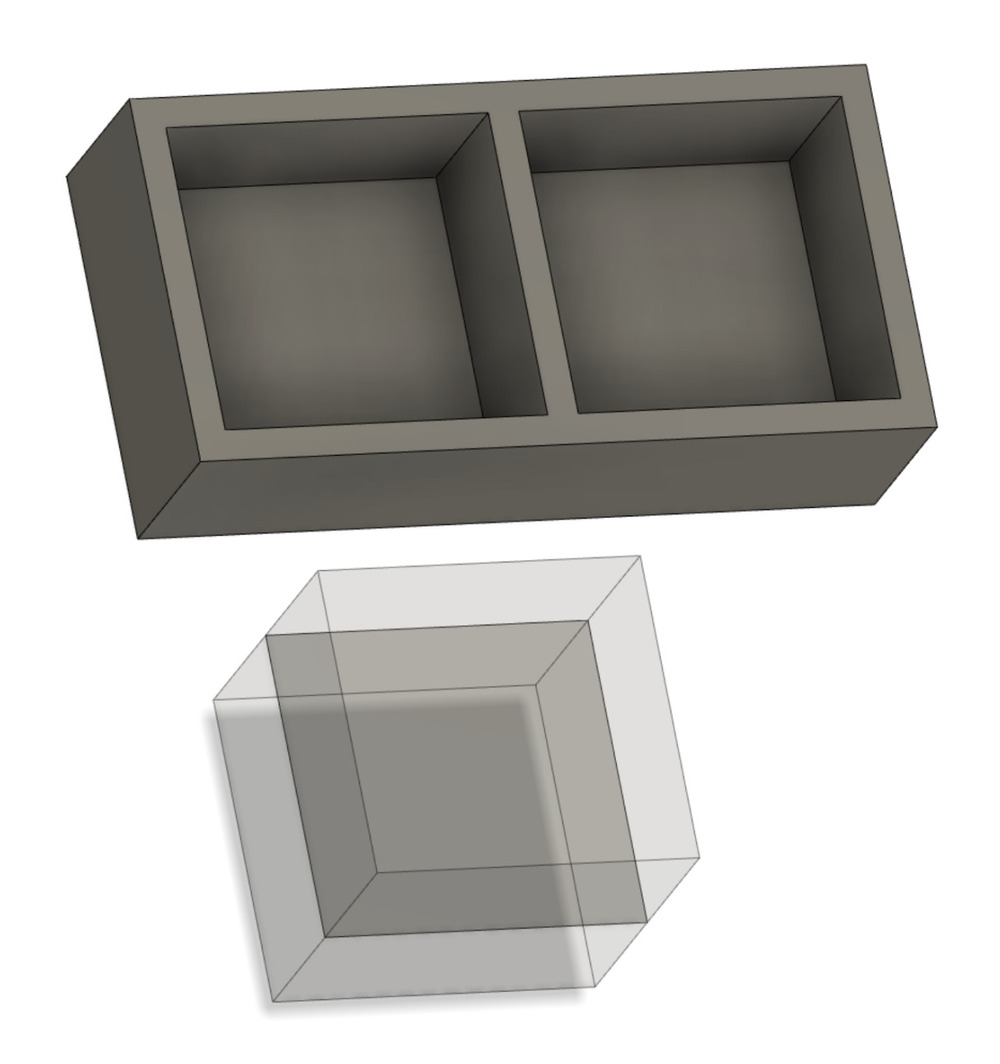
1. Following the archshop tutorial, I made a 3x6x1.5 in box with 0.25 in walls and took out the interior.
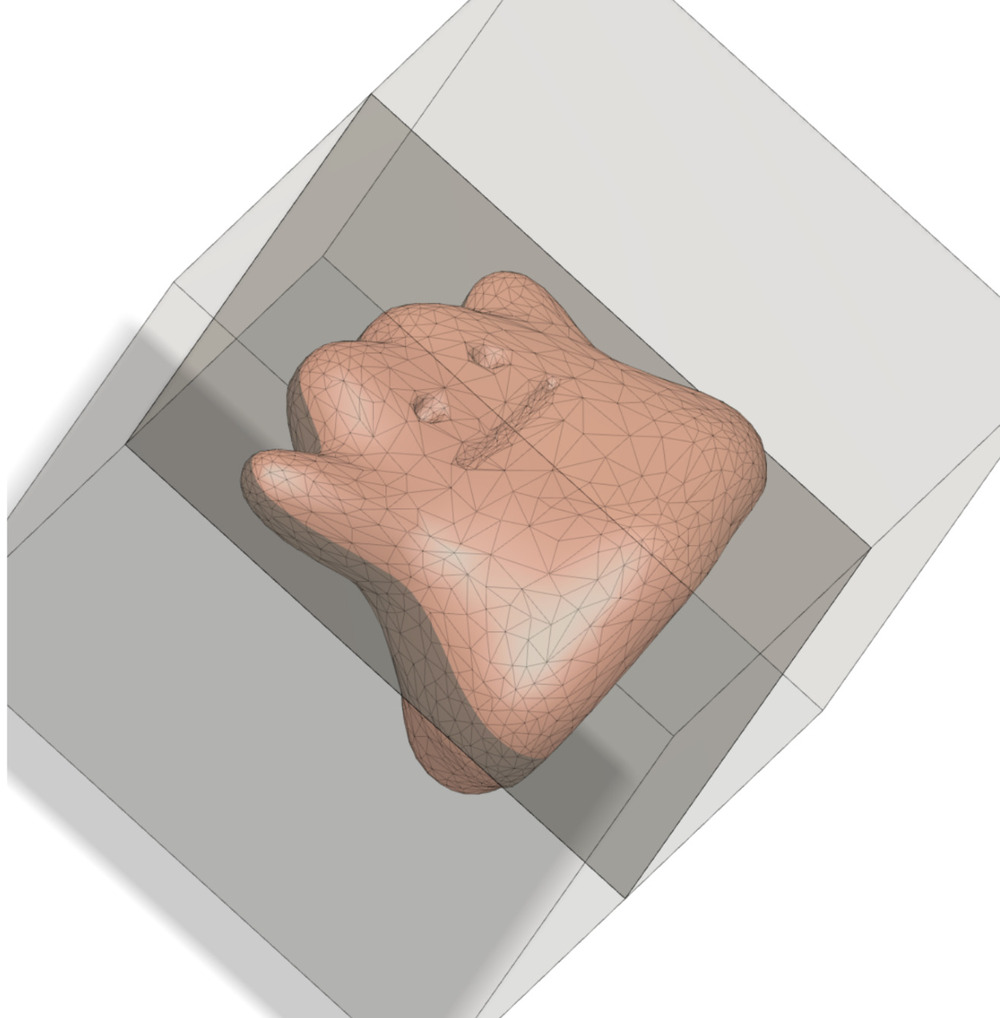
2. I imported the Ditto stl I found online into Fusion and used the mesh design features to tweak it. I resized and moved it to fit within the interior space. I reduced the amount of triangles to minimize complexity.
3. I try to split the mesh in half with the plane cut options but kept getting a compute error Then I converted the mesh into a body to try splitting it another way then it worked.

4. I added some cylinders, four (0.25 in diameter and 0.2 in height) in the corners to made mating surfaces? For the 2 parts to come together. And one in the buttom to pour my oomoo into.
5. Rotated the bottom half using an edge of the interior outline. This should help placing them into the box easier. (I also went back and changed the taper angle to -8 degrees for the injection hole)
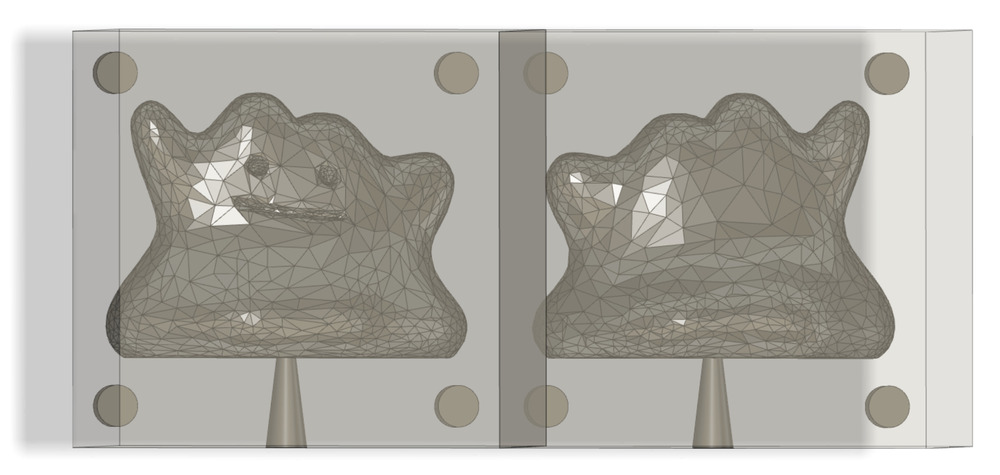
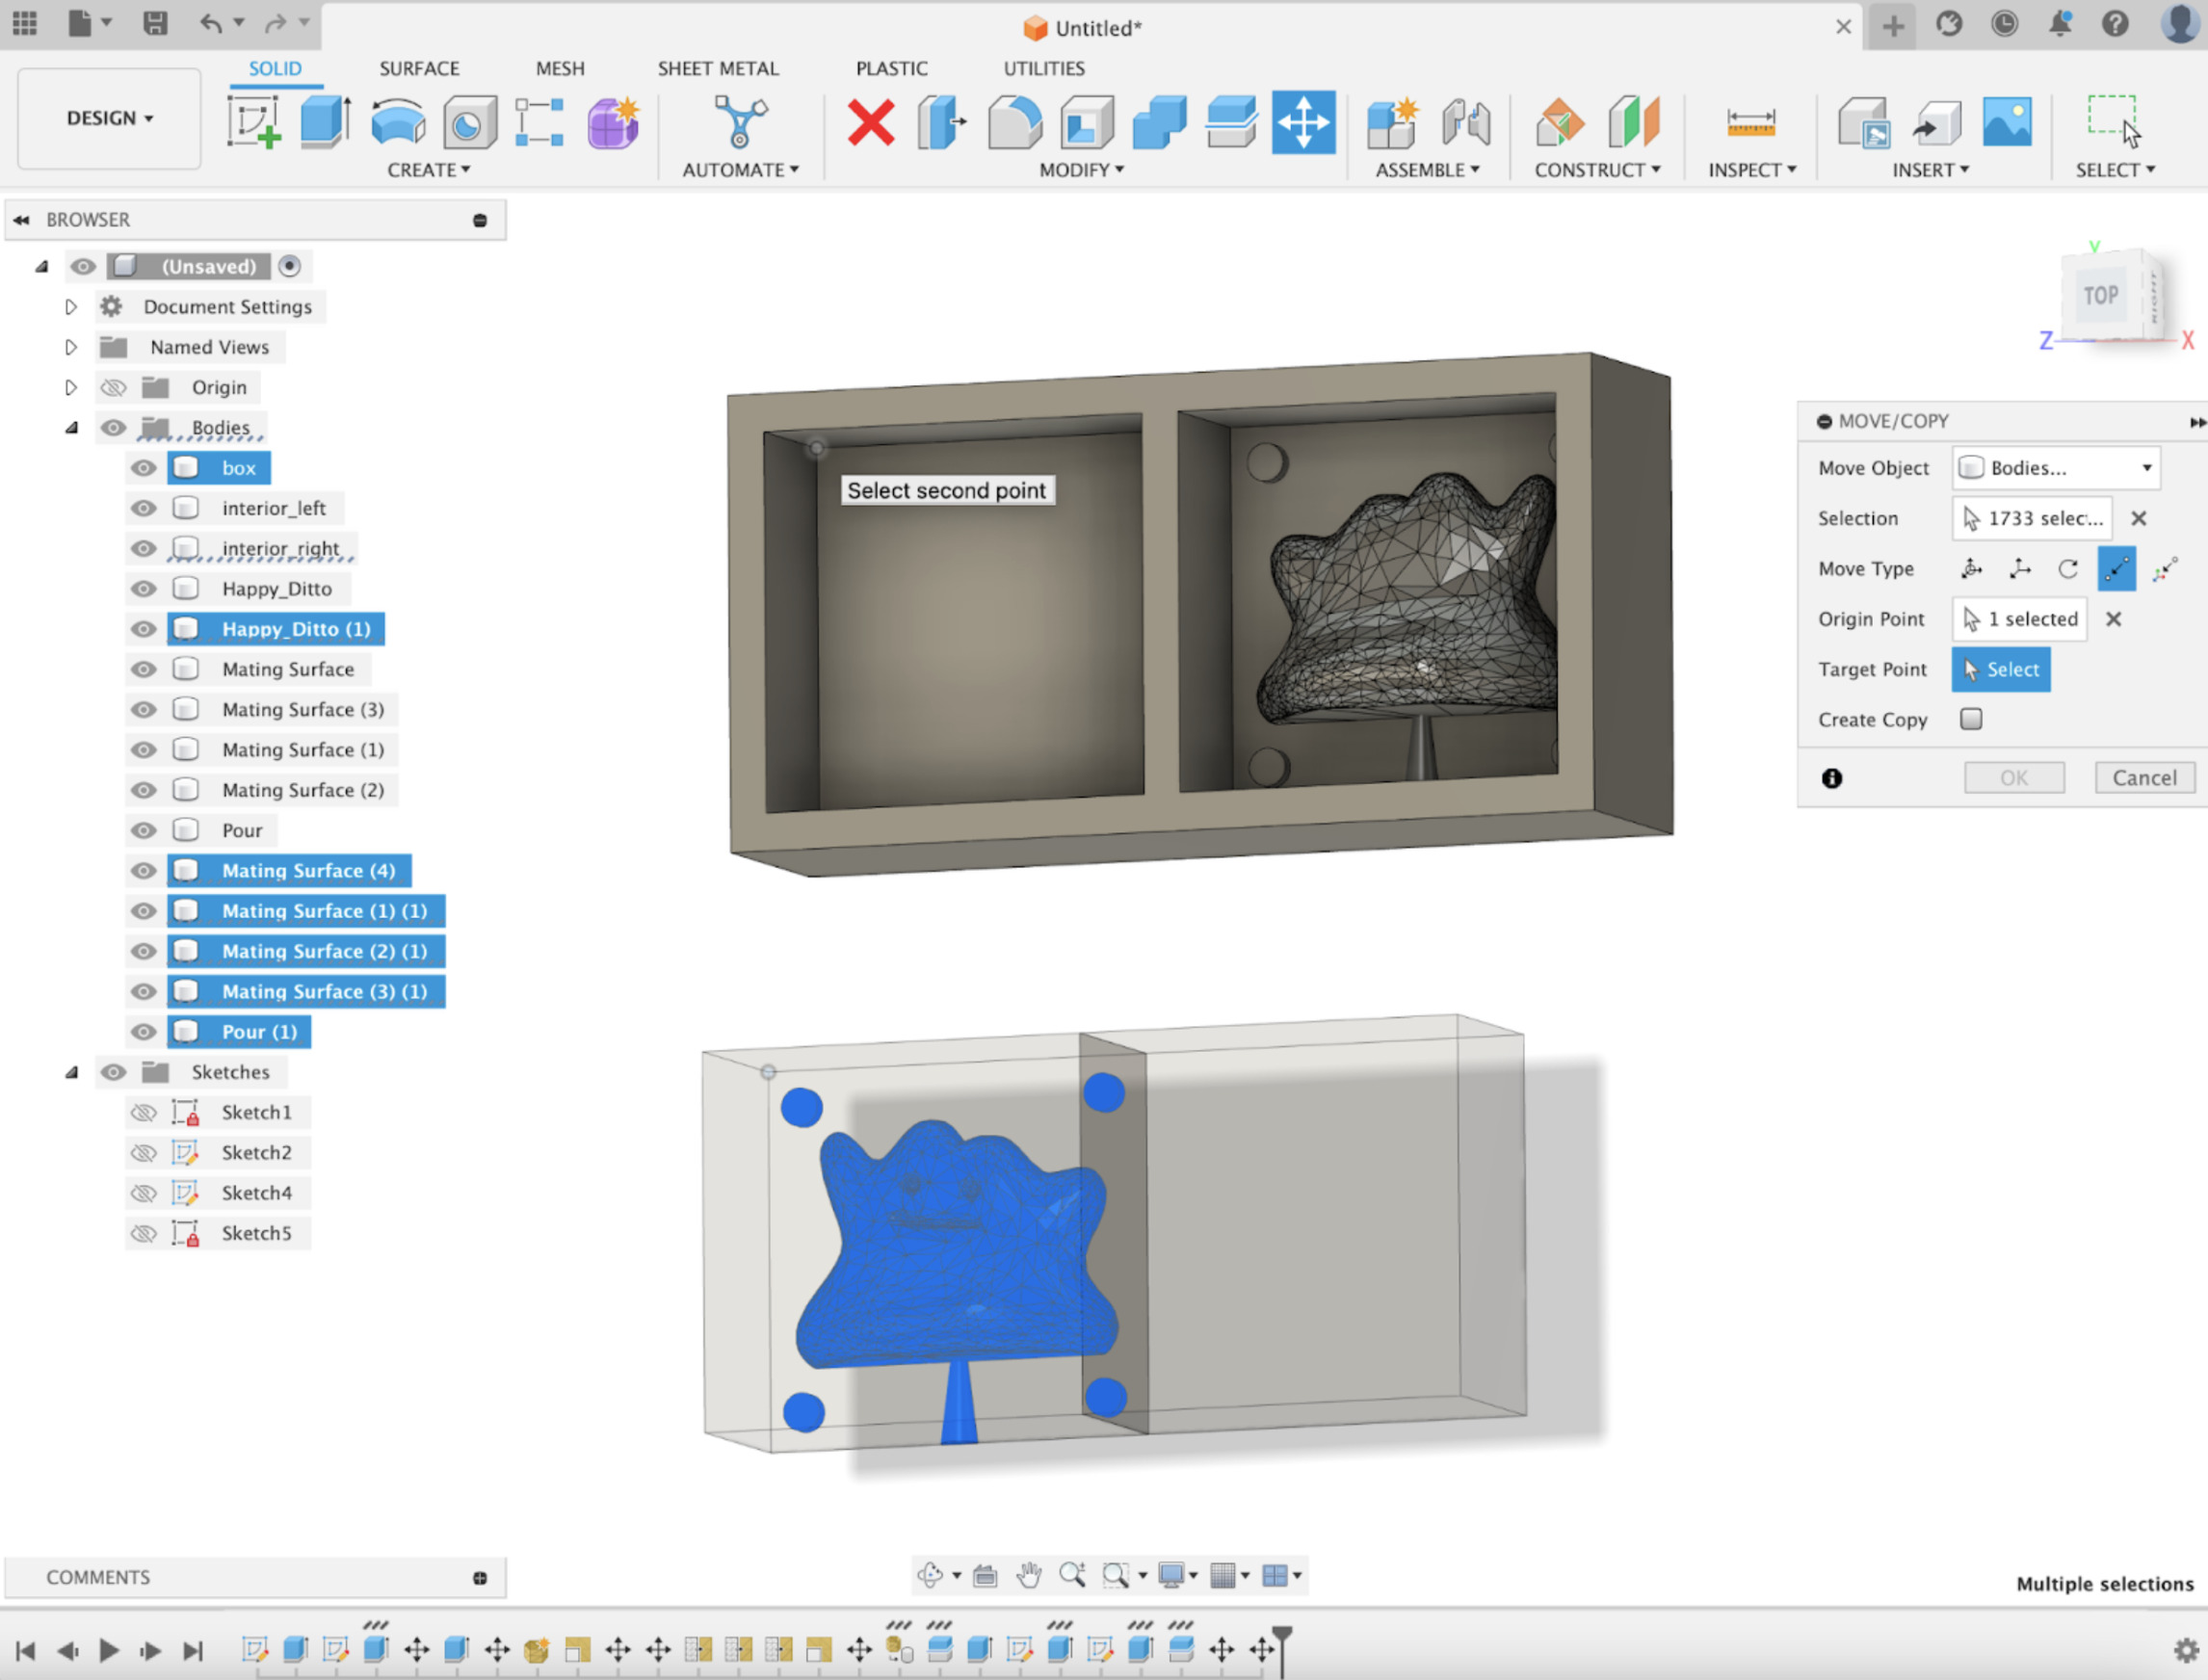
6. Now I move the two halves into the box. Using the cutouts to align, I was able to easily move everything inside. I also extrude the base of the box up a little since Ditto does not take that much space.
7. I extrude the cylinder on the right inwards so I could cut into the box.

8. Iefore we finished, I decided to move the hole I pour into to the side because the tutorial suggests that it would be better if the surface you pour into is not horizontal. “Even though I really tried to patiently pour and tap the mold to entirely fill the space, I think the problem was that my top surfaces were too near horizontal, which left some space that visibly didn't fill even when the sprue and airhole finally filled with liquid. This is a good thing to keep in mind when you're designing your mold, so you can minimize issues with air pockets (and also avoid an ugly break point for the sprue if there's a less visible location for it).”
9. I export my file as a STEP and send them to Jen! Clocking out at Friday 1:45AM. All ready for my group session at the Arch Shop at 3PM (tomorrow?).
Actually before I leave, I read a short guide on understanding SDS sheets. Then, I read the SDS sheet for the mold (oomoo) and cast (drystone).
the next day...
CNCing my Mold
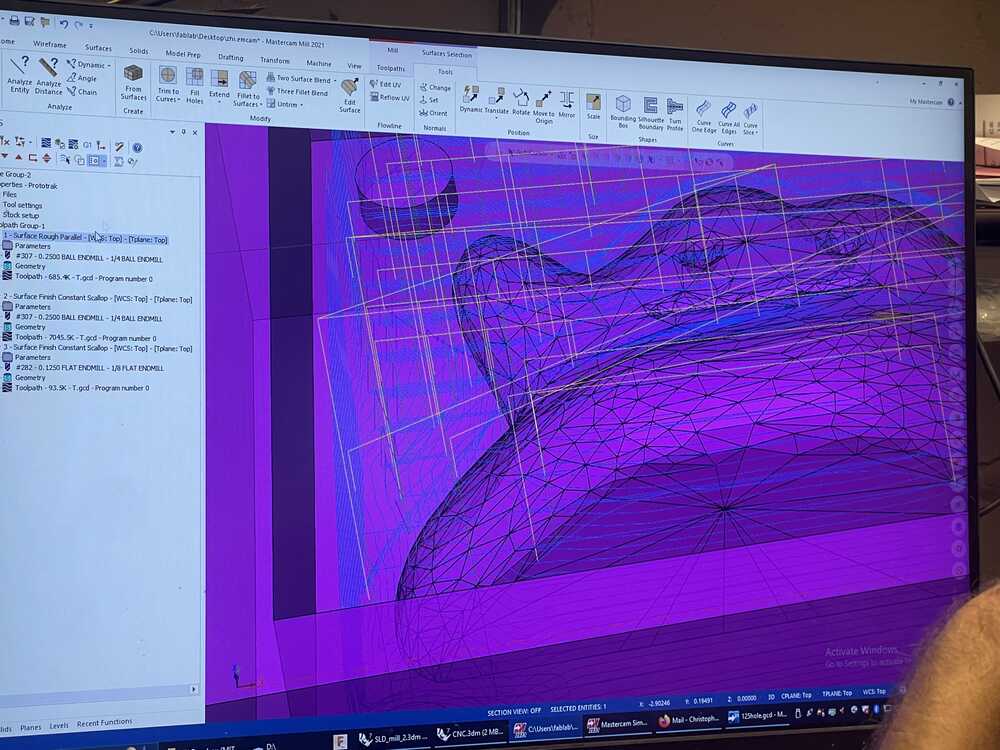
I went to N51 and got the CAM setup done with Chris, mainly just watched him do it. And we went to the machine to cut it.

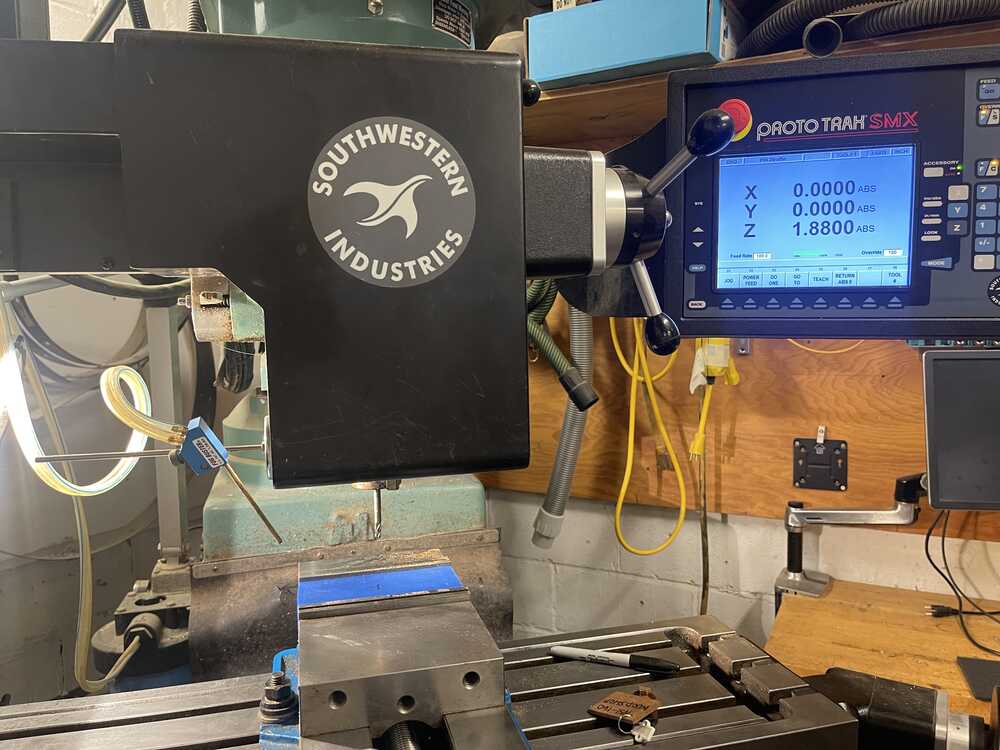
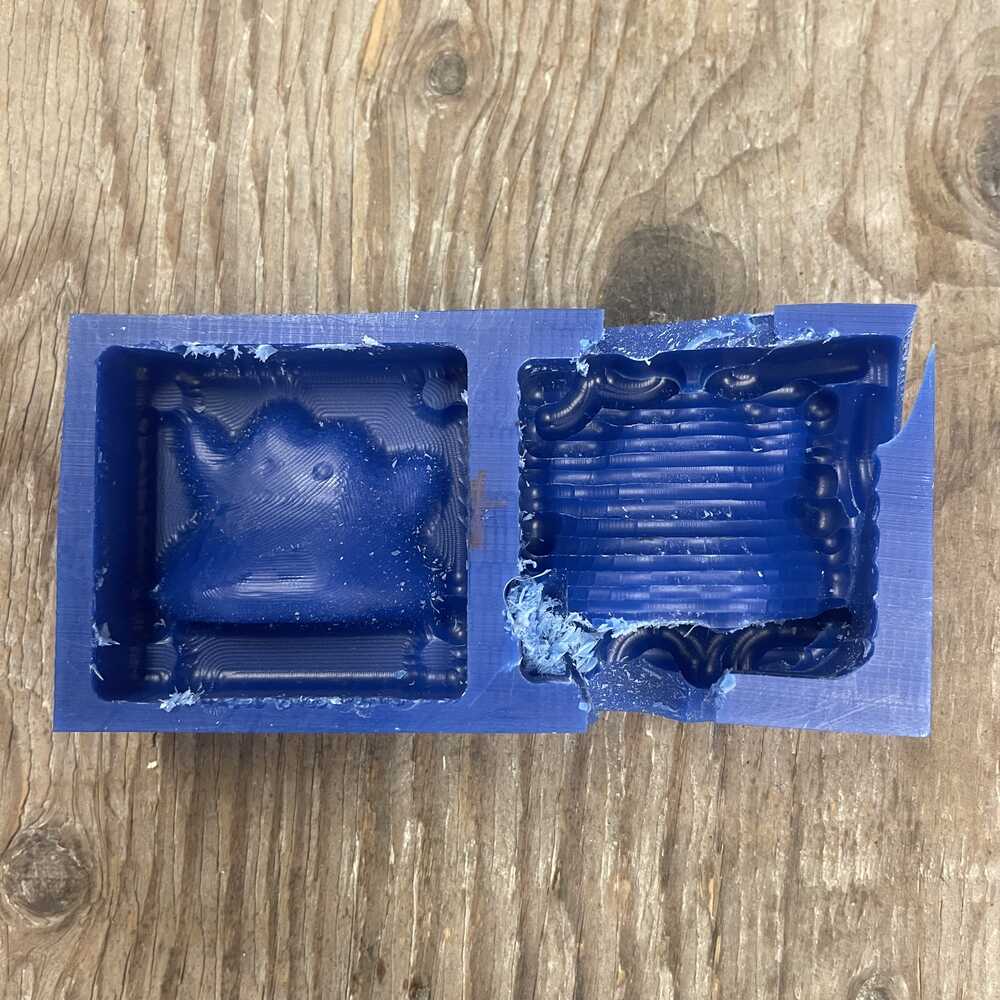
I watched the cut to make sure nothing goes wrong but I heard a crack so stopped the machine immediately. It seems like something happened and the wall got chipped so the wax is unusable now. Chris said he ran it too fast and will rerun it for me.
Now it's 3PM and I have to go to Building 3 to do the group test with Jen. I originally hoped to have my mold done then so I could use it for the test but I guess I'll just do it another time. See top of page for group test.
after the weekend...
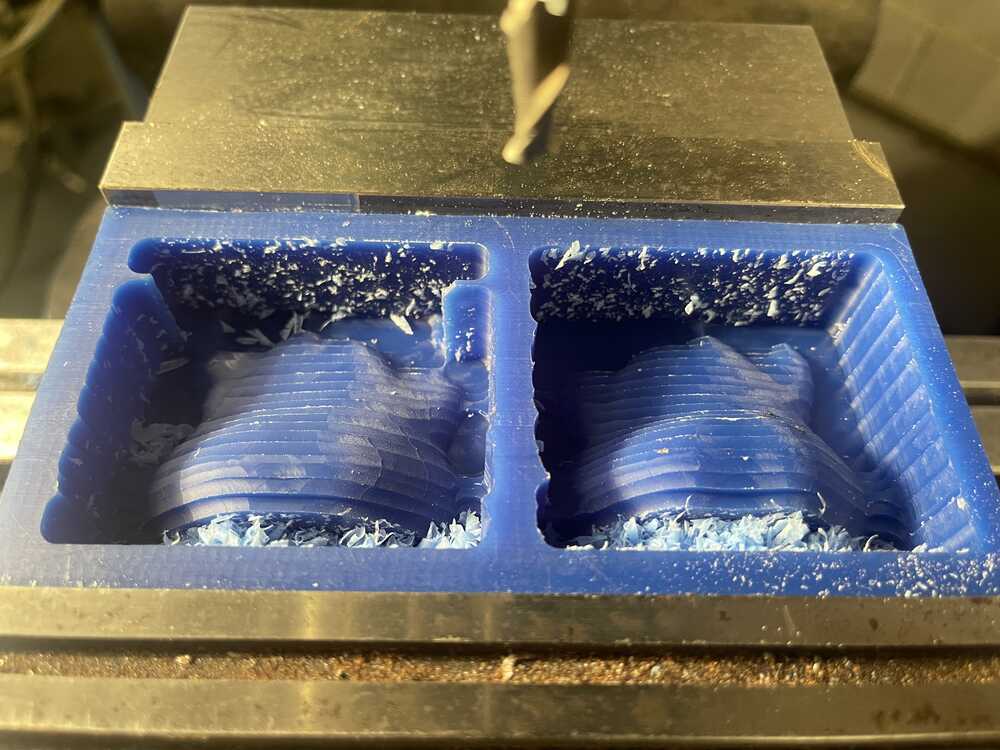
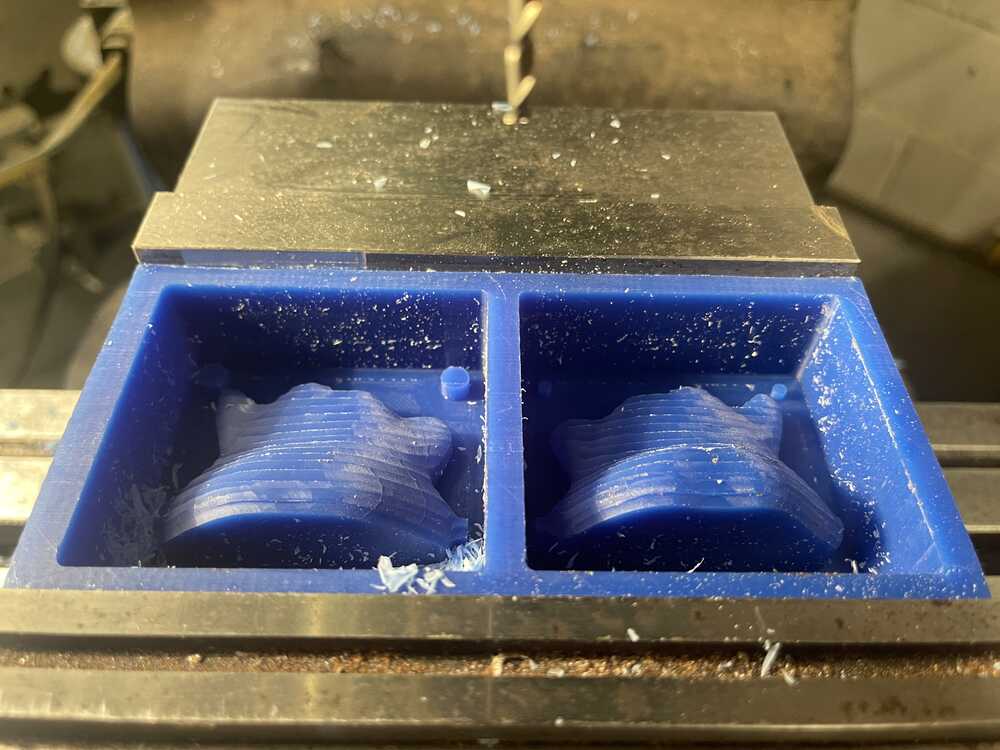
Jen set up my CAM over the weekend and I went back Monday to the N51 woodshop to make my mold again.
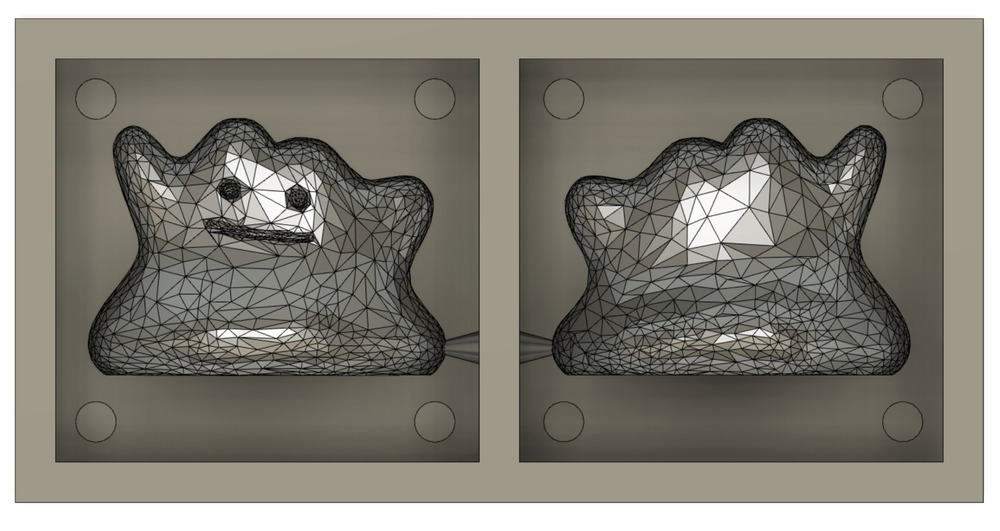
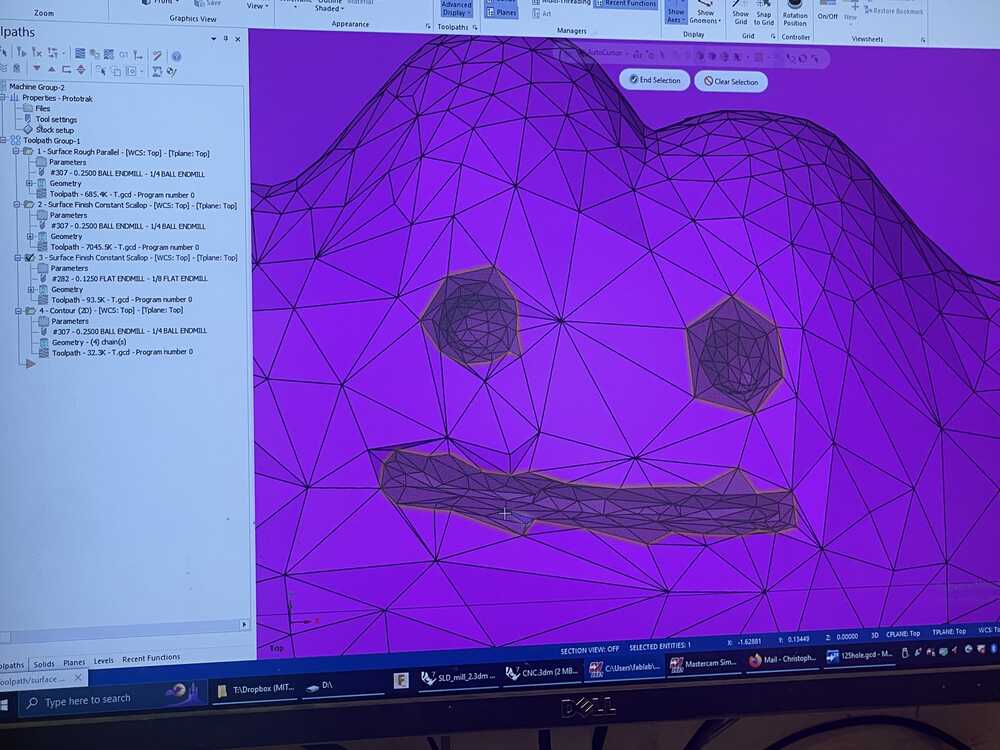
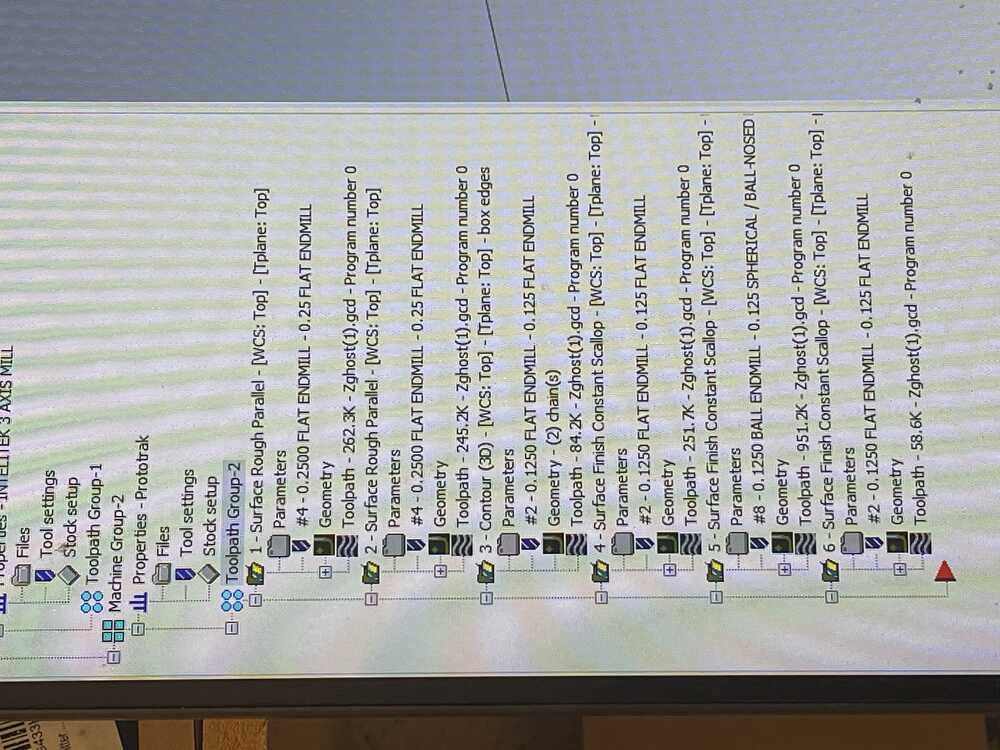
Coming back for the second time helped me familiarize with the process of setting up the mastercam for CNCing more. We have 6 toolpaths set up. Below are the images for every two toolpaths. The first two toolpaths use a 0.25in flat endmill do get the general shape (1 toolpath for each side). The next two toolpaths use a smaller endmill (0.125in) to get more details (one toolpath for each side again). The 5th and 6th toolpath uses a 0.125in endmill with a ball nose and flat nose (same as 3 and 4) to get some details done like the eyes, mouth, and the joints for putting the two sides together. (actually the 3rd image on the right is taken after the spherical toolpath #5 not after #6)

heading over to Building 3 to mold and cast...
Molding the negative Oomoo
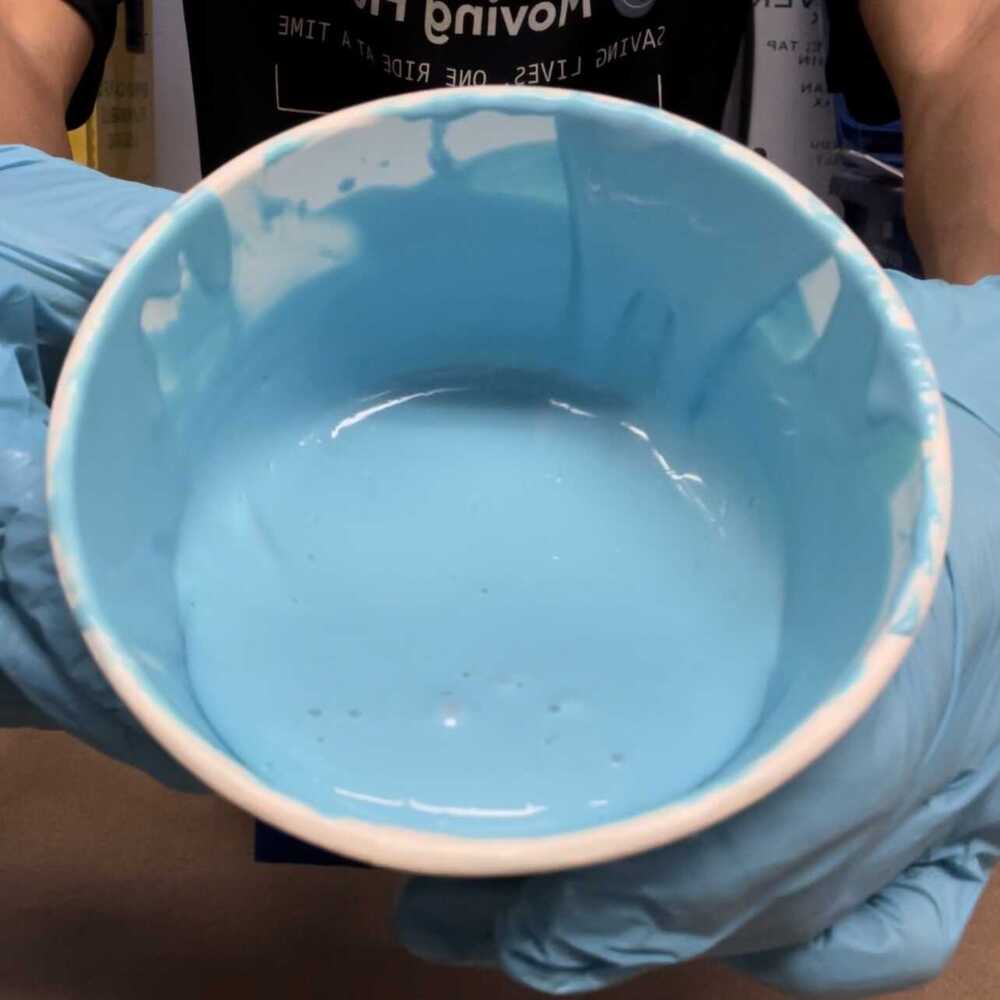
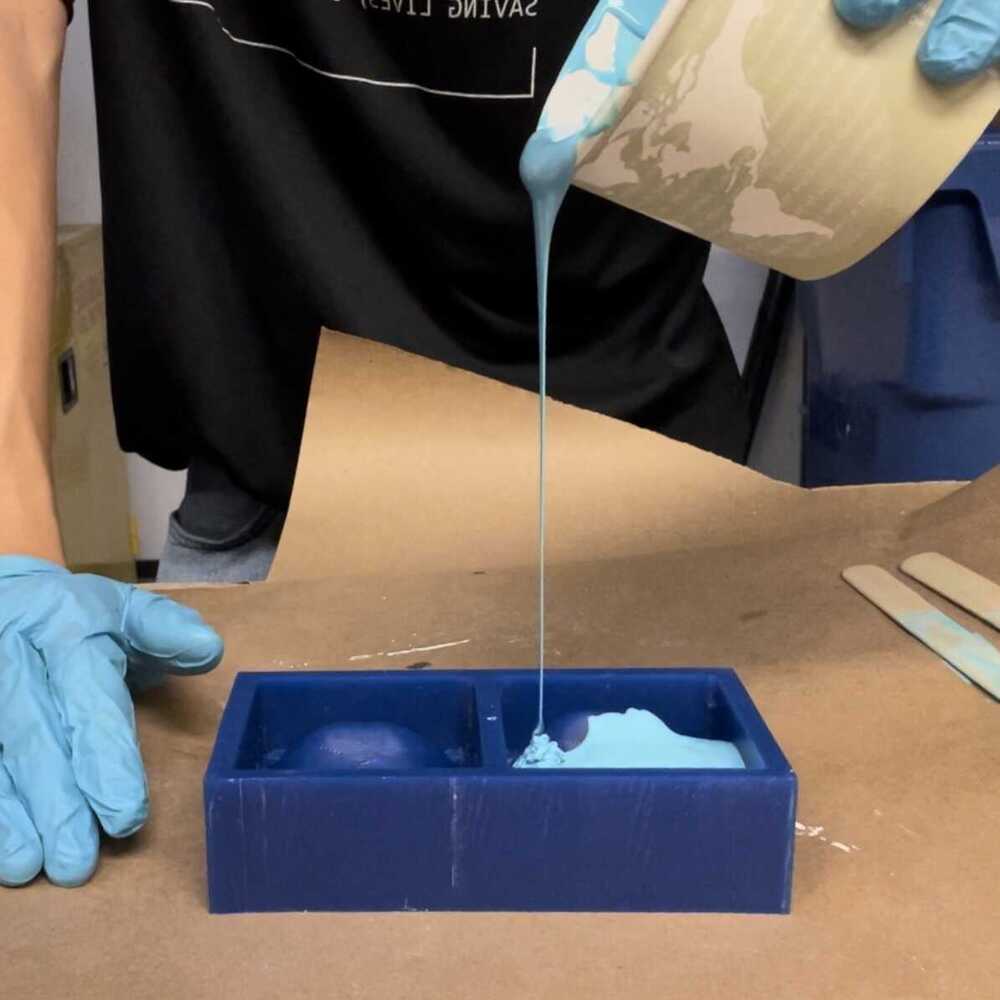
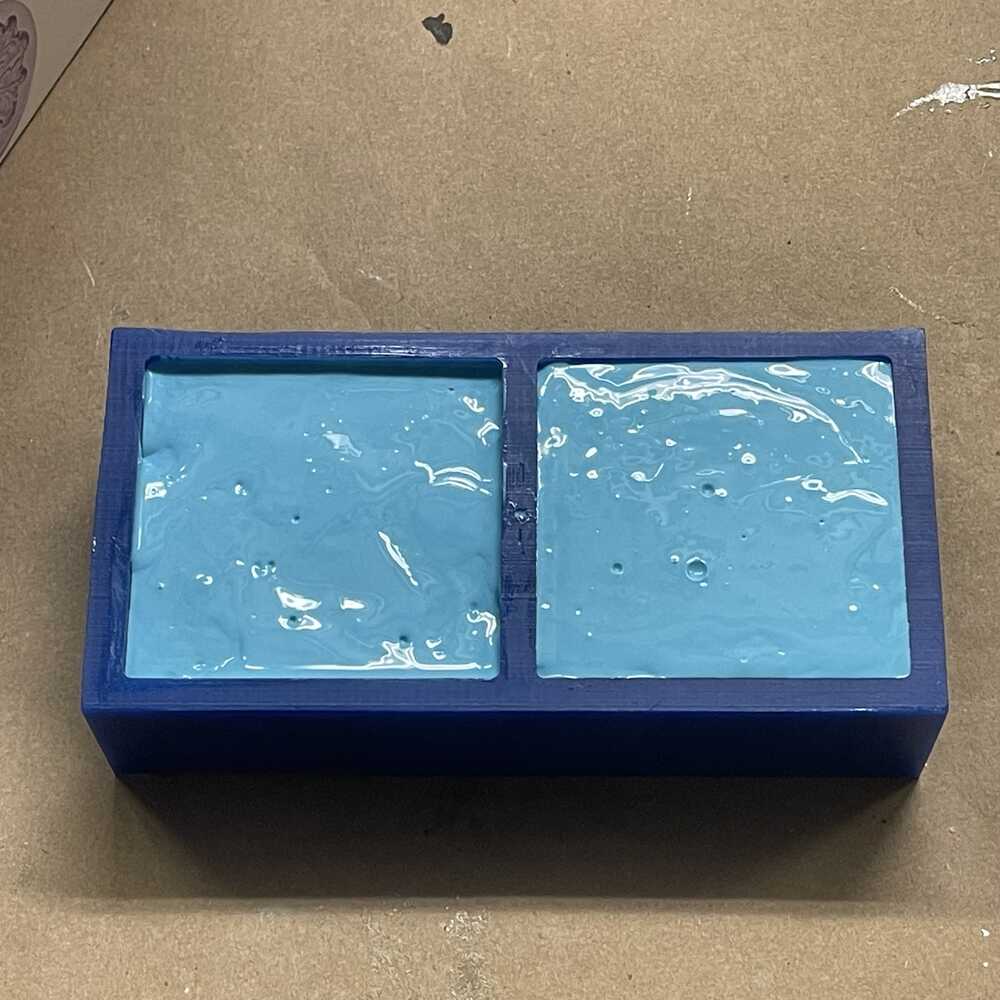
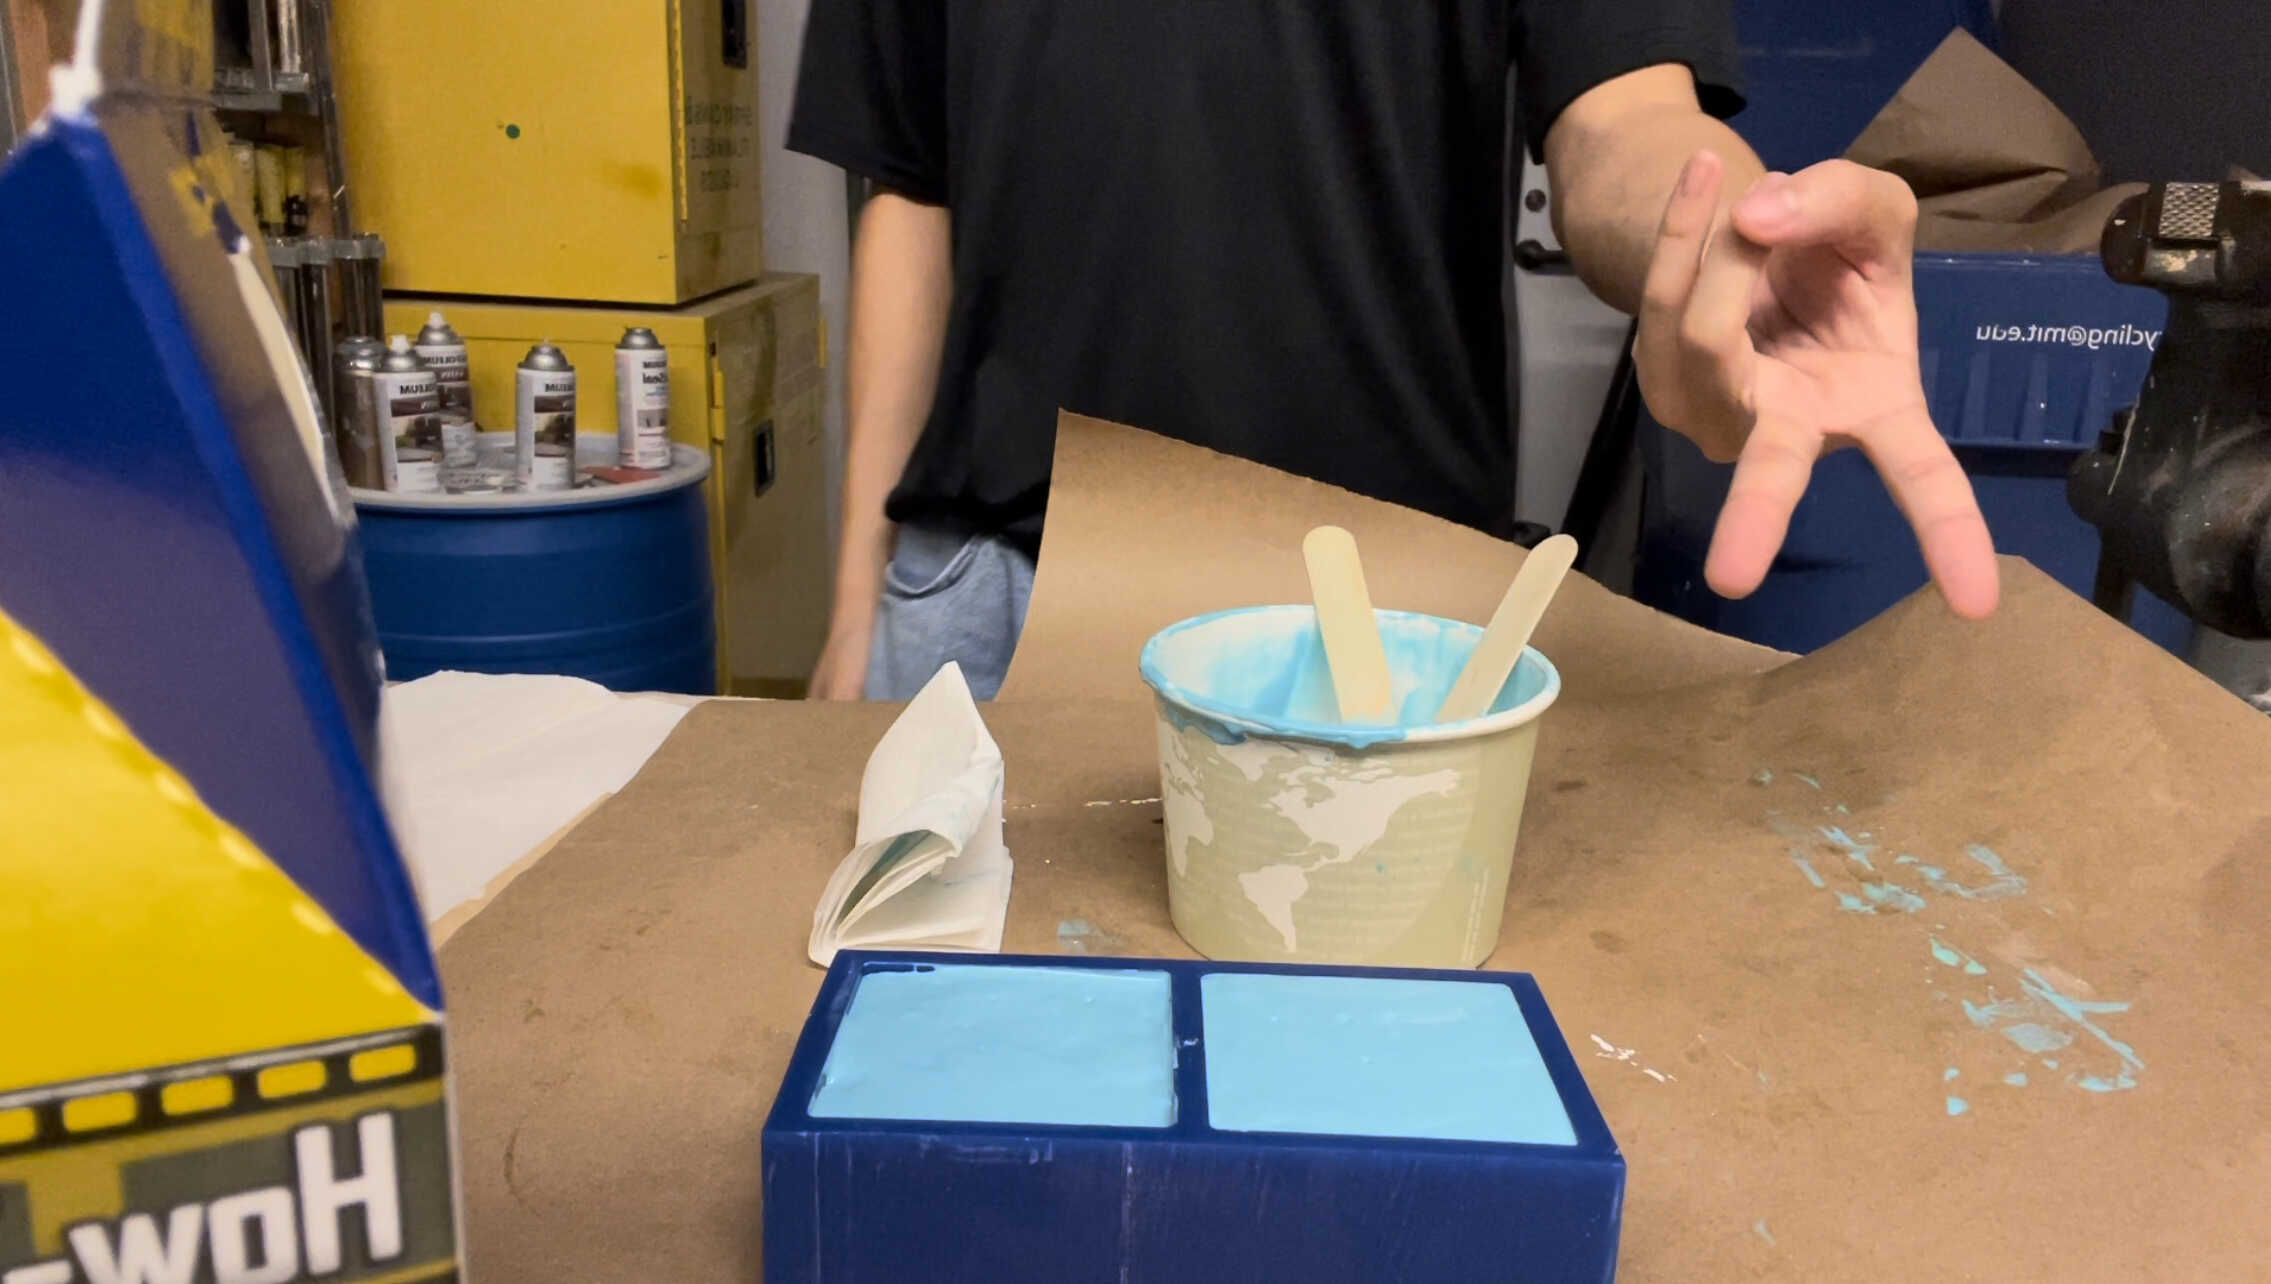
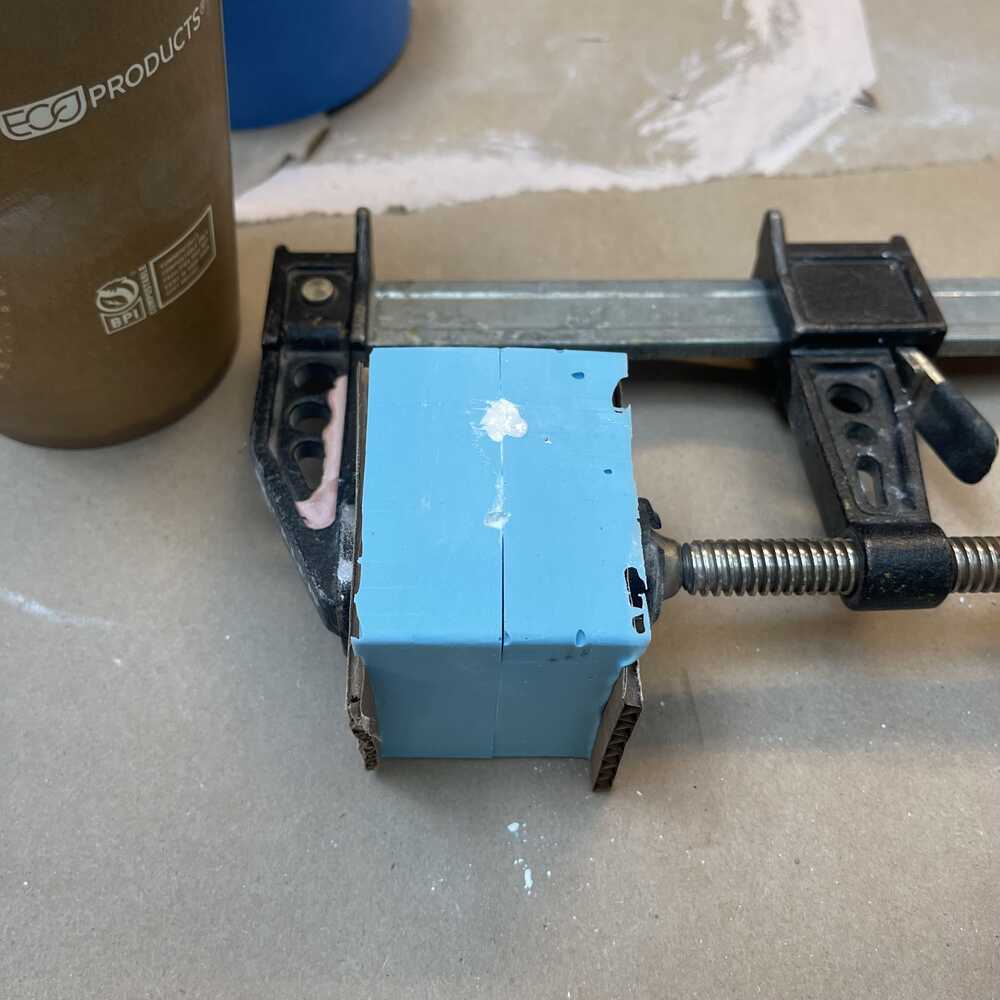
I set up a working surface in the special casting room. Using my freshly CNC'ed mold, I mix the two parts of oomoo (half and half volume) until the mixture looks homogeneous. Then I poured into the oomoo into wax through a small steady beam until it covered the whole inside. I ran out of oomoo but I think this should be fine. I picked up the wax and dropped it a few times (like 30) to release some air bubbles.
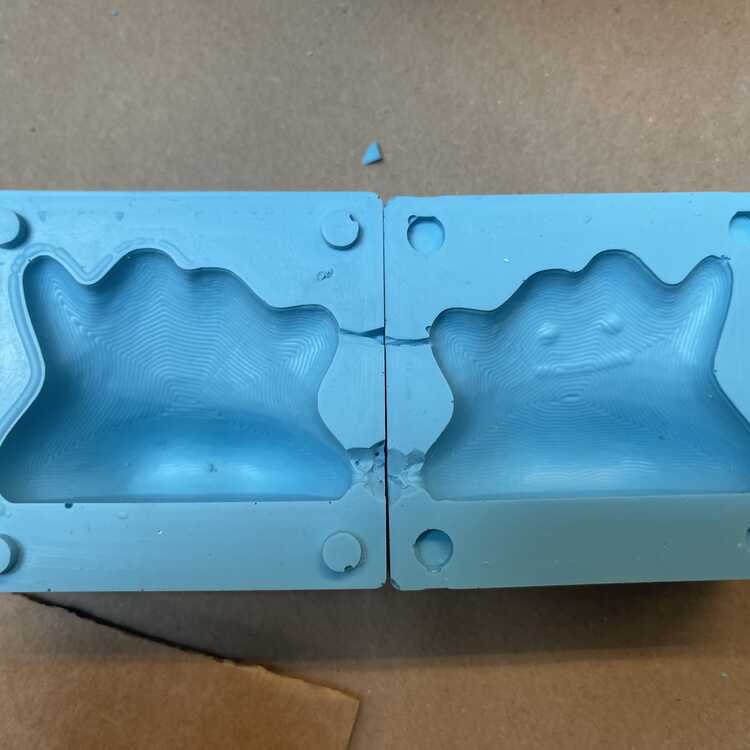
I come back the next day to take the mold out and clean up.


Casting the positive plaster
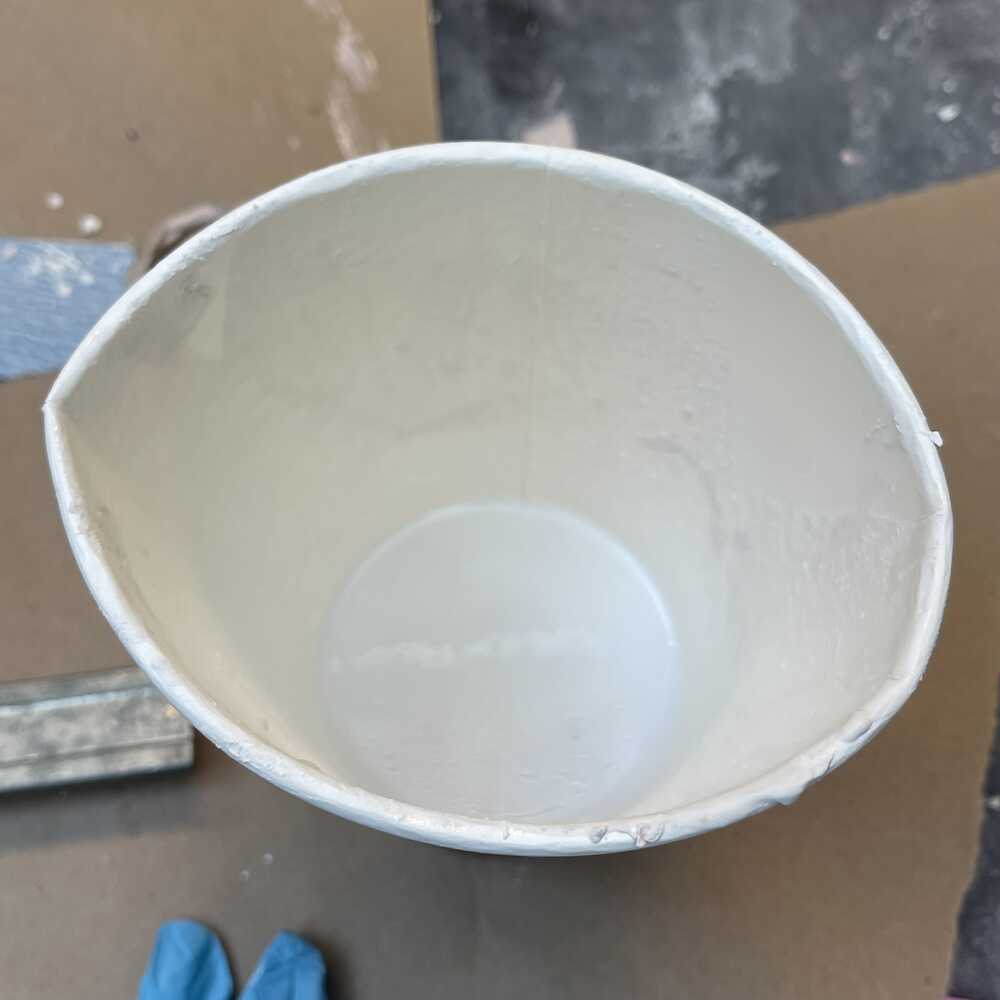
The hole for pouring the plaster came out a bit small so I cut it bigger and I also cut a hole on the side to release air bubbles. Then I mix 1:5 water to drystone to make a mixture to pour into the negative oomoo mold.
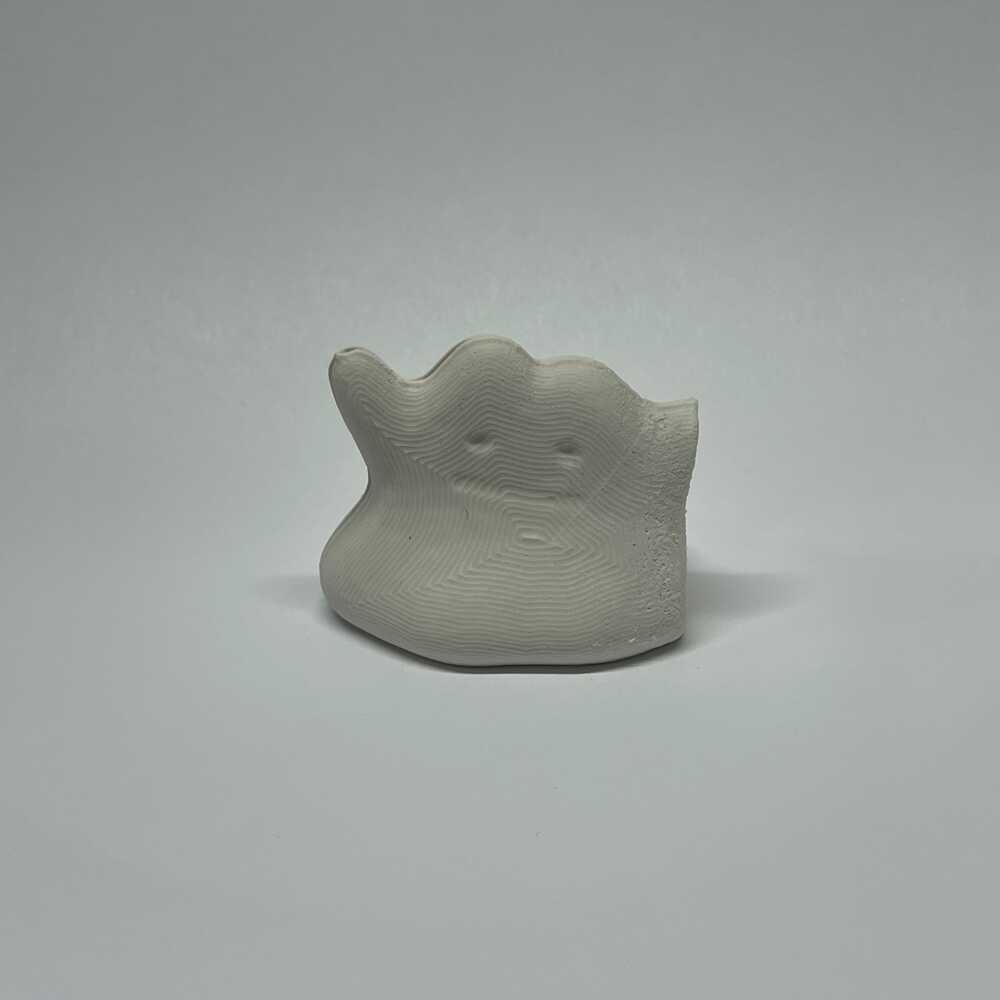
Ditto!
Week 6 Final Thoughts
Overall, Week 6 was super fun. I learned a lot about molding and casting (something I have never done before as well) and was able to make a fun object out of it. the right side of Ditto got cut off it seemed like I didn't put enough plaster it although the mixture filled to the top of the mold. I also learned a bit on CNCing (which I will dive deeper into next week). I uncovered the power of molding and casting and want to do it more in the future. I originally wanted to make the final positive out of oomoo but my wax design made it hard to mold plaster and take it out. Thus, I just went with the procedure given for my first mold and cast. I want to cast metal in the future too! : D