Week 11 - Networking and Communications
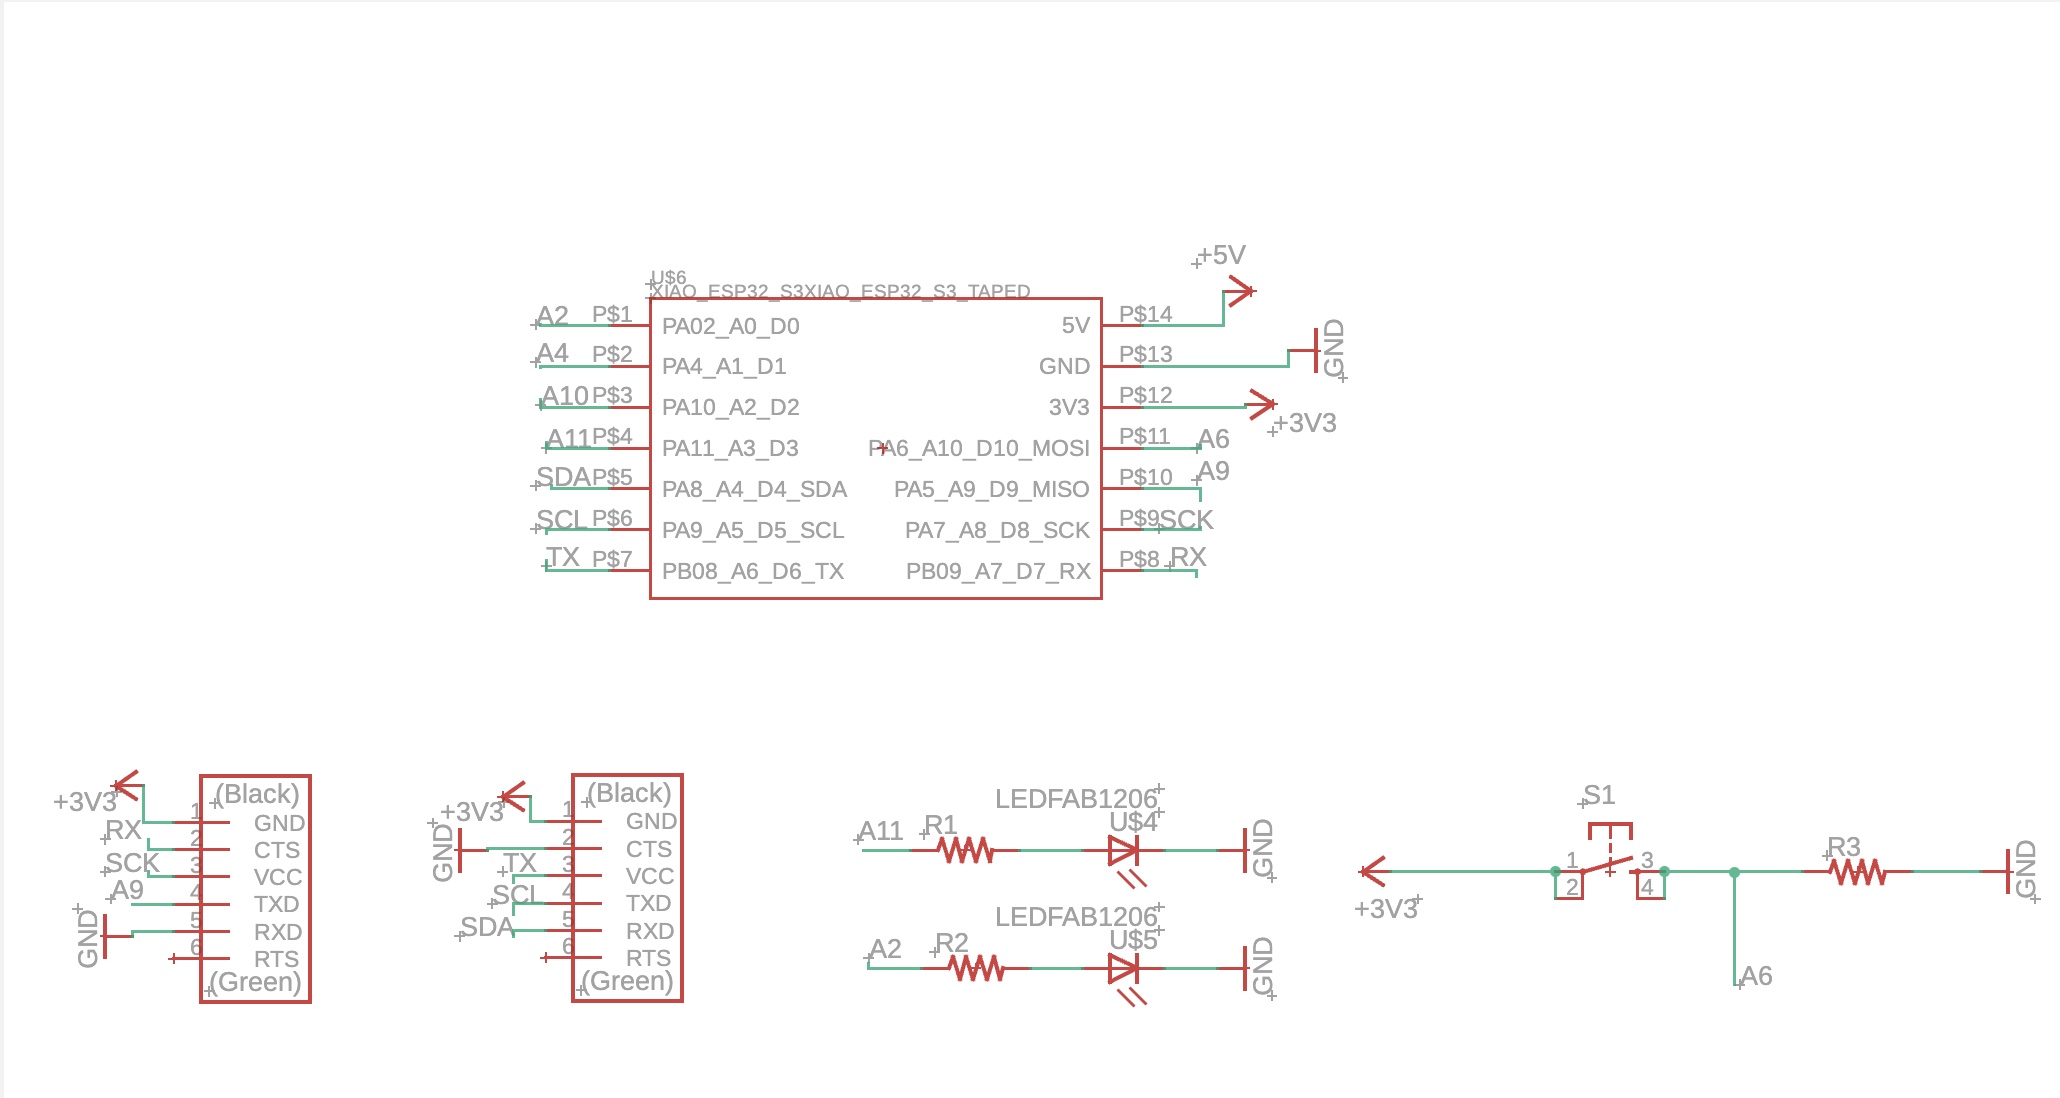
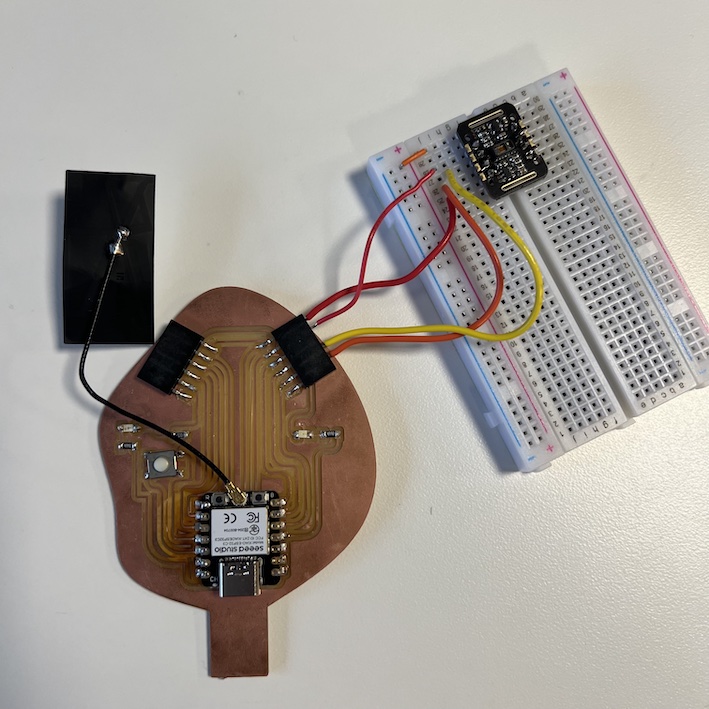
This week we are covering Network and Communication, and I wanted to implement both my MAX30102 Pulse oximeter module for heart rate reading and interact with that information wirelessly. To start, as mentioned in my last post, the ESP32S3 from my Week 6 PCB was misbehaving and would very frequently not be recognized by my Arduino IDE. After checking in with Quentin on my Midterm review, we decided it’d be best to change the microcontroller to the ESP32C3 to see if I’d be a little luckier this time. With his help to desolder and resolder the new board, it seems that the exchange was a success and my ‘tree’ PCB is working fine again!
Next, I needed to create a ESP32 Web Server In Arduino IDE. I followed this online tutorial and decided to use my ESP32C3 as an access point/ “hotspot”, to which I would then connect my computer. This was partially motivated by the fact that every MIT wifi connection requires more than a simple SSID/password combination to be connected, and I wasn’t able to figure that out just yet. I was able to control the LEDs from my board wirelessly, which was a good milestone to achieve.
Then, with the help of Chat GPT, I was able to create a skeleton of a code that would help me read the Heart Rate from my sensor if I either pressed a button on my webpage or the physical press button on my PCB. Making many modifications to integrate the MAX30102 sensor and the ESP32, I was able to read and output my heart rate reading remotely and enable you to rescan if needed. In addition, you can follow along the valid readings in the Serial Monitor from the Arduino IDE. In the files, you will find the skeleton and the final code I used.
Files for this week can be found here