Week 7 - Molding and Casting
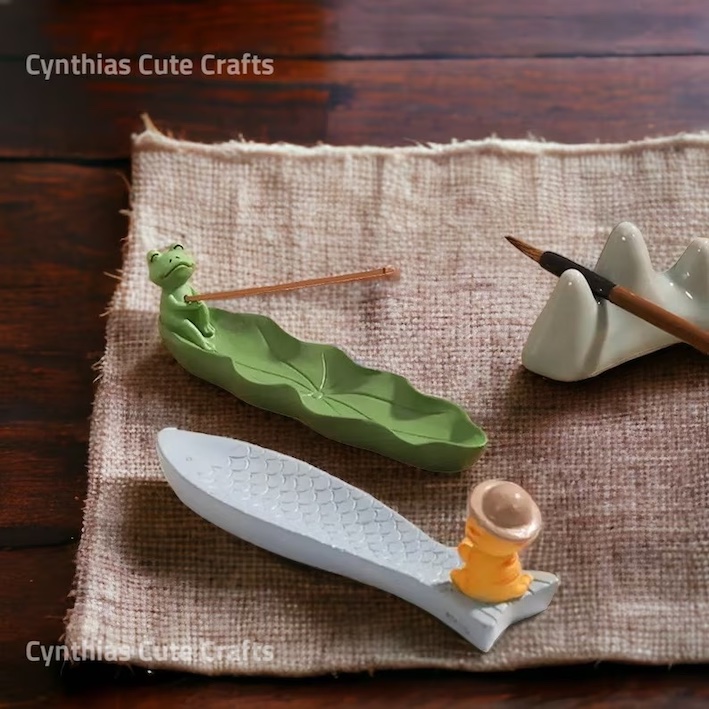
This week we are covering the process of manufacturing objects by CNC milling a mold and subsequently casting the object in it. I have worked with molds in the past for the fabrication of soft robots and for tissue-mimicking phantoms (used in medical imaging verification, like the one below), but haven’t worked with the materials we were introduced to this week. For this assignment, I wanted to try to do a simple house object, an incense stick holder (inspired by these cute finds on Etsy).
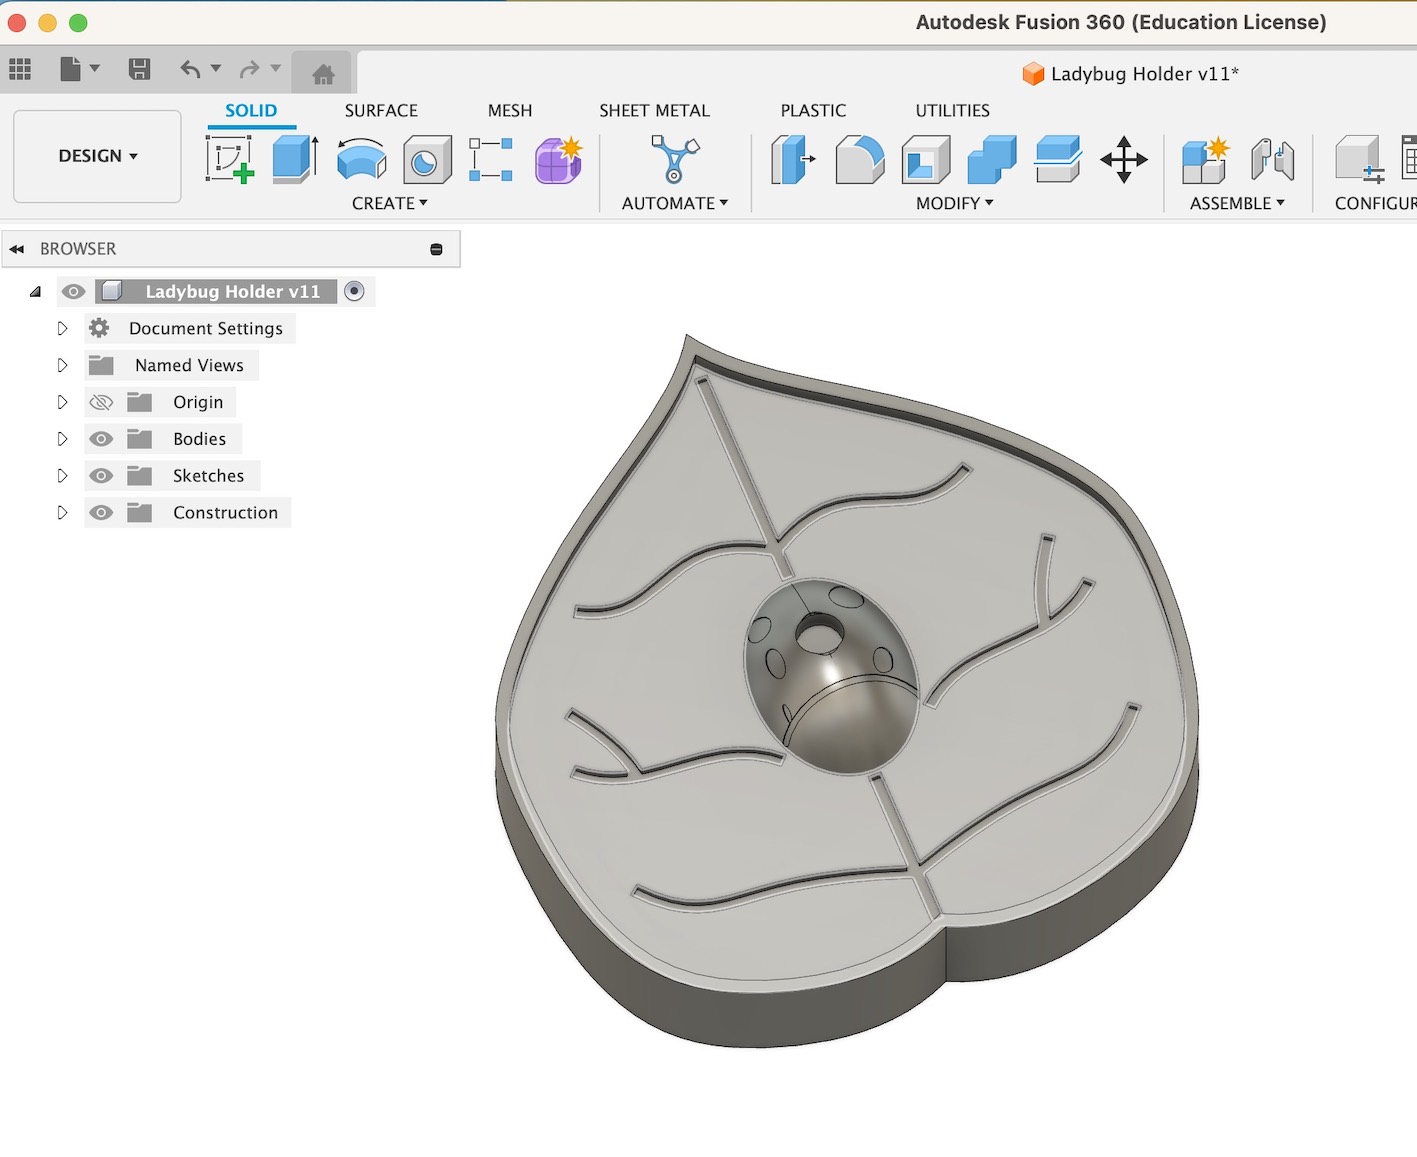
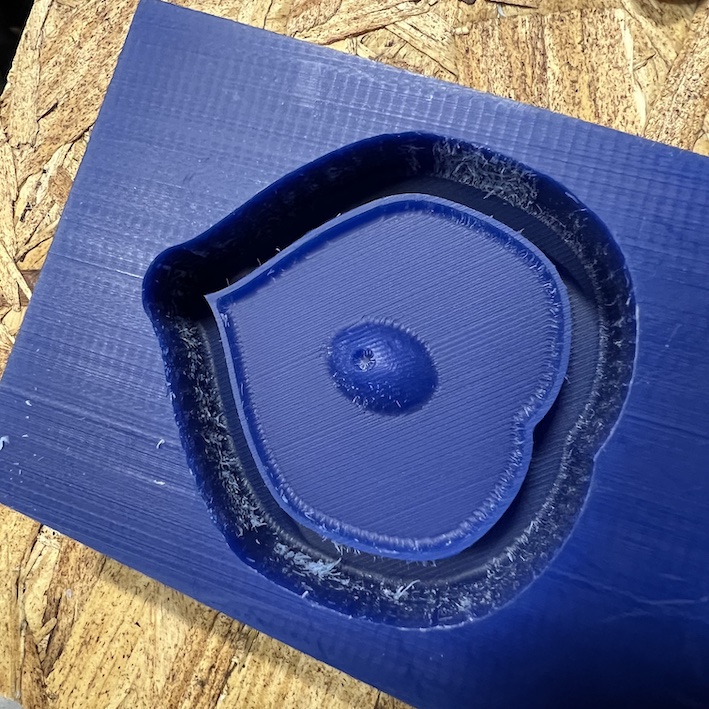
Our workflow required the design (or adaptation of a previous design) of an object, which we would process in Cut3D to create the positive mold in the hard wax block. I created my design of a cordate leaf and a little ladybug in Fusion 360. When I brought it to the ShopBot to mill the wax and was preparing my CNC code in Cut3D, I realized that the features that I was trying to achieve were too small for our 0.125” drill. I decided to get rid of the leaf lines, but the incense holder hole was the main feature of my part, so I had to make it bigger so it could be milled. After milling with the ball end mill, my part was smooth at the curves but had some undesirable remains at the wall, as pointed out in the Shopbot Guide provided by John at the CBA section. I used small scissors and blades to clean the wax mold and make the incense holder cavity deeper. But a good takeaway is that we should always check the tool you’ll be milling with first so we can design our parts around its capabilities!
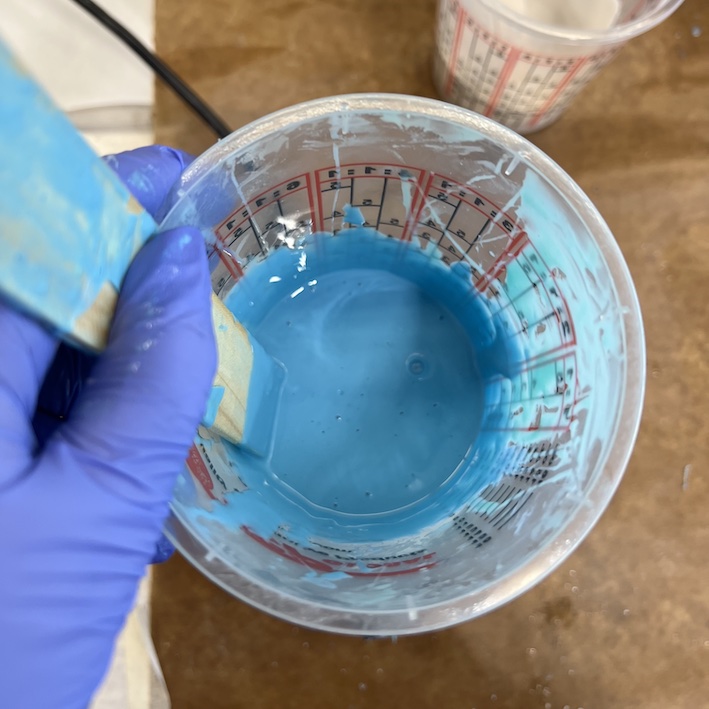
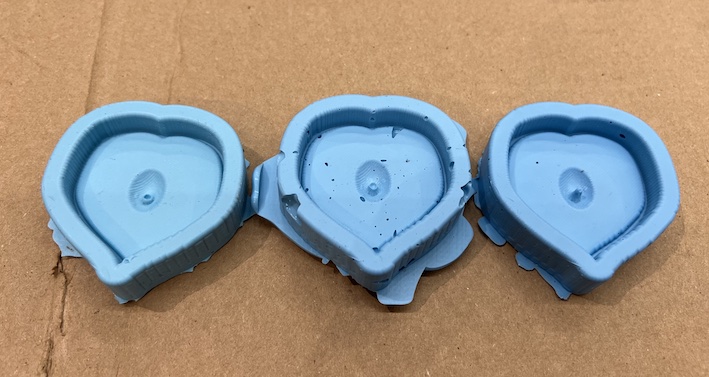
The next step was to create a negative mold of my part using Oomoo 25, a silicone rubber that is flexible, has a high maximum usable temperature (400 F, which makes it appropriate for low-temperature metal casting), and is non-toxic. We used Oomoo for the negative part so that we could cast rigid things on it and the demolding would still preserve the tiny features. After thoroughly mixing parts A and B with the same volume (about 3 minutes), I waited 1 more minute, holding the mix in the vibration plate so that bubbles could rise. I had 3 trials in making my mold: 1. Was actually really nice except that a bubble stopped the mix from going into the cavity that will form the incense holder, 2. I made it in a rush and did pour the mix too fast, so lots of bubbles were formed! 3. Was satisfactory so that’s the one I used.
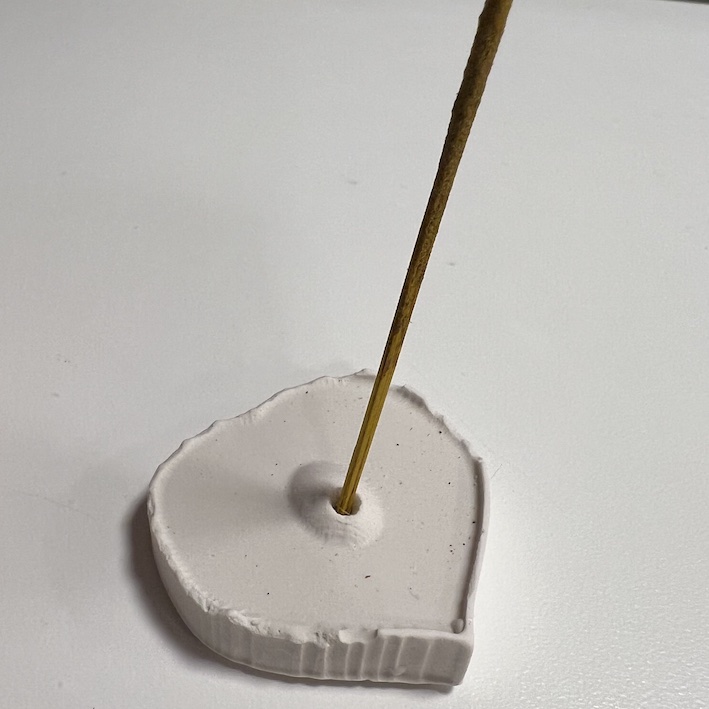
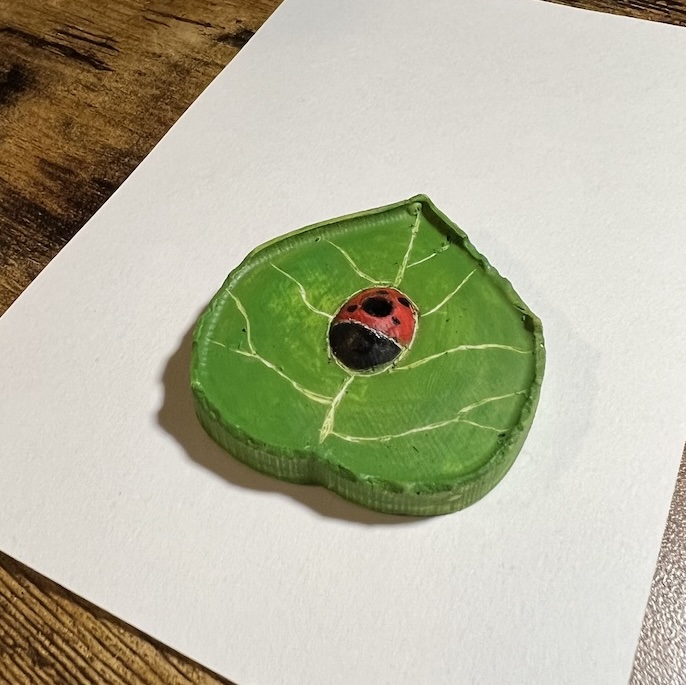
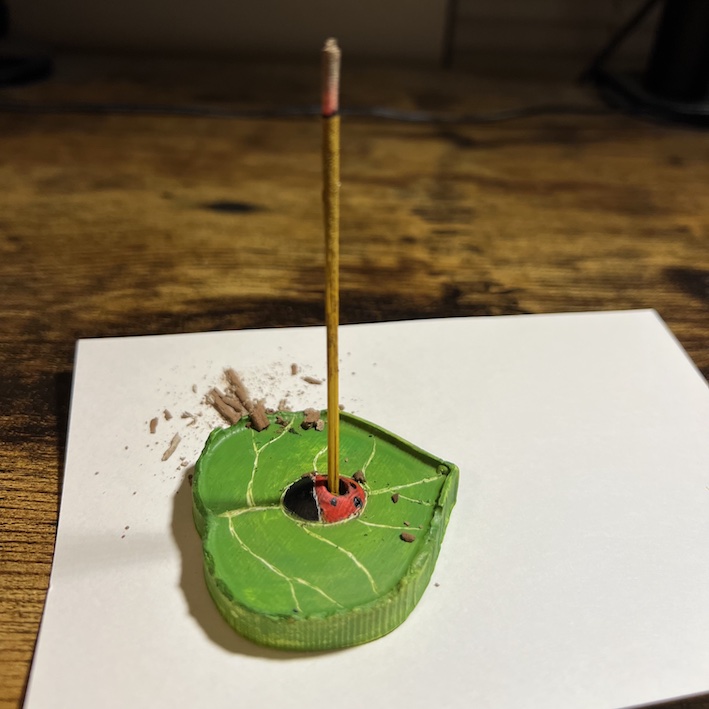
For the last step, I decided to use Hydrocal plaster as the material for my final cast, as it has good strength and from the plaster options we had available at CBA, it was the one that used the biggest water ratio, so I thought it would be easier to manipulate. I did wait around 25 mins to demold but think I could have left it a little longer, as the ridges of my part broke off a little. But the part was functional and I finished it up with watercolor paints, re-adding some of the features I lost in my milling. The part looks good to me, but there’s still much to be improved! In a revised version, I would make it longer to catch the ashes from the incense and also make my features bigger so they could be milled.
Files for this week can be found here