Week 14 - Wildcard Week
We are getting to the last stretch of our class and the rules are fairly relaxed this week! Our assignment is to create an original design and manufacture an object using a process not covered previously. I joined the group using the Zund large-format cutter (coupled with an ultrasonic welder) to make inflatables, guided by TA Alfonso.
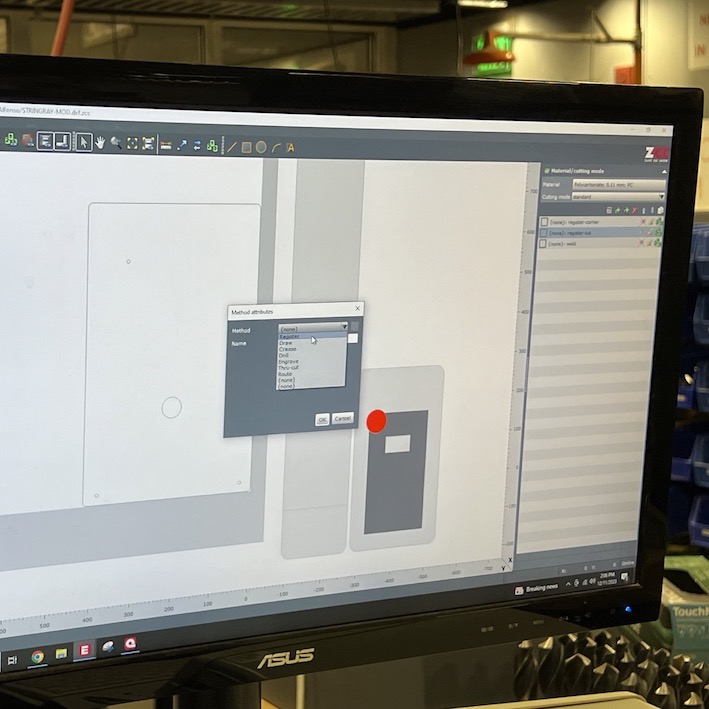
We are using ultrasonic welding to seal the plastic layers of the inflatable, as the vibrational energy emitted by the ultrasound probe can be absorbed by the plastic and make it melt at the point of contact. Our first part of the design process is to make a DXF file, preferably with different layers, in which we will specify the parts that will be used in a cut, weld, or registration process. I created a manta ray model of an inflatable that is inspired by some of these pool floaties . After making my original drawing containing some registration circles and a cavity for an inflation valve, Alfonso made some modifications to the DXF (enlarging, changing the tail curvature), and you can see the final version below.

We then headed to the CBA shop and used the Zund machine to cut the initial bounding box of our model and the registration + valve cavities from a transparent plastic (~0.1mm thickness, material unknown). We put a second layer of plastic on top of it, sandwiched between silicon and teflon for protection. The layers on the DXF file are helpful in the Zund software as they allow us to choose different processes (e.g. thru cut, weld) for a specific layer.


We welded the pieces, visually inspected them and the next part was to re-register the plastic to do the final cut (edge cut). Unfortunately, our registration was not perfect (shifted laterally) and that’s where we ended up cutting the welded part, creating a leak. Later that day, Alfonso and I returned to the shop to do another iteration of the inflatable, now cutting the last part manually with scissors to not risk creating another leak. We then used a Loctite primer and plastic glue to try to glue our valve to the inflatable.


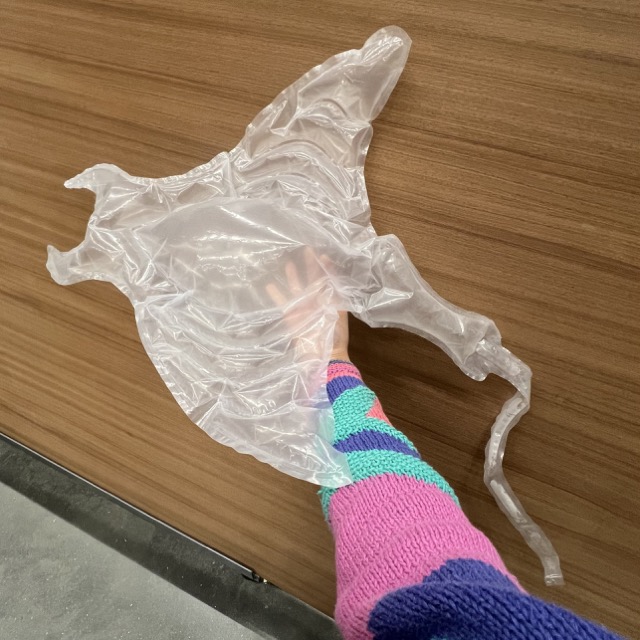
In the morning after, I saw that the glue was sticking to the transparent plastic but not to the valve plastic, which caused a lot of leaks and the design couldn’t be inflated through the valve. Thankfully Alfonso had a nice solution for our prototype, which would be to create one more version, now without the valve hole, and we could air inflate it through a hole in the manta ray tail and then re-seal it. That’s exactly what we did and this is the final manta ray!

Files for this week can be found here