Week 4 - 3D Scanning and Printing
This week we explored the use of 3D printing to fabricate objects through additive manufacturing, a technique that helps designers and engineers rapidly prototype models of complex structures with intricate details. Unlike subtractive manufacturing, which requires a large amount of bulk material that is removed manually or with machinery, 3D printing is achieved by successively combining layers of a material, a process that allows the creation of unique features such as overhang edges, spirals, hollow bodies, among others. We also investigated the use of 3D scanning, a process in which, by taking a vast amount of pictures of an object from various angles, one can create a realistic CAD model (that can be modified, and 3D printed!)
3D Printing a Haloween Pumpkin
Since we are already in October and know that 3D printing is especially useful for modeling biomimetic structures, I decided to create a model of a carved Halloween pumpkin for this assignment. I wanted to add features that are uniquely achieved through additive manufacturing, so I used this tutorial of spiral plant vases as inspiration to create a spiral pumpkin. After defining the shape of the hollow pumpkin with the Create Form -> Revolve -> Select segments of one ridge -> Edit Form, creating the unique “ribs”, I selected the horizontal faces of the pumpkin in segments and used the Edit Form tool again to twist them by either 15 or 20 degrees. After turning the surface body into a solid body and adding a flat bottom, I was super happy with how the pumpkin body turned out. I decided to also create a pumpkin stem, serving as the opening of my model if I wanted to use it to store small items (e.g. paper clips). Lastly, I drew a sketch with the carving and used the Emboss feature (with the Cut option) to finish my Halloween pumpkin.


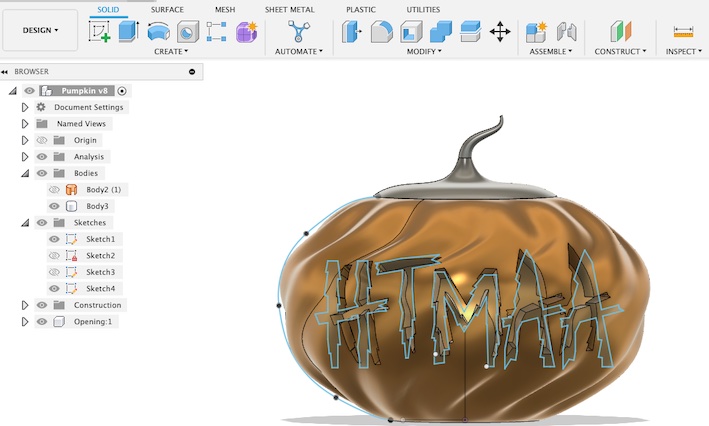
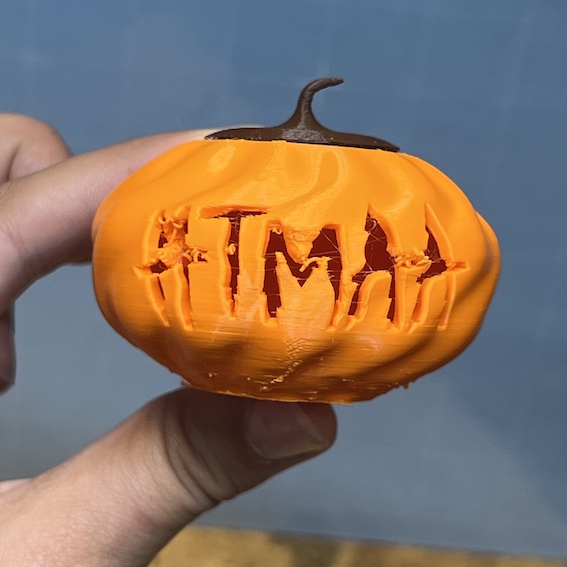
I used the Creality slicer to generate the Gcode, the script that the Creality Ender will use to move the stage and add the layers in the correct location. Initially, I used both the recommended raft and support settings, which automatically detected the inside of the hollow pumpkin as a region that needed to have support material. That print turned out to be acceptable on the outside, but the support material inside (20% infill) was actually pretty sticky and not easily removable at all. I decided to create a second print and signaled in the Creality that the inside of the region of the body didn’t need to have support, as the angle of the unsupported region was not really pronounced. This print turned out to be really nice (except for some of the letter details :/ ) and I did the stem in another color for better contrast. The final result can be seen below!


3D Scanning a Conch Shell
For the 3D scanning exercise, I wanted to try using another natural shape, this time a conch seashell I owned. In my first attempt using the Artec Leo 3D scanner, I laid down the shell in a cardboard grid that was available in the CBA section. After being satisfied with the scan taken, I transferred the Leo project to the Artec software and ensured there were no red (meaning defective) frames before hitting the Autopilot feature. This post-processing step was really powerful and definitely made our lives easier, by creating a solid model that was already closed! My last modification was just to cut my model with a plane so that when it was printed, it would have a flat bottom and could be stable lying down.


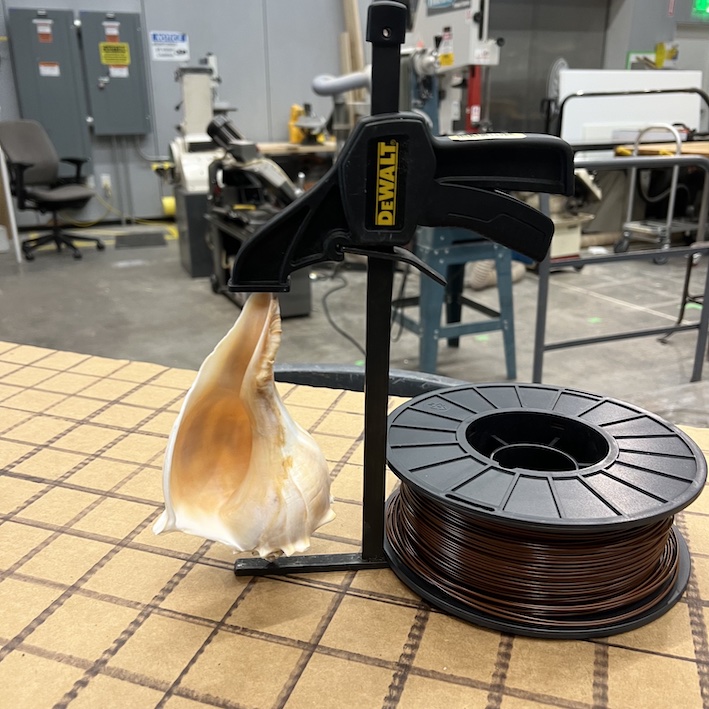
The next day I tried to run a scan (with a precarious fixture) with the shell standing upright to have the spiral opening visible. The scan turned out to be good but for some reason, my 3D print failed miserably after the raft, so I ran out of time to try to improve the model.

But to end the week on a positive note, my Stratasys J55 print of the first model of the conch shell was finished on time for class, and the end result is so gorgeous! When compared with the Creality Ender print, you can definitely see how both the color and the actual texture make a huge difference in the similitude of the model.


Files for this week can be found here