Week 13 - Machine Design
For this week, we are building one machine as a section, and CBA decided to do the Dramatictron > 9000 . The CBA section website with the complete documentation can be found here!
Our inspiration comes from the very dramatized scenes that feature several POVs for the same action, kinda something like this:
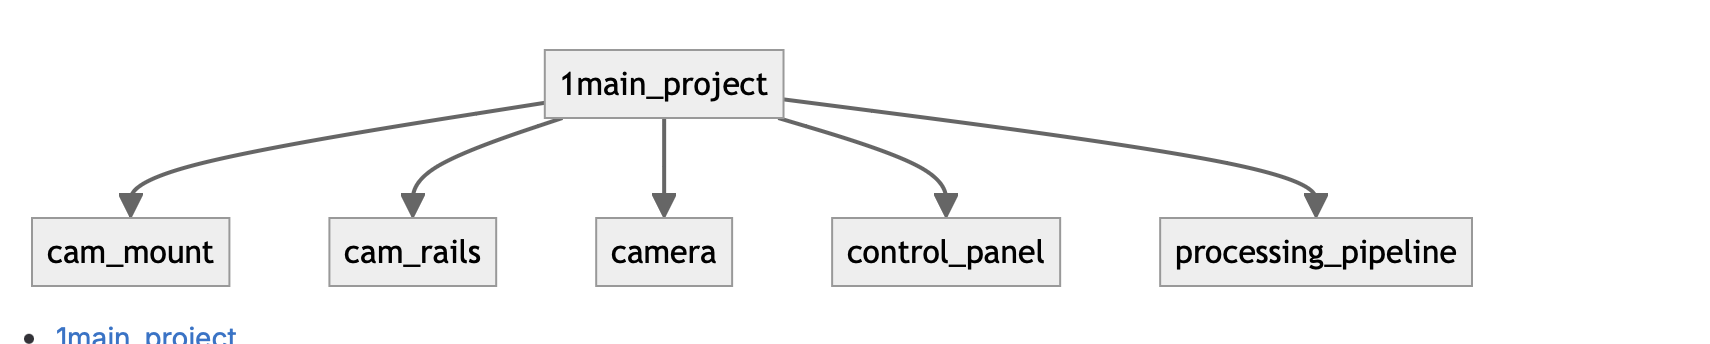
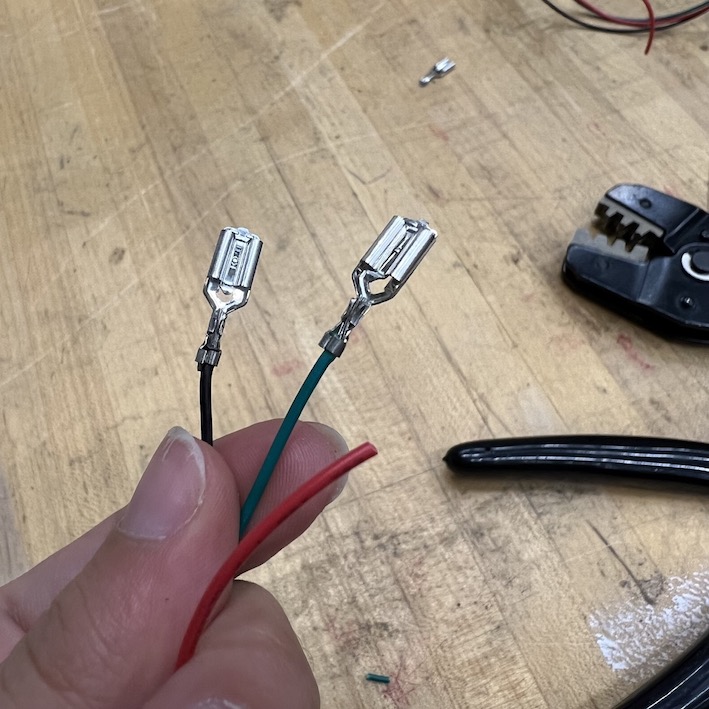
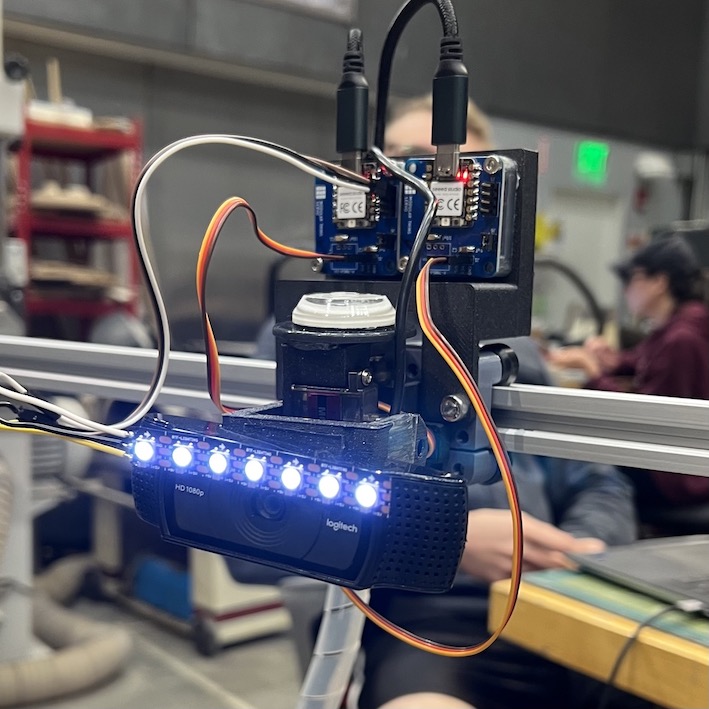
The machine was composed of 3 camera rails, positioned at different angles in relation to the subject of the video, the camera mounts, which had the “tilt” and “pan” actions controlled by servo motors, the web cameras, some LEDs and a User Interface that would control homing or capture sequences (and their corresponding processing pipelines). After attending the initial brainstorming sessions, I volunteered for the mechanical team, and my first few tasks were to assemble the linear rails + mounts (courtesy of Quentin’s and Jake’s machine kit), and crimping wires to connect our boards to the linear switch of the motors.
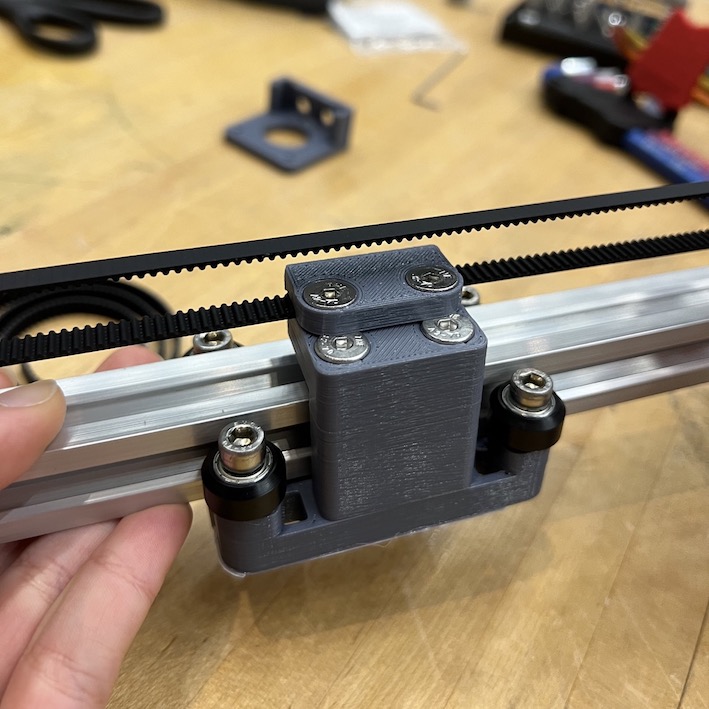

We had been using the Modular Things Boards and due to the several motors used, were already employing 3 boards per rail. Quickly cable management became an issue and I created a fixture to mount the 2 servo boards controlling the “tilt” and “pan” to a fixture that could be coupled to the camera mount, redistributing the weight so that the camera wouldn’t tilt forward.


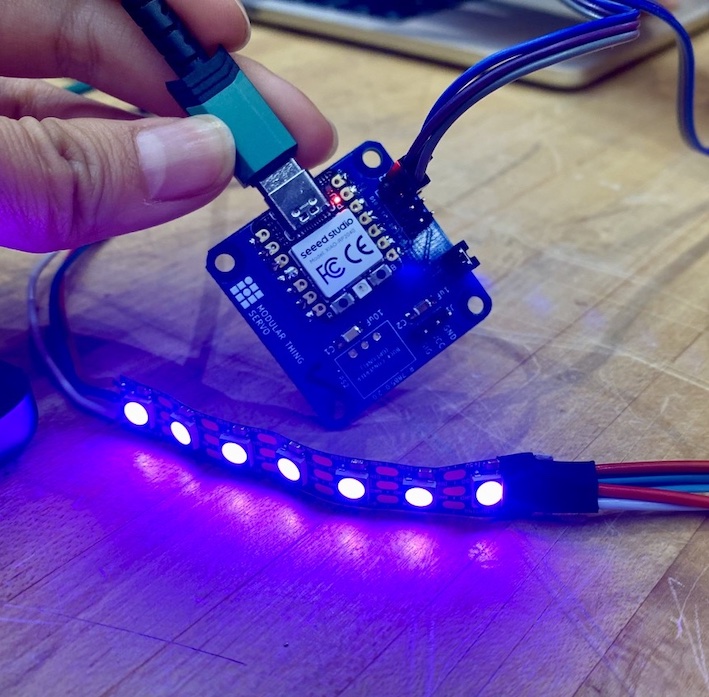
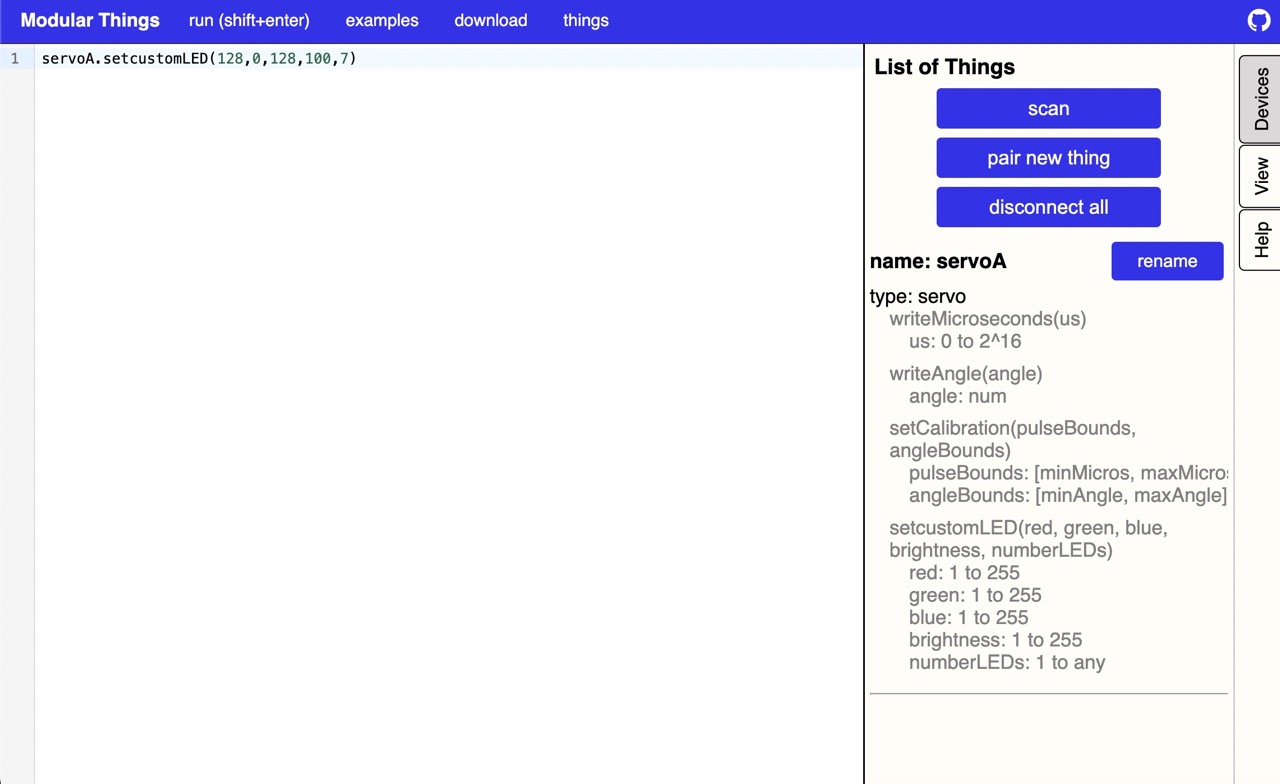
The nice thing about using Modular Things is that it makes controlling the preprogrammed functions of each “Thing/Board” pretty easy, but Lucy and I encountered (and solved!_ a conundrum when trying to add a simple function to one of the boards: lighting up some WS2812B strips (which I had extra from my final project iterations) to the extra GPIO in the Modular Things Servo Board . You can check the difference between a video with no light and one with light .
Even though turning those LEDs on only takes a couple of lines in the Arduino code with the FastLED library, to set this custom function we had to modify the firmware and software of the Servo board. We added to the firmware one new function to update the LED and one to decode the packet coming from the web server into the input of the LED function, and to the Javascript, we added a function that sends the corresponding package of data with inputs to turn on the LED. With that, we can set the LEDs by specifying the amount of Red, Green, and Blue, the LED brightness, and the number of lights that will be turned on. The modified code for a custom LED that works with the Servo thing board (using GPIO3) can be found with all the files for the week here
Check the CBA website for more examples of how our videos turned out!
Files for this week can be found here