HOW TO MAKE (ALMOST) ANYTHING
TIFFANY TSENG - FALL 2011
| 03 // FabISP IN-CIRCUIT PROGRAMMER |

|
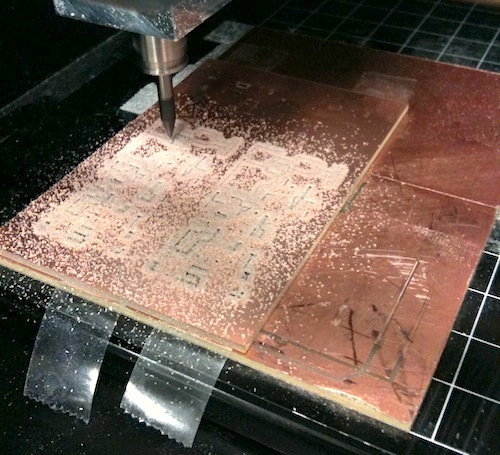
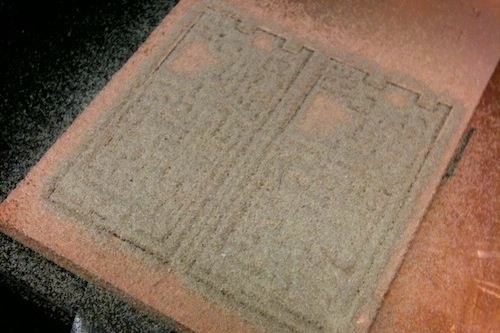
ASSIGNMENT This week's assignment was to create a FabISP in-system programmer for programming microcontrollers. To create the FabISP, I milled the circuit board using the Modela milling machine and soldered surface-mount components to the board. Finally, the microcontroller was programmed using a AVRISP programmer. MILLING I followed the instructions on the website to get started. First, the traces were etched into the board, and then the board was cut out of the FR1 plate. The FR1 plate was taped down using double-sided tape. After taping down the board, I screwed in the 1/64" drill bit and zeroed the z-axis. I then used the FabModules to send a png of two boards to the Modela. When I first tried to etch the traces, I found that the mill barely etched the board despite using similar settings as the person who cut before me. However, after resetting both the machine and the computer, the Modela etched reliably. I used a zDz mm of -0.4 for milling the traces.
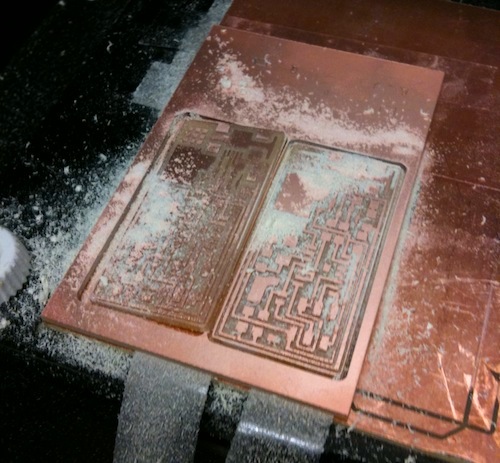
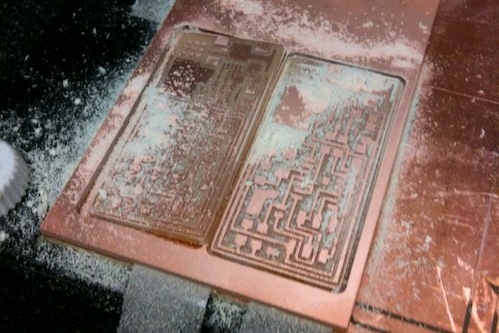
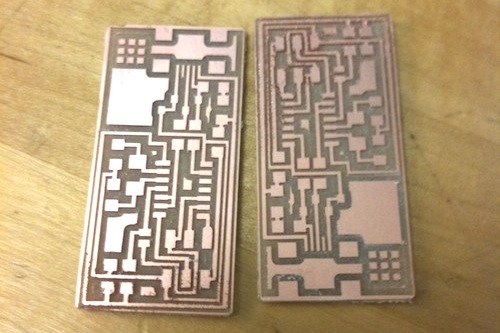
I then sent a second png of the board outline to the Model using a zDz mm of -0.3 and a 1/32" drill bit.
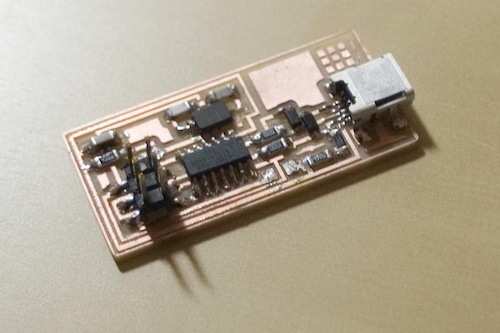
SOLDERING & PROGRAMMING Having never soldered surface mount components, I found this part to be the most challenging. After soldering all my components, I had errors when I tried programming the board:
Valentine looked over my board under a microscope and noticed that two pins of the ISP header were accidentally connected. After removing the solder with solder wick, the board programmed fine. Thanks to David Mellis for the help!
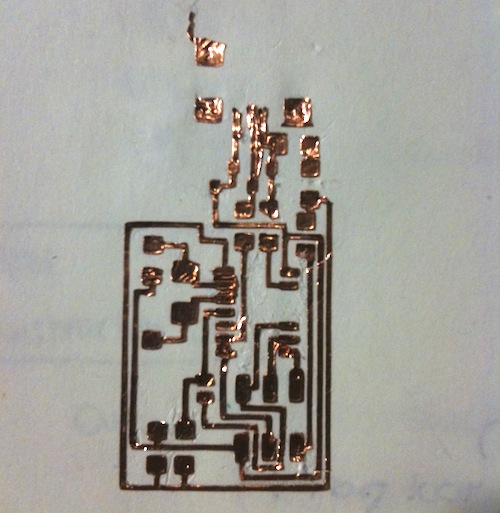
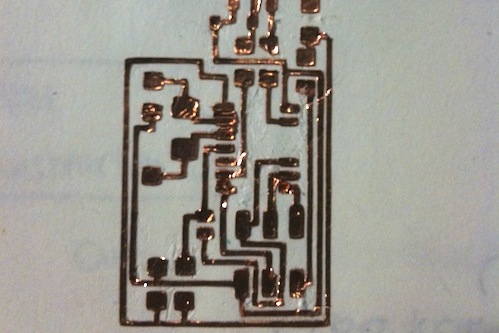
VINYL CUTTING I also went to Ji's vinyl cutting tutorial to learn how to use the vinyl cutter to cut out a circuit. Weeding the circuit took a good amount of time, and unfortunately, some of the traces came off in the process. But I'm excited about the possibility of making flexible circuits!
|