HOW TO MAKE (ALMOST) ANYTHING
TIFFANY TSENG - FALL 2011
| 06 // EMBEDDED PROGRAMMING |


 |
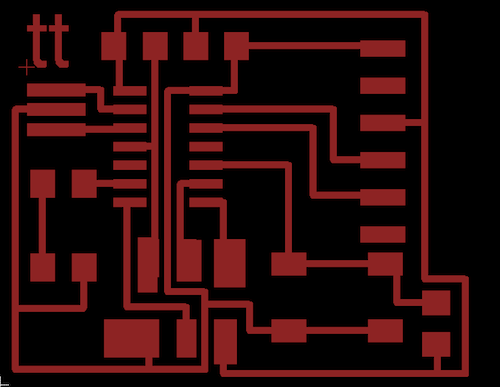
ASSIGNMENT This week's assignment was to program a board to do something. I decided to focus on my final project and work on using a potentiometer to affect a CAD model on screen. I also worked on casting some form models for my "twist kit," created a board that fades an LED a la the MacBook display light, and created a small army of TT characters. "BREATHING" BOARD For this week's actual assignment, I created a board with an LED and a button. I wanted the light to fade in and out light the light on Macbook laptops (they were designed to look like a person's breathing pattern). I designed the board in Eagle and used Arduino to program the board. The first time I put together the board, the header pulled out, along with some of the copper pads. After showing it to one of my office mates, he recommended widening the pads in Eagle by drawing larger rectangles.
Because I didin't own a USB to FTDI cable, I ended up resoldering the 0 ohm resistor onto the FABISP, which powered my LED board. EVOLVING THE TWIST KIT I worked on developing my final project in two ways: prototyping the physical form of the toolkit and exploring some of the sensing and visualization I might use. Because this week's assignment was all about electronics, I'll talk about that first. I ordered some rotary encoders and potentiometers from Mouser on Tuesday. Unfortunately, the parts didn't ship fast enough (I still haven't received them as of Sunday night), so Valentin gave me a potentiometer and I experimented with this instead.
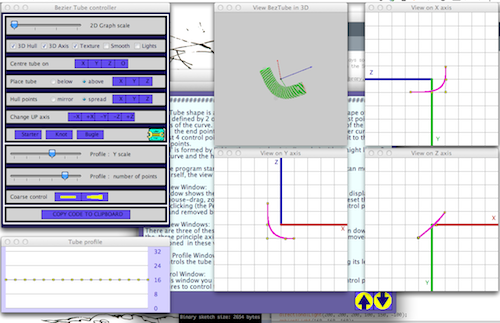
Because I'm more comfortable using an Arduino, I decided to start in Arduino and then figure out how to do it using the Fabkit that Ed created last year. My goal was to use the potentiometer as a way to sense rotation of a single component in my construction kit. Physically rotating a piece would cause a 3D model of the toolkit to respond in real-time on screen. I hooked up the potentiometer to my Arduino Uno and integrated Arduino with Processing for the visualization. I've never used sensor input from Arduino with Processing, so I looked at some examples and realized that Processing's built-in library has support for spheres and boxes but not for irregular shapes. After a Google search, I found the shapes3D library and peasycam library. I used a Java Applet on the shapes3D site called "bezier tube editor" to create a custom tube shape based on my construction kit piece. This applet then provided the code to draw the shape in Processing.
I then played around with my Processing code to get my 3D model to rotate in response to rotating a potentiometer.
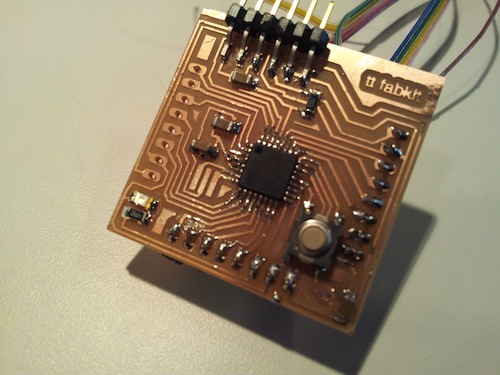
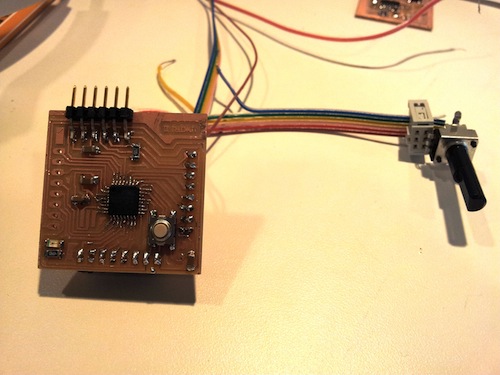
There are two problems with my Processing model right now: I don't have the axis of rotation set, and I am also merely rotating the component based on which direction I move the potentiometer, not its exact position. I'll have to figure out the geometry behind this before I proceed. Next, I created the Fabkit board Ed introduced us to last week. This was a very tedious process for me because it was really difficult for me align the ATMEGA chip with all the small traces on the board. When I made errors, removing the chip often ripped out the traces from the board, forcing me to start over. Each board also took a really long time to mill (around 45 minutes total). I tried hooking up my potentiometer to the Fabkit board, but I ended up getting a hardware error in Arduino. I have a feeling I've shorted something, but I didn't get a chance to fix it.
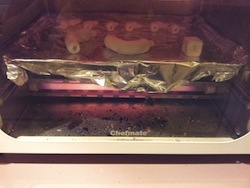
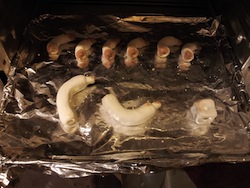
I also prototyped some physical forms of the kit. In particular, I wanted to see if it was any fun to play with and if I could create some interesting shapes with a single piece. Because my molding attempts failed last week, I decided to use something quicker for prototyping. I bought Sculpey from Blik in Central and created some scaled-down pieces for playing with. It was my first time using Sculpey, and they got a little burnt in my toaster oven.
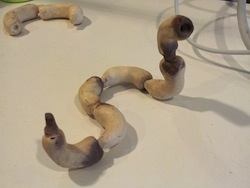
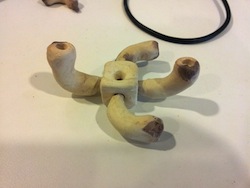
I found that the kit was actually pretty fun to play with and could be used to create some nice non-planar designs. Because the kit is more constrained than LEGO pieces (since each piece essentially can only connect in one way and only has one degree of freedom), I thought it would be a good toolkit to make for the final project.
I then decided to create a mold of larger pieces.
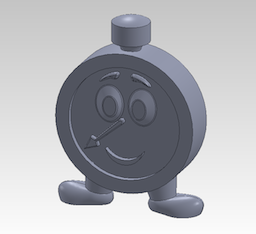
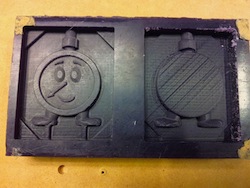
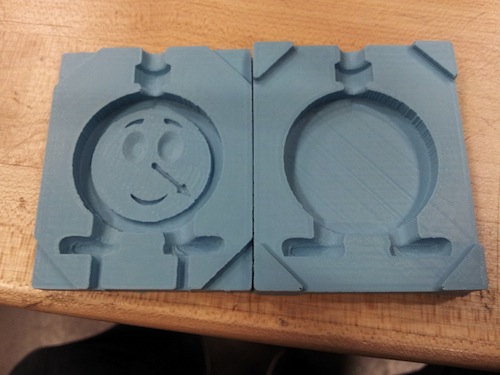
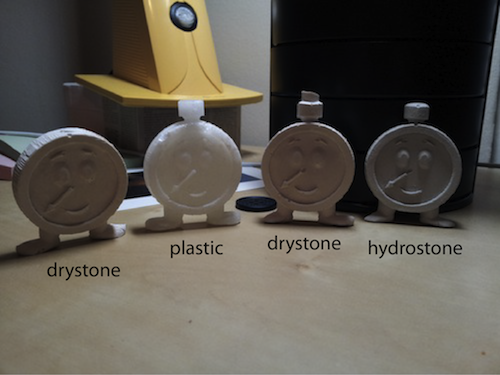
TT ARMY I was a bit down on myself last week since nothing I casted really worked out. I decided to create a mold of a video game character named "TT" (the same as my initials). A special thanks to Yoav for helping me figure out the surfacing to create his feet–this ended up being much more difficult than expected!
DESIGN FILES Twist kit Processing - NOTE: place the "peasycam" and "shapes3d" files into your Processing library folder. |