HOW TO MAKE (ALMOST) ANYTHING
TIFFANY TSENG - FALL 2011
| 05 // MOLDING & CASTING |
 |
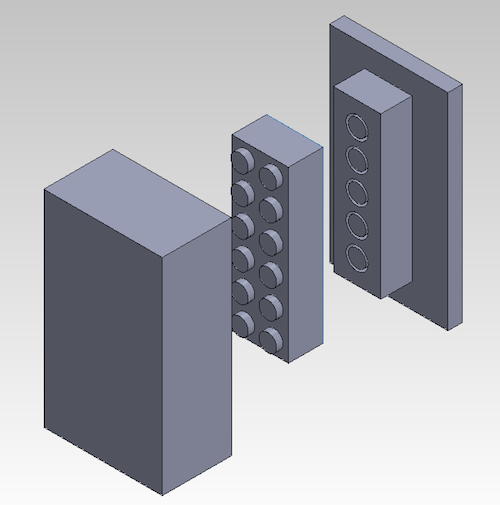
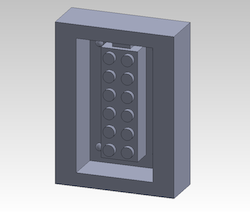
ASSIGNMENT This week, I wanted to work towards my final project and cast modular building blocks. I began with designing and casting 2x6 LEGO blocks to mixed success. I also designed my own construction kit made of round pieces that can rotate with respect to one another when connected. My idea was to use potentiometers in the pieces to measure their orientation. LEGO MOLD & CASTING I first began by creating a model of a 2x6 LEGO brick in SolidWorks. I learned to use the molding tools to create a two-part mold and then created the negative of this mold. In the end, I found that there were much easier ways to design this by taking the positive of the part and extruding in either direction at the parting line.
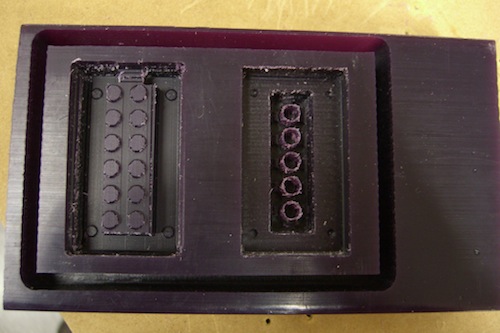
I then attempted to machine this mold in wax. I started off on the Modela but ran into a lot of problems. First, the FabModule wasn't seeing any of my STL files. I realized the problem is that by default SolidWorks exported stl files with the extension ".STL" and the FabModules appear to be case-sensitive and only look for files with the extension ".stl". After renaming my files to have the extension ".stl", the FabModules were able to see my parts. The next problem I ran into was that the FabModules didn't seem to be creating the right path for my STL file. Since no one around the shop seemed to know how to fix this problem, I decided instead to cut the mold on the ShopBot. I quickly realized, though, that the brick had some fine details that required a 1/16" endmill, but the endmill couldn't cut features that were as deep as the ones in my design. As a result, the finishing on the wax is not very smooth. Another problem I ran into was that the 1/16" endmill seemed to have been pushed into the collet so that not all the cuts are at the same depth. In the end, there were just a lot of problems with the mold. The cut settings I used were spindle speed =9000 rpm, feed rate = 120 in/min, and plunge rate = 30 in/min.
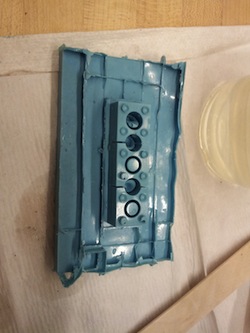
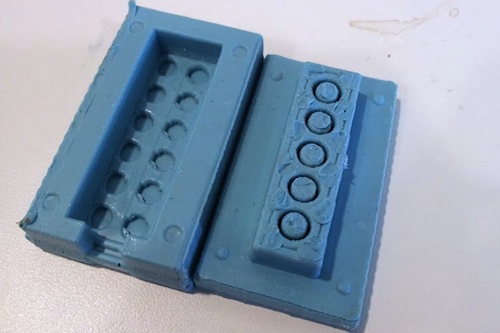
I created the negative of the mold using the OOMOO silicone. I was surprised that the thin-walled cylinders on the bottom of the wax mold were not damaged in the process. I had to cut off a lot of the features from the bottom of the mold. I did this with an exact knife, pulling on the silicone while cutting to try to get a smooth cut.
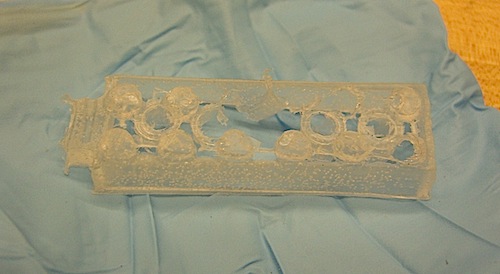
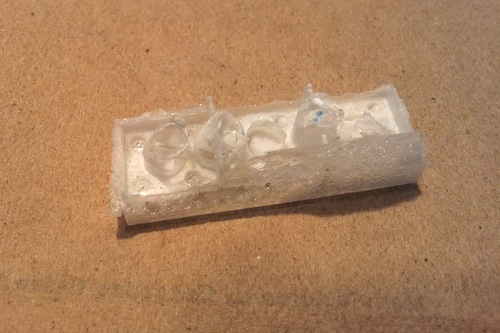
Unfortunately, when I attempted to cast a part in hydrostone, I found that the walls were too thin and it was hard for the material to flow into the small holes:
I then attempted to cast the part by filling the top half first and then placing the second half of the mold on top. This worked a little better but still didn't really work.
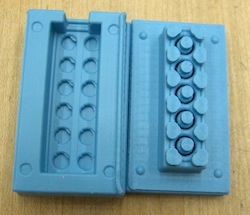
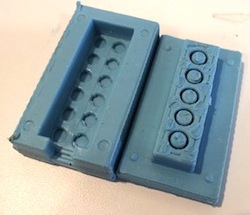
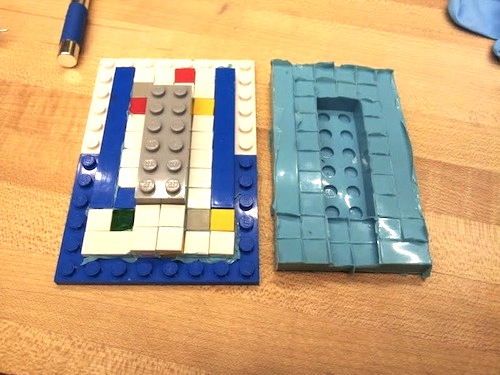
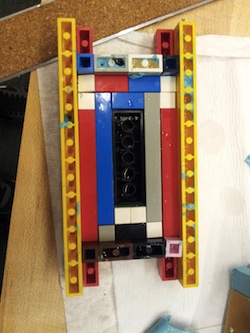
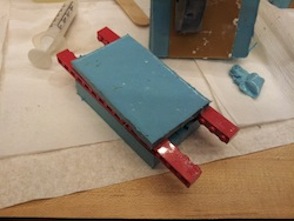
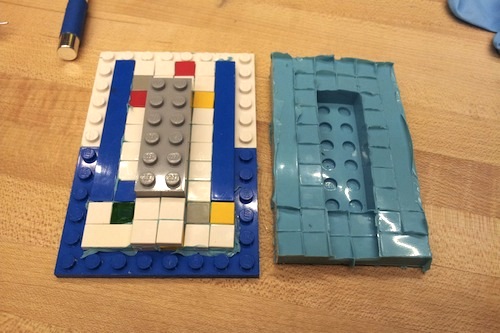
I decided to give up on this mold and followed Jie's LEGO casting tutorial from her HTM website last year. However, I still wanted to try to faithfully recreate the holes on the bottom of the LEGO piece; when she made her LEGO pieces, she stacked a LEGO piece over the top opening of the mold, which is not actually how the holes appear on the bottom of the mold. I created two halves of the mold using LEGO pieces using the flat, smooth pieces without pegs to create smooth surfaces on the mold:
This actually turned out decently well. The nice thing about LEGO molds is you can deconstruct them to remove the silicone (instead of having to carefully pry it out). Also, the mold is infinitely reconstructable, making it much easier and faster to make changes.
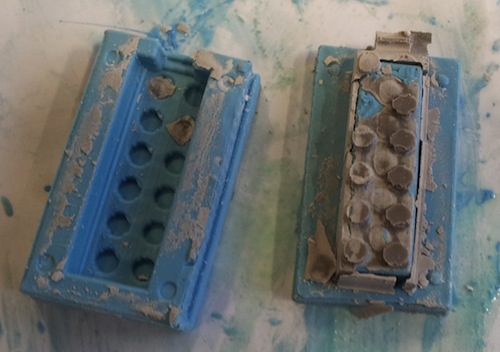
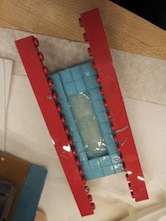
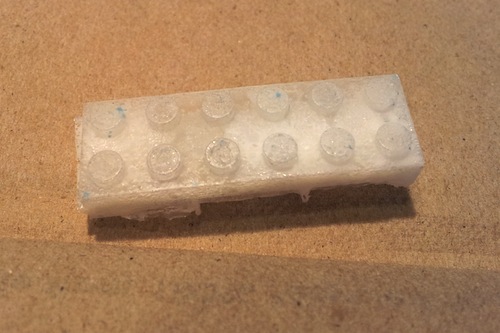
Unfortunately, the LEGOs are a bit shallow from a mistake I made in constructing the mold; the top half mold was too shallow. I tried to remedy this by placing a LEGO spacer in between the top and bottom mold, but of course, the material then couldn't flow into the bottom pegs. But some of the features on the bottom of the LEGO piece turned out. I used Smooth-cast 327 clear plastic.
I also casted the plastic using my original, milled mold and the result was slightly improved, but not yet a full LEGO piece:
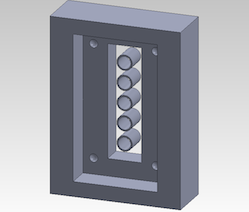
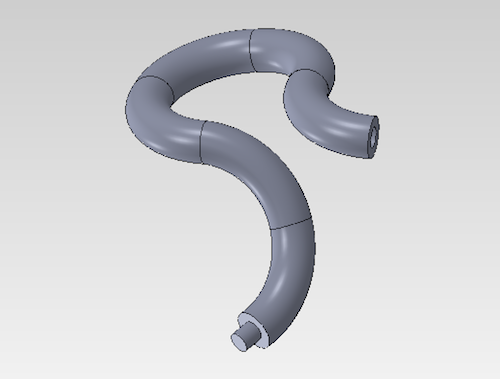
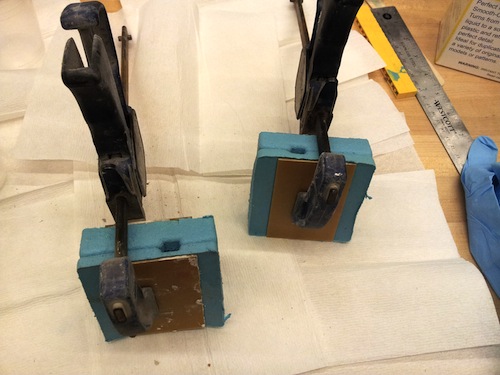
CUSTOM CONSTRUCTION KIT PIECES I had a second idea of creating a construction kit with pieces that can rotate with respect to one another. My idea is to put a potentiometer in each end of the piece so I can measure orientation. I liked the idea of making a construction kit that allows for non-linear stacking (as opposed to traditional LEGO bricks).
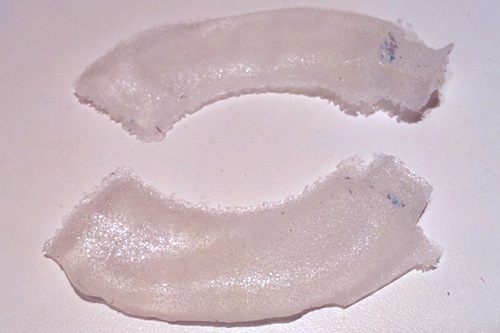
I found a potentiometer and made a channel in the construction kit pieces to embed the potentiometer and any wiring I would need.
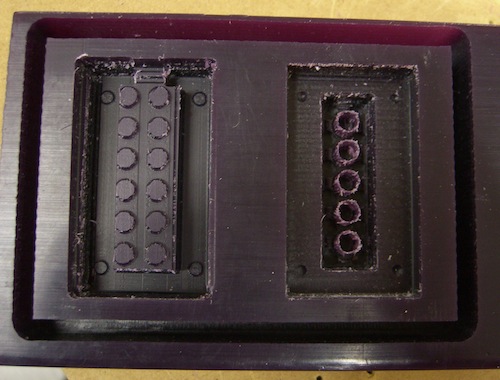
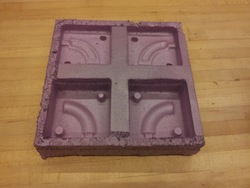
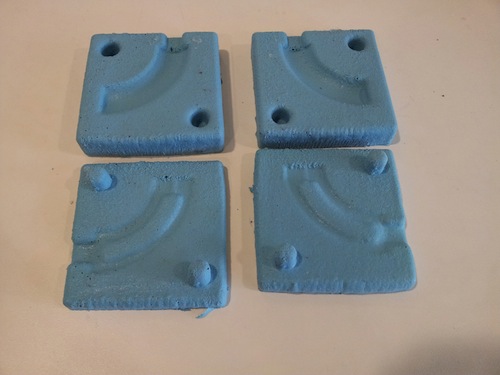
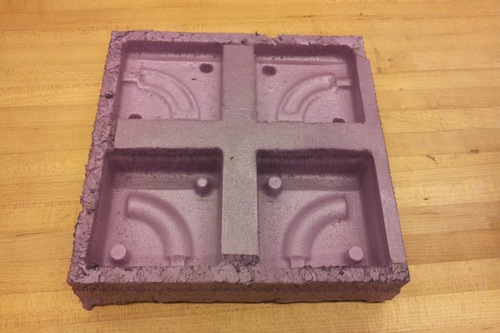
I machined this mold out of foam. A note: PartWorks time estimation is about 3x off from the actual time it takes! It estimate that the part would take 30 min and it took about 90. The settings I used for cutting the pink foam were: spindle speed = 18000, feed rate = 250 in/min, and plunge rate of 100 in/min. I used a heat gun to smooth out the foam before casting a silicone mold.
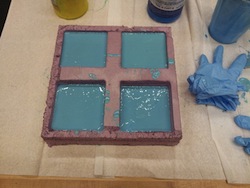
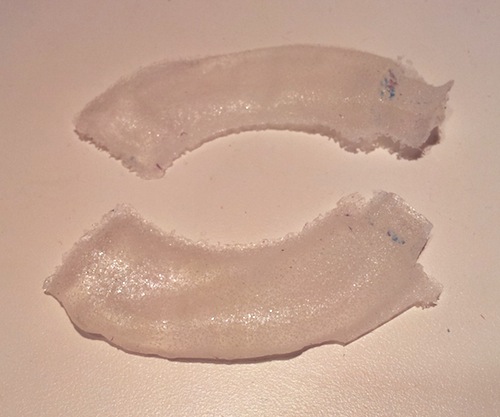
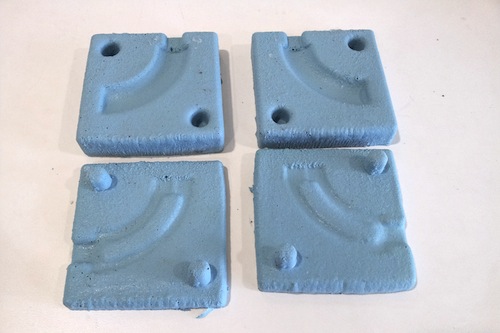
These, too, did not turn out well. The plastic, even when left overnight, is still very flexible. I think this may have resulted from there being a lot of air bubbles in the plastic. I filled the mold using plastic syringes I got from CVS (they gave it to me for free when I asked the pharmacist.
LESSONS LEARNED
DESIGN FILES |