Our assignment for the week was to make an in-system programmer by milling a copper board (pre-designed), stuffing it with the components, and programming it.
I had a smidgen of experience in electronics coming to this assignment, and although I still don't know how the design of the circuit works,
it was certainly satisfying to learn how to properly solder and have something that I soldered actually work!
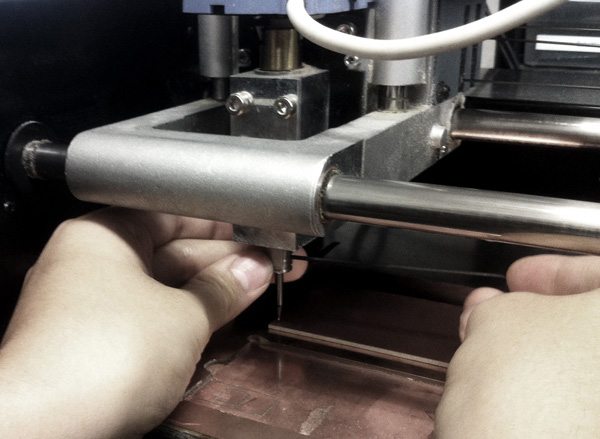
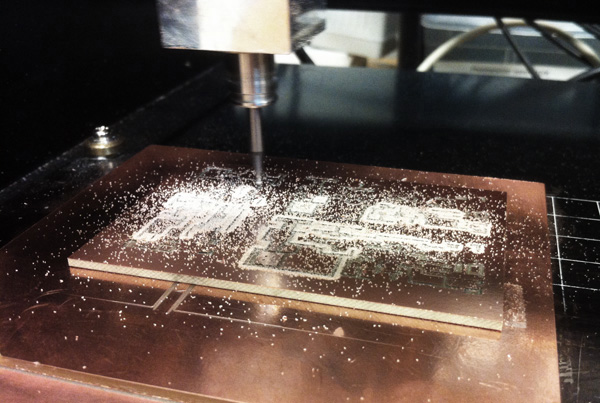
MILLING ON THE ROLAND MODELA:
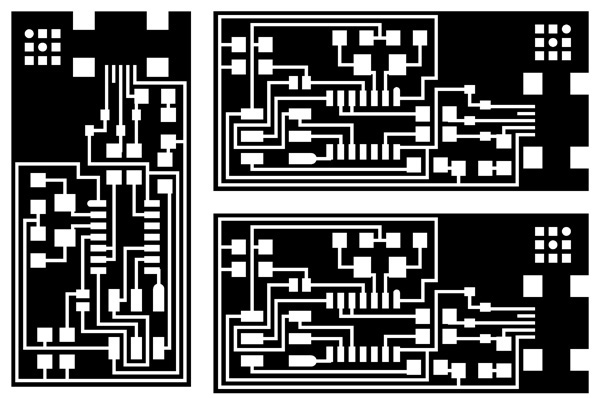
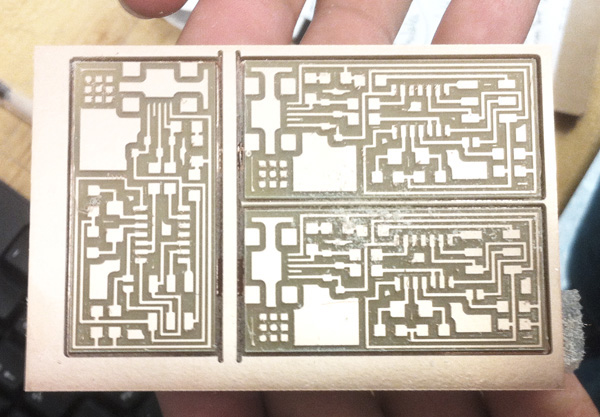
I decided to team up with one of my classmates from the architecture department (Seto)
to mill out three boards at once.
We encountered a couple problems. First, we misunderstood the signs for recognizing if a job is stuck in the machine. We thought if the view light blinked
at all that meant there was a job stuck in the machine, but apparently it always blinks. The key is if it continues to blink after a few seconds.
If it does, then a job is stuck. If not, you're good to go. Next, we zero-ed the machine and thought everything was going smoothly until it started to cut
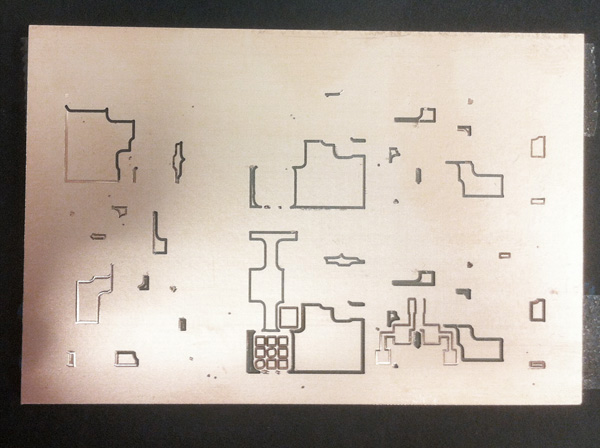
and it was very uneven in its cut depth across the board. So, after a couple attempts at making sure the board was flat and increasing the cut depth,
we concluded that there must be a problem with the bit. So, we replaced it, sent the job once more, and it worked!
THREE UP:
SETTING UP:
MILL FAIL:
MILL SUCCESS:
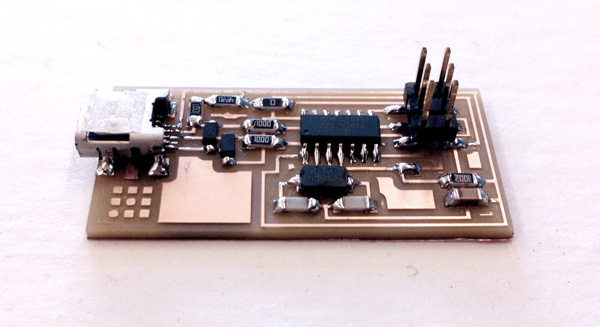
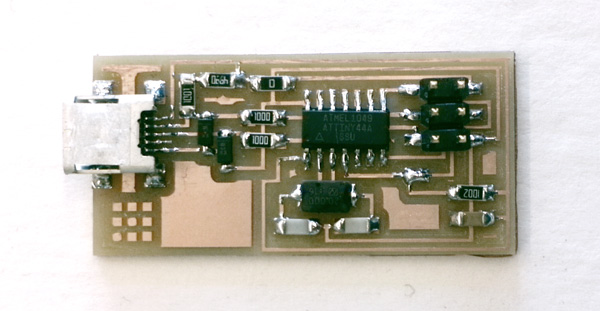
STUFFING:
I was a bit nervous about soldering before I started, but once I got going, it wasn't so bad. I found that tacking down the components and having
steady control of your tweezers was definitely the way to go. For removing solder, the copper braid was very useful...just remember that the braid will get hot! (I know
that should be obvious, but I didn't think about it).
Other than that, the soldering process went pretty smoothly. Although I still can't imagine trying to do
this!
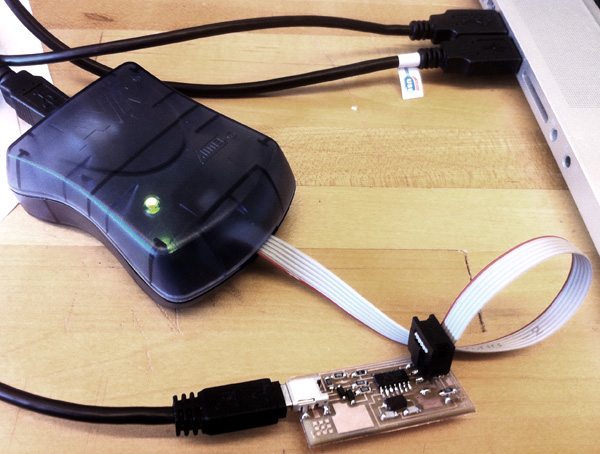
PROGRAMMING:
I programmed my FabISP with the AVR ISP MK II that was in the lab. Right away, I was pleased to see the light on the AVR ISP was green,
meaning it was at least recognizing my FabISP. In my section, we were pre-warned that the programming process had so far only worked on either Mac or Linux,
but I went ahead and tried to do it in Windows...it didn't work. I tried again on a friend's Mac...and it worked!! At this point I was slightly discouraged from the
Windows experience, so I was quite pleased when it worked on the first try. Finally, I desoldered the jumps. I used the hover/heat gun technique for the zero ohm resistor.
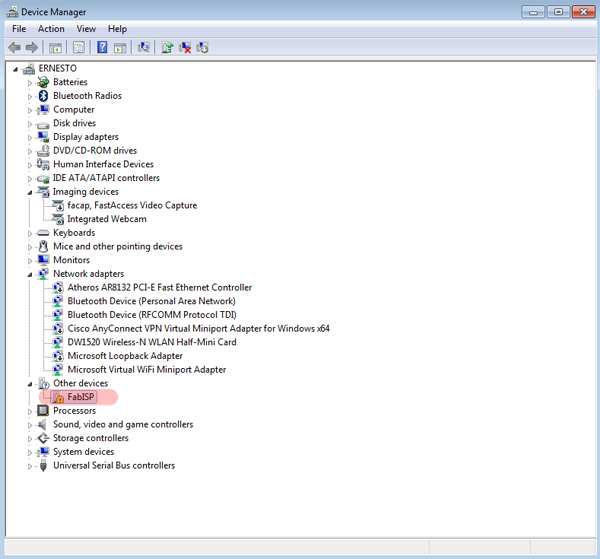
At first, I wasn't sure if it was working because it seemed like nothing was happening, but it finally popped off. I then checked to make sure it was still working and indeed, it
was listed as it should be in Device Manager. Woo!
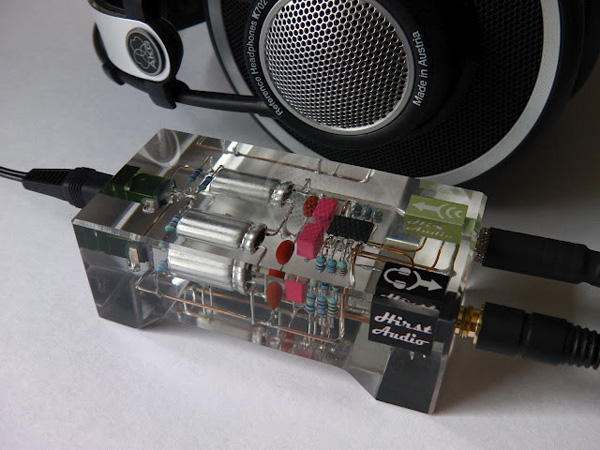
ENCAPSULATION?:
My friend showed me this project last semester
when I was casting with resin and I'd really like to try something similar for my FabISP. I didn't quite get to it
this week, but perhaps in the molding and casting week!