This week, our assignment was to make something BIG. I decided to test a new process for making my mold for the final project.
CONCEPT:
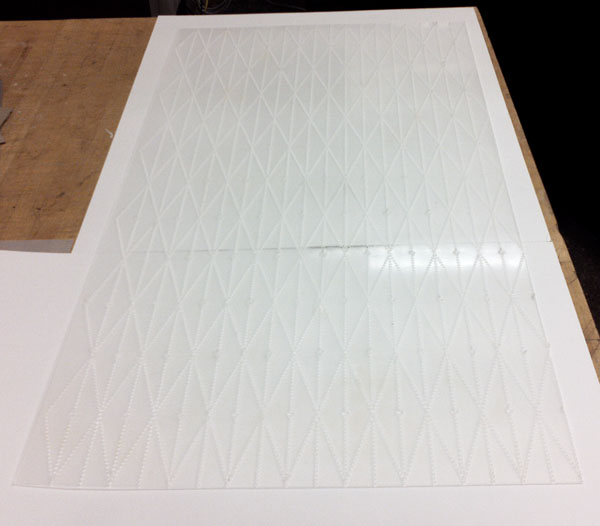
In order to cast the silicone for my final project, I have been using a mylar piece (carefully hand scored and folded), but the material is
quite limited in terms of how big I can make the mold. So, having seen successful projects using perforated and folded polypropylene, I decided to
give that a shot (disregarding the issue of making holes in something that is supposed to be a mold for now).
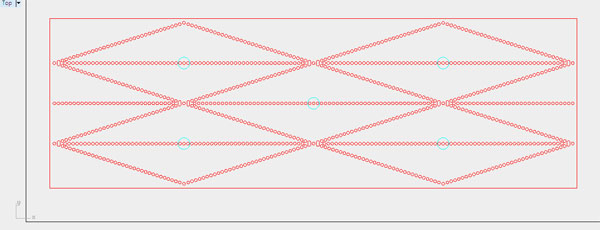
MOLD DIAGRAM:
MYLAR MOLD:
DRAWING IN RHINO:
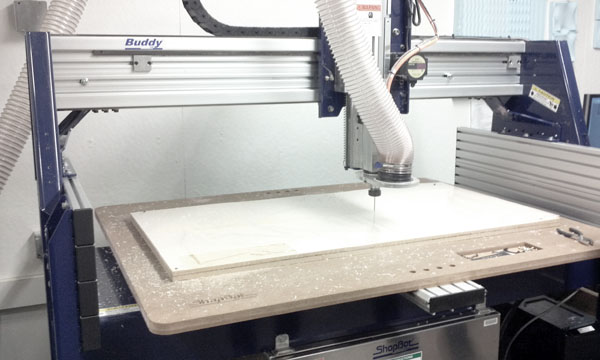
MILLING ON THE SHOPBOT BUDDY:
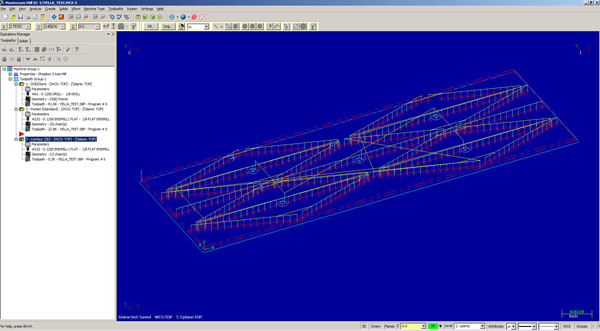
Milling had its ups and downs. Setting up was fairly straightforward. With the help of my friend and architecture shop TA, Moe, I set up a mastercam file with three toolpaths.
One for a drill bit to drill the perforations, one for an end mill to make pockets, and one for the same end mill to cut out the whole piece. Originally I wanted
1/16th inch diameter holes for the perforations, but the smallest collet was for an 1/8th inch tool, so I scaled up to 1/8th inch
diameter holes. Most of the settings we used worked pretty well, excpet for the spindle speed, which, after testing, we ended up slowing down
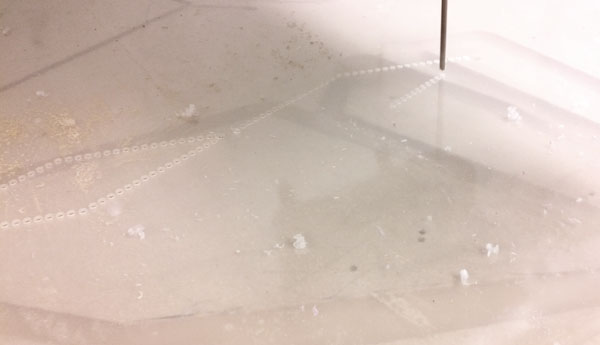
considerably to get a cleaner cut on the polypropylene. Another major issue I ran into was the depth of cut. The bed of the shopbot buddy is by no means
level...in fact it varies kind of incredibly (see image). In order to compensate for this variation, I had to either cut to a greater depth than the thickness of my
material or fudge my z zero. This also meant that my pocketing was out of the question. There was no way the machine could consistently pocket out 1/32 of an inch from
a 1/16 inch thick material. But other than those issues, things went rather predictably.
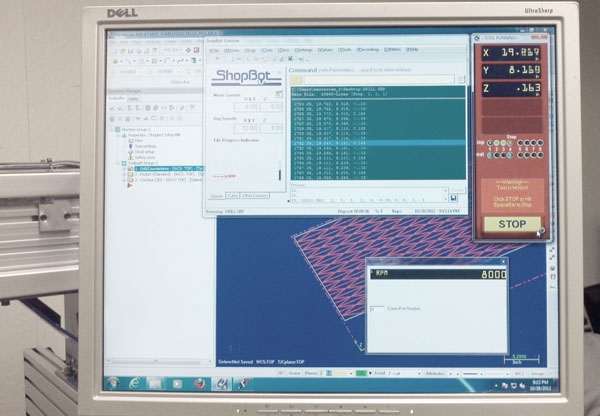
MASTERCAM SETUP:
SHOPBOT CONTROLS:
MILLING:
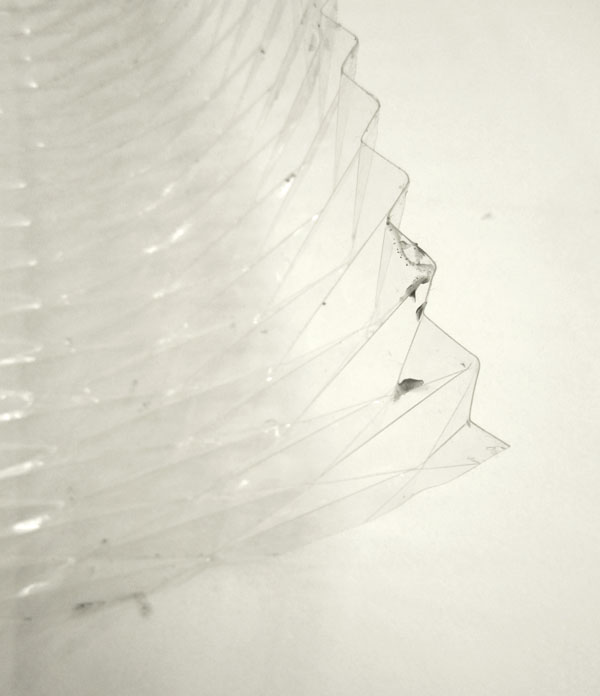
CLOSE UP:
BED VARIATION (INDICITATED BY DRILLED HOLES):
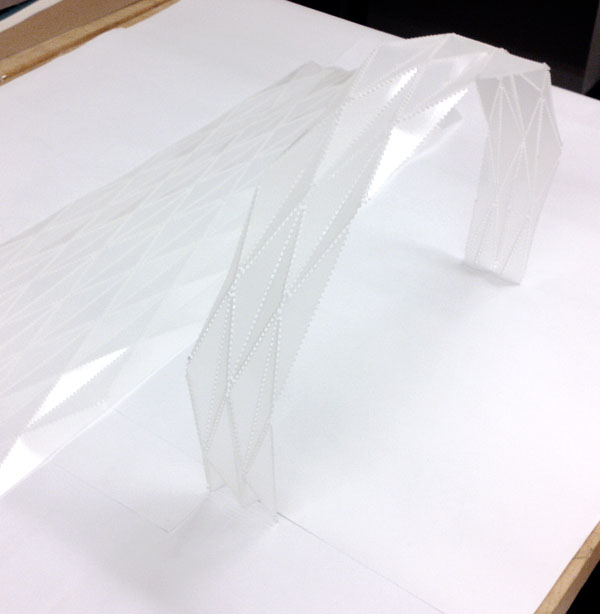
FOLDING:
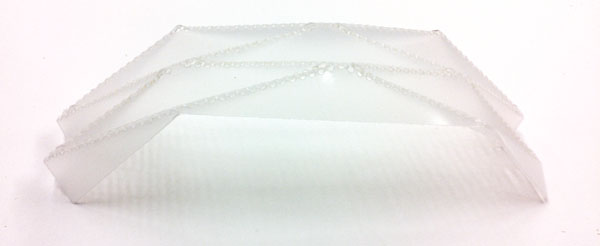
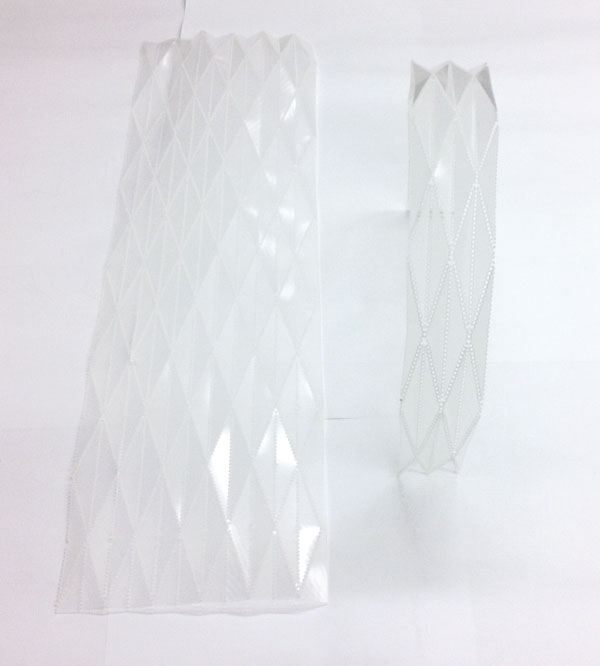
In order to make sure all my settings were correct, I did a small test of my design before milling out the whole sheet. This small test was
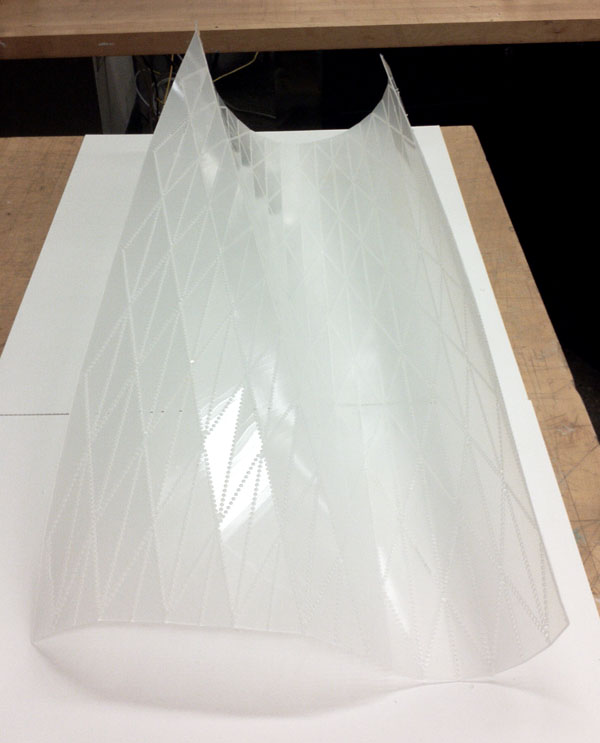
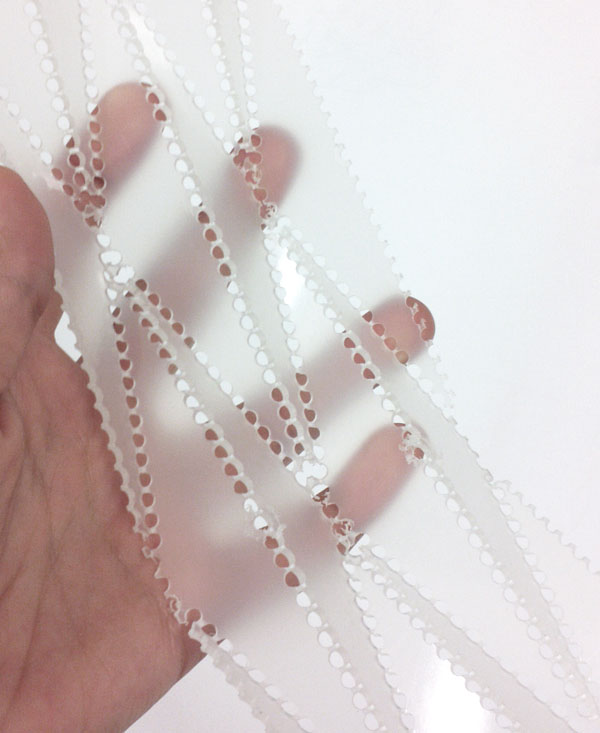
fairly difficult to fold, but I did not predict the whole sheet would be just about impossible to fold. Between the thickness and rigidity of the
material, the size and spacing of the perforations, and the scale of the pleating, the sheet just wouldn't fold. However, in order to get something
out of it, I ended up cutting off an amount I knew I could handle and just folded that.
TEST:
FULL SHEET:
TRYING TO FOLD:
UNFOLDED AND FOLDED:
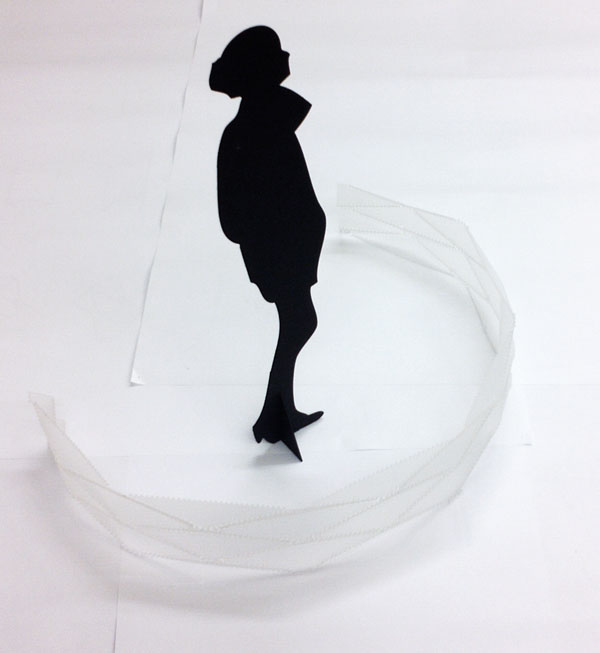
WISH I MADE IT THIS BIG!:
CLOSE UP: