This week, our assignment was to mill a mold from machinable wax, cast a flexible mold into it, and then cast something rigid
into that.
DESIGN:
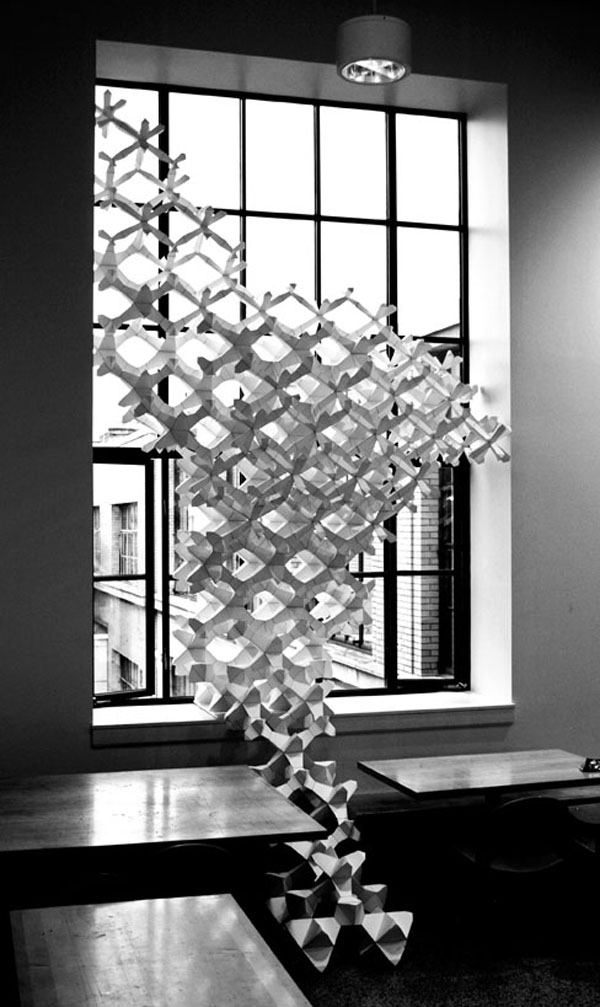
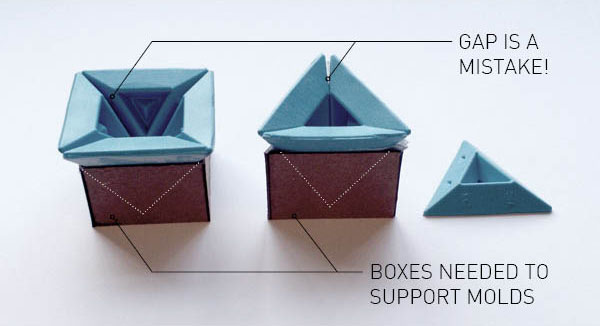
In my first semester of the MArch program, we designed and built a temporary installation for the fall open house. In the end, our installation was
composed of laser cut and folded museum board, but one of our instructors really wanted us to cast the components instead. So, for this
assignment I decided to explore that possibility with two our components.
INSTALLATION (WITH JOHN MAHER AND JOSHUA CHOI):
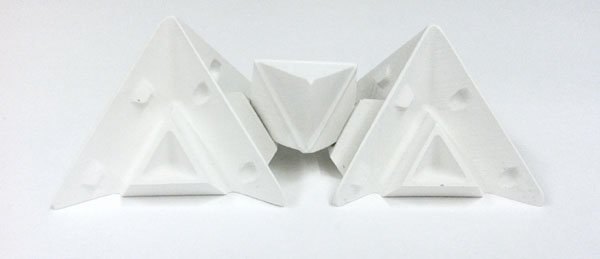
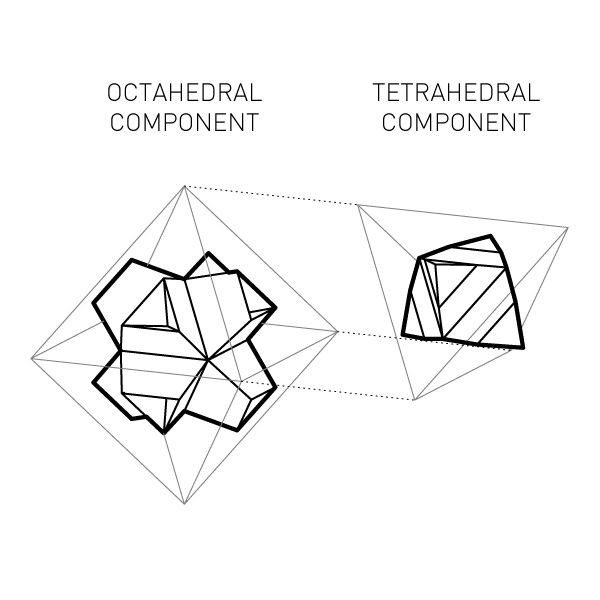
TWO COMPONENTS:
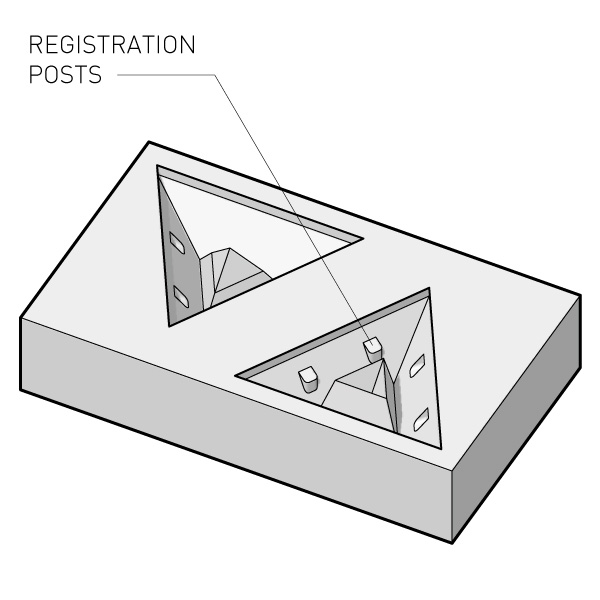
MOLD: RHINO , STL (in inches)
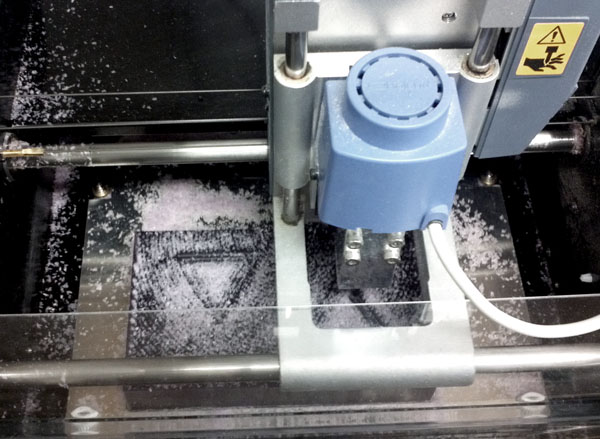
MILLING WAX ON THE MODELA:
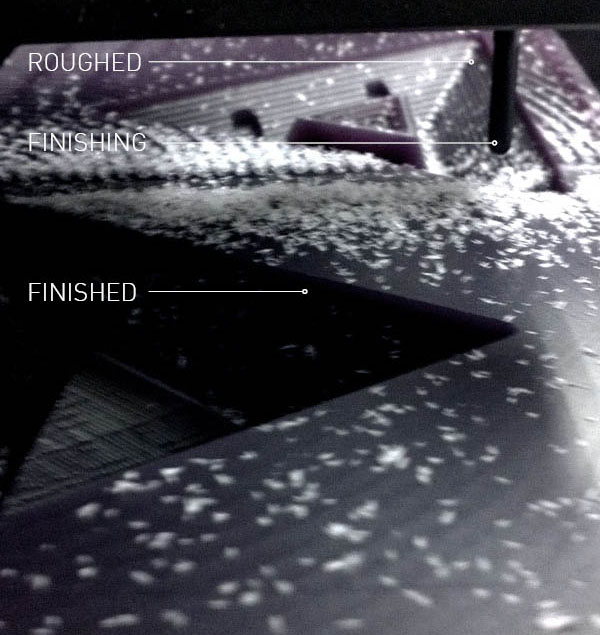
The process of milling wax on the Roland Modela was fairly straightforward. I uploaded my STL, selected the default
settings for an 1/8th inch end mill, set my depth to the deepest part of my mold, generated the paths, zeroed the end mill, and sent the job.
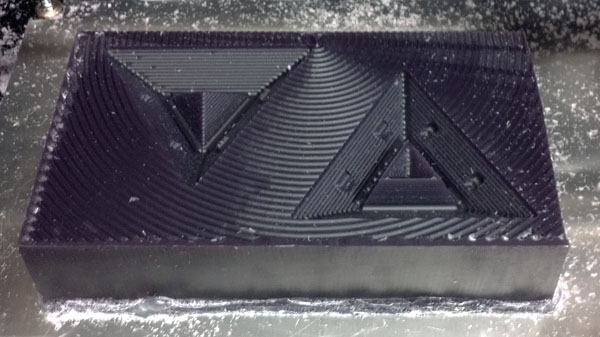
One issue I encountered was the unnecessary milling of the flat surface surrounding my molds. This excess white space meant hours and hours of
milling that probably could have been avoided if I had been a bit smarter about my initial layout. Although I didn't find this out until later,
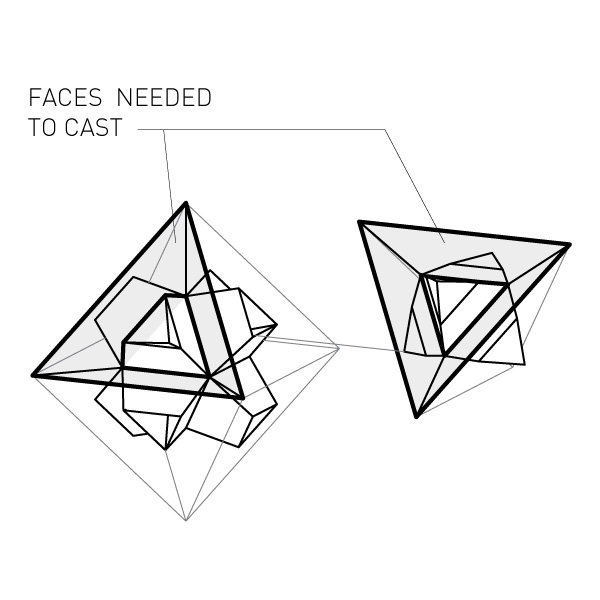
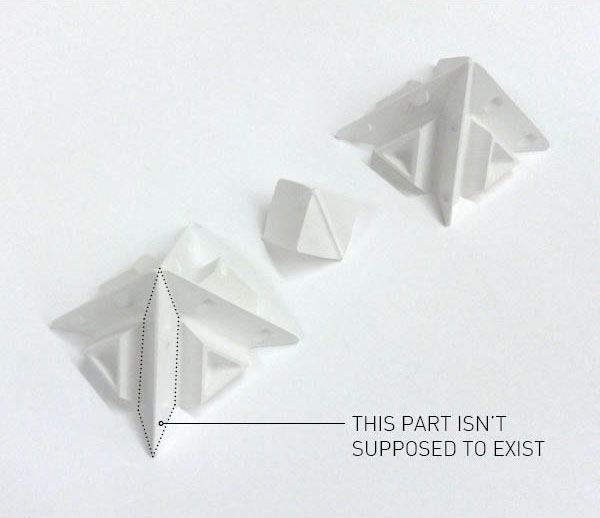
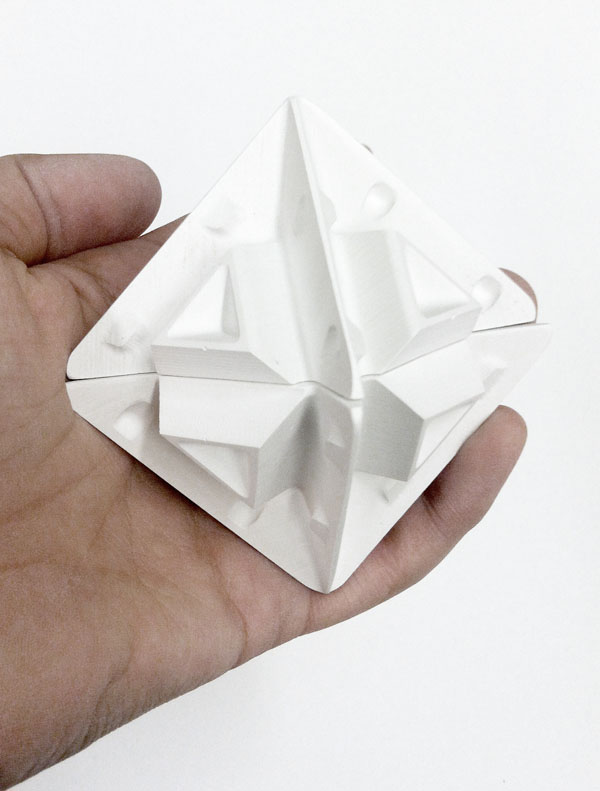
a BIG issue with my mold was that the slope of the walls was off pretty significantly. As I modeled it, either four or three pieces were supposed to come together on their faces
to form a sealed shape. But as it turned out, the matching faces were far from flush. I'm not sure if somehow my depth measurement was off
or if the conversion to the greyscale height map lost some of the precision of the design or if it was something else entirely...
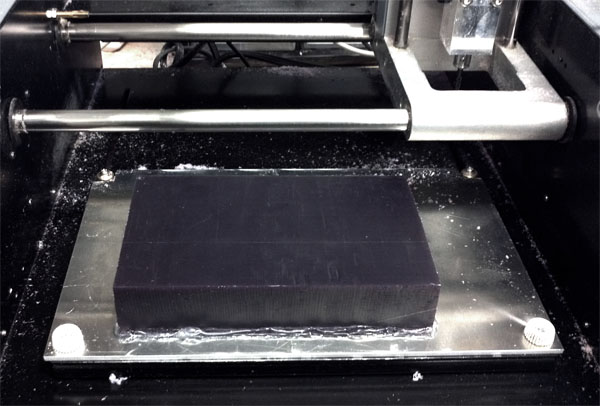
WAX BLOCK:
ROUGHING:
FINISHING:
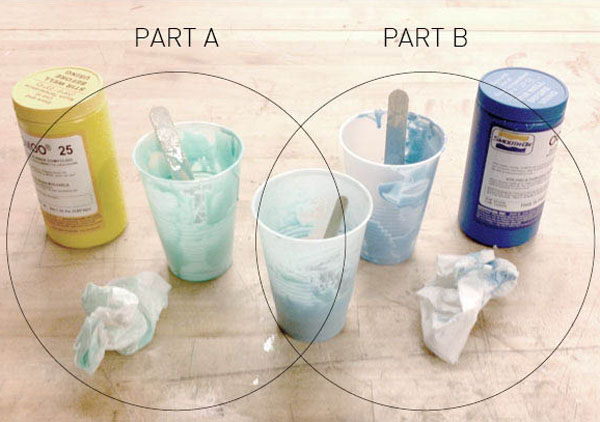
CASTING SILICONE:
I'm pretty familiar with casting OOMOO and I've found it to be fairly forgiving in terms of measuring out equal volumes. You can eyeball it pretty roughly
it will still cure just fine. However, it is super important to make sure you thoroughly mix the parts BEFORE you combine them. Sometimes,
sitting in the bottle, there is some separation of whatever they're made up of.
SETTING UP:
POURED:
OOMOO MOLDS:
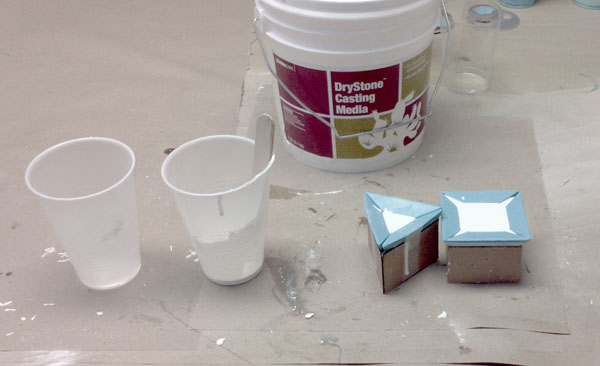
CASTING DRYSTONE:
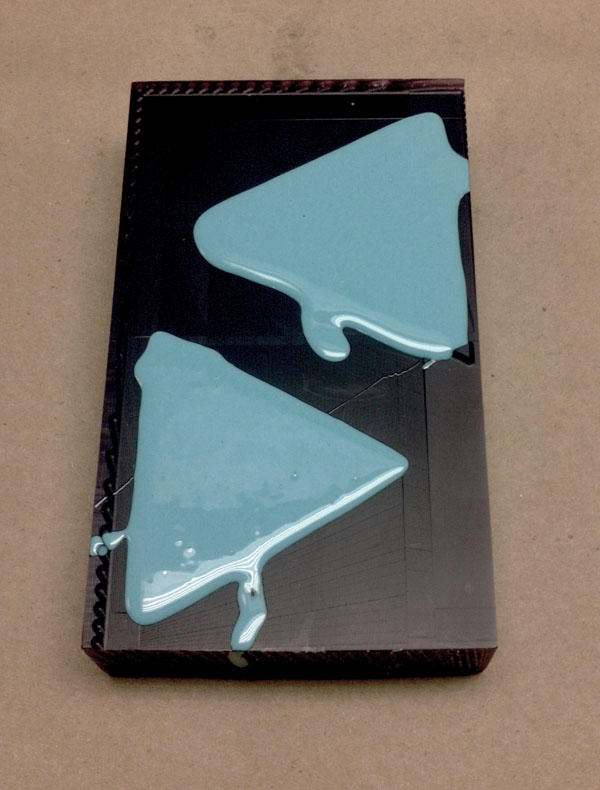
This is the stage at which I realized my wax mold was off. The OOMOO pieces just weren't properly matching up. I didn't want to start over with a new
wax mold, so I just forged ahead with what I had. First, I had to construct a chipboard box in which the OOMOO molds could sit. I also lined the outer surface
of the molds with plastic just in case the DryStone leaked. Next, I mixed the DryStone powder with water according to the specifications on the tub.
In order to minimize bubbles, I poured the mixture in the finest stream I could manage and after it was poured, I pounded on the work surface, forcing
any remaining bubbles to surface and pop.
PREPARING THE MOLDS:
POURED:
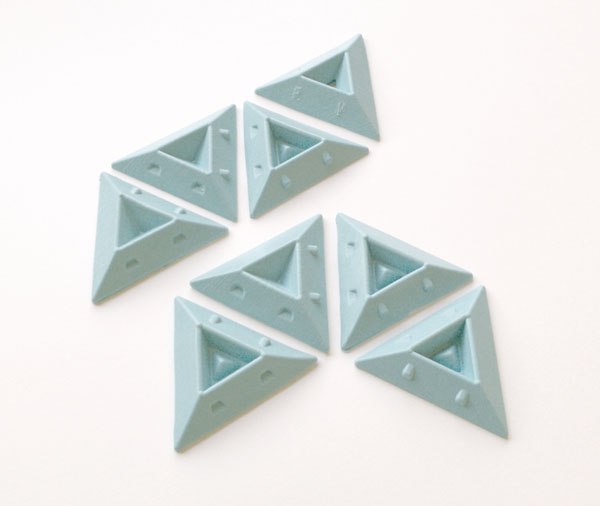
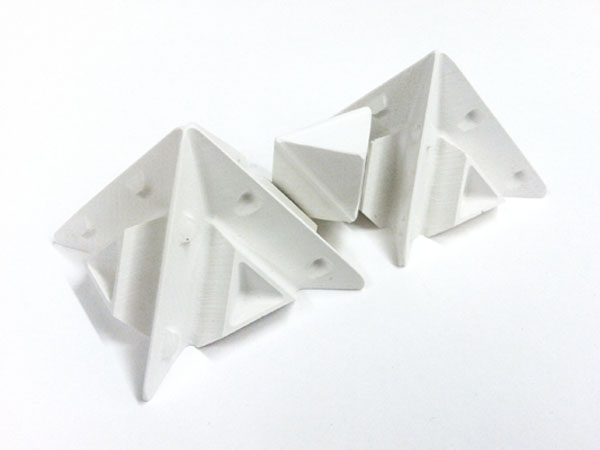
CAST PIECES:
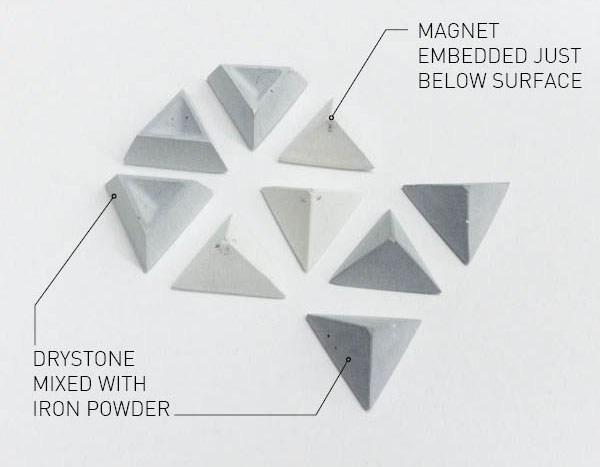
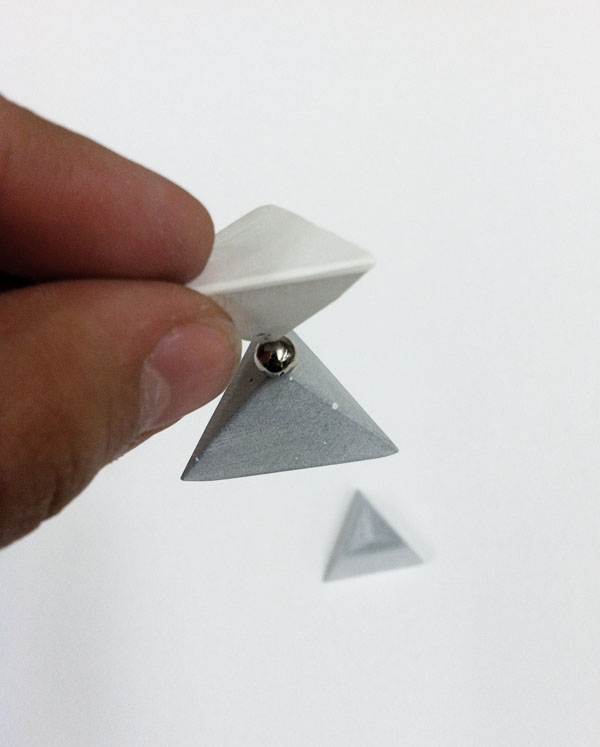
EMBEDDING IRON AND MAGNETS:
As a continuation of my experimentation with embedding magnets and iron powder in castable silicone (see initial project proposal), I decided to try
the same techniques with DryStone. I added a small amount of iron powder to the DryStone powder before combining it with the water and from
there the process was the same as before. In order to embed a magnet in the DryStone, I dabbed a small amount in the bottom of the mold,
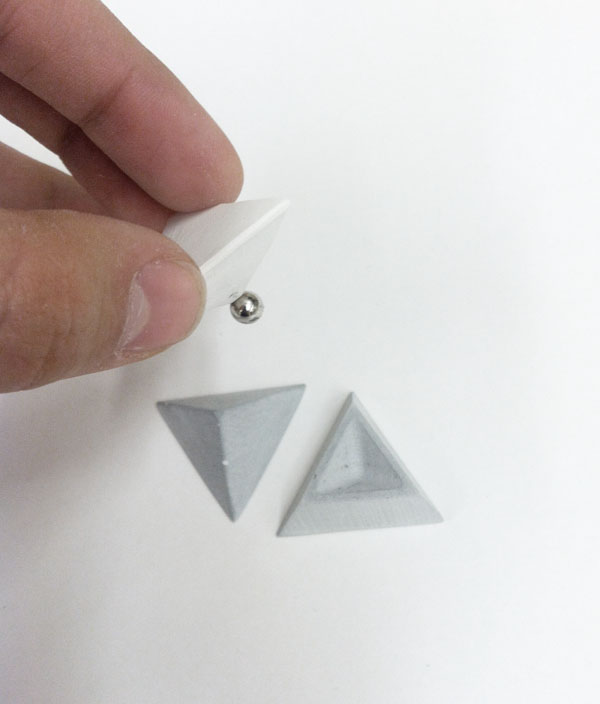
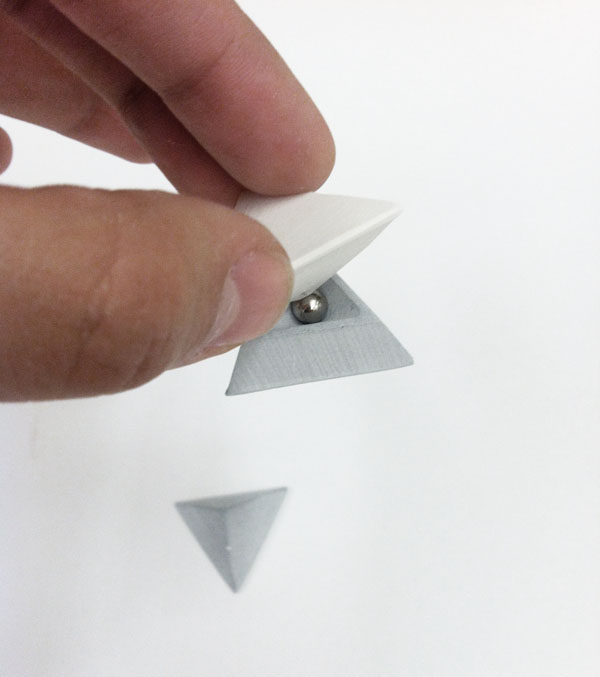
placed the magnet on top of that, and then filled the rest of the mold. The iron powder mixture is surprisingly strong, but not quite concentrated
enough to be moved with the embedded magnet piece. However, with a secondary magnet, it is enough to lift the piece off the ground!
CAST PIECES:
CAST PIECES IN ACTION:
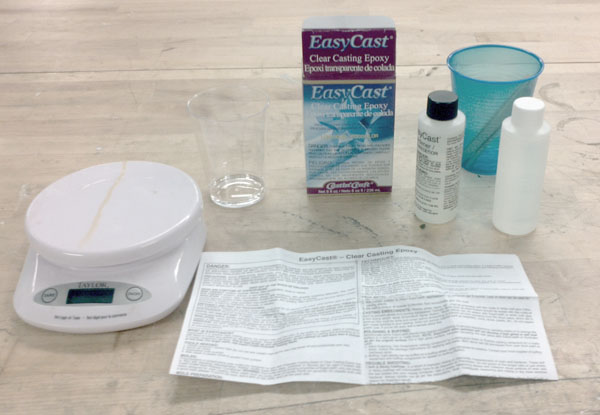
CASTING RESIN:
Since we first made our FAB ISPs I've been itching to encapsulate it. I bought some clear craft resin from
Blick .
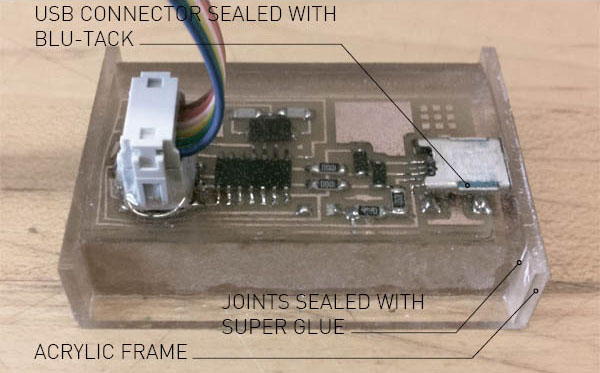
First, I made a tiny acrylic frame with tiny risers (not pictured) to hold the FAB ISP in place. Next, I plugged up the USB connector with Blu-Tack,
crossing my fingers it would keep out the resin and I'd be able to remove it afterwards. I decided to leave the IDC connector in place when I poured
the resin with the hope that I'd still be able to take it out, but reassuring myself that it shouldn't be a problem if it got stuck. Finally, I mixed
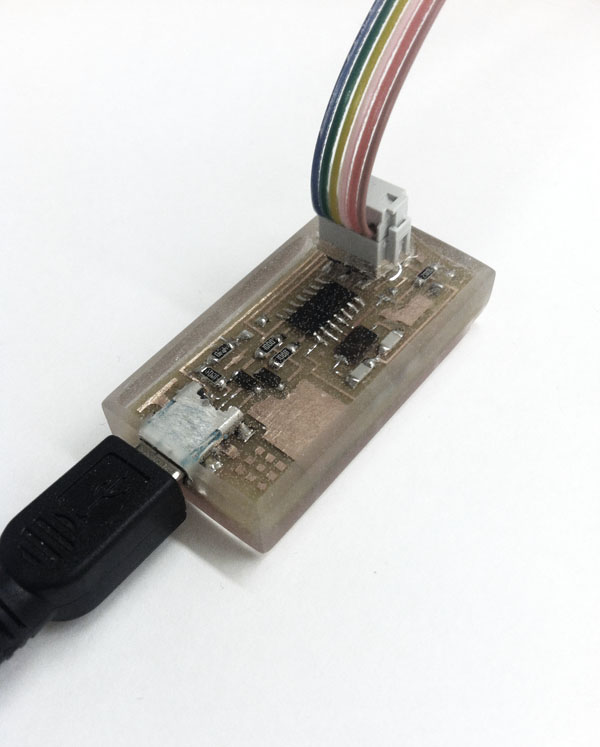
the parts (this one is a one-to-one ratio) and poured. It took about 24 hours to soft cure and another 24 to hard cure. I ended up with
quite a lot of little bubbles and one big bubble on the underside, but, overall, I was pleased withe the result. Unfortunately, upon plugging it in, I got an
error saying the USB has malfunctioned and in Device Manager it just shows up as an unrecognized device. I'm pretty sure this doesn't bode well for my FAB ISP...but at
least it looks cool?
SETTING UP:
POURED:
ENCAPSULATED FAB ISP: