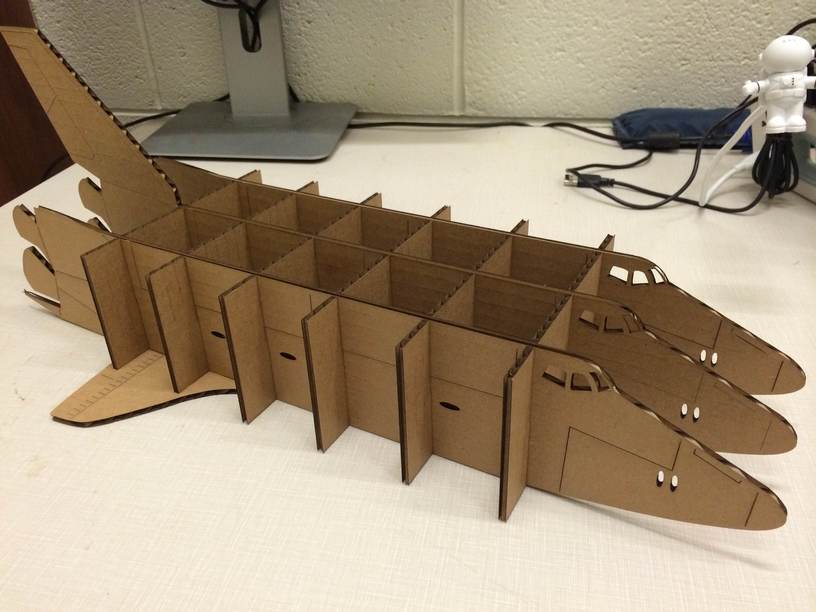
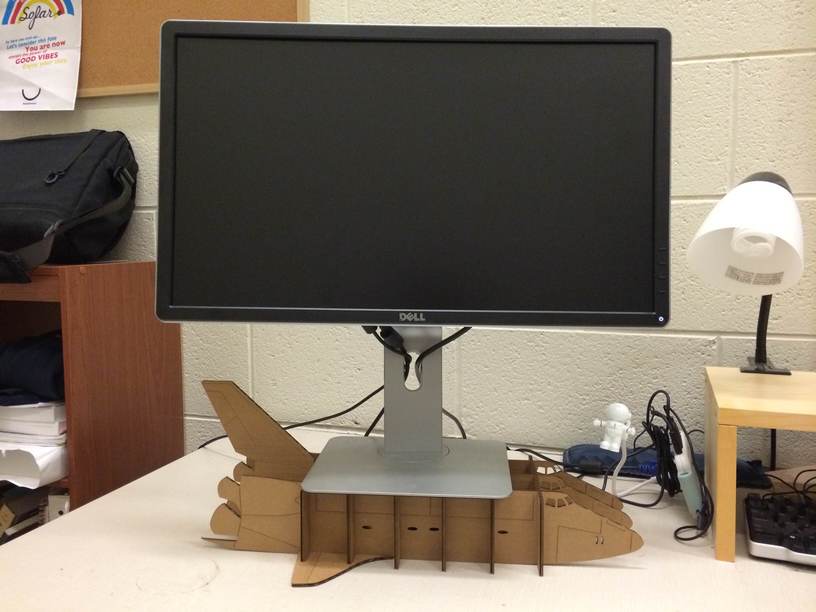
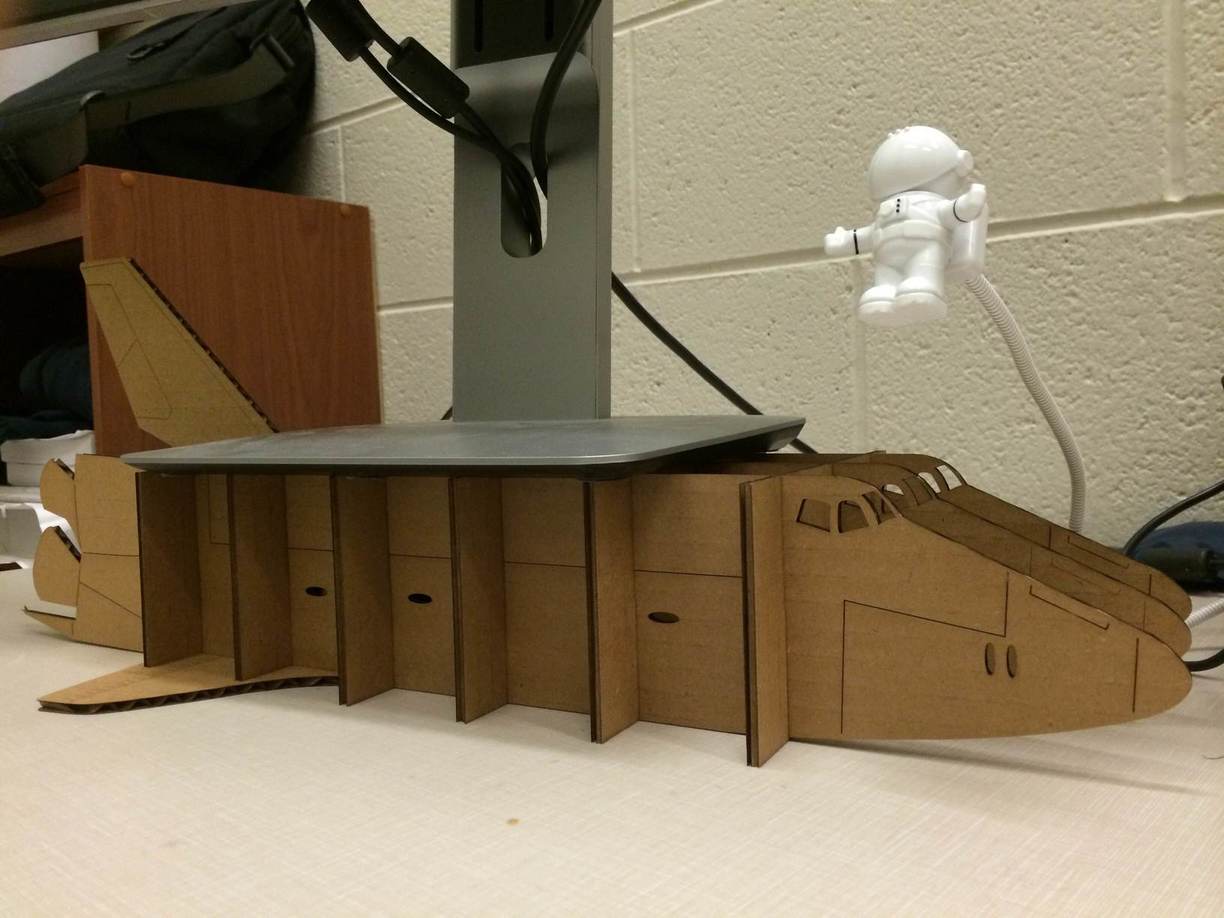
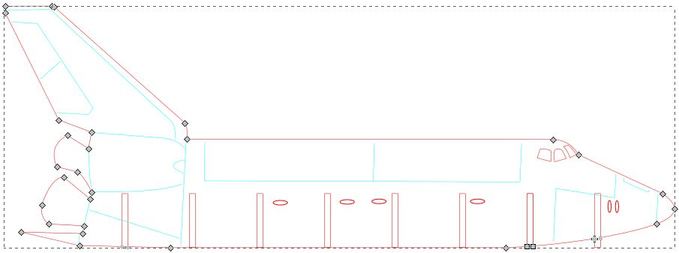
A Space Shuttle themed desk monitor riser for a standing desk.
Why?
The press fit construction project was fueled by the fact that my girlfriend bought me a press fit standing desk from kickstarter, a desk created from this class! For a standing desk, the monitor must usually be raised in order to meet ergonomic eye level. If using a laptop, this places the keyboard at an uncomfortable height. Therefore, it is recommended to place an external keyboard on the desk top and raise the monitor to eye level. Thus a monitor riser is needed. But also, I am a space nerd, so the monitor riser has a Space Shuttle design.
Design
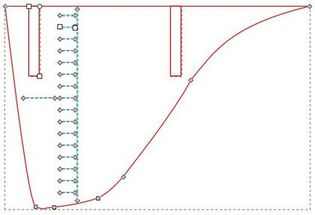
I used the vector graphics editor, Inkscape, to create the templates. I cloned the slits, which saved me some time in the long run because by changing and tweaking the size of the first slit, I was able to change all the slits in all my models to ensure they fit appropriately. I used layers to distinguish between lines I wanted to be cut and lines to be scored. When laser cutting, I hid the appropriate layer and changing the laser cutter settings.
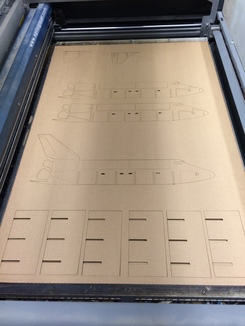
Laser cutting
Before cutting my amazing template, I cut out a pairs of square pieces that had slits of varying sizes to determine what tolerance was best to create a snug fit between my cardboard pieces. The sizes varied from 0.1875 to 0.16 inches.
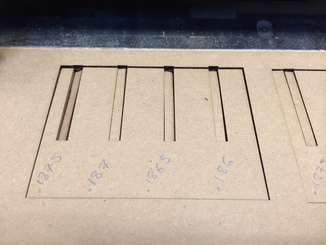
Once I found the size I wanted, I changed all my inkscape drawings (made easy through cloning) and printed my outlines. I used the recommended strategy of two passes (with power at 30 and speed at 35) for cutting, and an experimentally determined power of 10 (speed still at 35) to score.
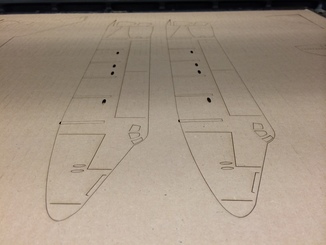
Final Product
Some dope pictures