Chess-Playing Machine
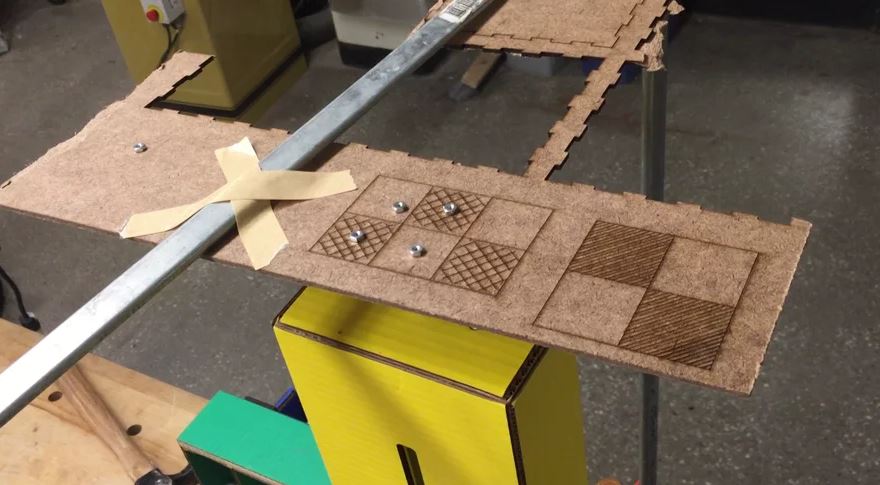
This week was a group project in which our section had to build a machine together. After some discussion, we decided on a machine that could play chess. It would use a magnet below a table to move pieces from one square to another, and would have the capabilities to remove pieces from the board.
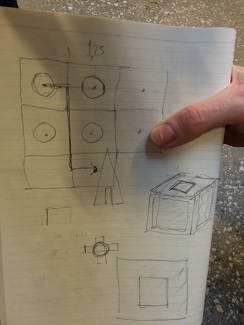
Sketching things out exposed some things we had to consider. The use of multiple magnet, moving screws/metal instead since the magnets had very little clearance before they all attracted each other. The size of the table was limited by the configuration of the stages we built.
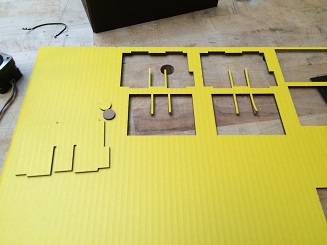
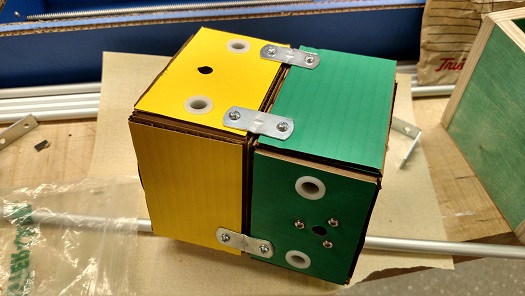
We used a laser cutter to cut out the components to make the stages out of cardboard (or science board cardboard). The traces were provided to us, so assembly was pretty easy.
We built not ONE...
...but FOUR stages!

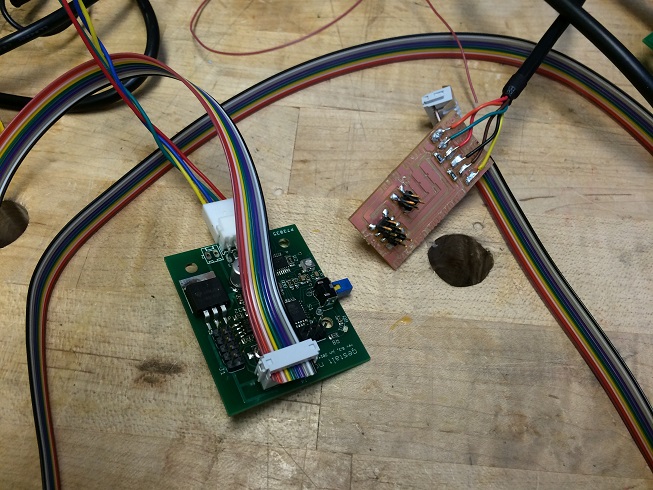
quickly milled out a board that would organize the power supply for the motors as well as the short power from the FTDI cable that was doing a lot of the communication. This was pretty difficult, even with the example code provided. The first time we did it, I believe we touched the two power lines. The wires were thicker than the clamp sizes expected, and thus when clamped, the frayed ends touched. We soldered on some smaller pieces (essentially, a reduces on each line), and clamped those ends. Voila!
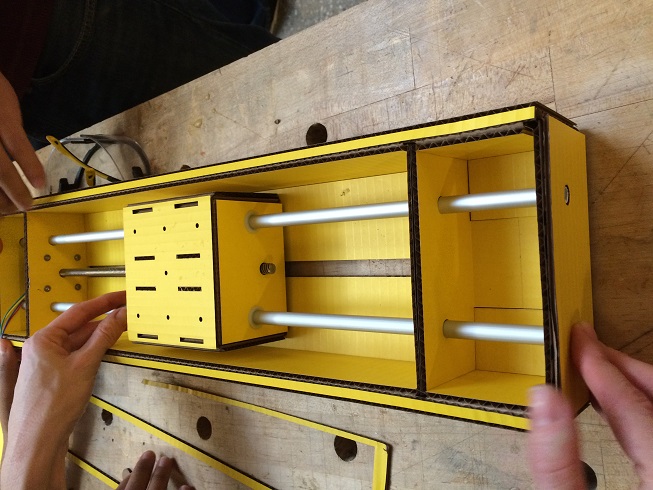
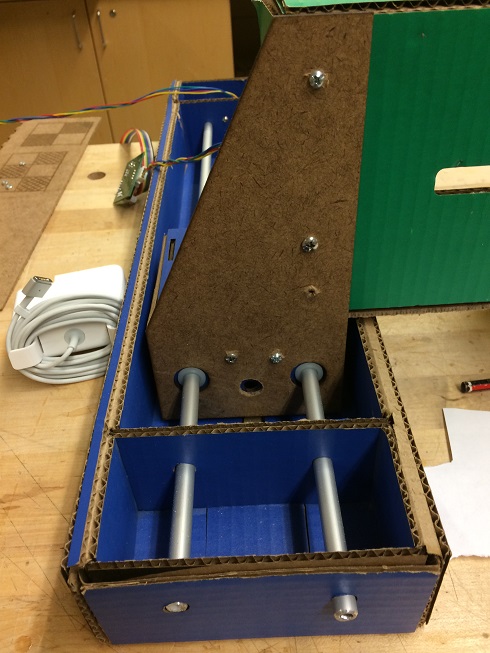
Next, we had to find a way to actually connect all the stages together to get the degrees of freedom we wanted. To minimize the height of the table, we placed the two blue stages with the widest width on the floor for stability, but placed the green (y-axis) stage on its narrow side. This would allow us to connect the yellow stage (z-axis) directly on it. To support the slightly unstable green stage, we laser cut some support plates for each of the connections to the two blue stages. We also added brackets from the green to the yellow stages for added stability. Rather than having the end effector be on the drive box of the yellow stage, the end effector is on the outside of the stage itself. We move the entire stage up and down in order to move the magnets.
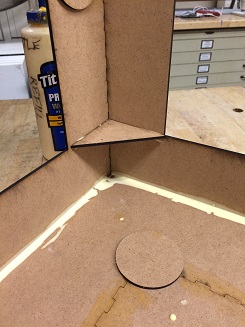
Finally, we built a table out of masonite for all the chess pieces to rest. These were laser cut and press fit, and held strongly together with wood glue. Took a while to dry, but masonite was great due to its laser cutting-ness ability, rigidity, and smoothness to allow the nuts to be easily moved.
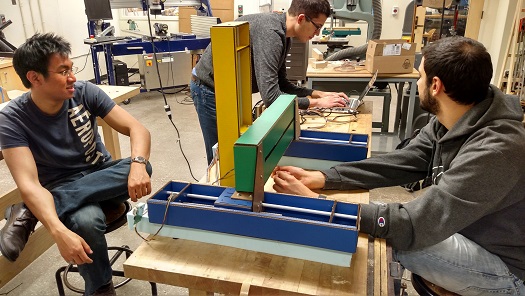
Below is a video of when we first communicated to a stage, probably the most important moment of my life, second to only the time that I mized vanilla ice cream and Dr. Pepper to make a Dr. Pepper Float (patent pending). Look at their forced smiles at the end. Look at them!

Nadya and James unimpressed lol
Thanks for your help James and Nadya. You guys are pretty cool.
Test Demo!
IMG 2726 from Rich Li on Vimeo.
For the final, and more detailed version of what was done, visit the center section under the projects website