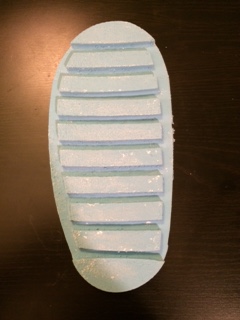
A SmartBoot sole

Designing a Mold
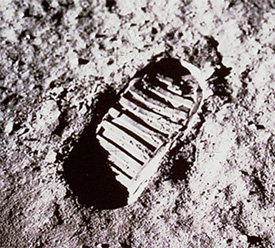
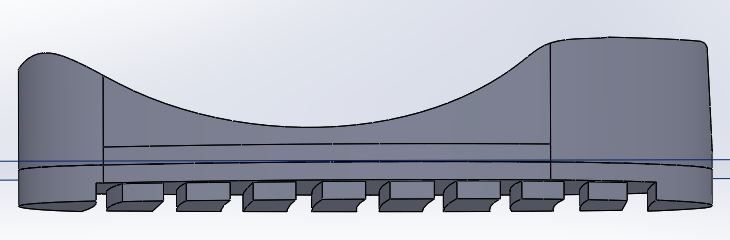
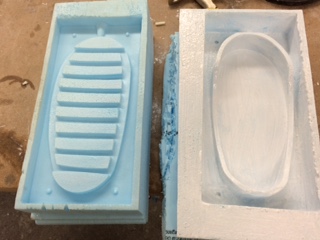
The inspiration for this mold came from the Buzz Aldrin's bootprint during Apollo 11. I want to create a Smart Boot by adding sensors to existing Extra Terrestrial Astronaut Boots.
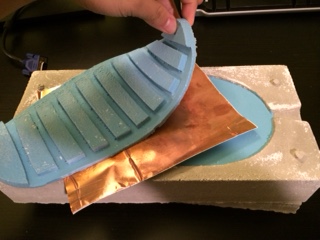
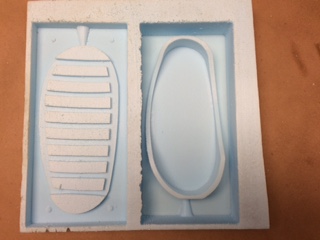
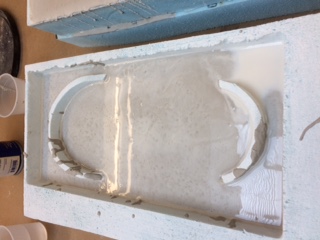
The actual design was done in SolidWorks. I created a positive mold. The four big things you are looking for in a good mold design are (1) the part line/plane you will be making the 2 (or more) part mold out of, (2) registration (somehting that can align both negative pieces, (3) a pour hole, that is ideally tapered, and (4) ventilation holes.

Machining Setup (Rhino, Mastercam)
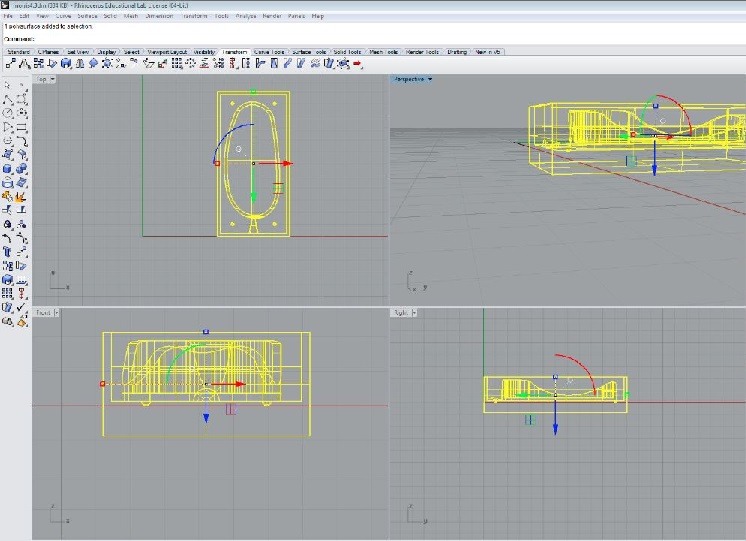
As with make something big, this part took me about 3 hours to do. It is just not intuitive for me for some reason. Goal: To get a part setup in MasterCam faster than David Costanza.
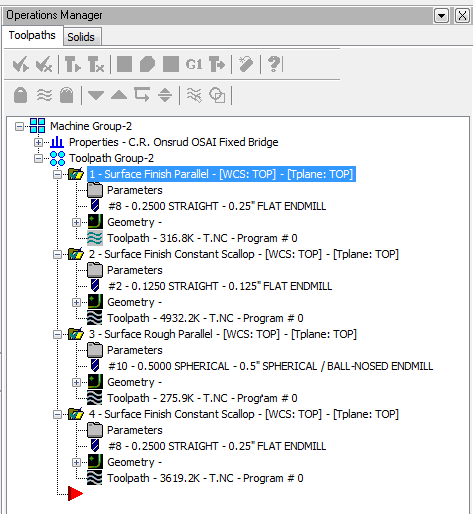
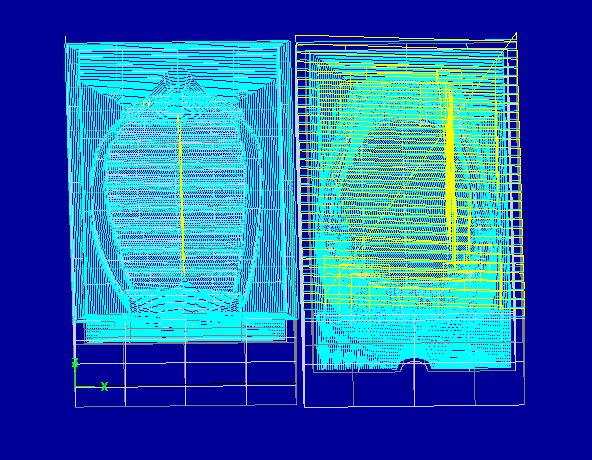
Machining with Onsrud
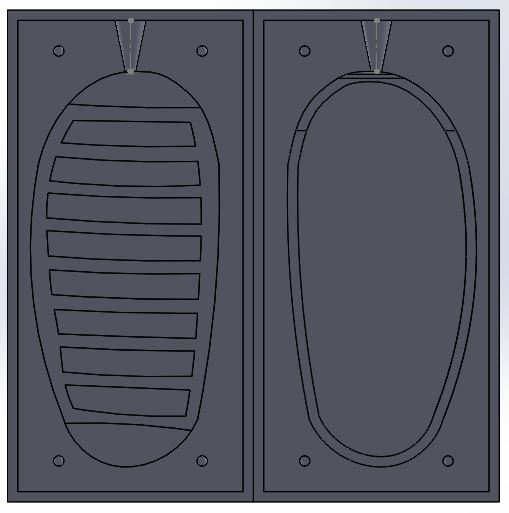
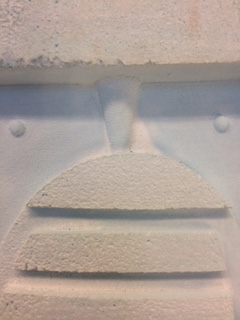
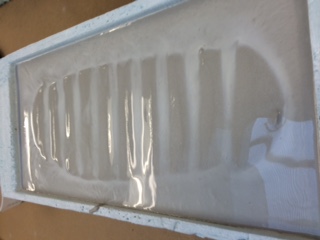
Here you can see the big different between a rough cut and a smooth cut.
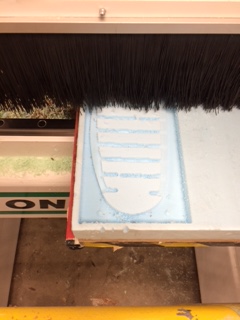
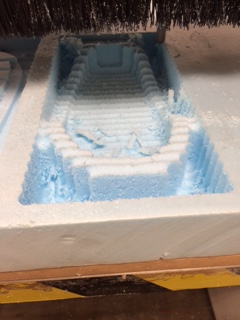
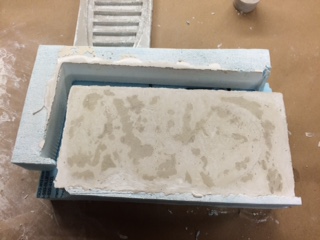
Prepping, and fixing after Machining
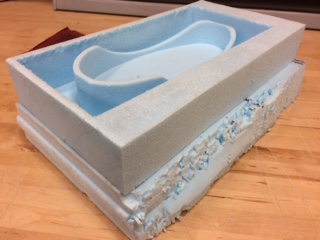
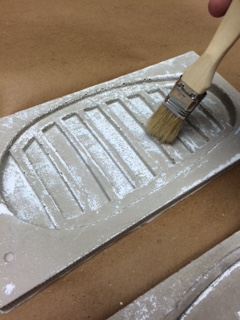
Making the mold pretty
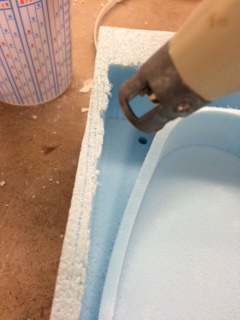
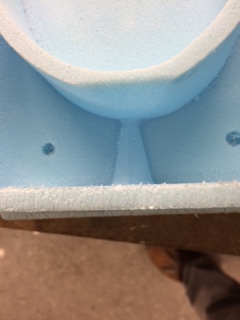
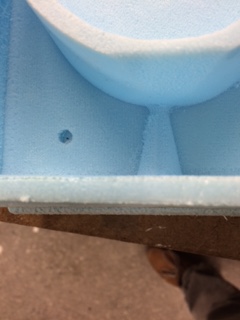
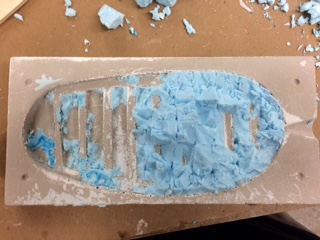
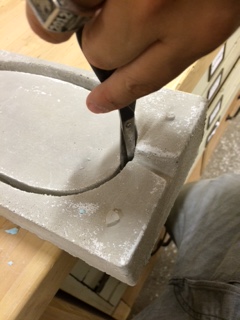
I used a bandsaw to separate both pieces because I forgot to add a tool path for the outer outline of my part. However, even the parts that were made with the Onsrud were flakey. I used a shopvac to clean up a lot of it.
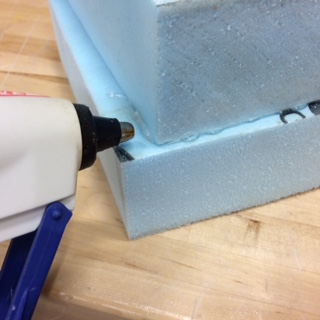
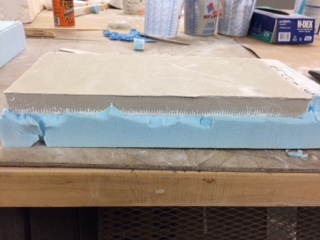
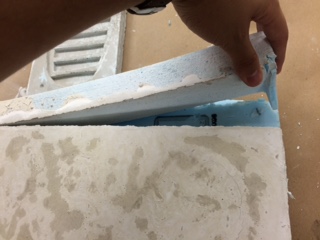
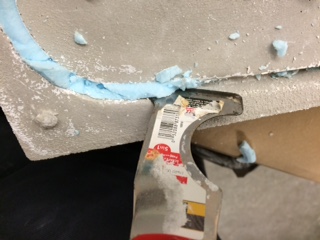
Also, one of my molds was almost two inches at the deepest. The blue foam was 2 inches thick. This resulted in a very thin base support. Afraid that it was going to break when I added the hydrostone, I used hot glue gun to add a piece of blue foam to the bottom for support.
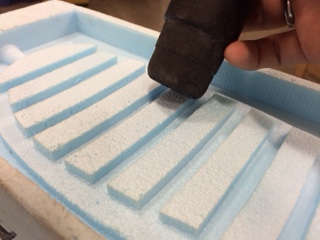
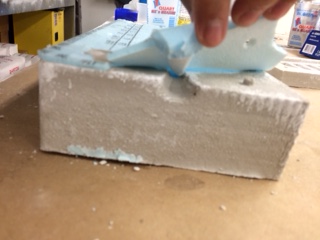
One of the best secrets about working with blue foam was using a heat gun. I used a heat gun to remove a lot of the small flakey pieces. It essentially melted away the small pieces of foam. However, you have to do a quick pass, else you melt a lot of it. Also, it smells back, similar to when you use a hot wire cutter to cut blue foam.
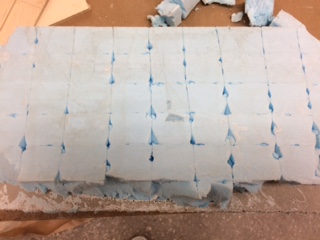
Gesso
You gotta stir this. A lot. Seriously, stir it. Don't know how long it was sitting there, but stir that bad boy until it is all white. Instructions recommended two coats, with a 30 minute wait in between and a final wait of almost 2 hours. So that's what I did. cool.
The whole point of this was to keep the hydrostone from seeping into the blue foam. I only had to use this because I used blue foam. If you used wax, you likely didn't have to. But I was making a big mold, and they wouldn't give me a larger piece of wax. So instead they gave me a ridiculous 2x8ft piece of blue foam.

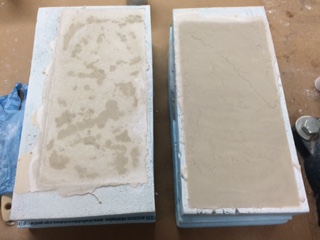
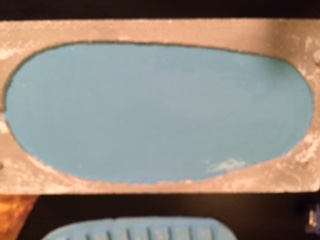
Making a negative using Hydrostone
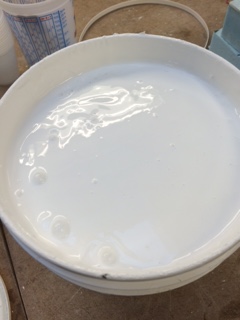
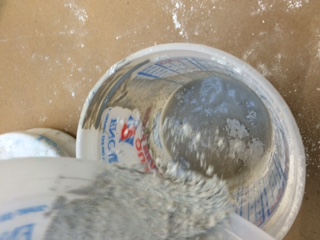
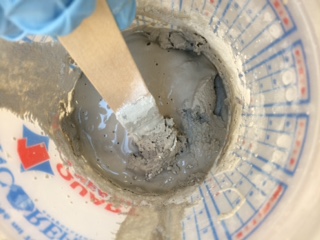
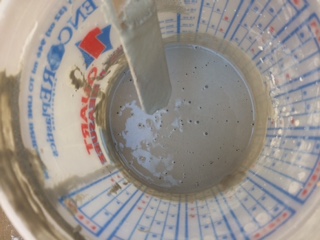
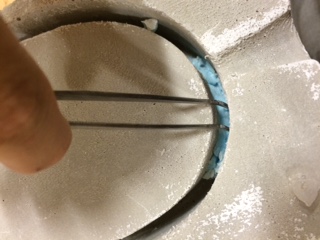
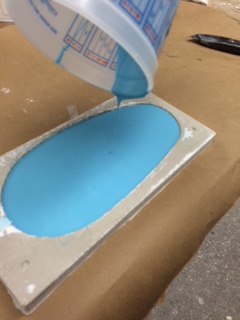
Finally onto the good stuff! Mix (using weight, not volume). Add water first, THEN sprinkle hydrostone on top. Stir that bad boy until you get a homogenous mix. Examples of a bad mix are below. Finally, pour into your mold, fill up to the brim, and WAIT.

Sprinkle!
Bad!
Good!
Oh yeah!
Oooooo yeah!
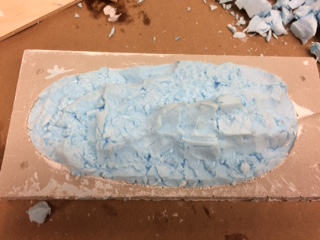
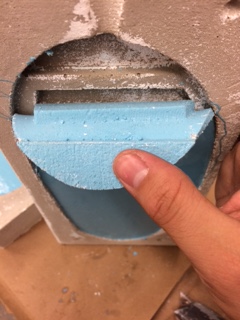
Foam removal
EEEEEk! I forgot to add mold removal to this half =/.
But I remembered for this half! Muahaha!
Some parts still stuck -_-
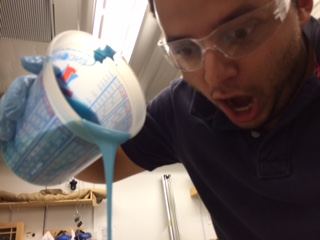
Oomoo
Now, the moment you have been waiting for! (Congrats if you are still reading this. This is a really long entry. You earned a cookie.)
I wanted to use urethane (pmc) because it was not as flexible as silicone, but we had run out. Oh well, When in Rome (Go to the Colosseum, its beautiful).
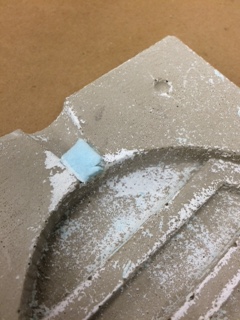
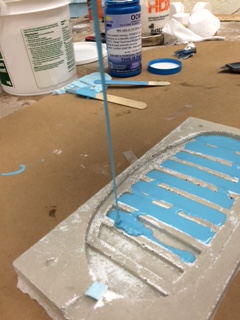
This time i was sure to add mold release. I also followed the instructions of brushing on the first layer. Lets hope it makes a difference! I also used hot glue to add a pice of foam where my pour hole was to block it off. Since the plan is to add a circuit for my sensors inside the boot, I filled up my negatives with Oomoo separately. I also didnt fit them all the way. Now, when I complete my circuit, I can lay it on use side, put my two hydrostone pieces together, and continue filling with oomoo to get one piece.
Seriously, more waiting? Neil, I have to be frank. 3D printing sounds like a lot easier than this haha
The piece actually pulled off fairly easily. It was difficult because of the shape and indents, not because it was sticking to the hydrostone.
Finally!