Moulding and Casting
This week was kind of a shame for me: I was really looking forward to moulding and casting but ended up being especially busy with other work so I wasn't able to devote as much time as I'd have liked. I've moulded using more manual processes, using rockite, plaster, and silicone, as well as small latex makeup items, but never by a machining process. However I had hoped to work with a more mechanical moulding process in order to make more soft silicone objects (wearables, potentially) comprising multiple parts.
Our material this week was machinable wax, which comes in a satisfying Prussian blue brick. The basic task was to use a CNC process to create a mould-for-a-mould, which would be made with Oomoo, a non-toxic soft silicone-like material from Smooth-on. This Oomoo mould would then have hydrostone (concrete-like) poured into it to make the desired object. By using the machinable wax, multi-part moulds could be made in order to make more complex finished items. The constraints derived mostly from the 3-axis machining process, which largely prevents more complex forms, although you can get pretty intricate with four or more -part moulds.

Issues
The machine we were to use was the Intelitek, an incredibly beaten-up looking 3-axis CNC which apparently hadn't been touched by anyone in the architecture department for some time. It worked fine with the G-code, however, with a set of tools from 1/8" flat and round endmills up to 3/8".The machining process is best done in at least two passes, one (potentially with a larger tool) for a rough pass, and a second rundown with a finer tool to catch the details.
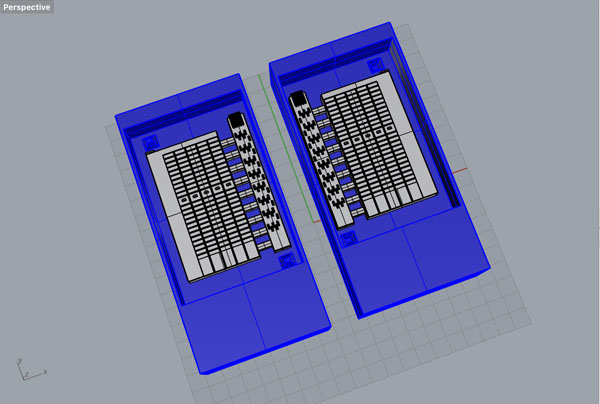
To make a two or more part mould you need registration pins, preferably non-uniform ones so that the parts can be easily and precisely fitted back together. The best shape for these pins was something like a tapered square (same reason chocolate bars look like this), rather than a long cylinder which could easily break or be otherwise difficult to remove.
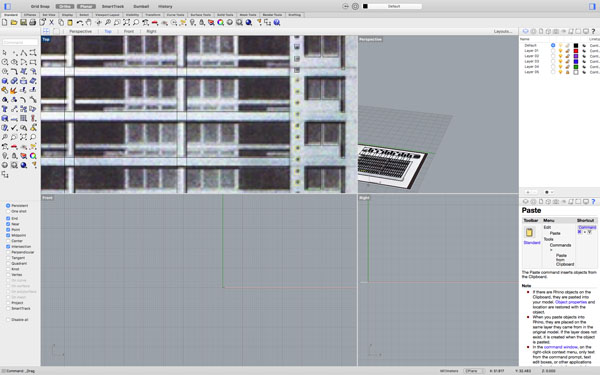
I initially wanted to make a hydrostone model of the Balfron Tower, Ernö Goldfinger's famous Brutalist residential block in Tower Hamlets, London. It has a distinctive shape and I thought it might make a nice maquette.
As it turned out, the details of the model might have been too fine for the 1/8" endmill, or at least, Mastercam's simulation was freaking out and I didn't have any TAs around to take a look at the file at the time. After struggling with it for a few hours, I decided to put it aside.
Slow and greasy
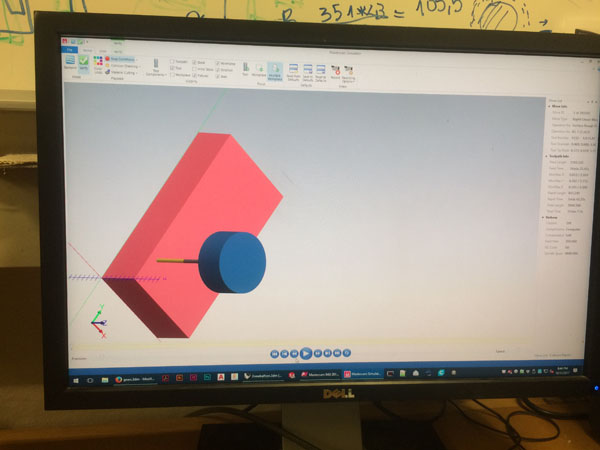
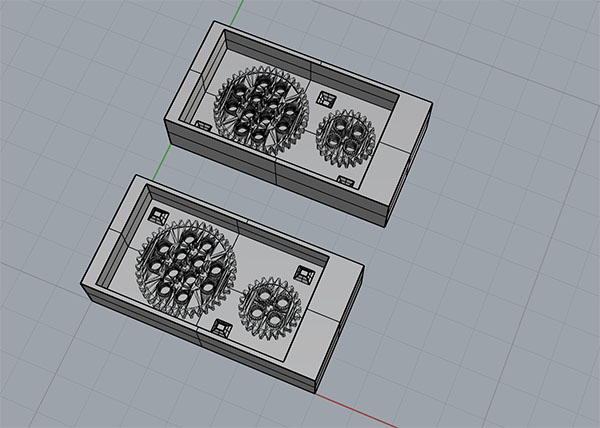
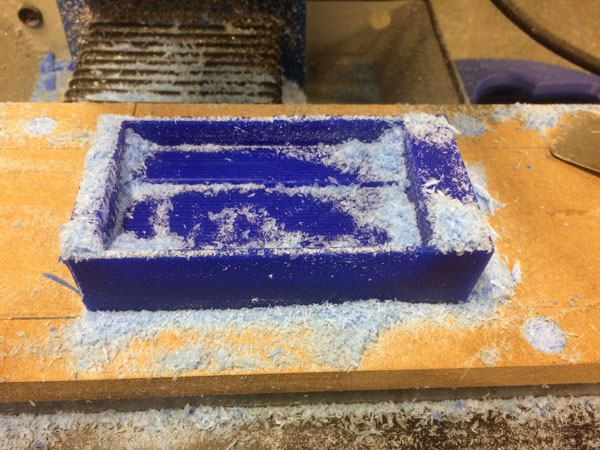
For now, I decided to opt for a slightly simpler file, so I made a new model using an STL I found online of some gears (badBrick, Thingiverse). I got these into Mastercam and managed to export some G-Code. Then the trouble began. The intellitek seemed to be dealing with the job competently, though having never milled the wax before, I didn't realise until an hour in (and no details yet appearing) that the job was running very, very slowly. I used the feed-rate override to up the speed by about half, which seemed substantial but it was still nowhere near done. It looked as though the job was going to take at least 5 hours, judging by the number of lines of code it had to run. By the time I stopped it, it was barely through the rough pass. I put this down to some error (which one? Mastercam looks like it will be useful to learn but can be a bit bewildering for a novice encounter) in the composition of the G-Code, probably in the way in which I had set up the tool. I've got a useless piece of half-milled wax, and still no mould in sight.
Due to time constraints I've had to delay finishing this week's task for now, but I will return to it after class on Wednesday, using the Shopbot instead, which should be able to chew through the file in about half an hour. In the meantime, I refined the original architectural model, making sure that none of the details were finer than the 1/8" tool.
Some things I learned this week, all of which are obvious:
- Make sure the model fits the constraints of the tool!
- Don't forget to make an inlet to pour the mould...
- Maybe don't use the intellitek. There's a reason it's so dusty
Take 2
A few weeks later, I finally got round to finishing the mould for my original Balfron Tower design, this time using the Shopbot and Shopbot's proprietary software. As the mould was still quite deep I cut the whole thing using an 1/8 inch tool, it might have been nice to use the 1/16th inch for some details but the only endmill we had was too shallow to cut the mould without risking the shank of the mill. After about 90min of milling, the wax came out nicely!