Creating a programmer
Week 2
There were three main steps to fabricating the progammer: I had to mill the board, solder the components, and then the device.
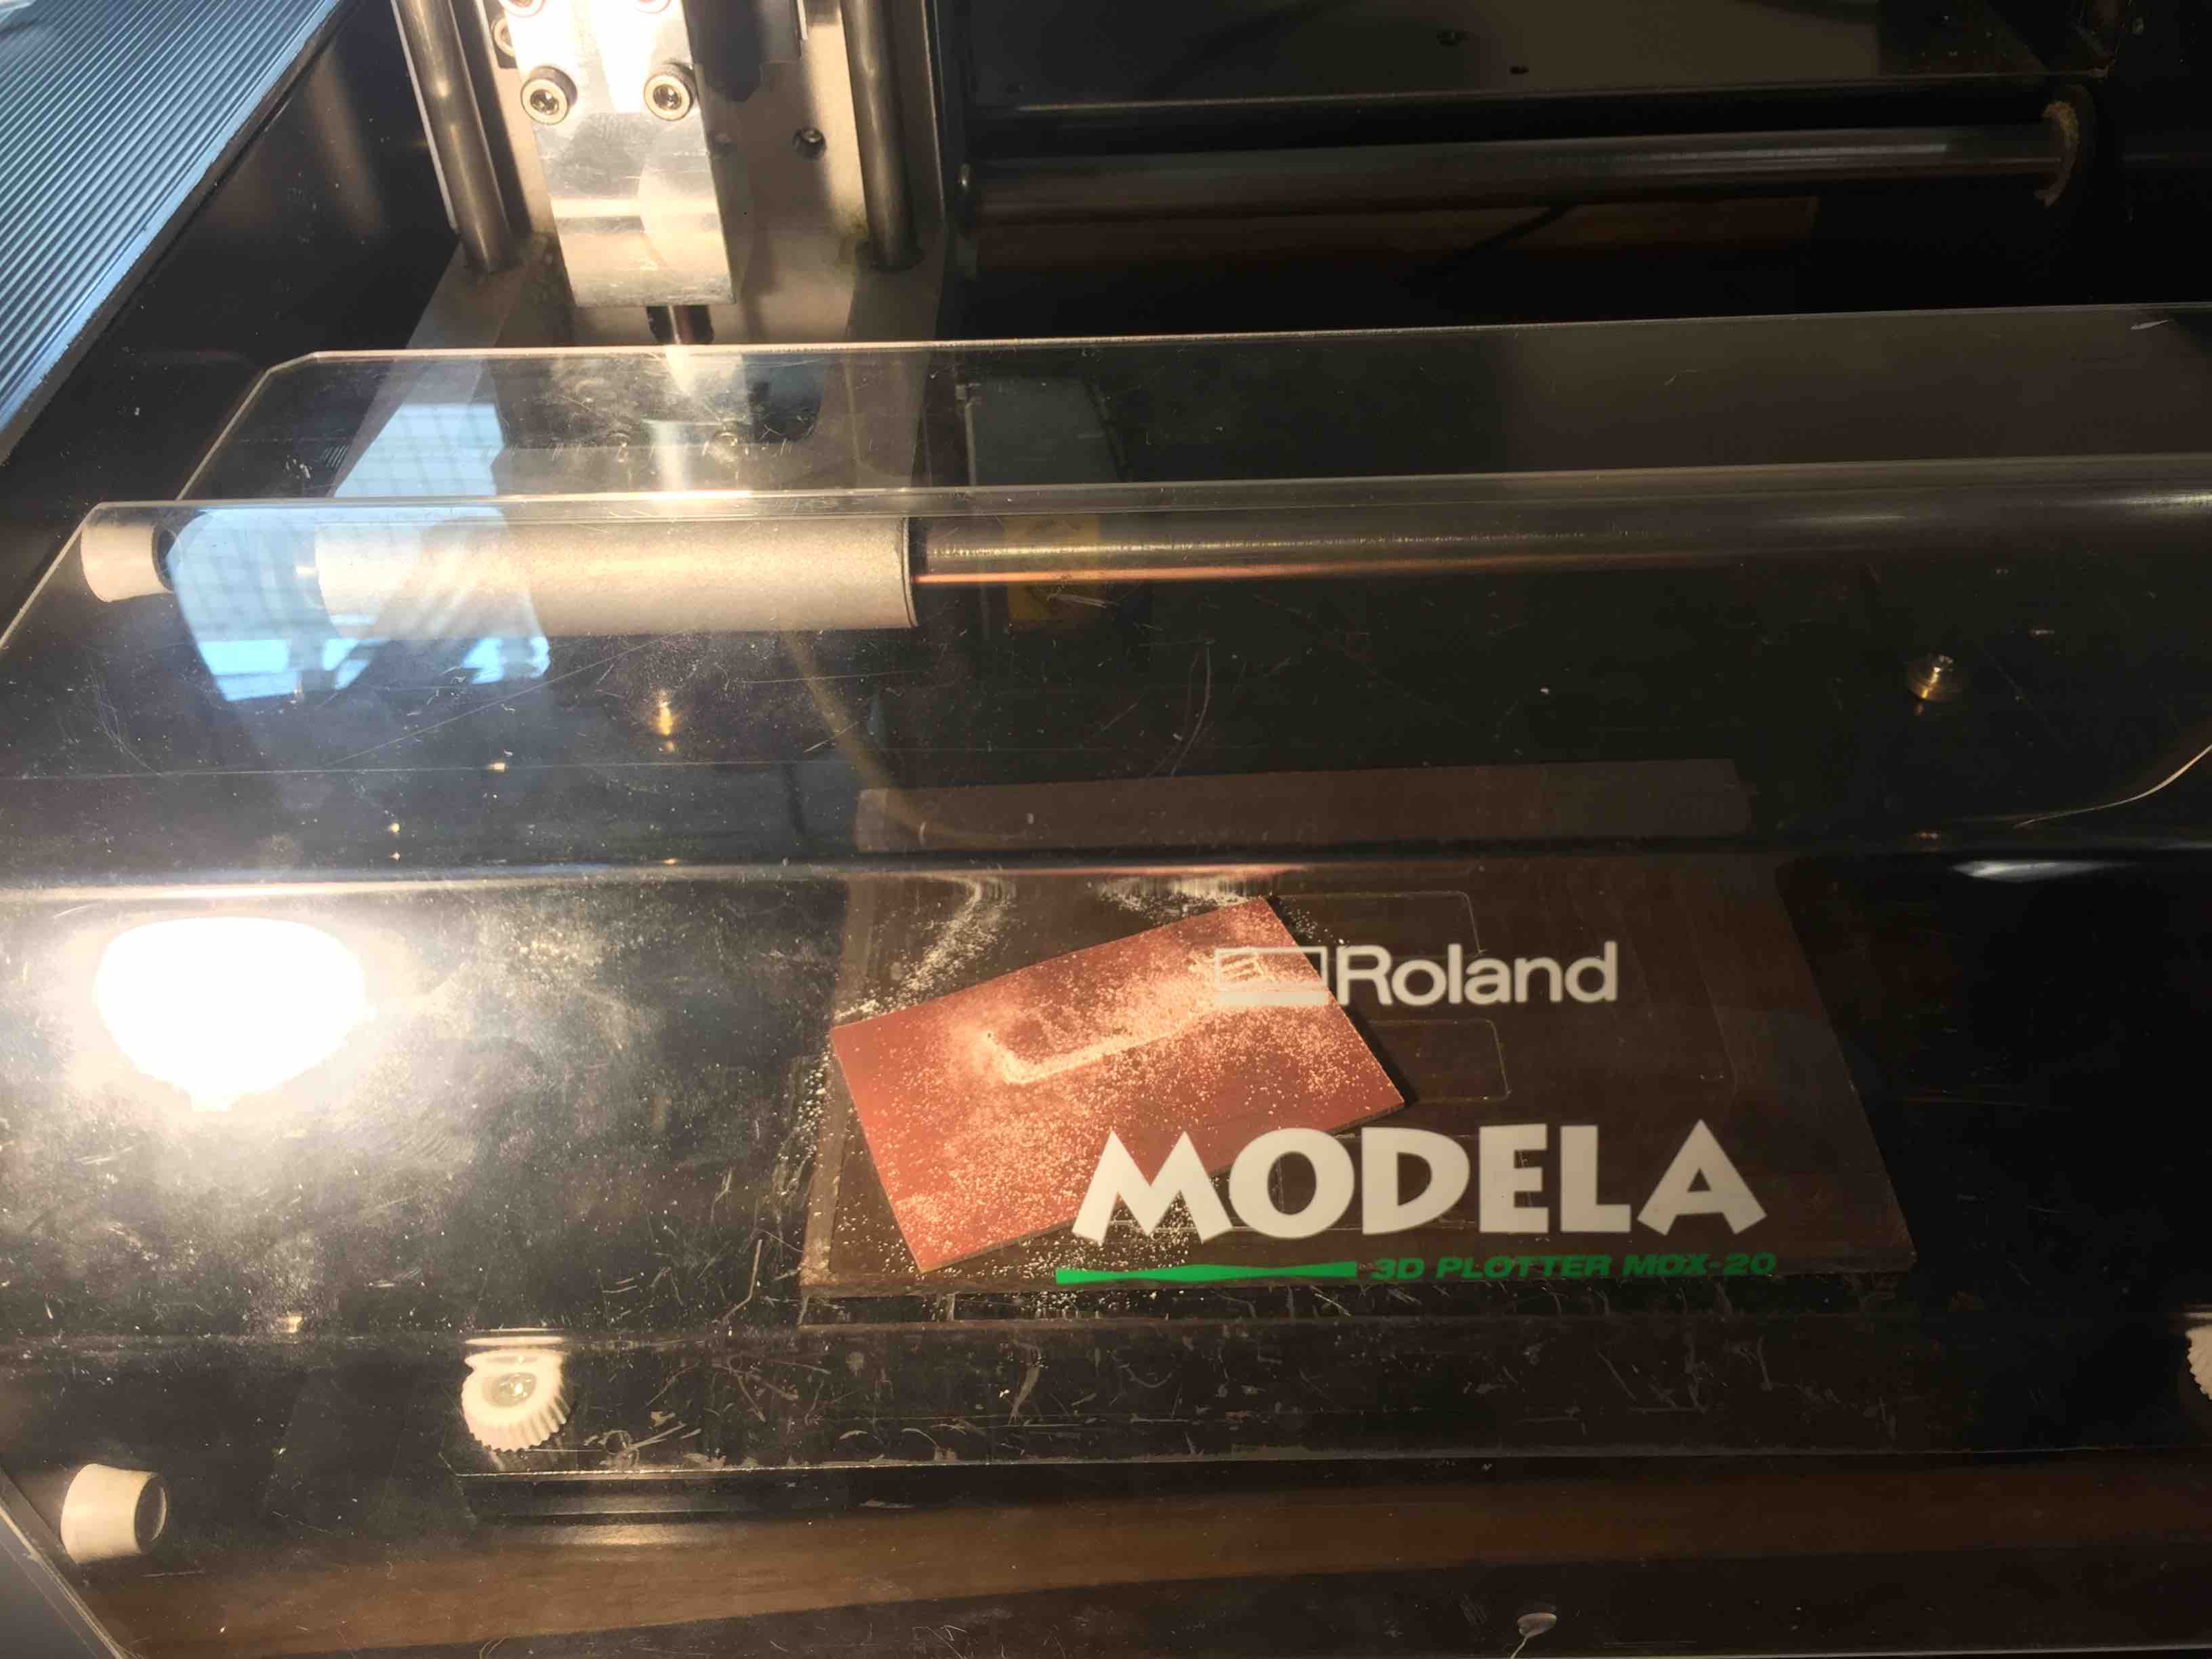
While there were clear instructions next to the Modela milling machine in how to mill these boards, I made two mistakes that set me back. First, after applying the sticky tape, I did not press the board down onto the sacrificial layer hard enough. It came loose halfway through the process and I had to start over, although canceling the process is as easy as clicking the cancel button. After the tape was secured, the second time I used the wrong default settings to cut the tracings. I realized this near the beginning of the process when I saw more dust from the machine than expected. I took out the board and the Modela had milled through the entire height of the board for part of the tracings. Following that, take three was successful and I moved on to learning how to solder.
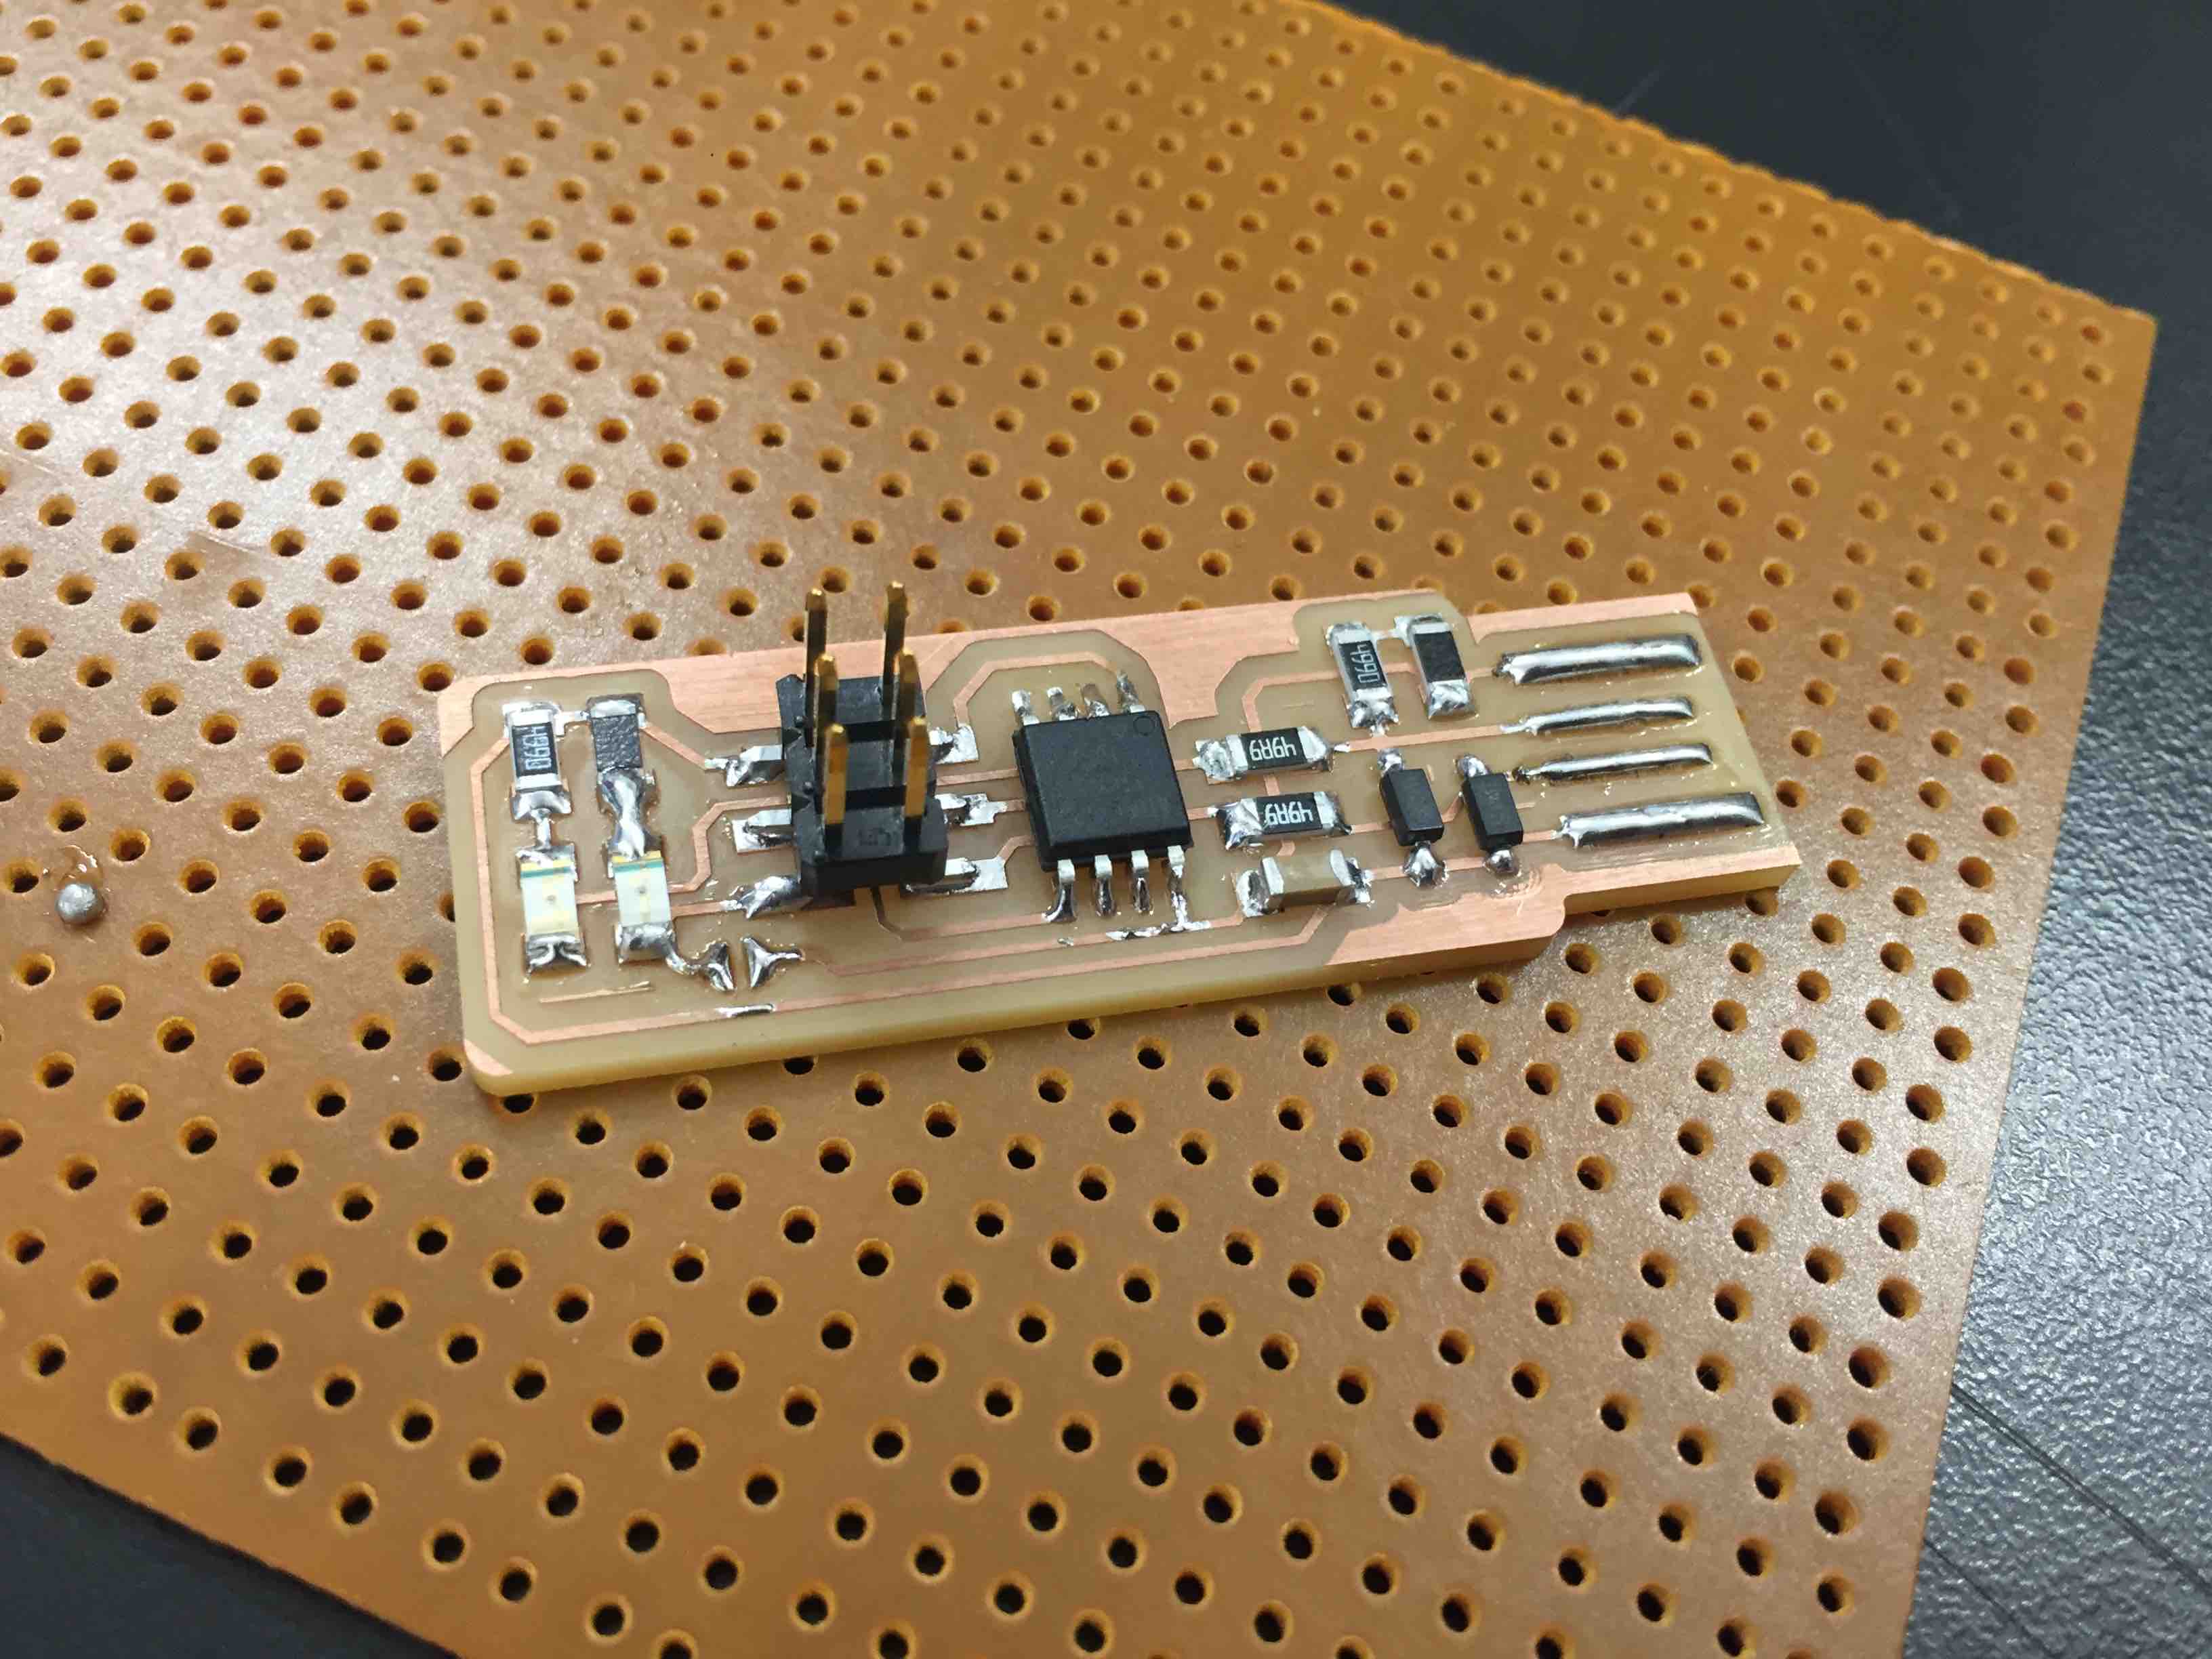
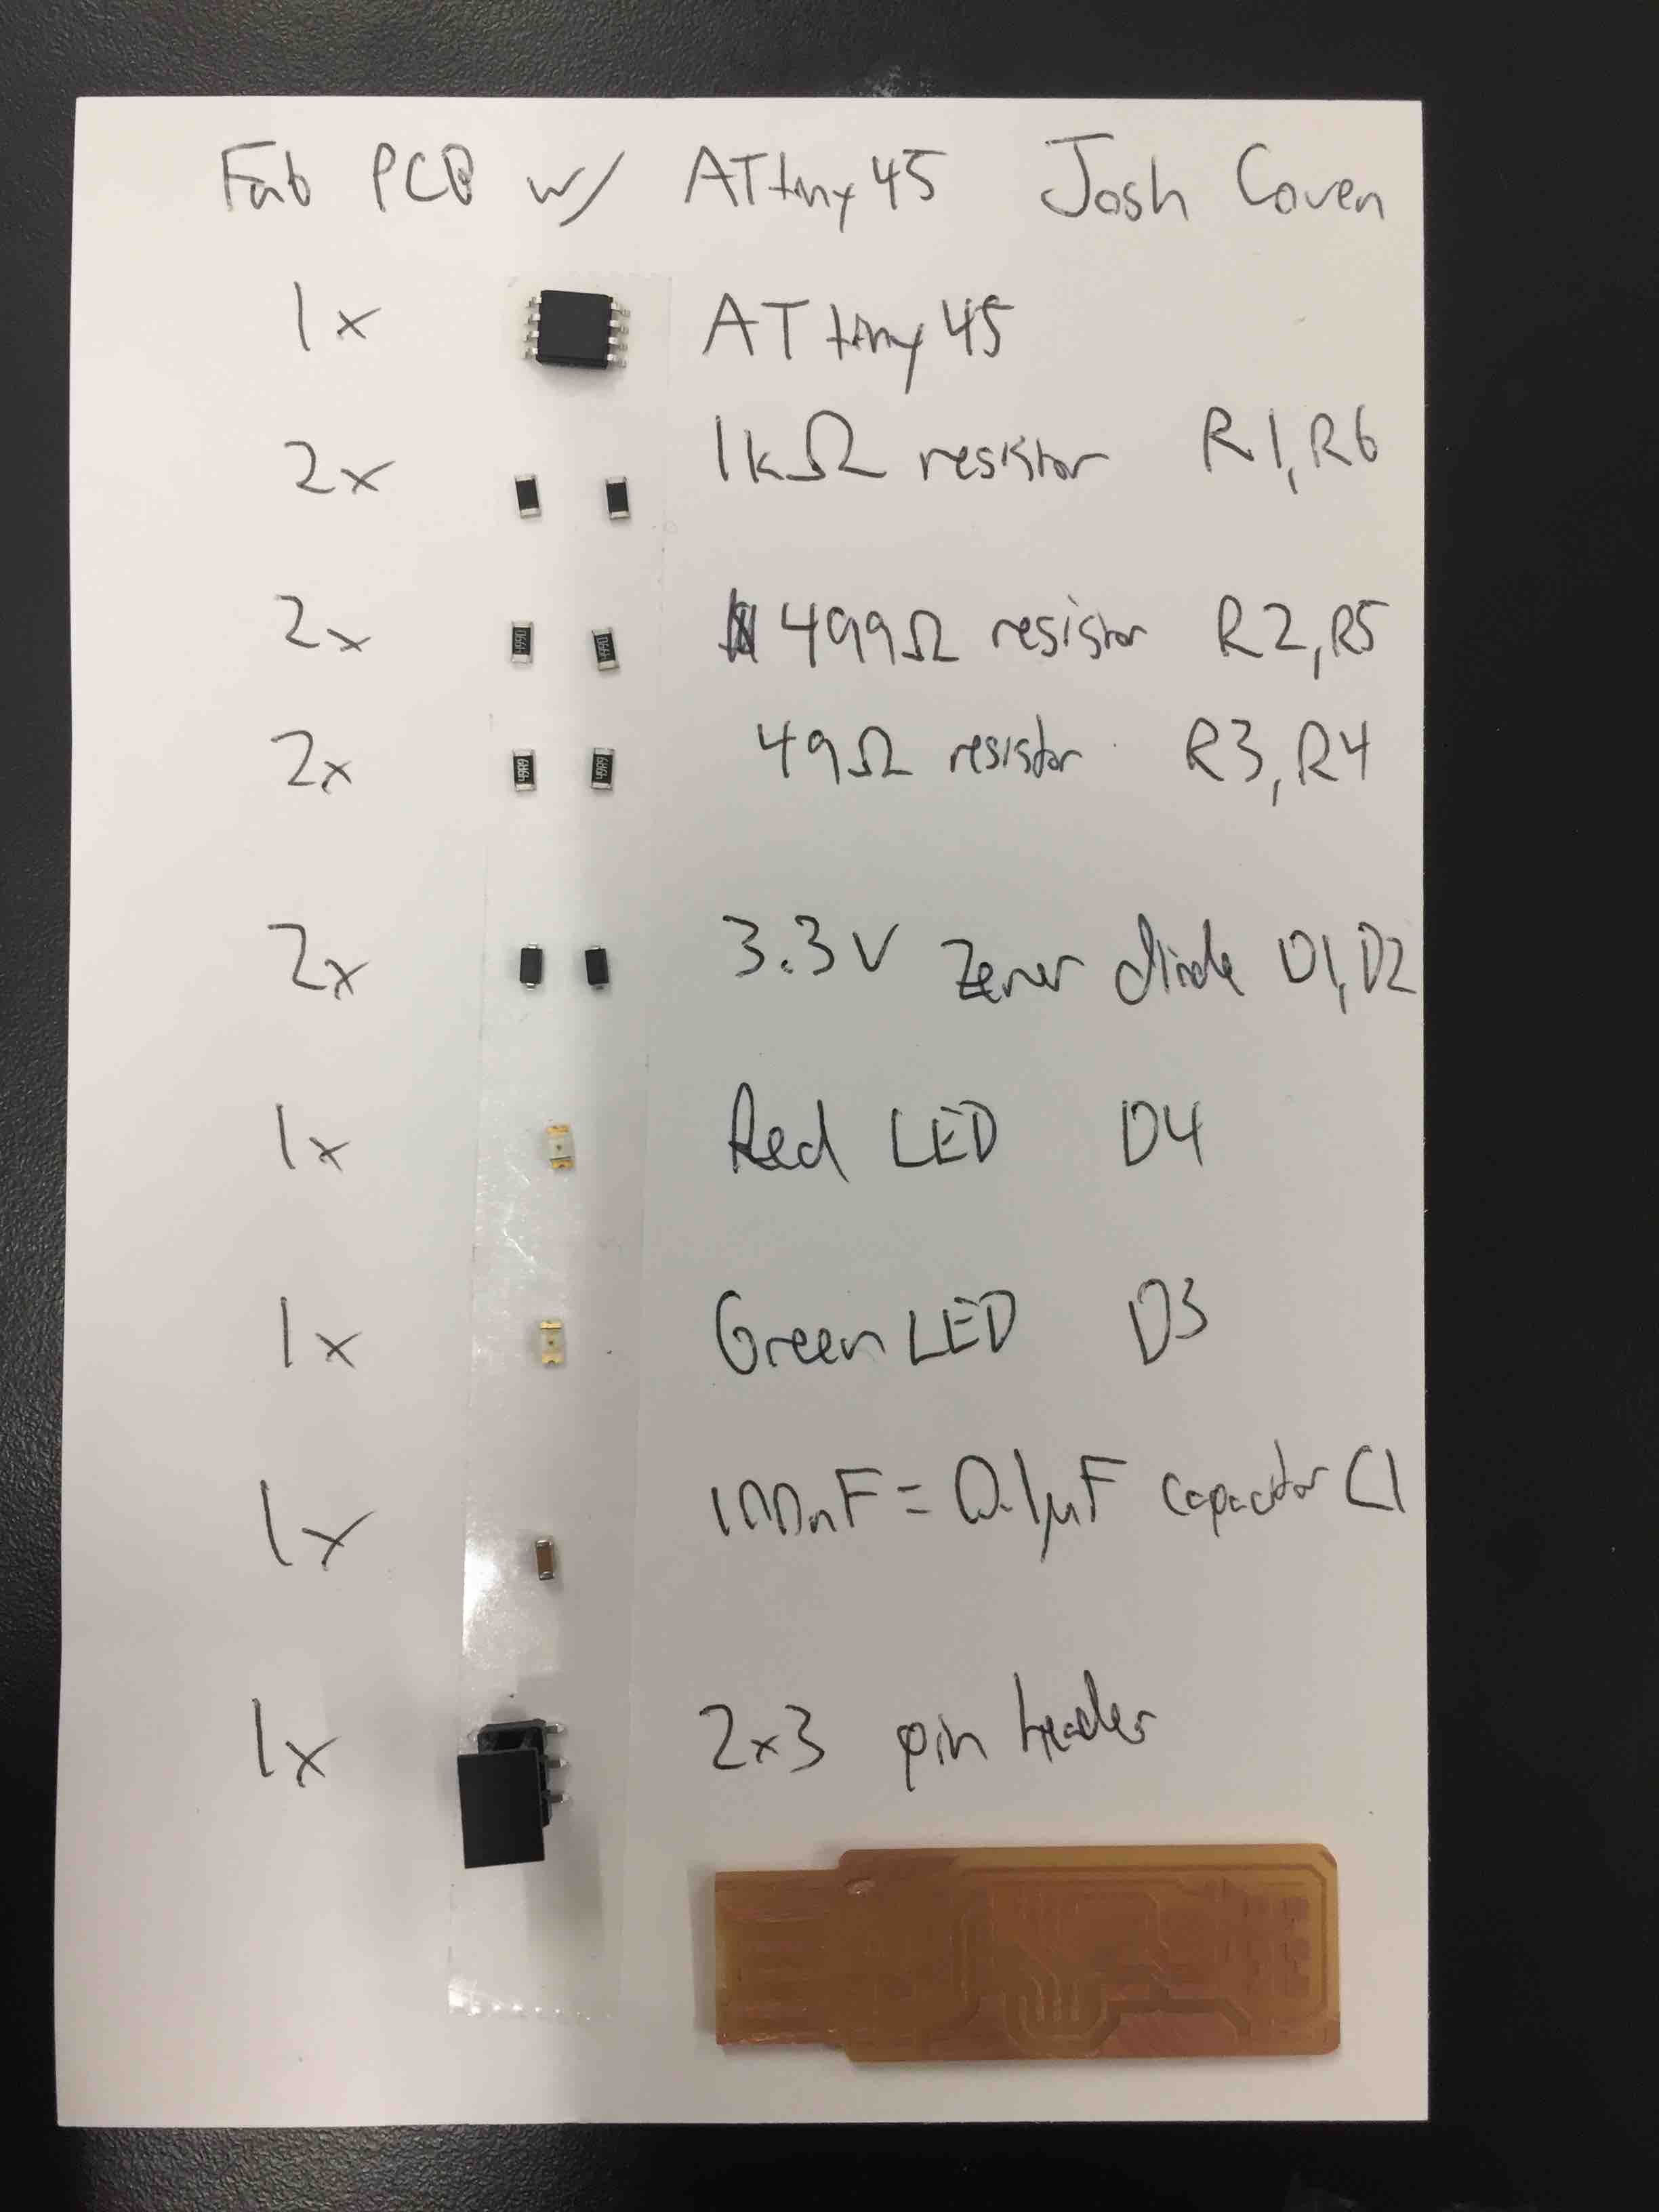
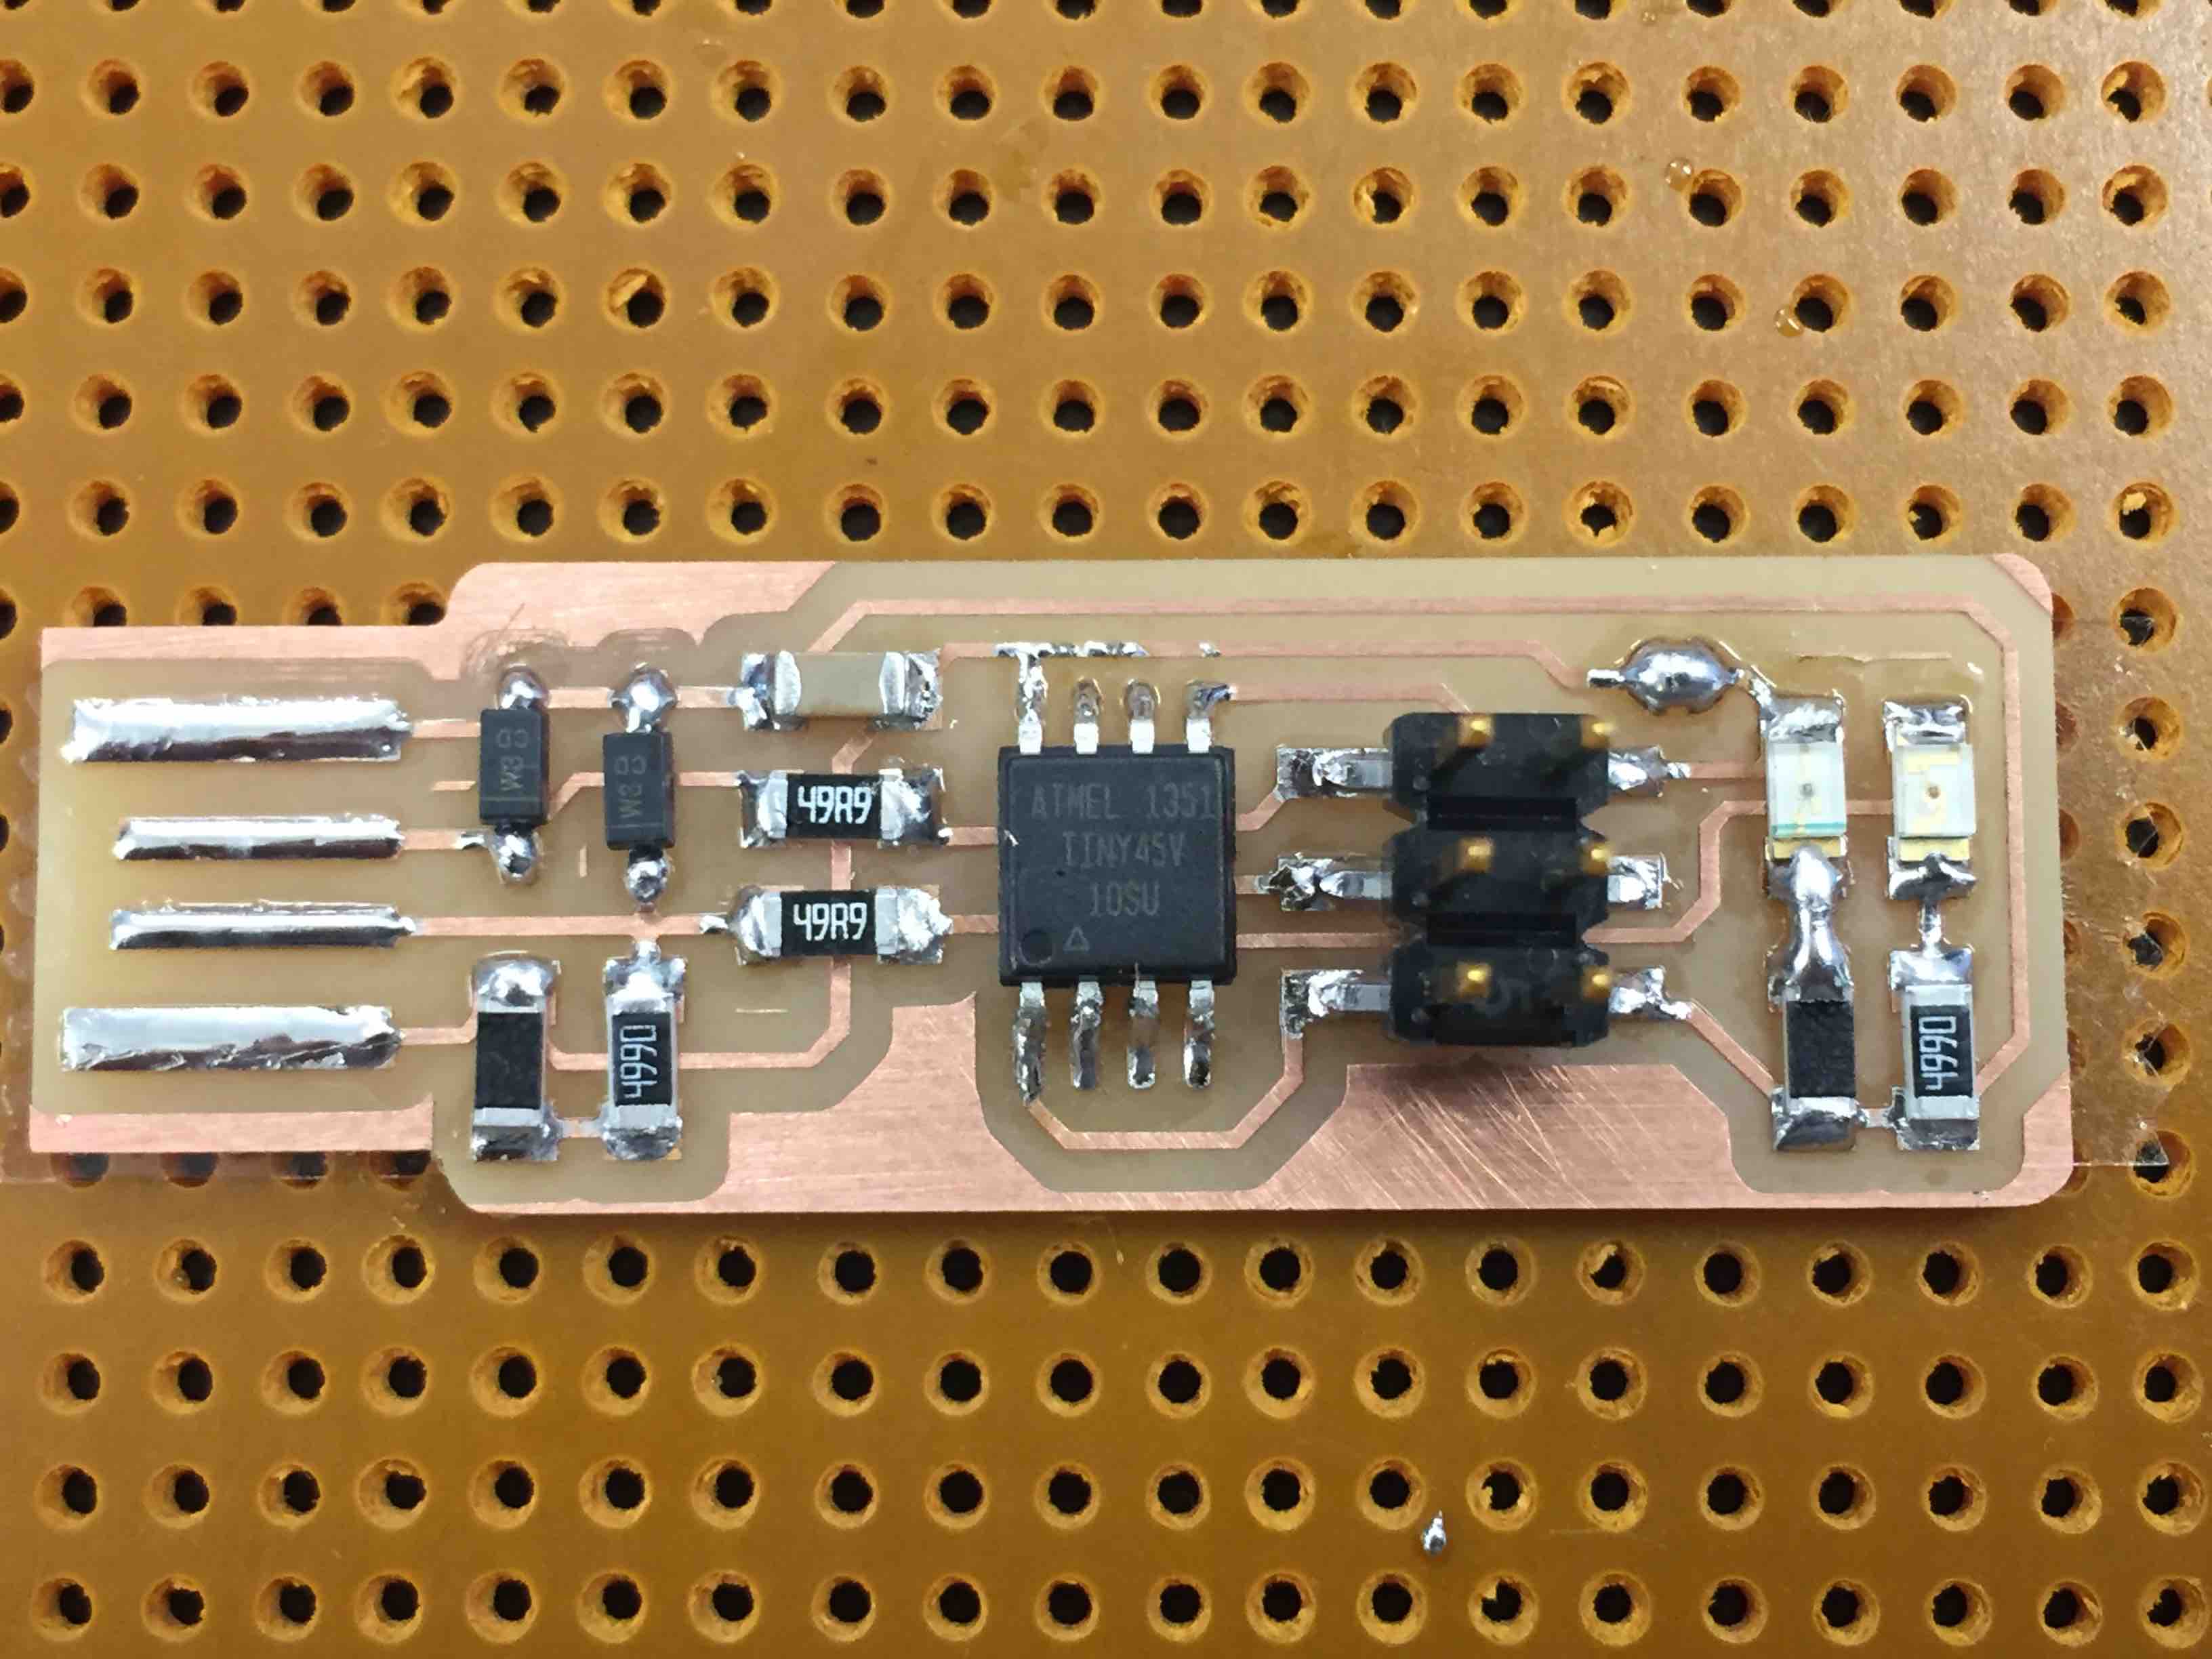
Having never soldered before, I practiced on a spare before starting on my newly milled board. After a while I got the hang of it and I could tell as each component was better connected to the board than the last. I learned an organizational trick from Rob and my classmate Jeremy where you assemble the necessary components on a notecard before beginning.
I tested for short circuits using a multimeter and a microscope.
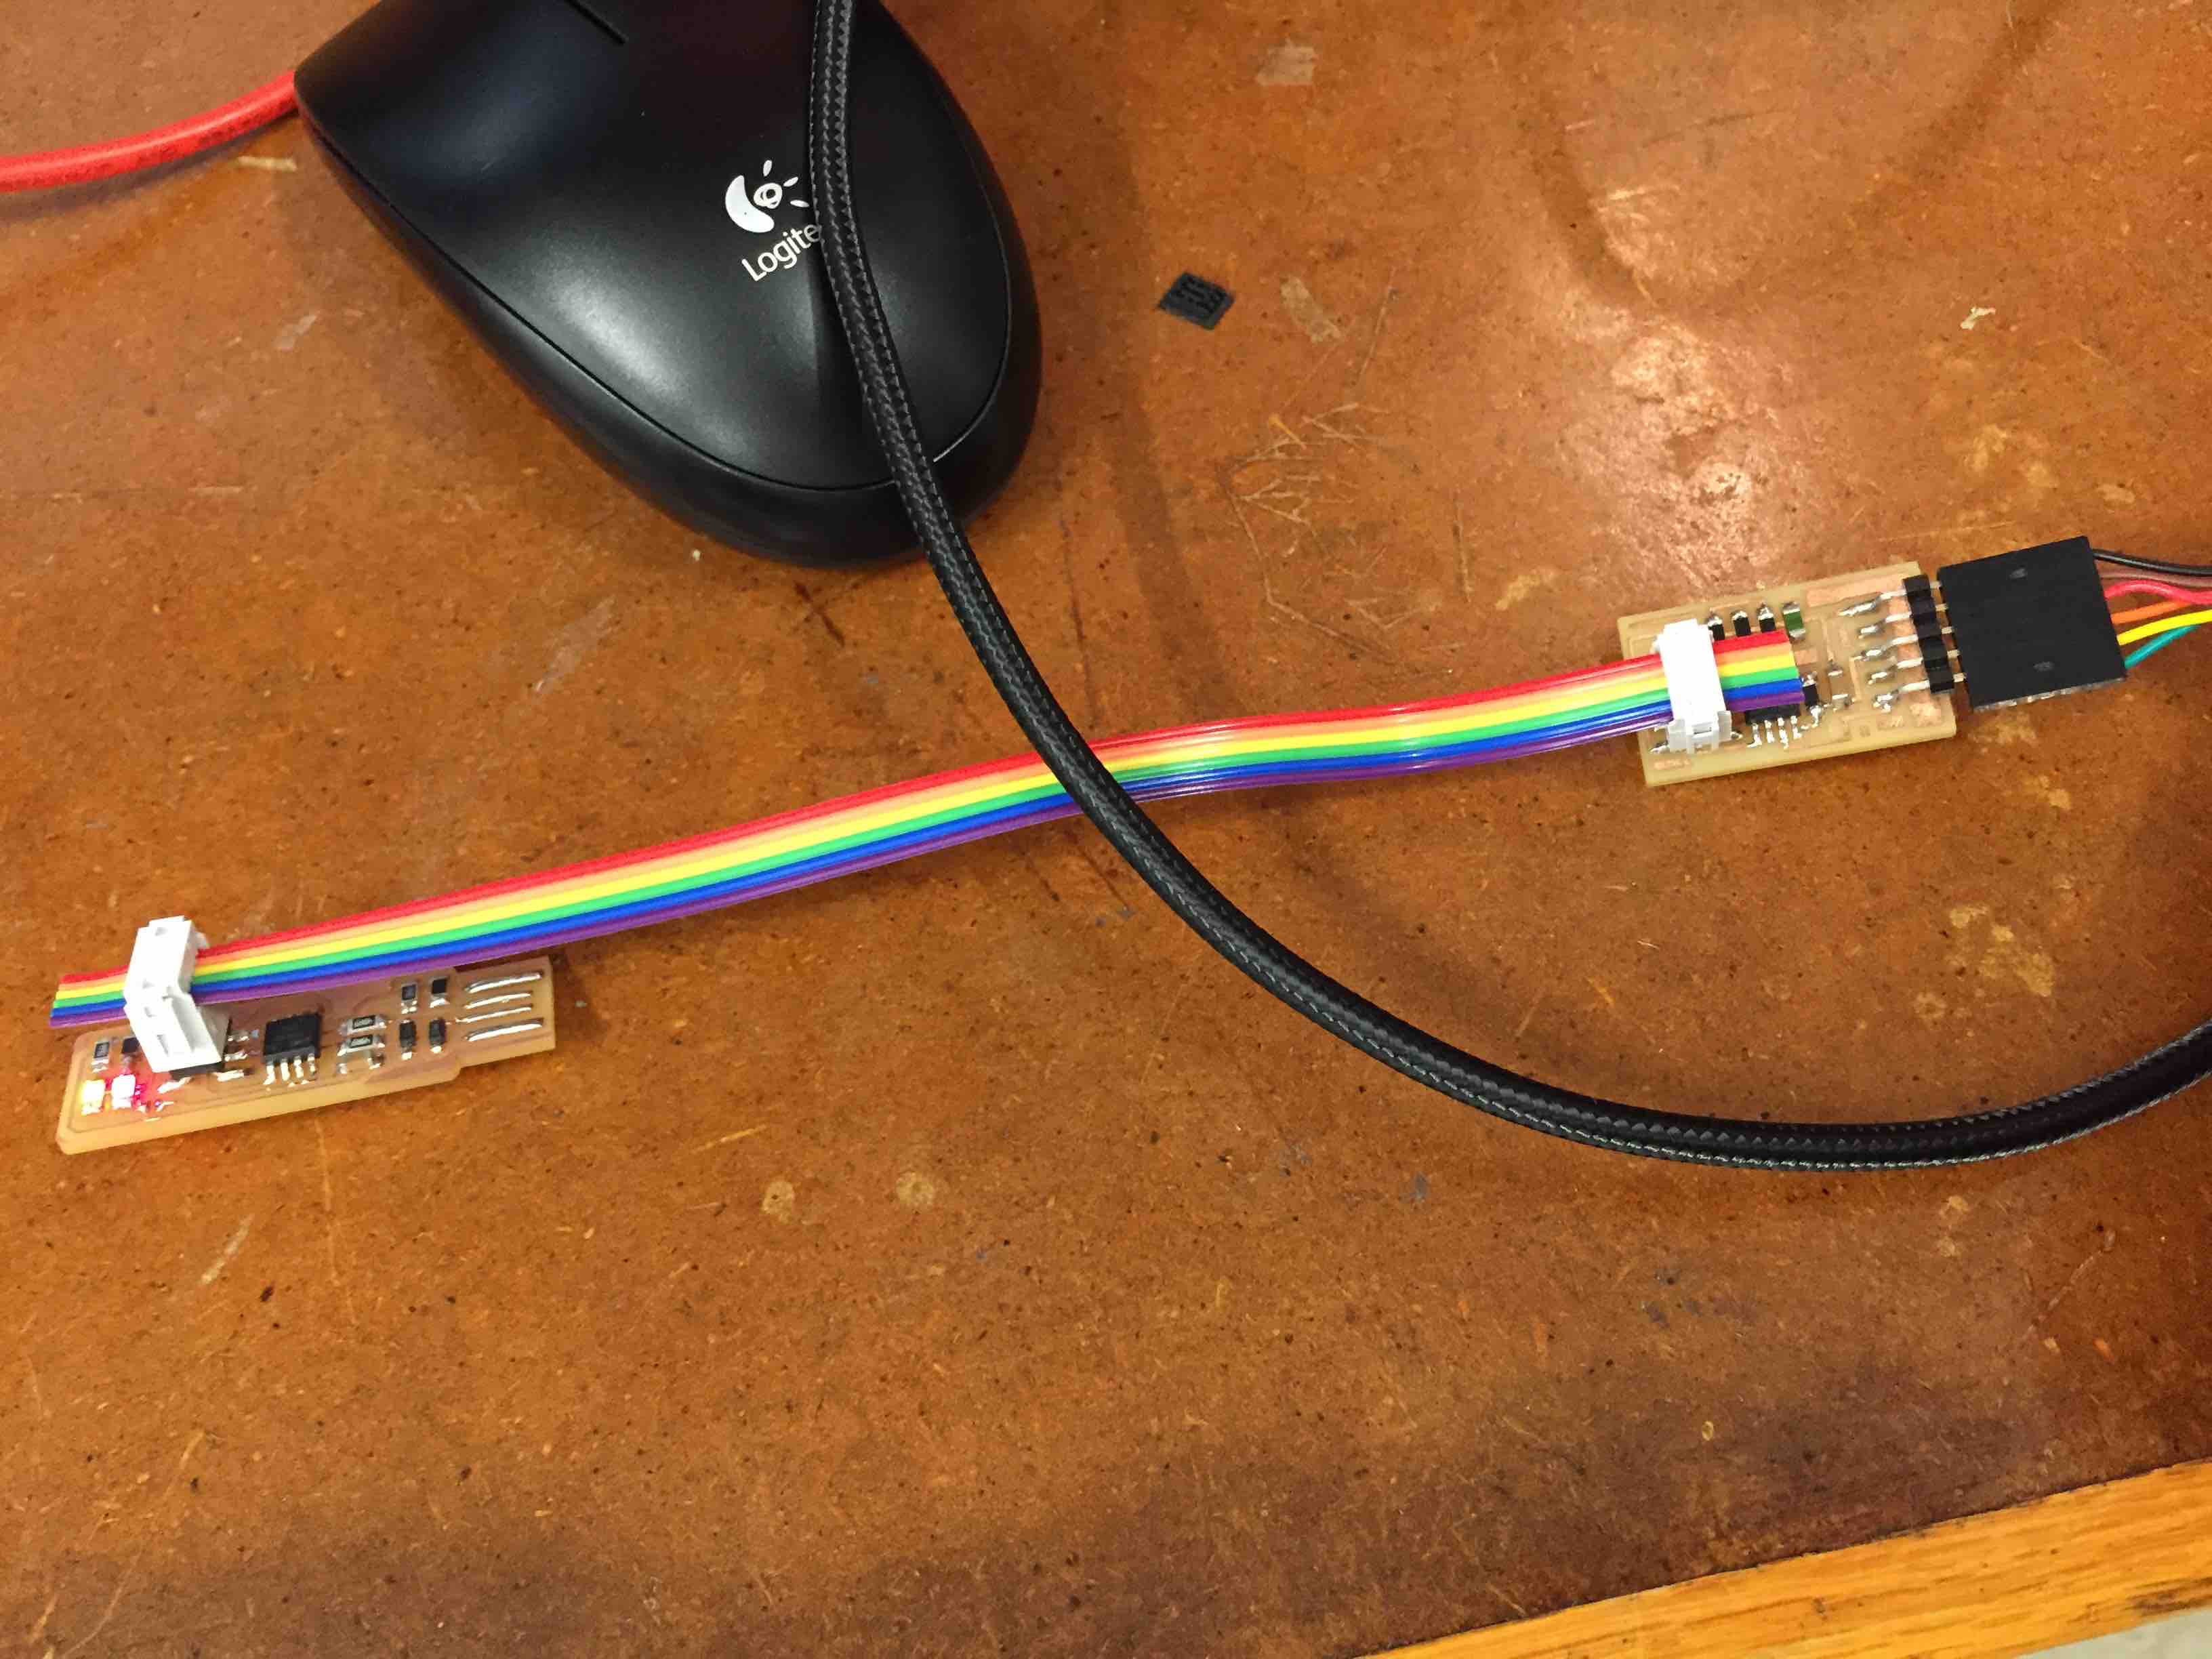
Programming the device was straight forward with Rob's help. I followed his instructions and eventually realized that I needed more solder on my board to improve the connection to the USB. After that the board worked without a hitch. I programmed the board, then used copper filament to disconnect the solder bridge, and then programmed another board to test my new programmer.