Molding and Casting
Week 7
This week I learned how to make molds and casts. I wanted to do two different projects. First, I wanted to cast a magnifying glass. I did some research online and decided to make a spherical biconvex lens and eventually test the focal length and magnification. I looked at the small lens approximation forumla online for when the radius of curvature is much larger than the thickness of the lens, and eventually it comes down to the index of refraction of the material I would be using. This was an unknown so these tests with a set radius would help me figure out the index of refraction which could help me make different lens geometries in the future. I drew up a simple diagram in fusion 360, used VCarve Pro to make both tool paths, and then milled a positive out of wax using the shop bot desktop. VCarve was much easier after having alredy used it, and the only tricky part was setting the boundary to either the material boundary with an offset or the model boundary with an offset. Setting the it to the model boundary with an offset saves material.
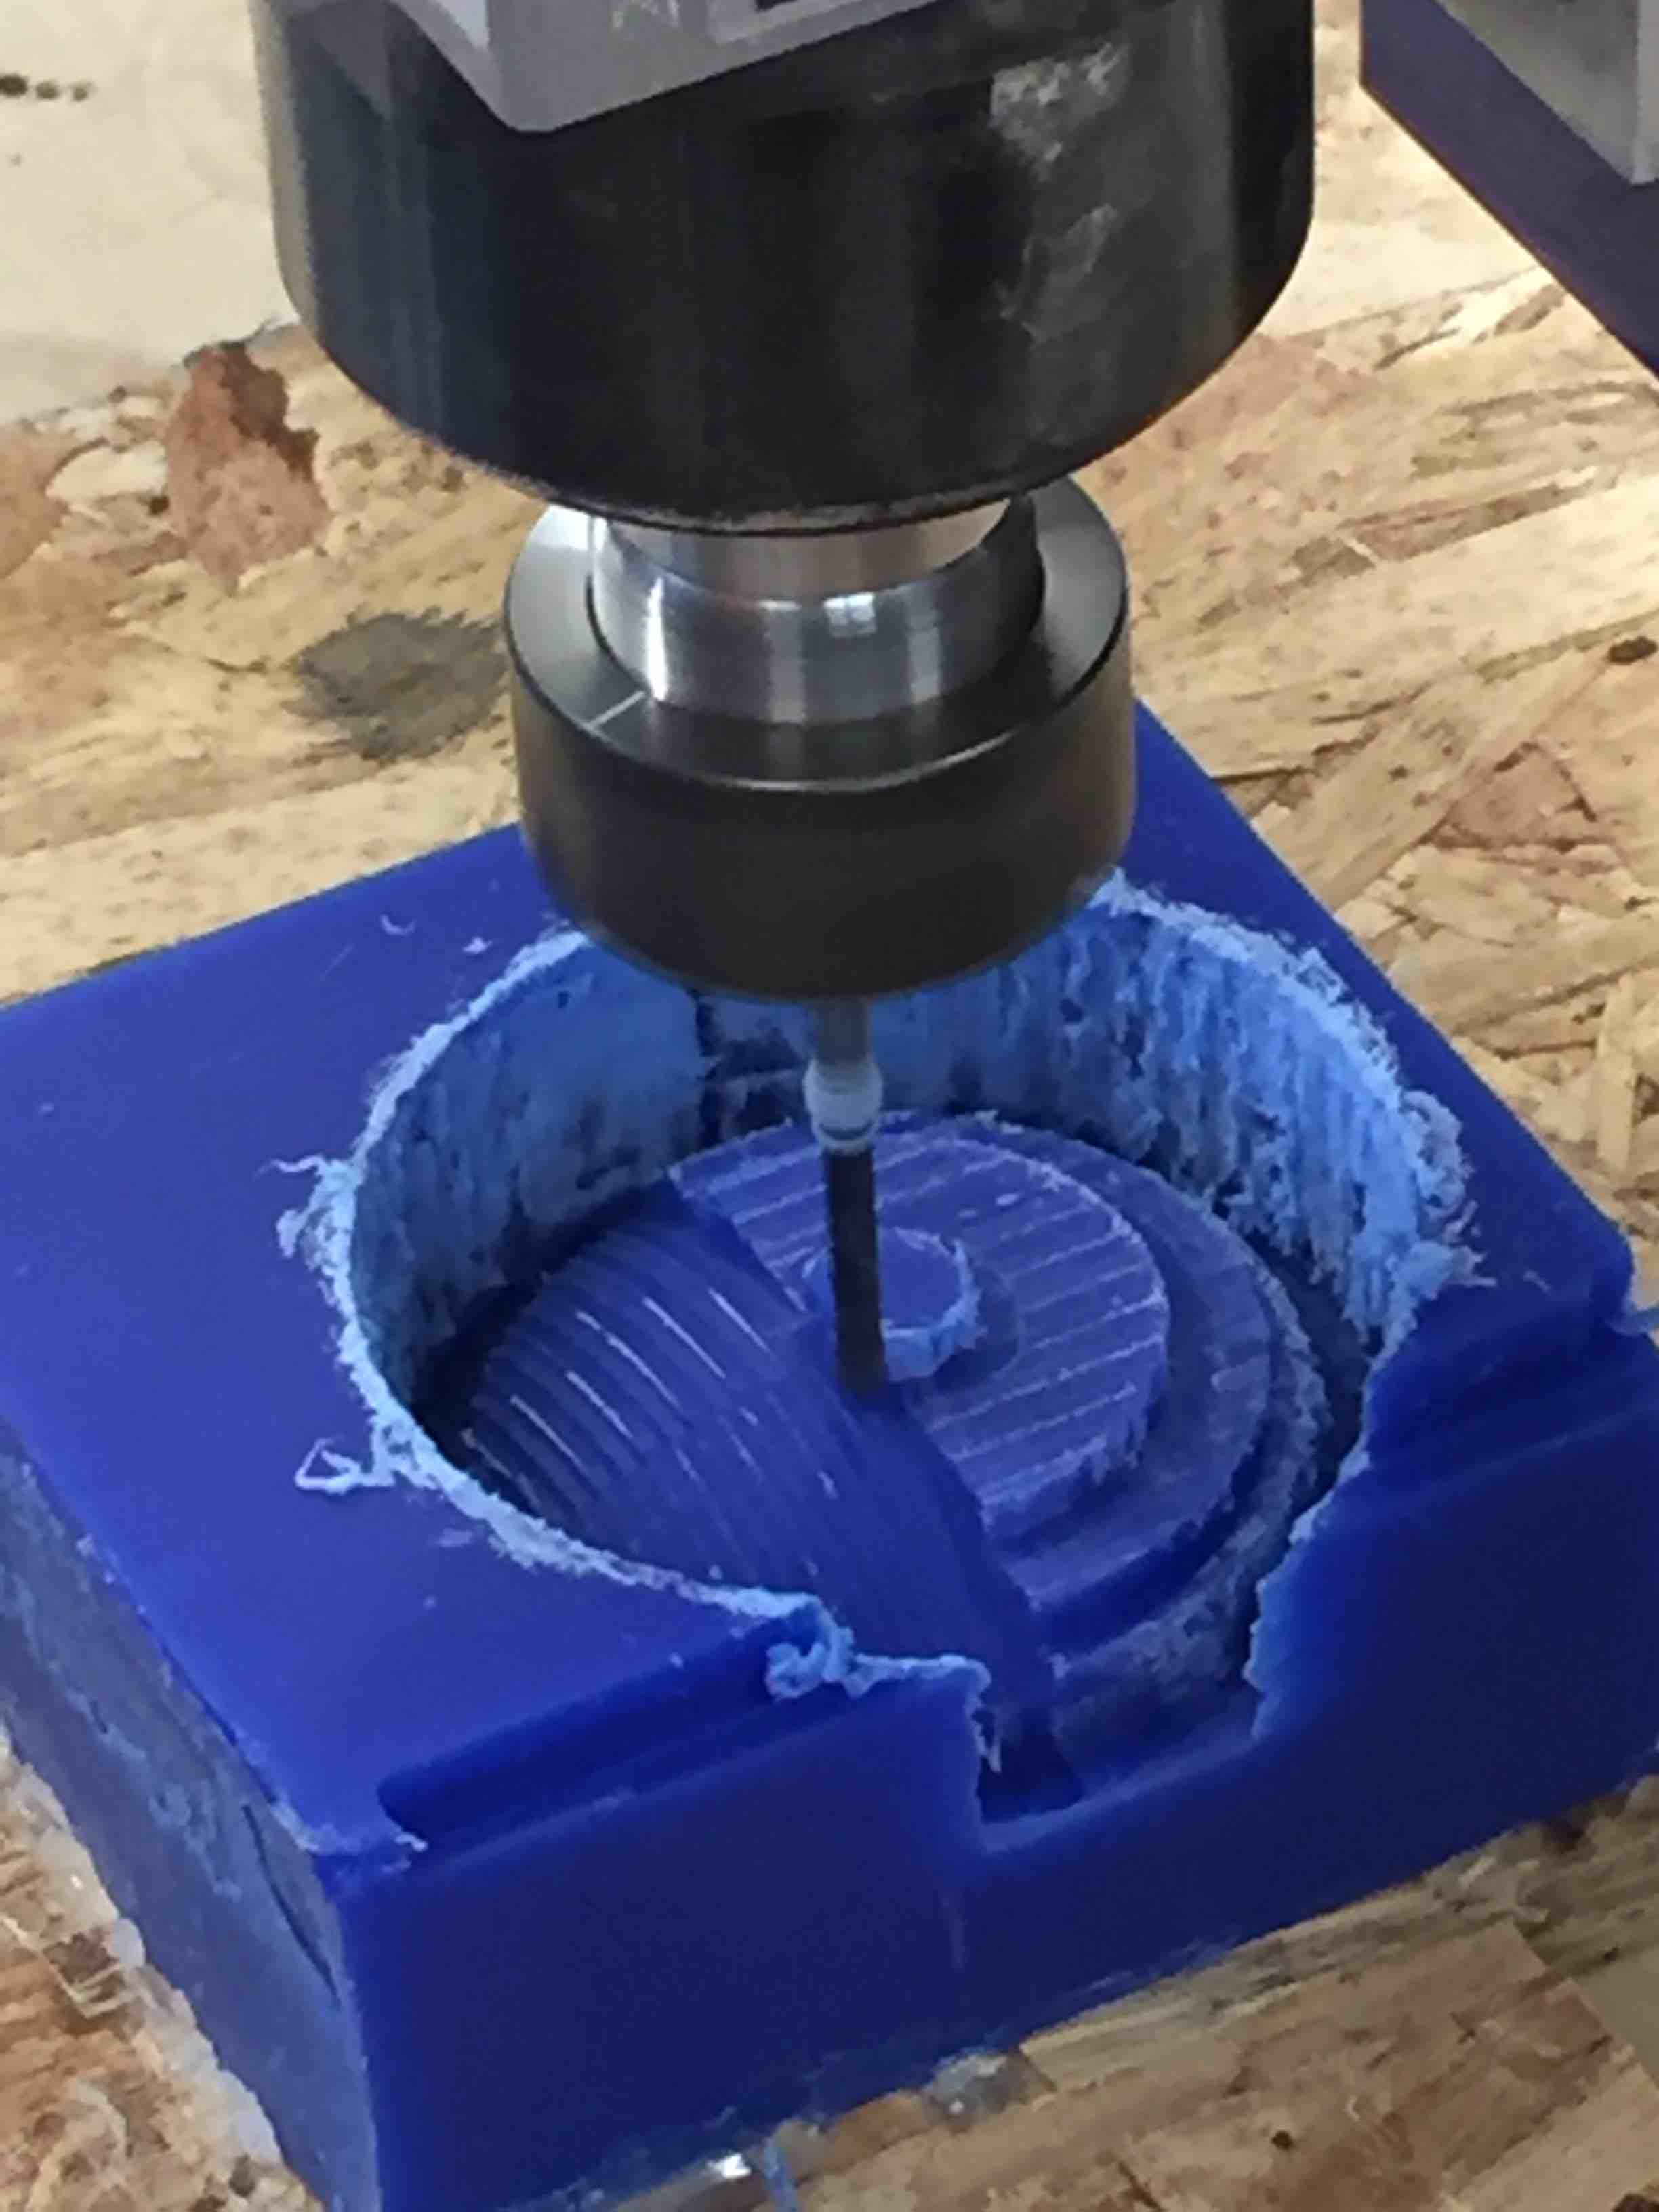
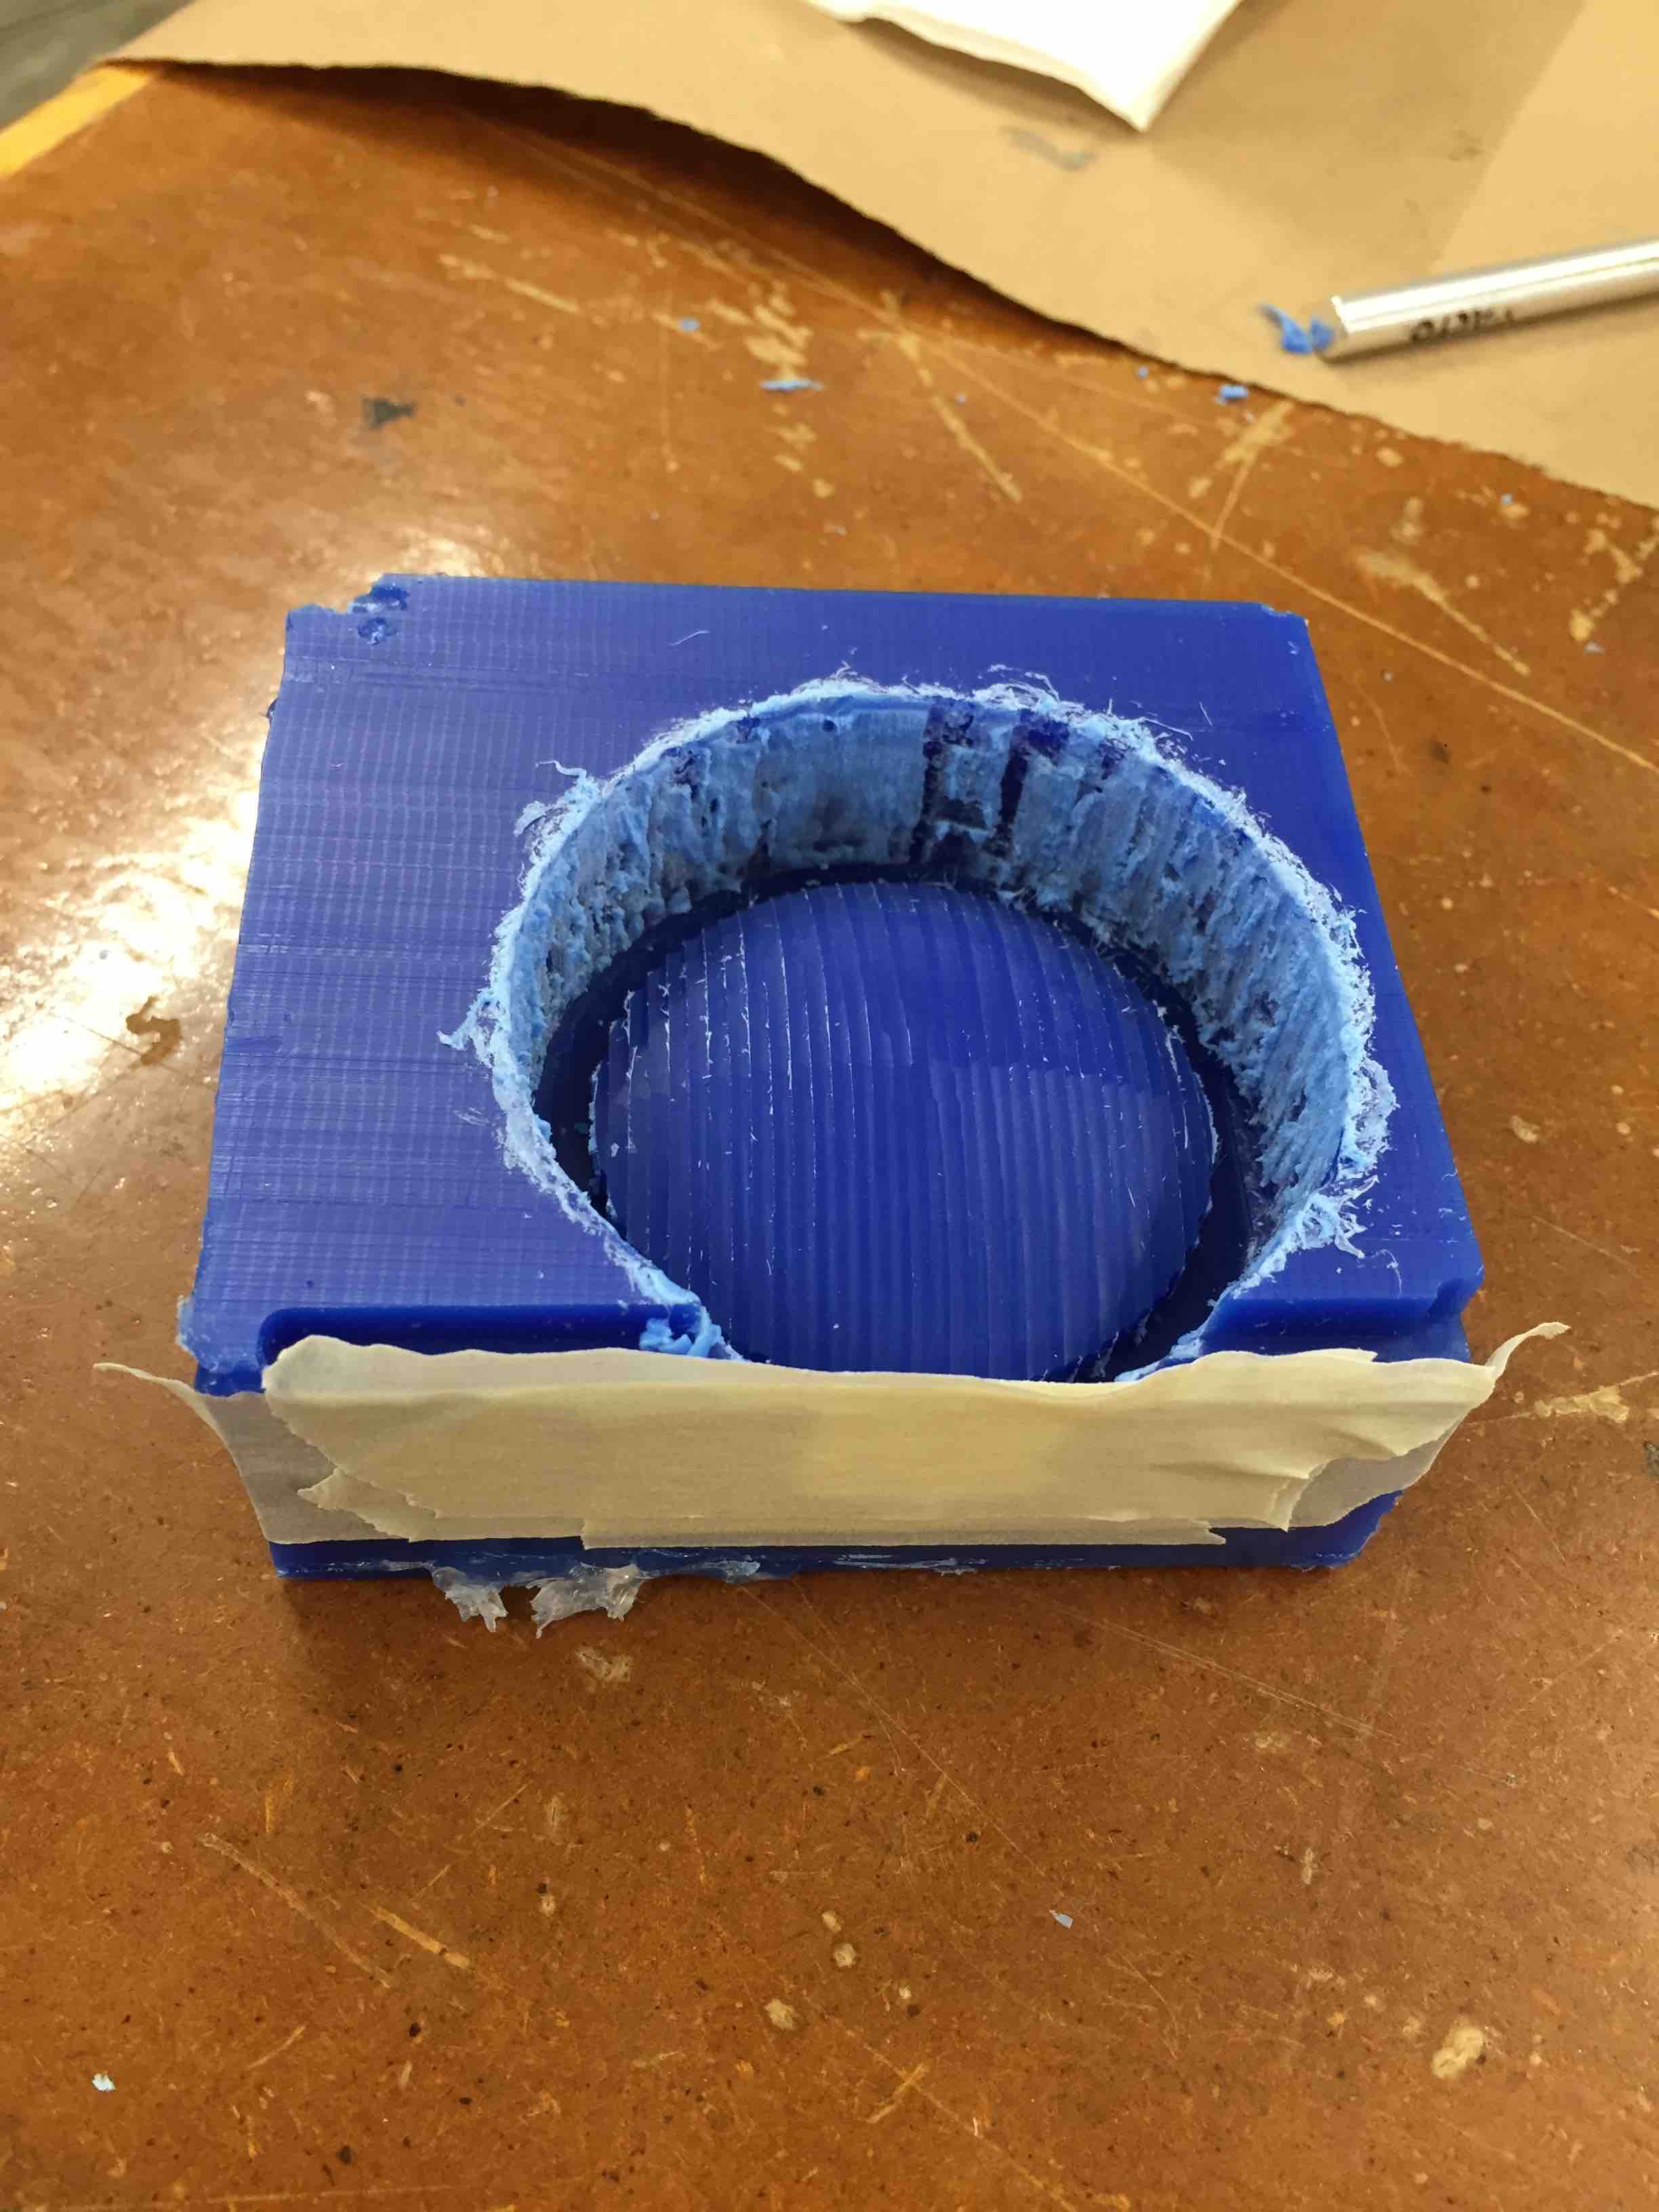
Above is a picture of the milling halfway through the finish cut. VCarve's predetermined settings made this go off almost without a hitch. The only problem I encountered in the milling was that I screwed up the x and y directions so the shop bot cut barely past one boundary. I fixed this using tape, which worked well.
I used OOMOO 25, equal parts by volume A and B, to make the mold and left it overnight. I then made a second mold to prepare for casting a full lens.
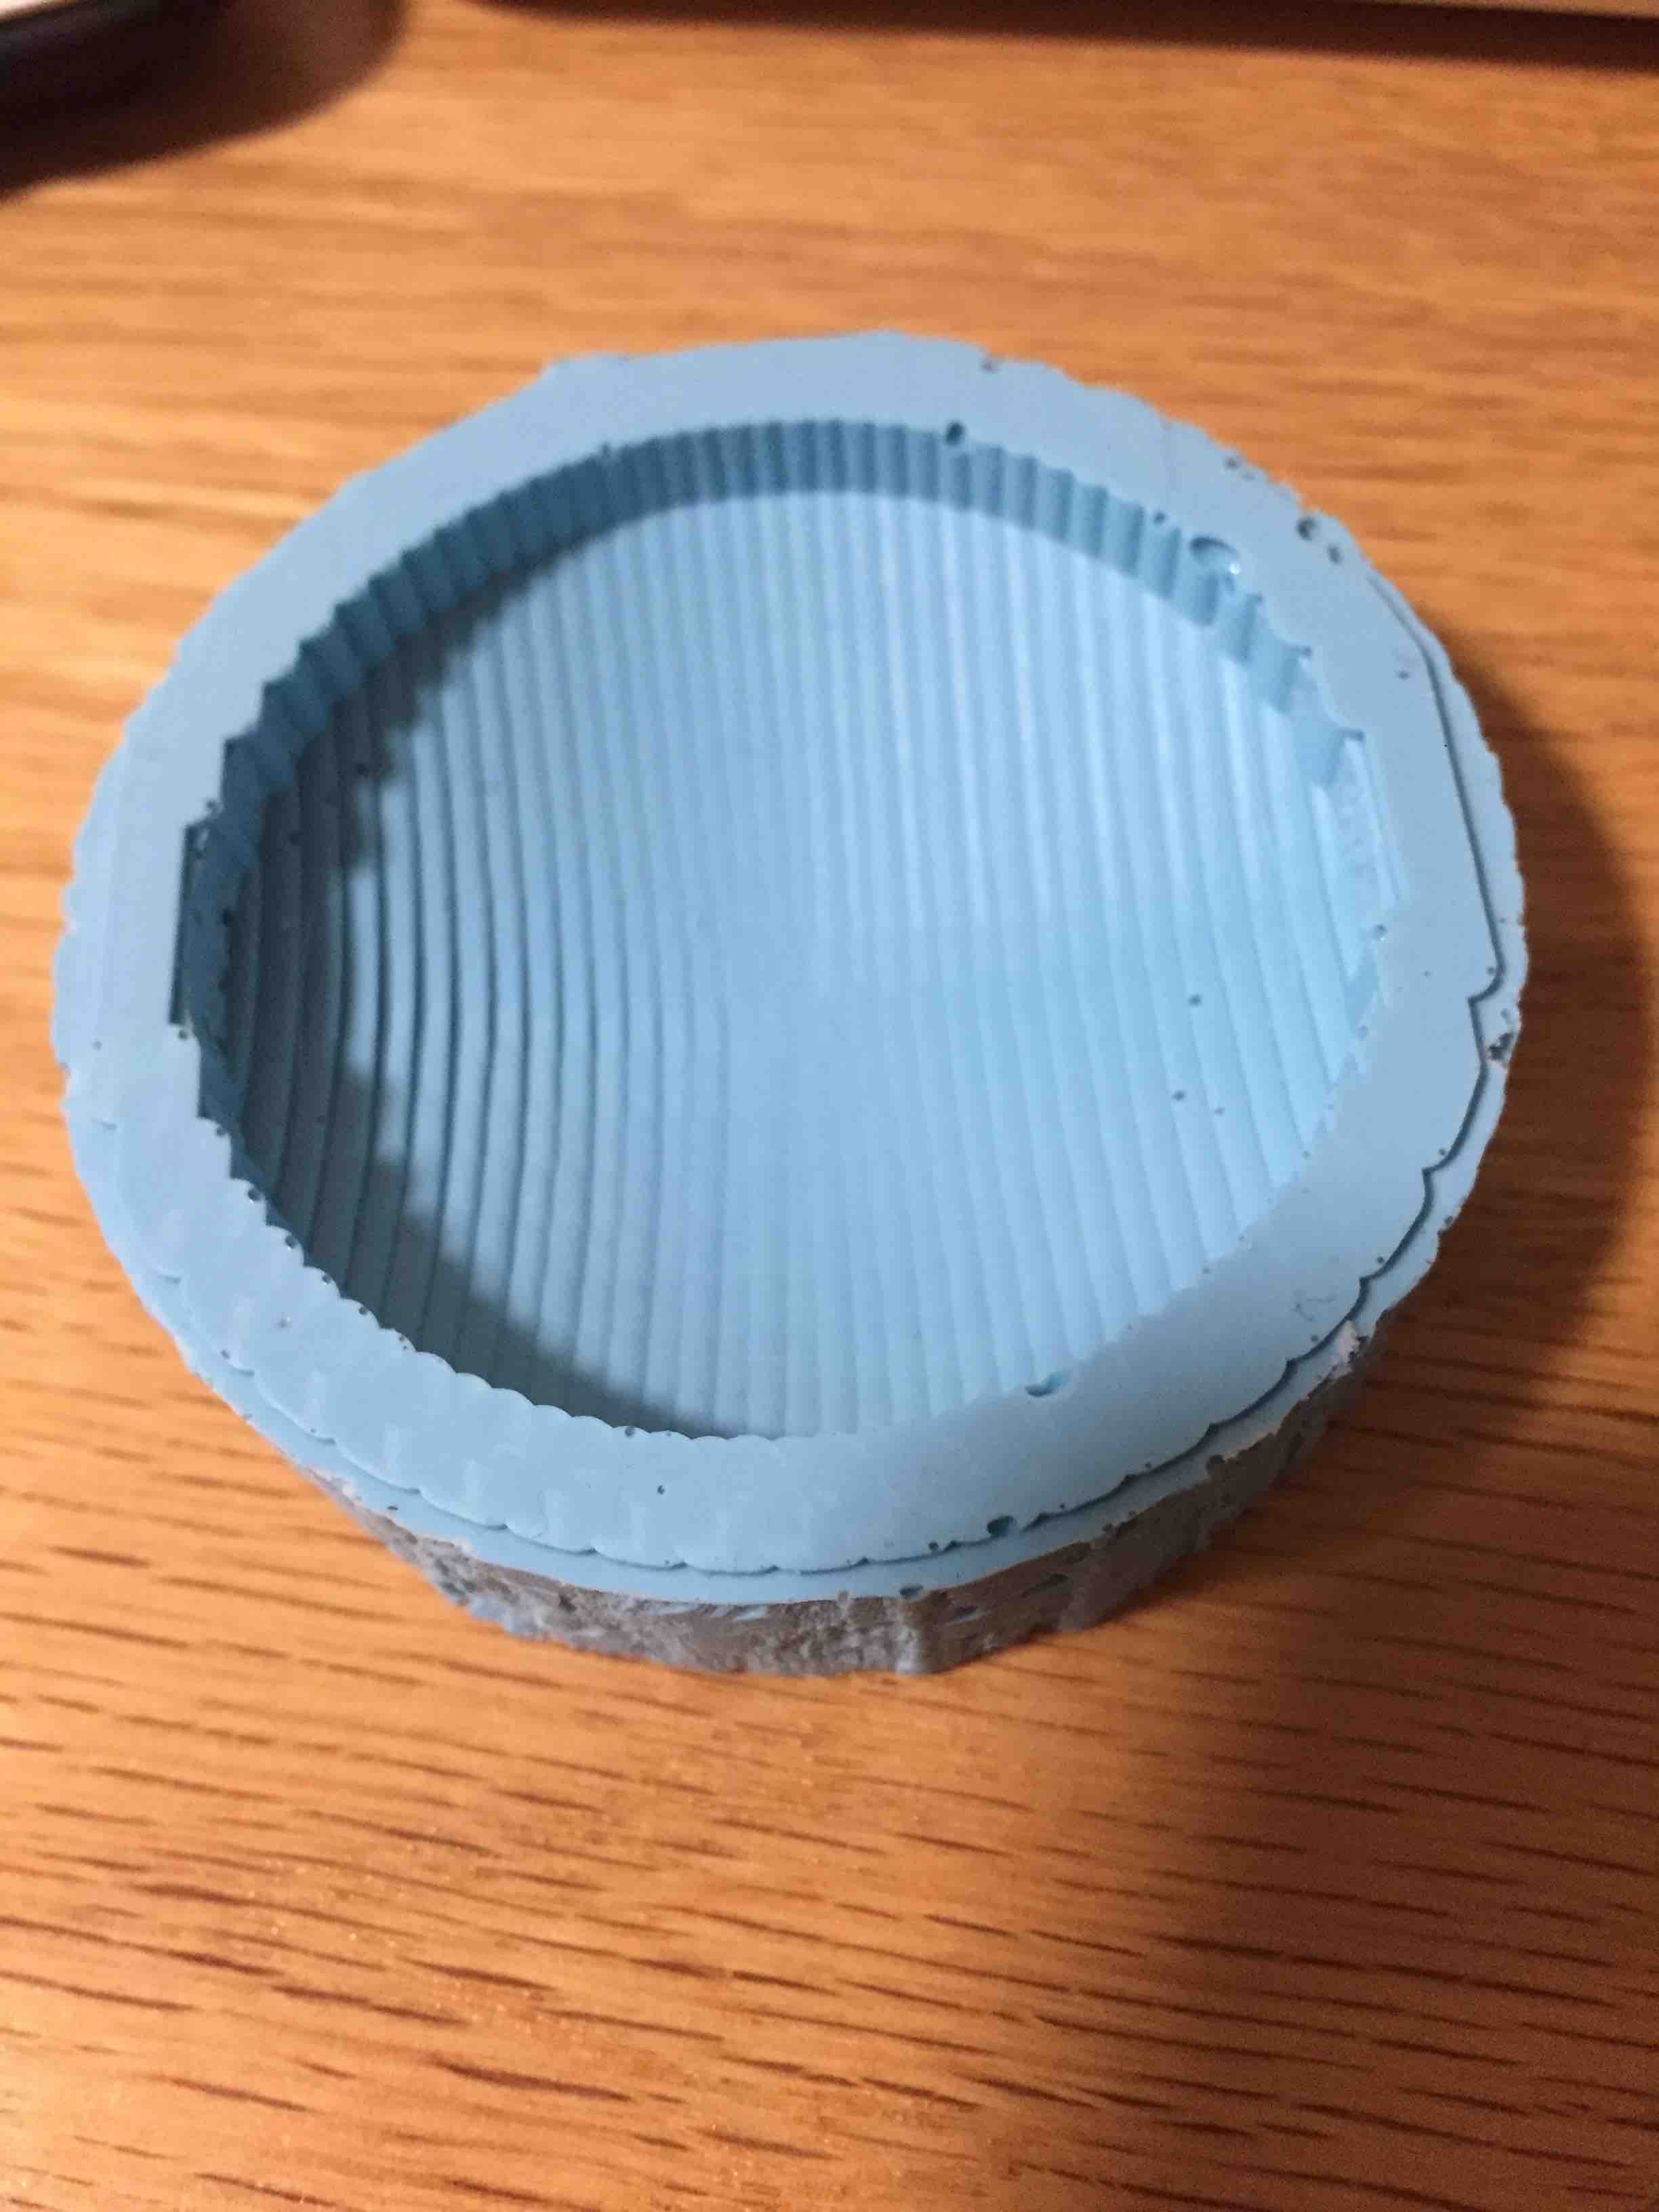
I did not cast this but I plan to, either by purchasing epoxy that I can cast or waiting until the composites week if epoxy is one of the composites.
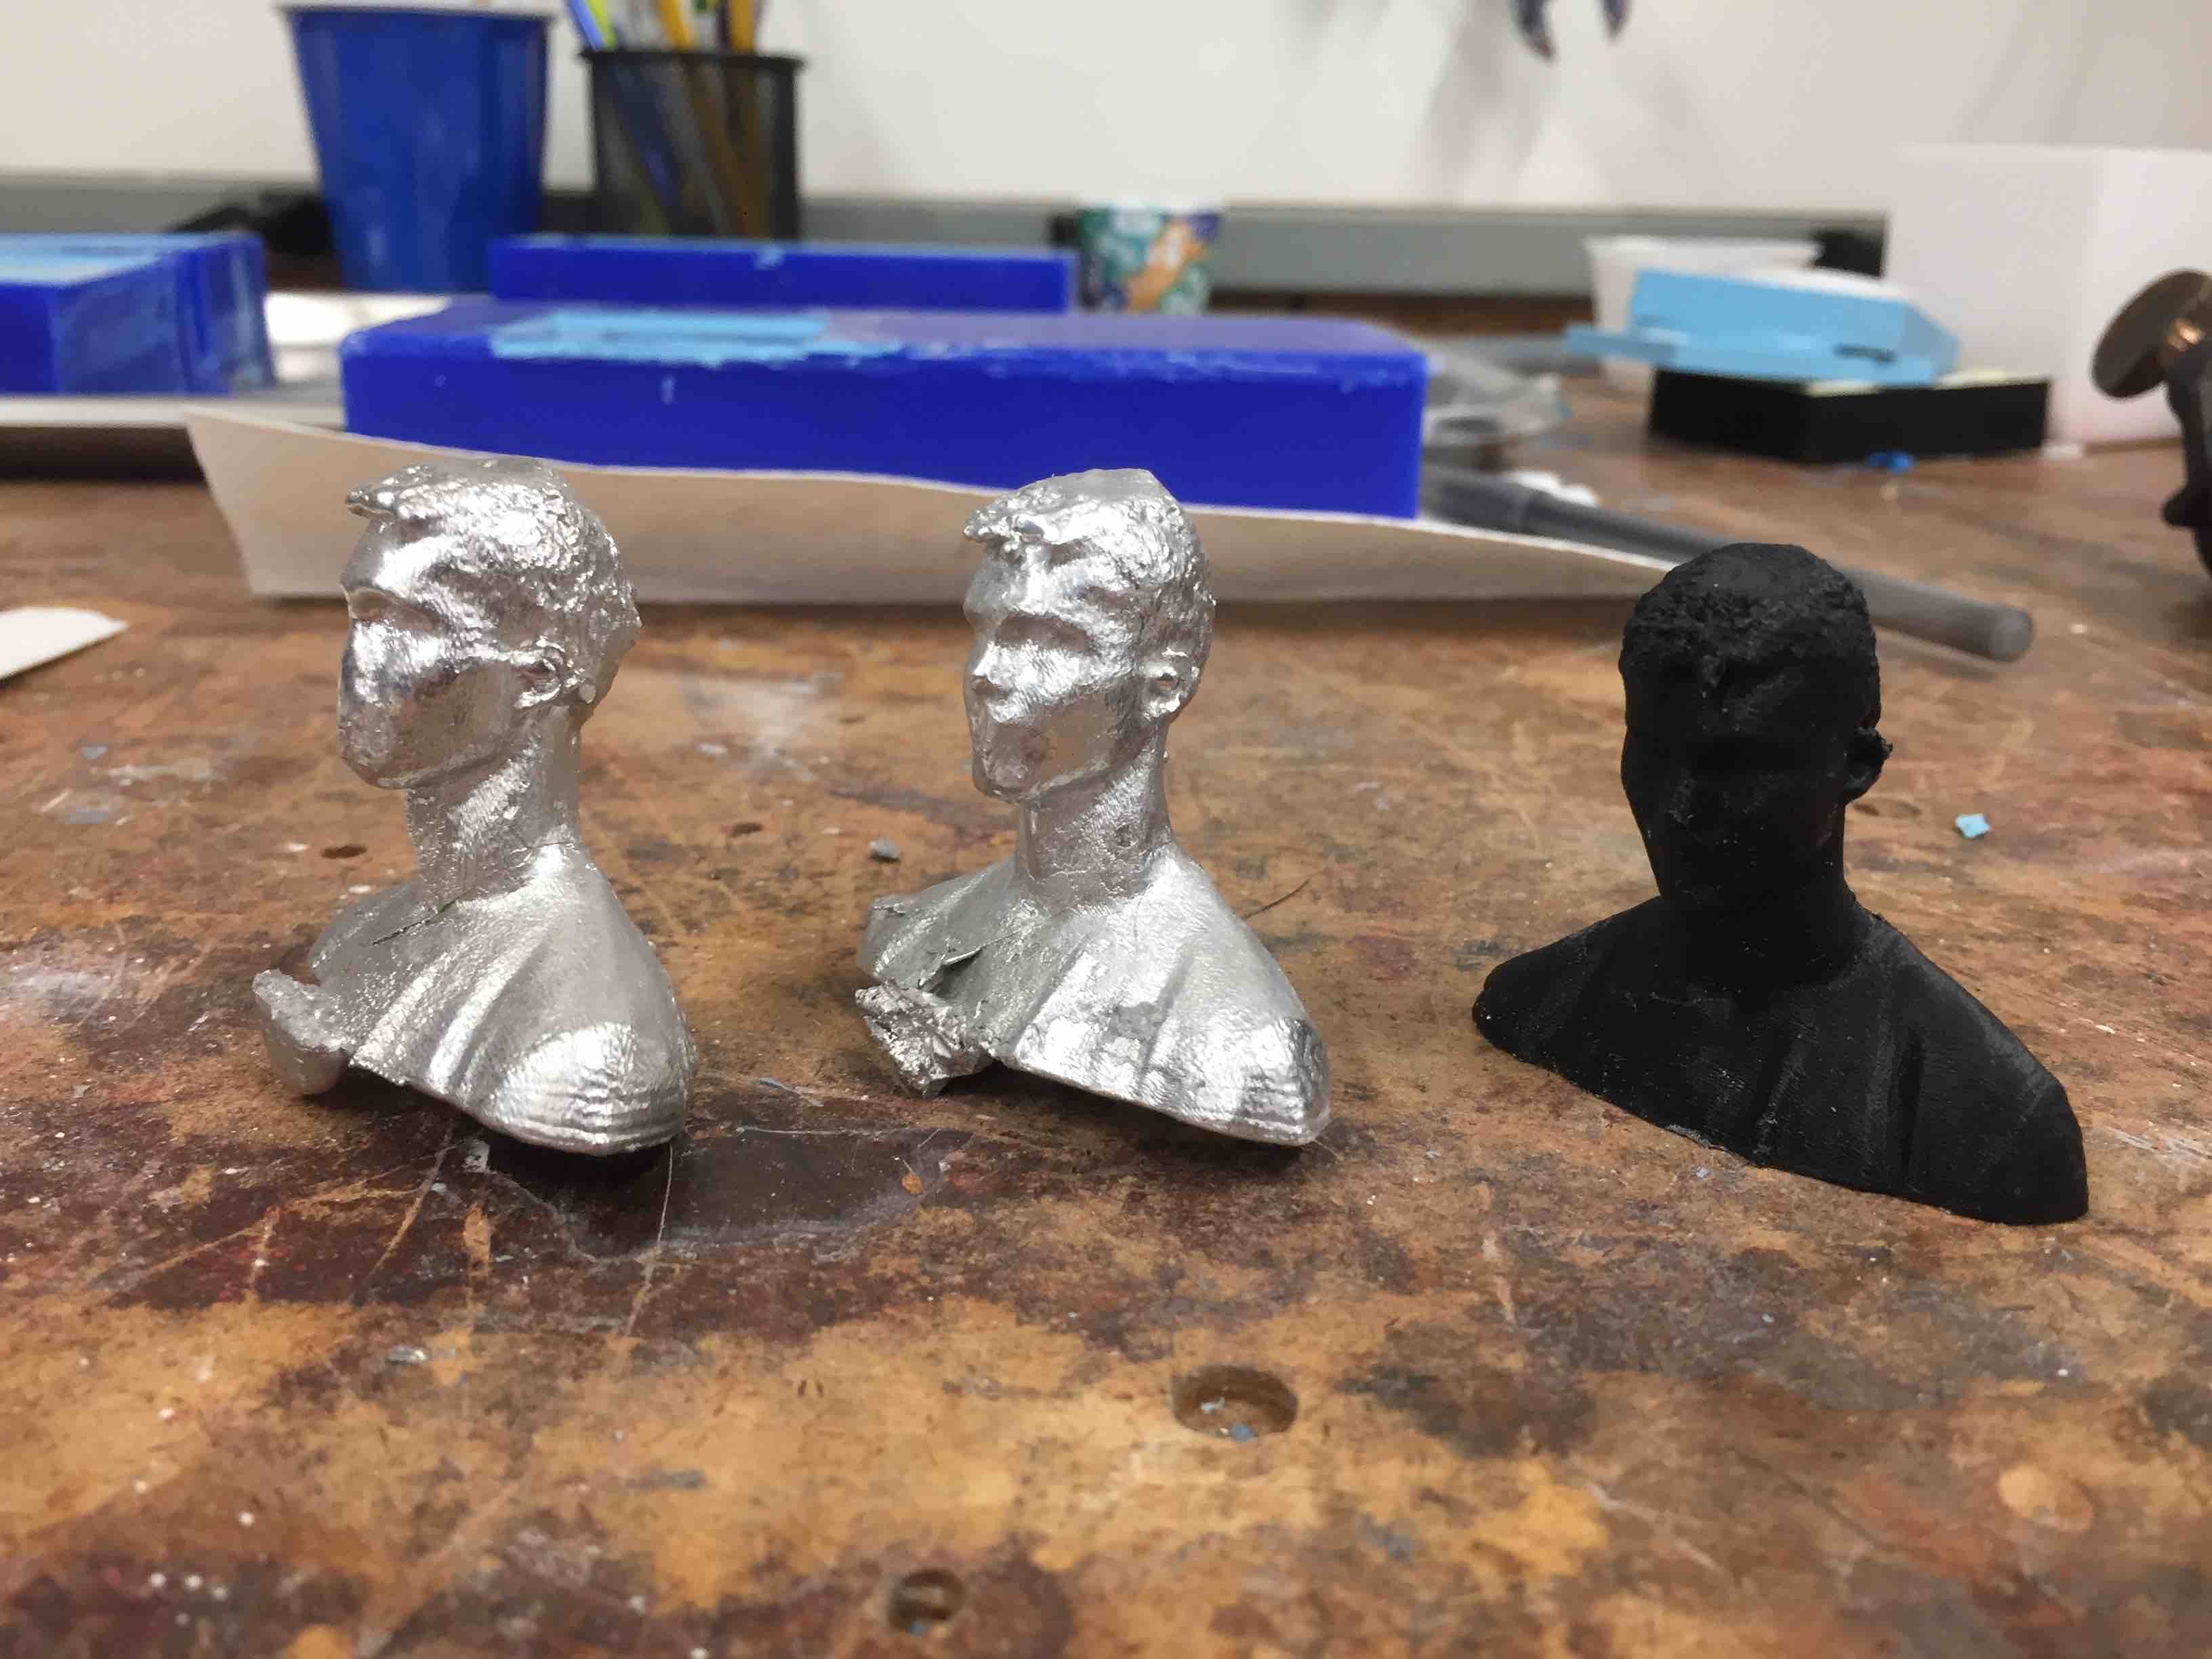
I also wanted to make a mold of an object by submerging an object in the OOMOO mixture. I used the 3D print of my face from the 3D printing and scanning week and then cast a metal version of myself.
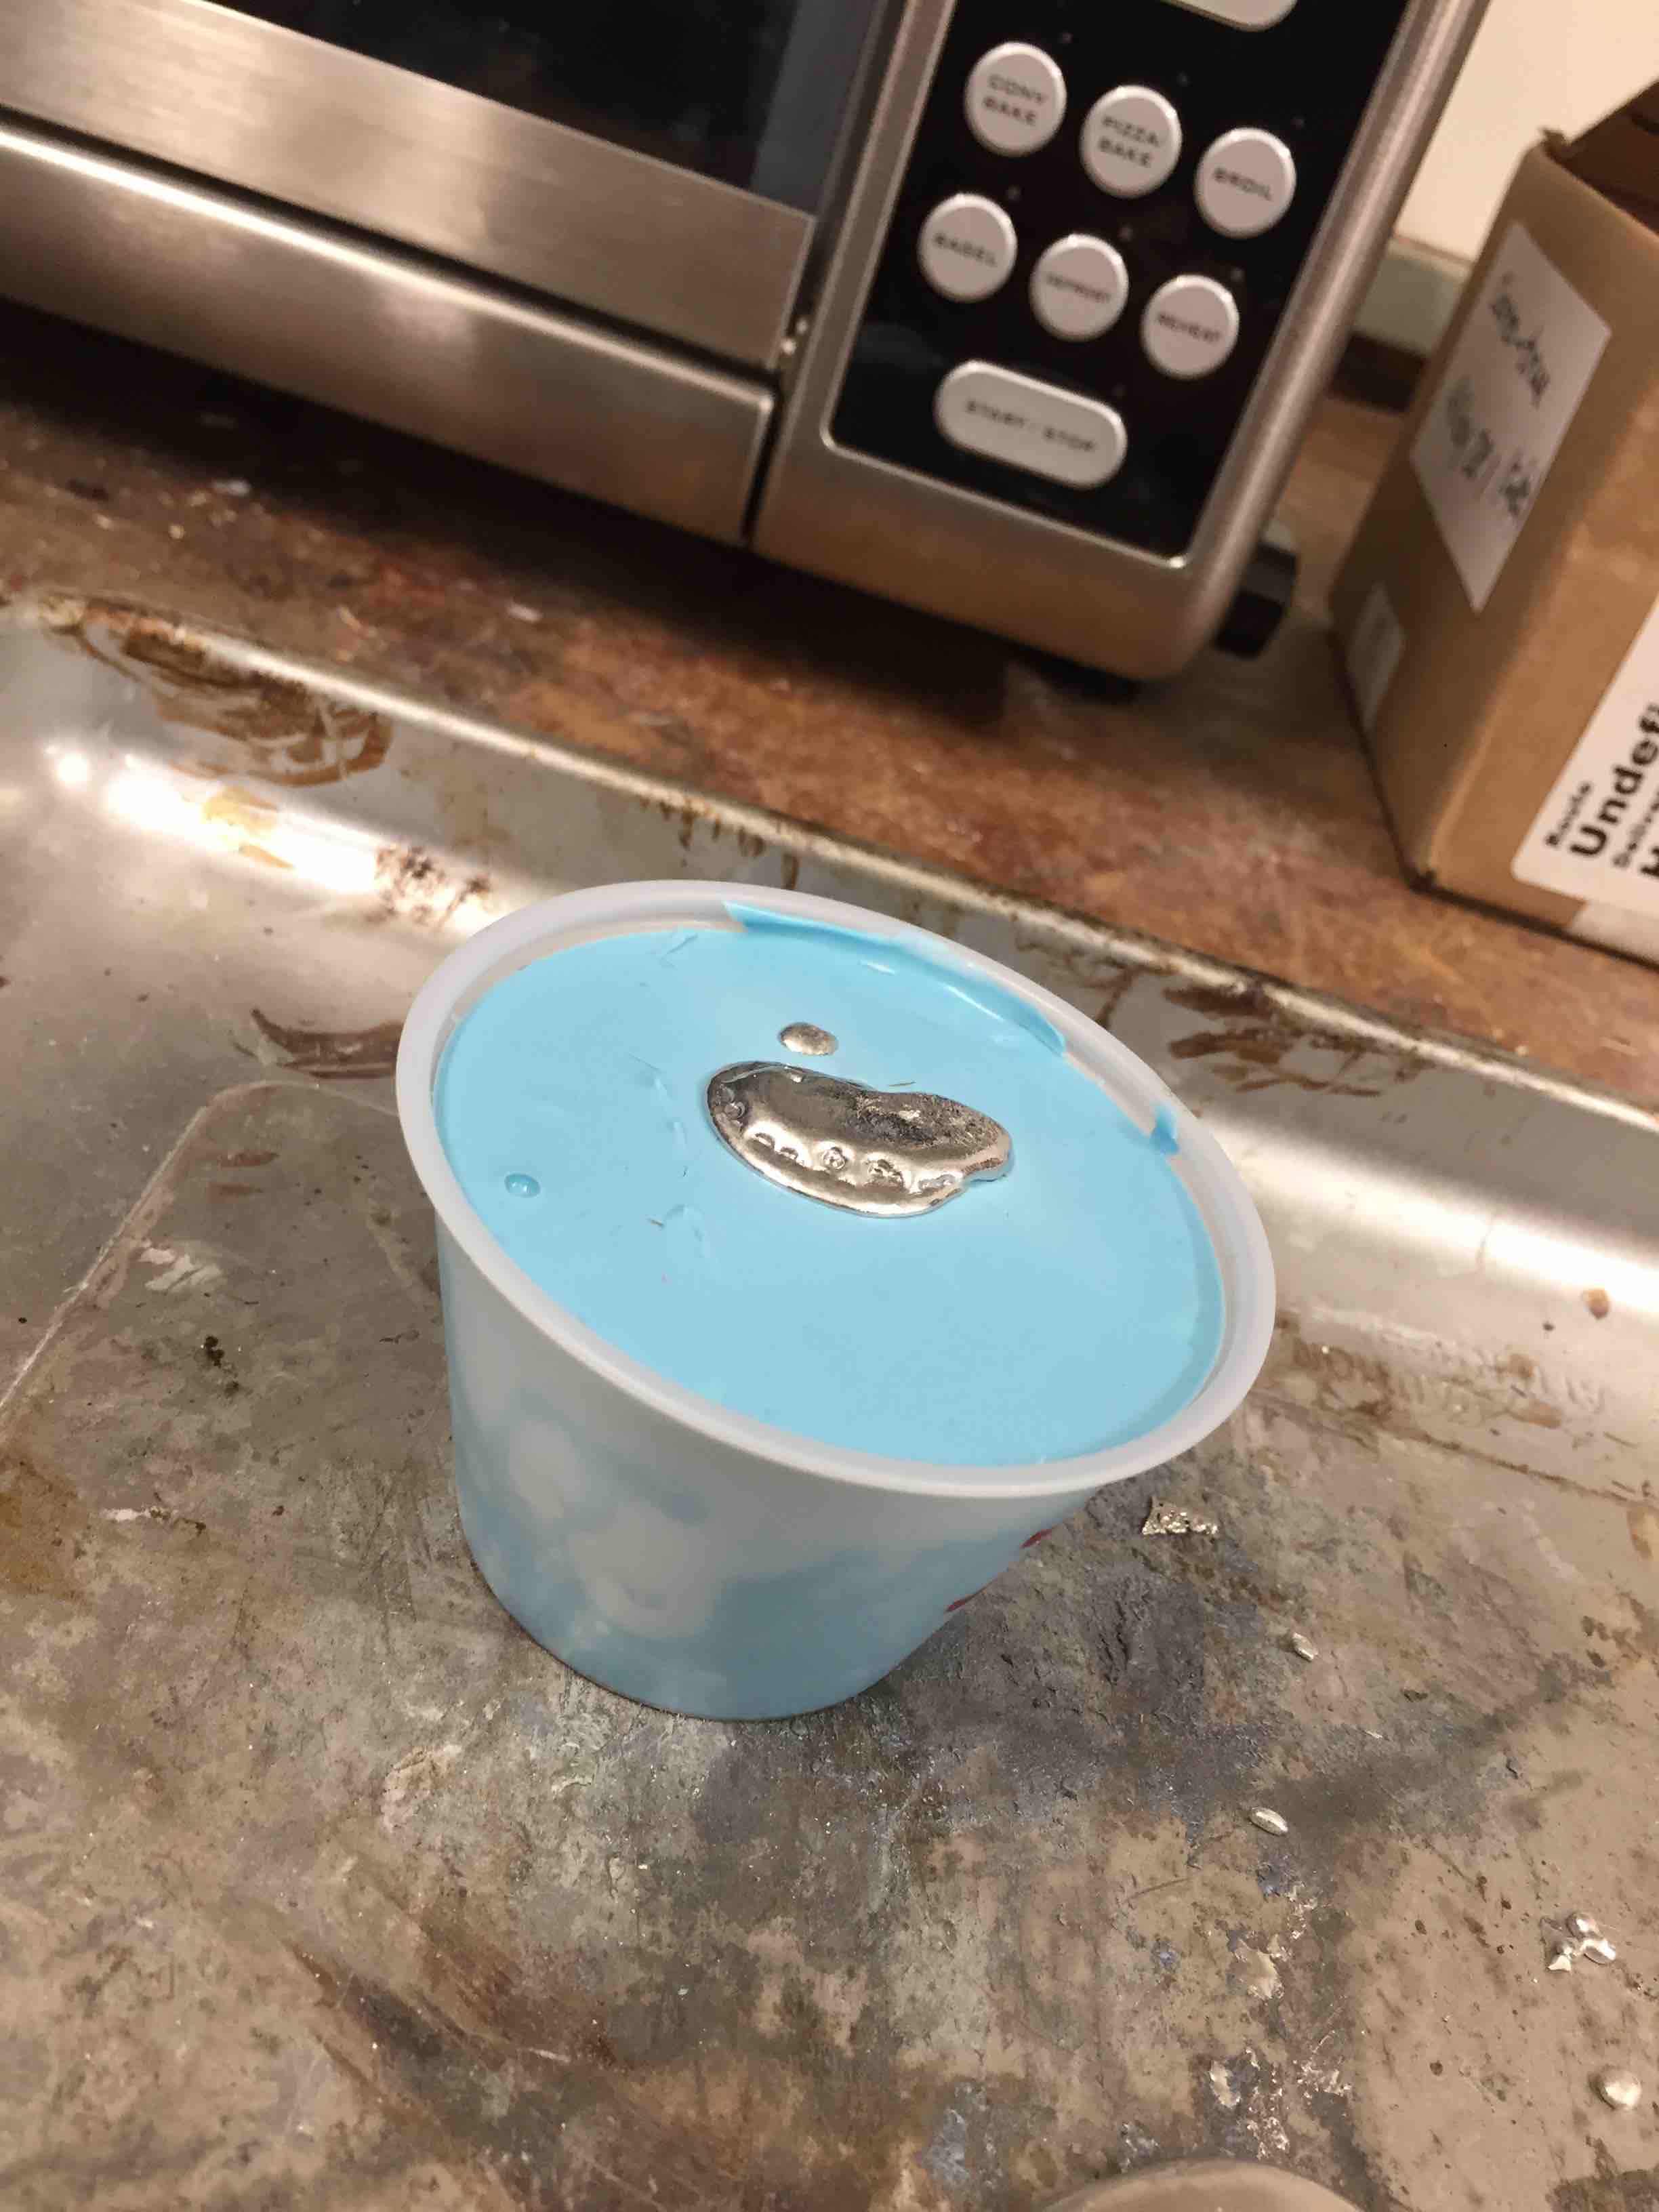
The first try I forgot to use Gold Bond powder and the face was deformed. Take 2 was more successful.