Embedded Programming
Week 6
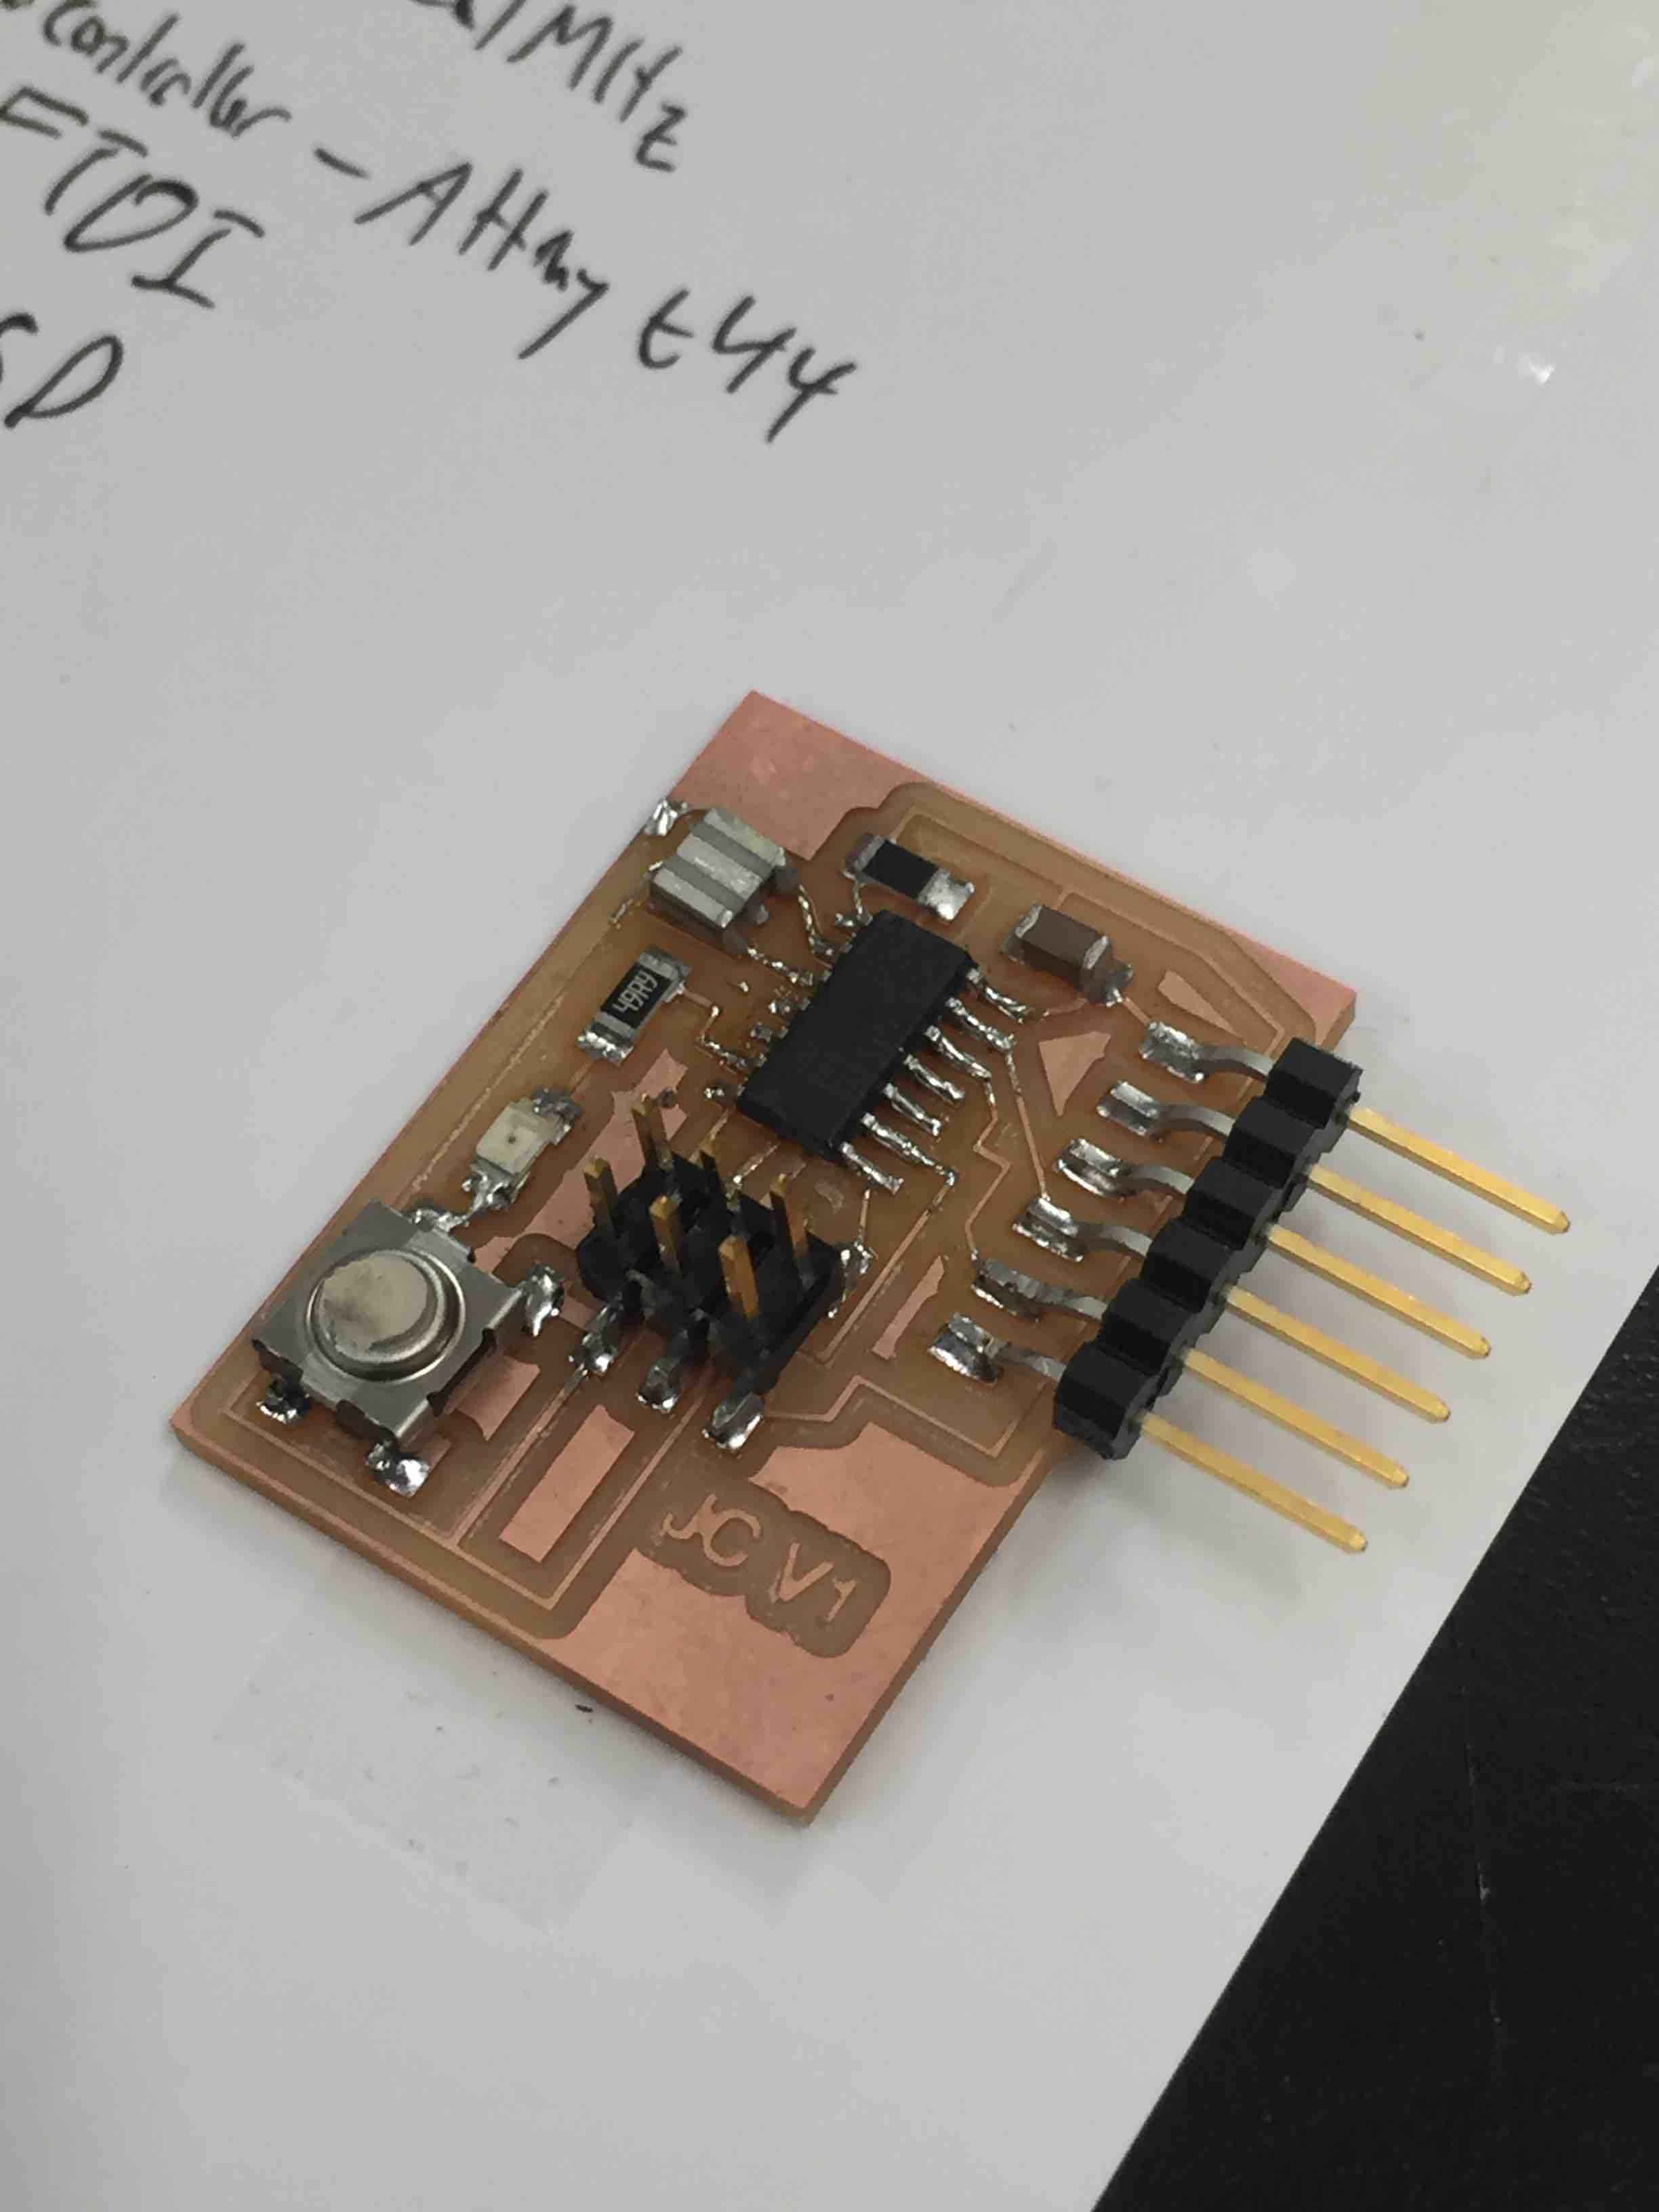
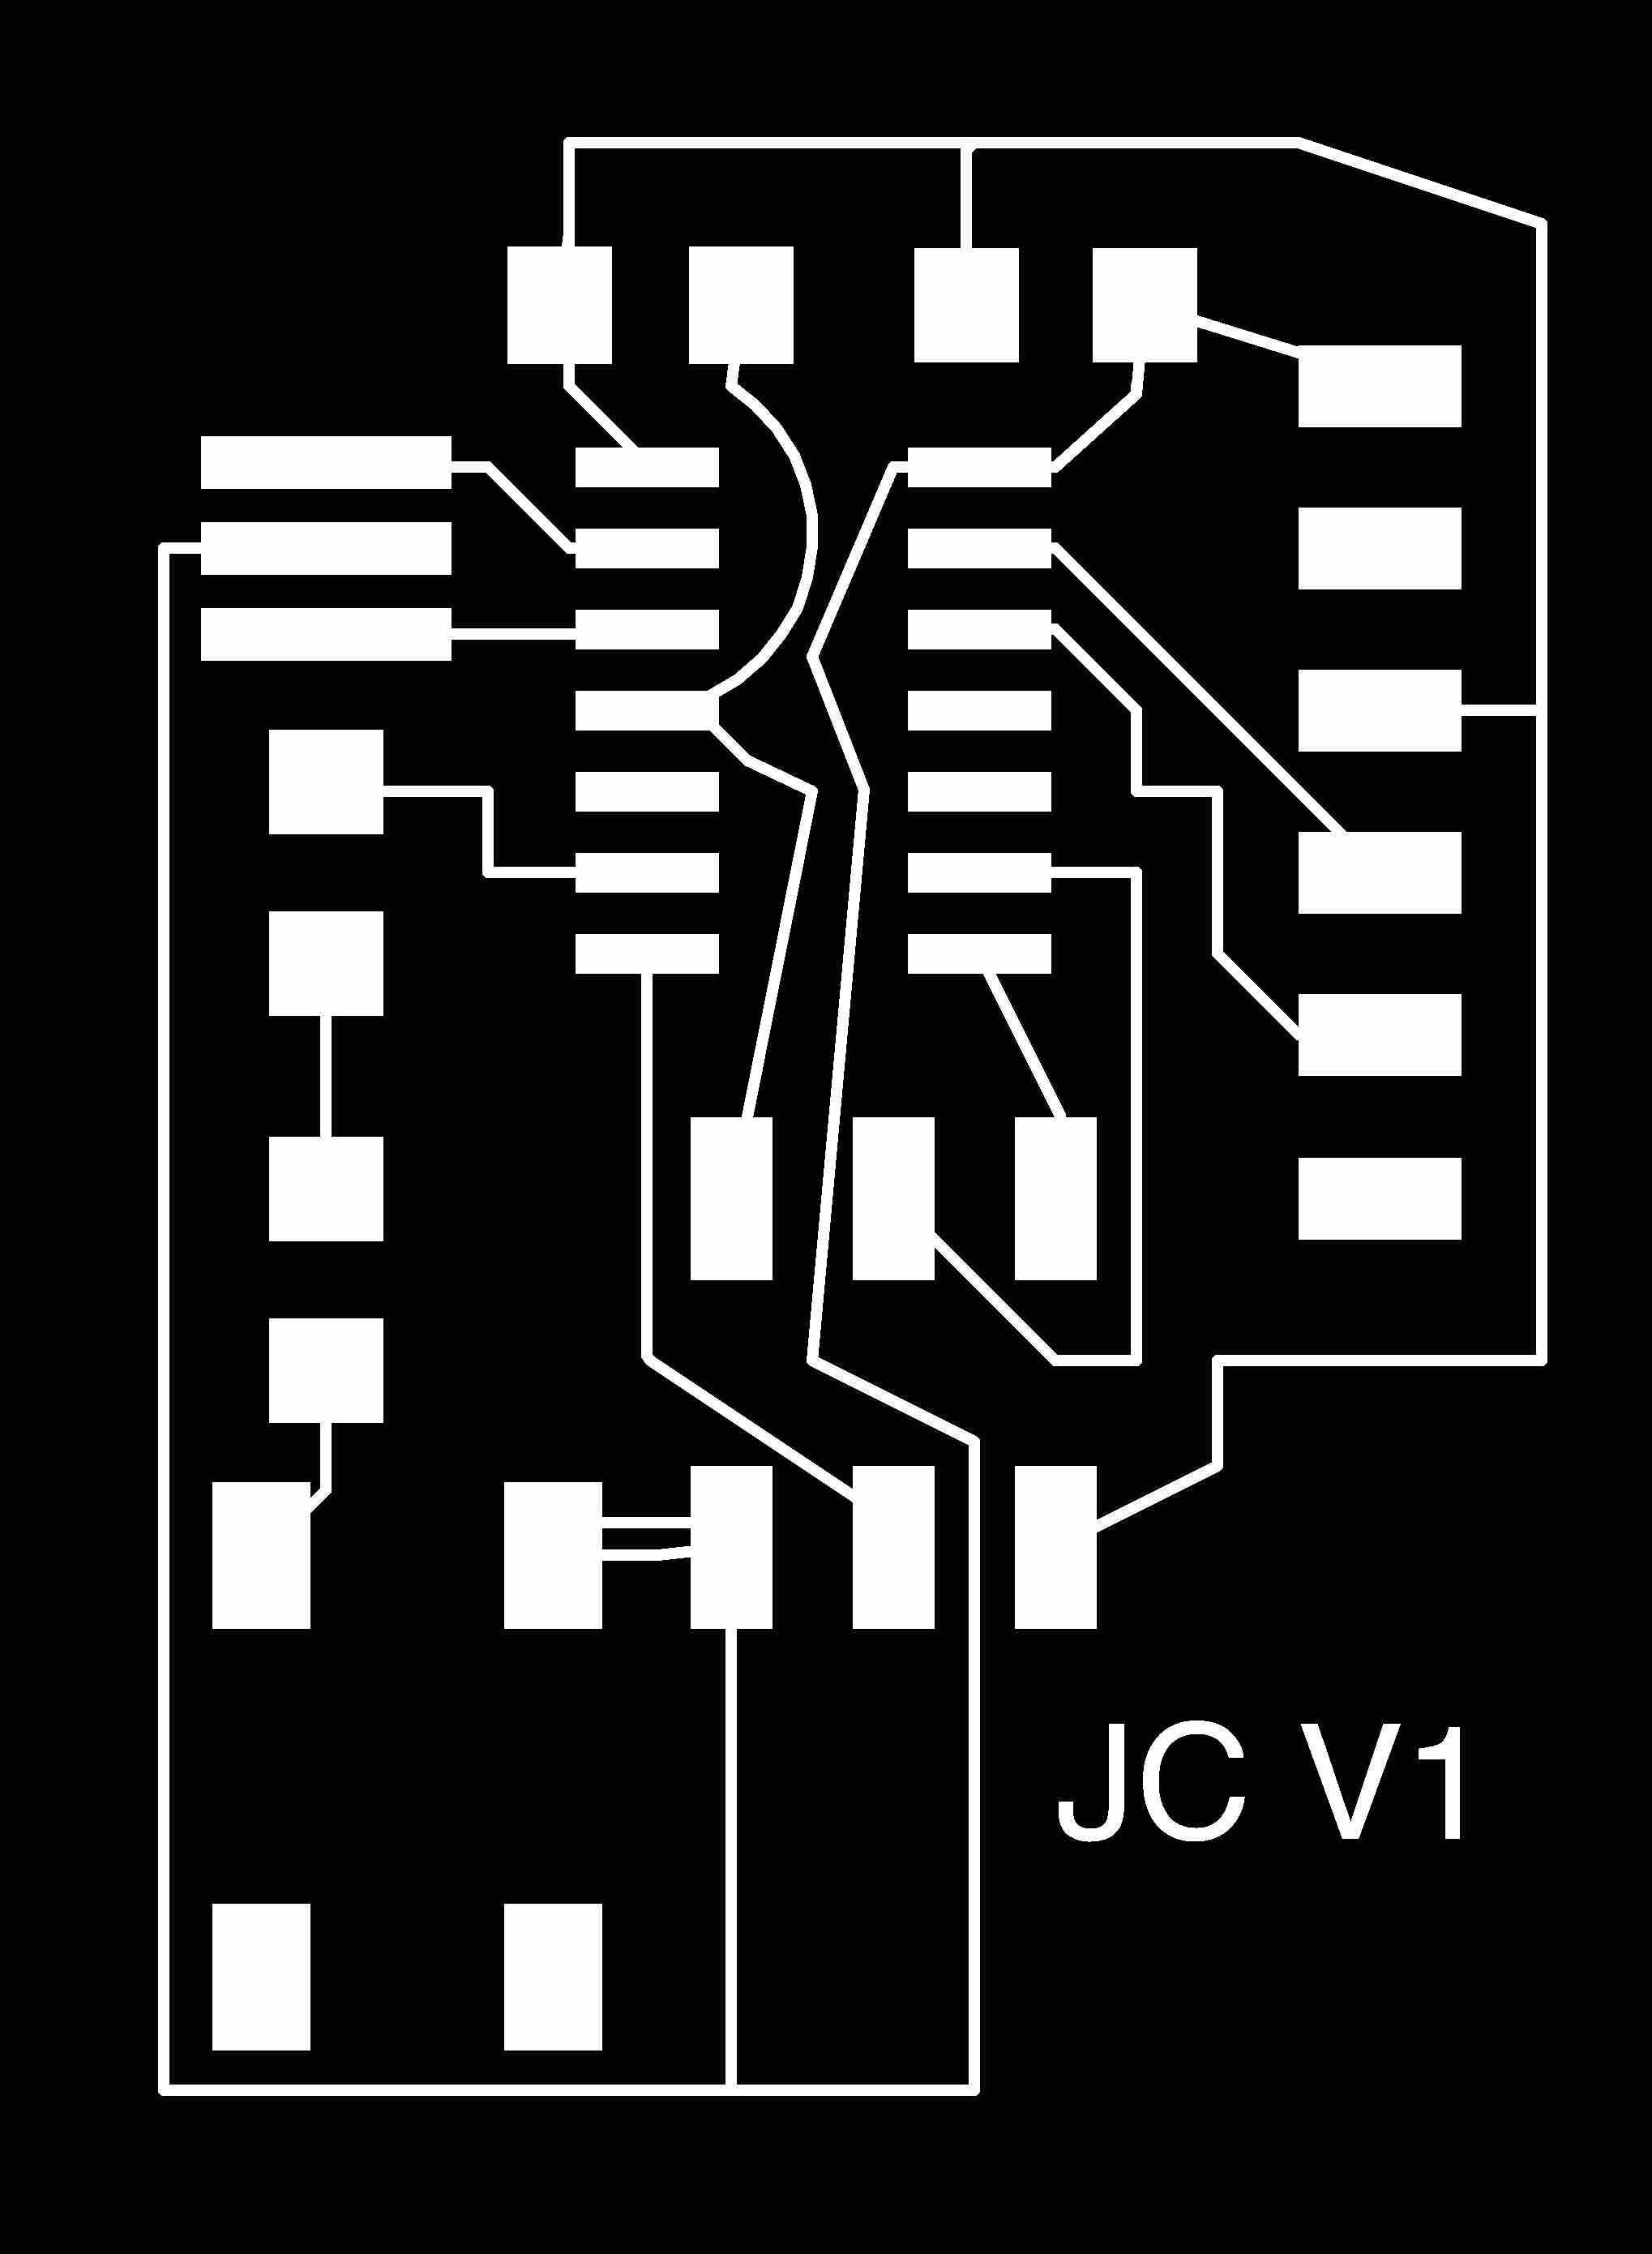
This week I spent most of my time rebuilding my hello world board and fixing bugs in the board. I decided to remake my board except not with the vinyl cutter. I cut a new one on the modela and even though I had to change the cut depth on the traces, my previous experience using the modela showed as it took me significantly less time to mill this board than to mill the programmer I had made previously.
After that I wanted to upload code into the board. My design has the button and the LED on the same pin, which sort of defeats the purpose of the microcontroller because using the button as a switch for the LED you could do in any circuit. Most people used the button's pin as an input to see whether it was pressed and then send output voltage to the LED with an If/Else loop. Because of my design, I just sent power to that one pin that both are connected to and when I press the button, the LED will turn on. If I want to do more programming with turning LED's on and off I will need to make a new board that takes advantage of the multiple pins on the atTiny44.
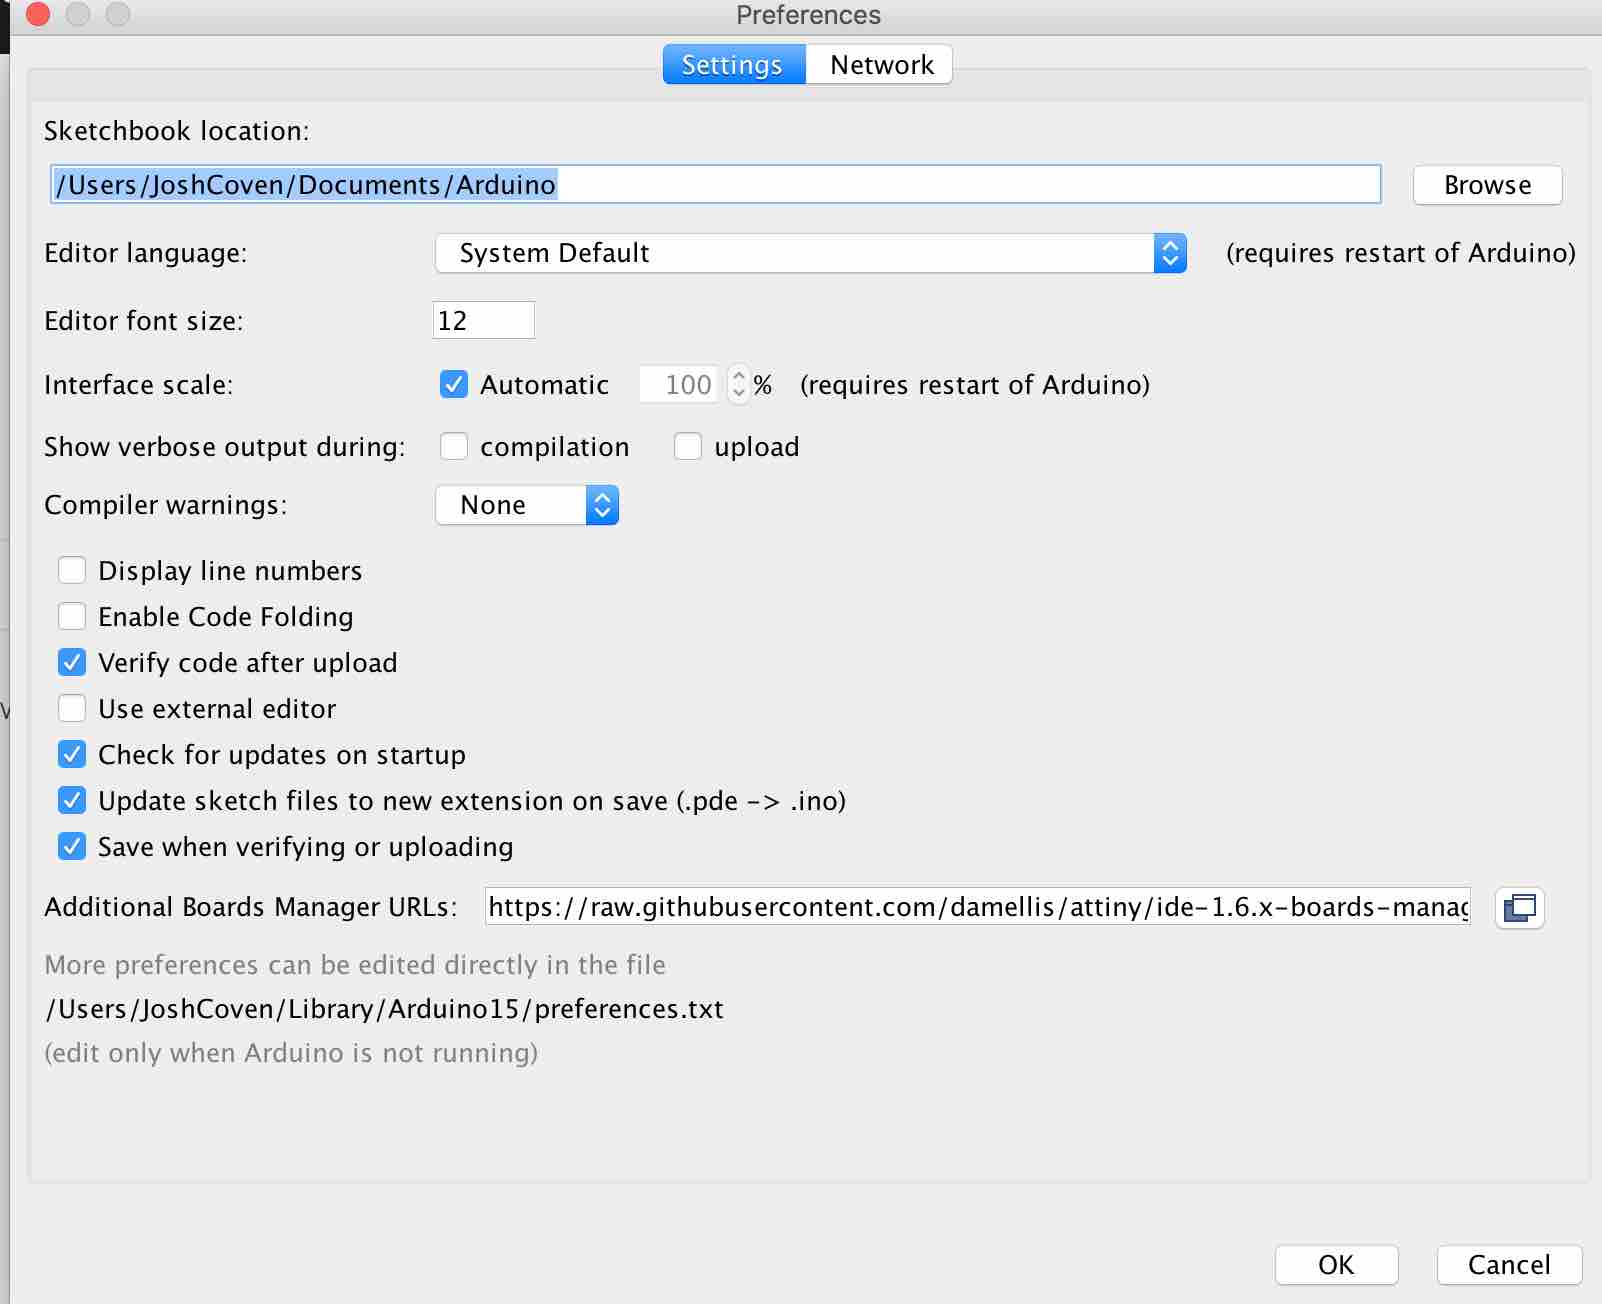
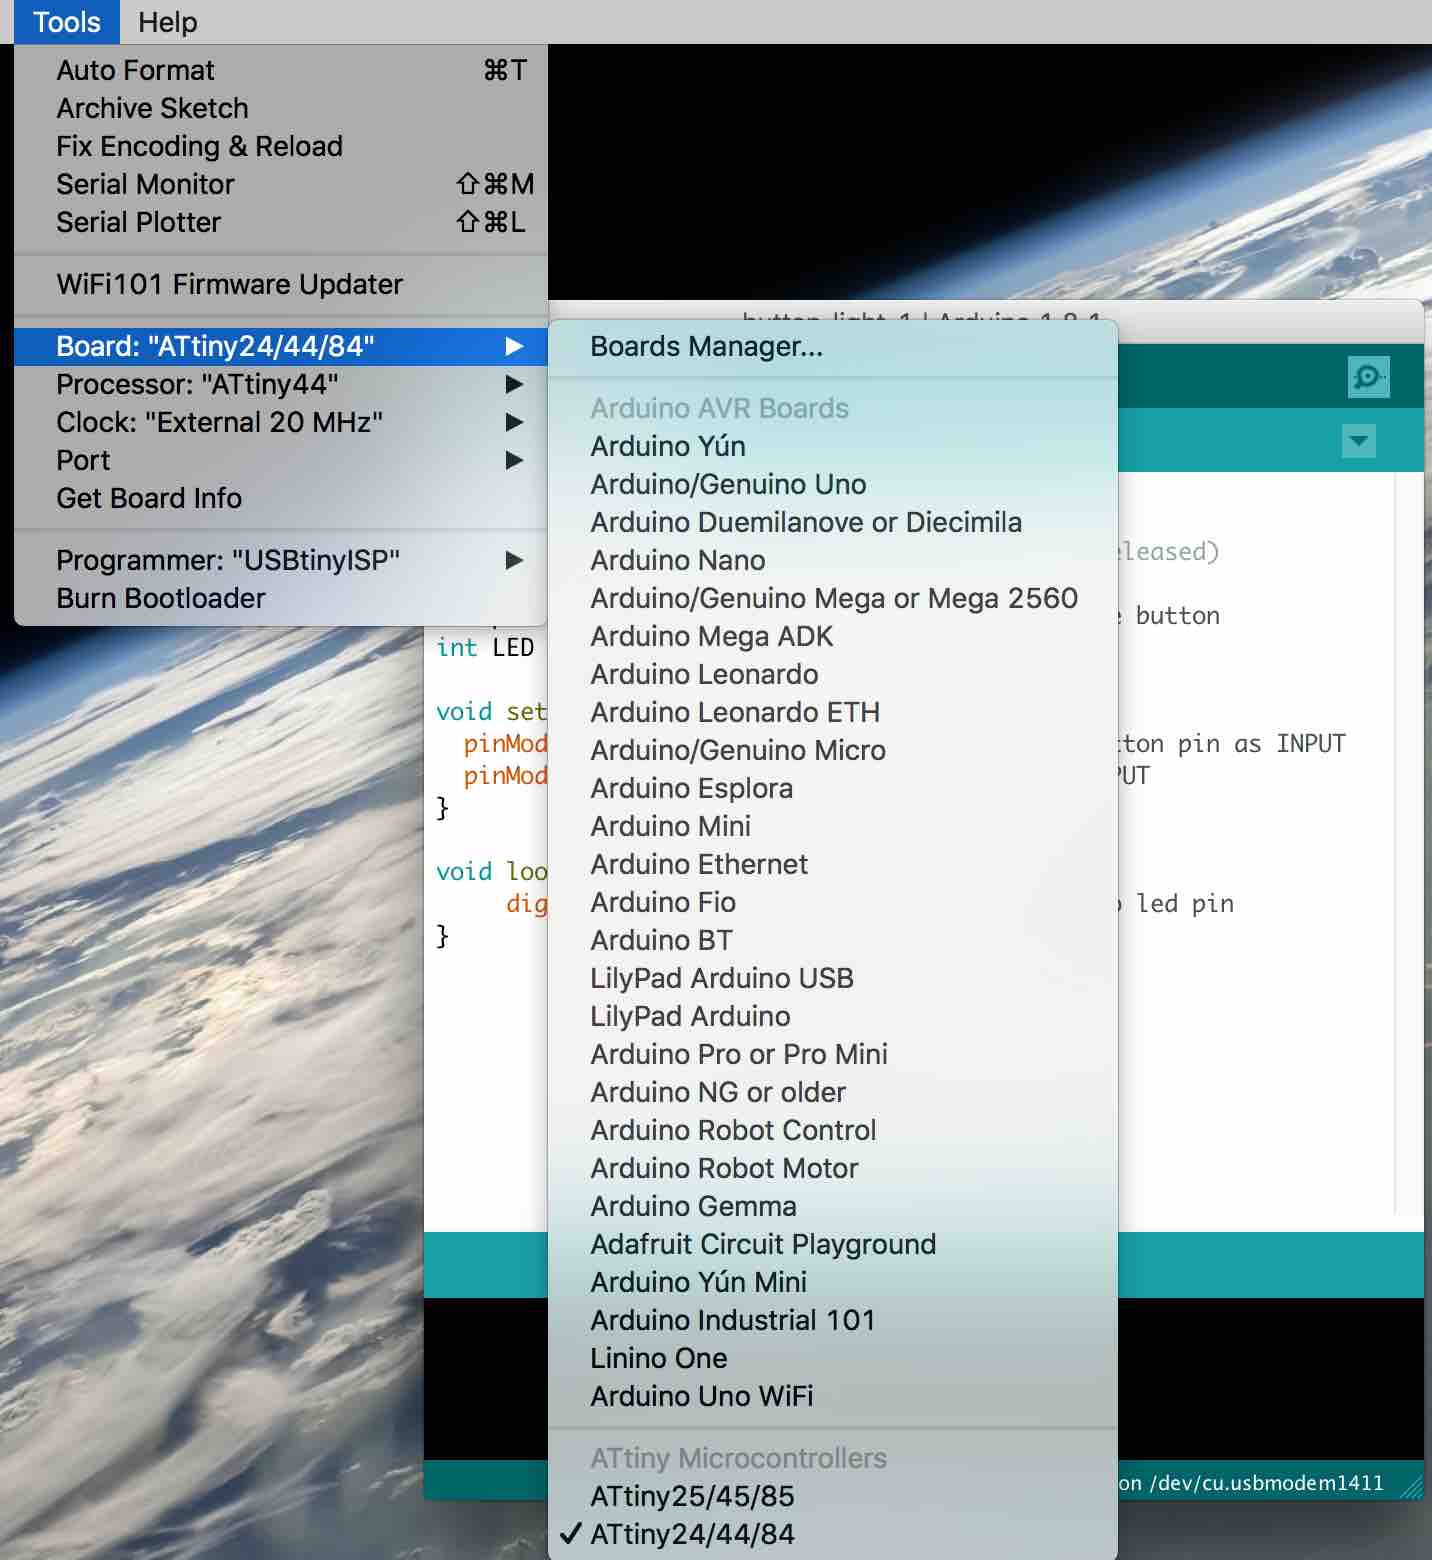
First I needed to get the proper board uploaded in the Arduino IDE. I went to tools -> boards -> board manager and then downloaded the atTiny44 board. To get to this point I had to go into Arduino's preferences and had to put in this link: https://raw.githubusercontent.com/damellis/attiny/ide-1.6.x-boards-manager/package_damellis_attiny_index.json into additional board managers so that the atTiny boards would show up when I clicked on board manager.
I changed the processor to atTiny44 and then the clock to "external 20MHz" because that is the frequency of the resonator we used as a component. I then changed the programmer USBtinyISP.
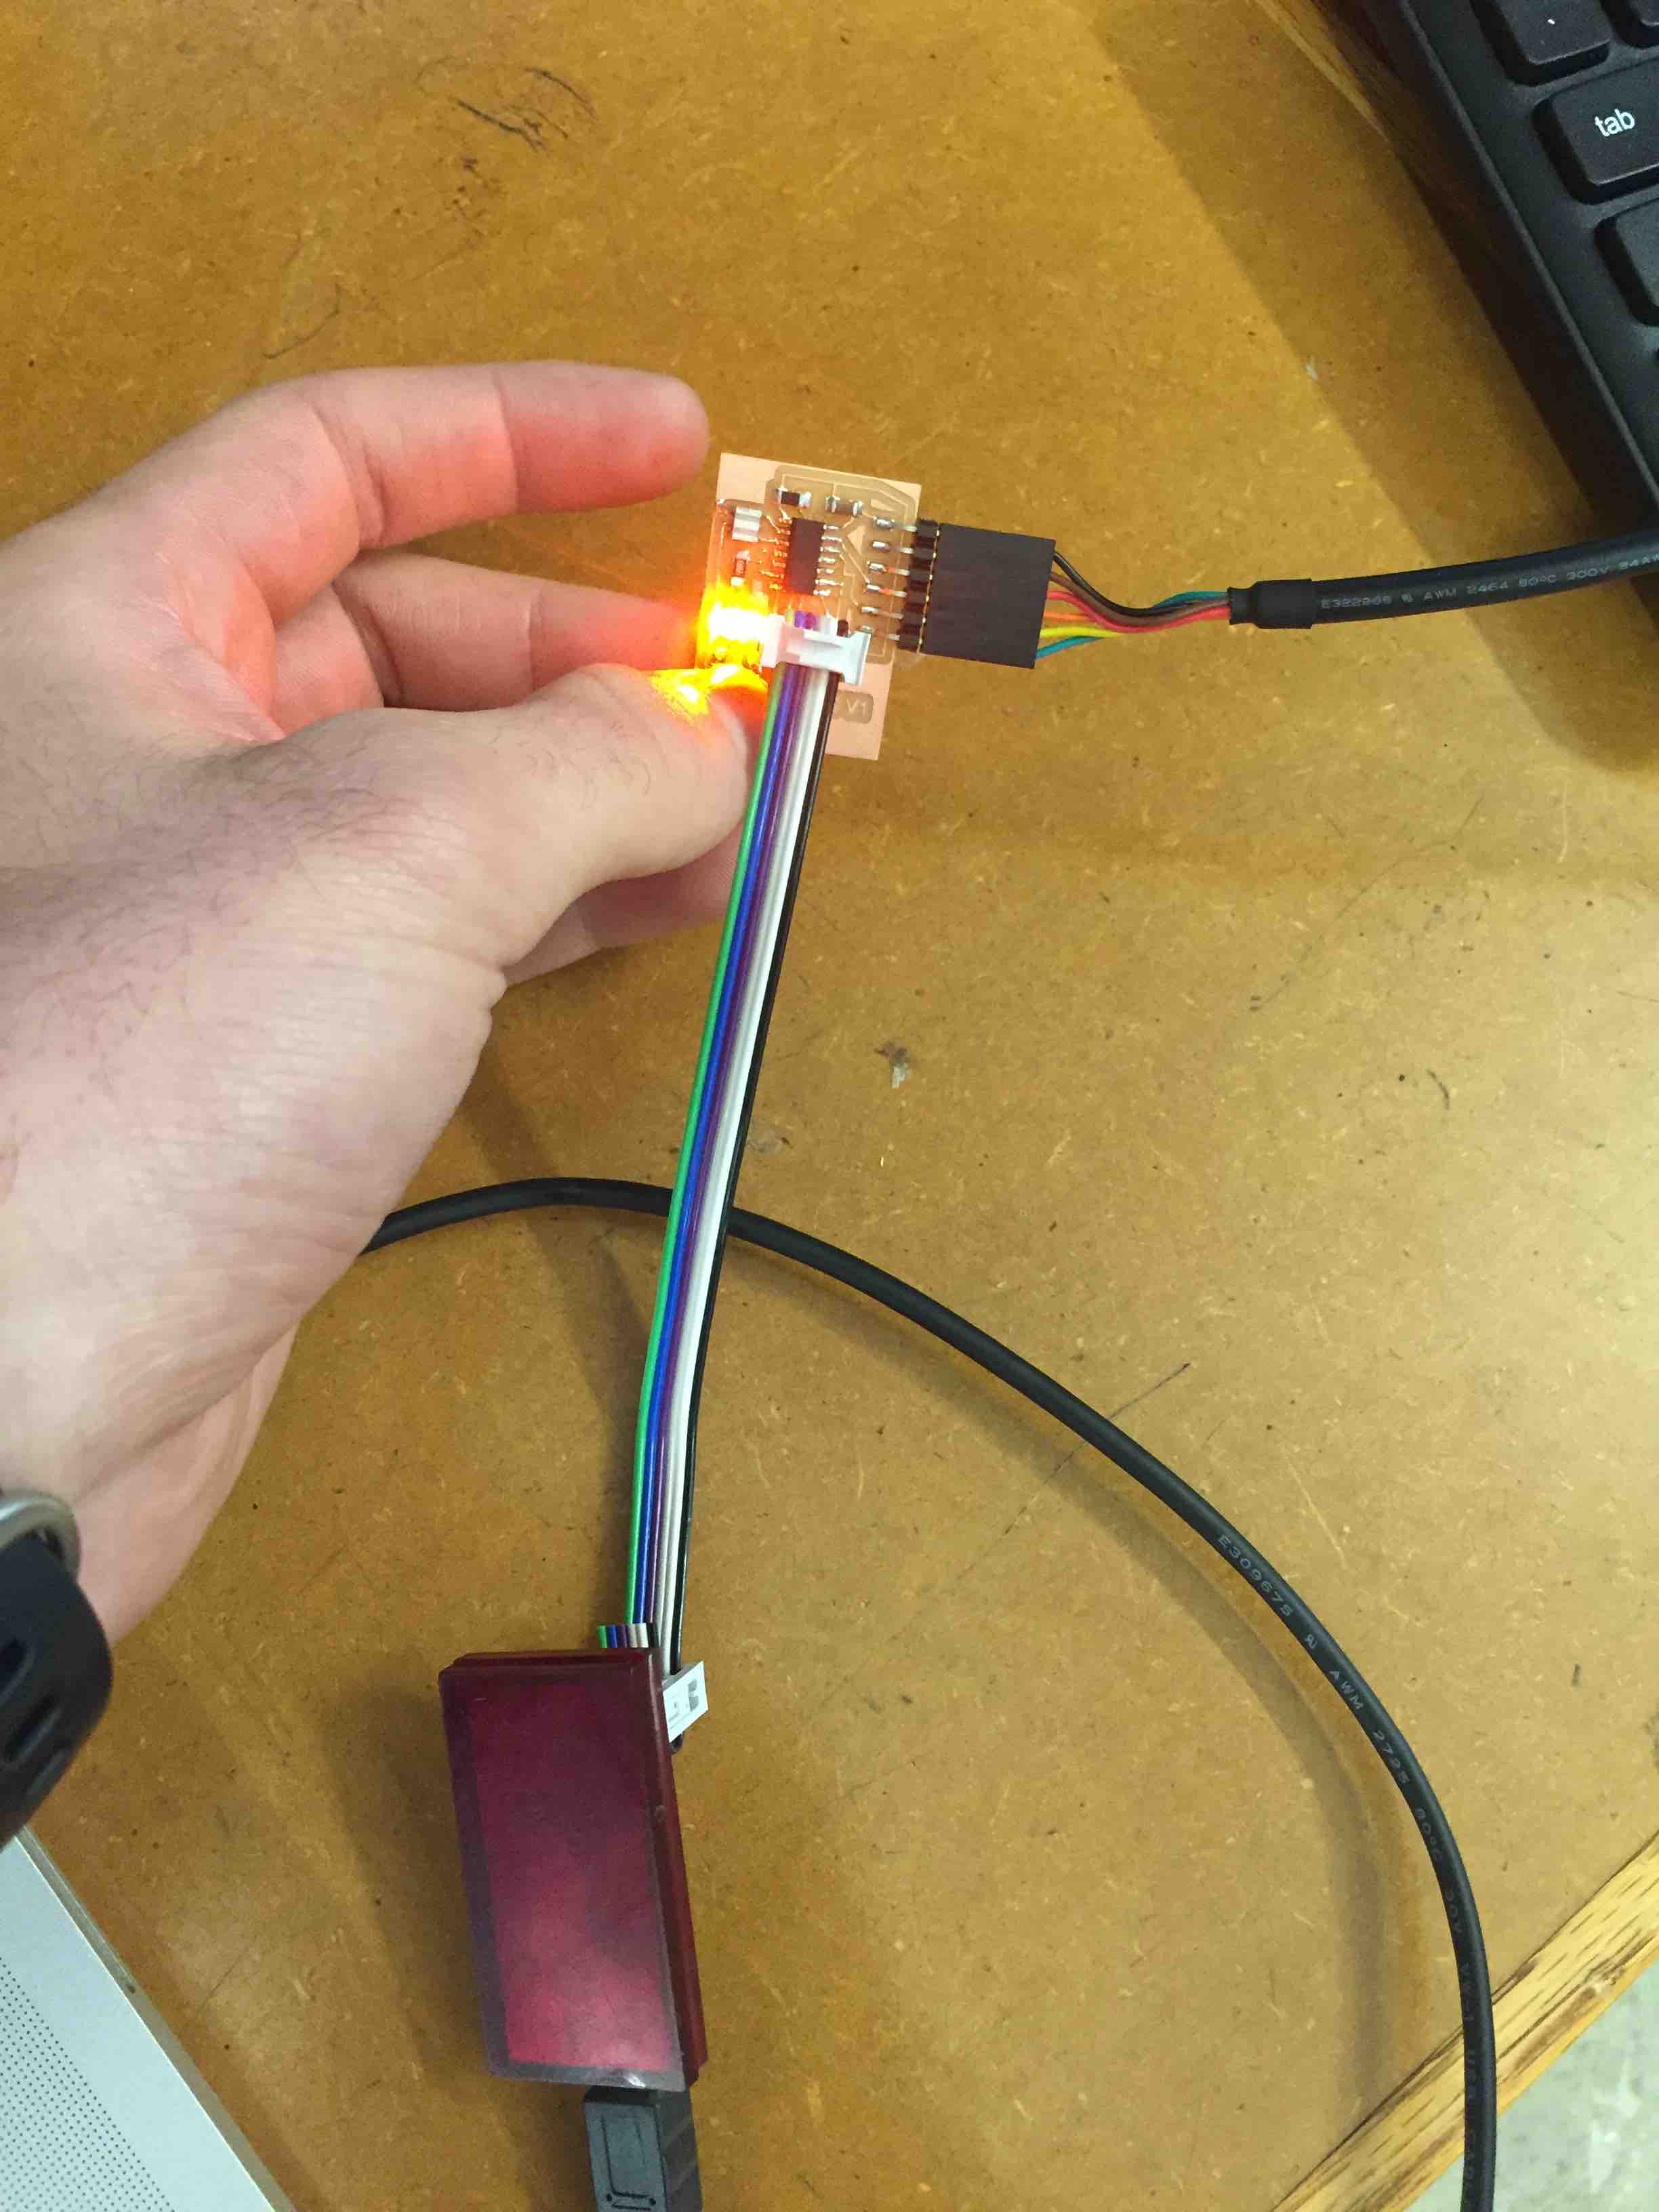
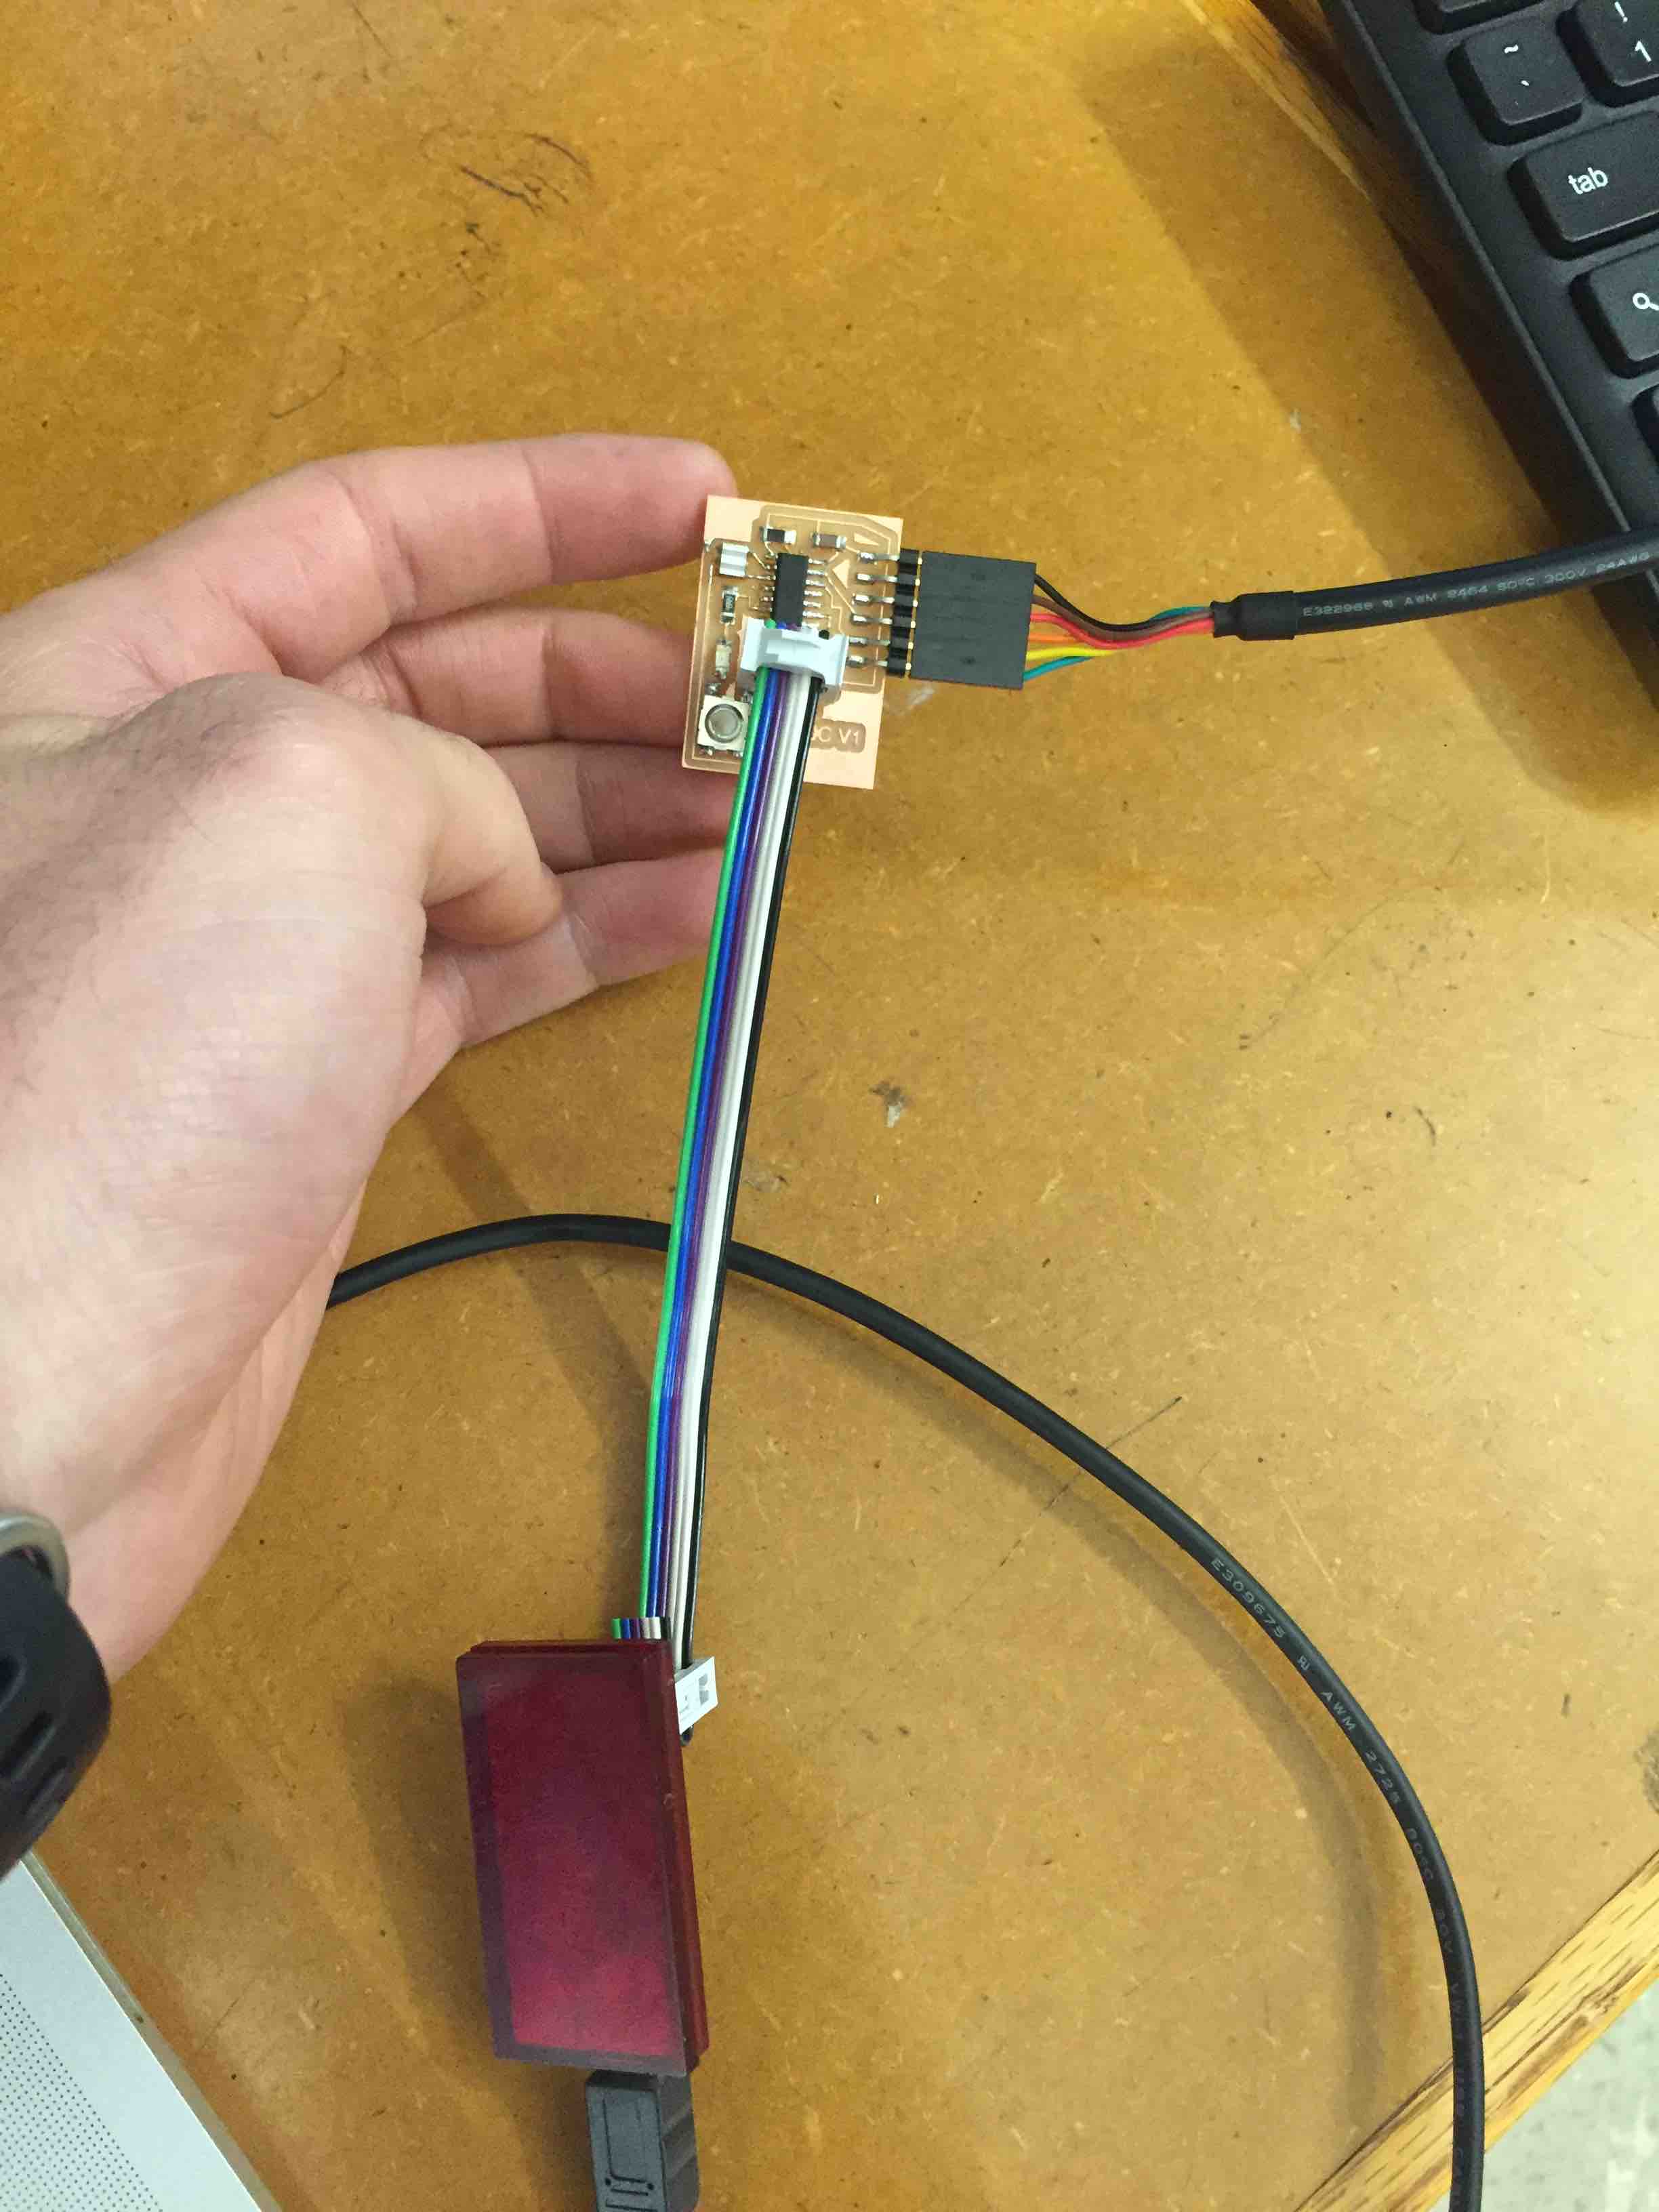
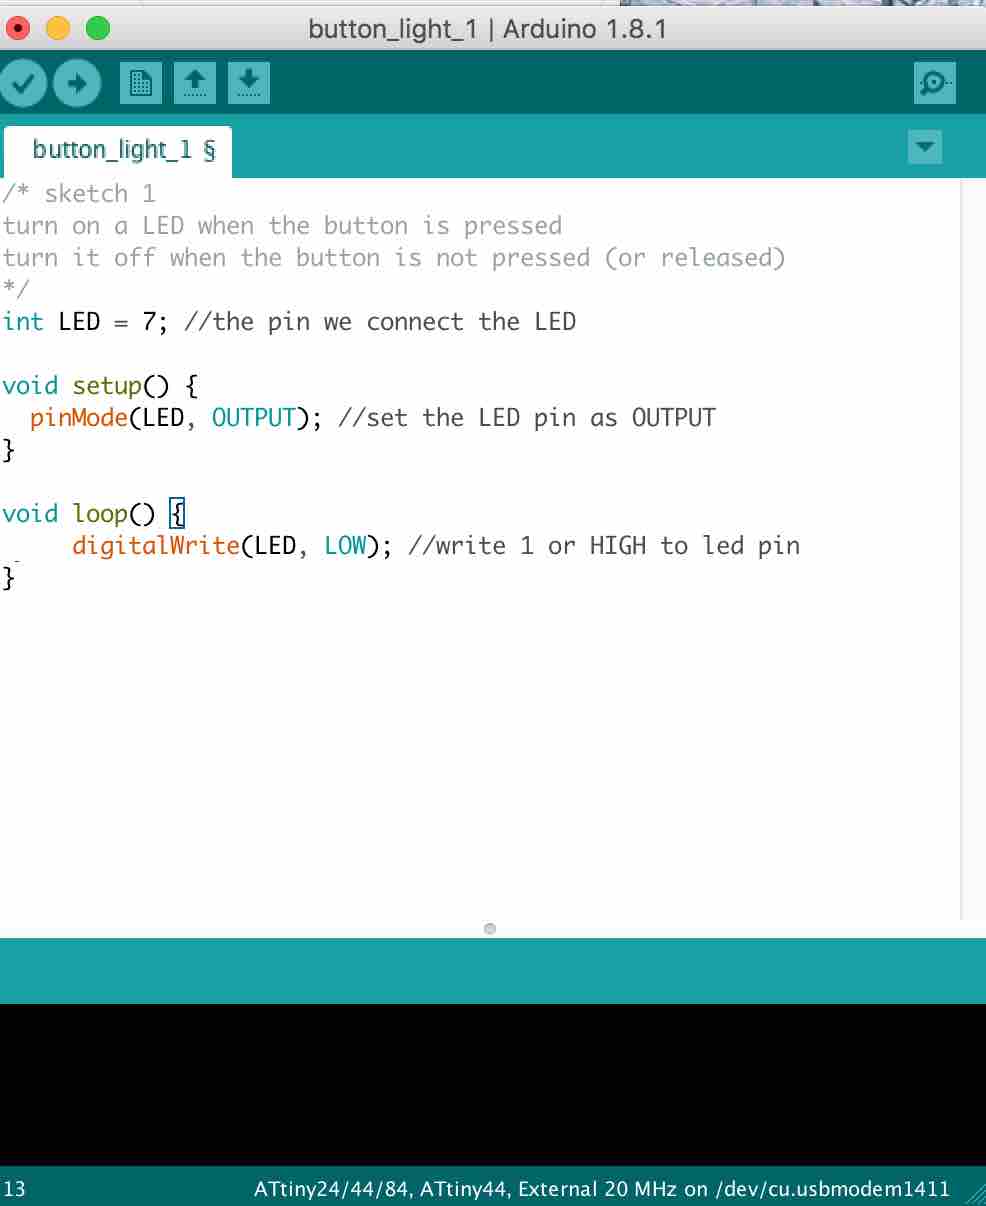
I coded in a simple program in the Arduino IDE that set the pin on high. Pressing the button closes the circuit and then the LED lights up.
Below are two pictures of the button pressed and the button not pressed when the code has been uploaded.