Making Something Big
Week 5
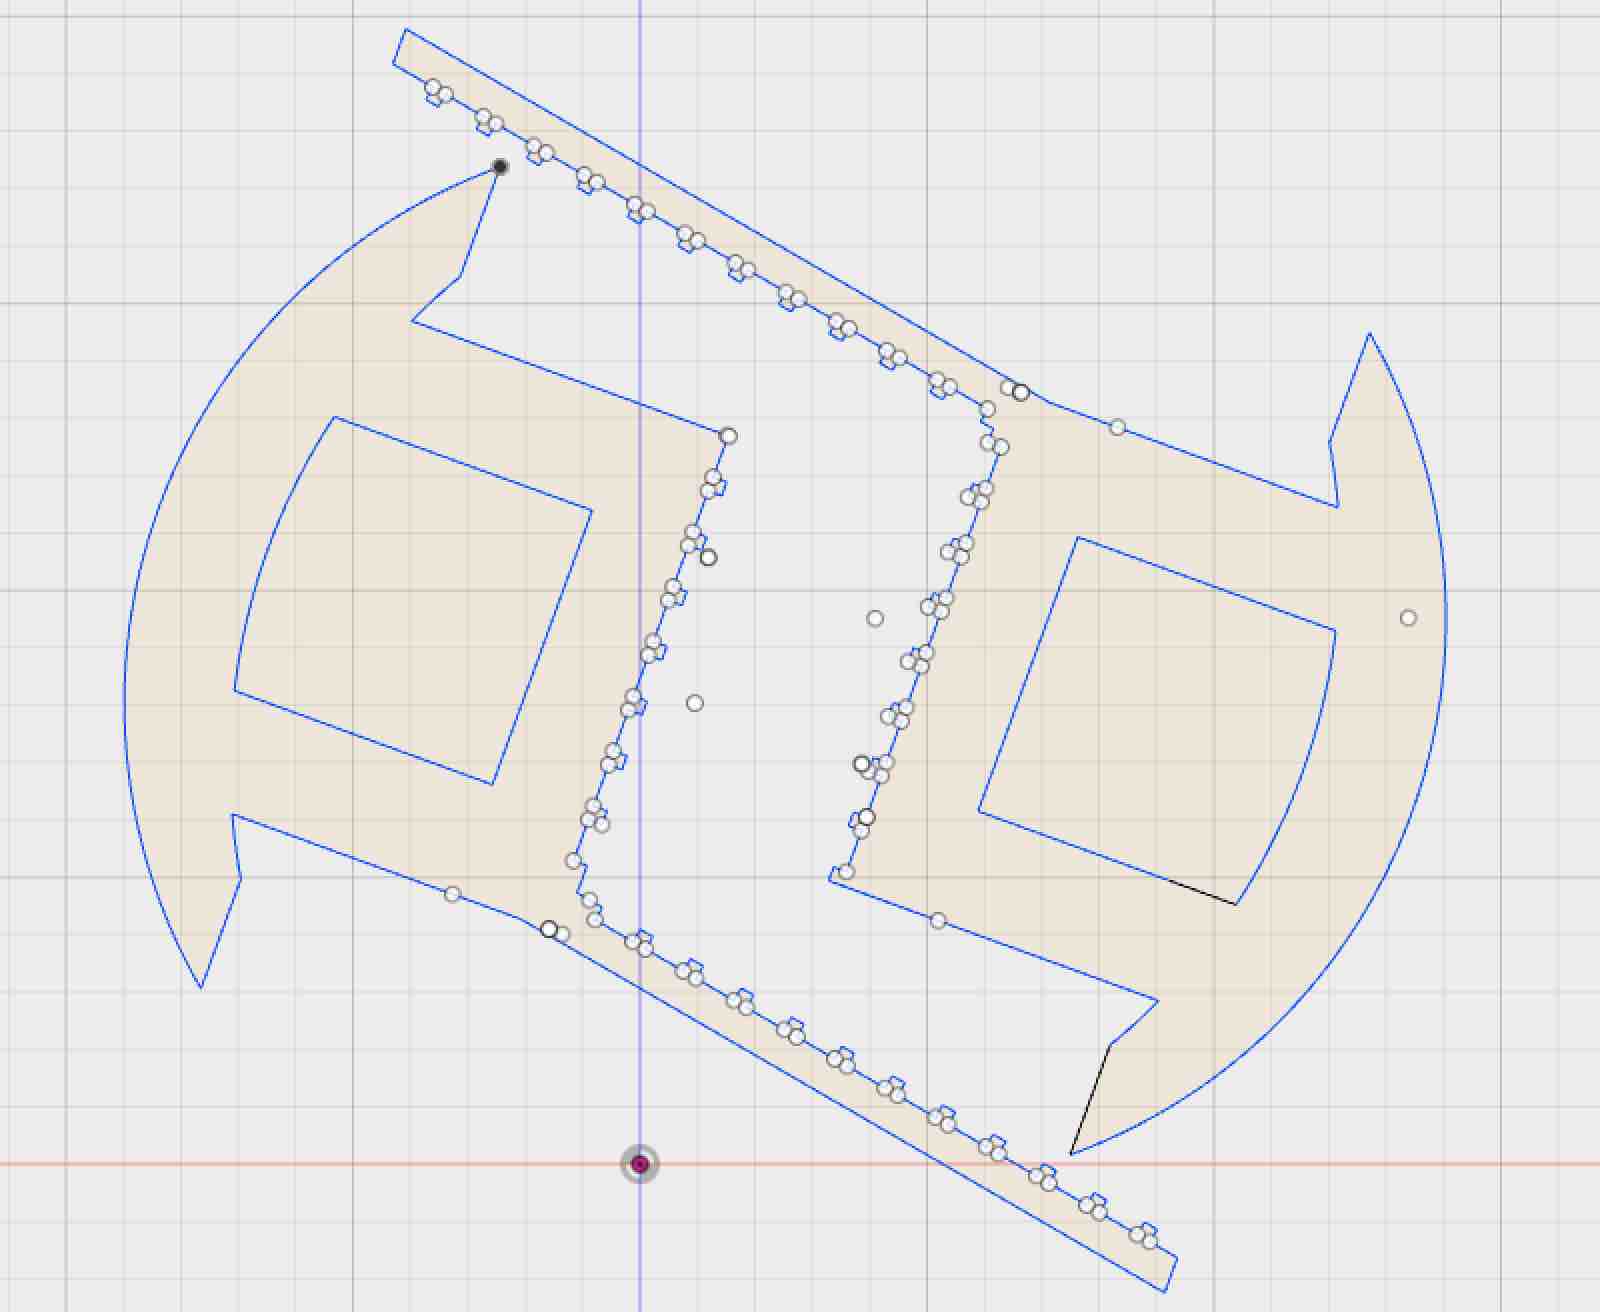
This week the task was to make something big using the shopbot. I decided to build a rocking chair although I ran into several design challenges that made a functioning rocking chair unfeasible for this week. First, I wanted to make some flexures in the wood for the seat and back of the chair to be one piece. I wanted this piece to press fit into two rockers that would hold it in place. I made a test design in Fusion 360 for some flexures.
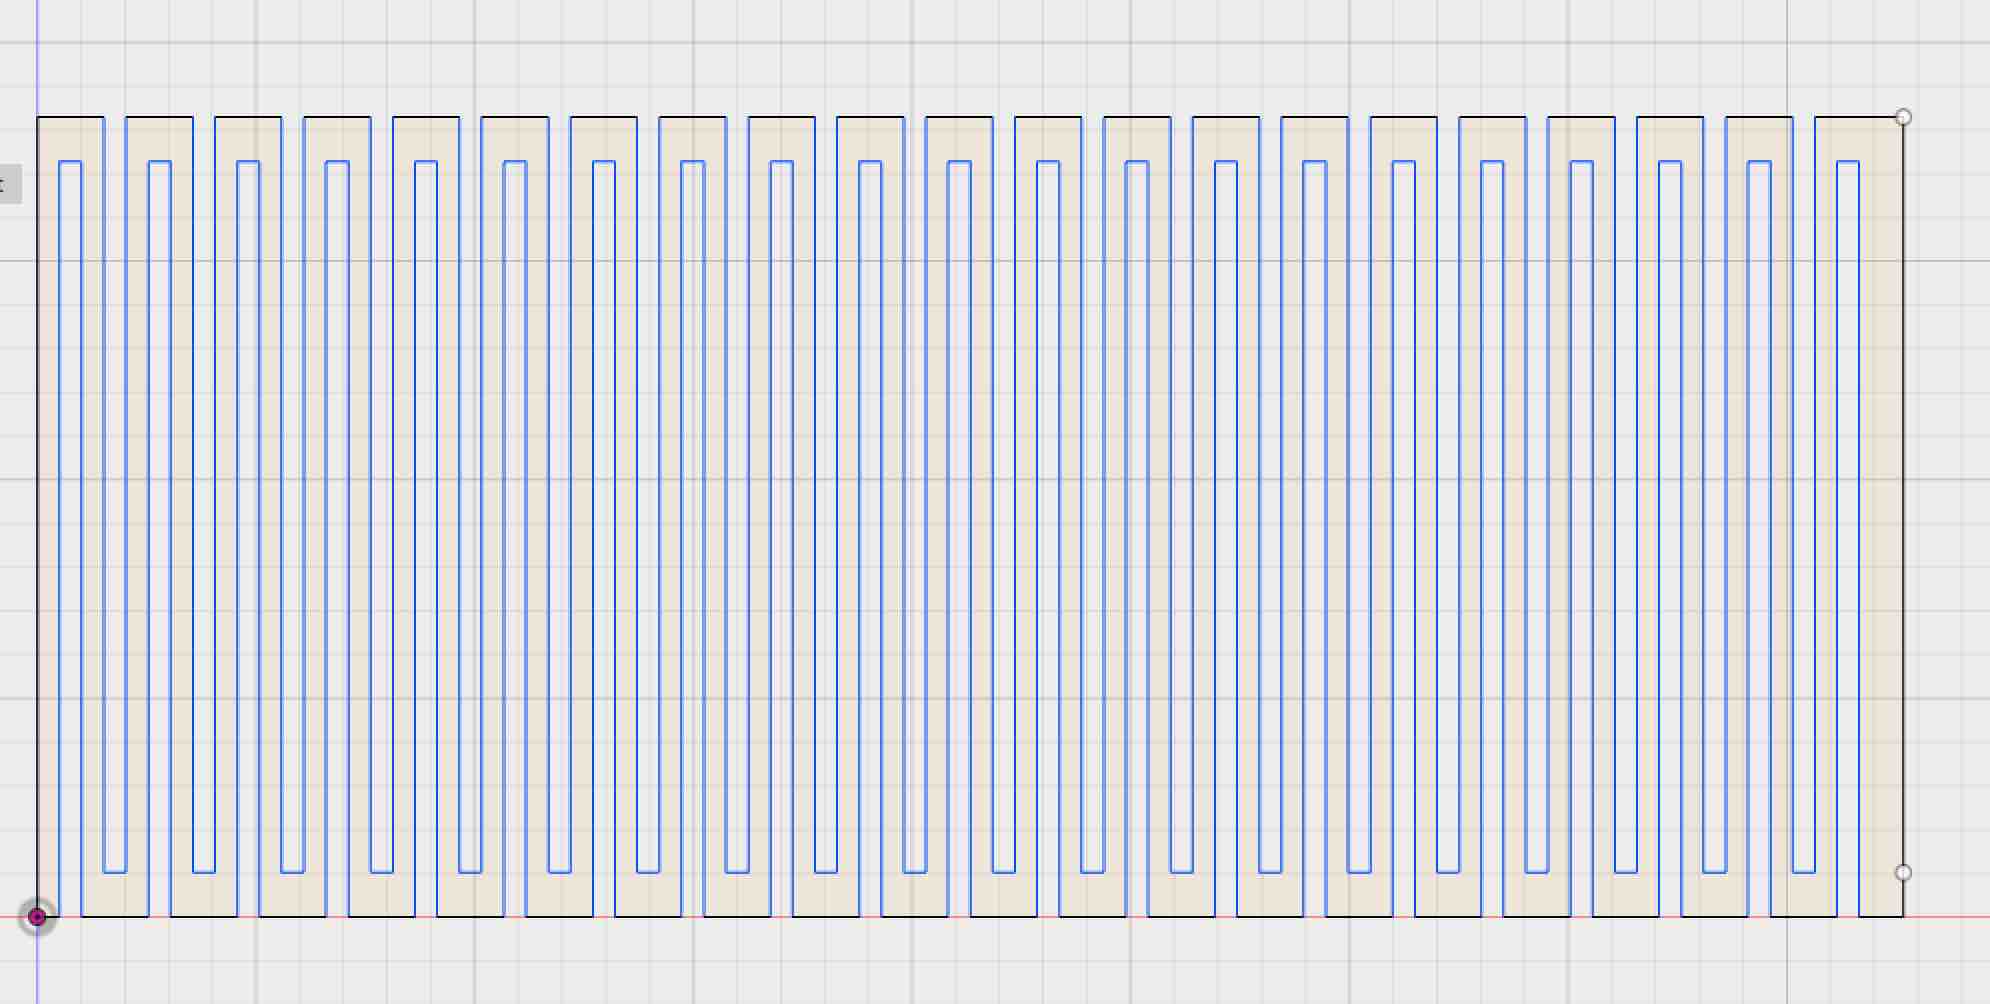
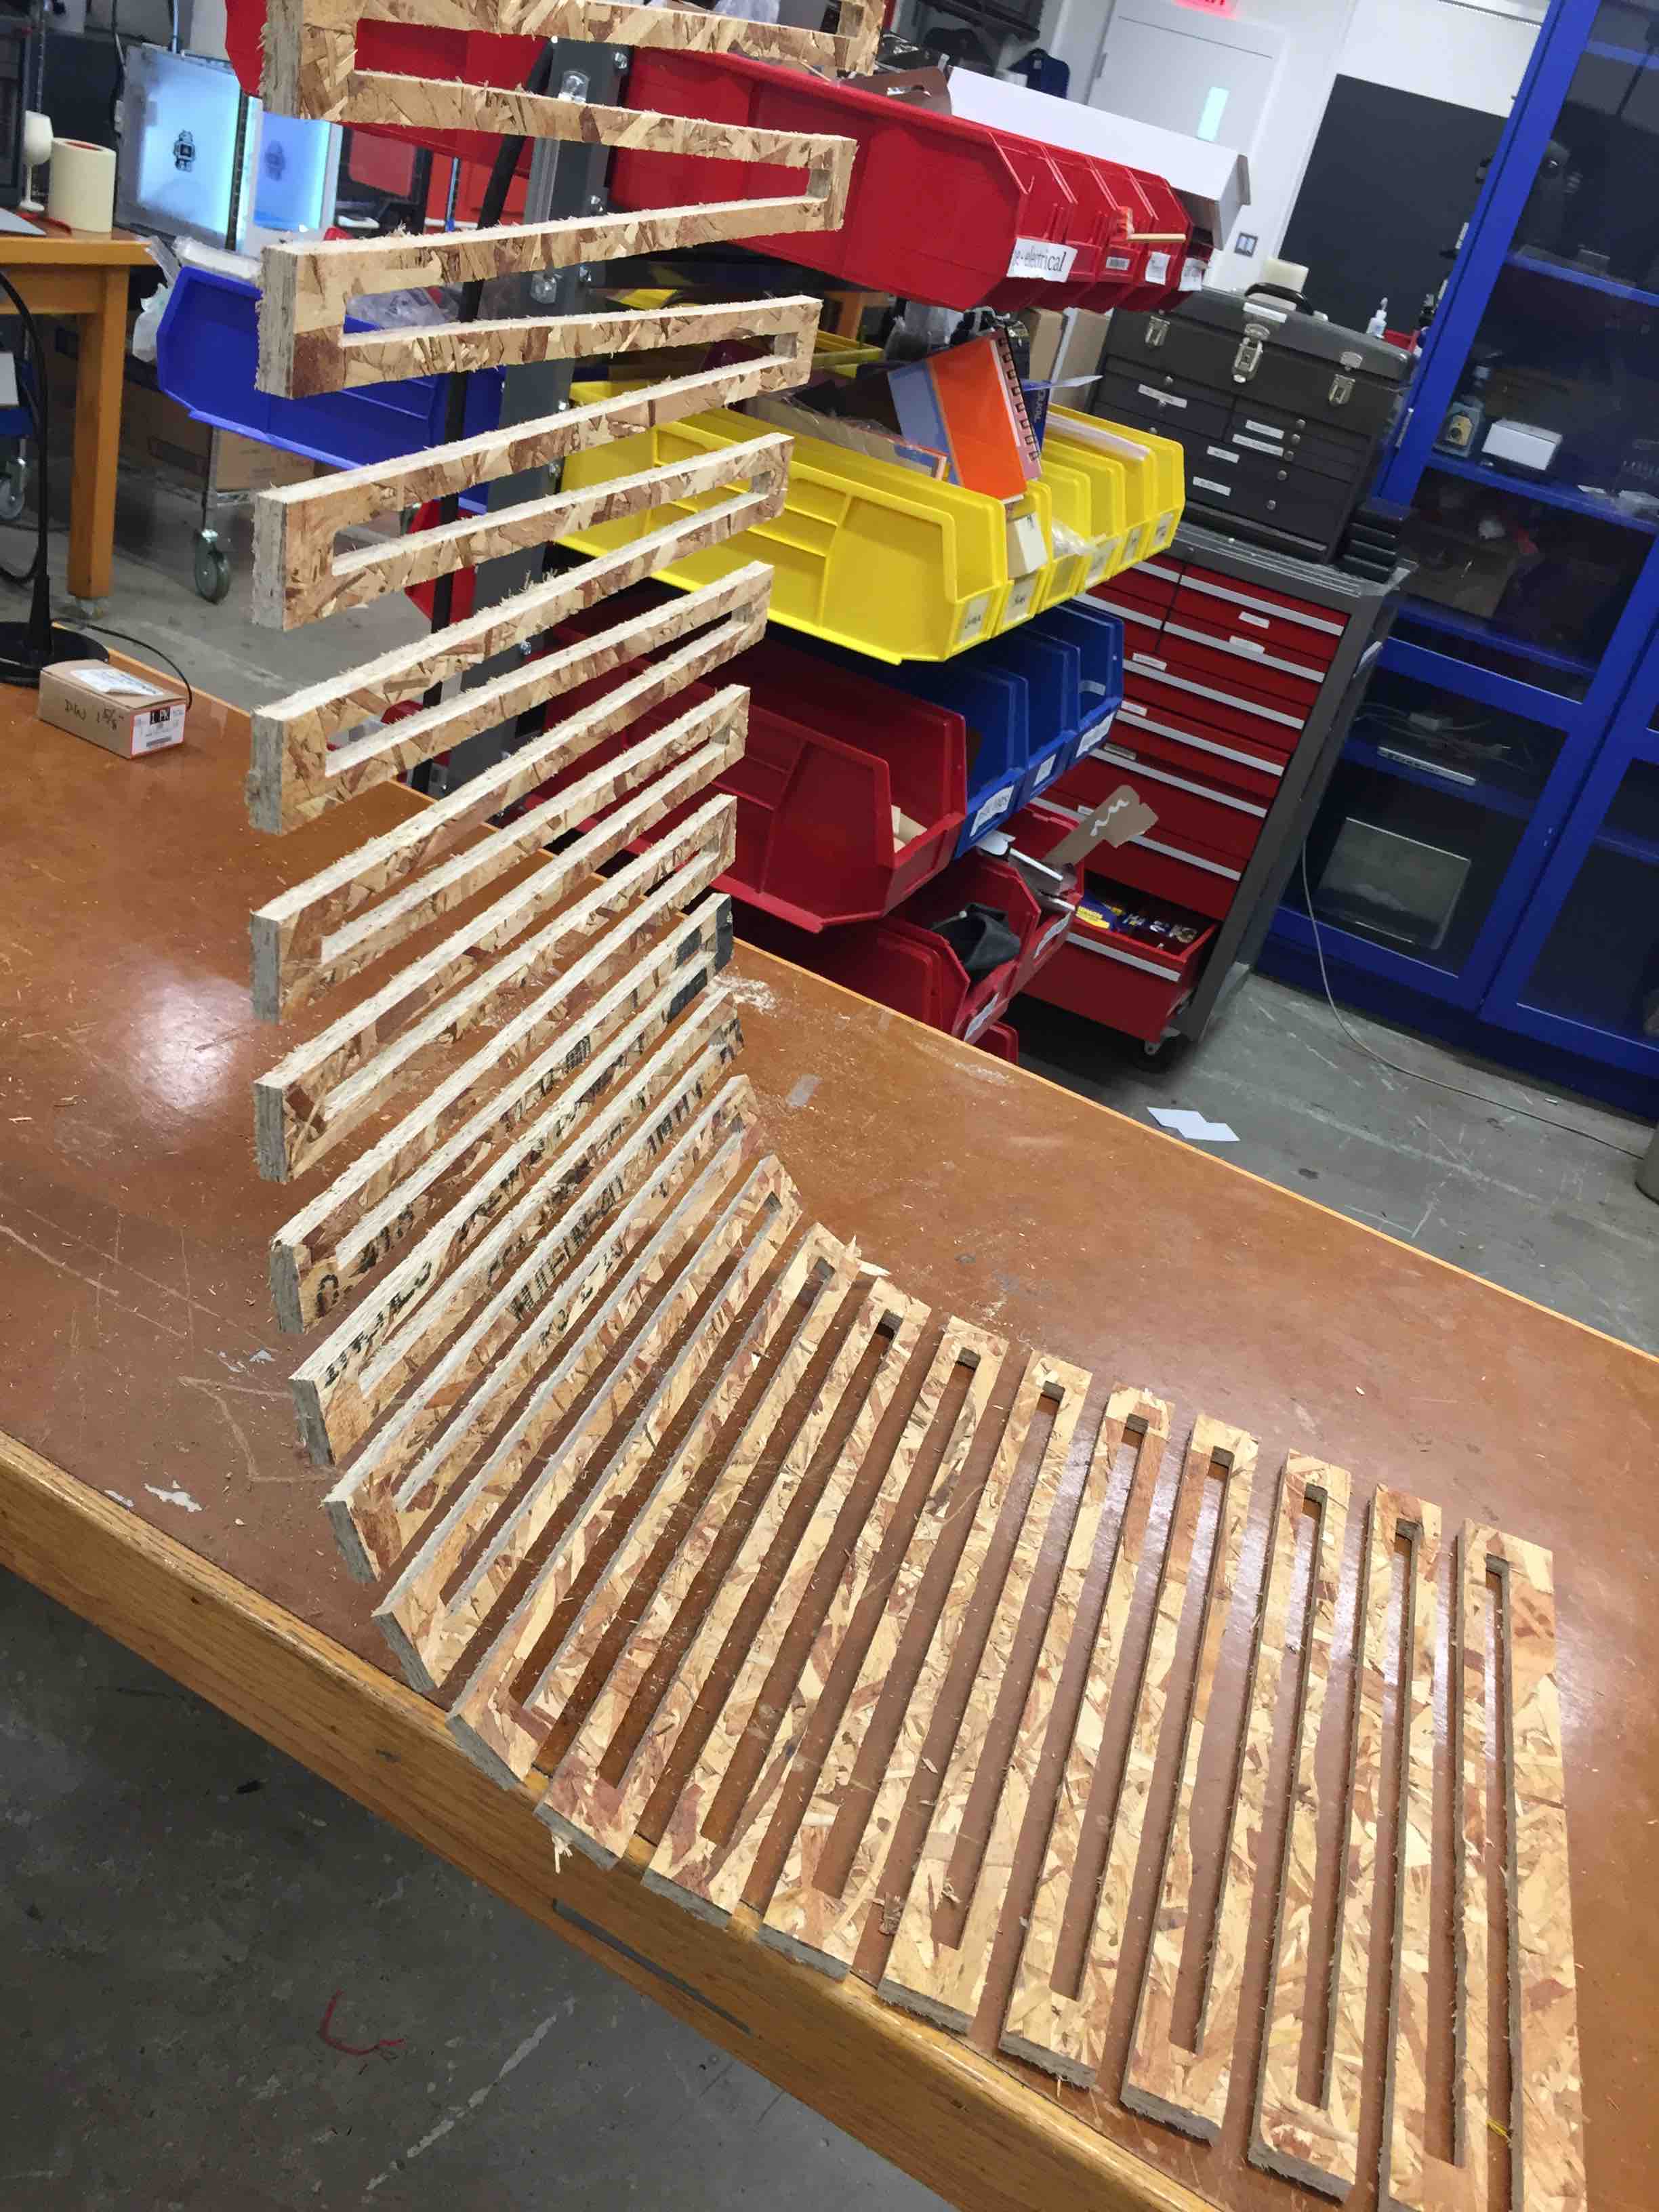
There was some curvature but the pieces connecting the simple pattern were too thick. After some research I found a new pattern that had fewer thick pieces and I made the pattern size smaller, from 0.75 inches per column to 0.5 inches per column to get the kerf pattern below.
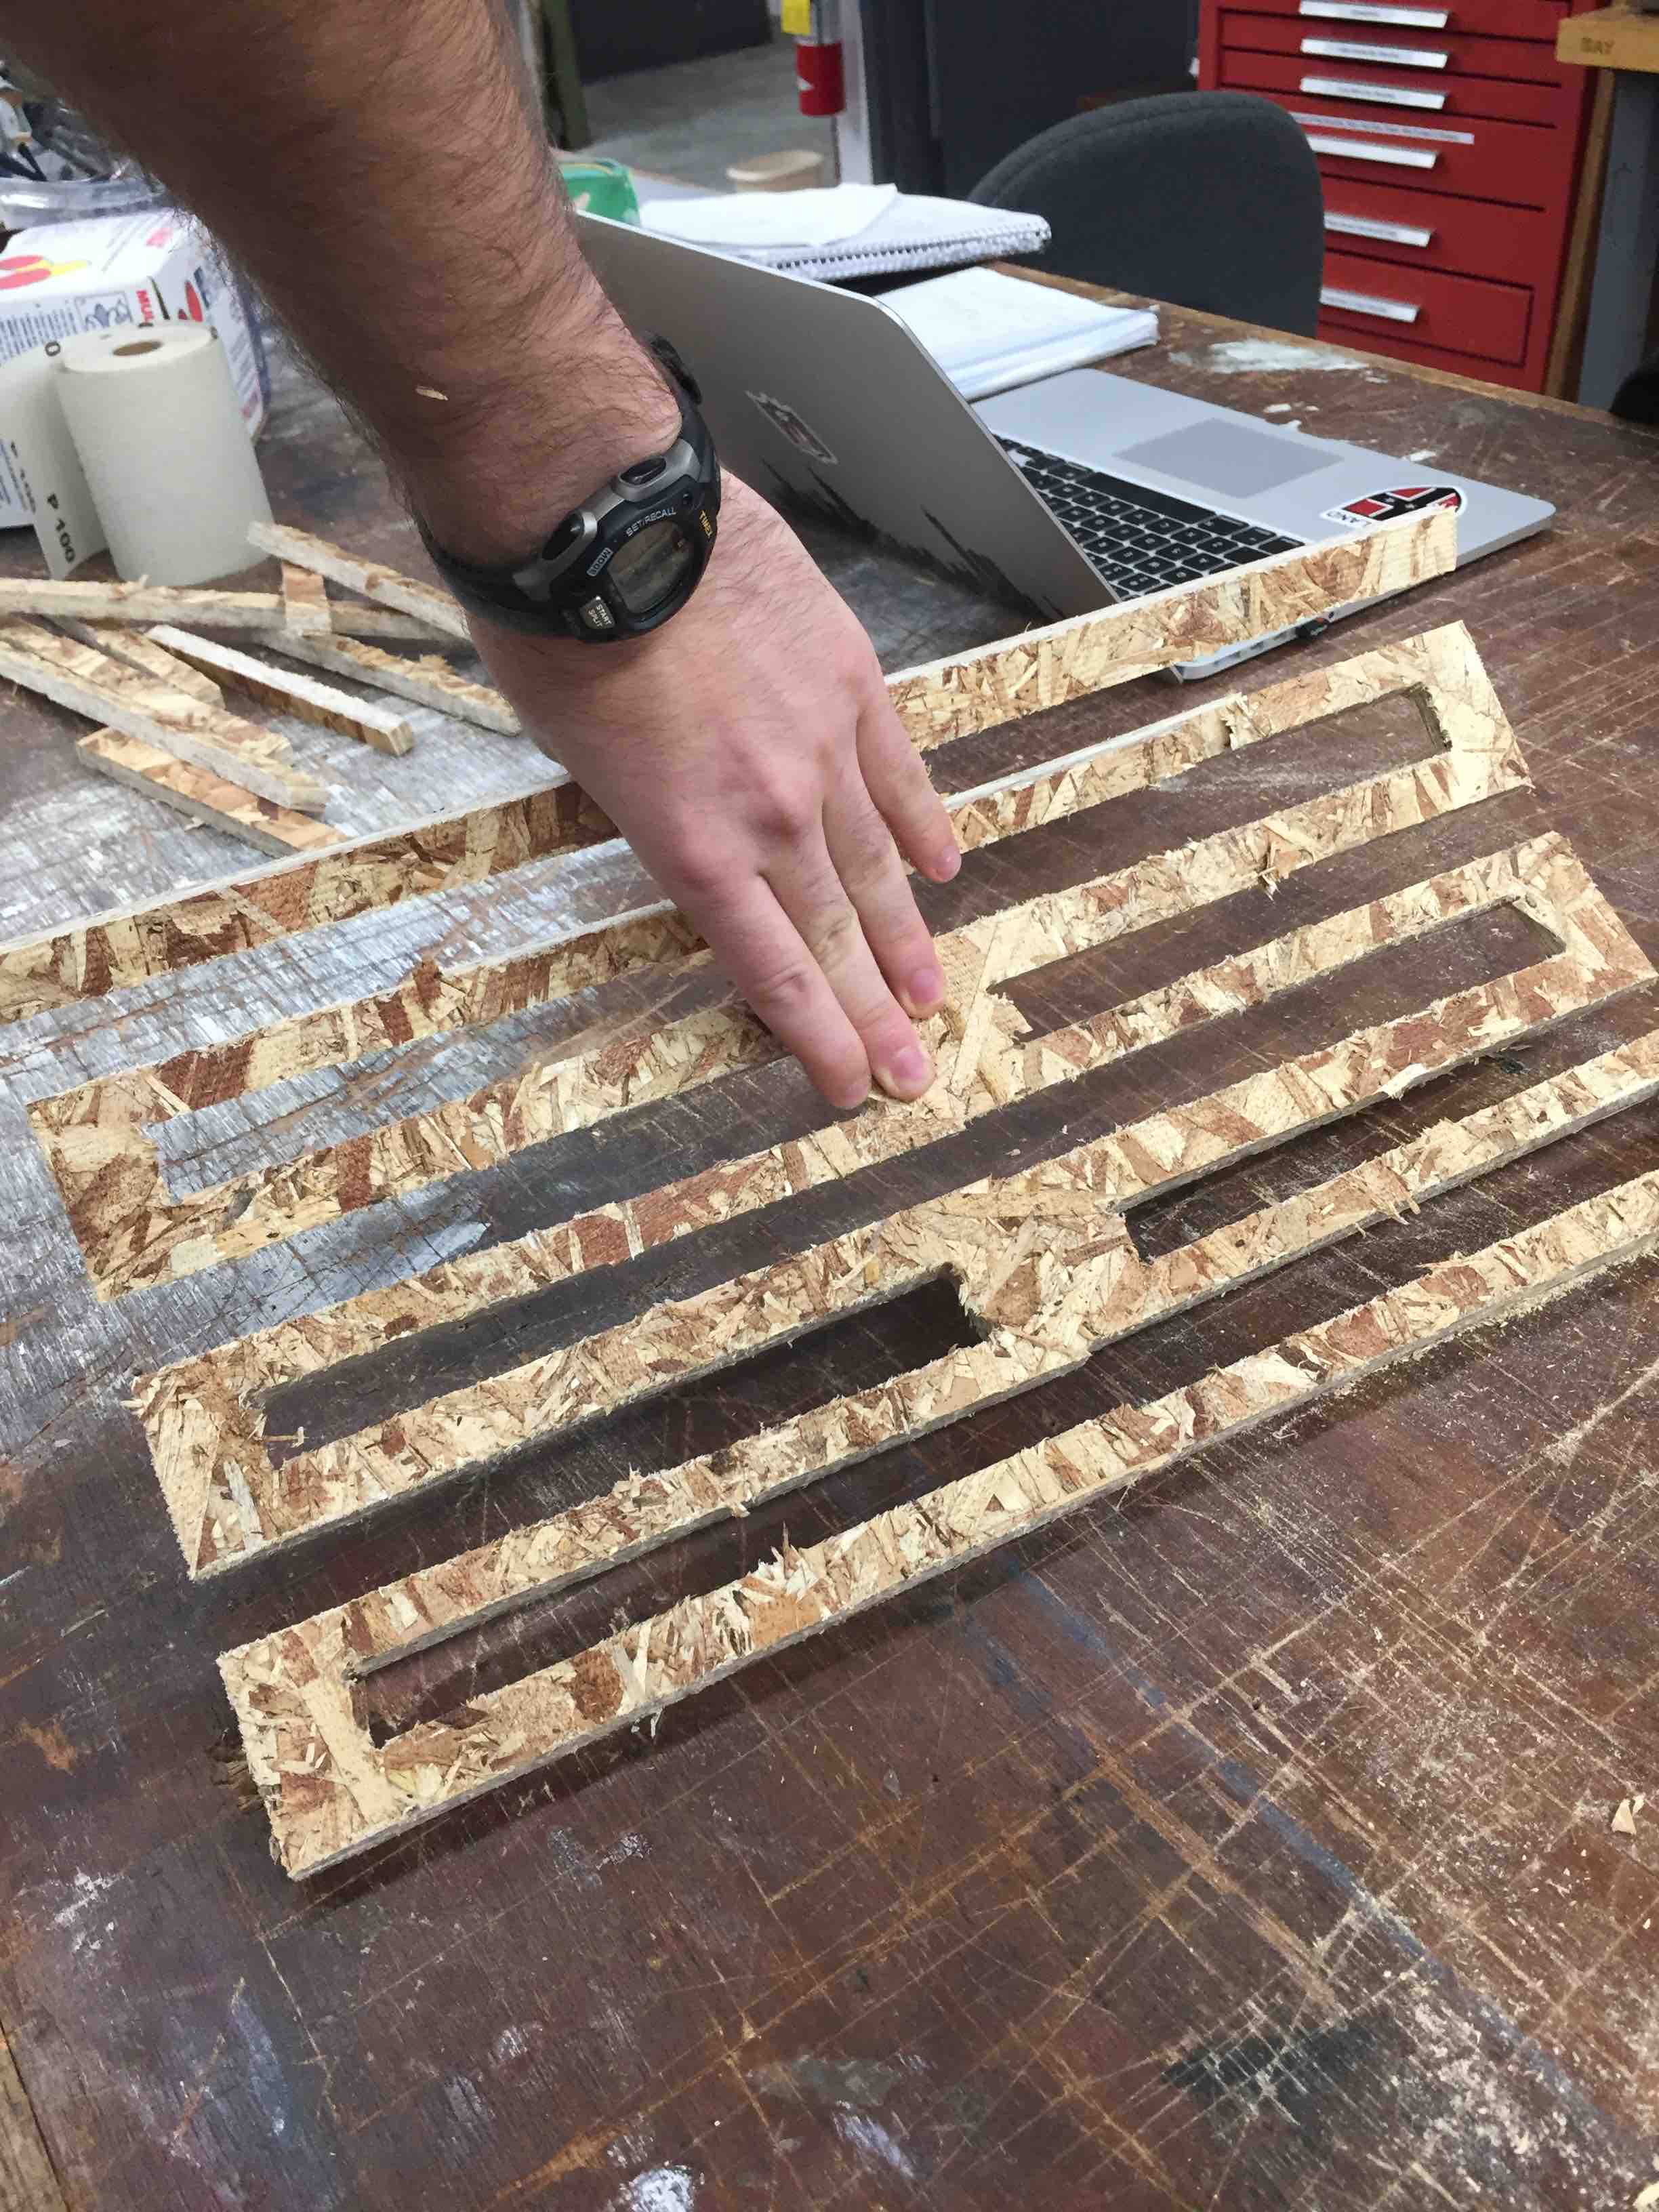
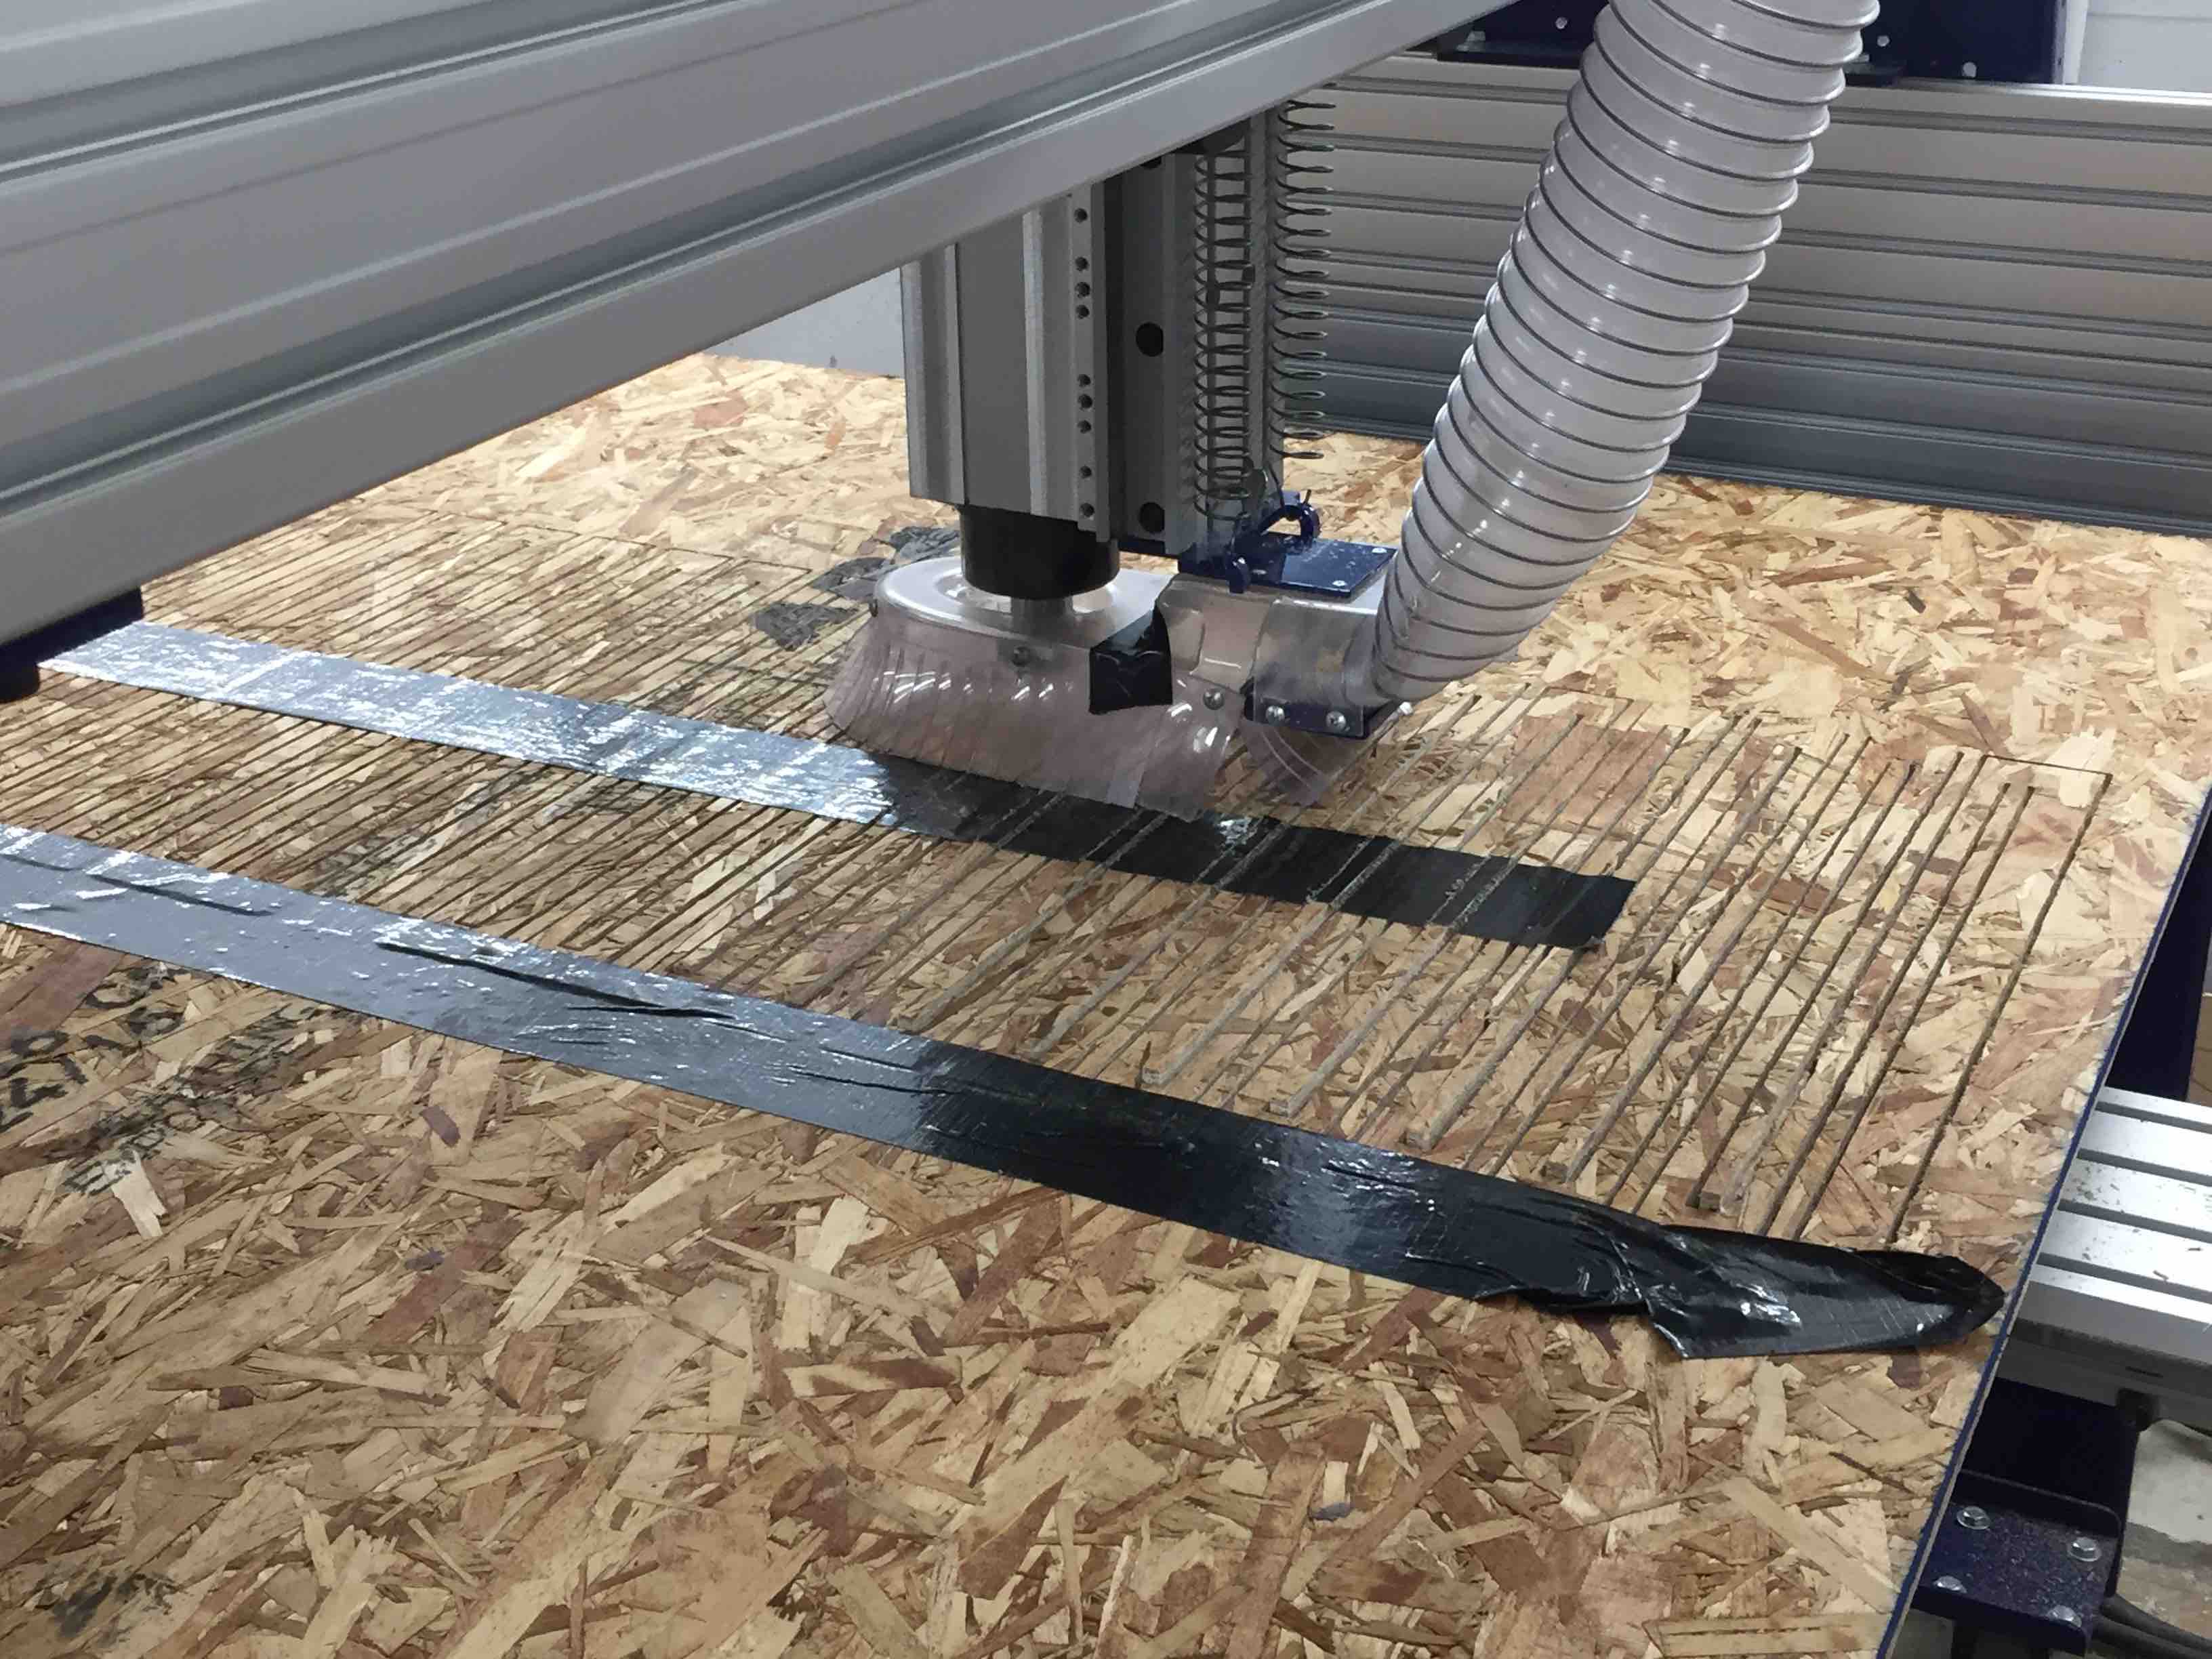
When cutting the board, I experimented with having fewer tabs in some parts of the board and more in other parts. My test piece was small enough that it looked like there was no issue with the low tab design but when I put it into practice, the smaller parts of the wood started sticking up.
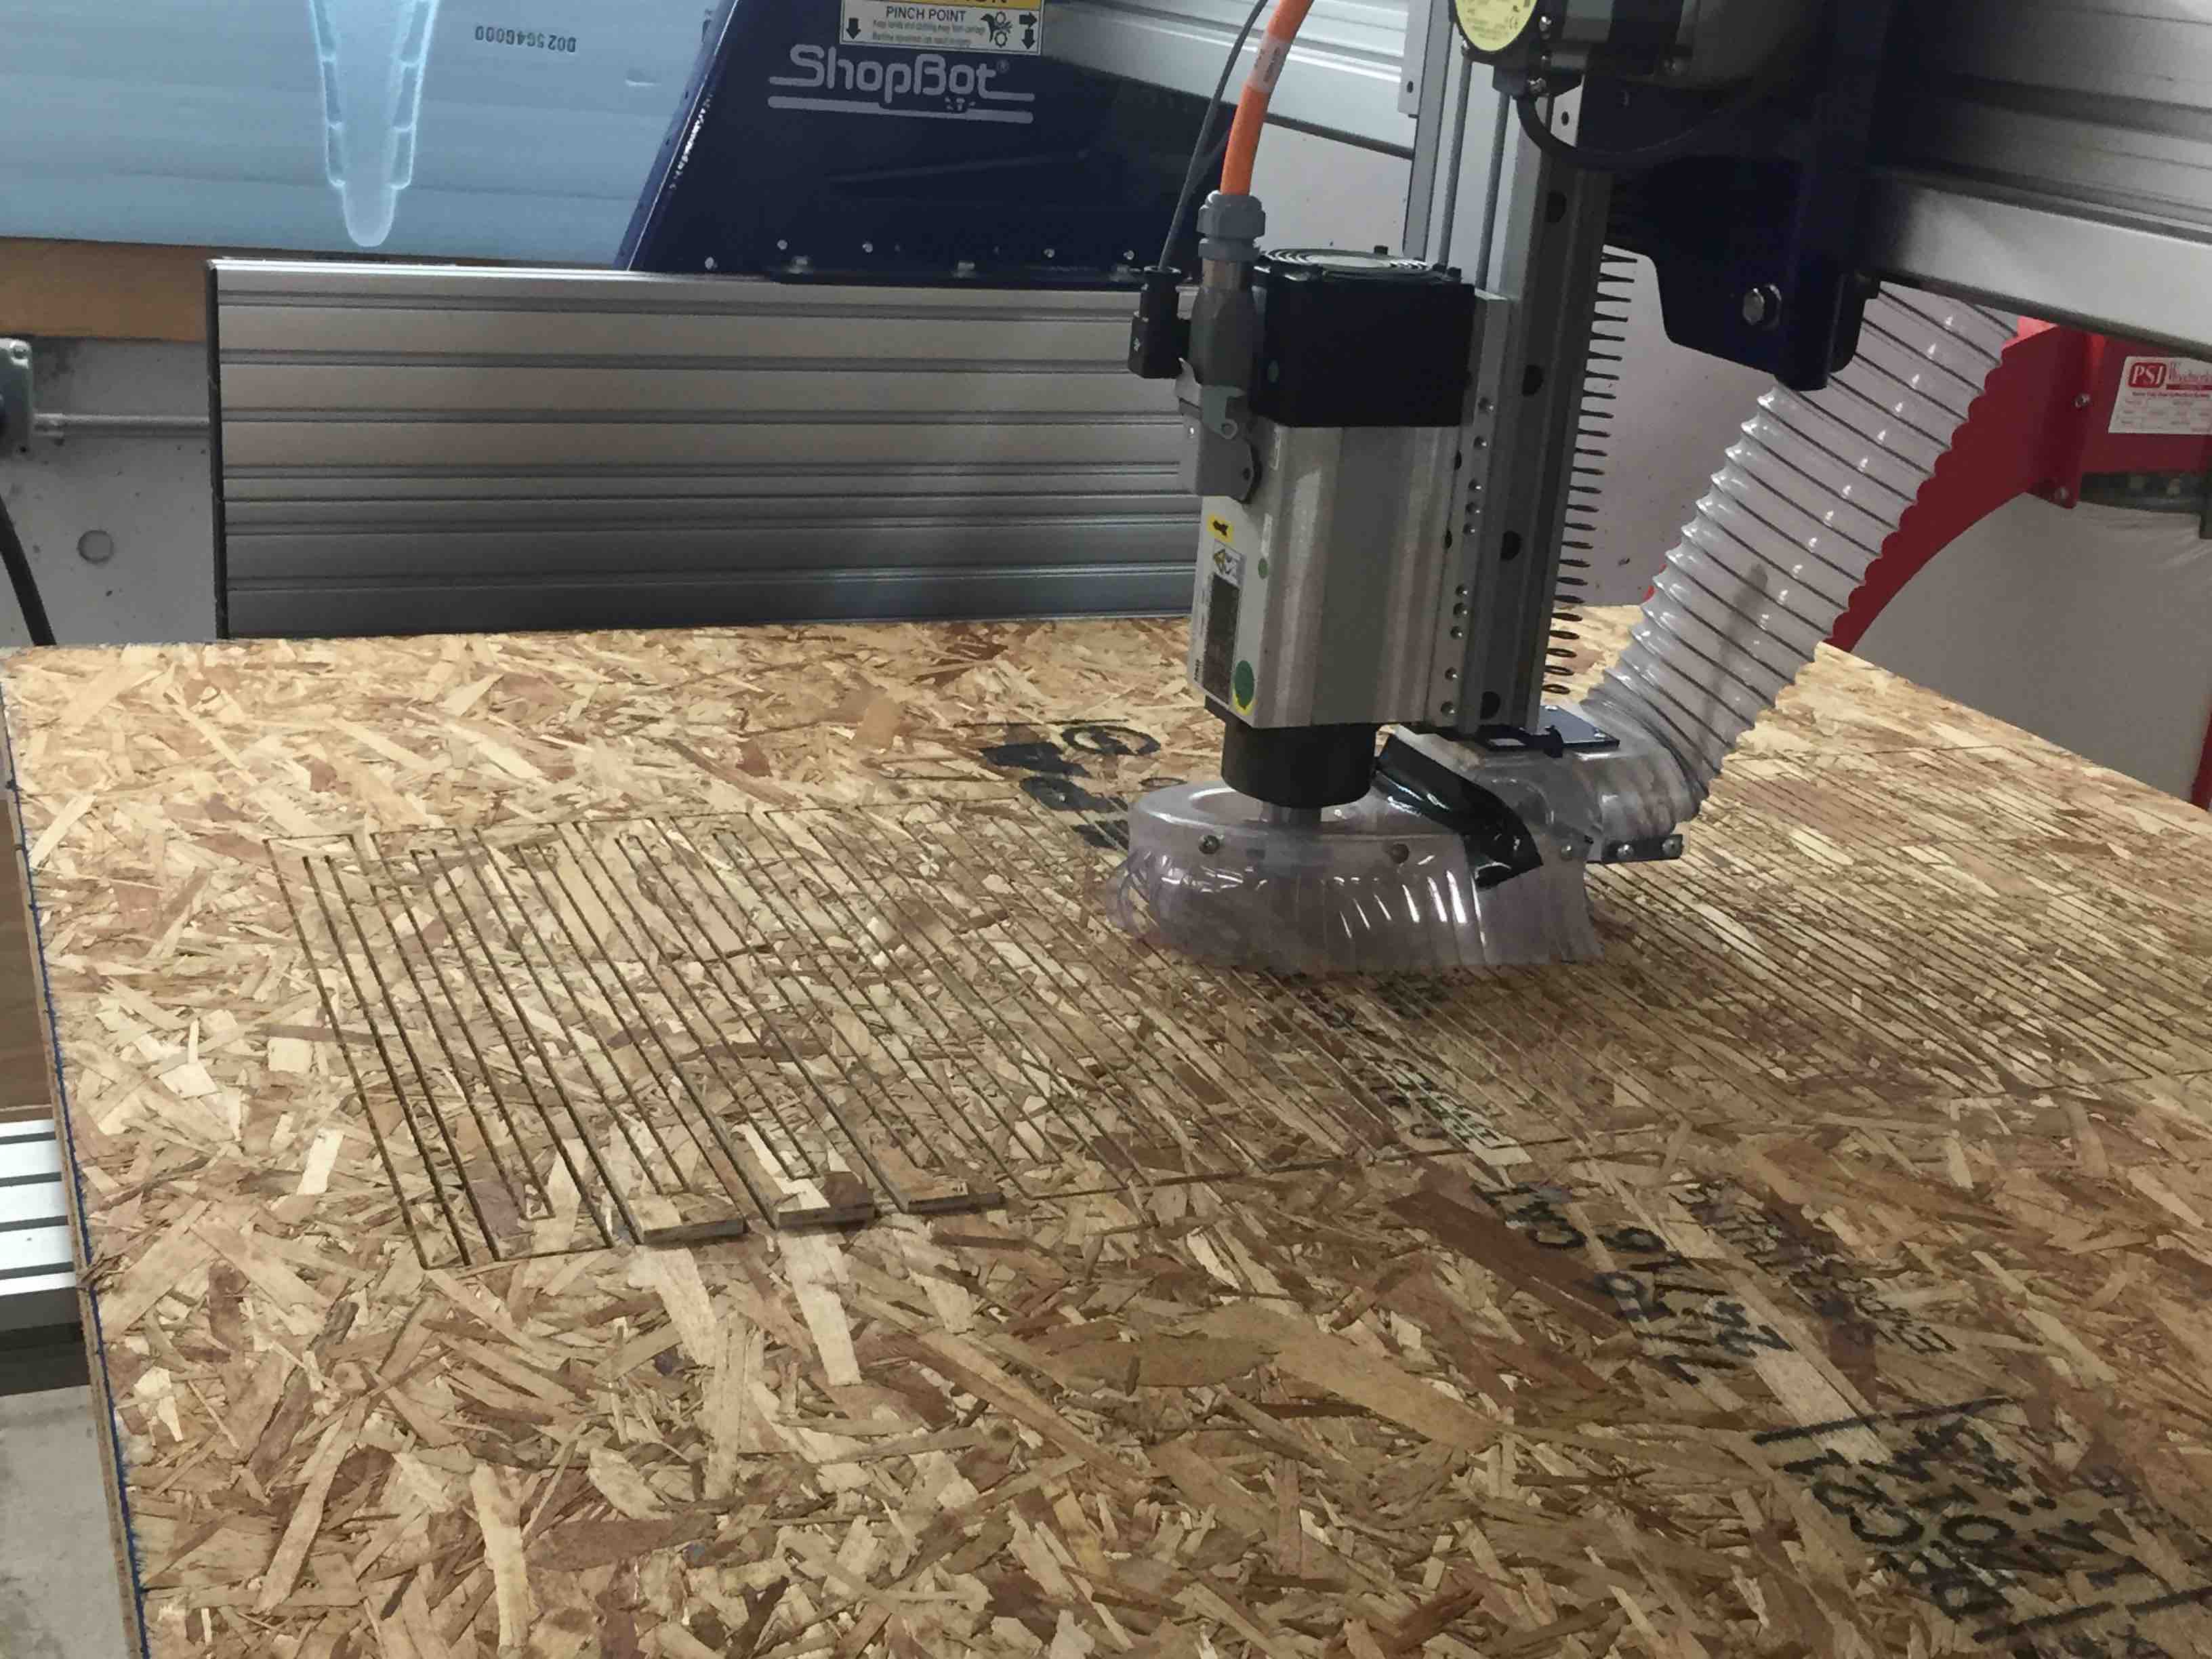
This created a problem because on the final pass of the shopbot through the wood, the shopbot moved slightly from side to side when it encountered a piece that was sticking up and it altered the shape of the pattern. My TF Daniel suggested taping down the parts and it was a great fix.
This new piece had much better curvature but was extremely delicate due to the lack of thickness of its parts.
I designed and cut the rockers below so that the seat and back would press fit into slots in the frame.
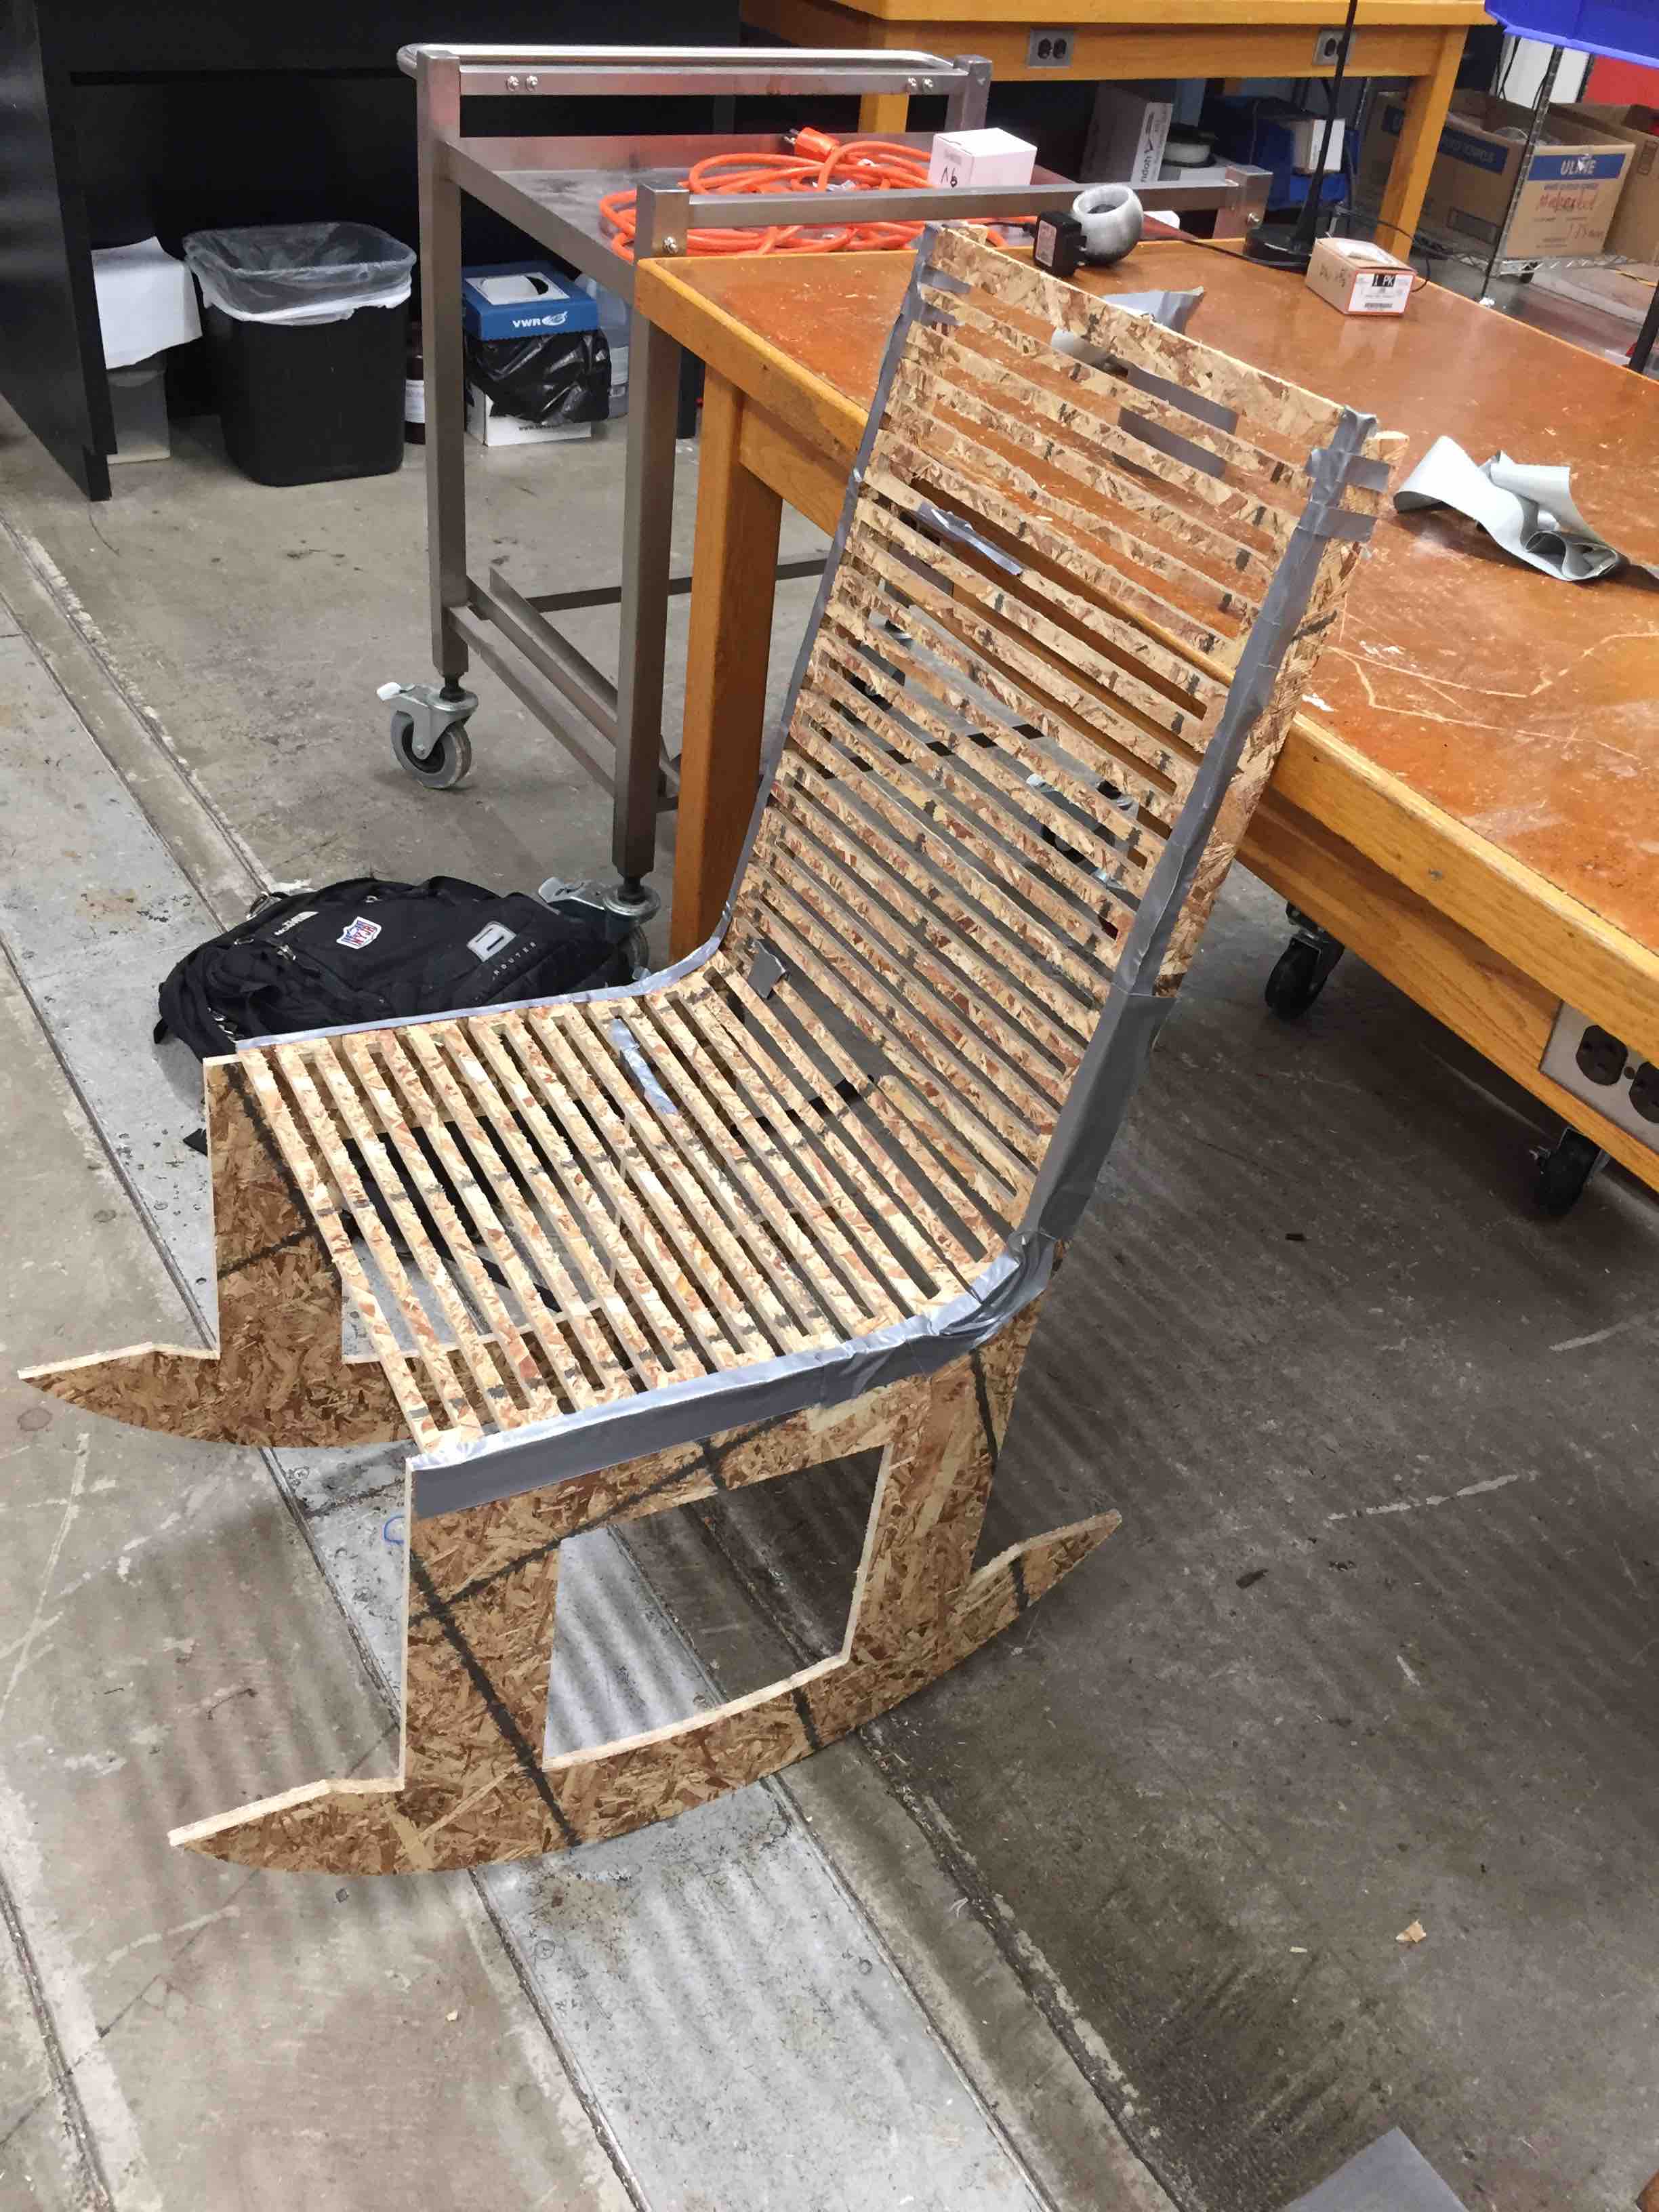
All that remained was assembly, which was where I discovered my design flaws. First, the pieces fit into the frame too easily. There was no need to hammer the pieces into place and therefore they came out easily. Fixing this required a lot of tape. Second, the seat and back were extremely delicate. I broke pieces accidentally three times when trying to assemble the chair. Finally, inserting slots for press fit on the curve was difficult to design. I made the seat/back length the sum of the seat length and the back length on the rockers but because the piece curves, it needs to be shorter. I had a seat/back piece that was too long for the frames so I had to break off one section of the pattern and then reattach it so everything would fit. In the future, I would make a test for the press fit in addition to the curvature so I would know how tight to make the joints. I would subtract some length from the seat/back to account for the curve. I would also make an investment in better quality wood. The chipboard was a huge problem in assembly, and even when assembled it cannot hold the weight of a person. I could also add supports if I were to use the same wood. If it could hold up a person, the board splinters easily. Overall the board uncomfortable, not functional, and dangerous.
By far the most time consuming process this week was the VCarve Pro software. Once I got the hang of it I had a much easier time, but I ran into numerous snags that slowed me down. Units were a problem even though I parametrized everything in Fusion 360 using inches, my design imported into VCarve Pro where its milimeter values were inches. So instead of 46 inches, it would read the 1110 something mm's, and then say 1110 inches. I would scale this down but I would also have to convert the cut depth and tab features into mm's from the defaults. My classmate Julia Ebert helped and showed me that I could create a new file in VCarve instead of opening an existing one, import my vector dxf file, scale down from 1110 inches to 40 something inches, and then all the other default settings would be in the proper inches settings instead of mm. This was much easier to work with than converting everything into mm's. Second, there were numerous artifacts from the Fusion 360 DXF's. There were multiple spots where many lines occupied the same space. I noticed this when I would try to calculate the tool path and the software threw an error which said there were open vectors. I eventually figured out that the quickest way to get rid of these extra lines was to use the join function, see where the design changed, and then undo the join. I would then delete the lines involved in what would've been a botched join until I'm left with only one line where one line should be. I did this until a join did not further mess up the design. Eventually, if I deleted a part the entire object would disappear. This told me that there were no more artifacts and that the joins had worked. Knowing this will significantly reduce the time needed for future shopbot jobs.