3D Printing and Scanning
Week 3
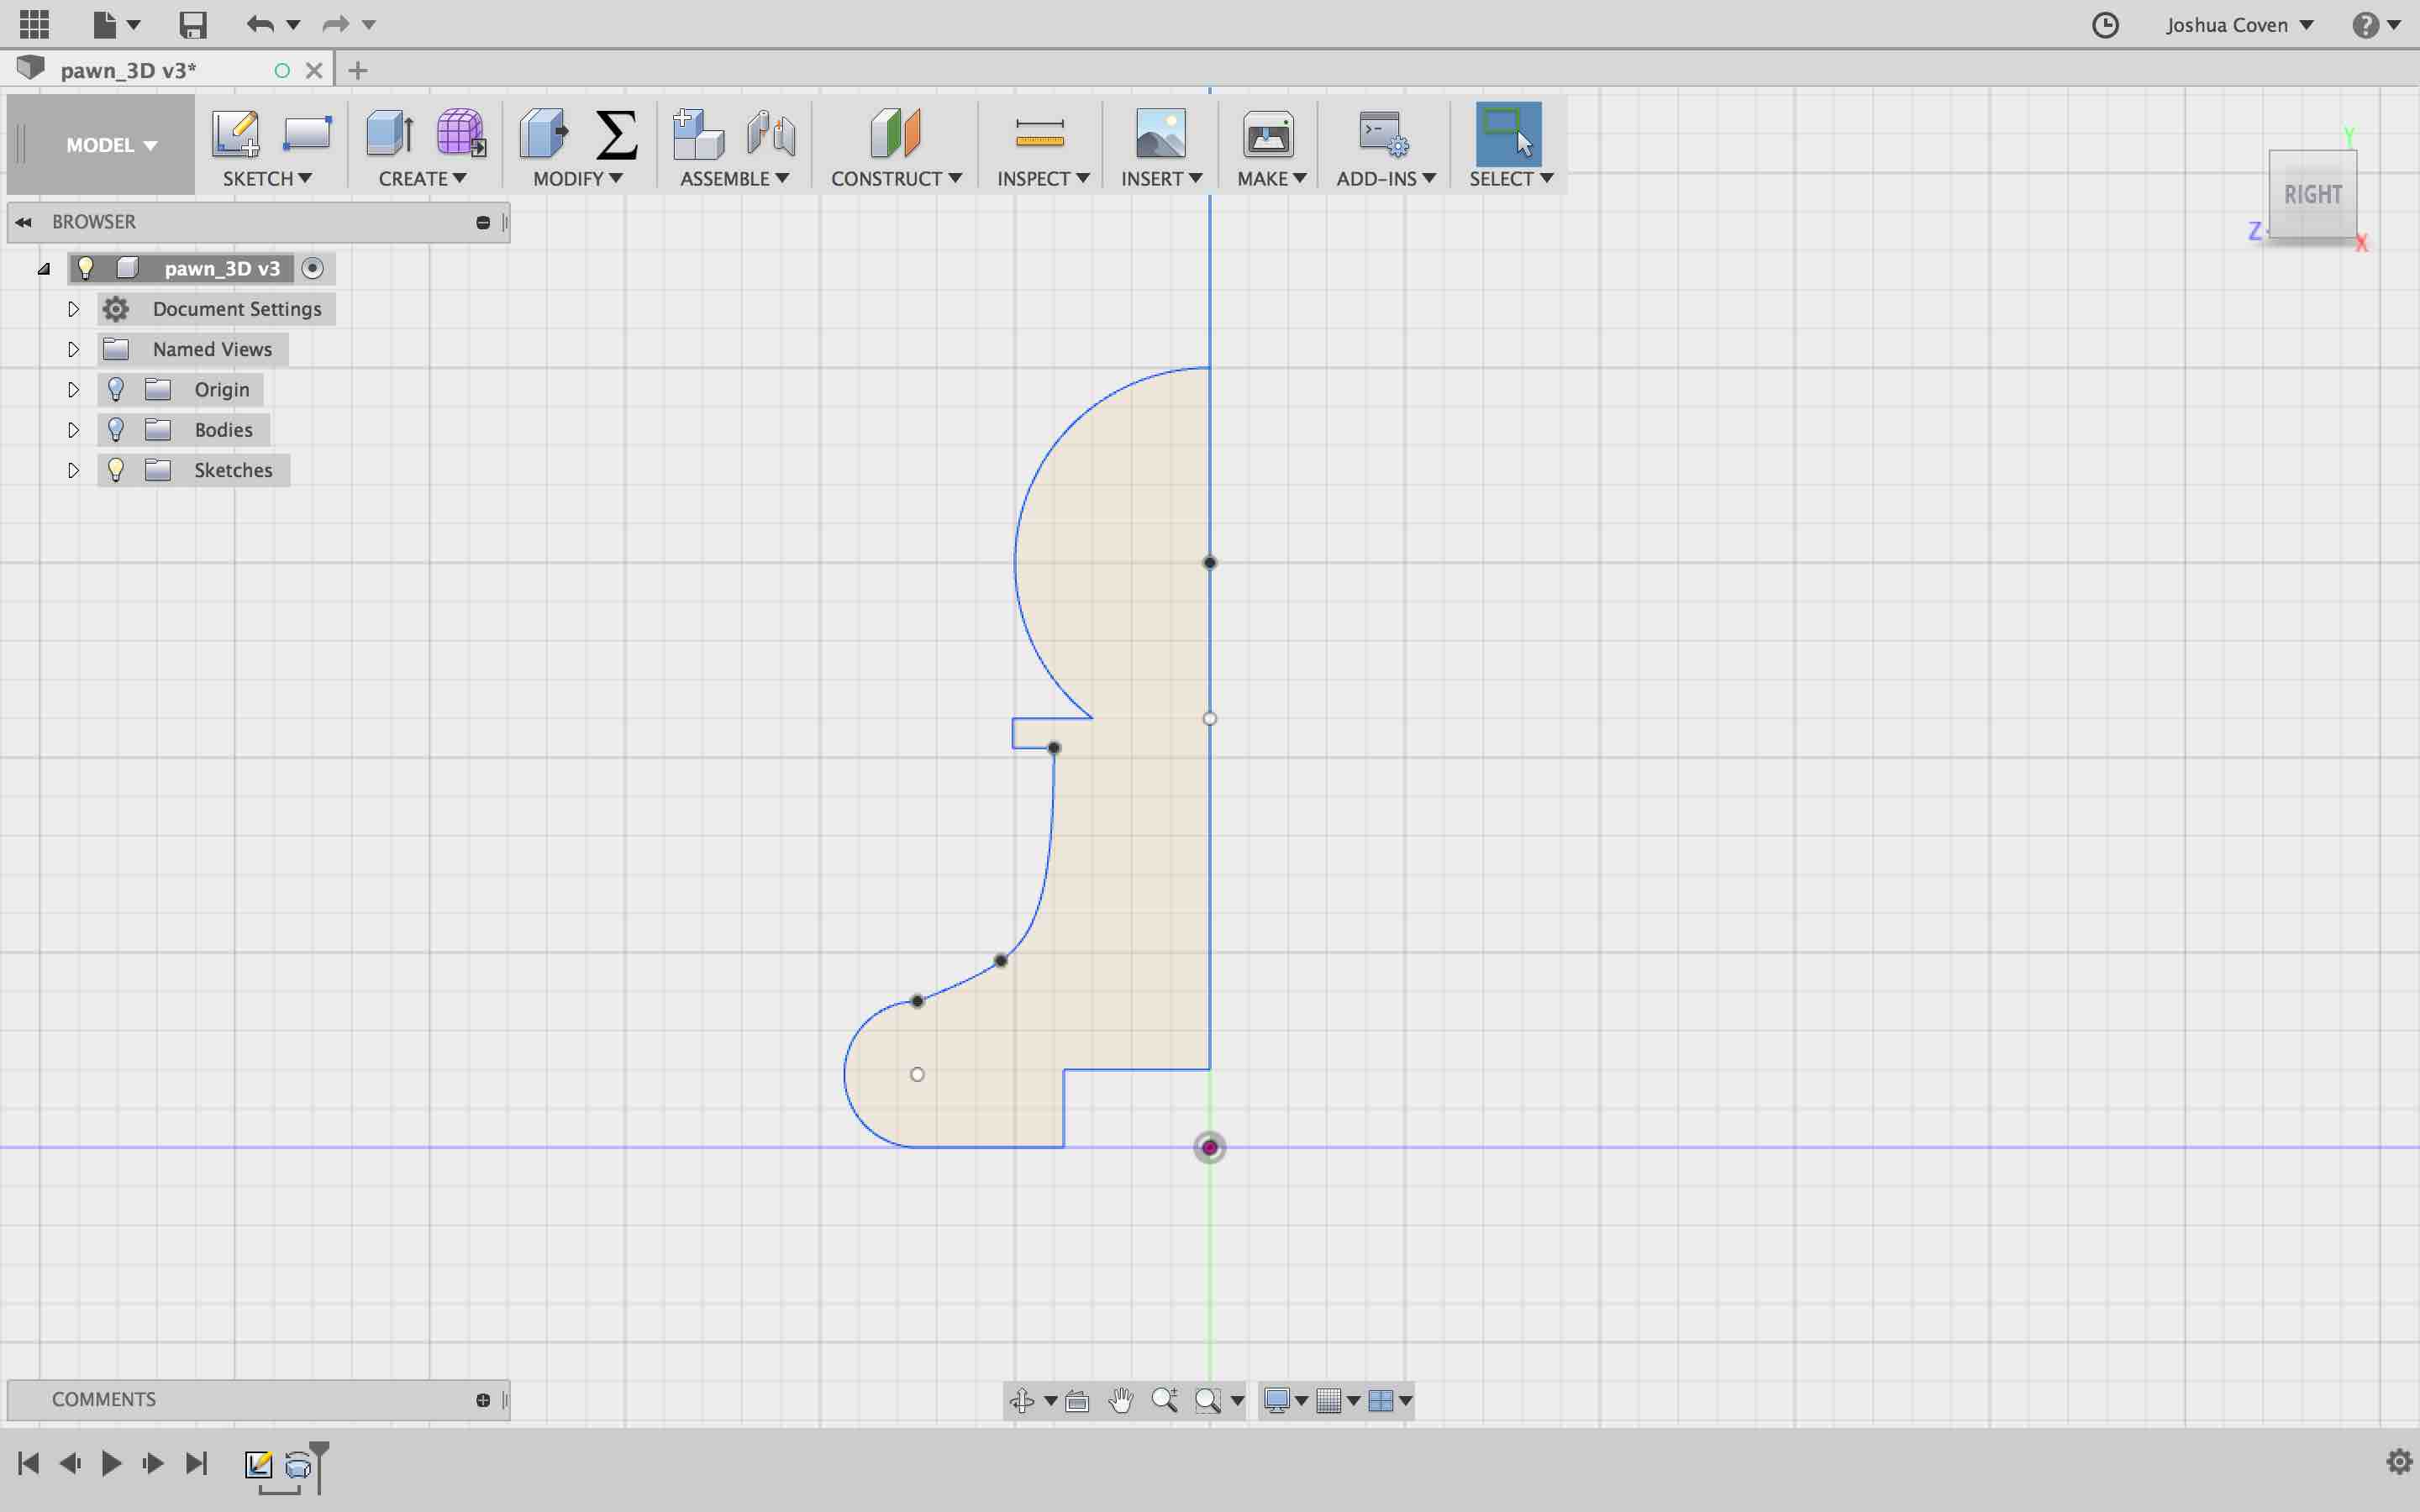
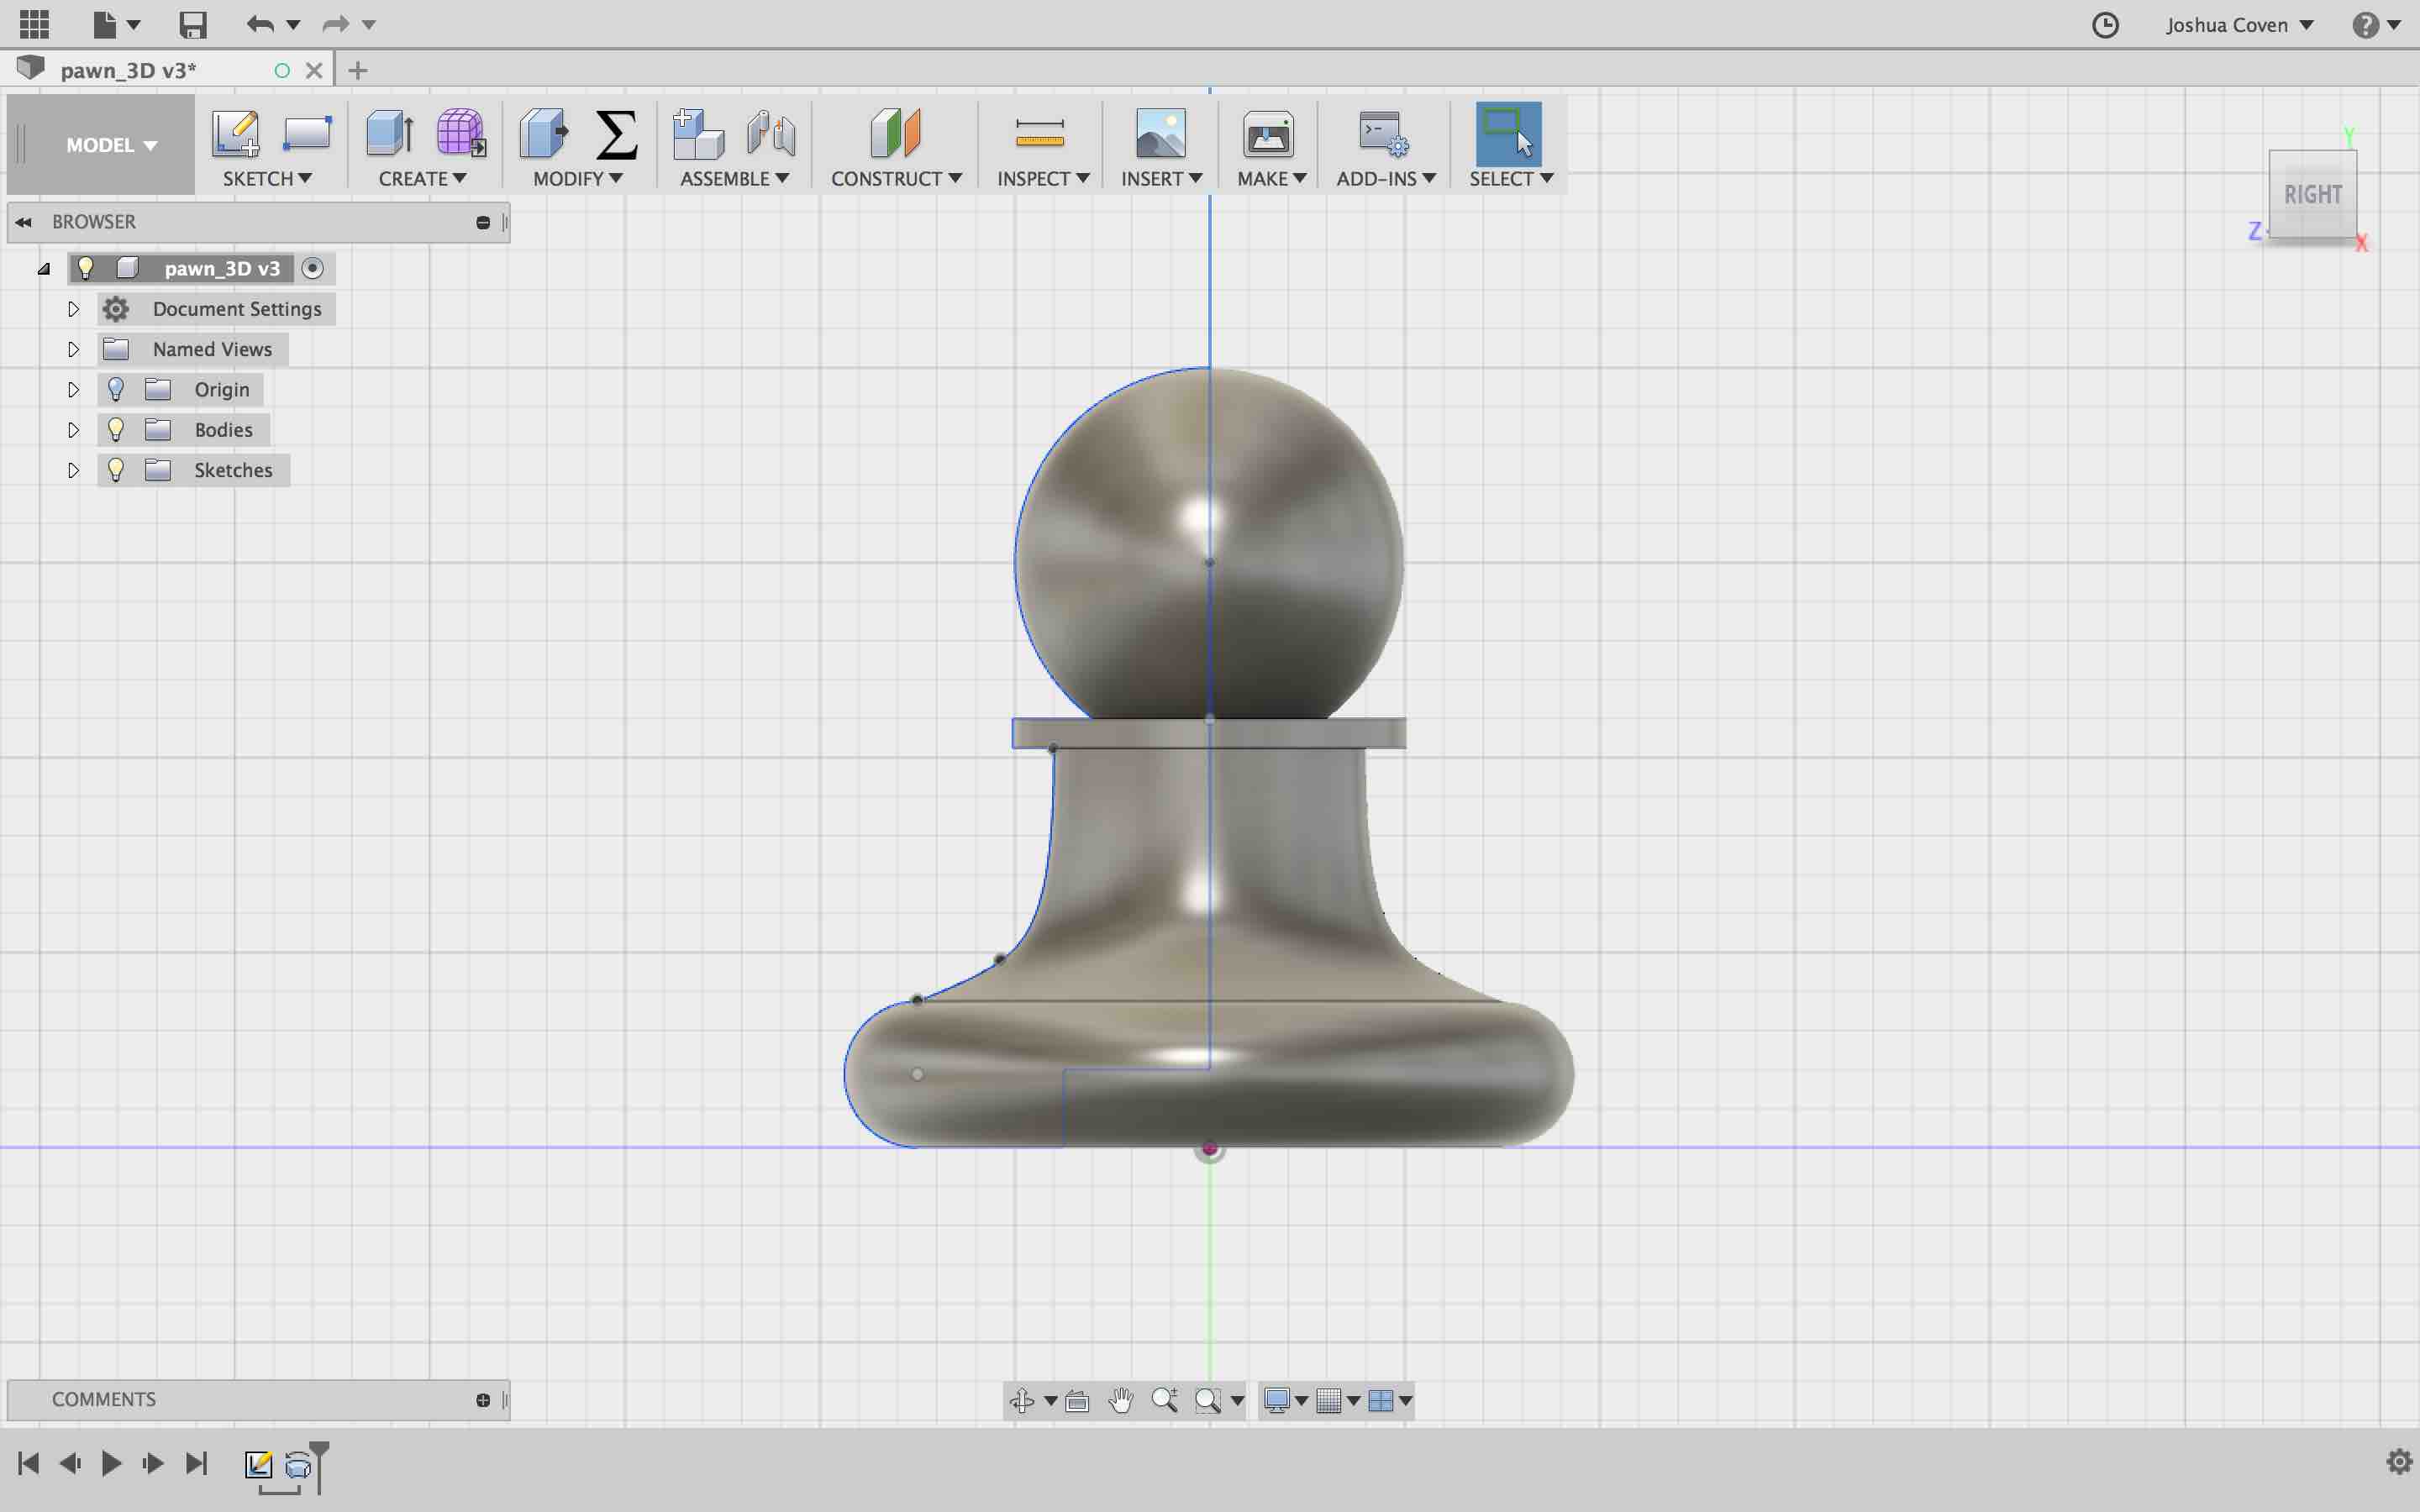
This week I learned how to print and scan 3D objects. One of my possible final project ideas is to make a chess board that would know the location of each of the pieces, record them, and have the ability to export a physical game to a phone or computer for analysis. The task was to make something that could not be made subtractively, so I made a pawn with an overhang where a magnet or circuit component could be placed in the future. I sketched the outline in Fusion 360 and then rotated it around the y axis to create a 3D body.


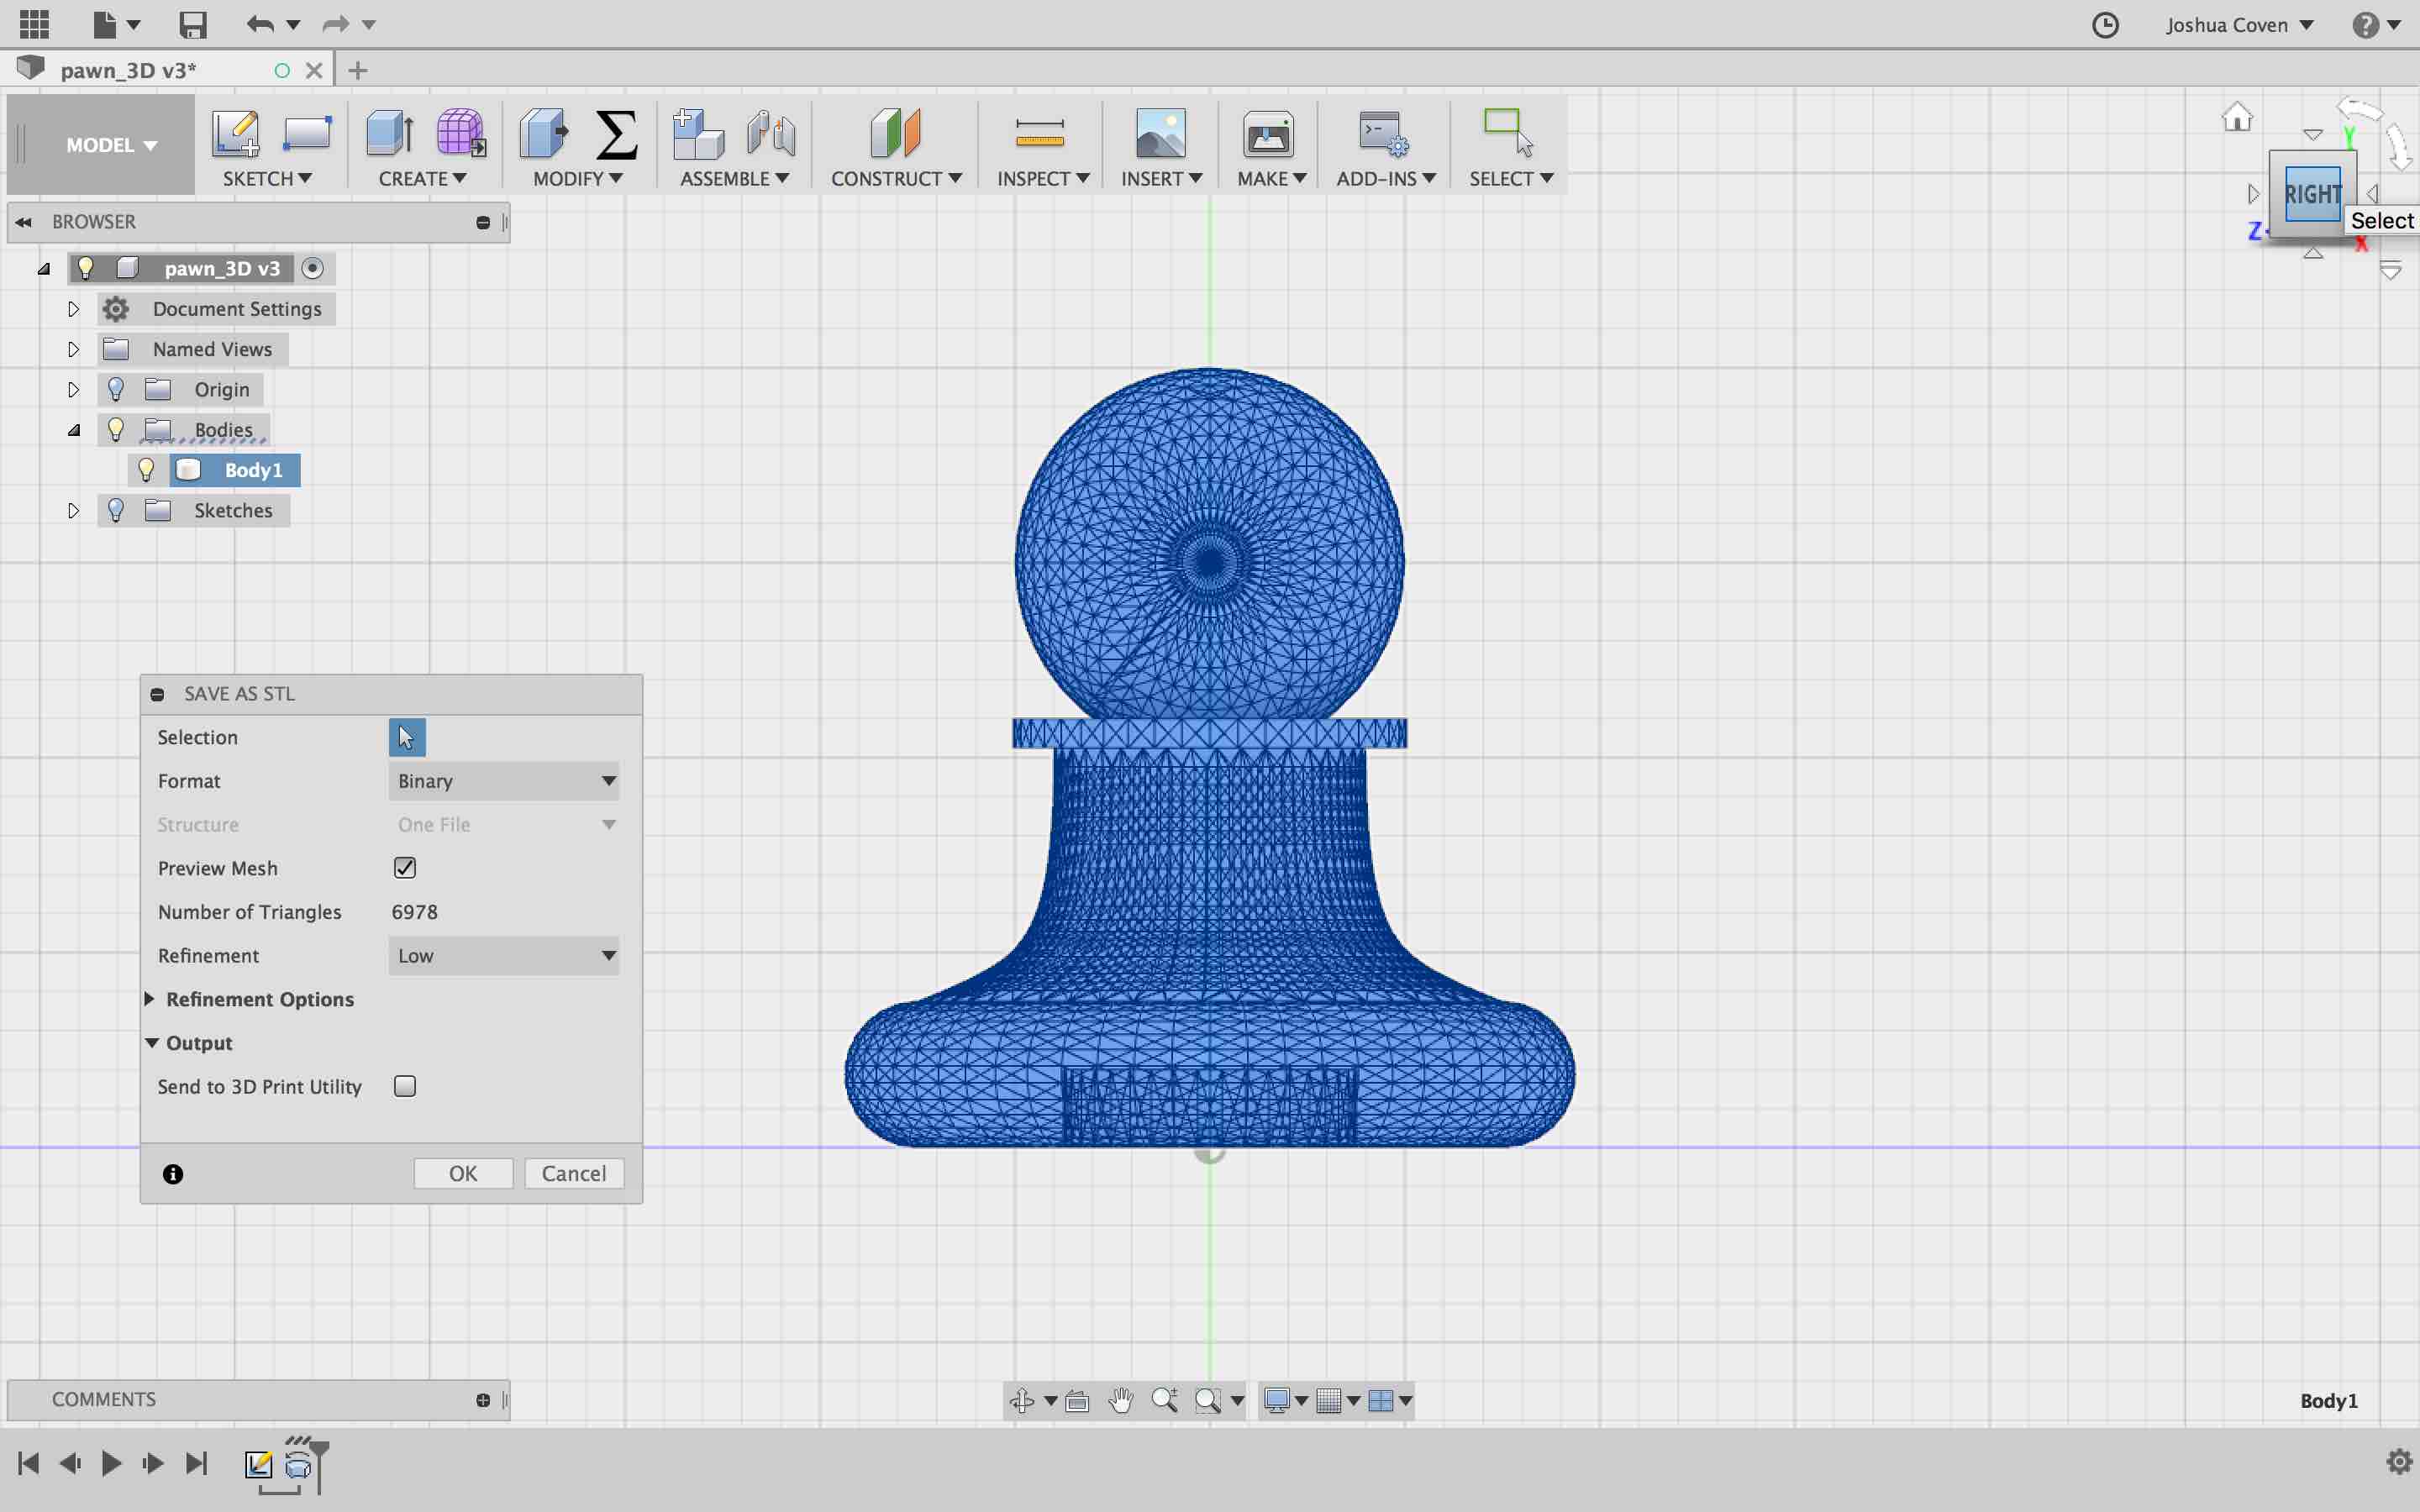
From this I exported it as an STL and lowered the number of triangles in the mesh to decrease 3D printing time.

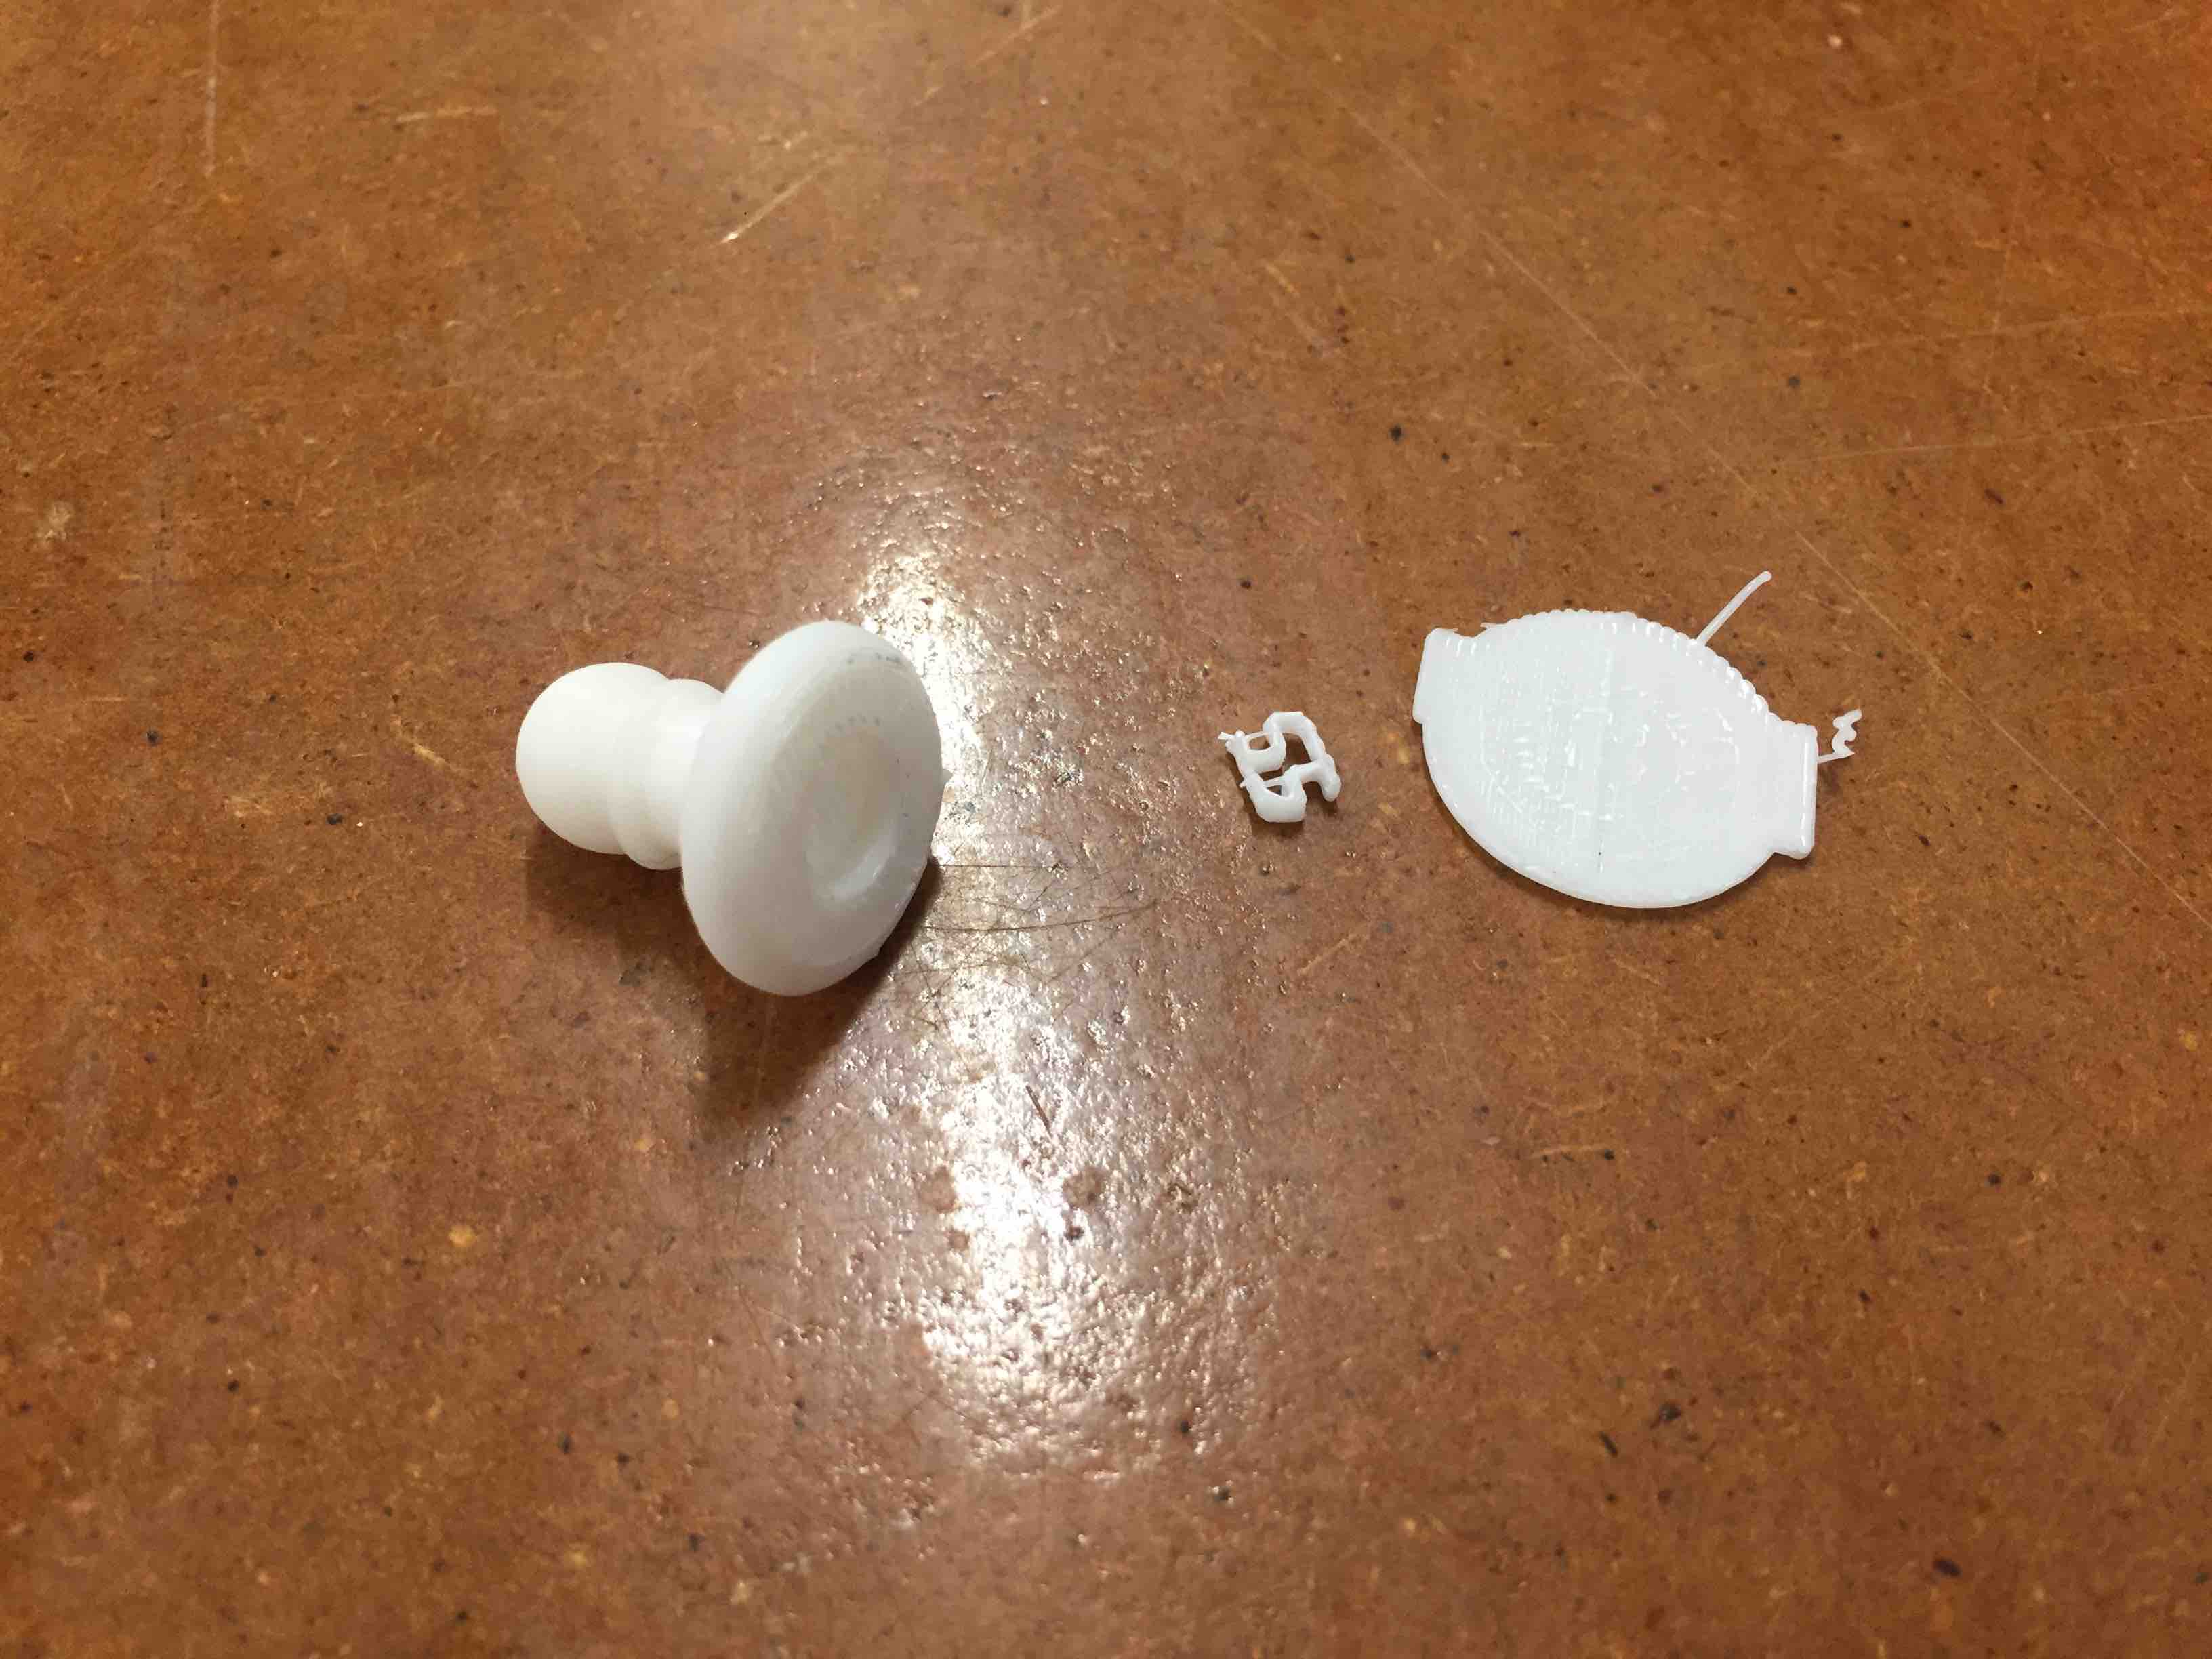
The pawn took 16 minutes to make and the short amount of time is encouraging if I want to make different versions to try out for my final project idea.

After that I moved on to the scanning portion of the assignment. With the help of my classmates and Dixon we were all able to scan ourselves and then print miniature busts. The scanning process was incredible and produced uncanny results. The few issues encountered were scanning hair and scanning ears.

You can see that one of my ears has a hole in it... that's not the case in real life. It's possible the scanner had trouble with the irregular shape and depth of ears and I was not the only one who had this same problem. Scanning short hair tended to work better than long hair, possibly because short hair is thicker and allows less light to pass through it. Using the Sindoh software's solidify tool the gaps in one's head due to difficulties scanning hair were resolved. Issues with the ears were not resolved and resulted in partial ears on the 3D print.
I scaled down my head and rotated it so fewer supporting structures were needed and that the structures did not obscure specific facial details. When printing I encountered one issue that was quickly solvable. The printing bed of the Sindoh can be too smooth for the PLA to stick to as the printing process proceeds. Without high friction between the PLA and the printing bed, the cohesive force of the new plastic emerging from the nozzle can pull the already printed structure with it and slide it along the bed producing the mess below.

A layer of duct tape on the bed solved this problem and then I reprinted.
