Week 1 Computer controlled cutting
This week was focused on cutting materials from 2D vectors. We used the vinyl cutter and the laser cutter to create designs on vinyl sticker and cardboard
VINYL CUTTER
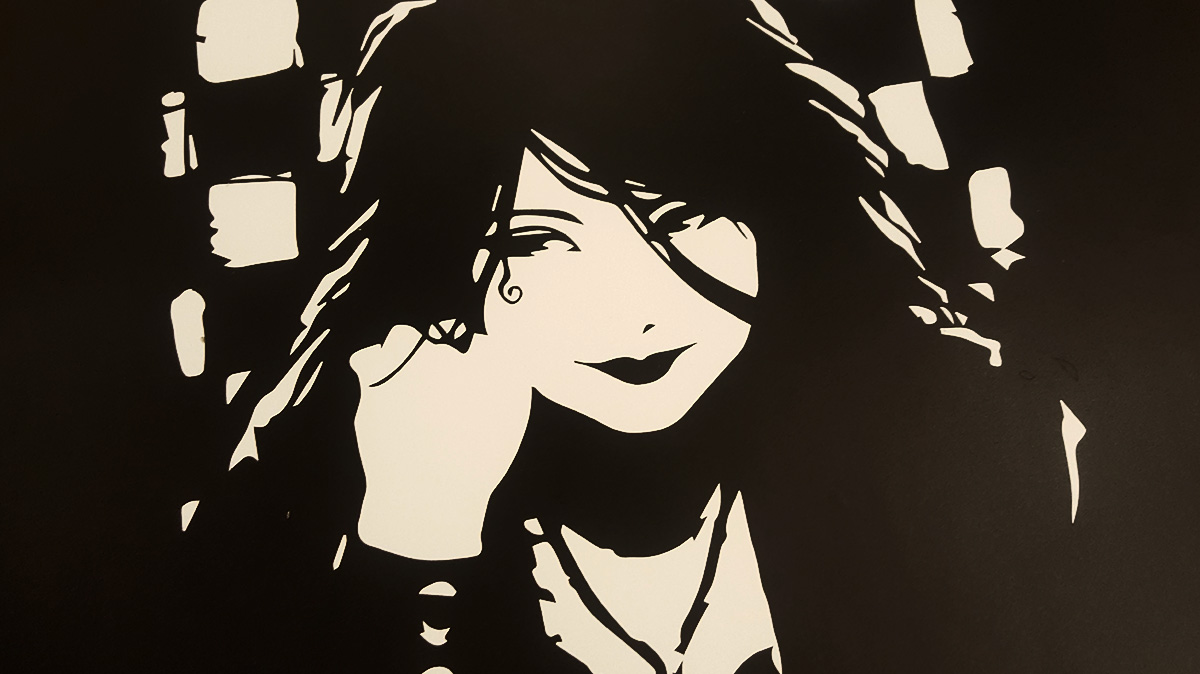
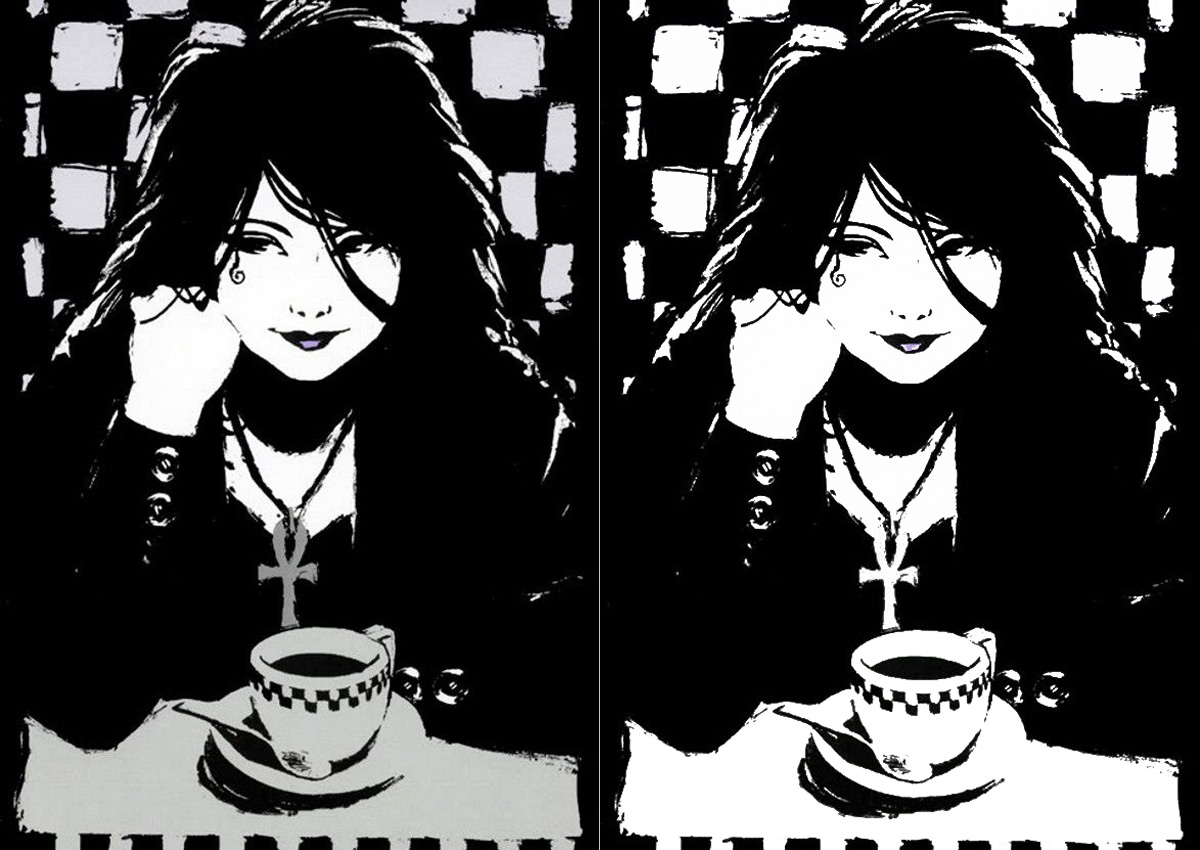
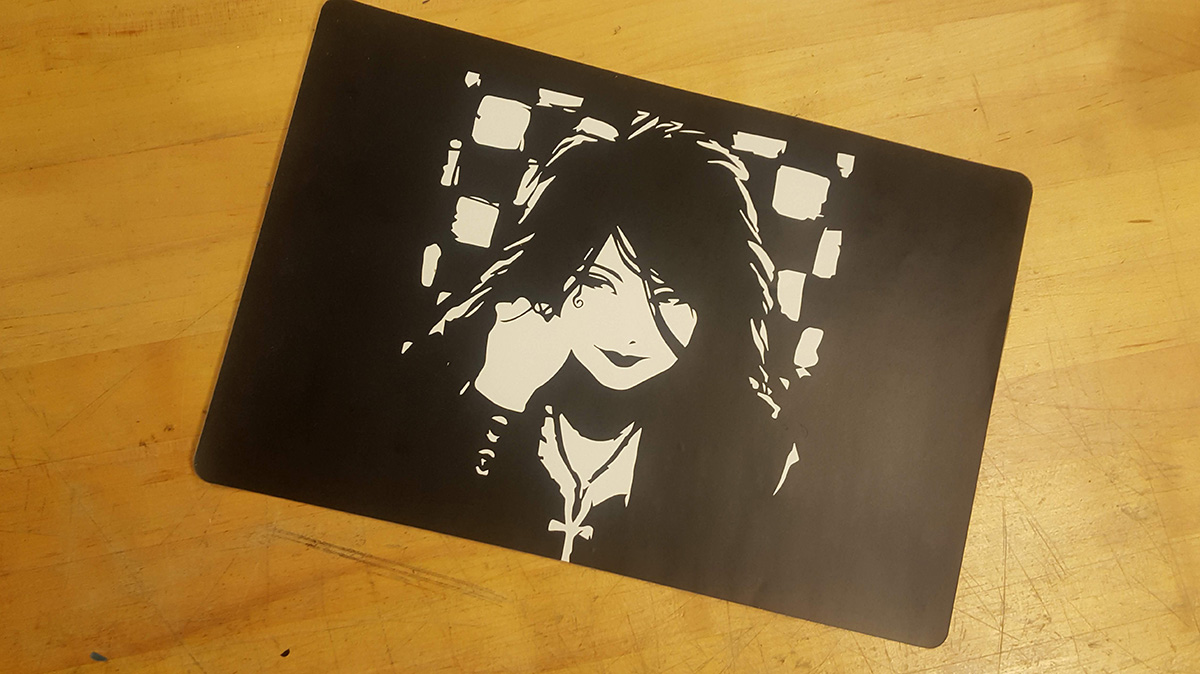
I started out by picking the image of a character from Neil Gaiman's Sandman comic books. The image already had a good contrast so I only had to use Photoshop to remove some shades of gray and purple, making it all black and white. After that, I opened it on Illustrator and vectorized it to send to the vinyl cutter
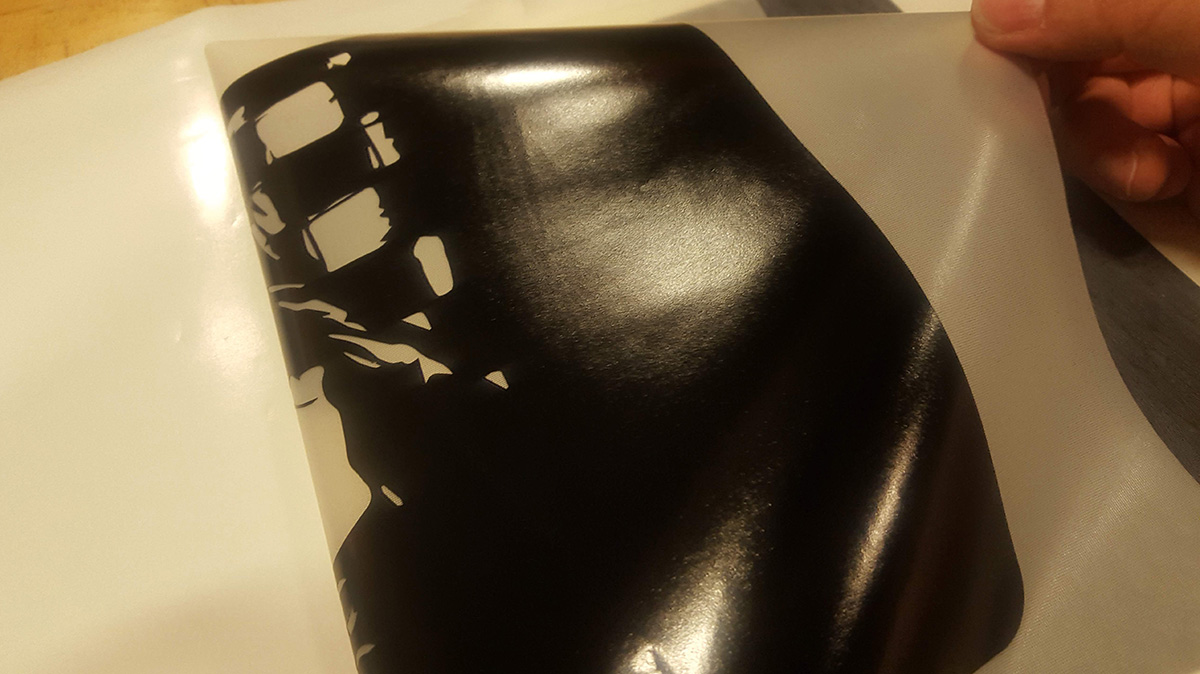
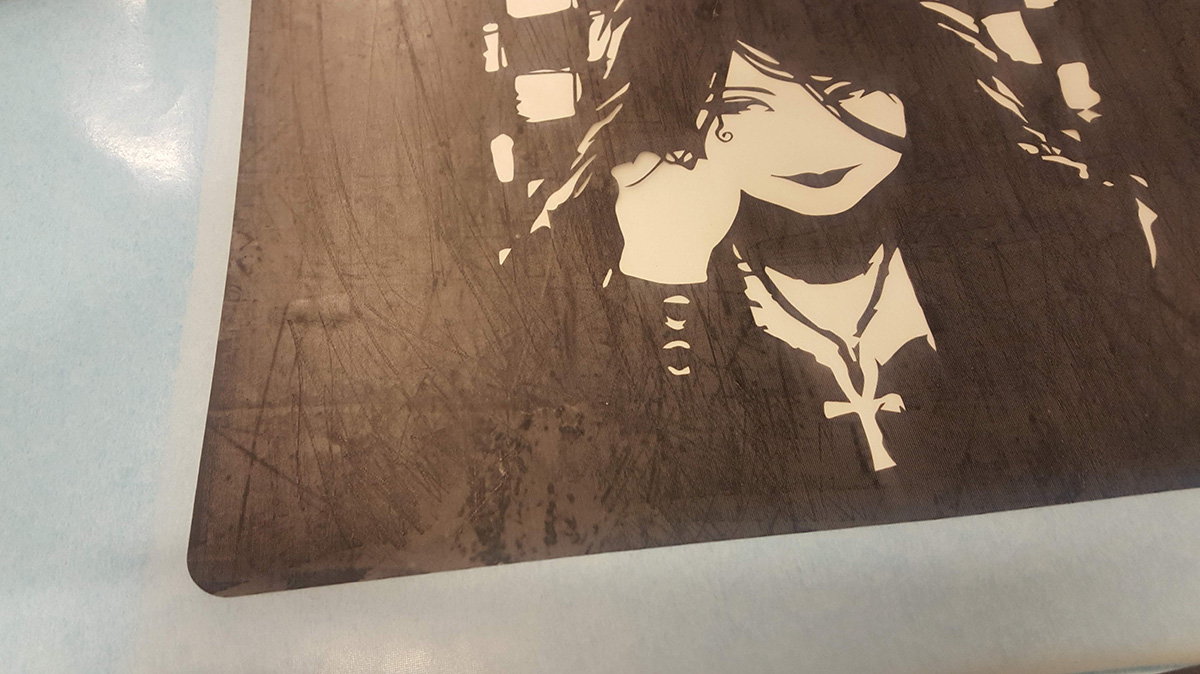
The image had quite a few small pieces to remove with pliers, but the hardest part, in my opinion, is to be able to do the transfer without bubbles. In my case that was extra hard, because I wanted to use the sticker to cover the whole front of my macbook, and if I left the face transparent it would be right in front of the Apple logo. So I decided to first put the black layer over a white sticker layer, then transfer it to my macbook. It was a large piece so lot of space to make mistakes and bubbles.
In my first try, I ended up getting lots of bubbles on the surface. Working with the vinyl cutter requires time and patience.
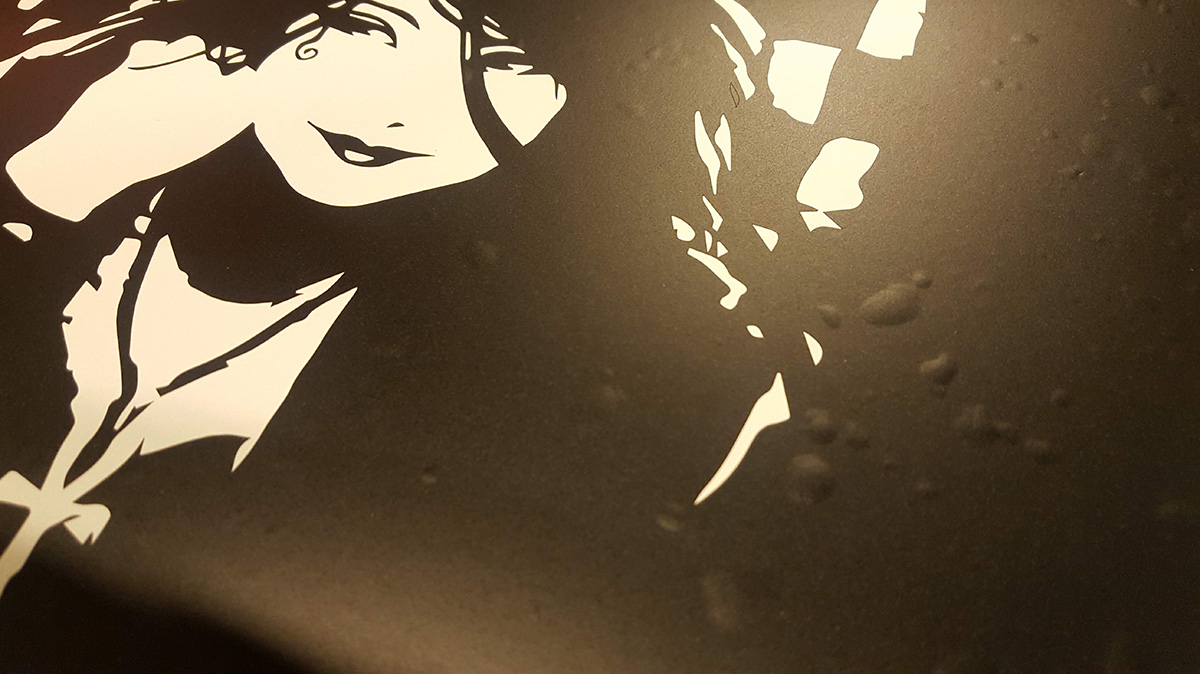
Second try was a lot better, but it took much more patience to get right. There were still two tiny bubbles, but for my first time using the vinyl cutter, I was satisfied.
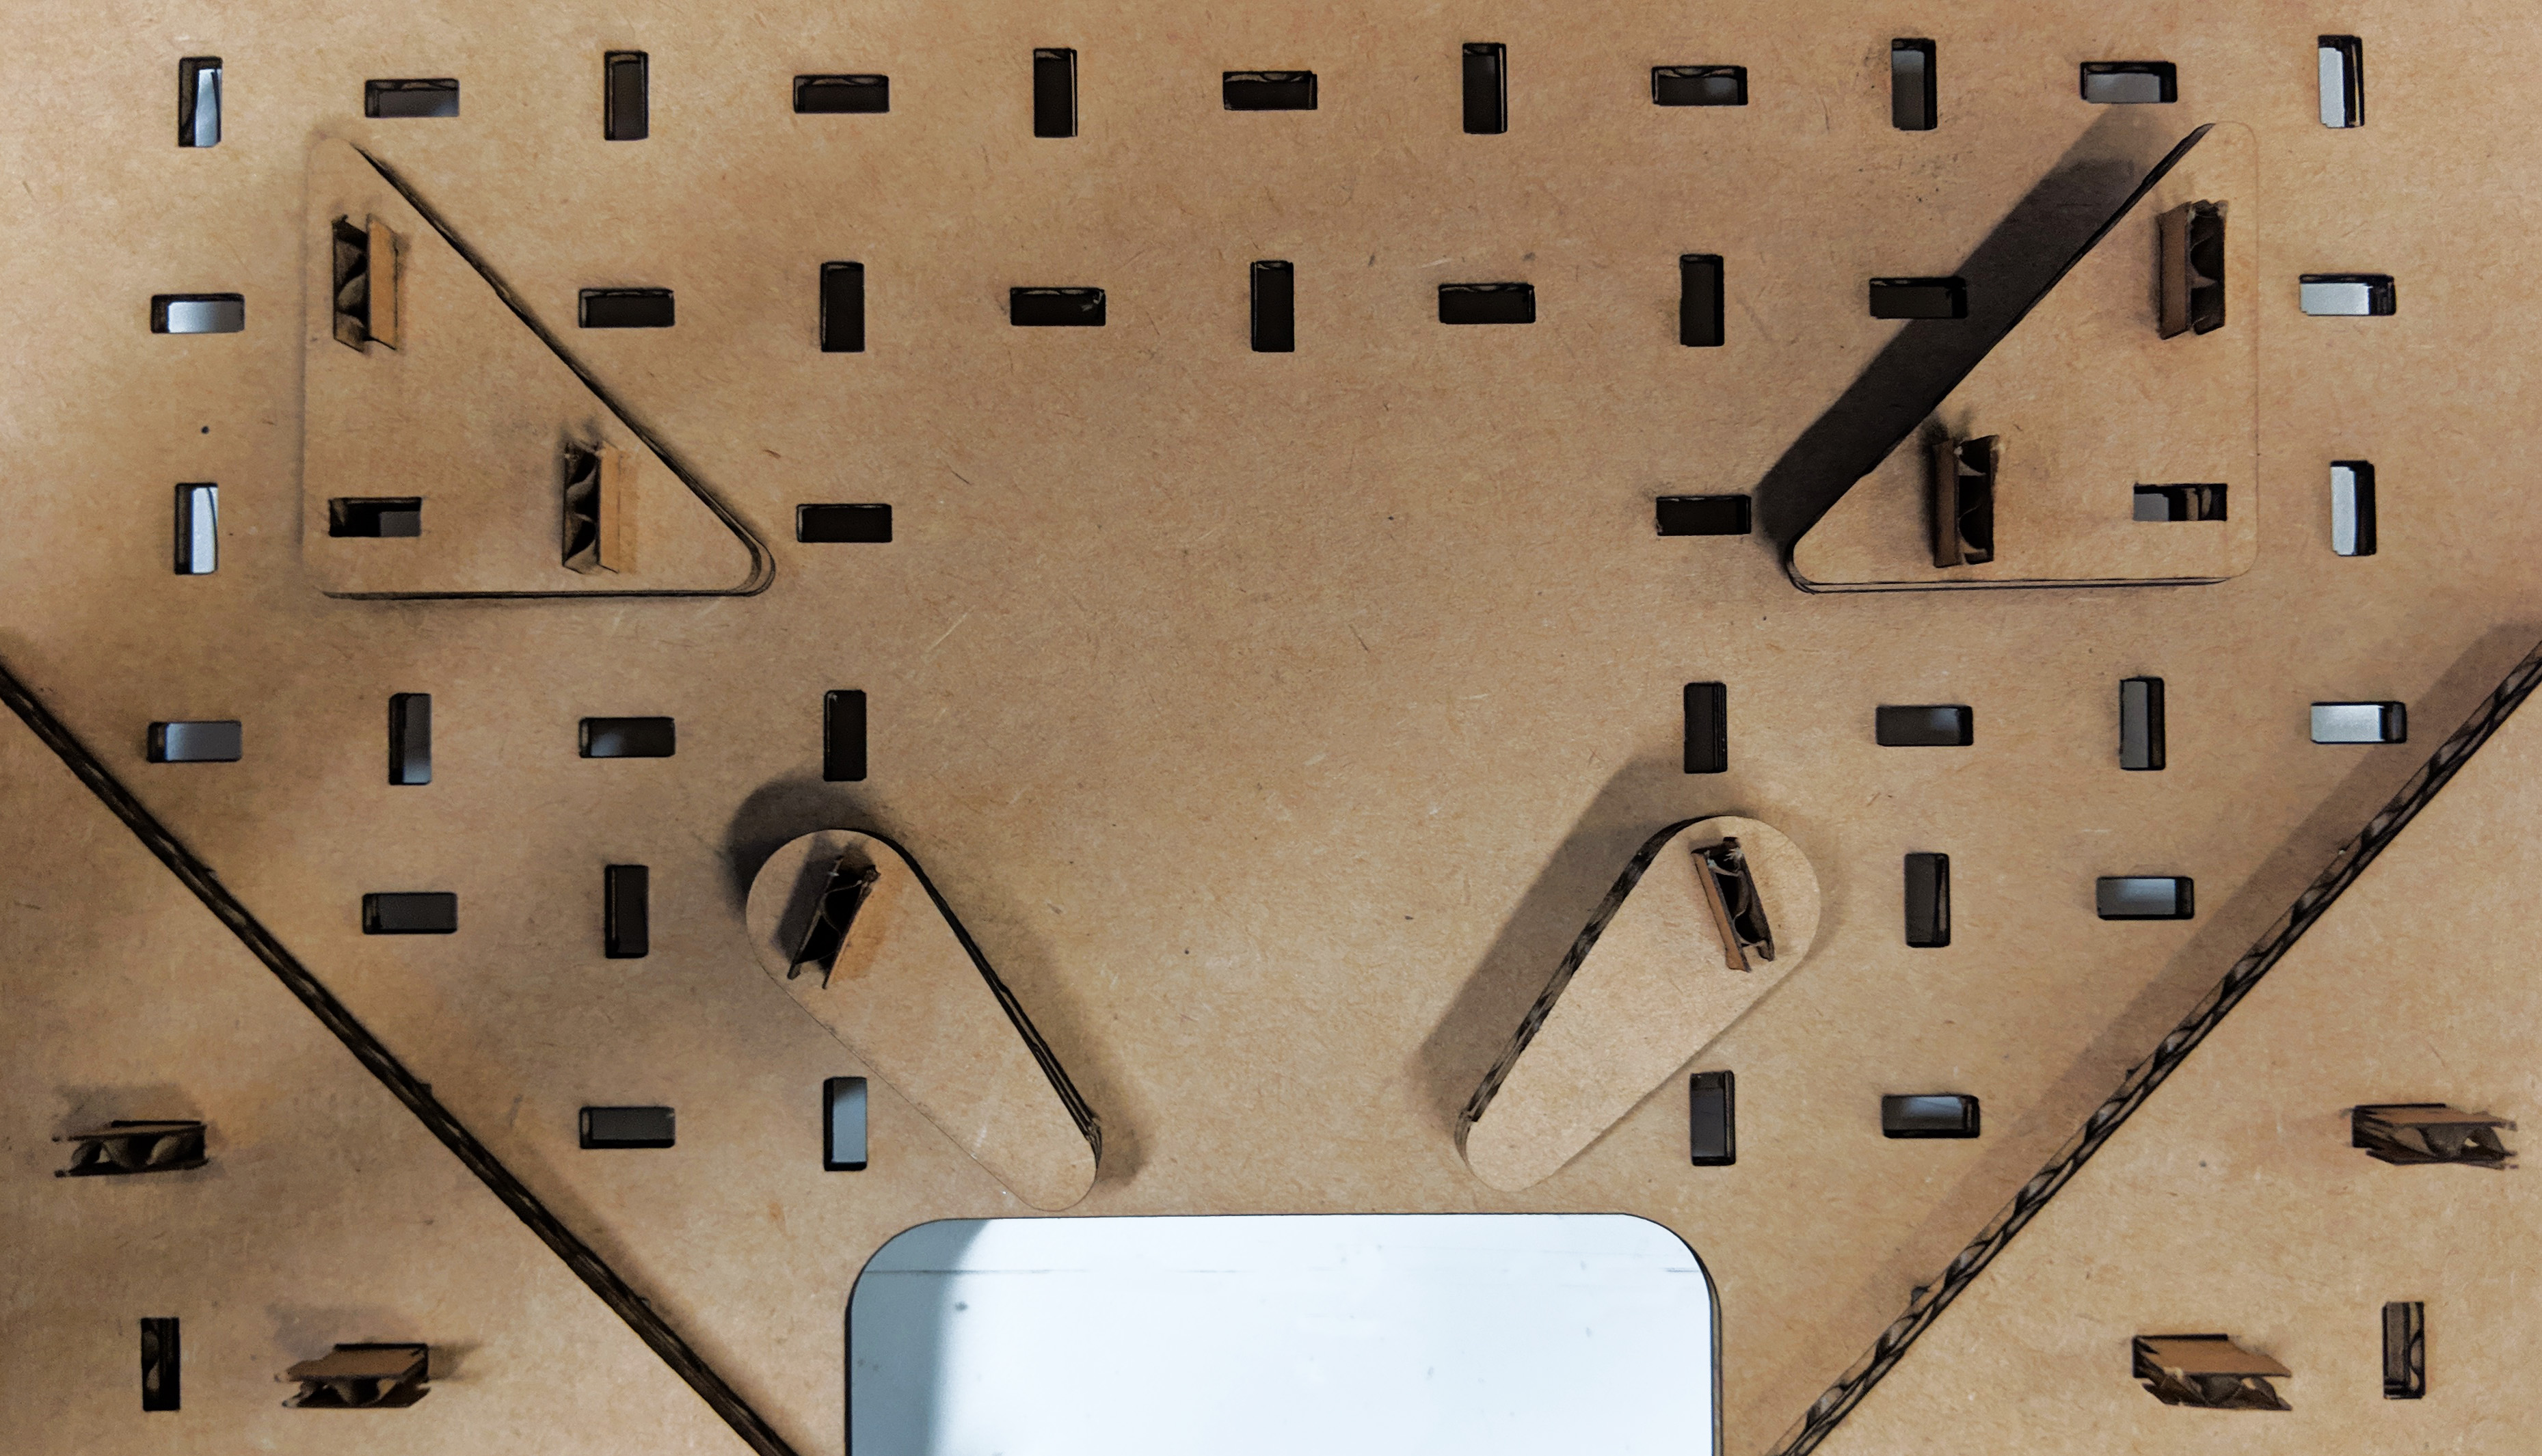
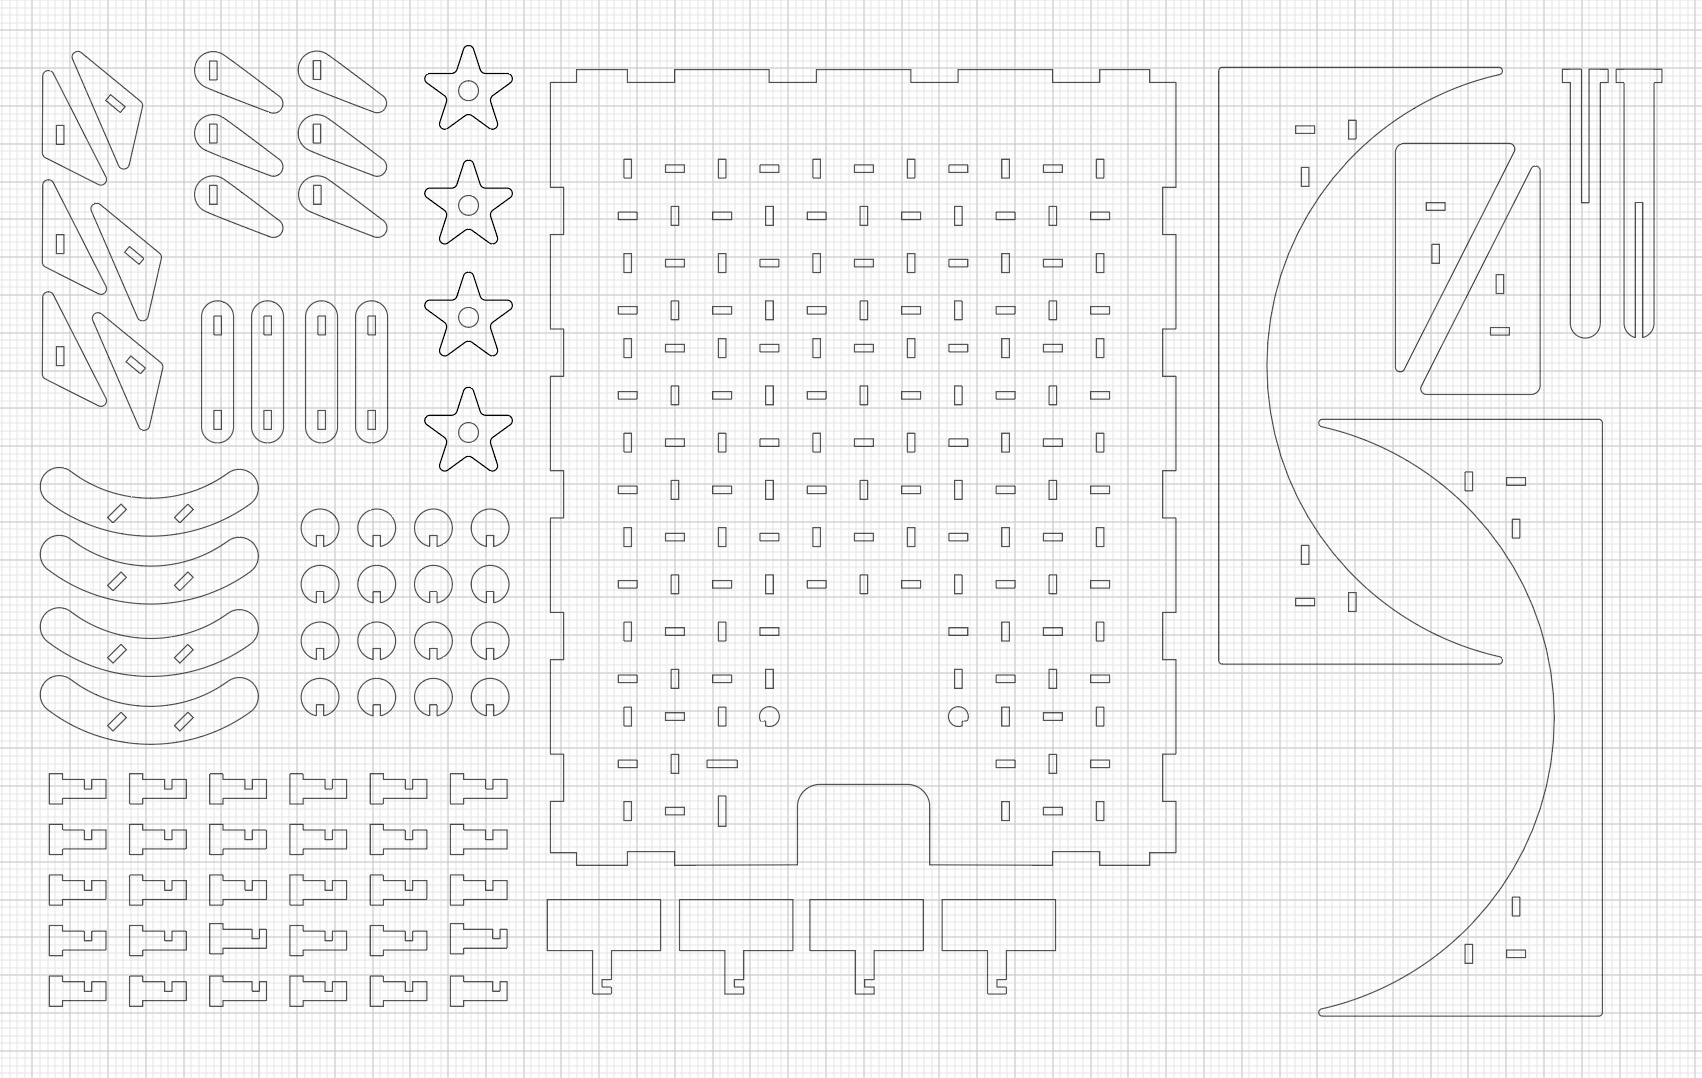
CARDBOARD KIT - LASER CUTTER
My idea for the cardboard press kit was to build a reconfigurable pinball machine. But because I ended up taking a long time with the vinyl, I did not spend that much time thinking on the cardboard design, and I got a few problems with stability. I have remade the design, and will post the update soon.