
Week 2 Electronics production
In this week, the task was to learn how to build a PCB from scratch. We learned how to use the endmill, traced and cut a board and soldered components into it. I had very little previous experience with electronics, and was eager to learn how to build a board (in this case, a programmer)
MILLING
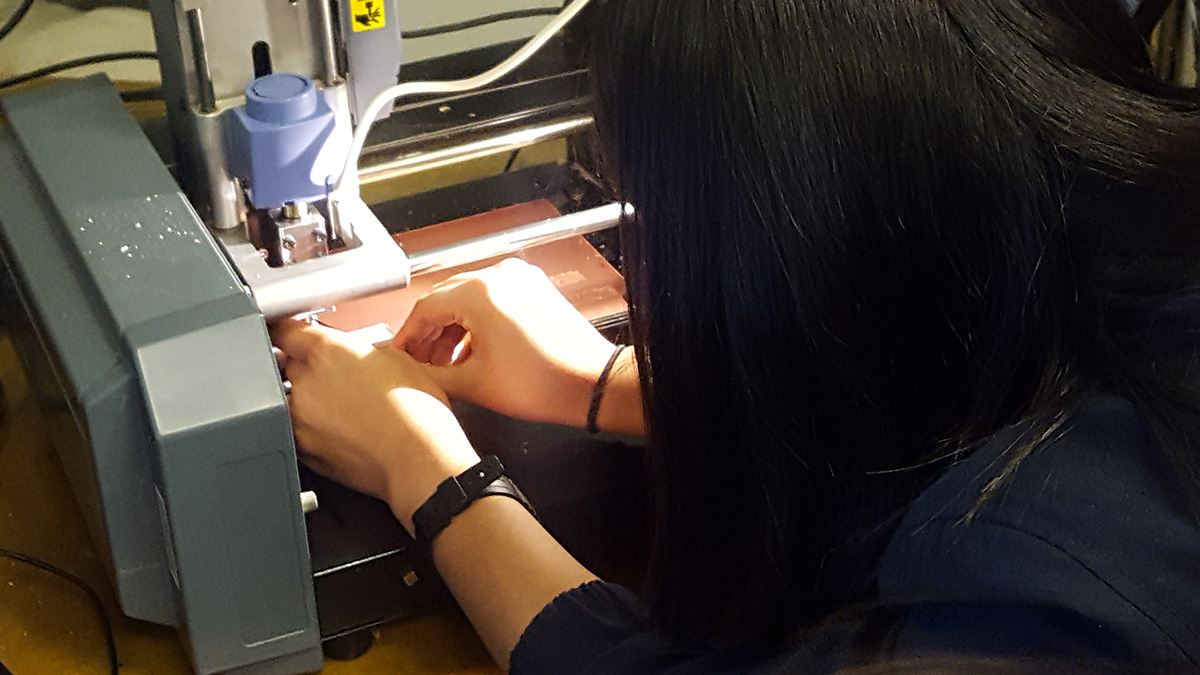
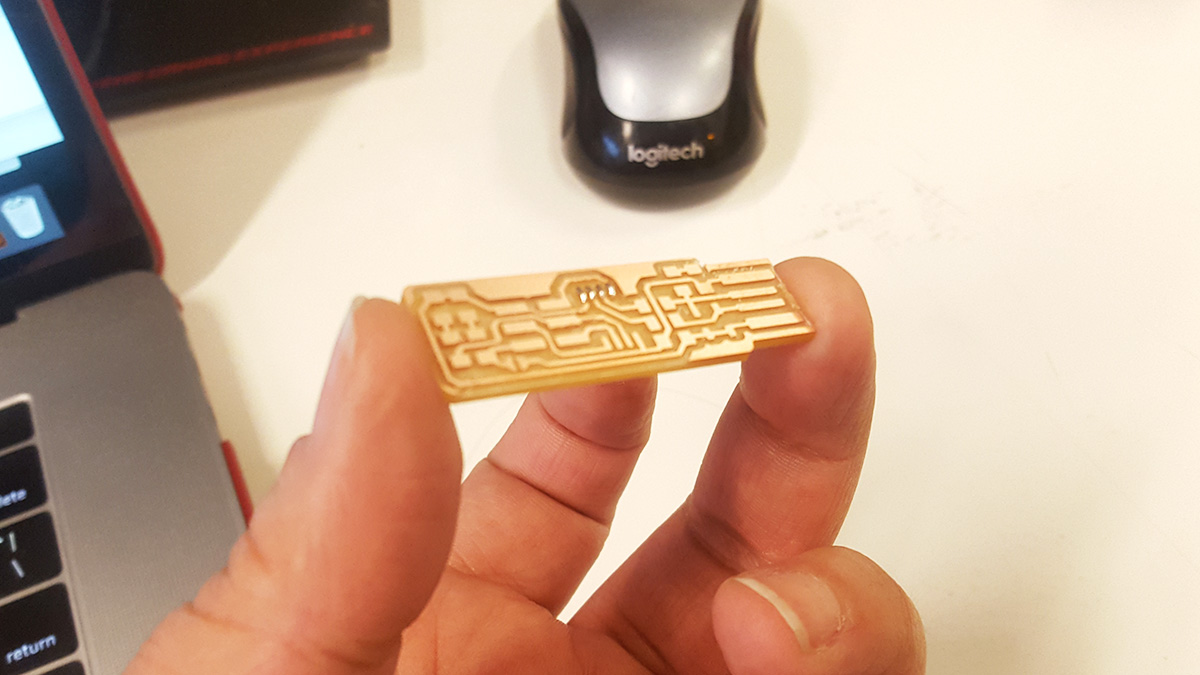
We first used the Modela milling machine as a group, to learn from each other and find out the problems that may arise. We decided to trace a few boards first, then change the endmill cut them out. But while adjusting the x and y positions, I made a mistake in the positioning and ended up losing 2 boards.
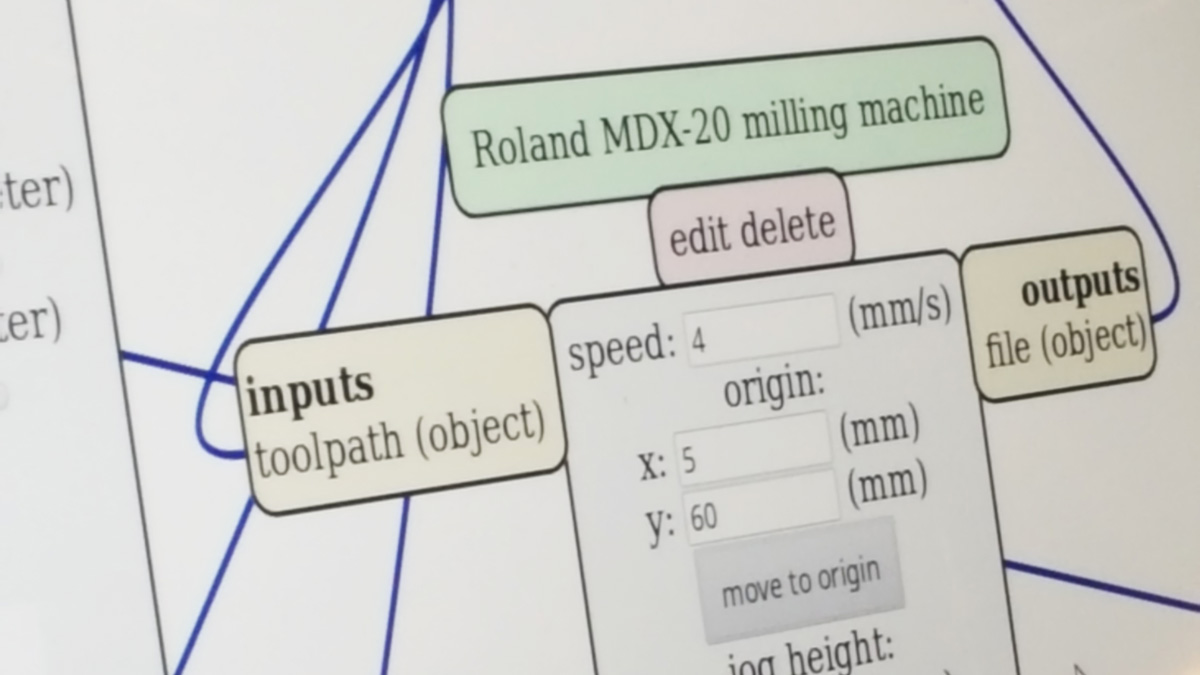
After cutting with the group, I decided to go back and cut again alone, to get a better understanding of the problems. I found it not that easy to change the endmills for tracing (1/64) and cutting (1/32), mostly because the endmill spins while we are moving the head up and down. In a given moment, while trying to move it up, the endmill got stuck even with the screws completely removed, and the machine would turn off every time I tried to move the head. Only by changing the endmill I could make it work.

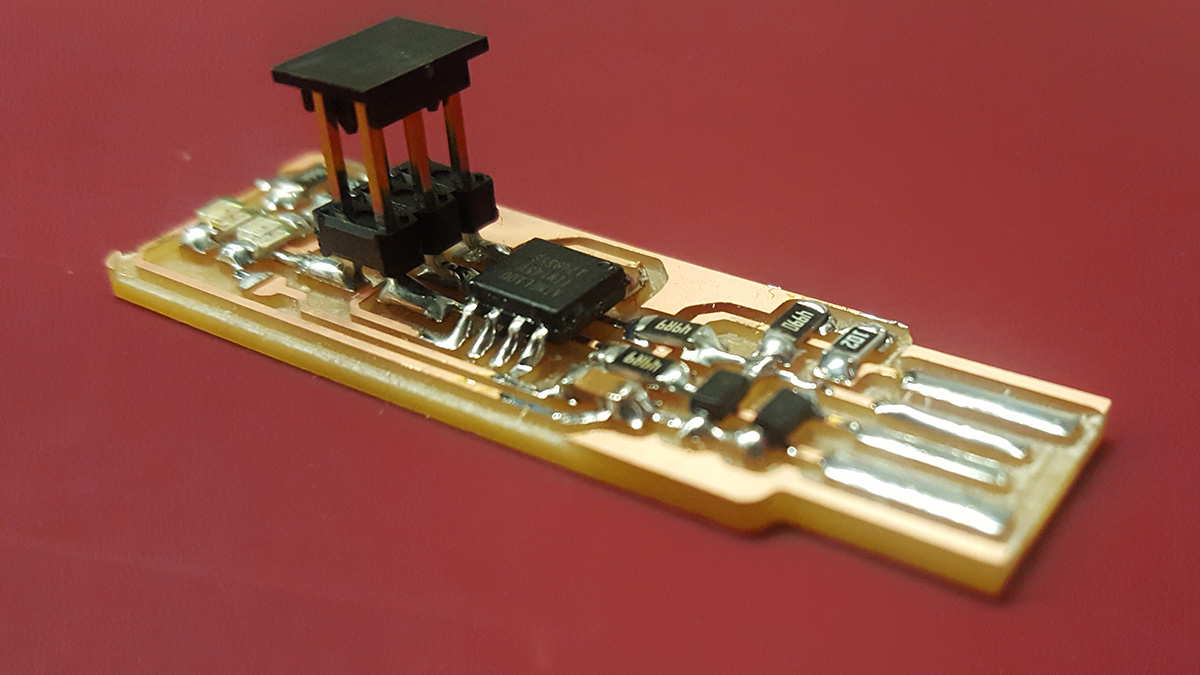
COMPONENTS AND SOLDERING
After cutting the board, it was time to separate the components following the instructions in Brian's page and prepare for soldering.
I had soldered larger components before, but never surface mount components. It was a lot harder than what I had done before, but it worked out after the first few tries. One thing that I had do remove and solder again was one of the zener diodes. The mark on it was very faint and I ended up soldering on the wrong side, but removing was simple by holding the component with the plier. I think the solder was decent, but can be improved with a cleaner iron (the one I used was a bit dirty).
