Week 4 Electronics Design
This week we continued the process of learning how to make electronics. While before we had just milled a board that someone else designed, this time we created our own board, milled and soldered it.
Eagle
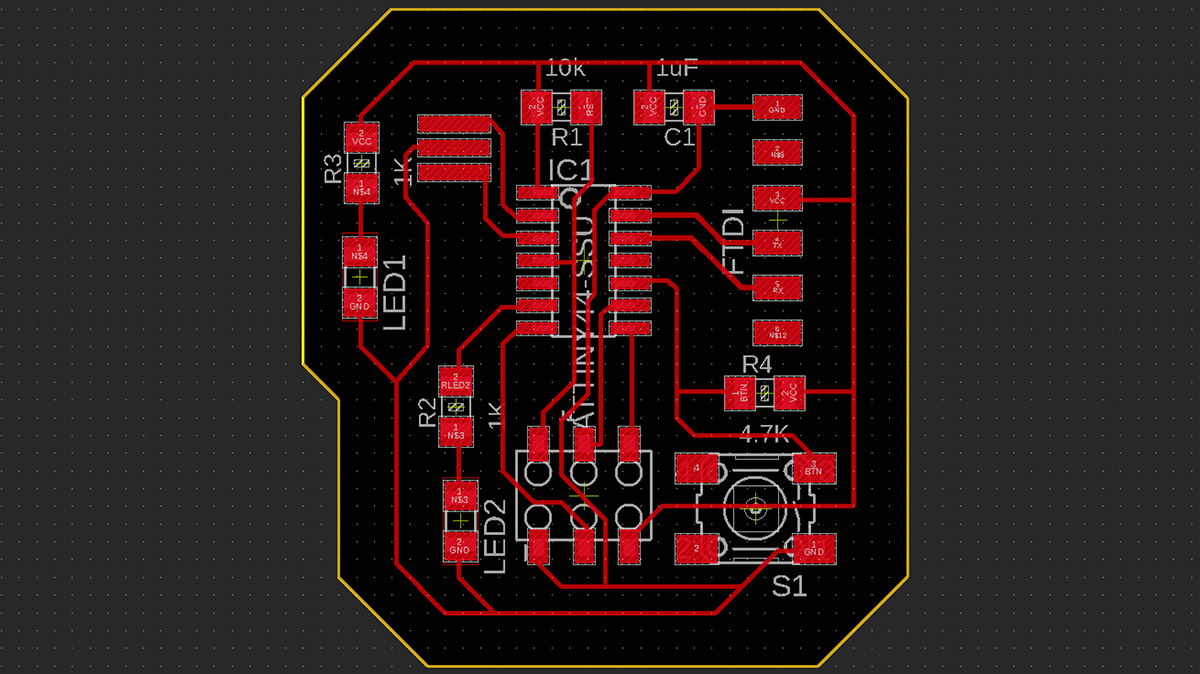
I am not a fan of Eagle's interface, and it took me a while to understand how it worked although I was present at the recitation. But after a while you get used to the interface. First I had done the schematics with all the wiring, and then I realized it would be a lot cleaner if I used the "label" tool and removed the wiring.
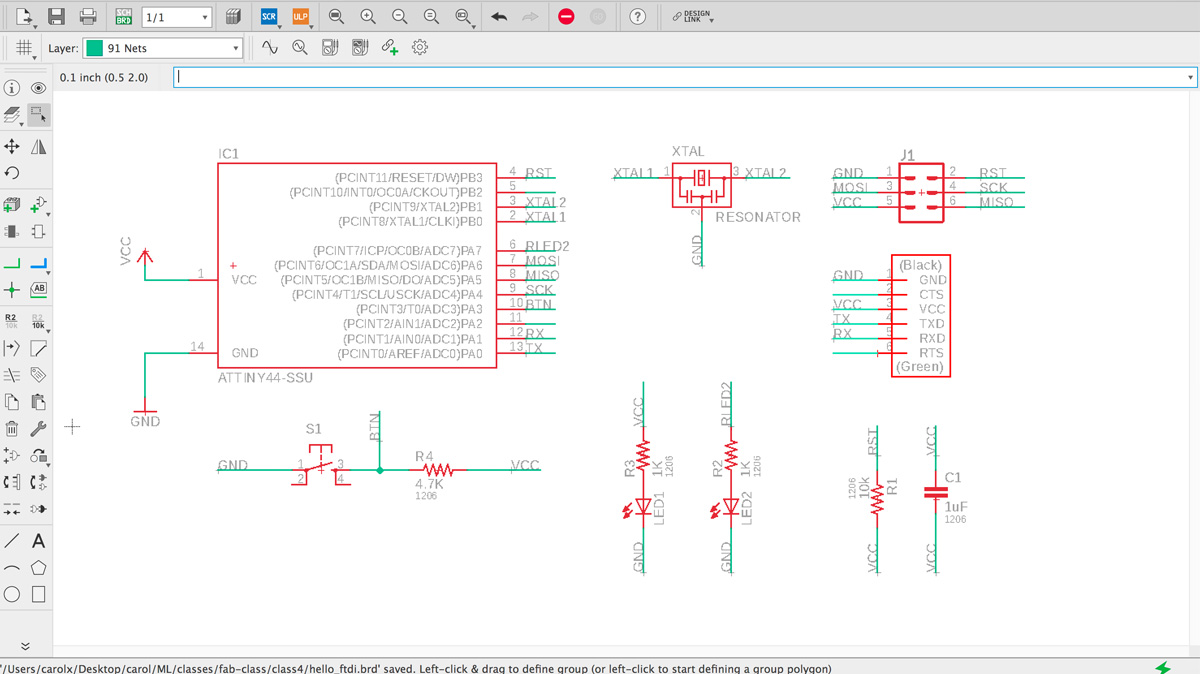
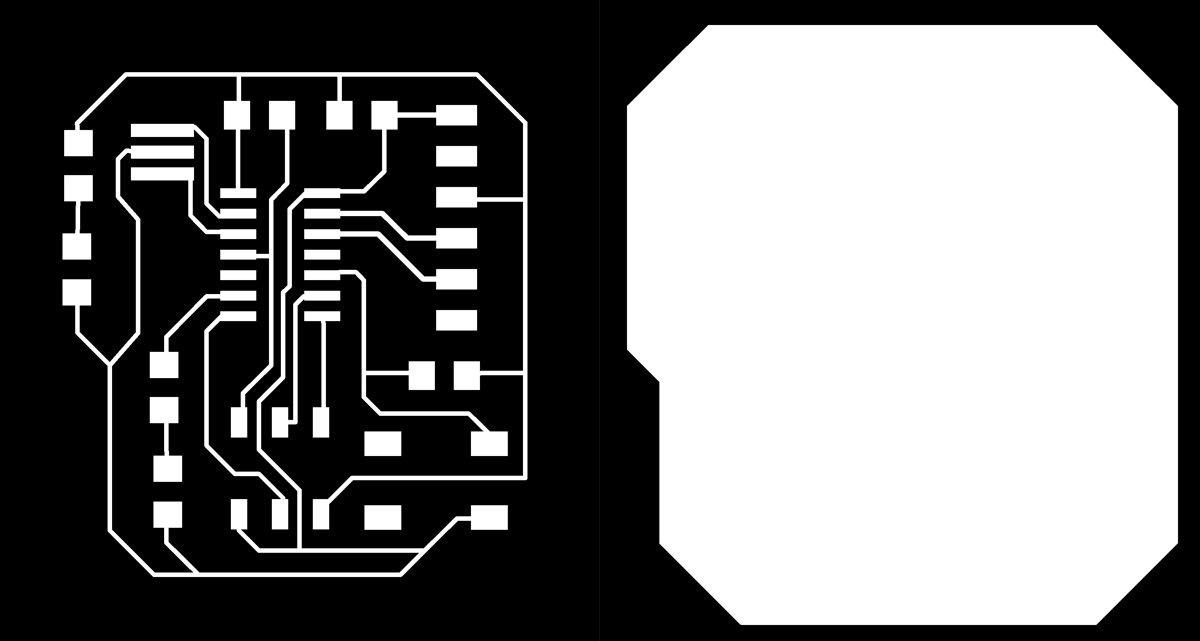
When I thought I was starting to master Eagle, then comes the time to route everything. It took me around 4 hours to figure out how the routing should be done and export the image.
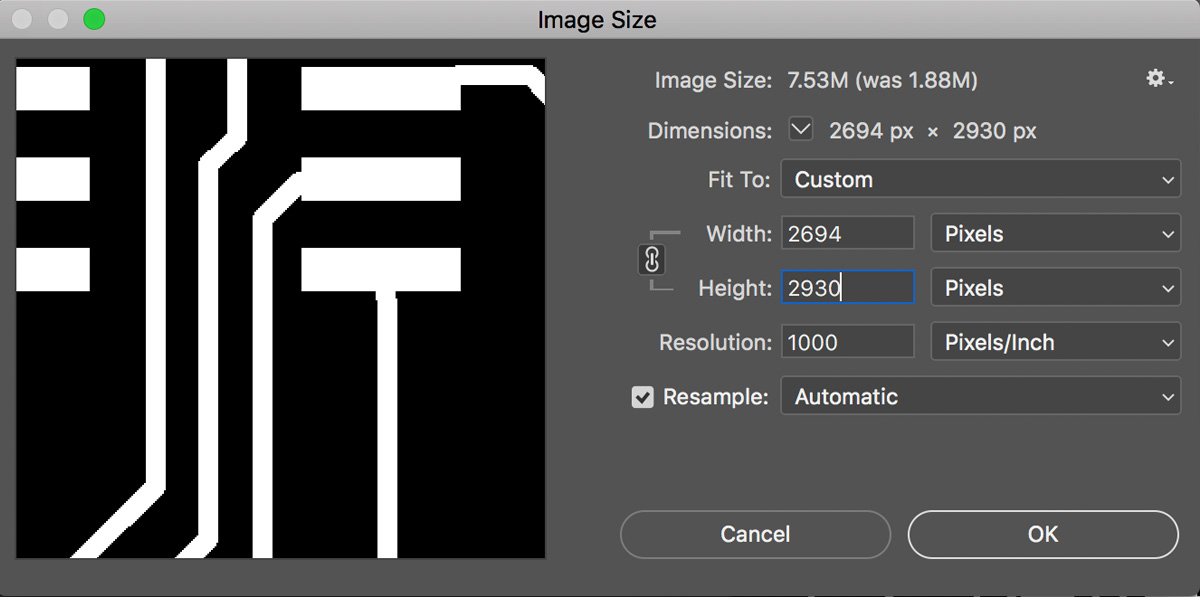
One thing to note is that if you have a mac with retina display, the image will be exported with double the size. So in that case you need to open the exported image and halve its size (not the dpi). In the image below, for example, the intended height was 1465px.
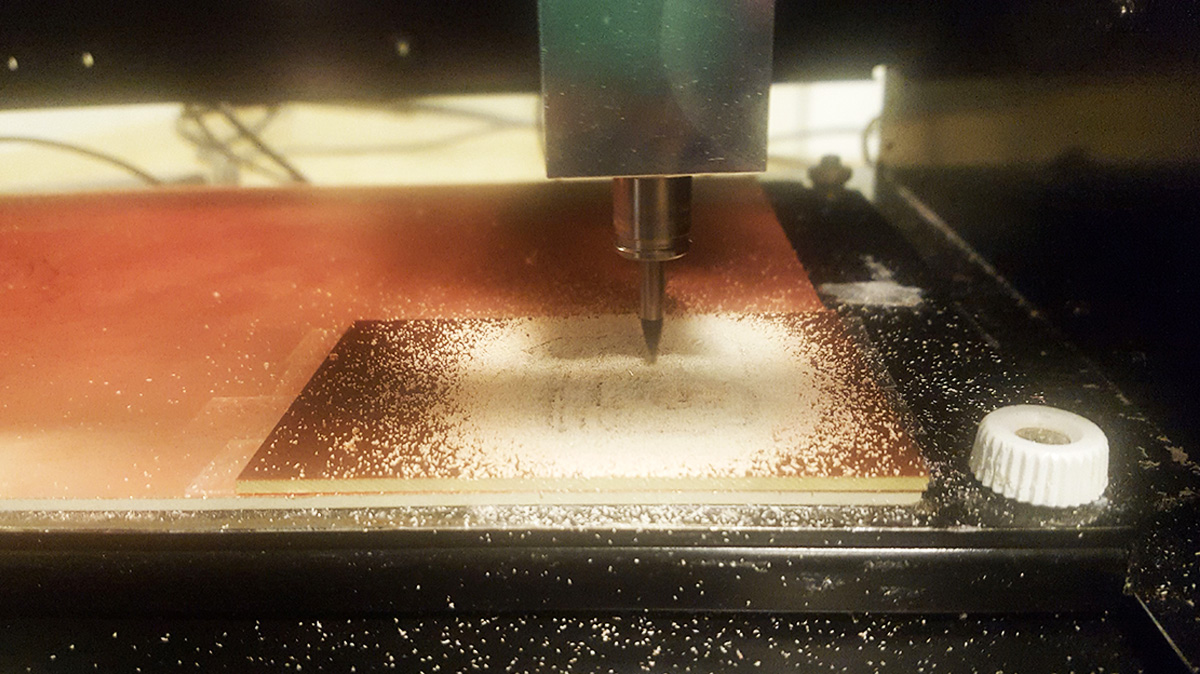
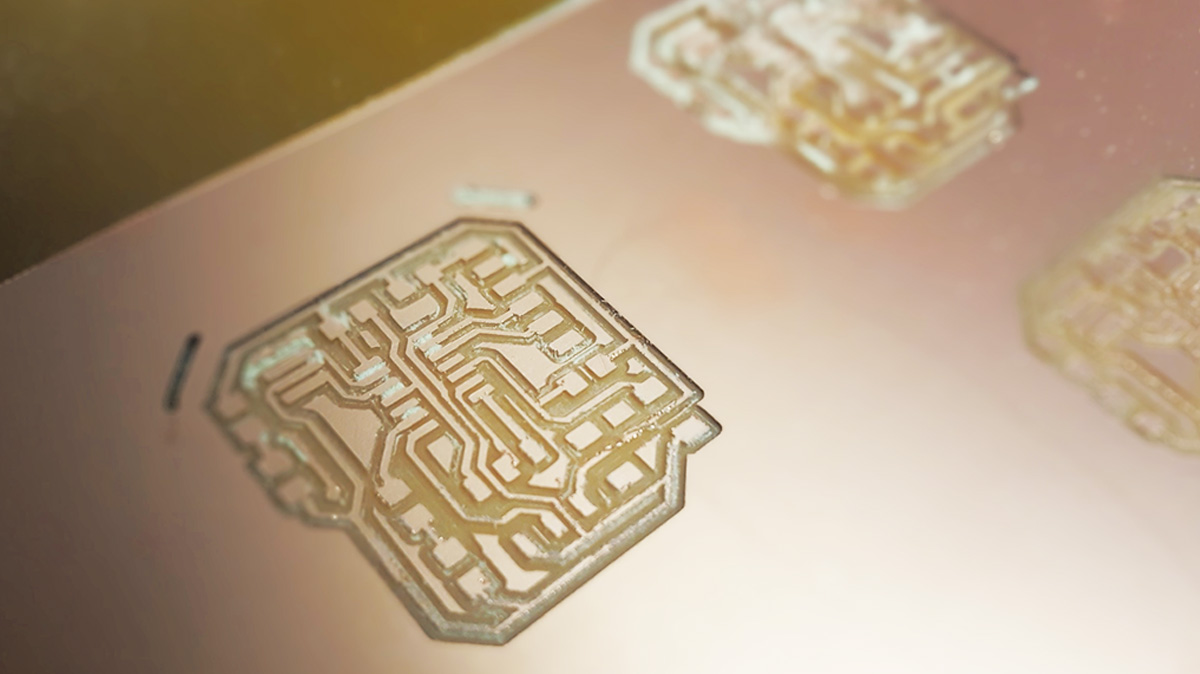
MILLING
We had already done milling before, and I thought I had figured it out, but apparently there's lots of ways to mess up. In my case, although I had pressed the copper board against the sacrificial layer to make sure it was leveled, part of it was warped so the back part was not as leveled as the front. As a consequence, the end mill broke when I got to the outline part.