
Week 11 Interface and application programming
For the interfacing assignment, I decided to use a thermal camera and a webpage programmed in javascript. Since this week was focused on programming, I thought of using a commercially available device for input.
The device I used is the Lepton FLIR Dev Kit with a Raspberry Pi. I had them bought a few weeks ago for a project in which I would create an interactive projection, and I wanted to explore this module a bit more with OpenCV.
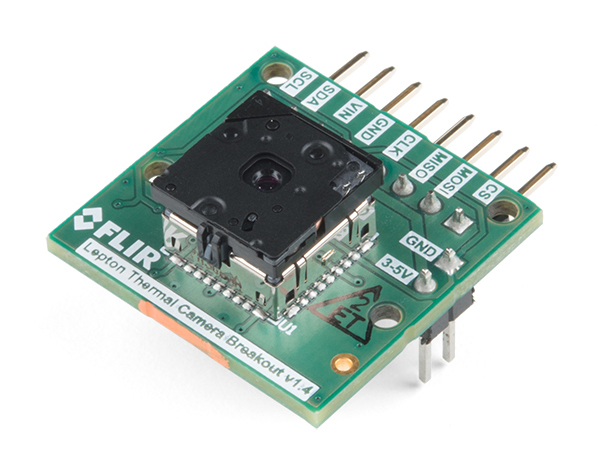
The Lepton FLIR module connects a thermal image sensor to your Pi. It is basically a longwave infrared 80 x 60 pixel camera that works in darkness. While looking for a way to detect humans in a scene easily without using image recognition, I thought this would be a good way. There might be confusion with warm lamps, animals or other warm objects in the scene, but if you have control of your space it's a great way to create interactive projections or visualizations on screen.
Hookup with the breakout is pretty straightforward. There's some tips at the Sparkfun guide. I used a Raspberry Pi 3+, look for the pin locations in your board in case you are using a different one.
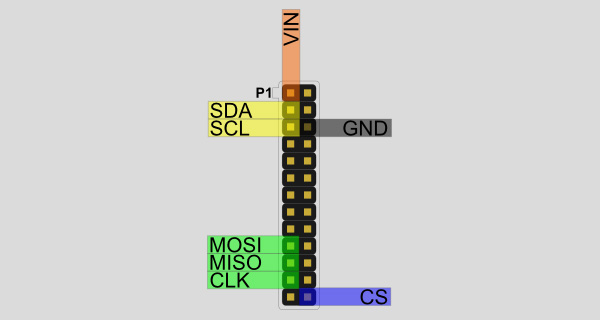
An important thing to remember is that the breakout connection with the camera is a bit defective. If your code stops working with no aparent reason, try disconnecting and connecting the camera from the board. I chose to secure it in place using a plastic film
CAPTURING IMAGES
For capturing and modifying images from the camera sensors, download the pylepton library. The github page has examples on how to capture single images, but here's my code to do it sequentially, like a video:
import numpy as np
import cv2
import time
import imutils
from pylepton import Lepton

# the original image is 80 x 60,
# this variable is for multiplying that size
resizeFactor = 10

# for capturing data from the module
with Lepton() as l:
    while True:
      a,_ = l.capture()
      cv2.normalize(a, a, 0, 65535, cv2.NORM_MINMAX) # extend contrast
      np.right_shift(a, 8, a) # fit data into 8 bits
      frame = np.uint8(a)

      # enlarge a bit
      largeFrame = cv2.resize(frame, (80*resizeFactor, 60*resizeFactor))

      # show the frame on window
      cv2.imshow("preview", largeFrame)

      # close window if 'q' key is pressed
      if cv2.waitKey(1) & 0xFF == ord('q'):
        break

      # wait this amount of seconds before next frame
      time.sleep(0.1)
If you have never used OpenCV, pyimagesearch website has useful step-by-step tutorials on how to install OpenCV if you are unsure about how to do it.
When you run the code sample I gave and move your hand over the camera, you will see that your hand is shown in lighter tone, because it is probably the warmer thing in the camera's field of view. Ceiling lamps and other warm things will also show as bright objects, if present.

With the magic of OpenCV, we can isolate these bright spots in the image and work on animations that change according to the position of your hand or body. This will work even in darkness!
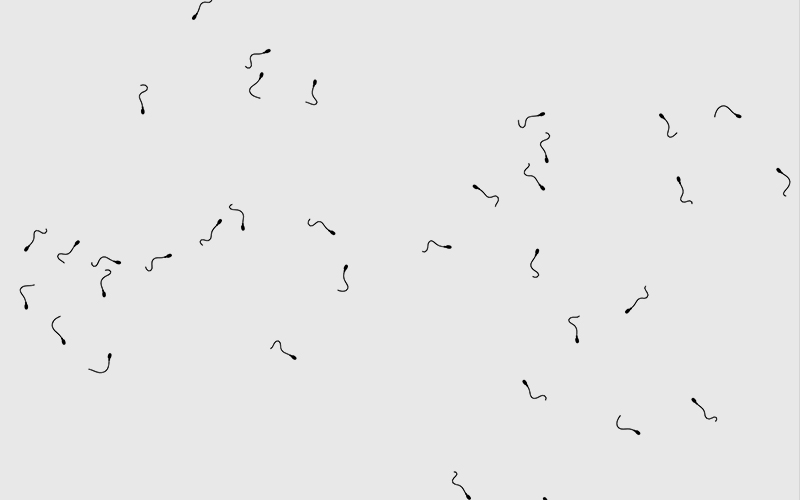
The idea was to make the tadpoles flock around the image of the hand, but for lack of time, I coded it so tadpoles would swim towards a central position of the hand.