
Week 6 Embedded programming
This week it was time to upload some code into the board we built last week. Initially, this week's assignment was a fail for me. Although I was used to coding, the process of uploading the code to the board was a bit confusing. To make it worse, the FabISP board I made weeks before stopped being recognized as a USB device...
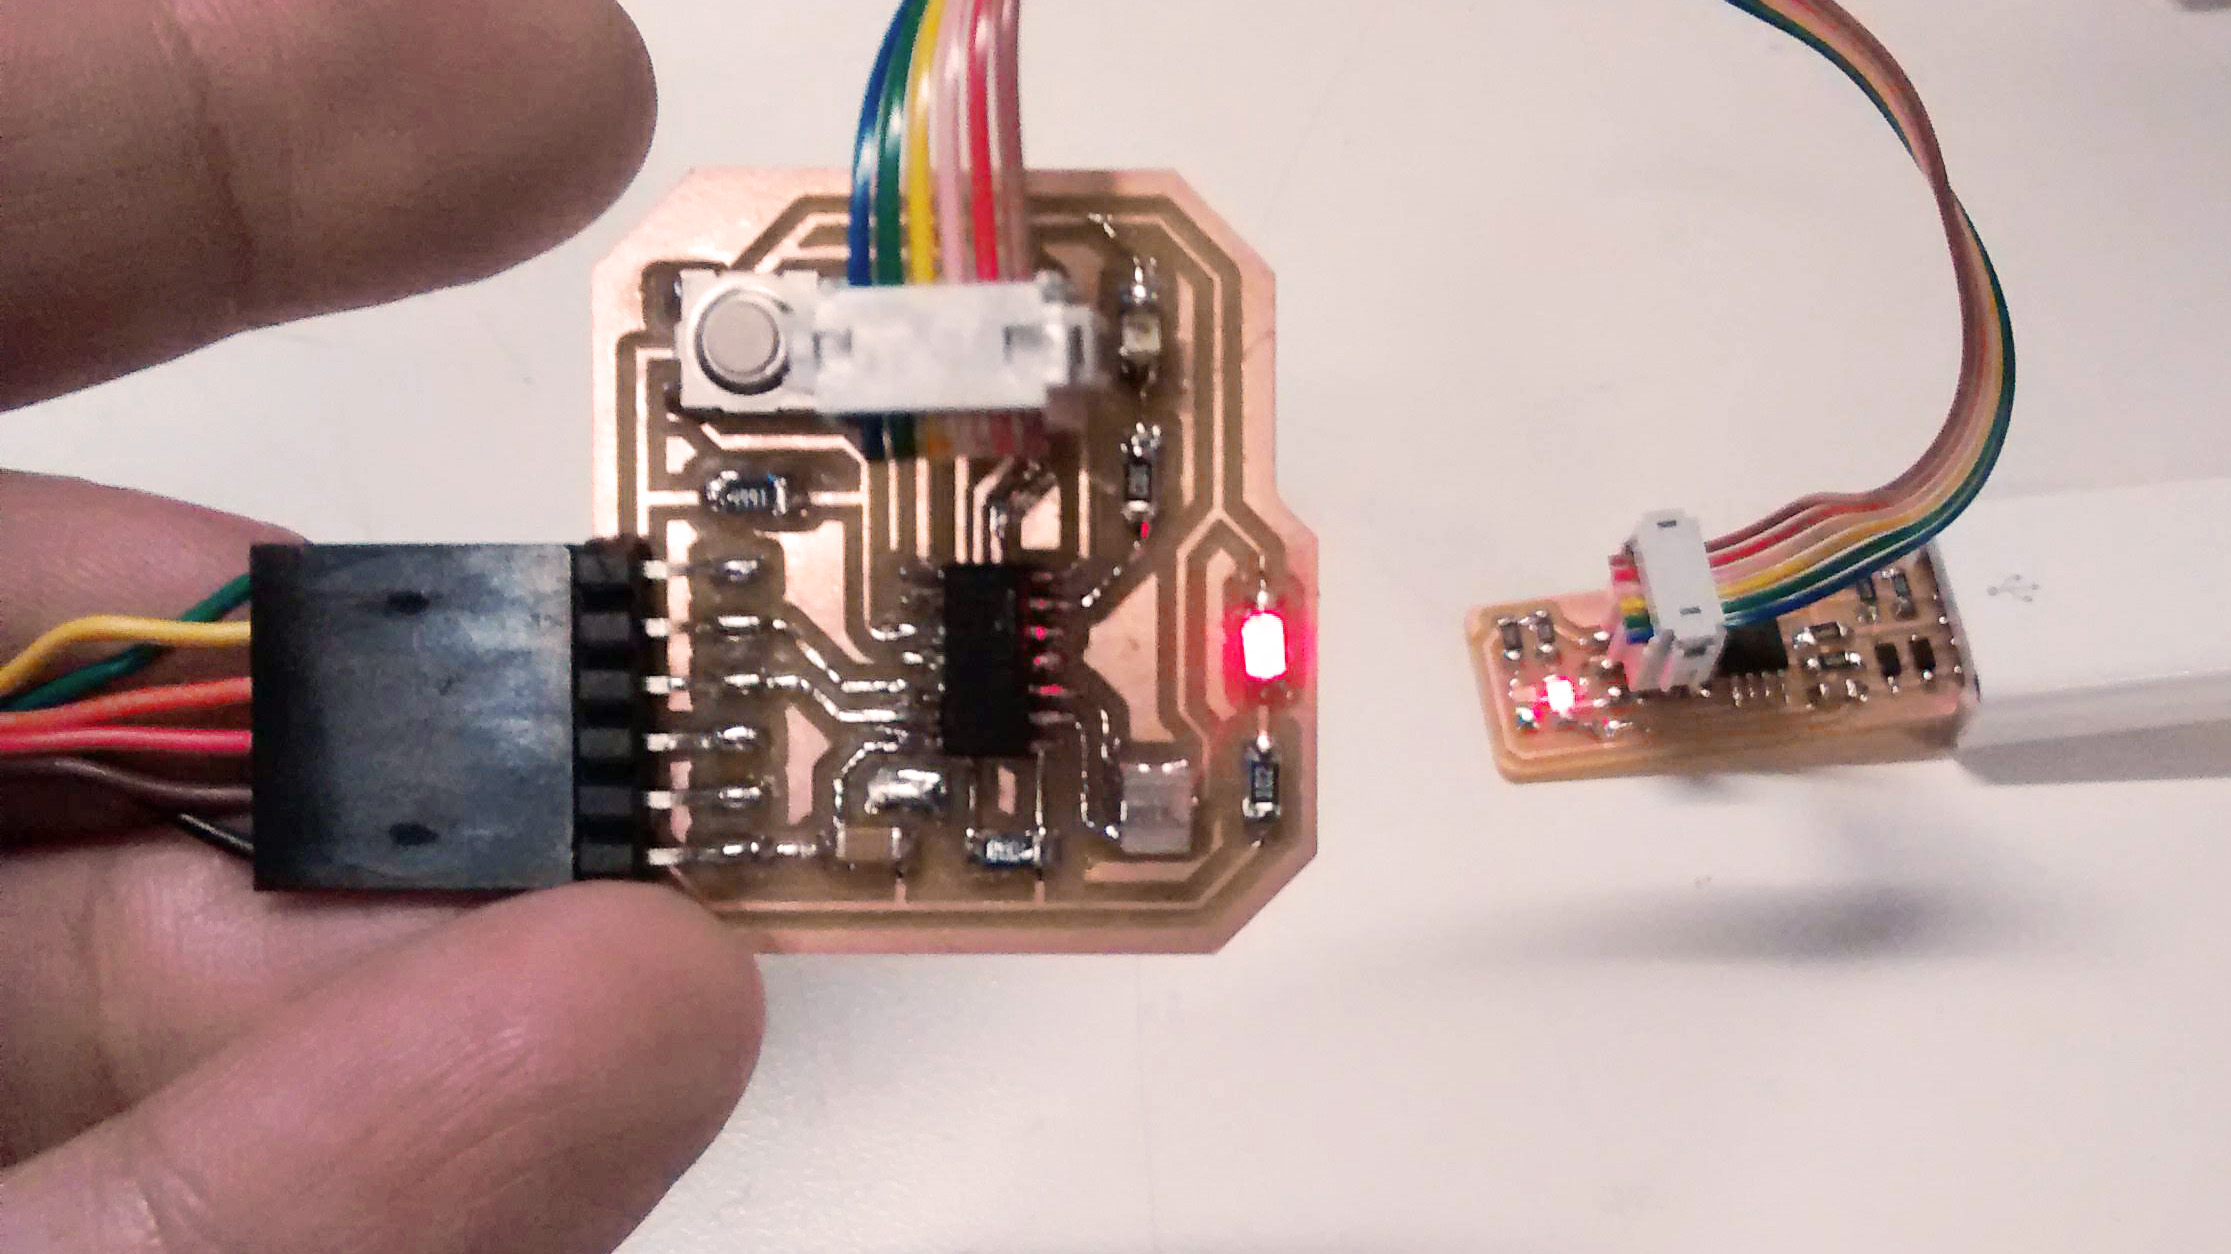
I tried resetting the ports on the mac and making connection tighter, but that did not work. So I made a new board, which finally worked out.
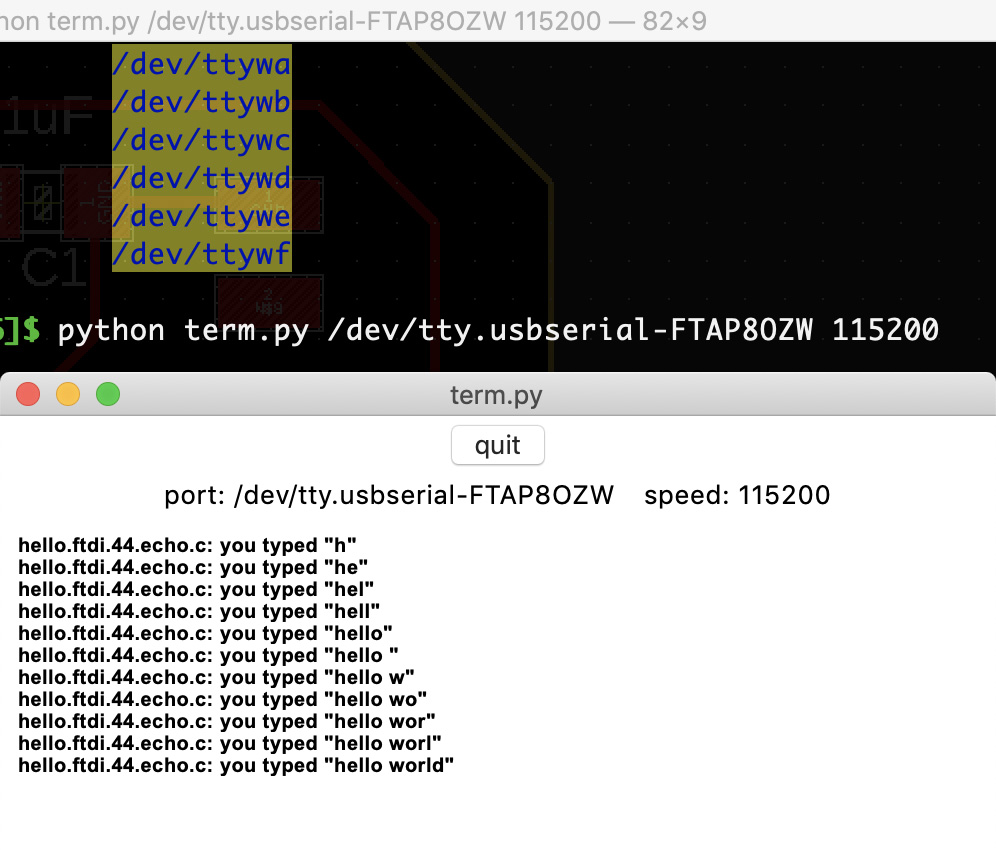
After following these steps, I tried the "Hello World" example, which worked on the first try. Yay!
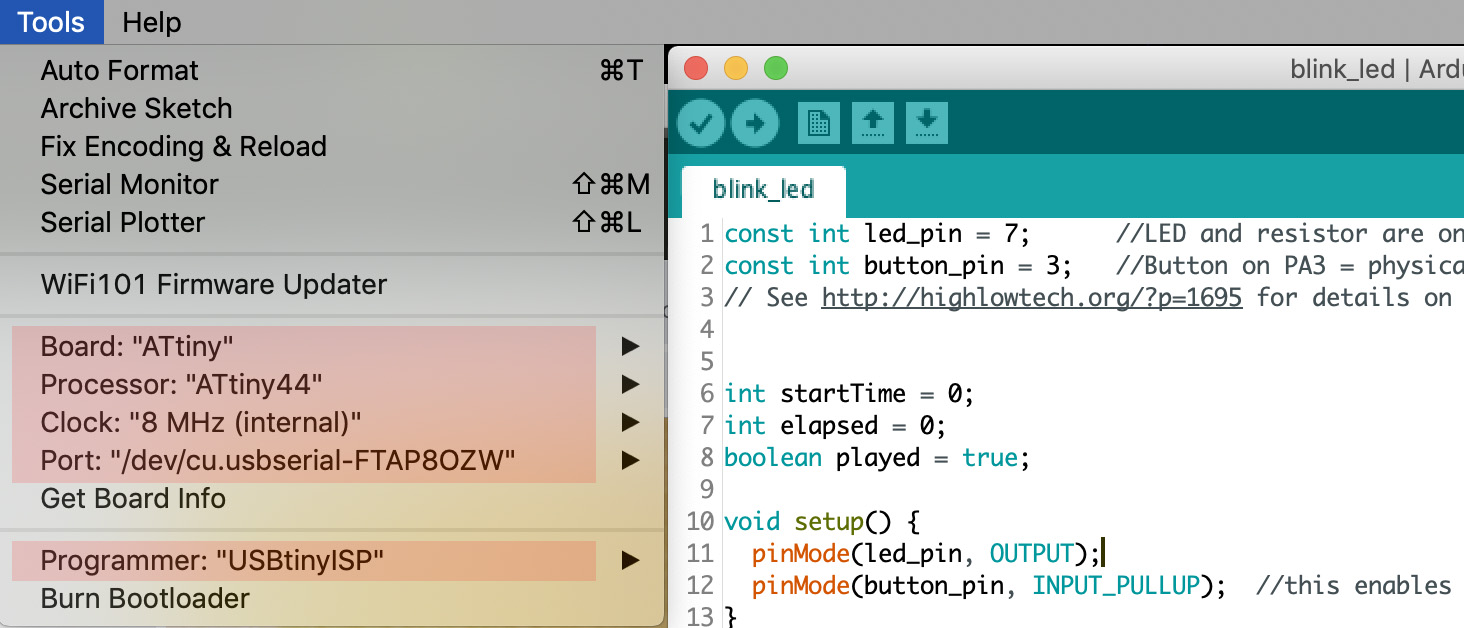
I then proceeded to test the upload using Arduino IDE. If you do that, remember to check the settings on the Tools menu. Mine were as in the image below. More details in this page at HighLowTech.org
Finally, I changed the sample button code so that it would remember how long the button was pressed, and light up the LED for the same length of time.
This is my code for the copycat LED, which will copy the length of time of the button press. This code simply counts the milliseconds elapsed between press and release, and adds a delay after turning on the LED:
const int led_pin = 7;      //LED and resistor are on pin 7 in Arduino tiny library.
const int button_pin = 3;   //Button on pin 3 in Arduino speak
// See http://highlowtech.org/?p=1695 for details on using Arduino libraries for Attiny microcontrollers.

int startTime = 0;
int elapsed = 0;
boolean played = true;

void setup() {
  pinMode(led_pin, OUTPUT);
  pinMode(button_pin, INPUT_PULLUP);
}

void loop() {
  if(digitalRead(button_pin) == LOW){
    if(startTime == 0){
      startTime = millis();
    }
    elapsed = millis() - startTime;
    played = false;

    digitalWrite(led_pin, LOW);
  }else{
    if(played == false){
      digitalWrite(led_pin, HIGH);
      delay(elapsed);
      played = true;
      startTime = 0;
    }else{
      digitalWrite(led_pin, LOW);
    }
  }
}