Laser Cutting and FreeCAD
For me, this week has mainly been about remembering the basics of modeling. Working with FreeCAD was a nice refresher, and after a bunch of scrapped attempts to create some parts, I finally got into the workflow.
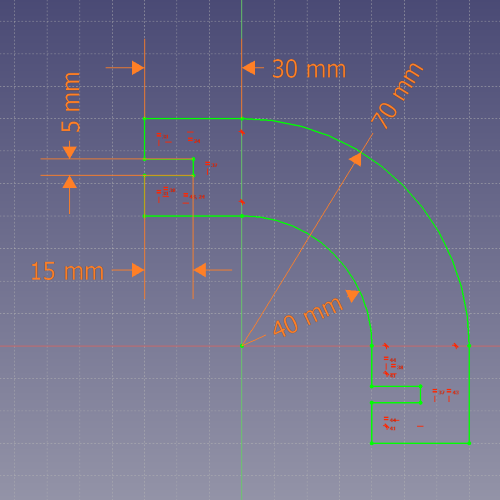
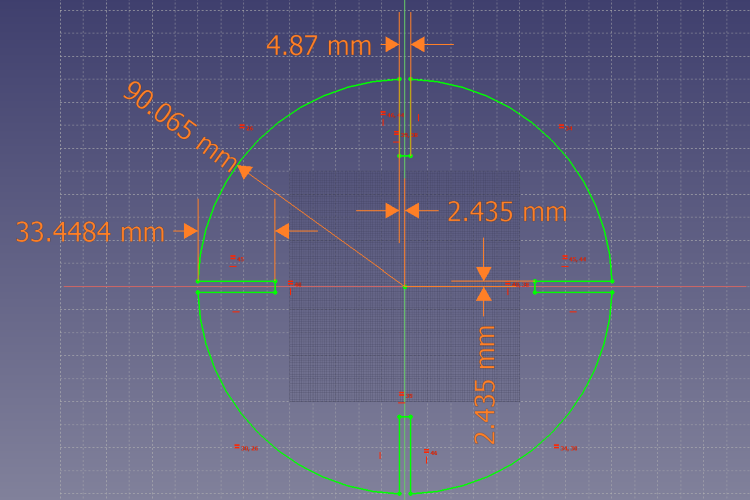
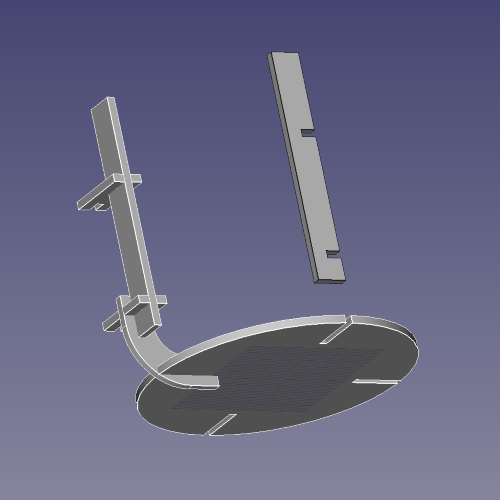
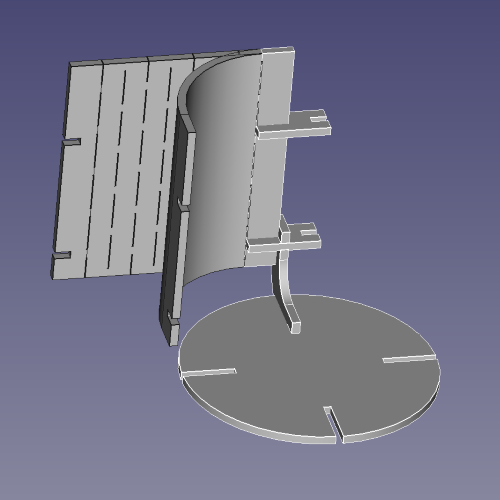
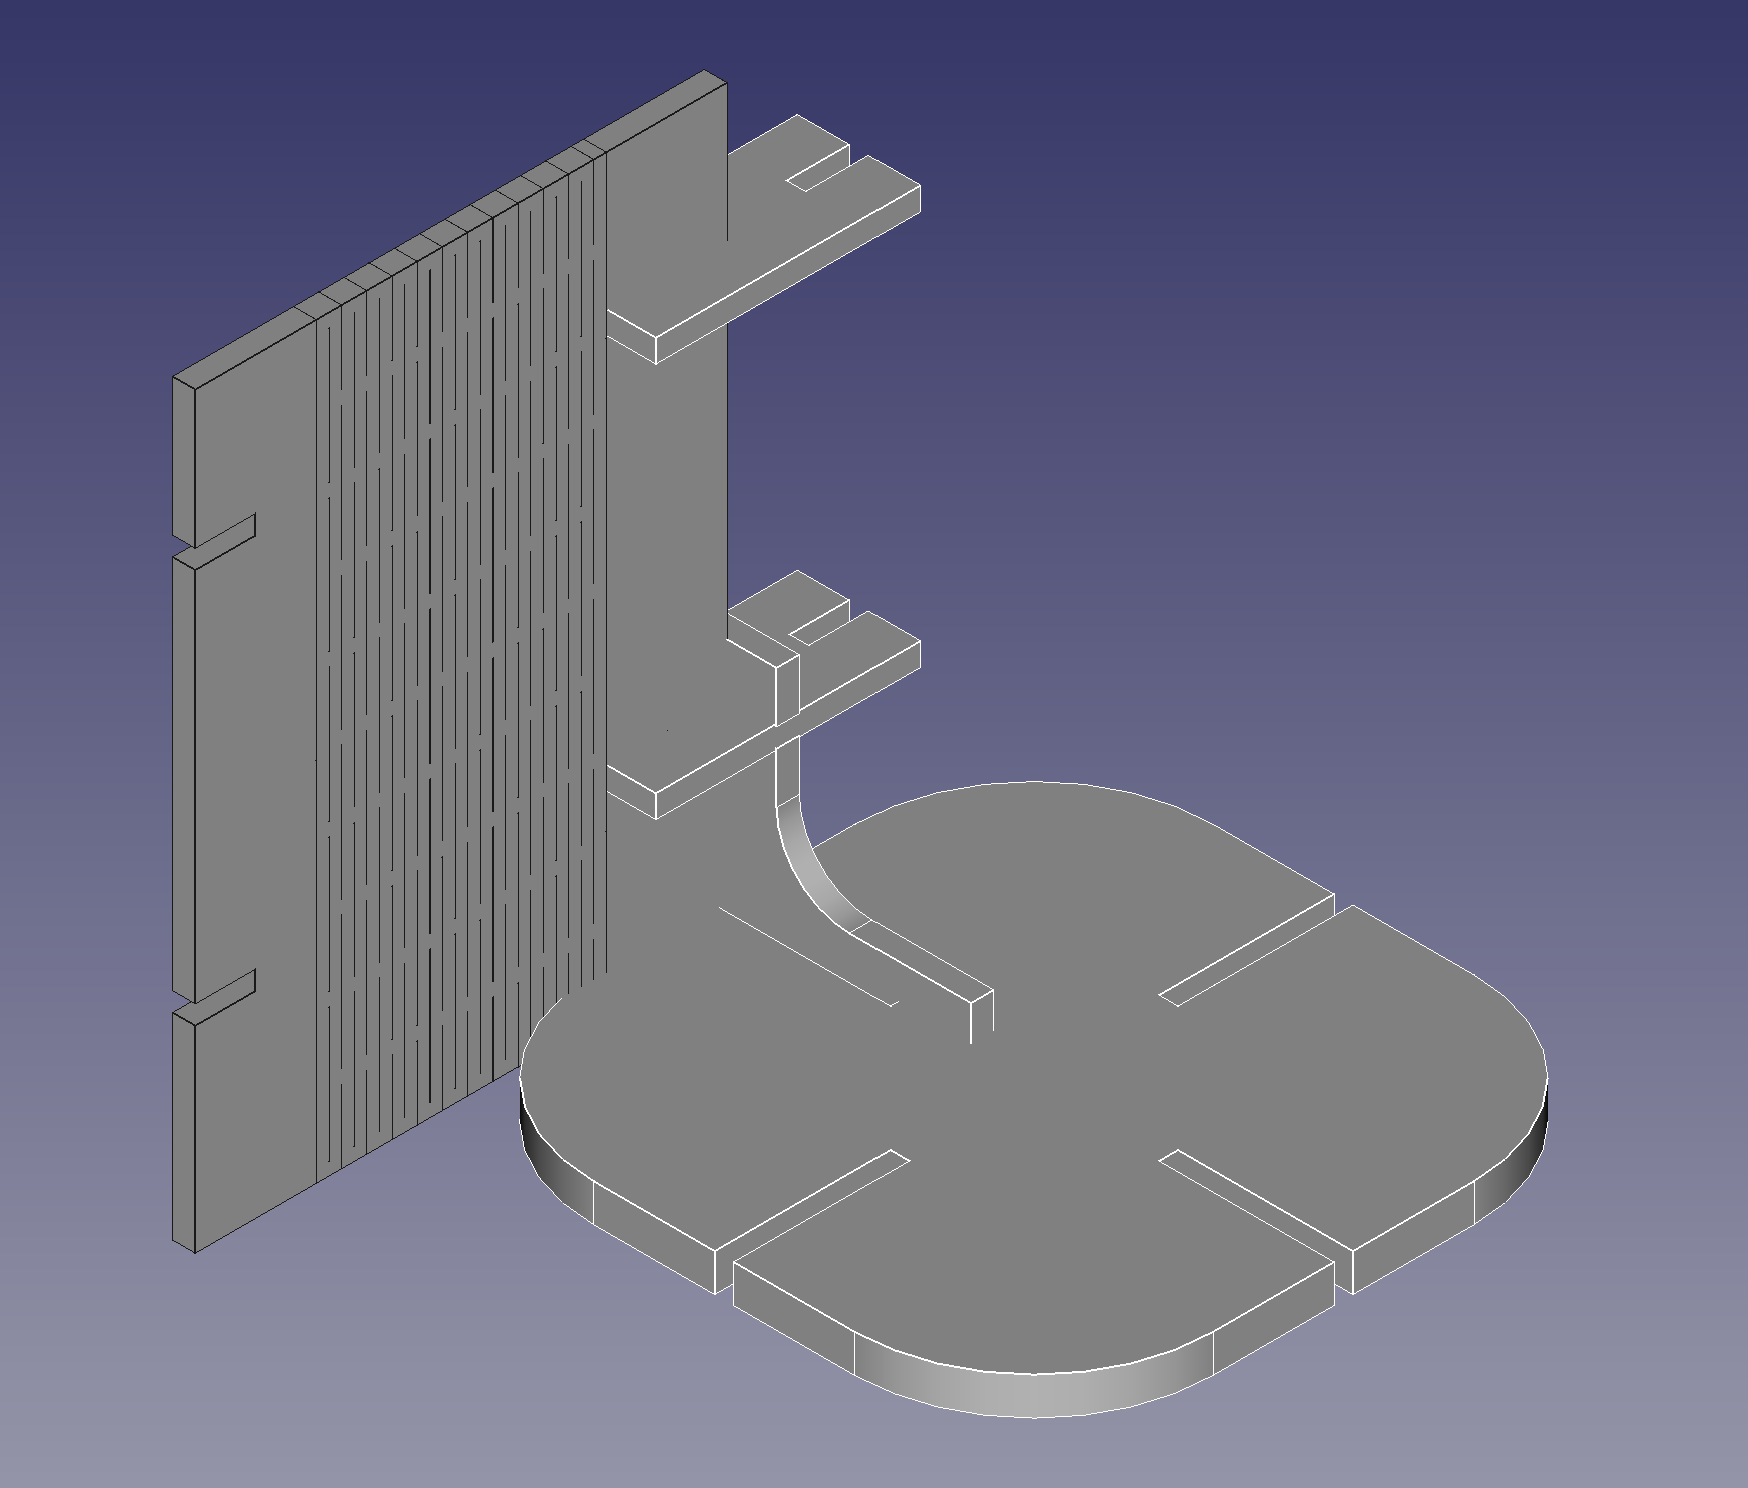
I stepped a bit away from the modularity of the press-fit construction, in order to mess with living hinges and to make something useful for me -- a pencil-holder. I fully parameterized every dimention of the pieces, so adjustments to the kerf would push the right edges out to accomodate (below, I changed kerf from 0 to 0.13mm).

The living hinges workbench I downloaded, unfortunately, was not easily parameterized after generation. Thankfully, it's very easy to generate, so I put off generation until after characterizing the material. Generation was as simple as setting up the edges for the hinge, setting the parameters, and clicking a button.
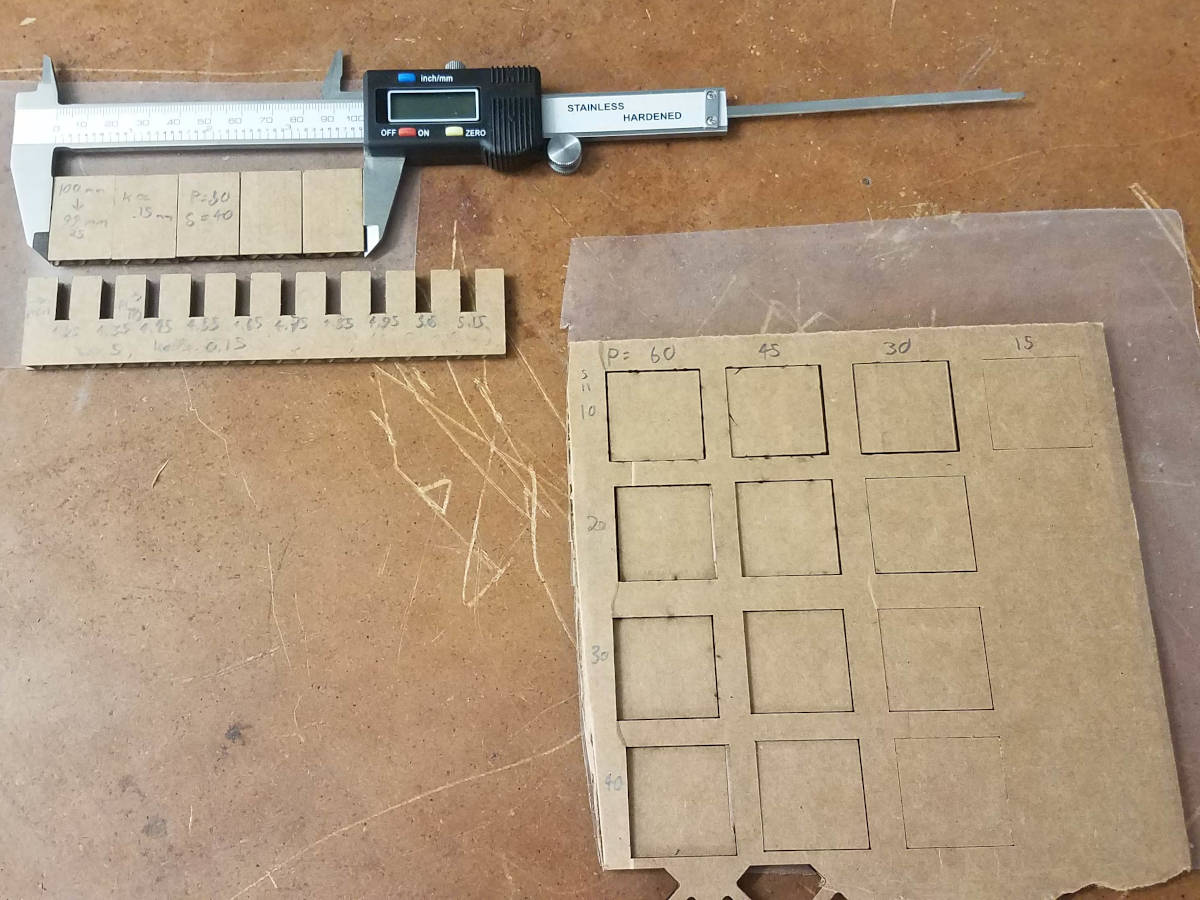
I explored the properties of the stock cardboard with Andrew Zuckerman. We designed a test file with an array of squares to characterize power and speed. We then cut multiple lines through a 100mm piece at the power that cut the best, in order to measure kerf (as it turns out, it was more accuracte to just cut one square and see how much material it lost, due to squishing when we tried to measure material lost over multiple pieces). Finally, we cut a comb-like structure to test the width of the joints.
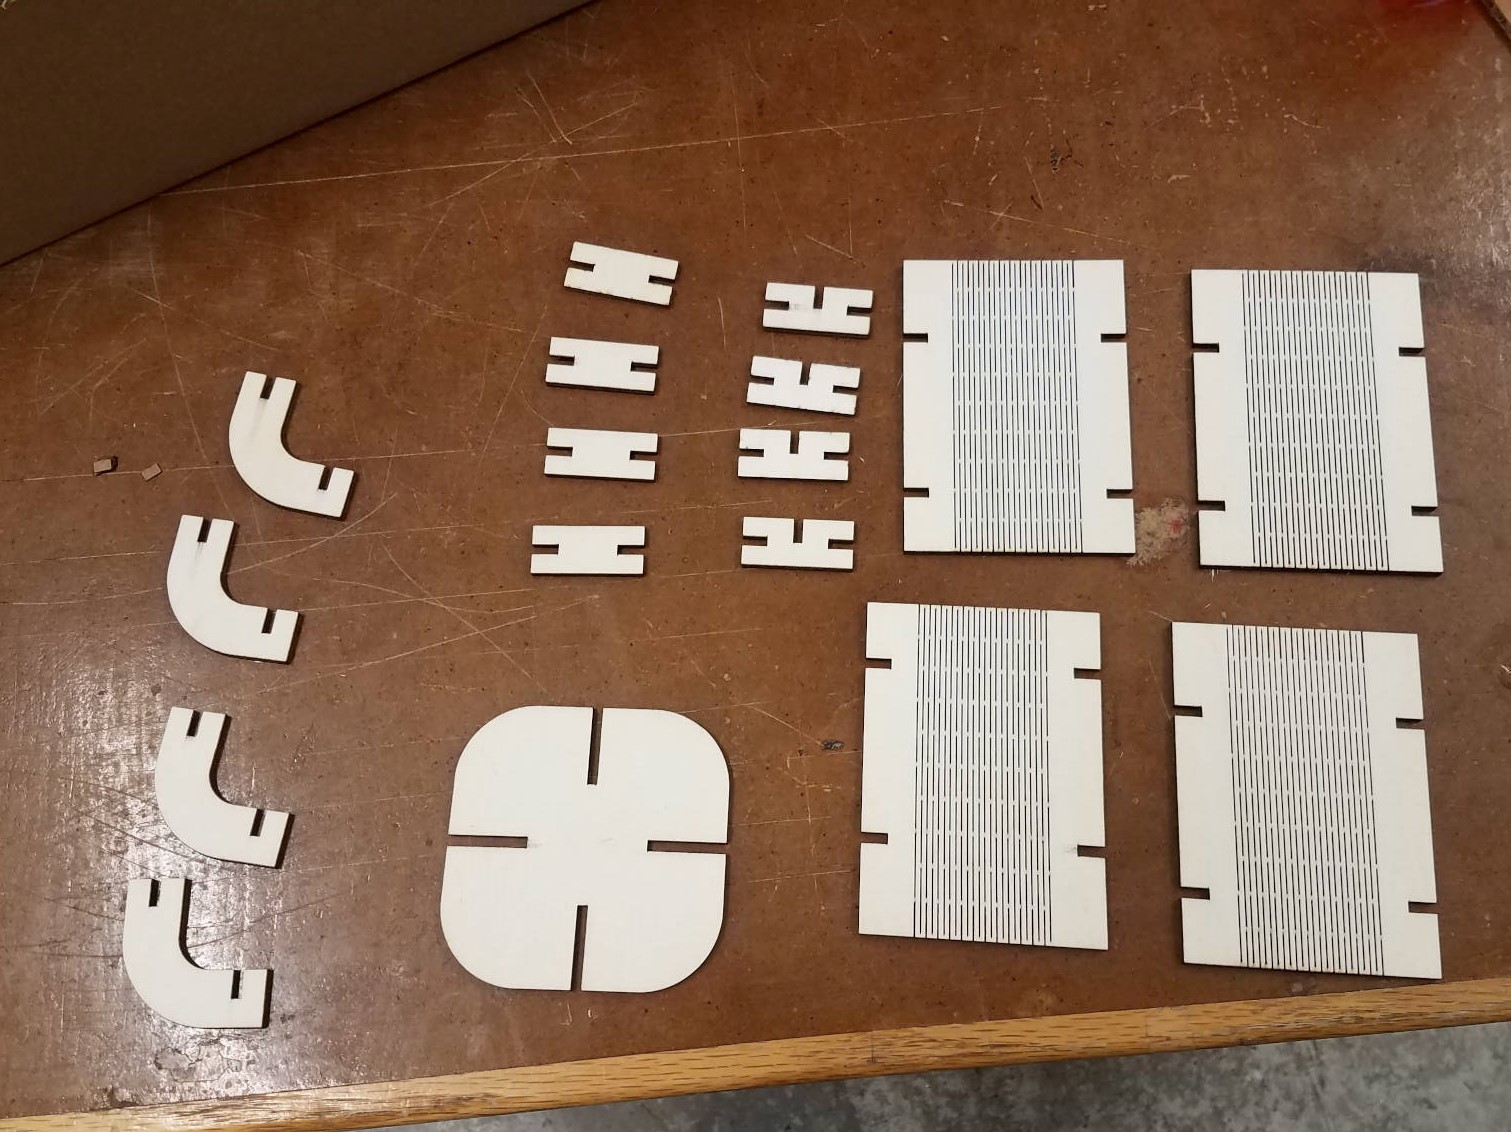
I was more excited about using the laser cutter for plywood, however, so I did similar characterizations for that. I found the kerf to be 0.4mm at 65% power and 35mm/s speed, which cut consistently through without burning the back much. The material was 3mm thick, and the joints were very precise -- 0.1mm too big and the connections were floppy, and 0.1mm too small and the pieces wouldn't slide together (I opted not to use chamfers to keep some of the connections flush, which worked well in the final product). I made some final edits to the base in order to have the piece sit more flush.
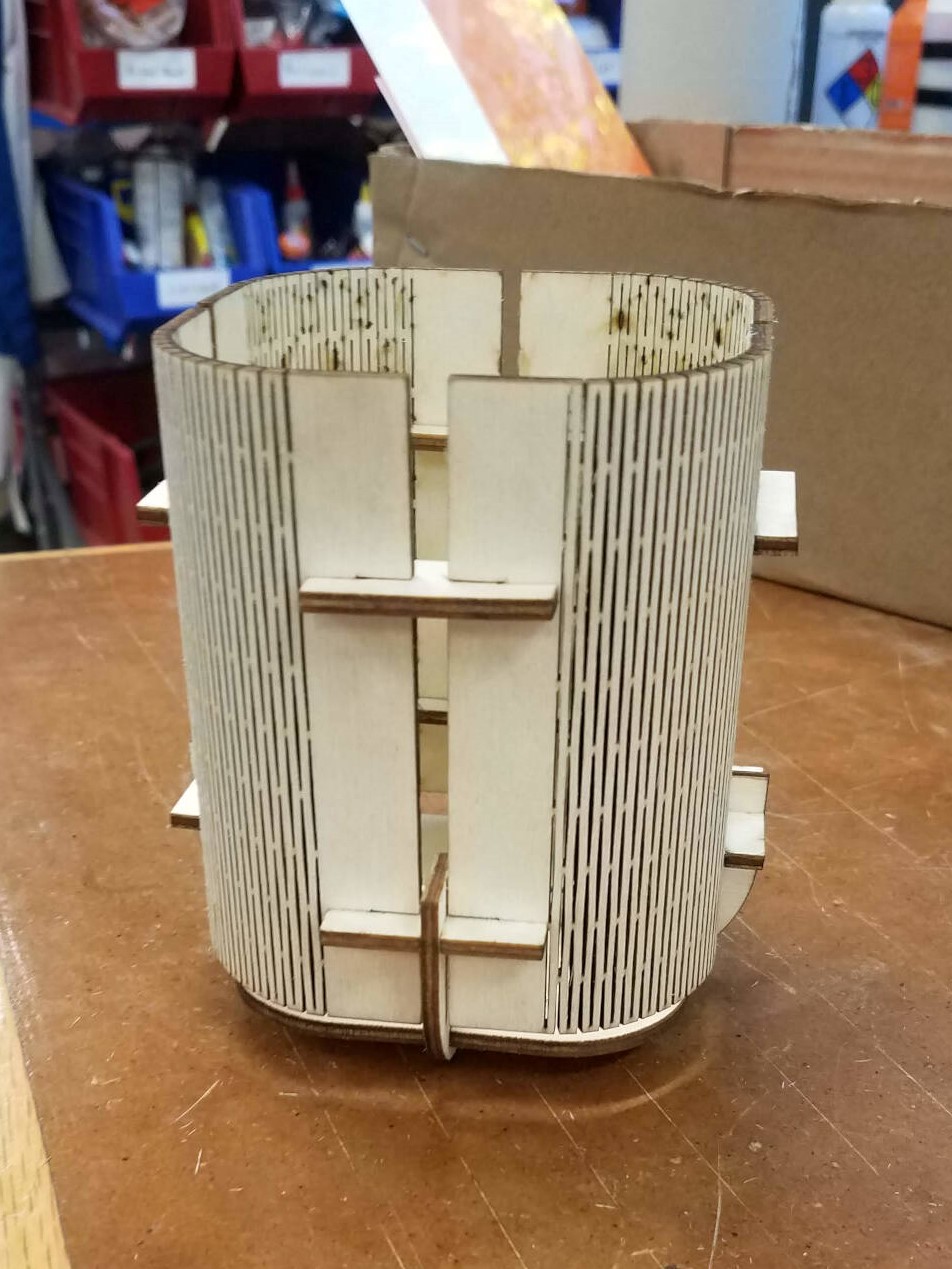
The living hinges took some iterations to work out. The first cut I made barely bent, even though it was an improvement over plywood. I experimented with different clearance between cuts, cut occupancy in a column, and number of cuts per column. The piece bent more easily with increased cut occupancy per column, and putting the cuts closer together put less stress on each cut. Increasing the number of cuts per column made the piece less flexible for "in-plane" bending (bending the top tight and the bottom away). THe final result bent nicely, and was fairly stable. I had one piece break while I was forcing joints together, but the others slid in comfortably with some care.
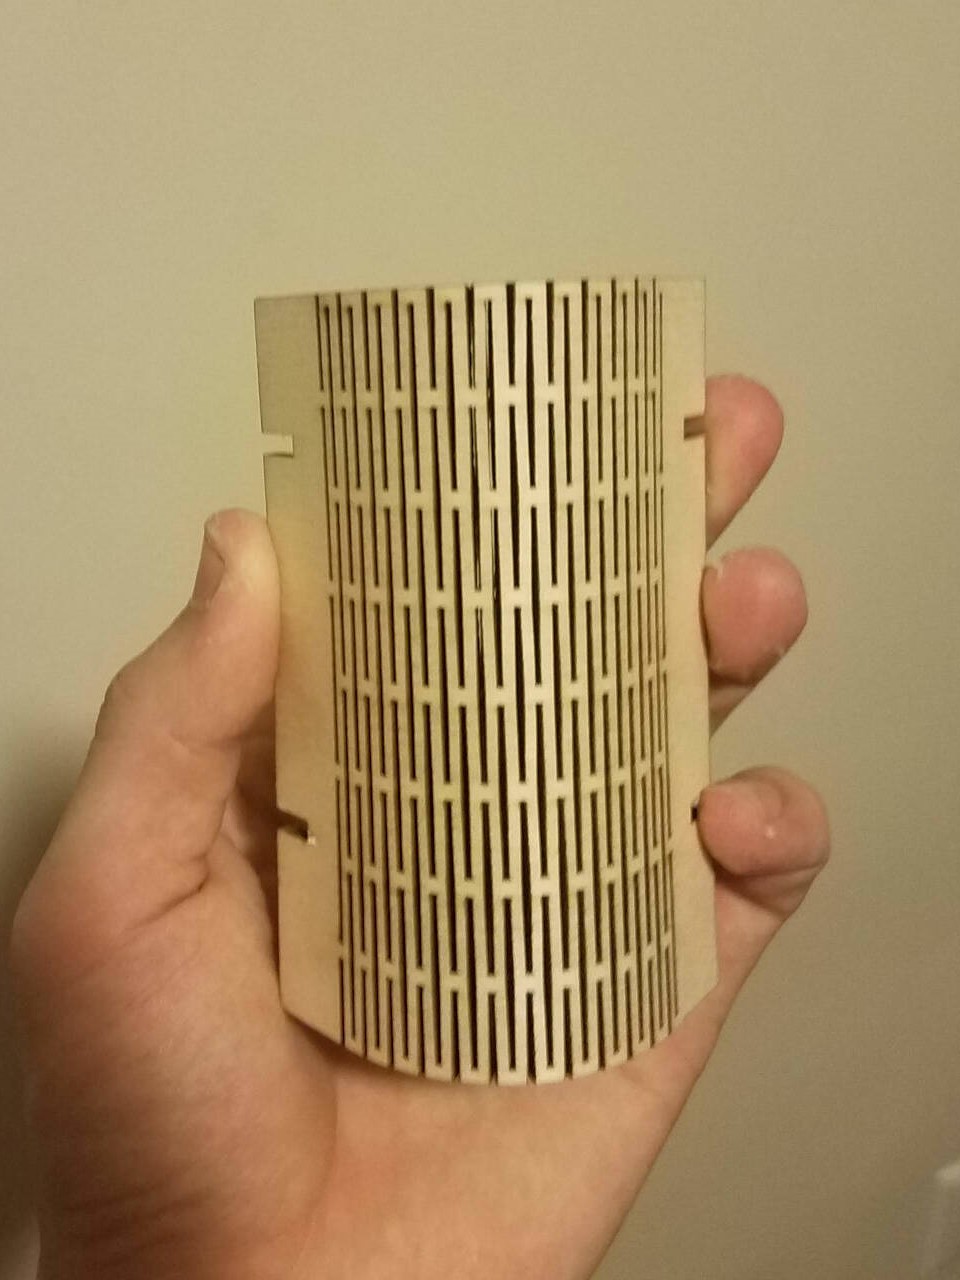
I actually had a small parameterization error in my file, but as it turns out, a living hinge is slightly strechy, which gave me more than enough leeway to fit it with the other pieces. The final result was awesome!
Vinyl Cutting
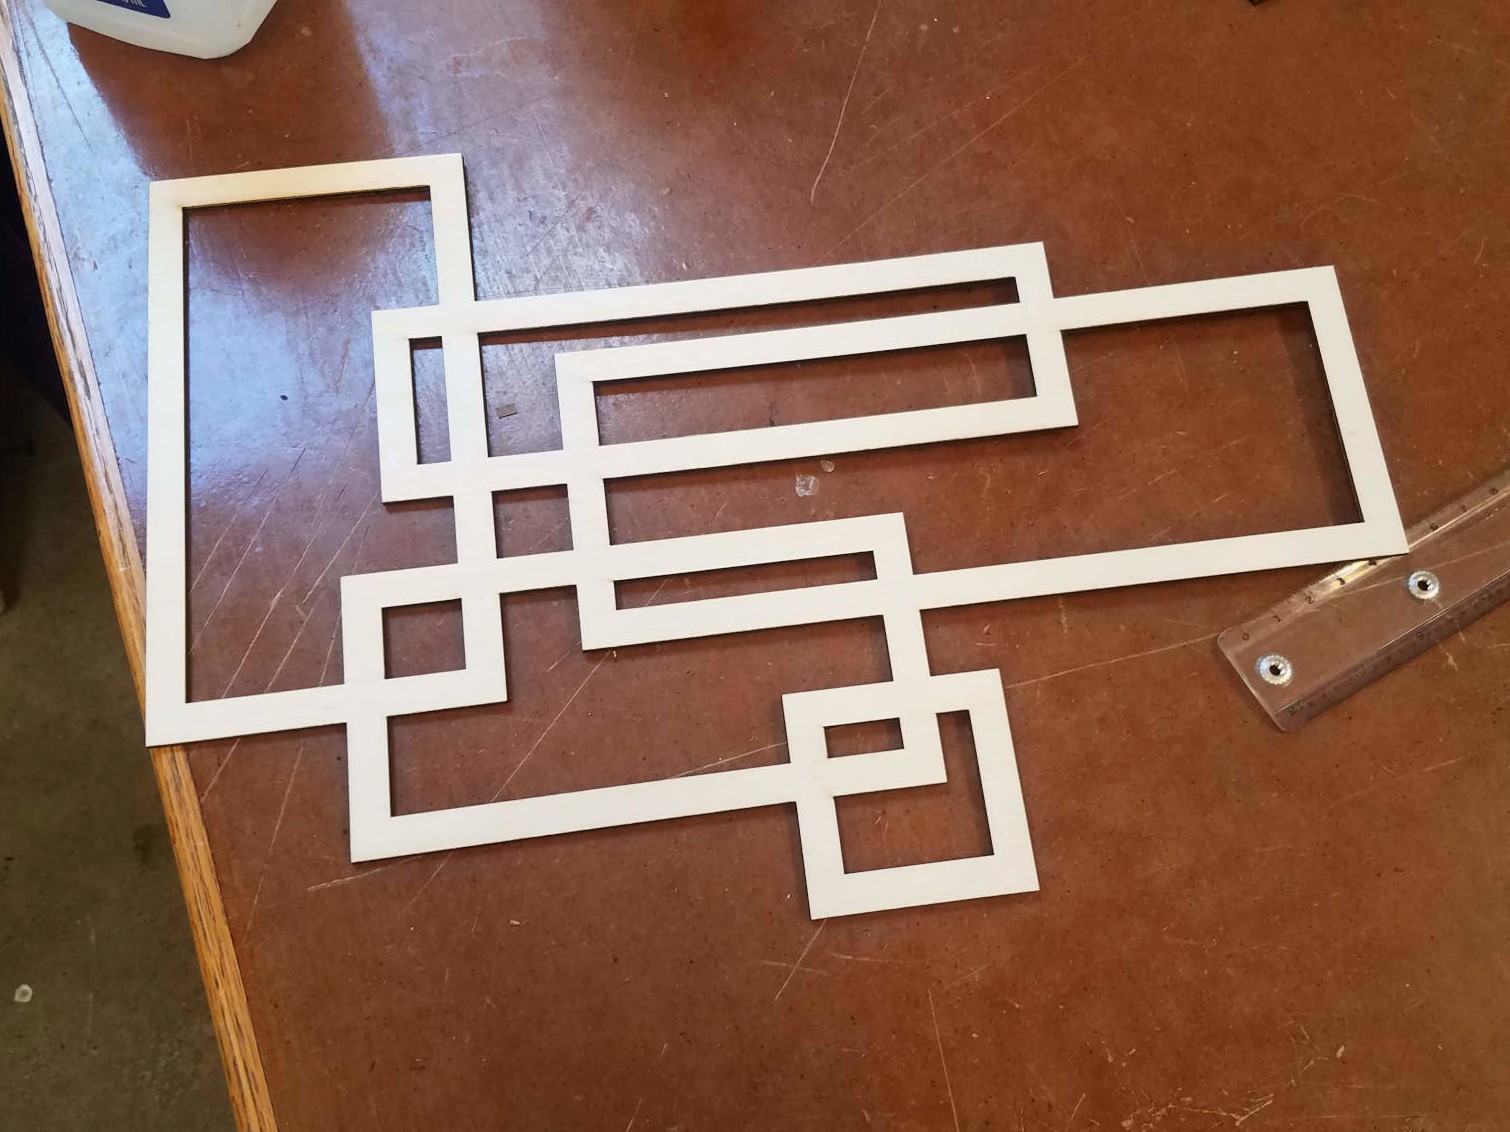
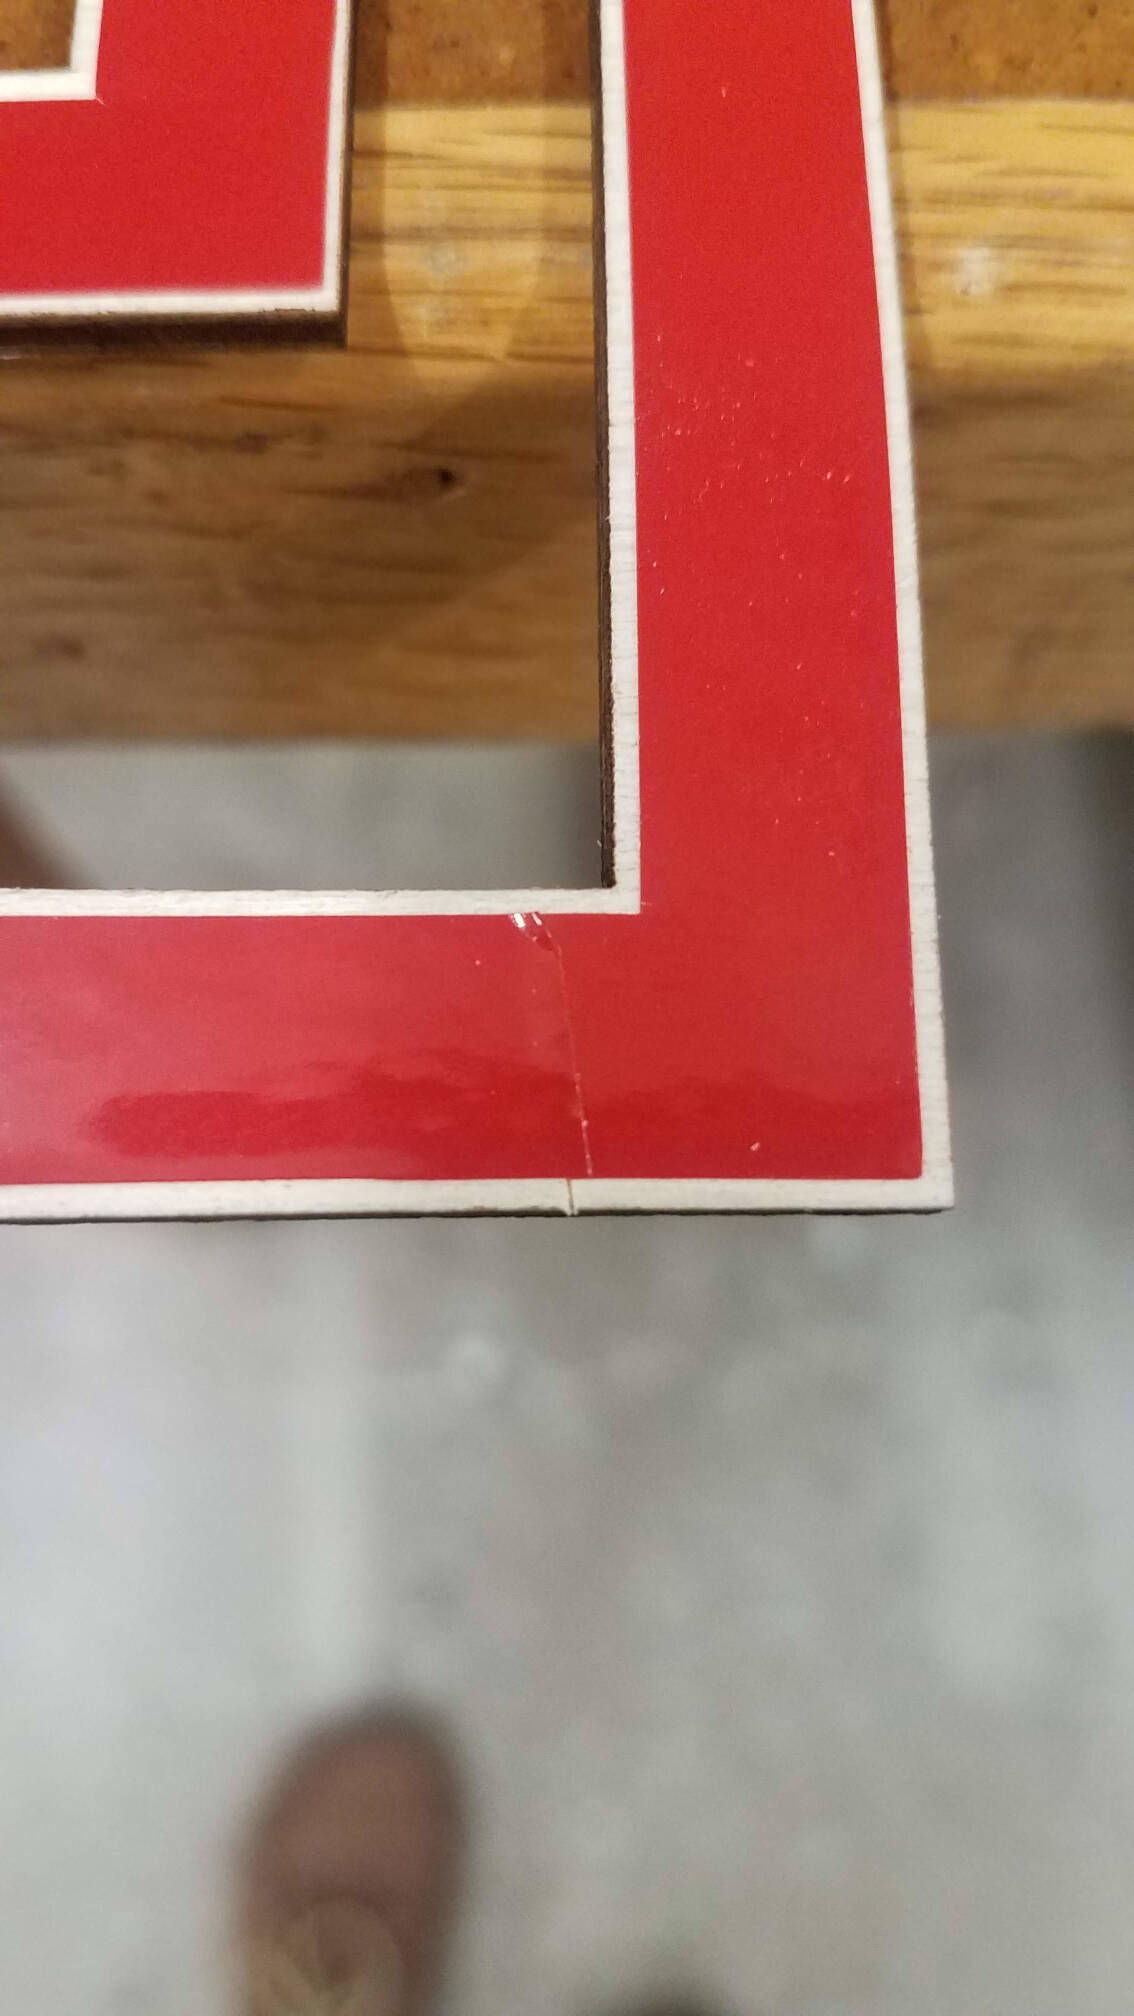
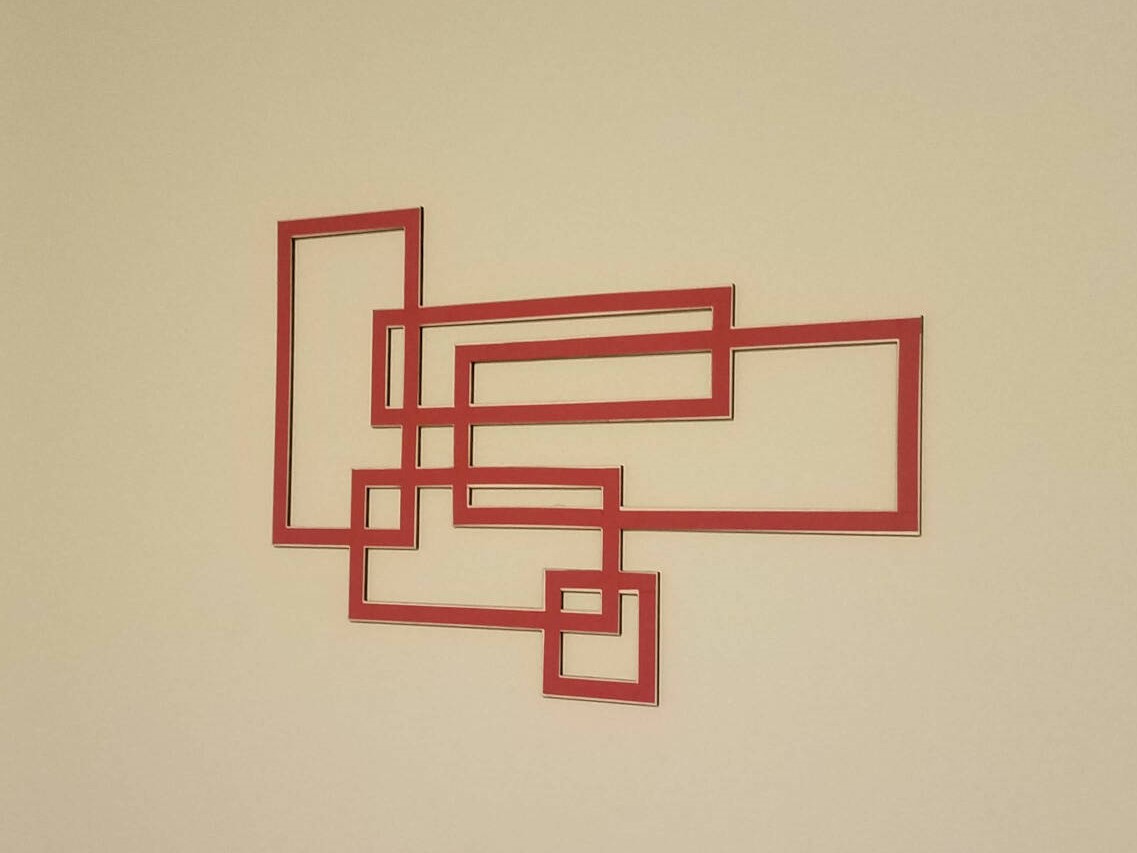
I had less success with my vinyl cutter adventures. I was really excited by the precision offered by the laser cutter, so I thought a precise combination of vinyl and laser cut art would be neat. I still think this might be a neat idea, but the product I made wasn't suited for the methods used.
I (of course) had to laser cut the part first, which worked pretty well. I made a couple intersecting rectangles with plywood again, and used the laser cutter to cut them. I used some sample patterns on the vinyl cutter to get the knife to cut through but not tear the material, ending up on 108g of force and 5cm/s speed. However, I didn't account for how the material would stretch, and laying it on to the laser cut piece didn't keep it aligned. I ended up cutting some edges to shorten it, but I could've done the same thing entirely by hand. At some other point I'll use the vinyl cutter again properly for something that it's productive for, but I at least got a sense of the nuances of cutting the shape.