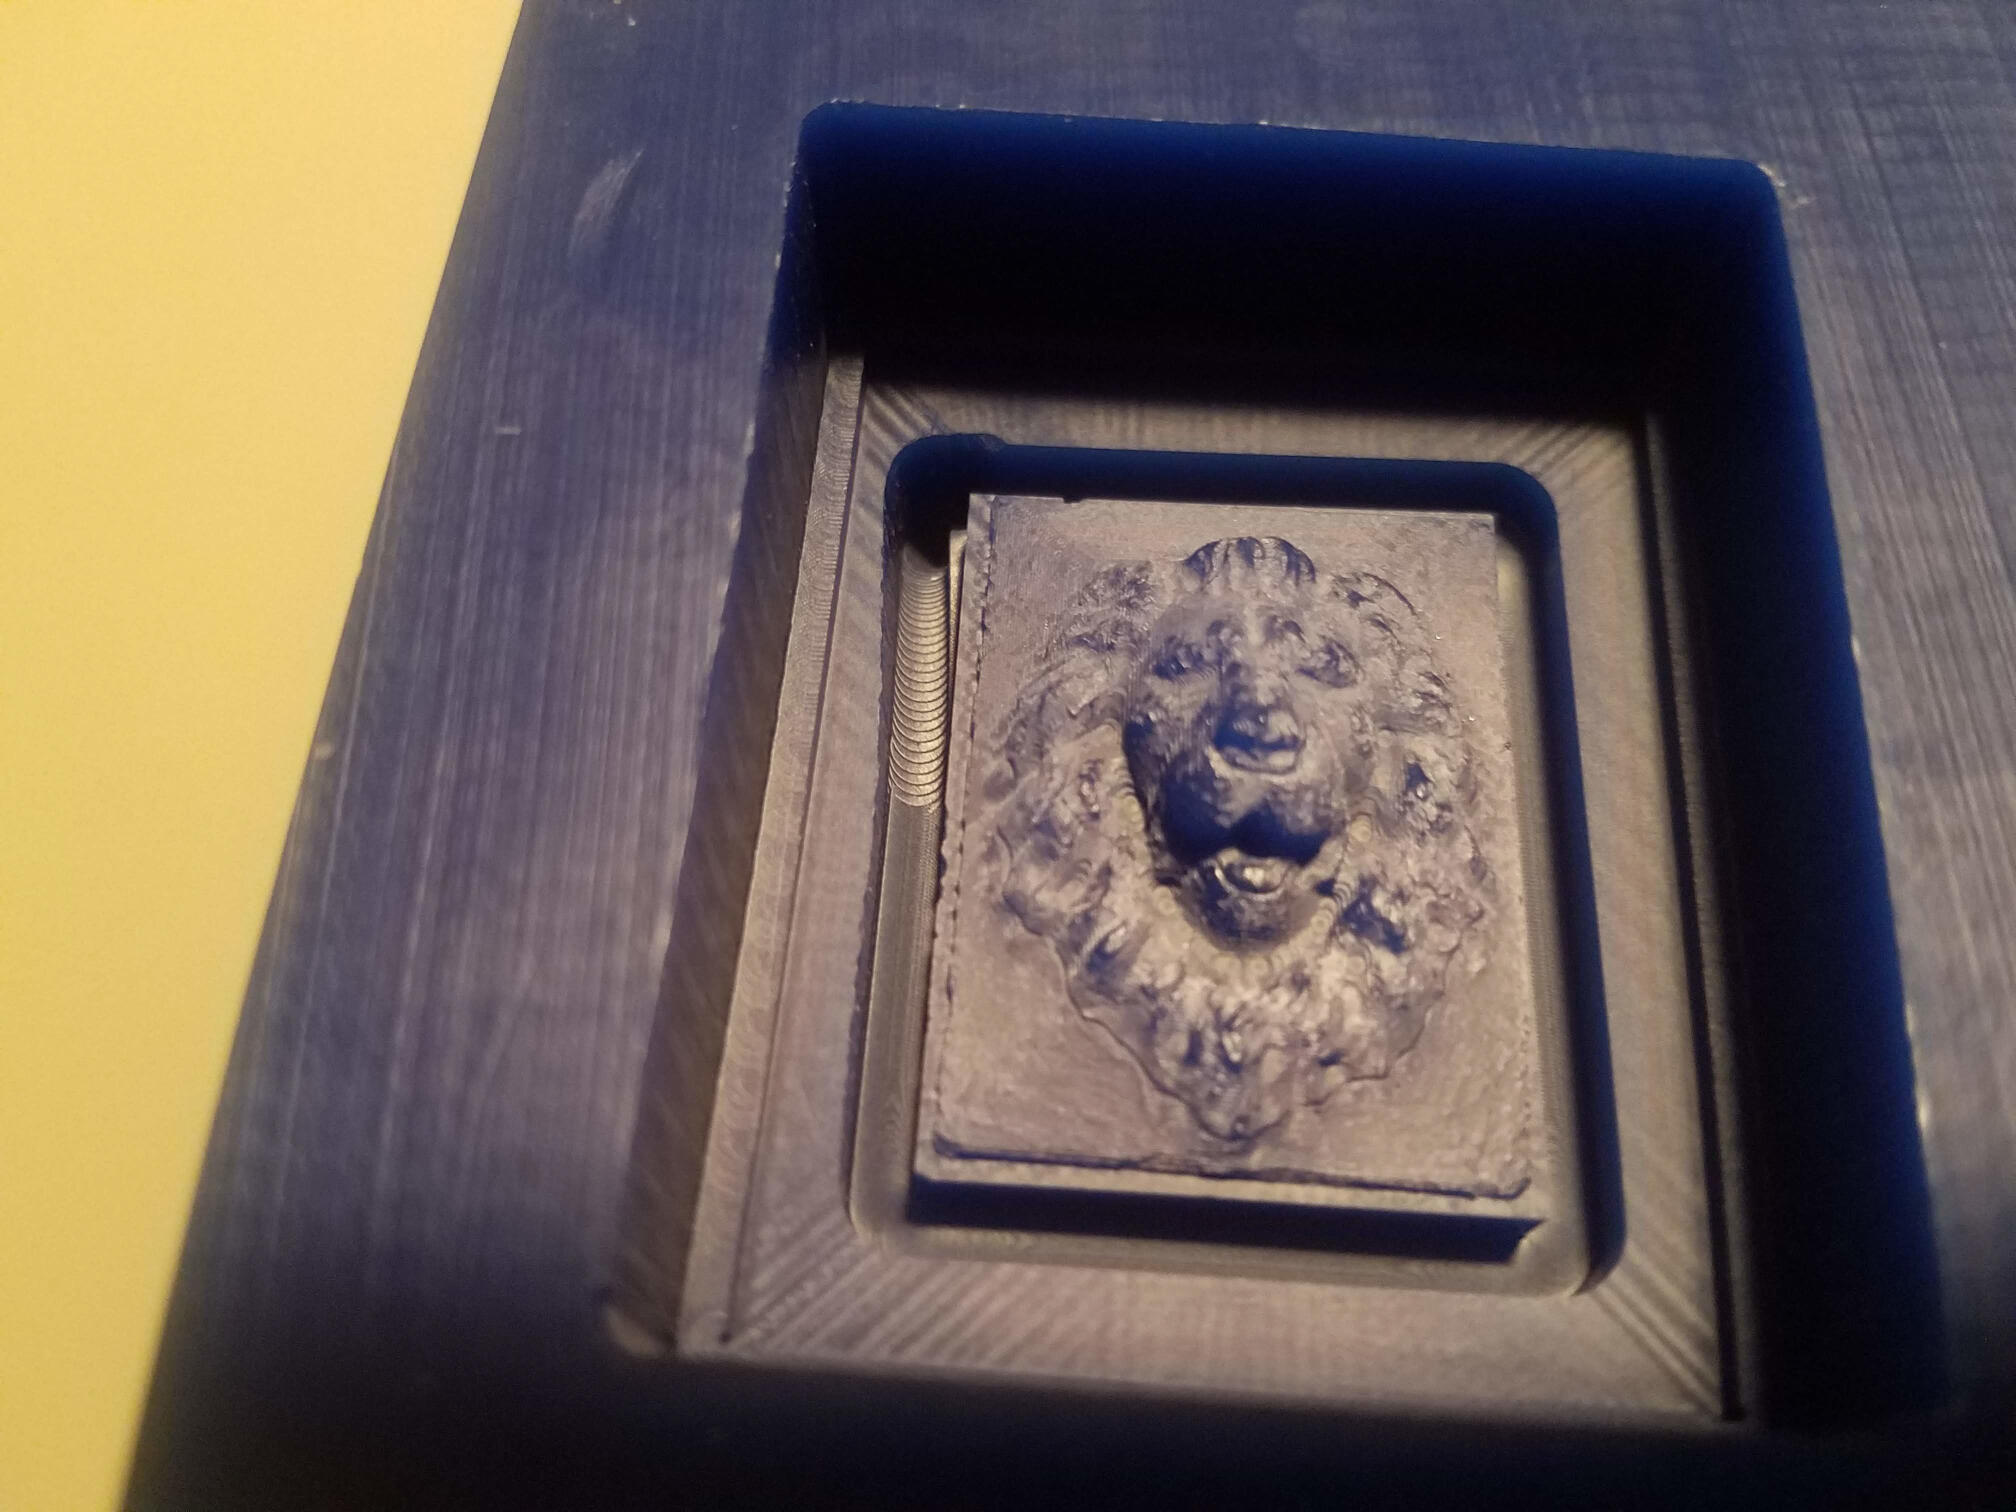
Lion's head mold
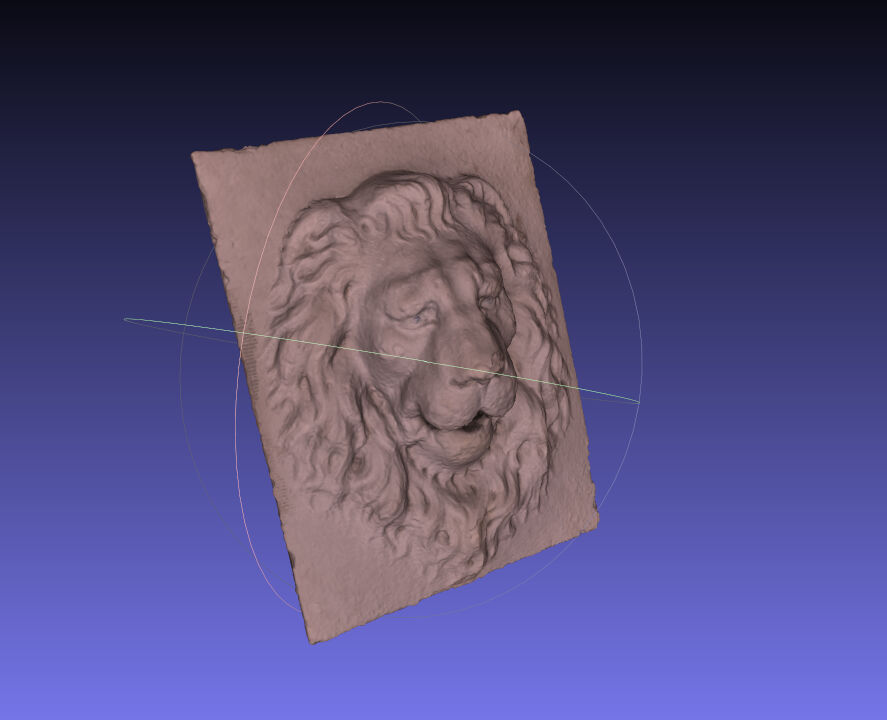
A lot of this week was taken up by final project work. I spent a bunch of time on the scanning and processing of the lion's head, which you can read about on my final project page! From there, I just made a one-sided mold. I did it initially with SORTA-clear, which is food safe, in order to make chocolates! I'll repeat it again with oomoo to use as a test for the marble/resin mixture I plan to use for the final, full-scale model.
Milling
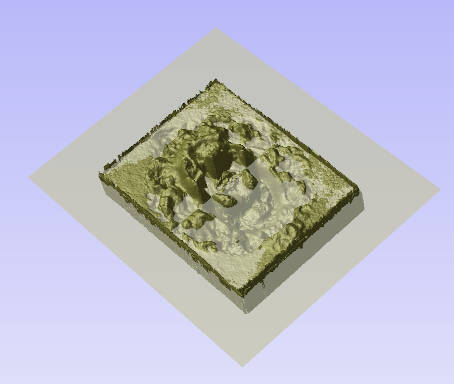
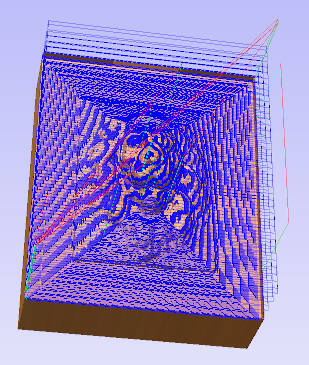
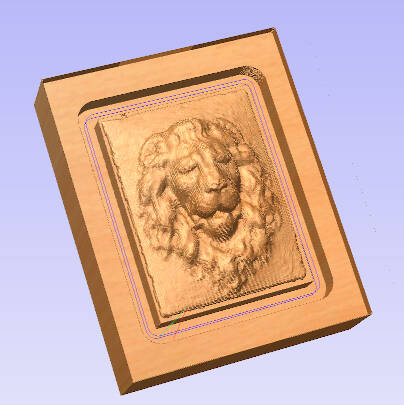
First, I measured out a sub-area of the wax block we had in the shop. I imported the model into Aspire, with a material size of about that sub-area, leaving lots of space for the walls of the block. I got a weird (possibly just visual) issue where it convolved the bits below the cutting plane with the bits above, but hiding the below section fixed that.
I set up a roughing toolpath with the 1/8" end mill, and then a finish cut with the 1/32". To do the second, I had to add a new tool to the software. I copied the parameters from the 1/8" tool, and quartered all the spacial parameters (diameter, stepover, etc.).
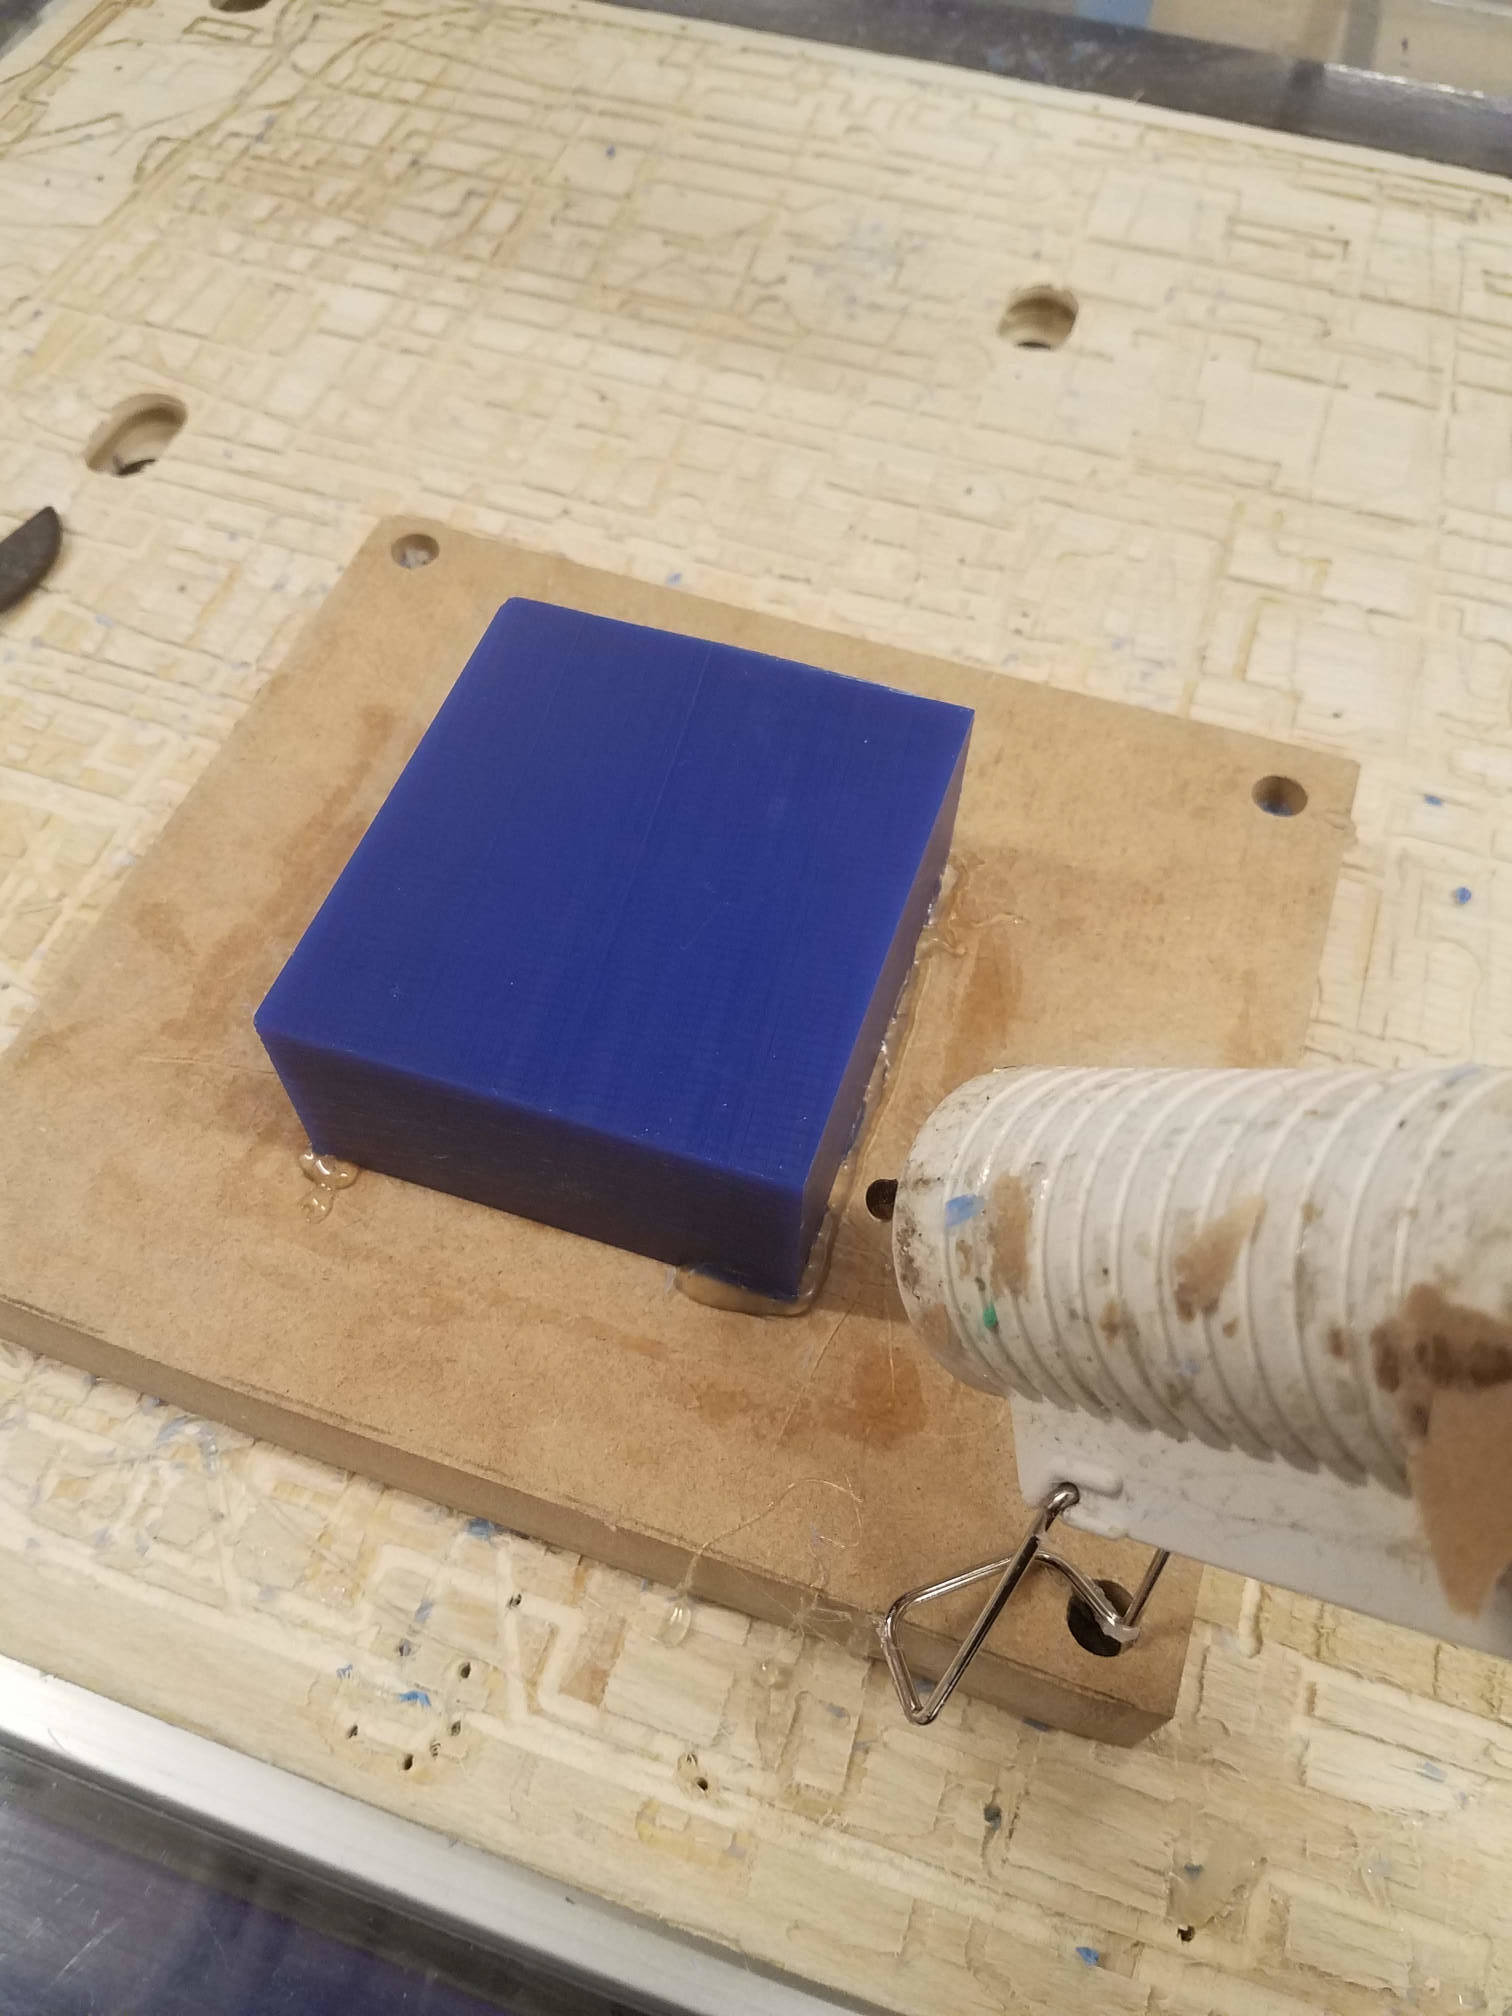
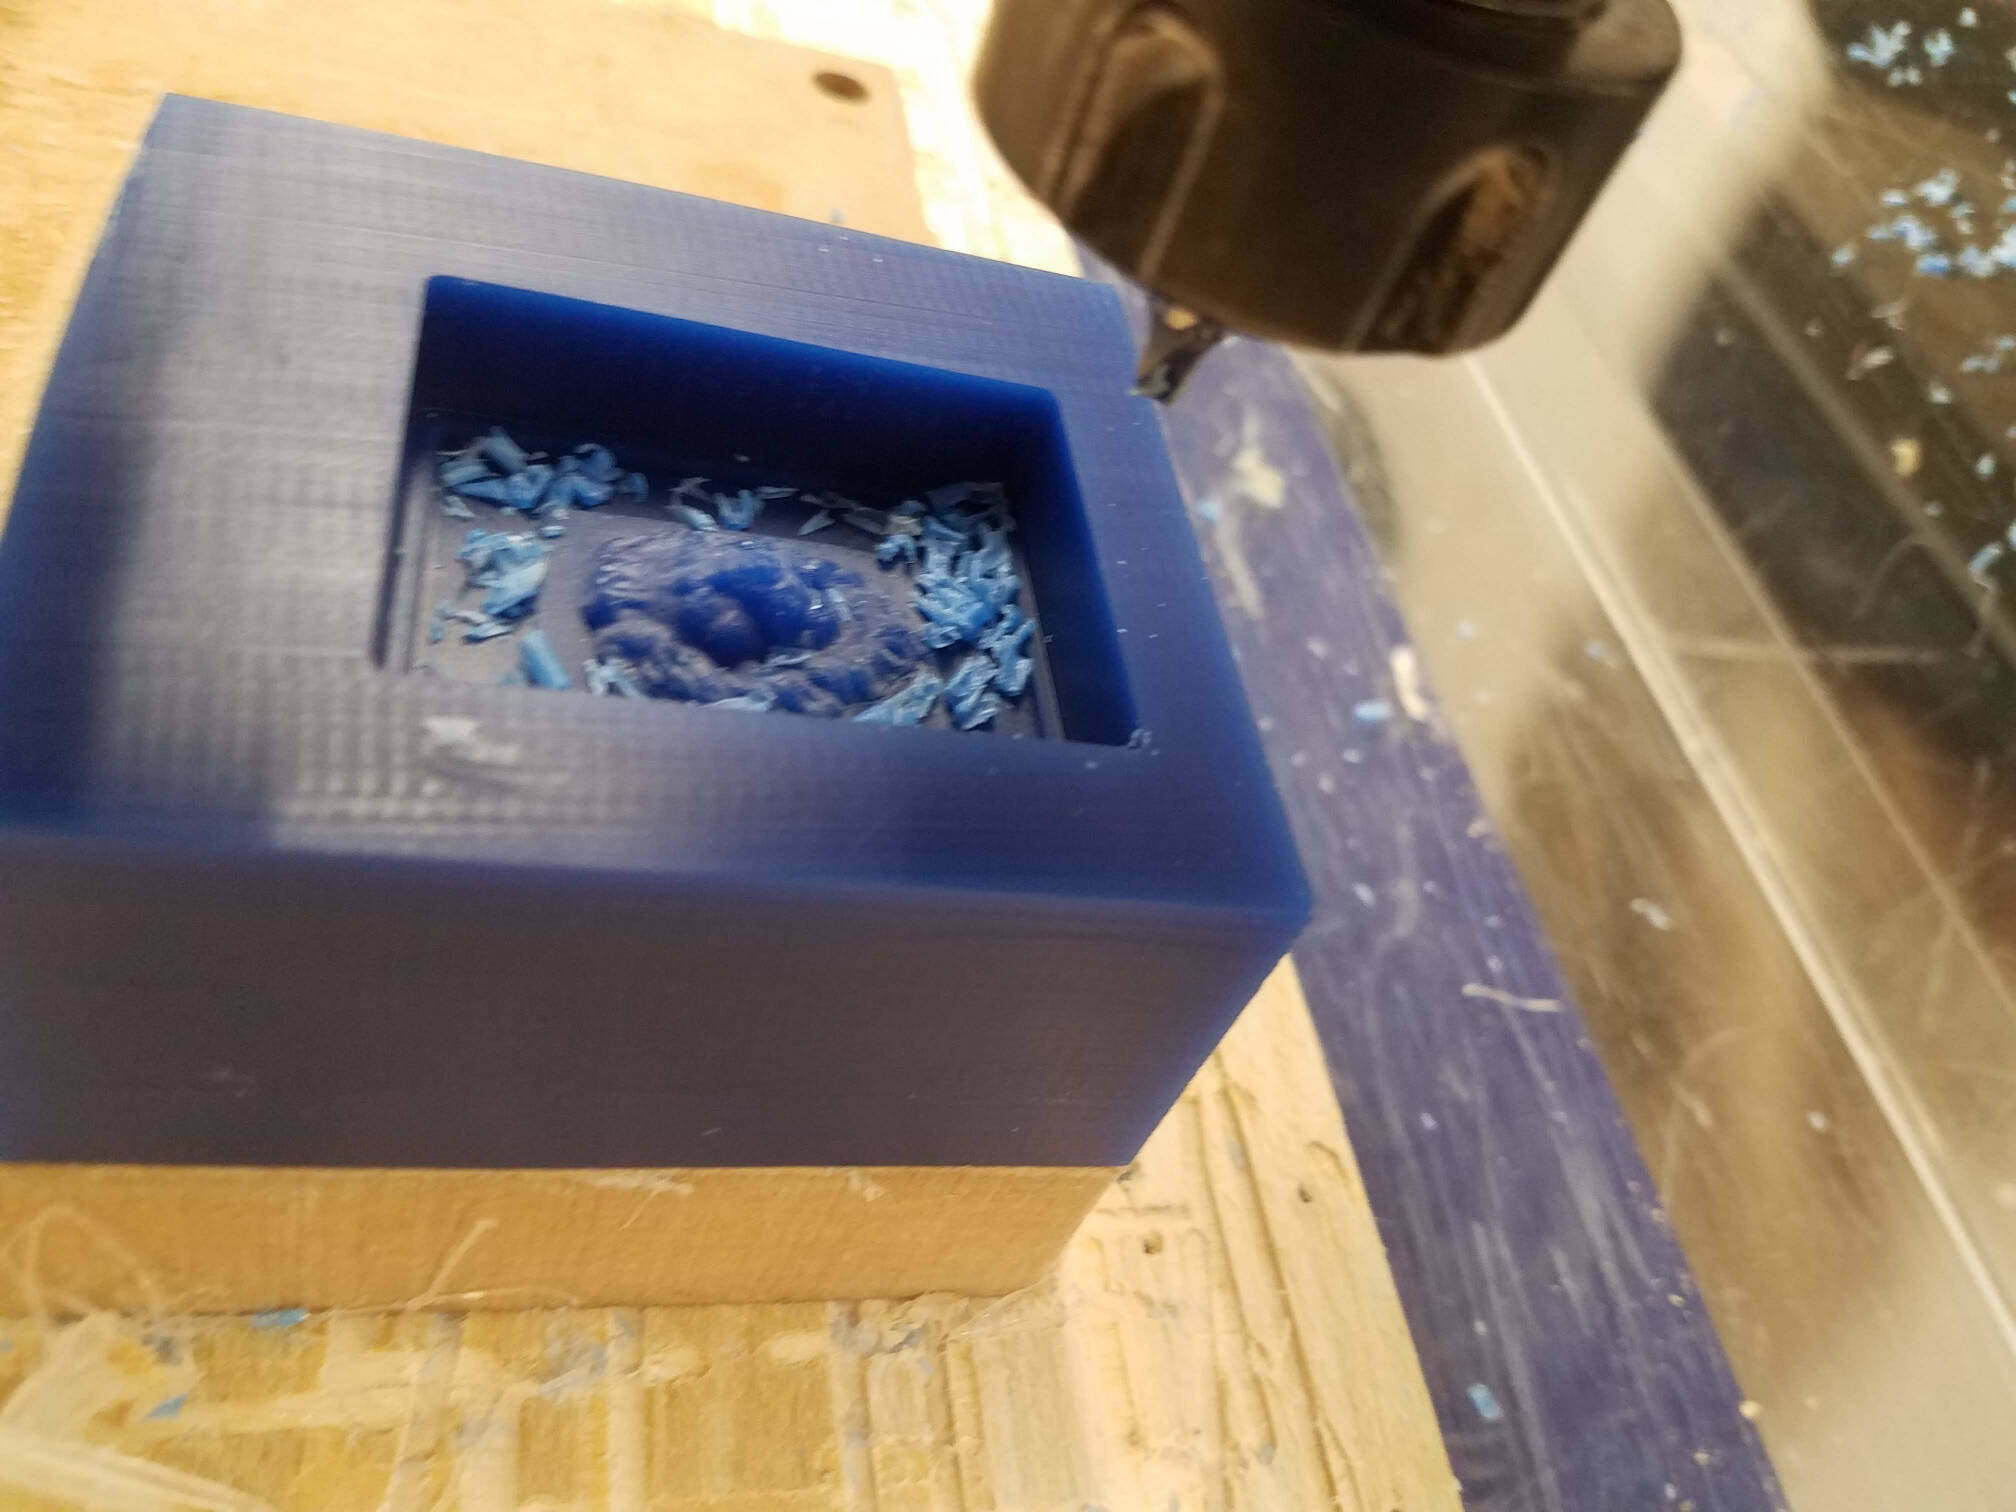
I glued the wax block in place with some hot glue, zeroed at the corner of my sub-area, and ran the roughing cut. It cut cleanly with some nice big flakes, which are always unintuitive in just how much comes out.
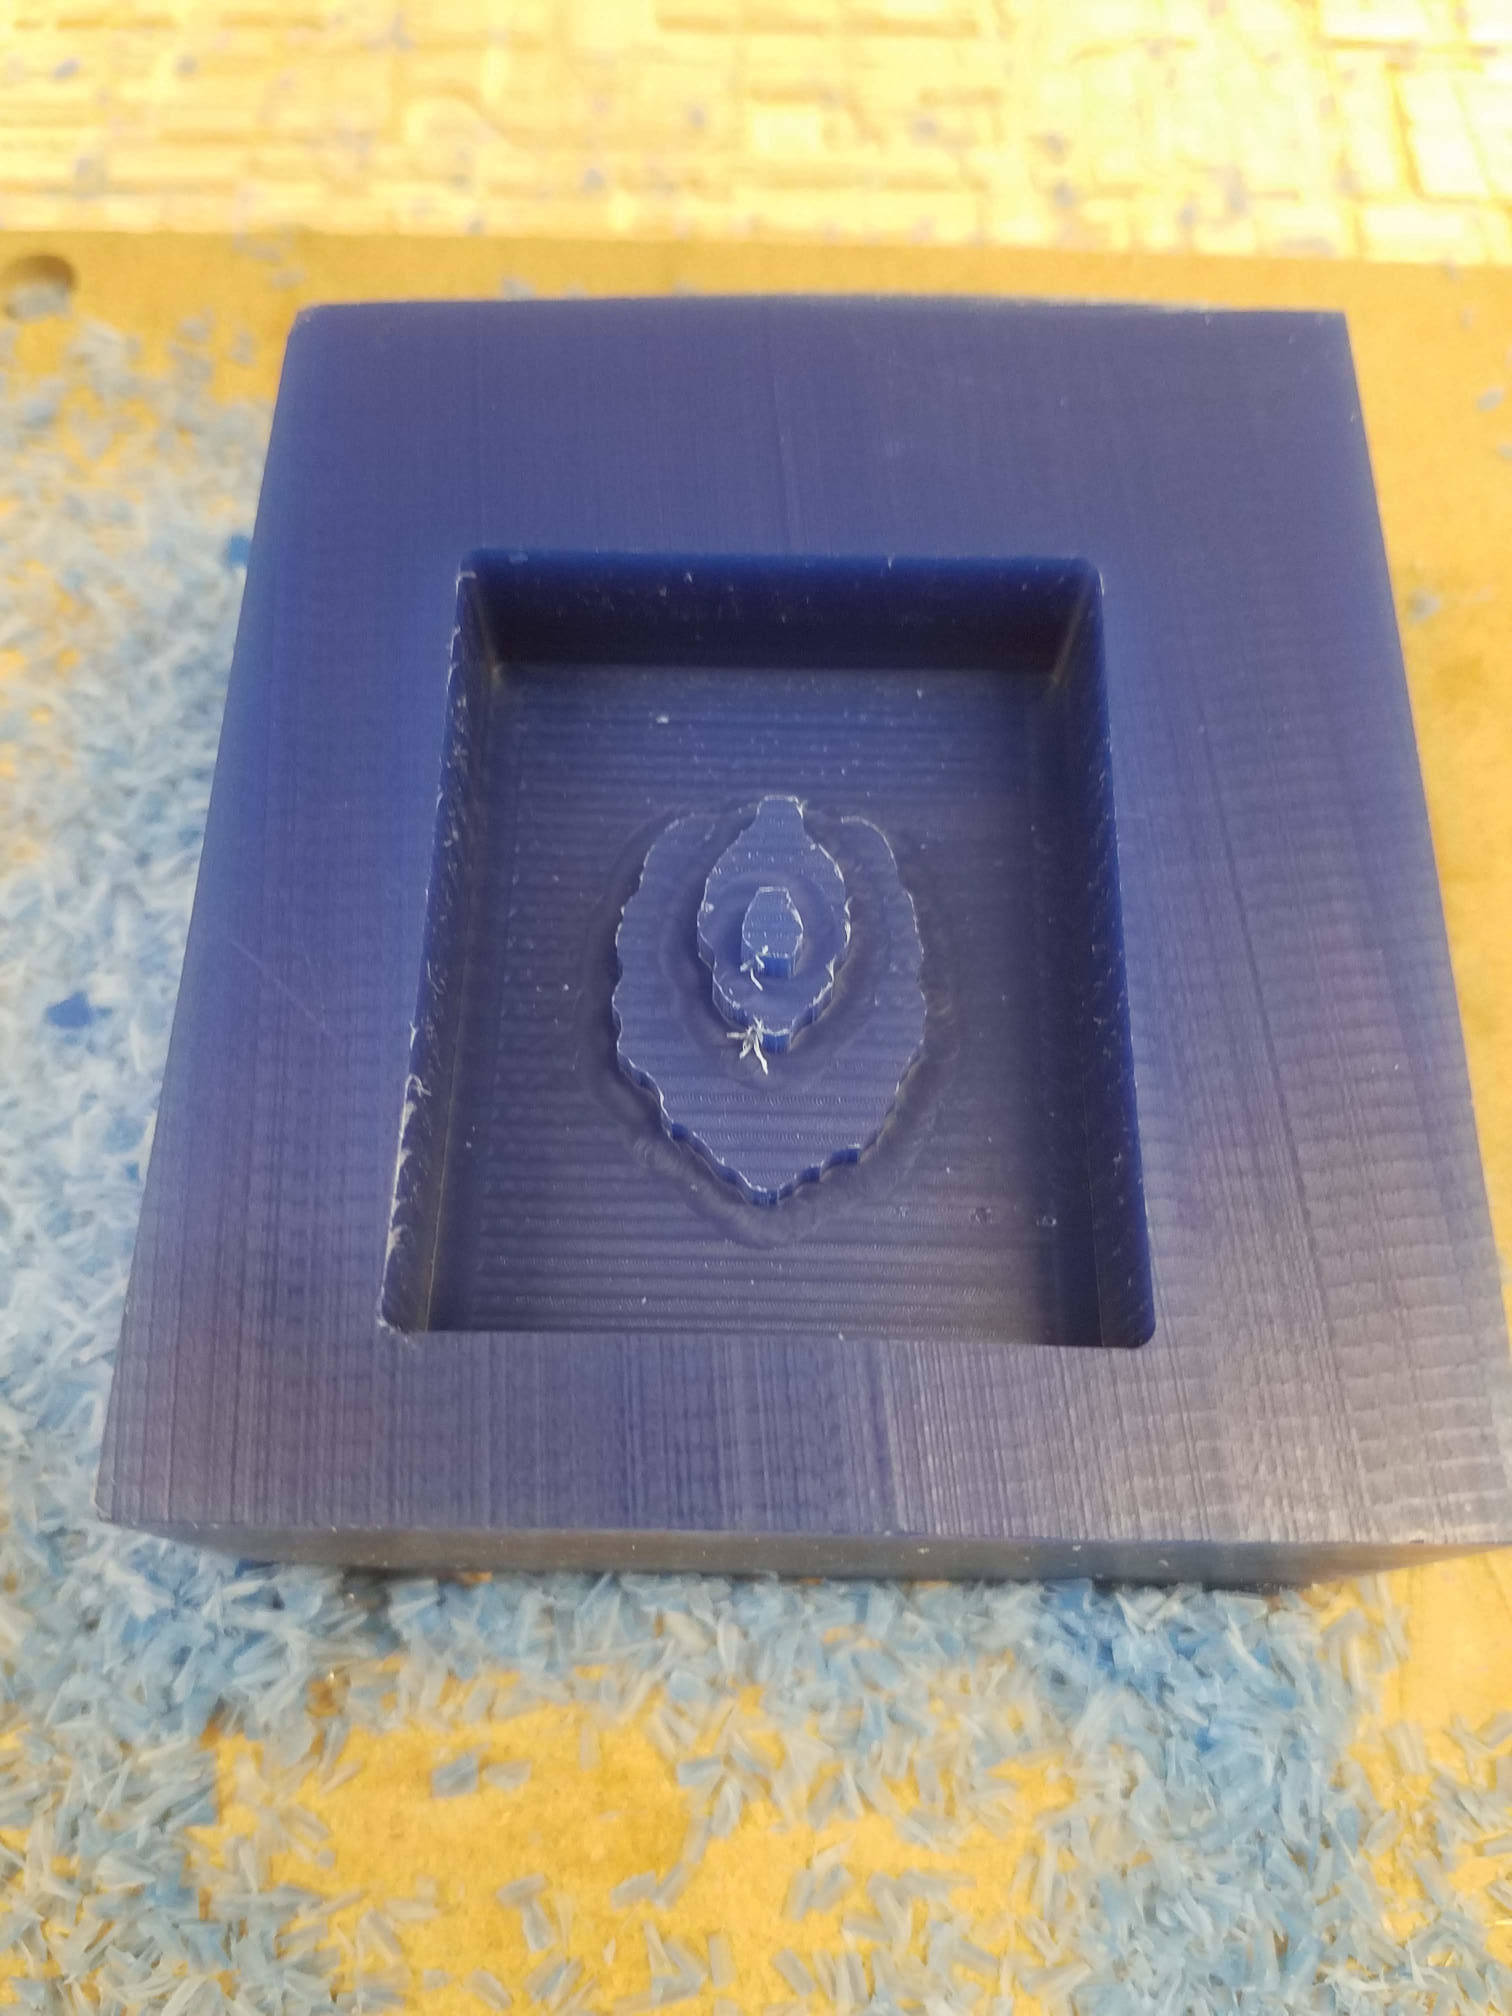
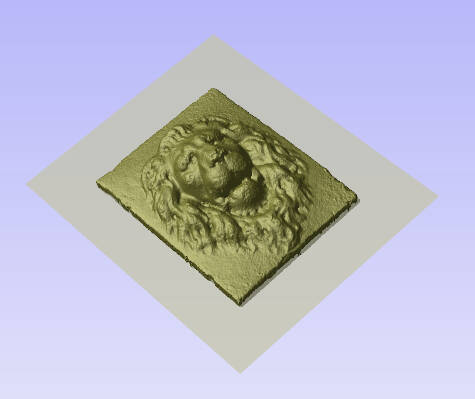
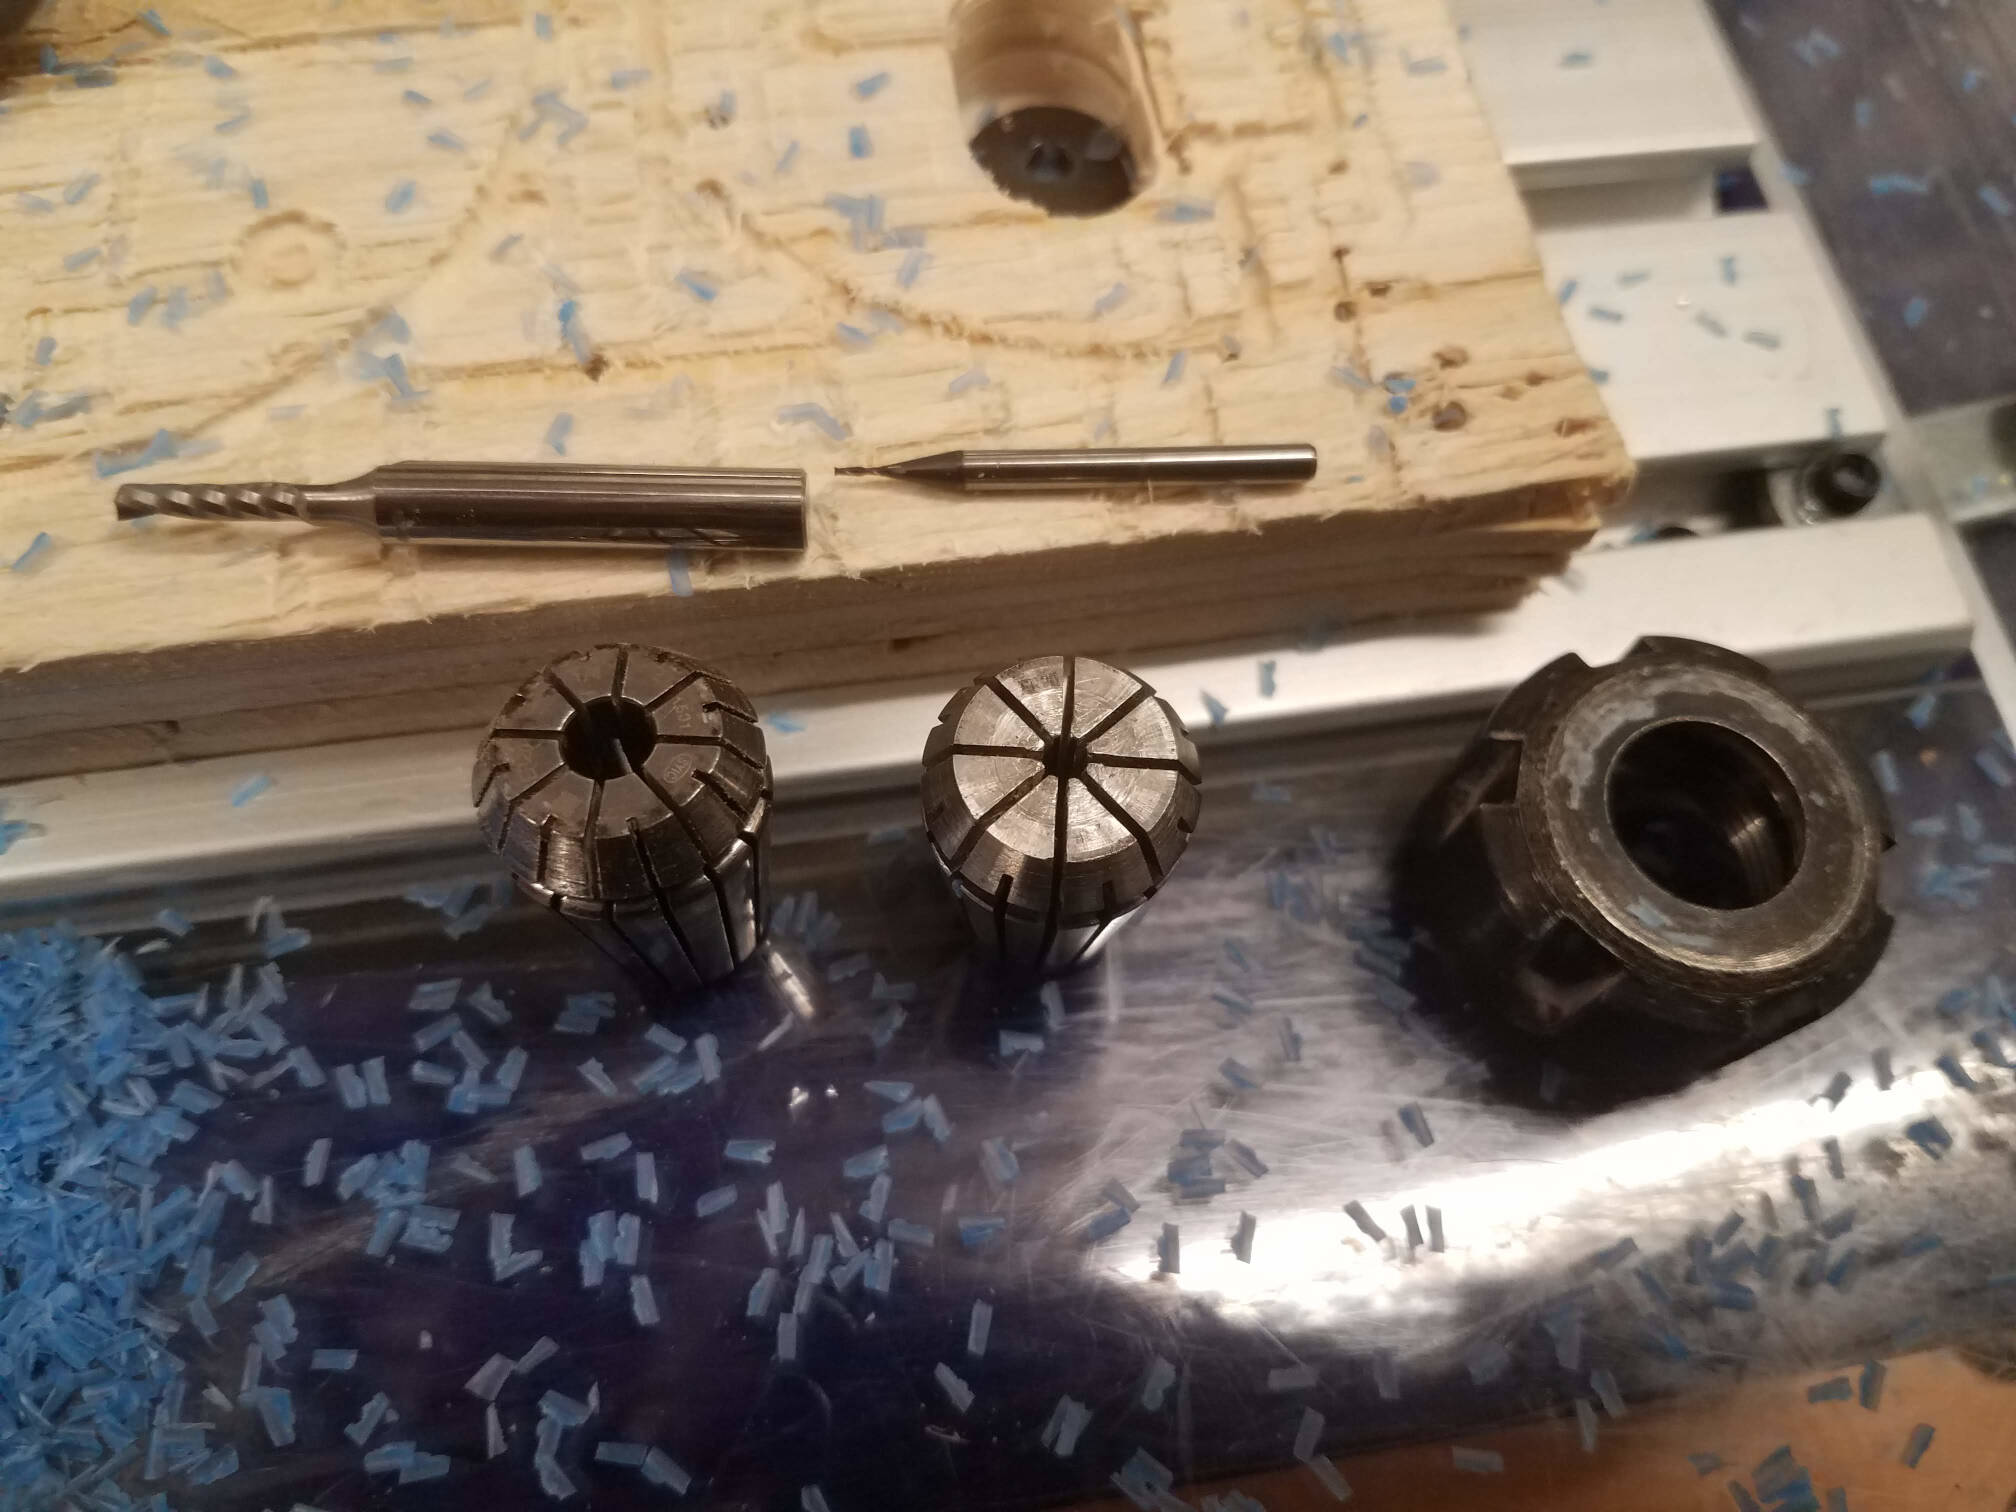
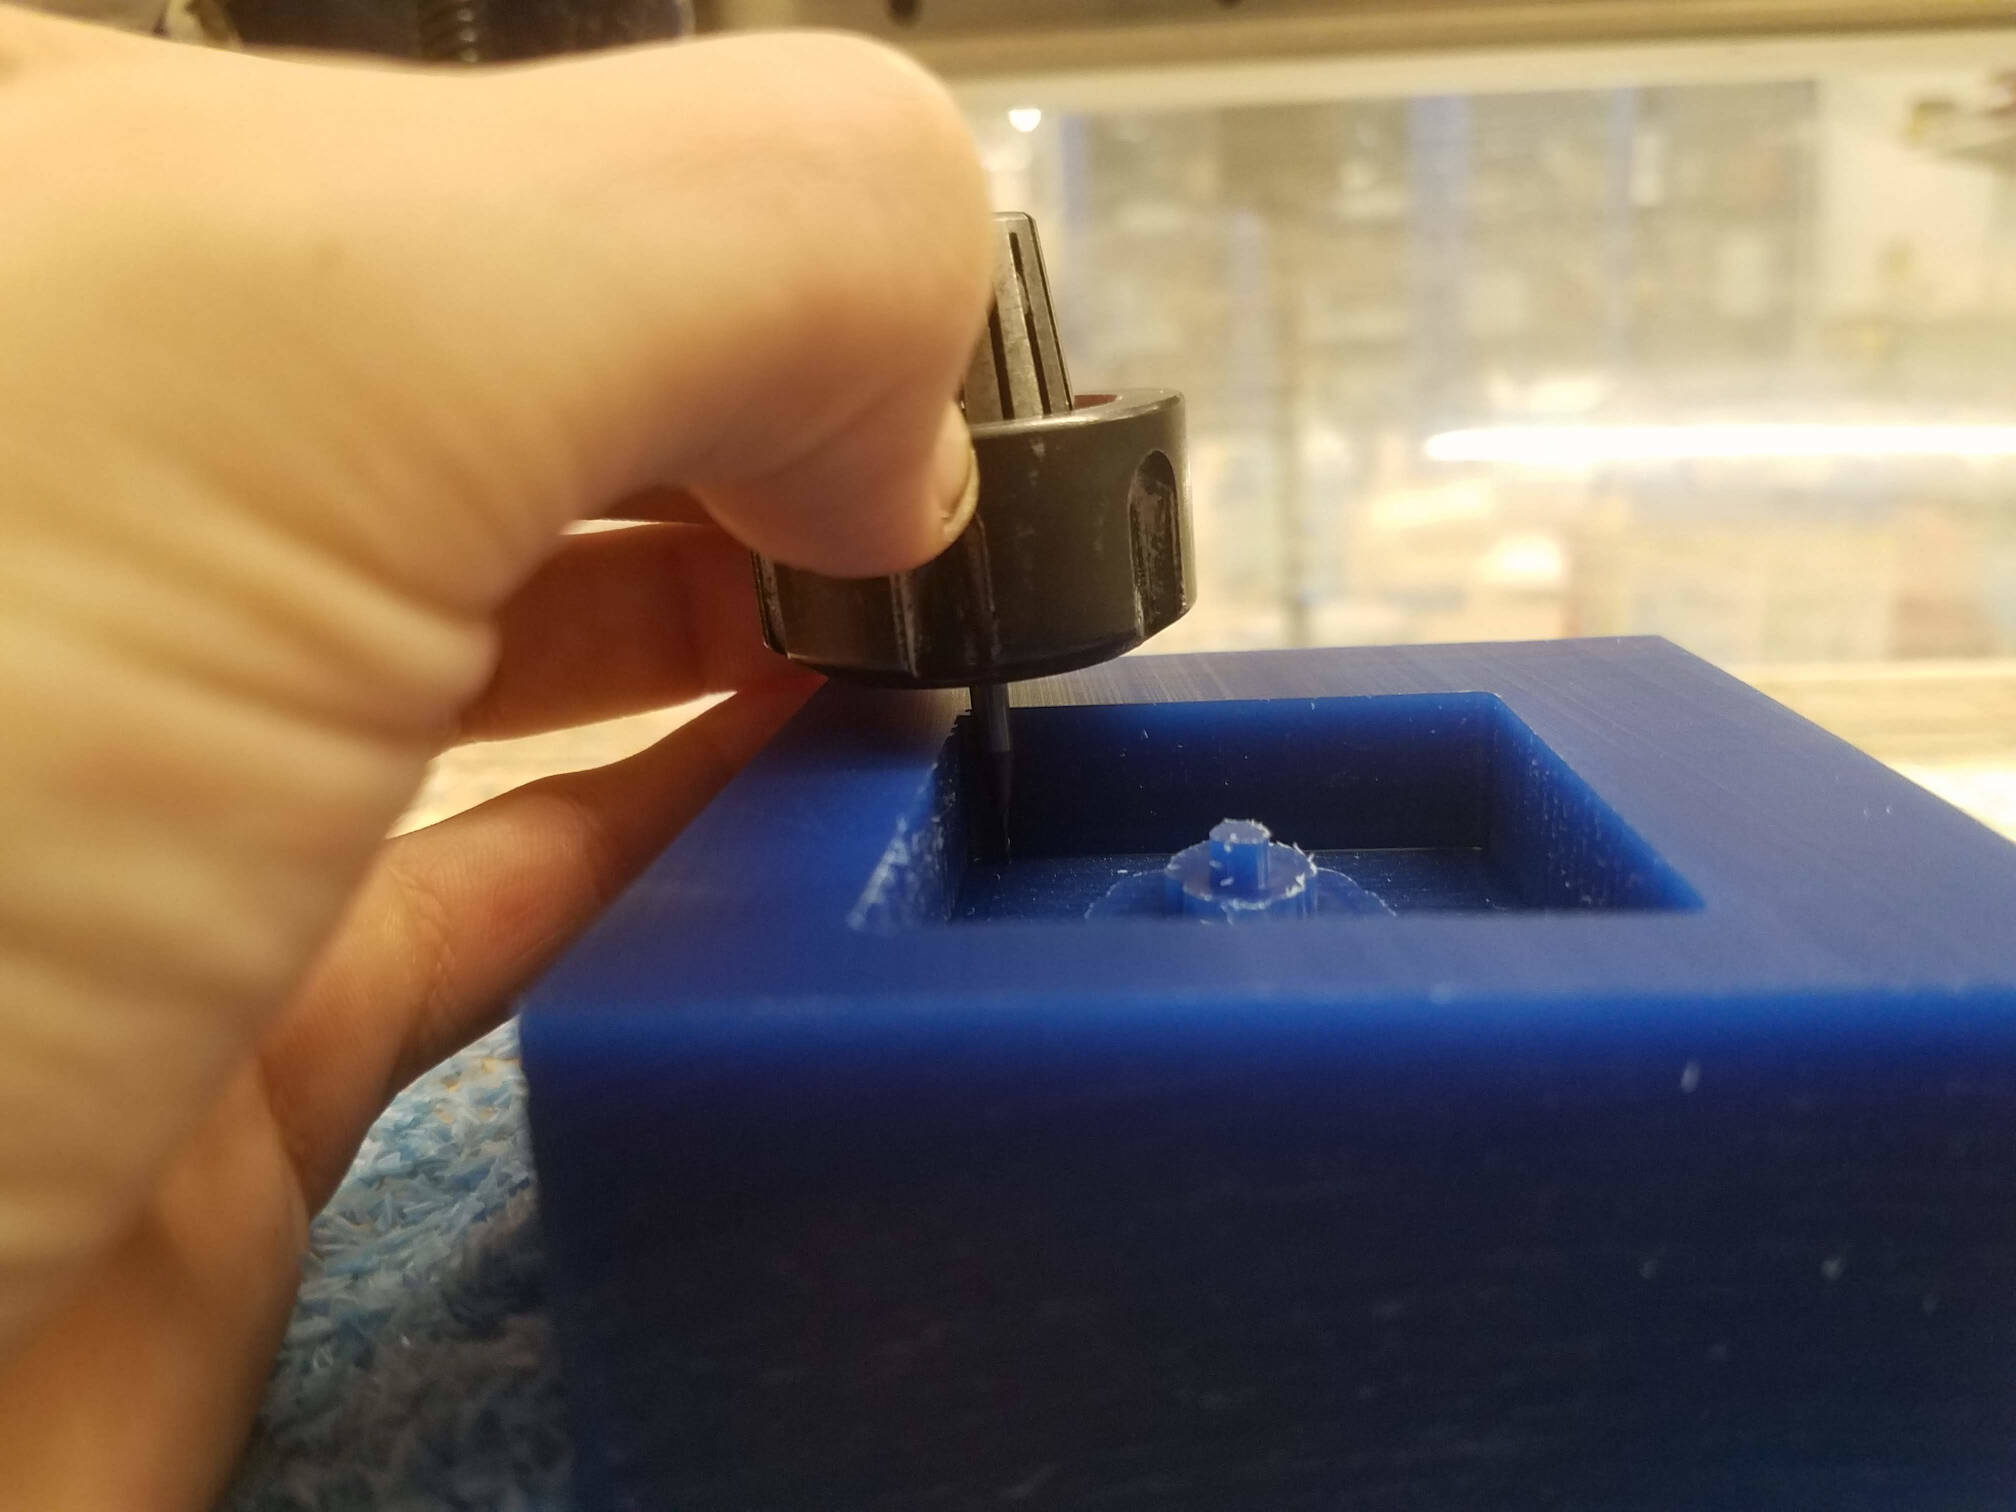
To switch out end mills, I had to use a smaller collar, which was easy enough to pop out. With the length difference between the end mills, I made sure to re-zero my cut, and did a quick eyeball test to verify that the tool head wouldn't clip the edges of the wax. I ran the finish cut, and it came out great!
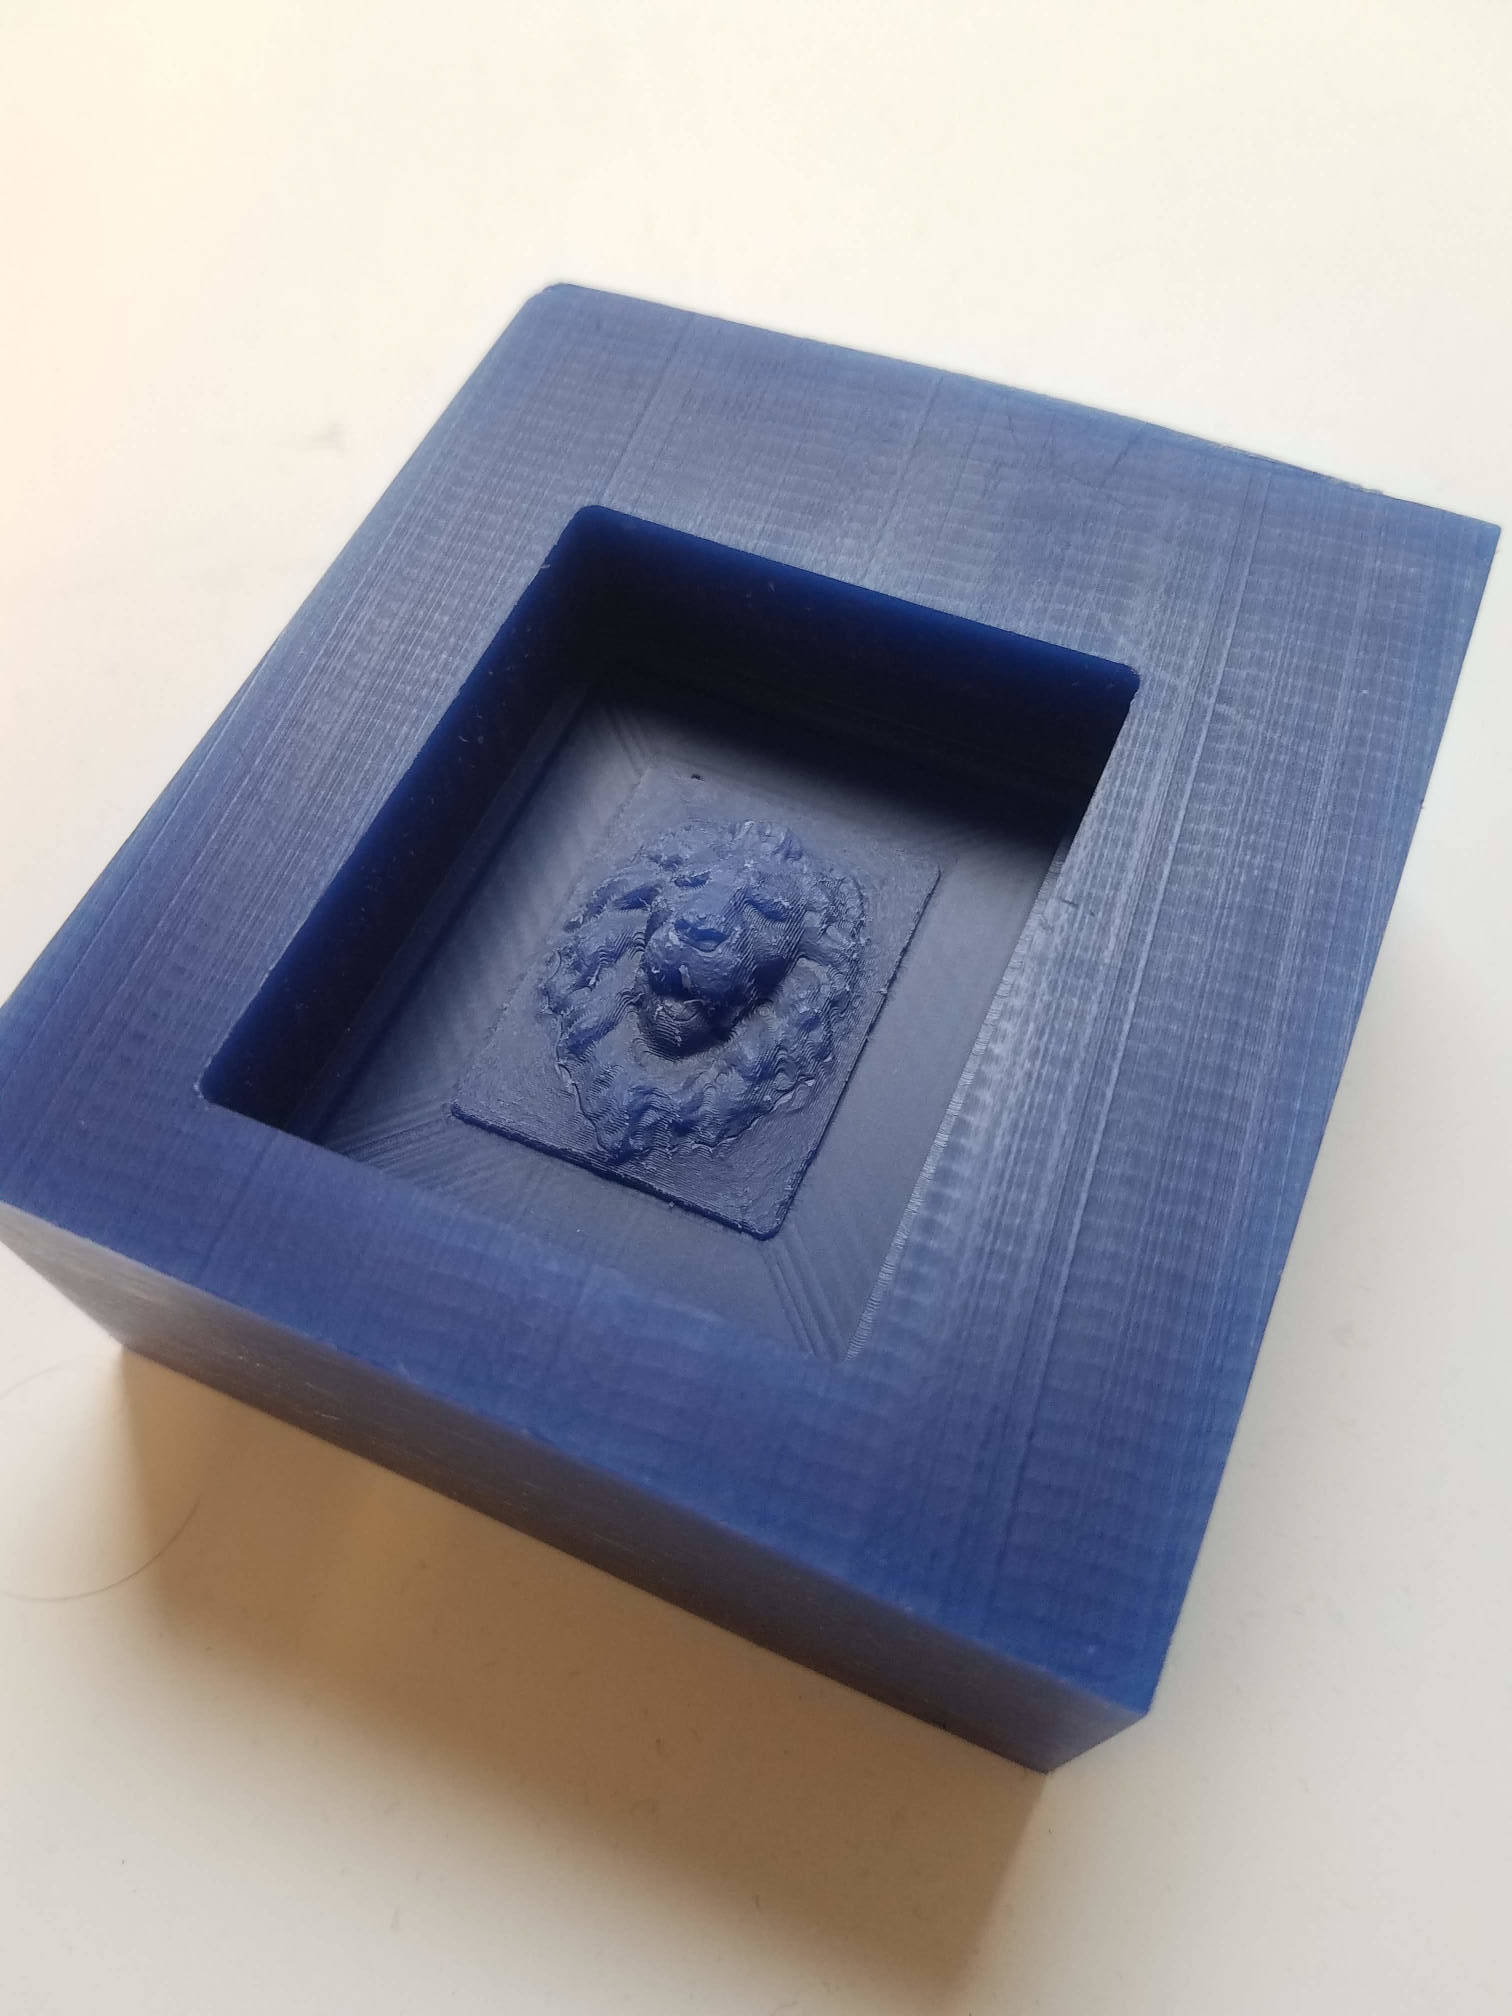
After looking at it, however, I realized the mold would be too shallow, leaving me with a thin part (or chocolate, even worse!). I went off and added a 5mm outline cut around the model, in order to get a wall for the final mold. I carefully reglued the block, zeroed the tool... and the tool promptly snapped. I had forgotten to check the RPM on the side of the shopbot -- usually people kept it constant, but someone had used a tool that needed a slower speed, and hadn't changed it back. Thankfully, while the tool did go off-path significantly, it didn't go into the model itself. It did, however, mess the walls up a bit, but nothing too bad. I ran it again, and it came out pretty fine.
Molding
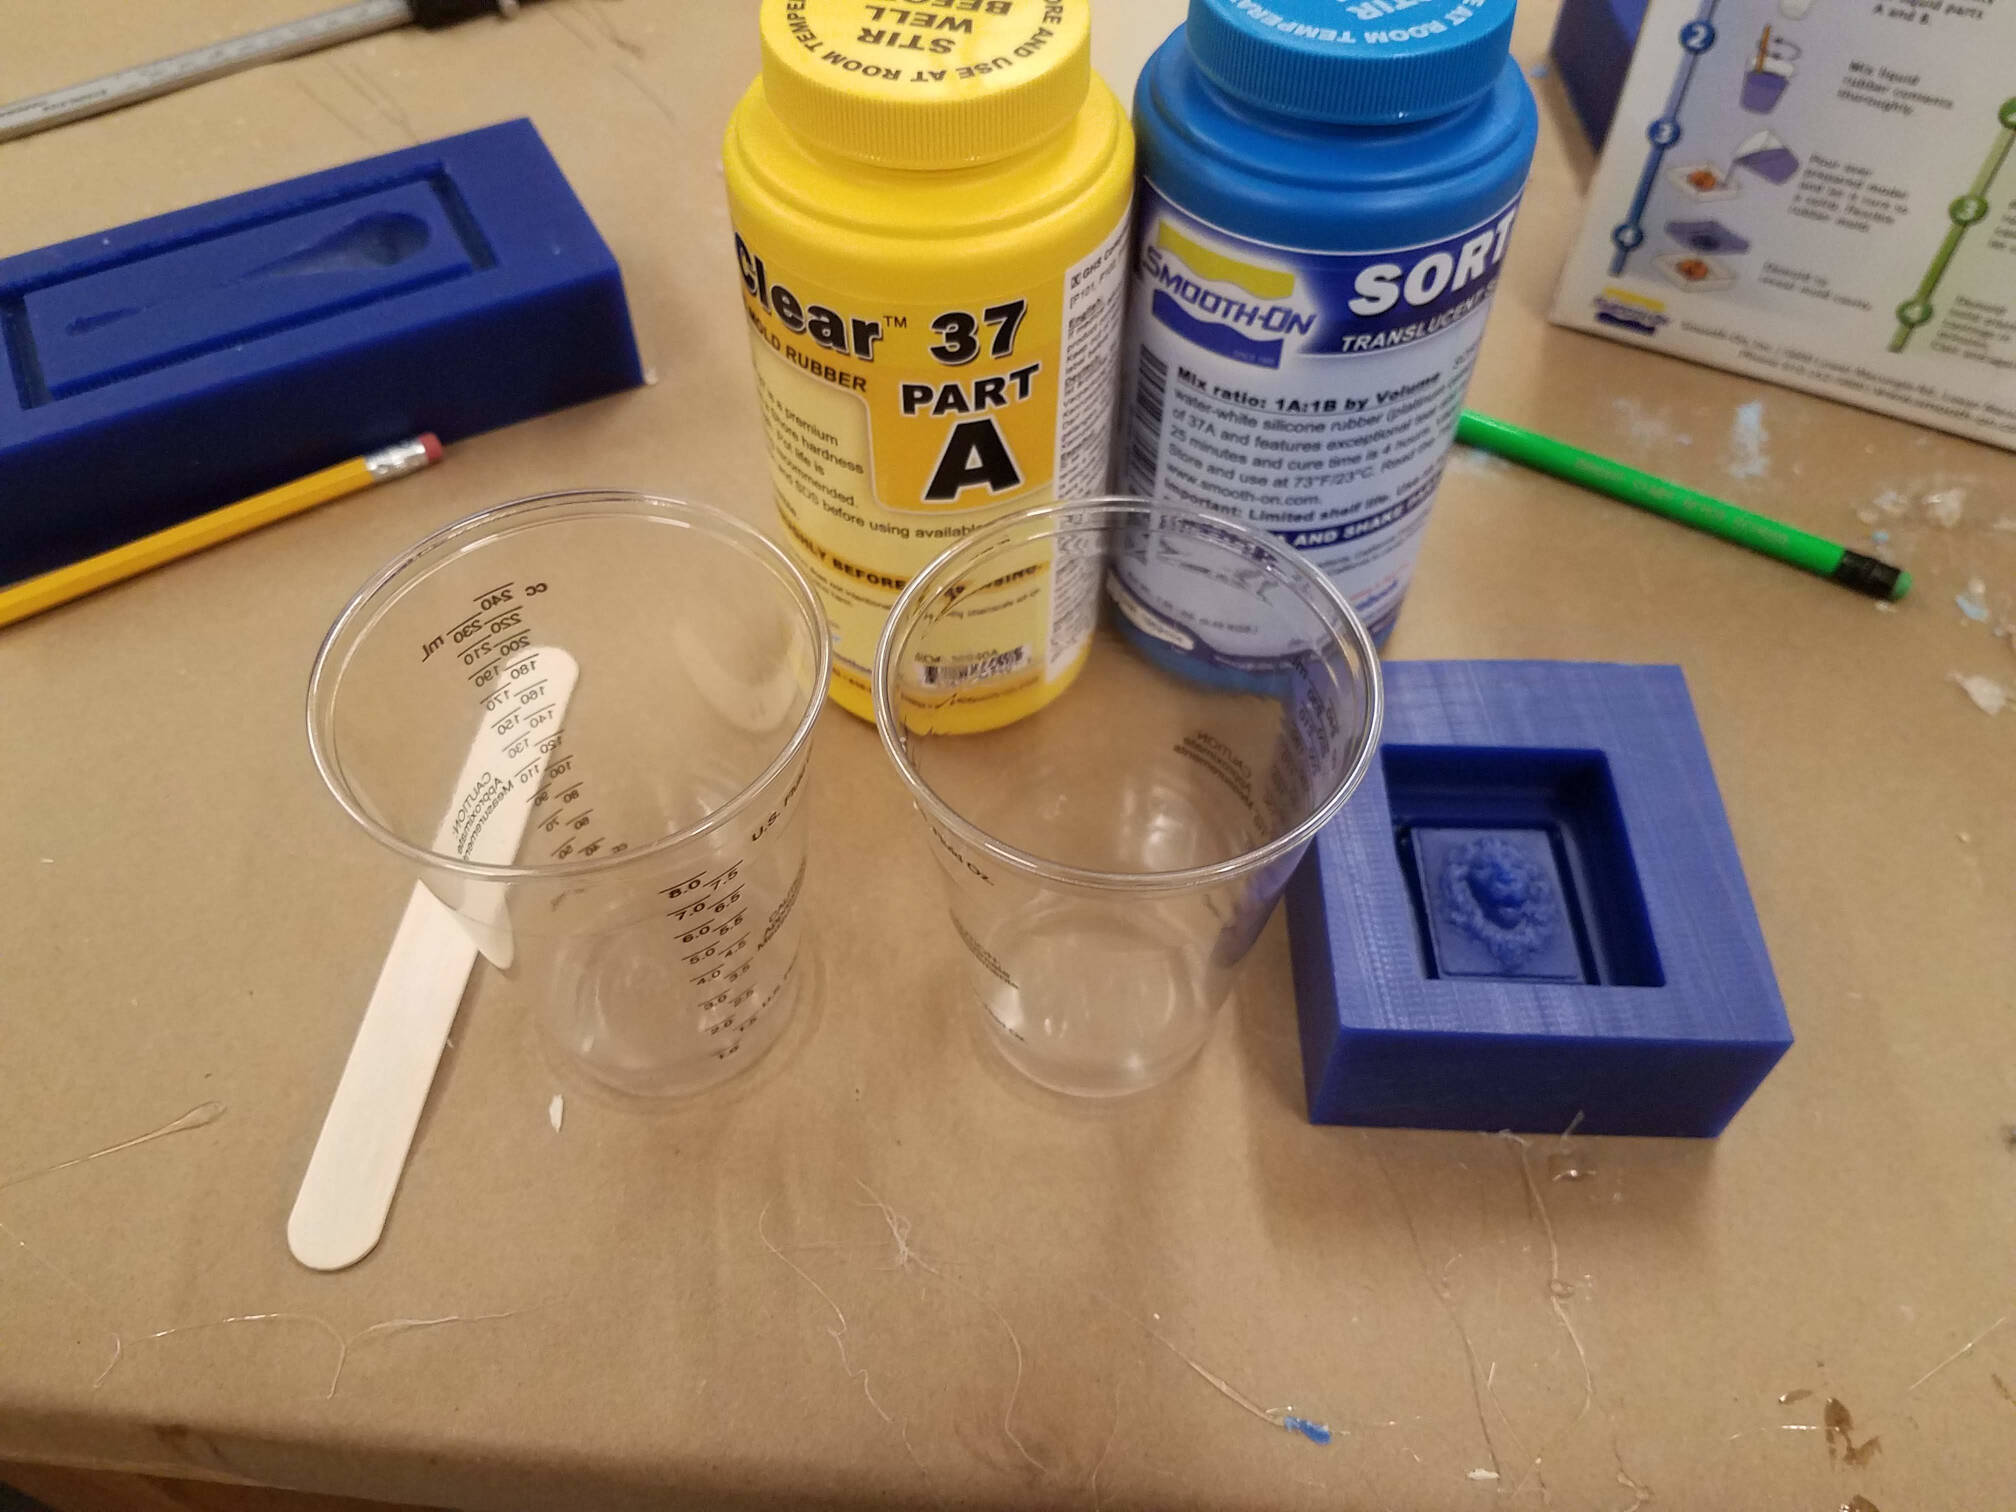
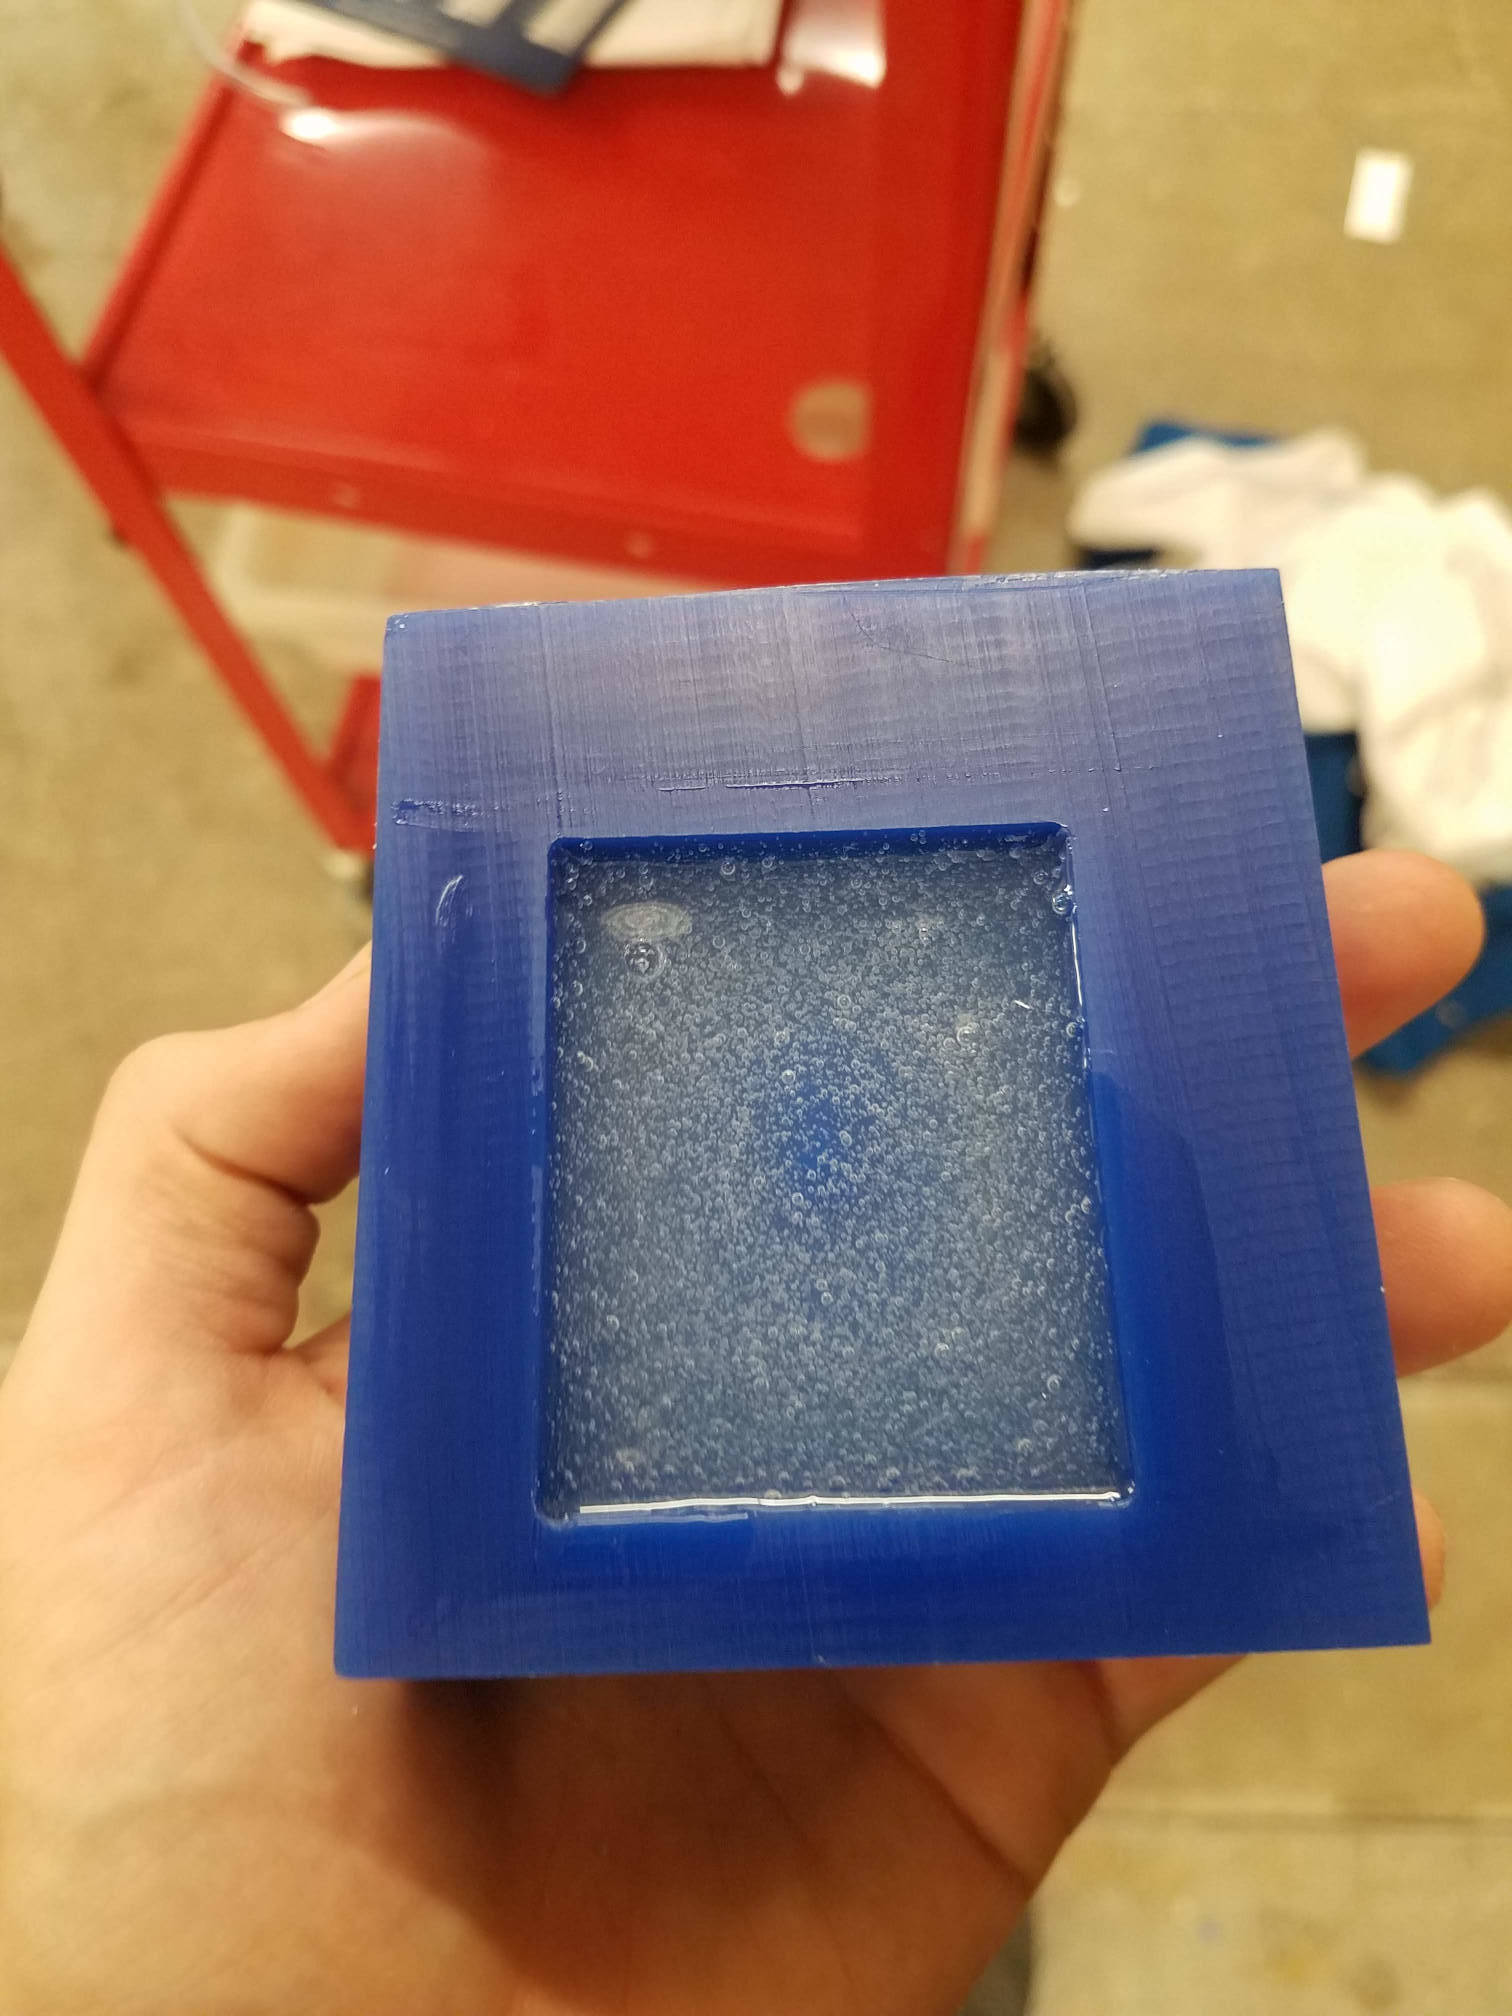
David Rosenwasser had procured some SORTA-clear, which is food safe, and he kindly let me use some for this. The materials were crazy viscous, and required 30s of individual stirring before 3min of combined stirring. This resulted in a LOT of bubbles, for which I tried a couple methods of removal. First, I just poured the mixture in as thin a stream as I could, trying to break those bubbles.
The bubbles stayed, so I went off to a vacuum chamber in the Active Learning Labs. After some fiddling to understand the airflow of the system, I got it running. The mixture bubbled up a ton, but after like 15 minutes of waiting (first 2 minutes shown below), no bubbles had popped. I shook the chamber, put it on the vibrating pump, and bounced it around a bunch, but no dice. In the end, it only resulted in some spillover on the edges.
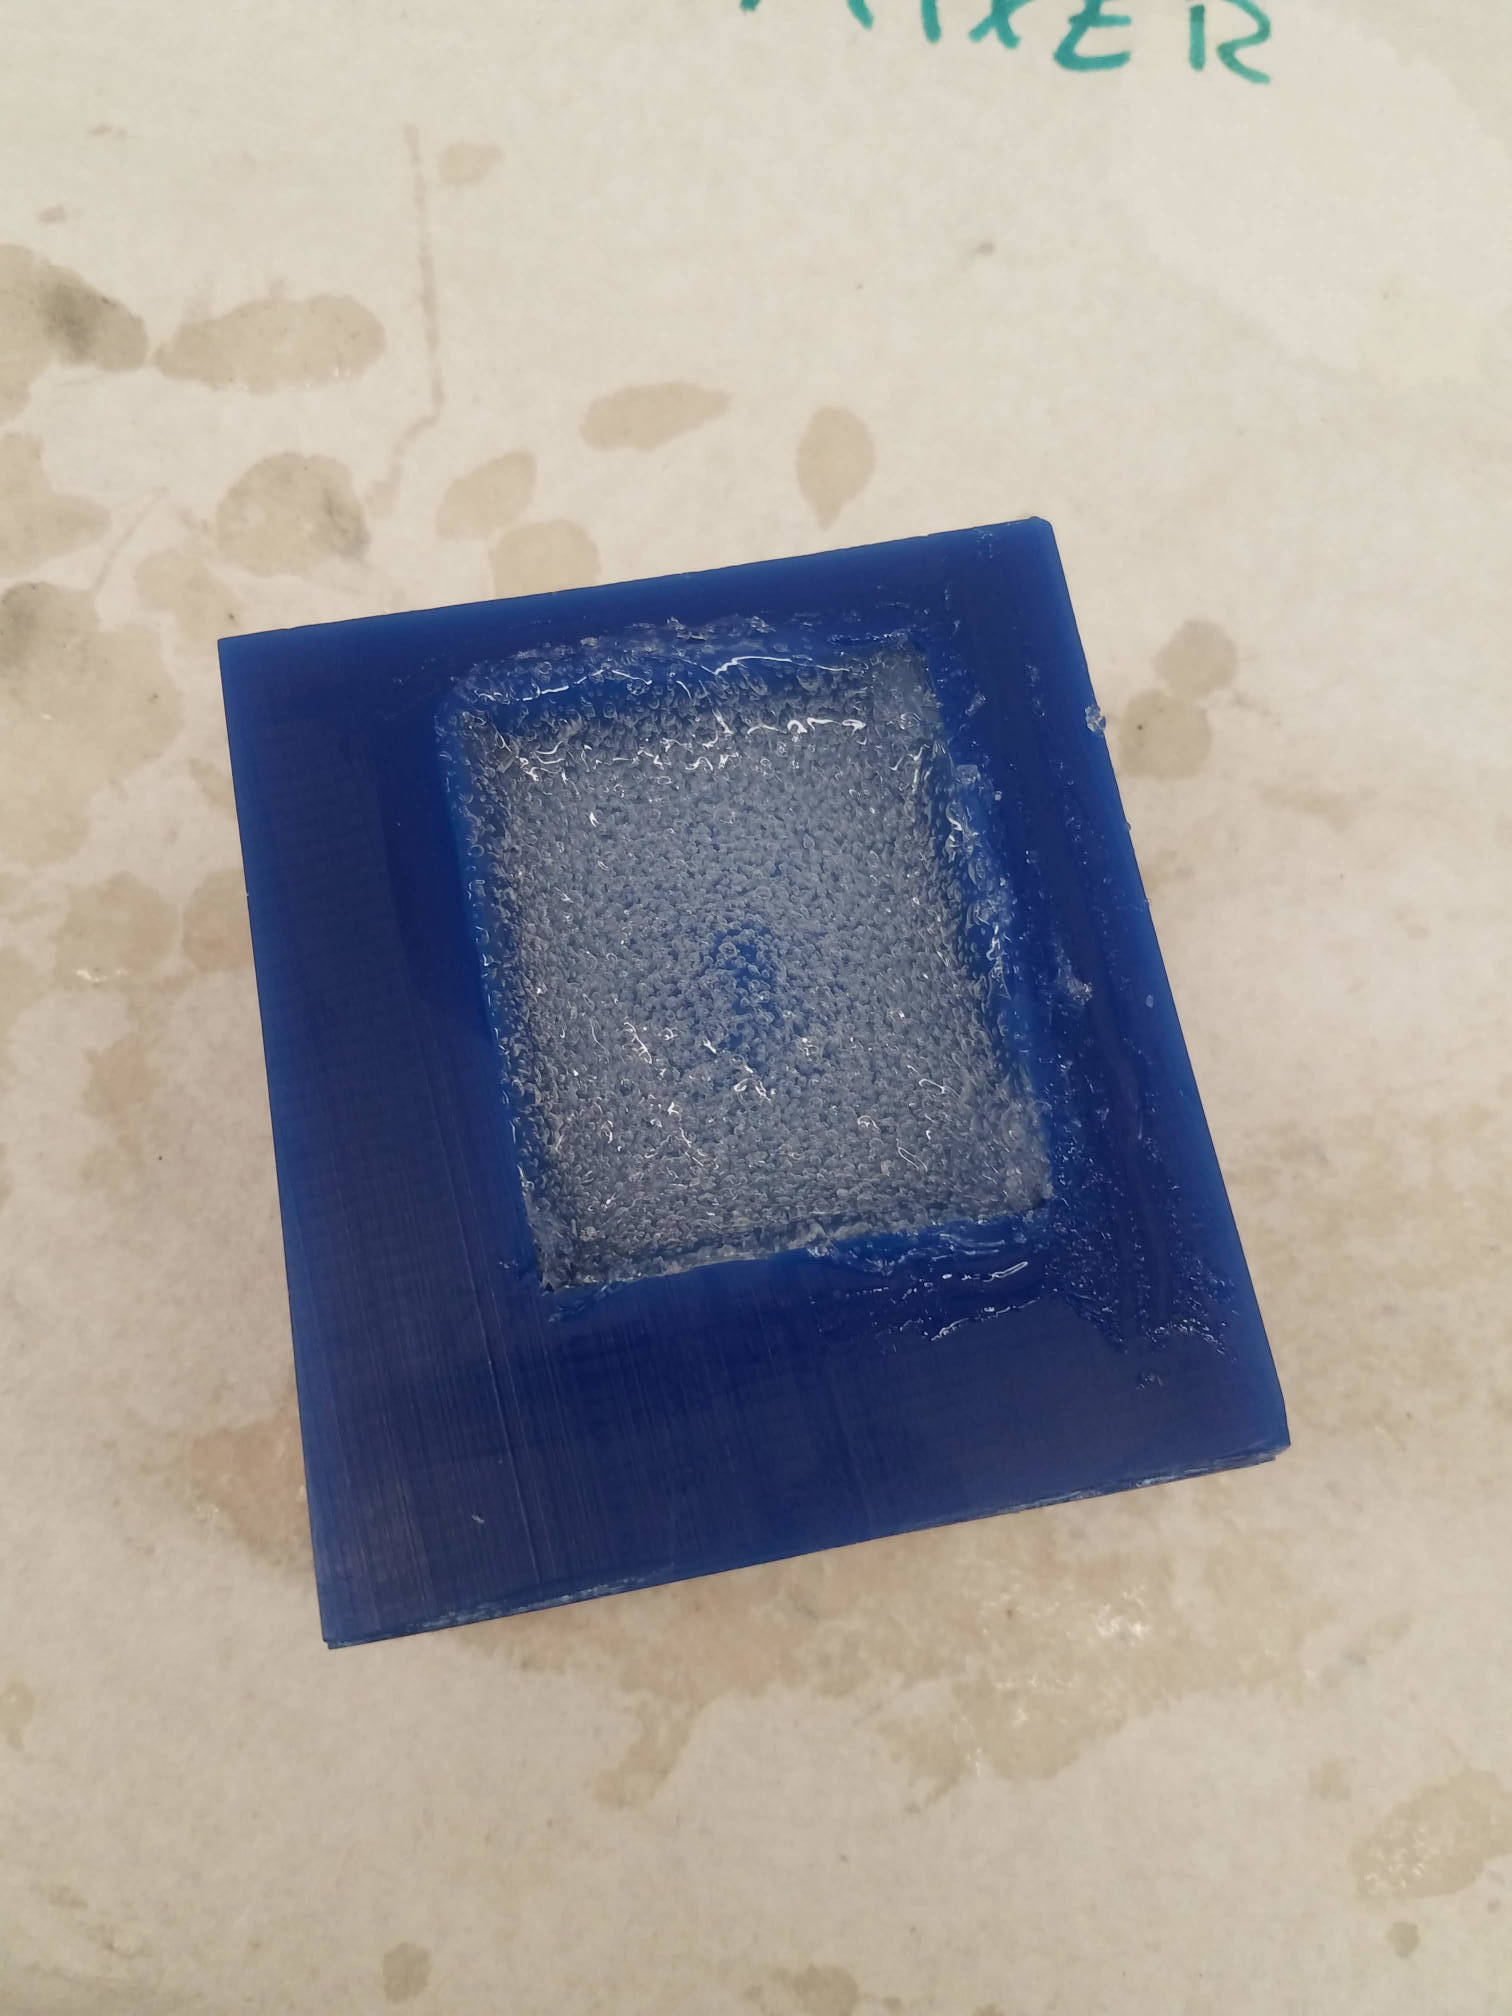
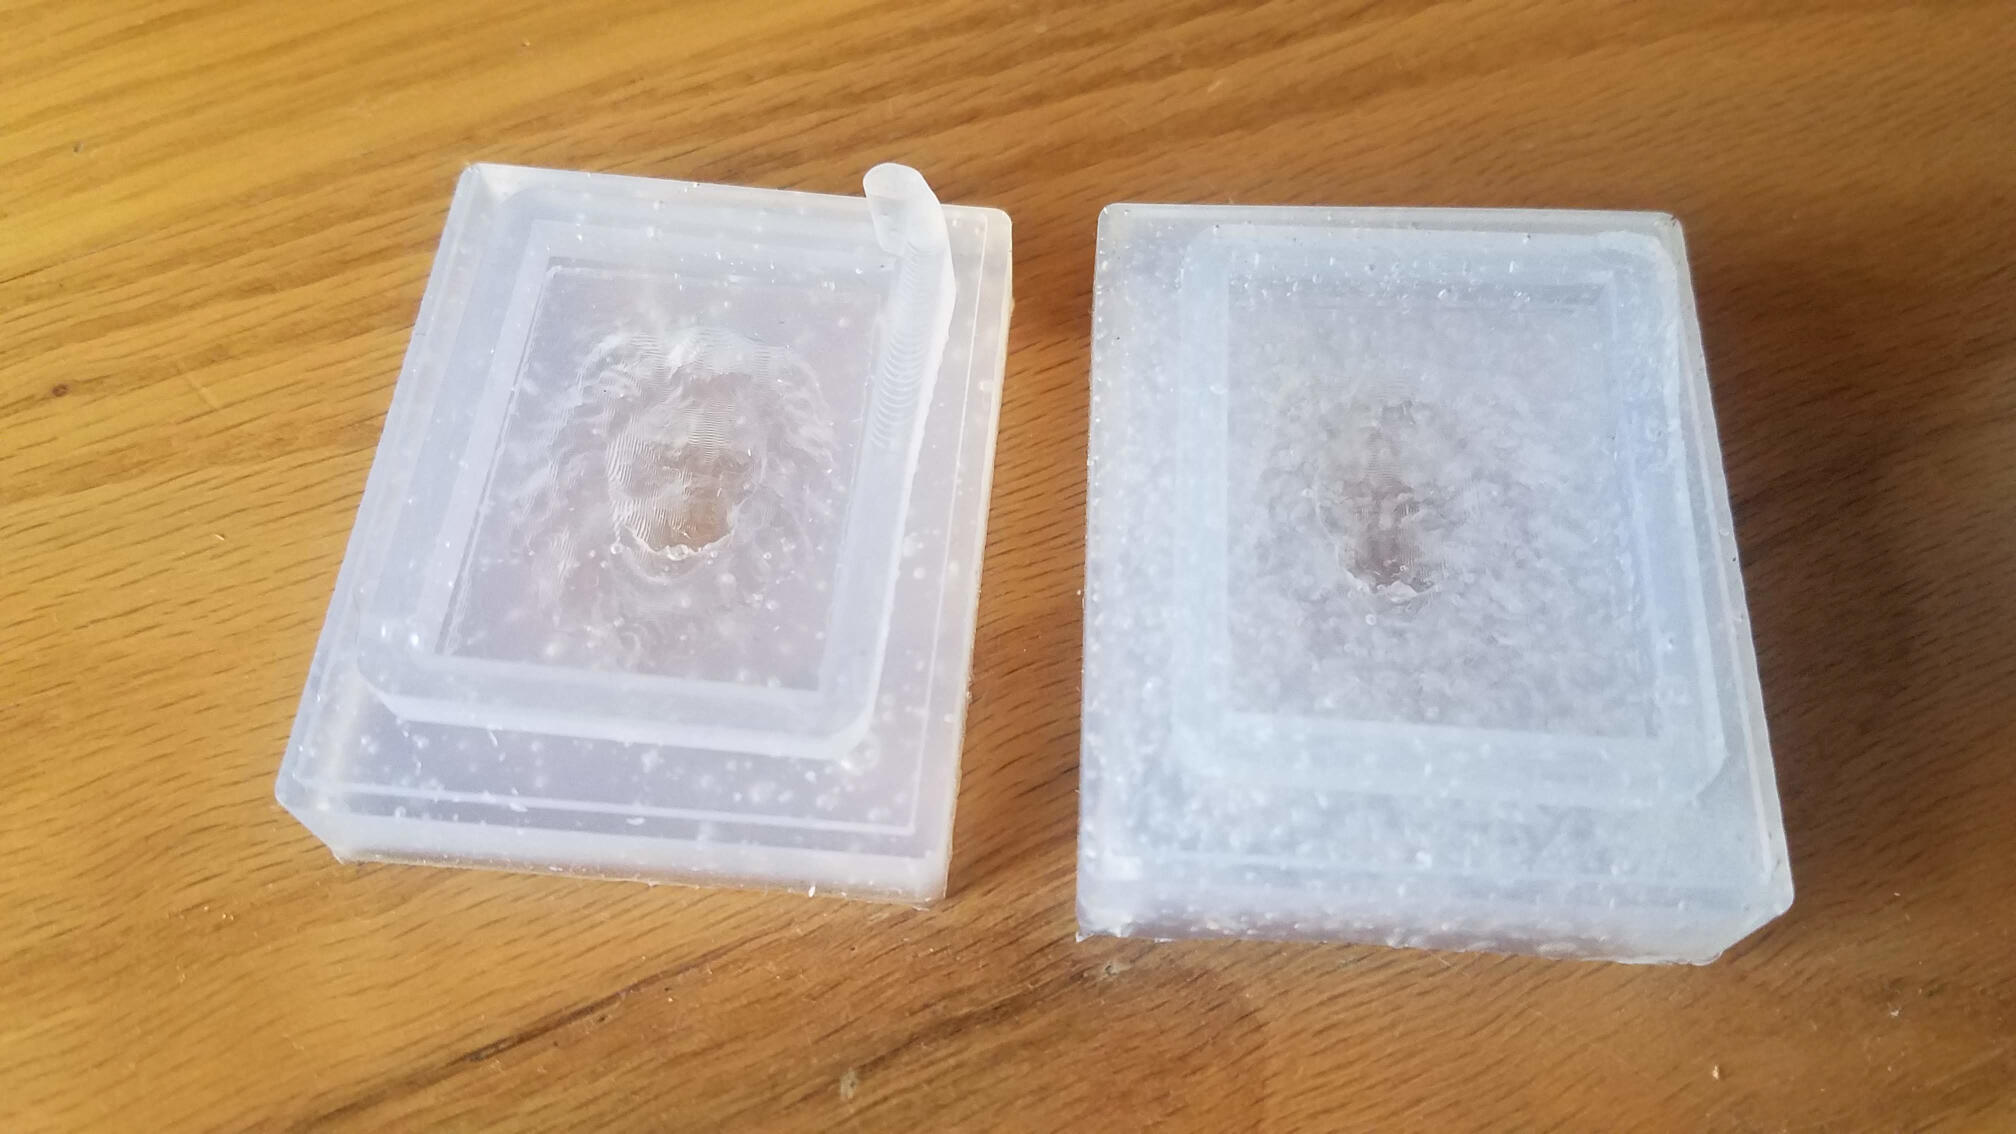
After some waiting, the mold came out! It took some prying, and I had to take a knife to remove some of the extraneous edges. I plan to use it to make some chocolates, and I might go through the process again with less toolbreaks and vacuum spills for a second, cleaner mold to speed up chocolate production -- 'tis the spooky season.

I made another attempt at a pour, using a stirrer that wouldn't break the surface as much. This prevented bubbles from forming, which was great, as I couldn't figure out how to get rid of them. The result looked a LOT clearer, but both have the same surface finish, so work just as good as molds.