Circuit Milling
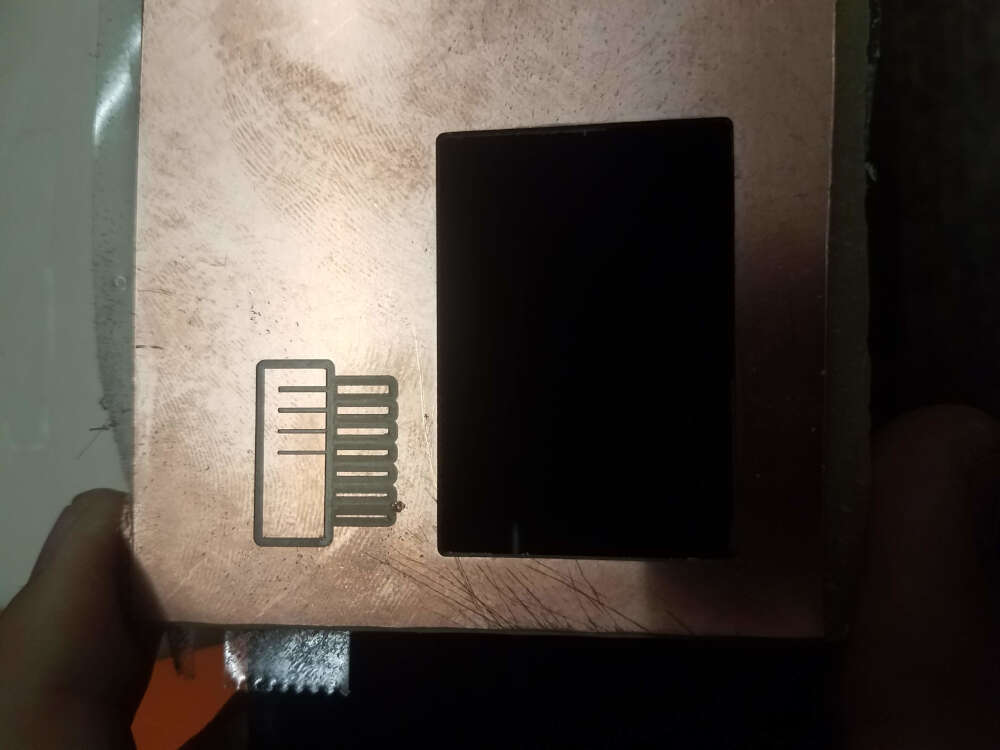
To start, I worked on characterizing the mill. I was working on the Roland monoFab SRM-20. The drill bit is 1/64 in, which is about 0.4 mm. I created a file with cuts ranging from 0.1 to 0.7 mm, both positive and negative. The file is scaled by 10. A low resolution that still works with the rectangles -- 200 x 175 pixels at 1 pixel per mm, gave me issues with angled cuts, and improper tracing. 2000 x 175 at 10 pixels per mm, scaled on the mods server to 100 pixel per mm.
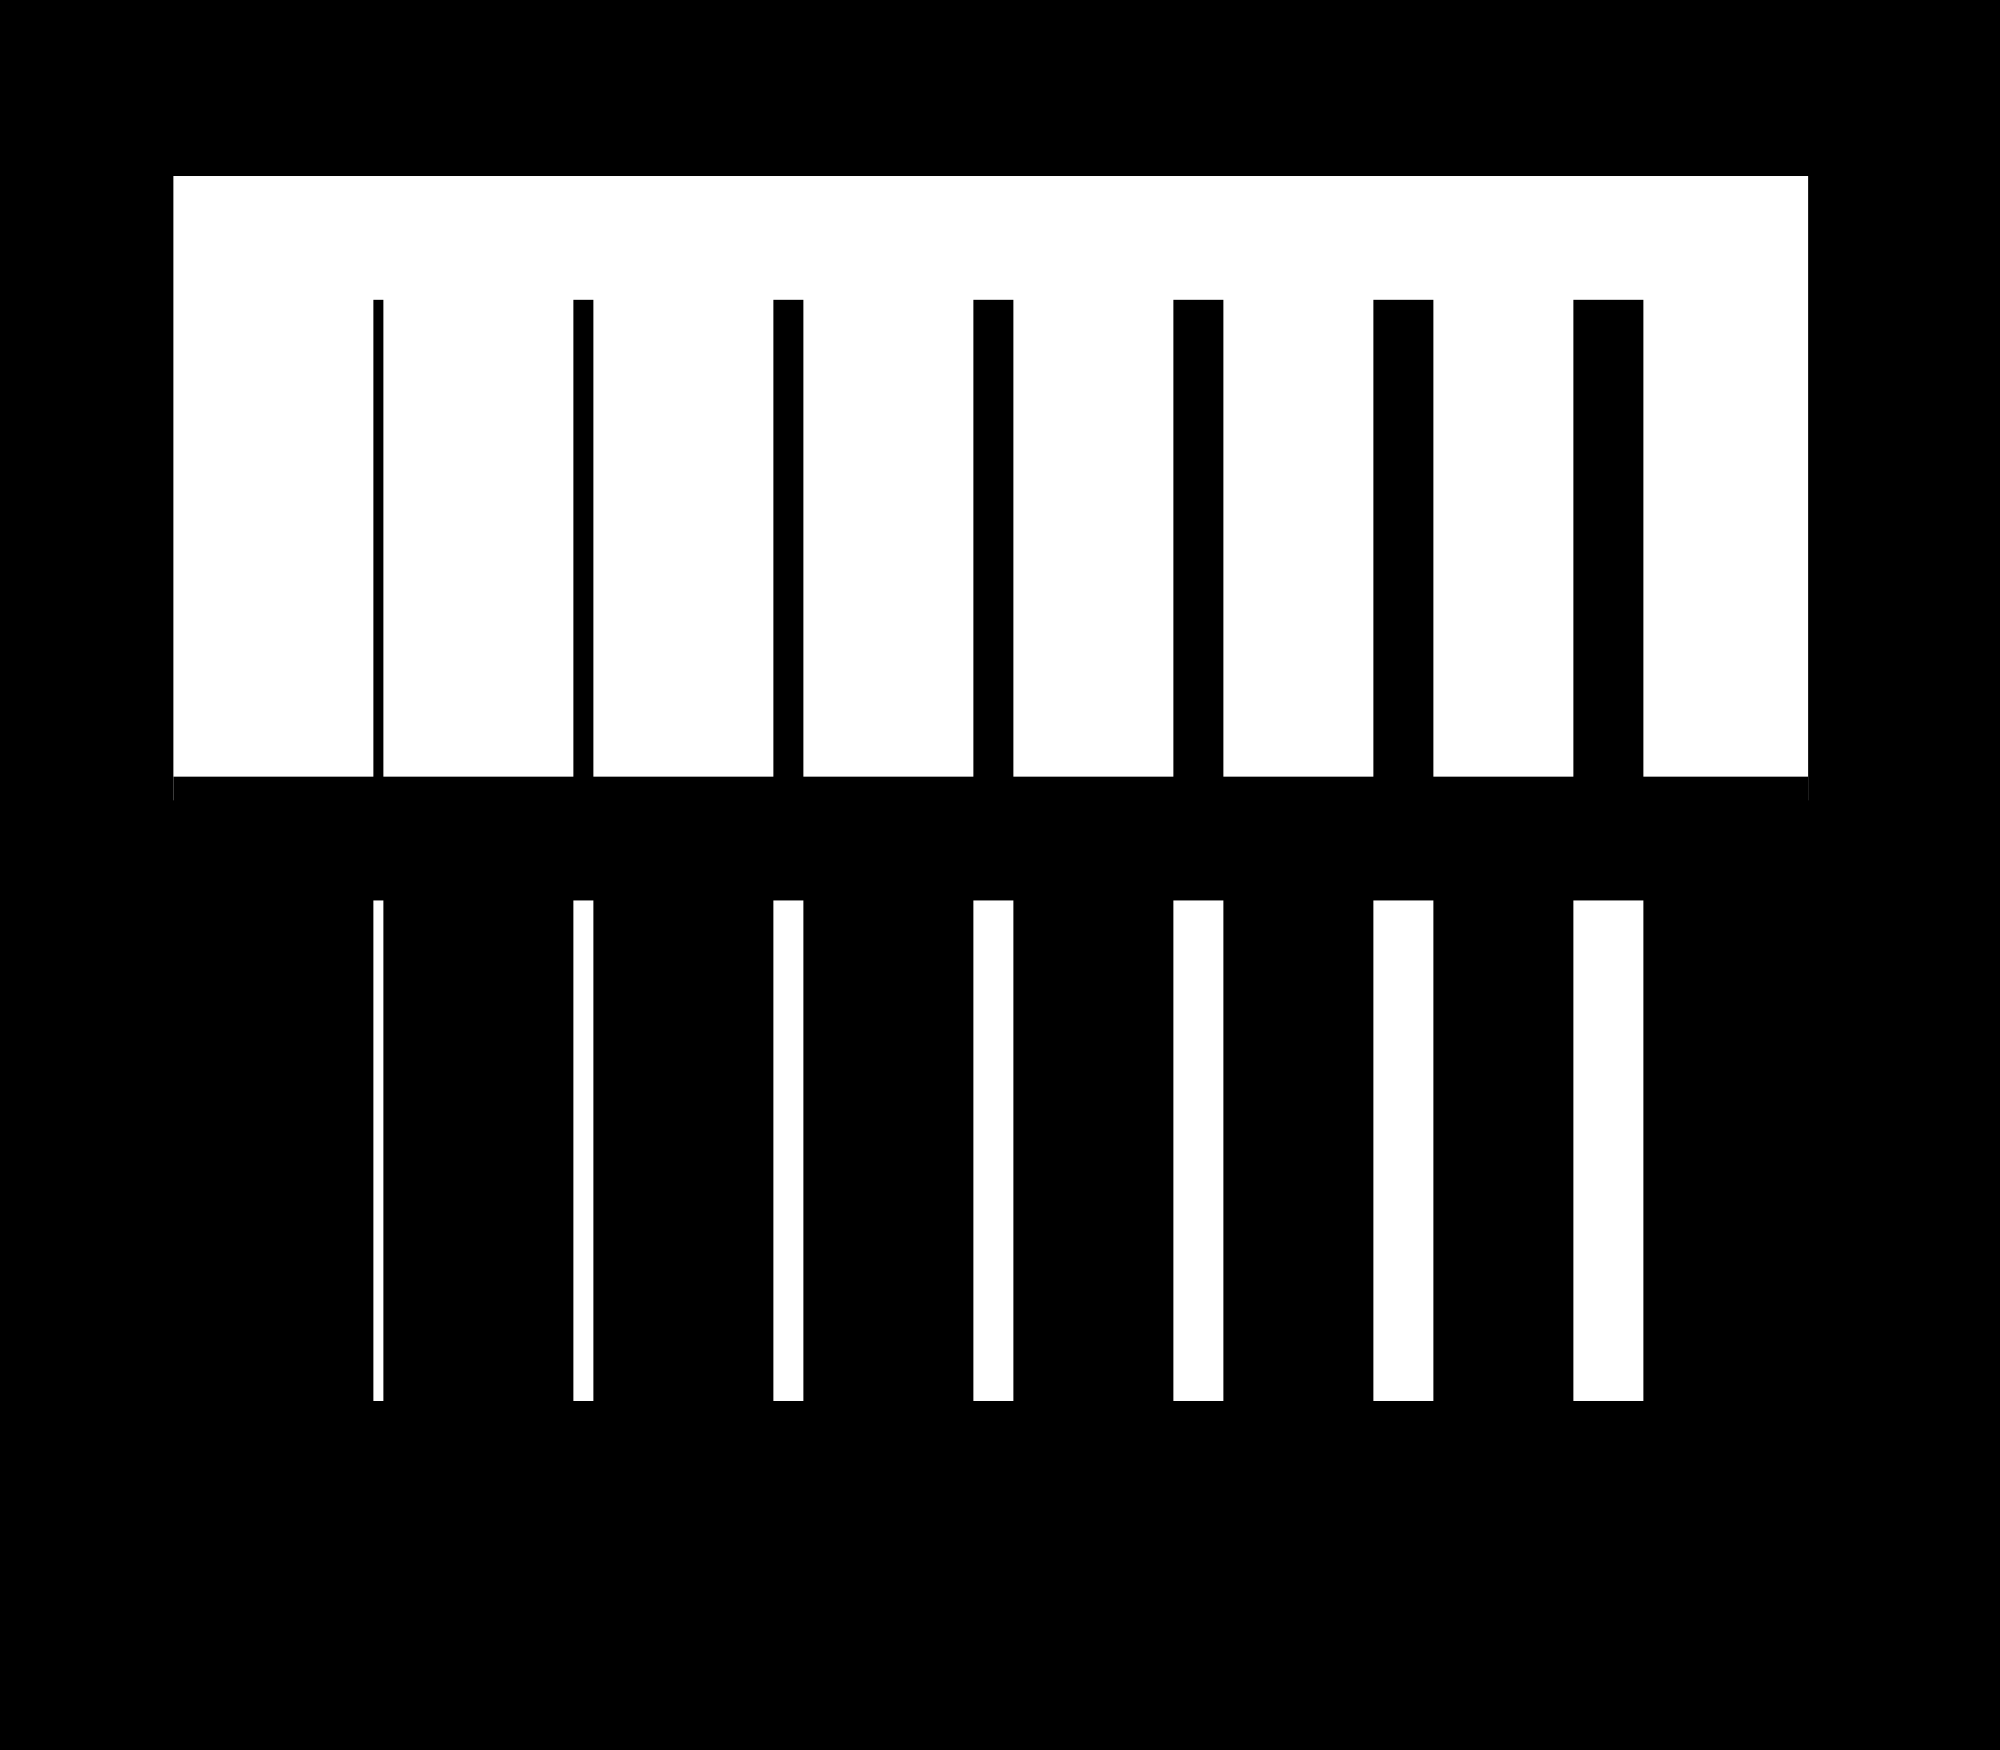
The negative gaps below the diameter of the tool were missing, but surprisingly the positive material was stable down to 0.1mm. The cut depth looked good at 0.005mm, so I set that up for my controller cut
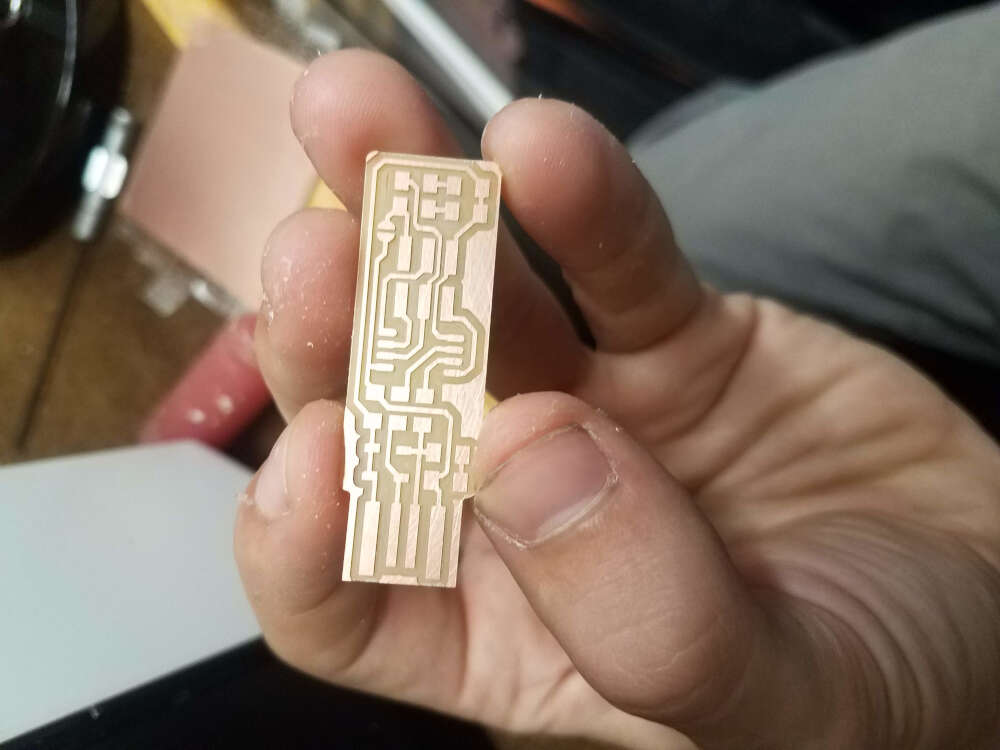
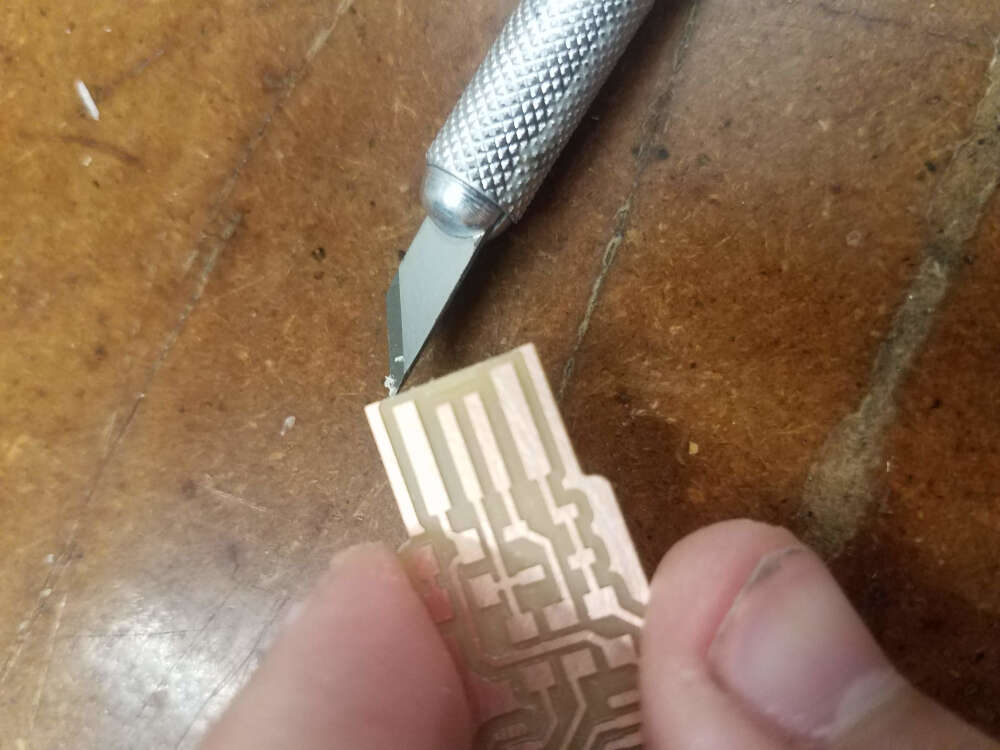
The piece came out great! There were no issues to speak of, although I did open the door of the machine after setting it to home too fast once, which forced a restart. Good lesson to be smart about that. I cut the small bit of copper off the head of the piece, and I was ready to go.
Soldering and Programming
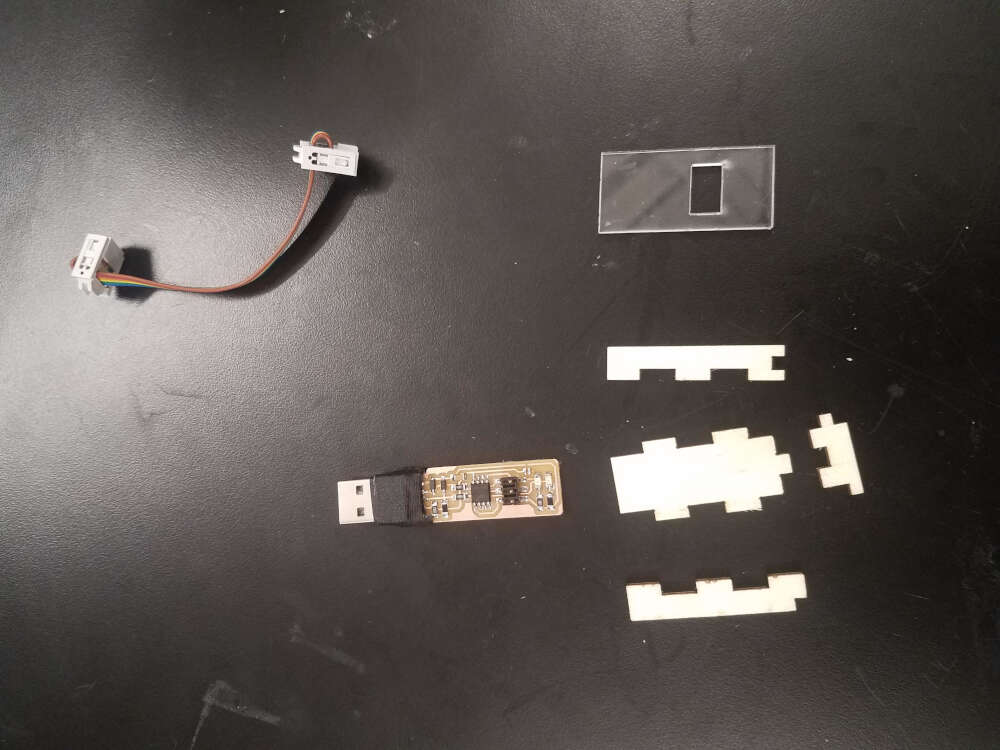
I laid out the parts, and used a voltmeter to test some unlabeled resistors to make sure I was good. I put together a ribbon cable, which might have been on the short side. Then on to soldering! I tested out the first couple connections, and then got confident enough in my ability to see a good solder that I did all the rest.
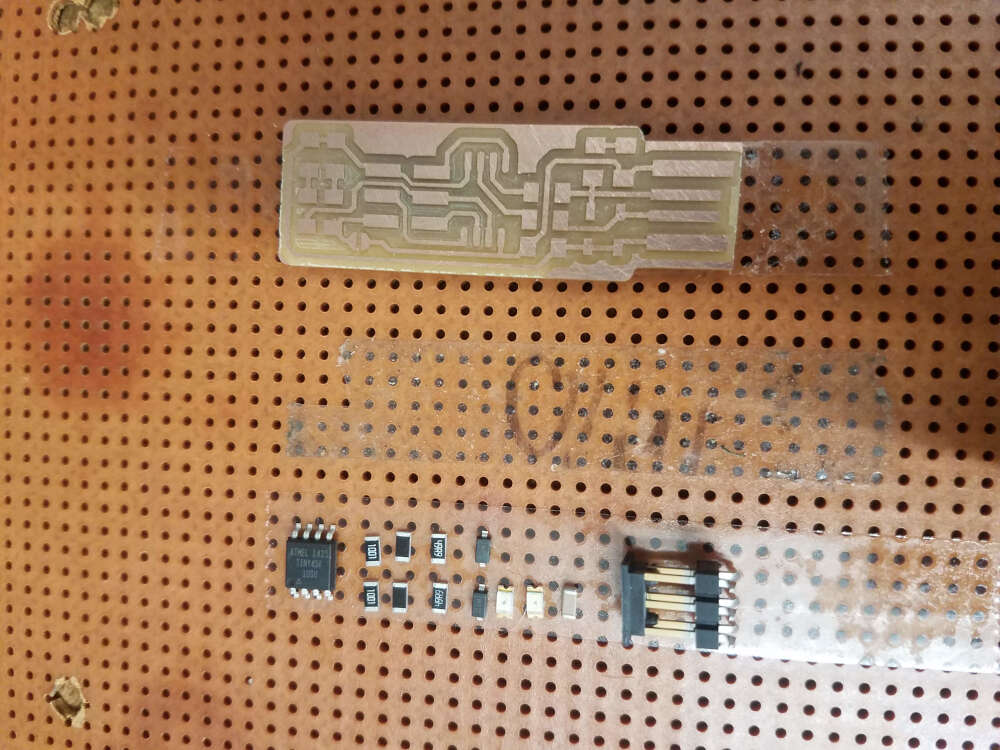
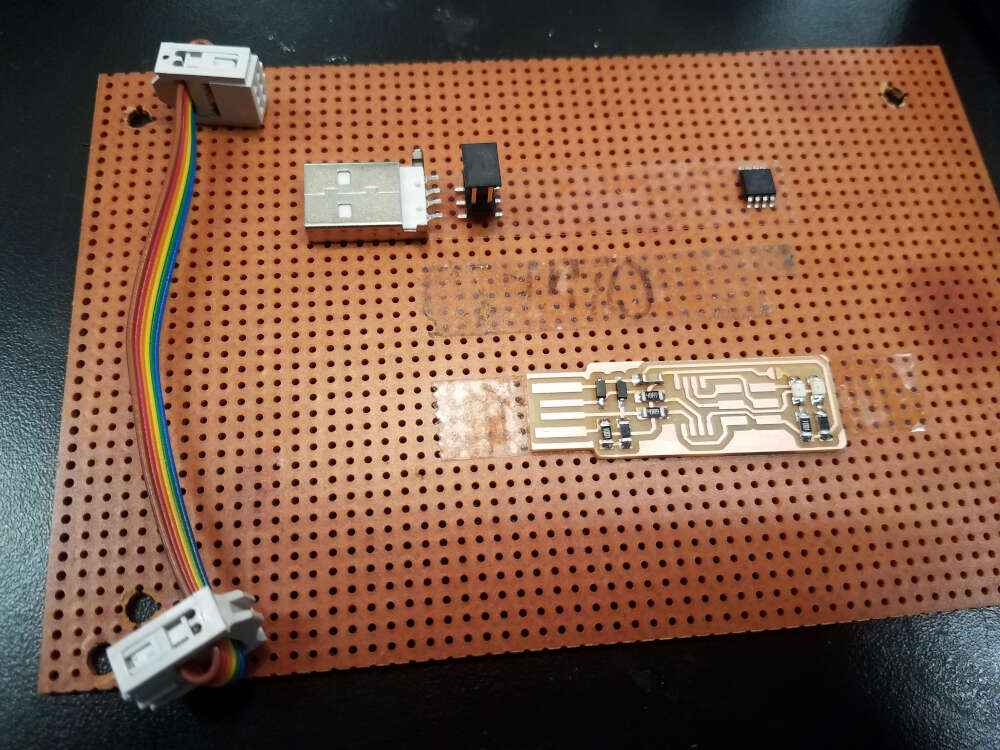
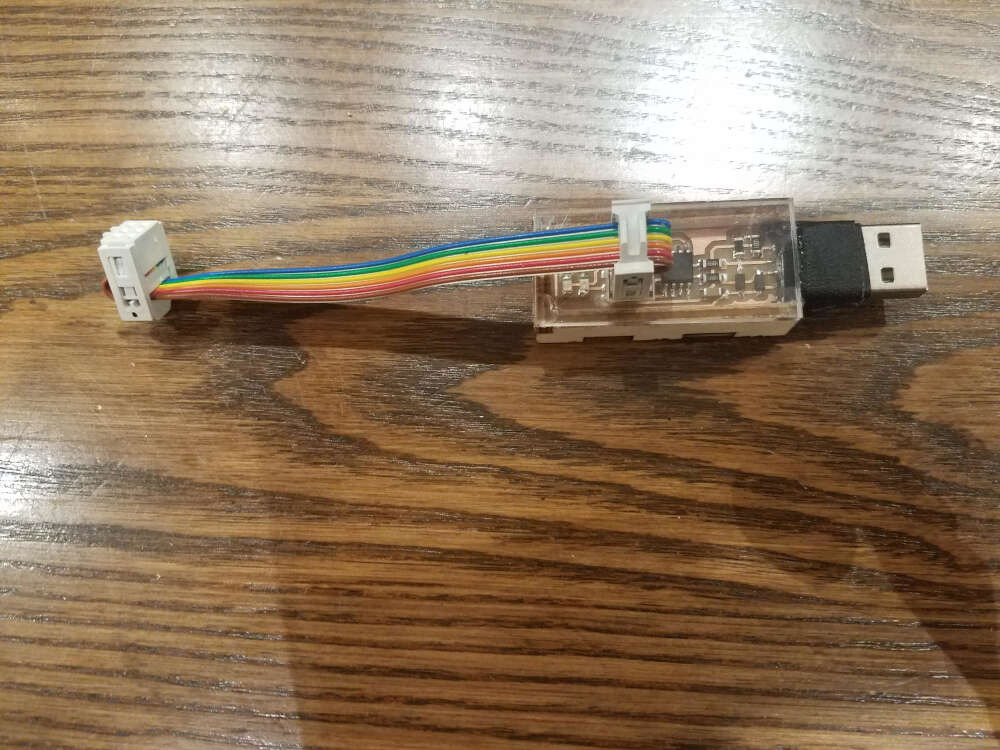
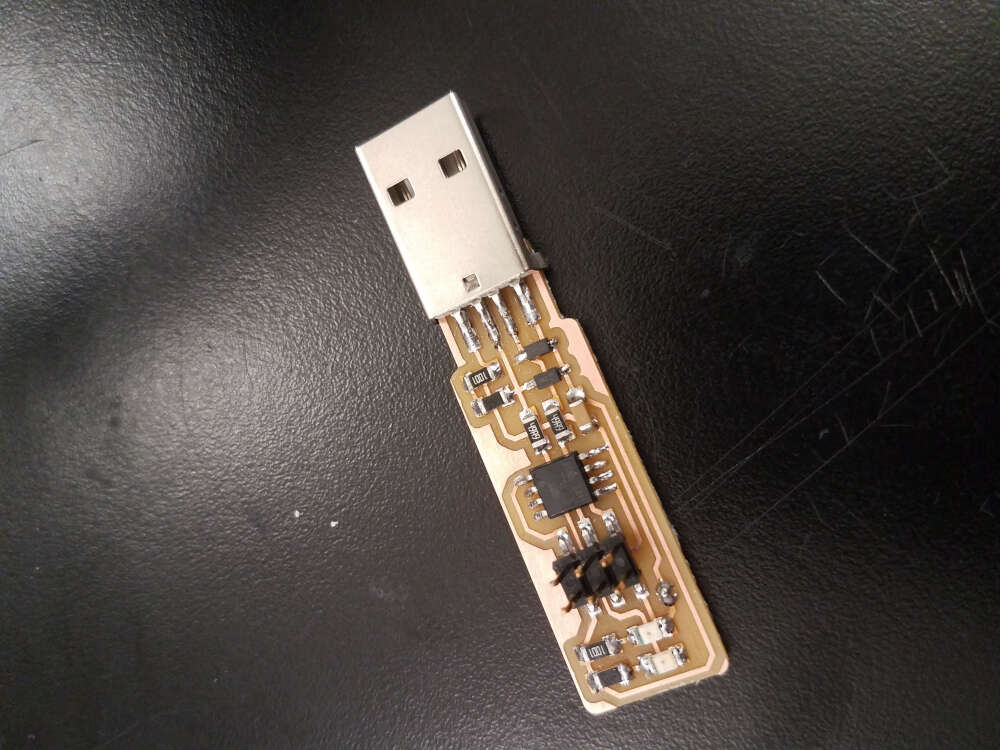
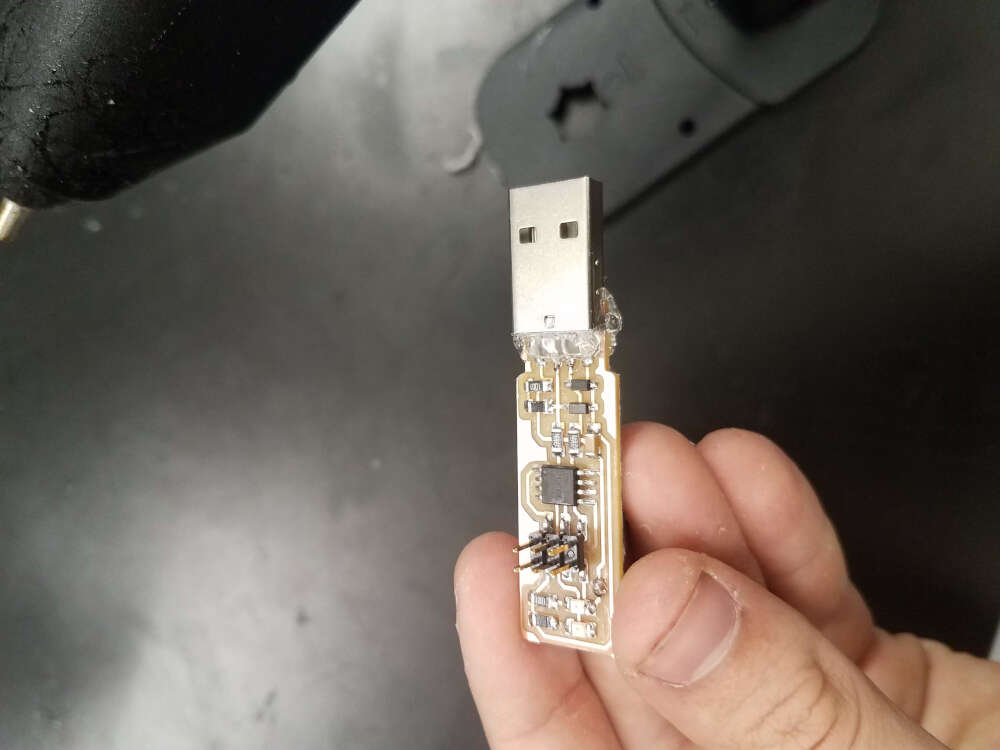
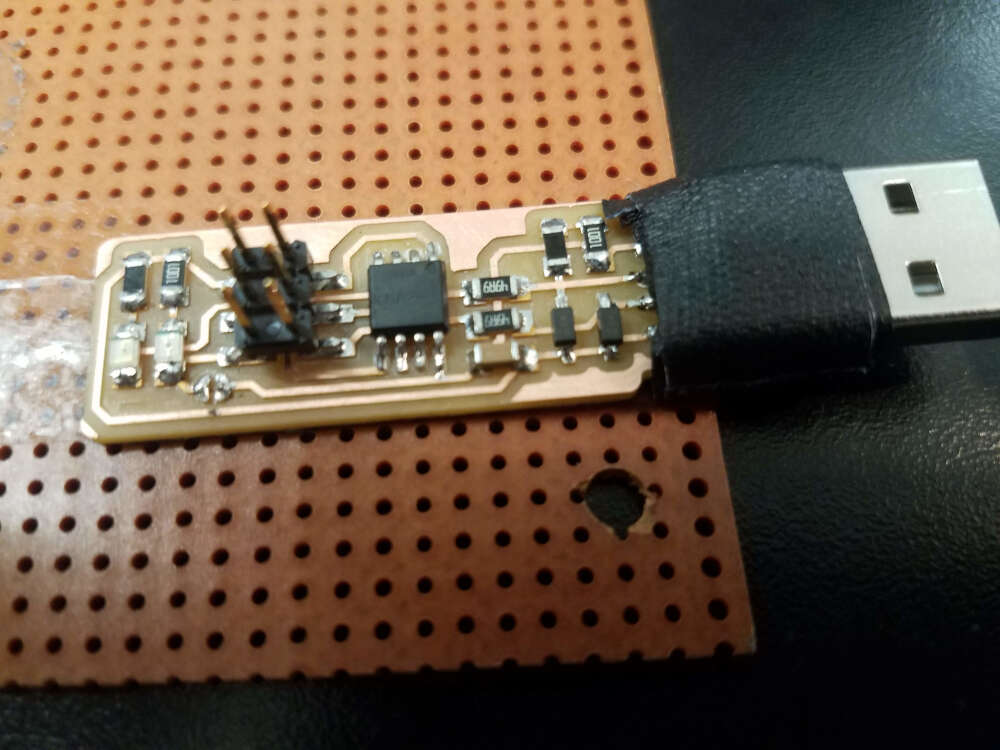
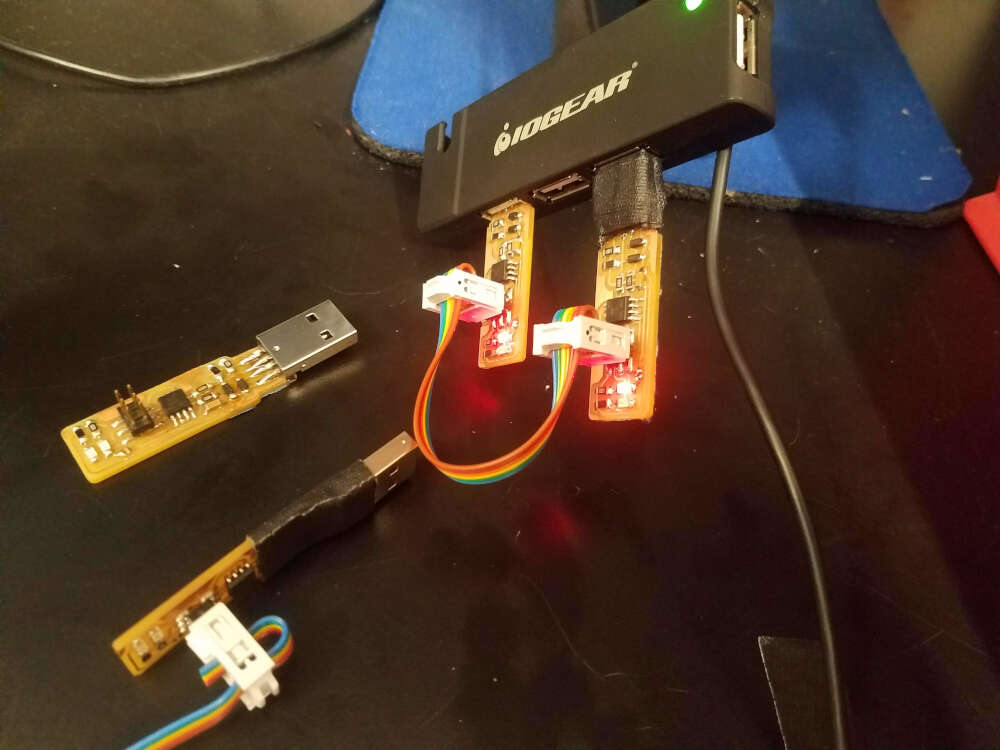
With all the pieces out, I connected a USB head to the piece. I plugged it in without the head, and it worked with some fiddling, but with the head soldered on it connected consistently, which was nice. The connection felt a little flimsy, so I put some hot glue and tape around the joint to keep it in place.
After only one error that was fixed with a quick unplug-replug, my board programmed perfectly! I even got the chance to test it out on Harshal Singh's board -- he used mine as the programmer for his!
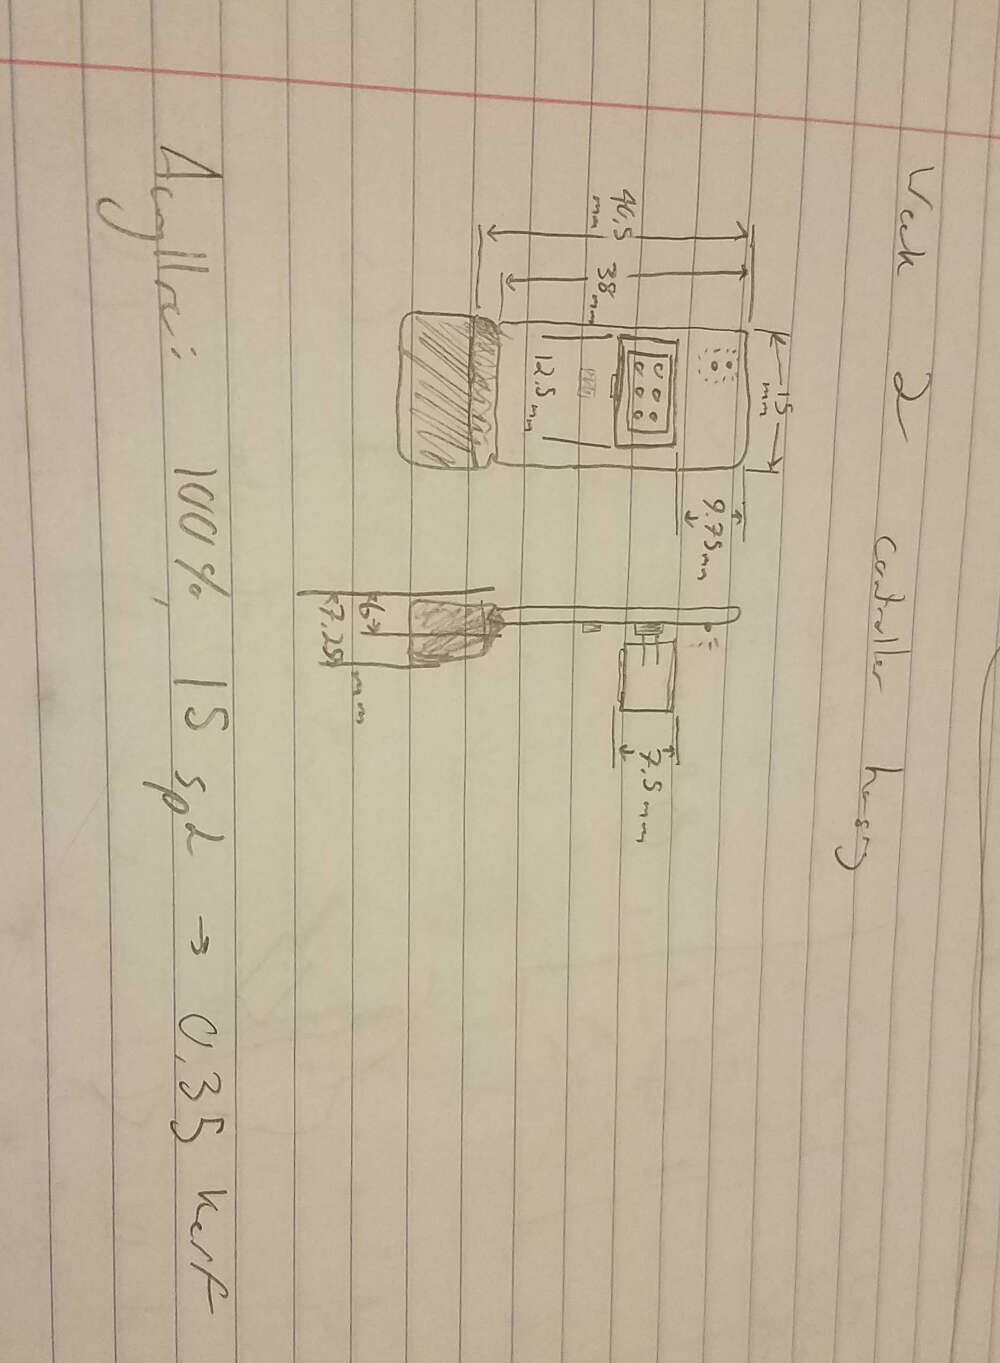
Packaging
Finally, after some quick kerf tests, I laser cut some plywood and acryllic to make a little box for the guy. I put some hot glue in to keep the acryllic in place, but it's not fully staying, currently. I might need to reattach it later. Other than that, I'm really happy with the final result!