PCB Fabrication

This week we're making a PCB (printed circuit board).
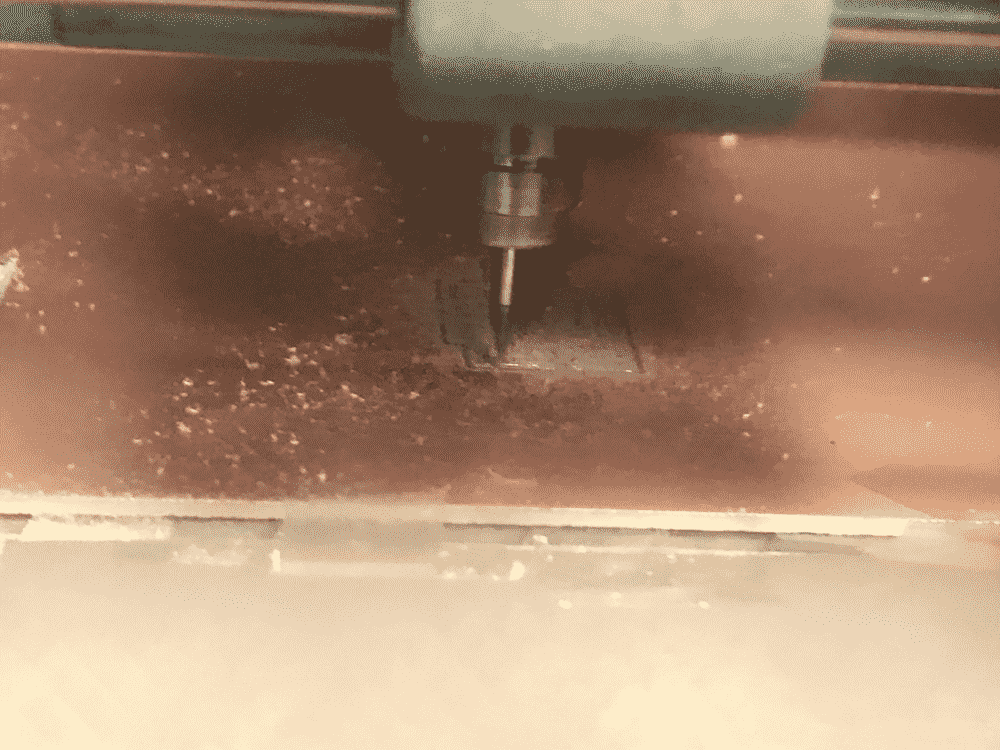
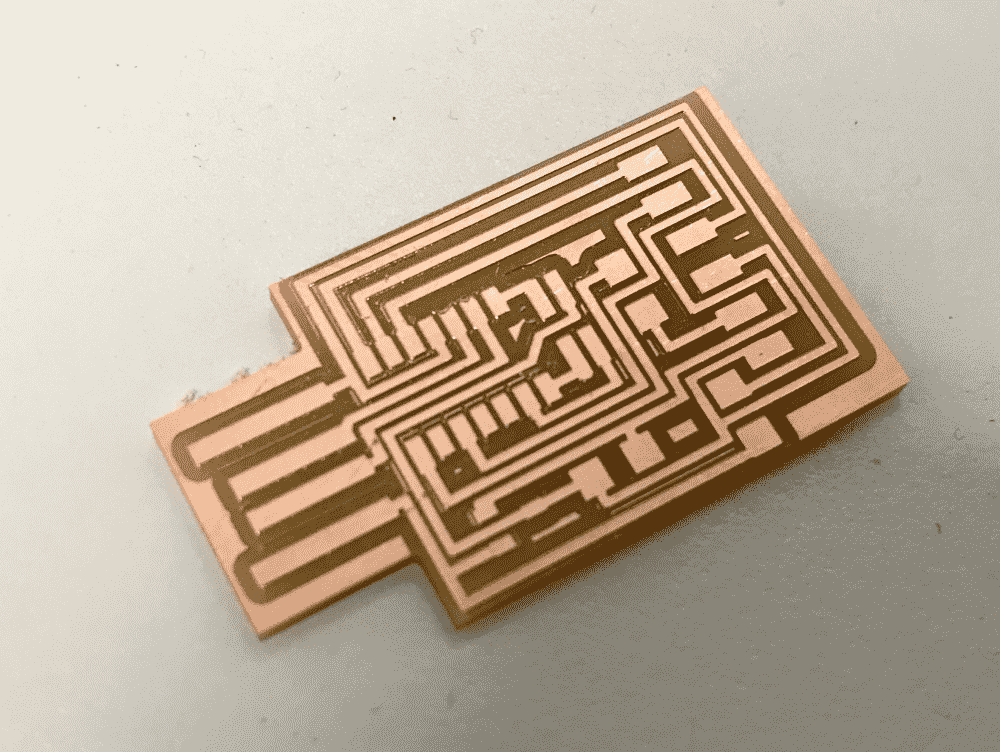
First I used the Roland SRM-20 to mill the board. While I was waiting in line to use the machine, I noticed that it sometimes didn't drill deep enough, and they had to do a second pass. I increased the amount of movement in z-axis ever so slightly. It turned out it was just barely enough. There were some extra copper here and there, which our TA Zach noticed and advised me to use a razor to clean them up.

It was actually not too easy to chip off copper with a razor. I had to stab the board really hard for a long time. Luckily I didn't accidentally destroy the board.

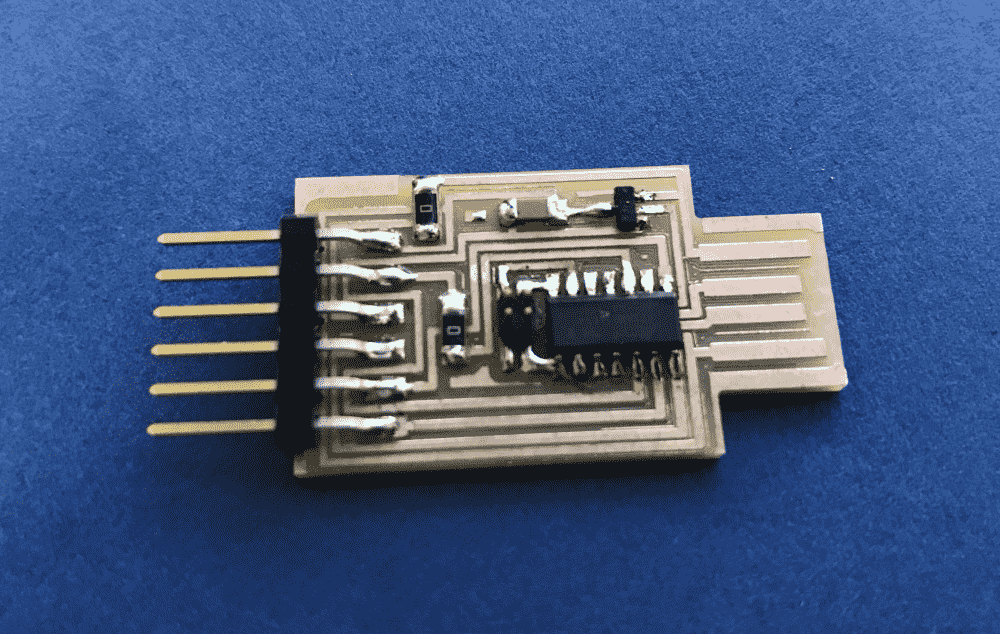
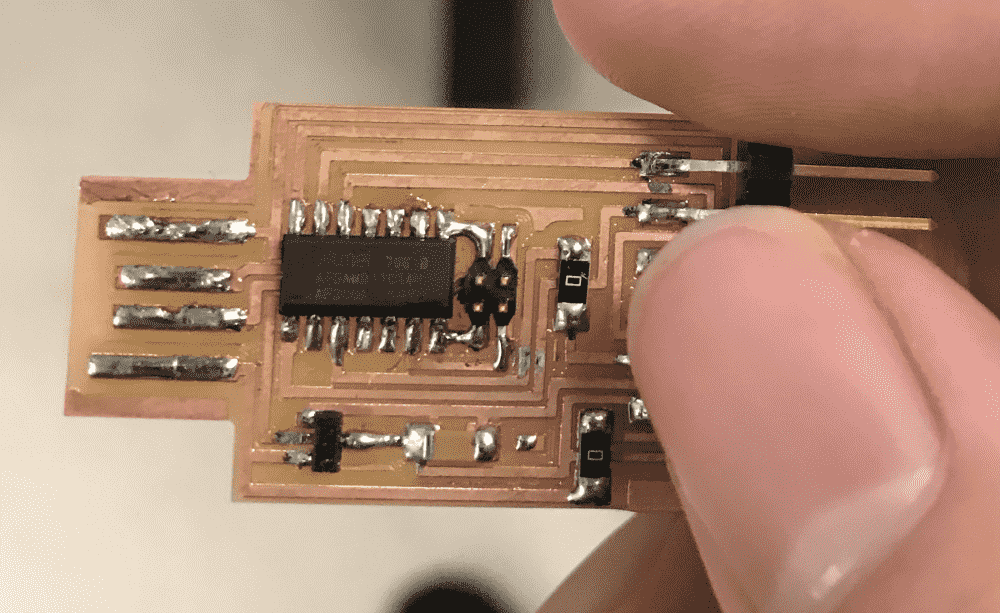
Next I learned from Zach how to solder. It required a lot of skill and hand-eye coordination. I think the most difficult part is being able to apply the solder at the right position and for the right amount. I often had a huge drop drip off making terrible bridges, which then had to be cleaned up with the “braid”. Other times I was too terrified and didn't apply enough solder. These two situations happened alternatingly, but eventually I was able to finish the soldering.

Zach helped test the PCB and confirmed that it is working by connecting it to a computer and flashing it, after removing a minor soldering bridge.
It was my first PCB! Also probably the ugliest one I've ever seen. Hopefully I'll master the trick through practice, and before I get poisoned breathing the smoke or blinded staring so much at those tiny things.