Week 2 Group Assignment
Supported and Unsupported(Overhang)
The overhang object is much more accurate with a support because there is no sphaghetti hanging from the end of the overhang. Since there are no supports, the overhangs started to show sphaghetti hanging from the sides.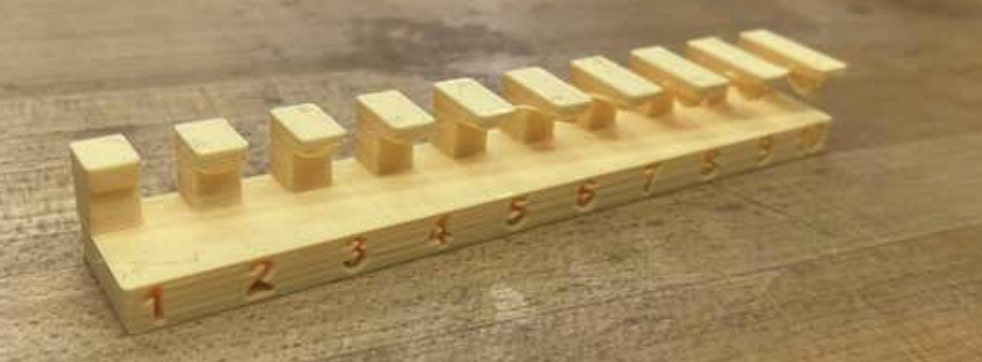
Unsupported bridging
The unsupported bridging had a lower height in the middle of the bridge. Once the bridges got longer, the middle of the bridge got lower as well because there is no support in the middle of the bridge.
Wall thickness
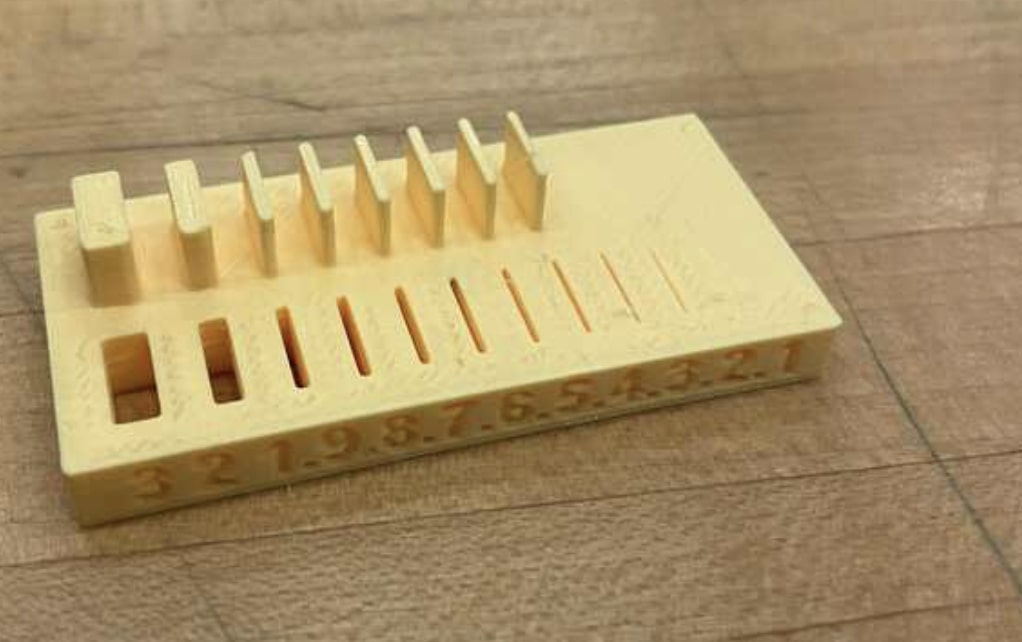 The wall and gap were printed from 3 mm-.5 mm. The wall thickness and the gap could not be printed if it was smaller than .4 mm.
Dimensions
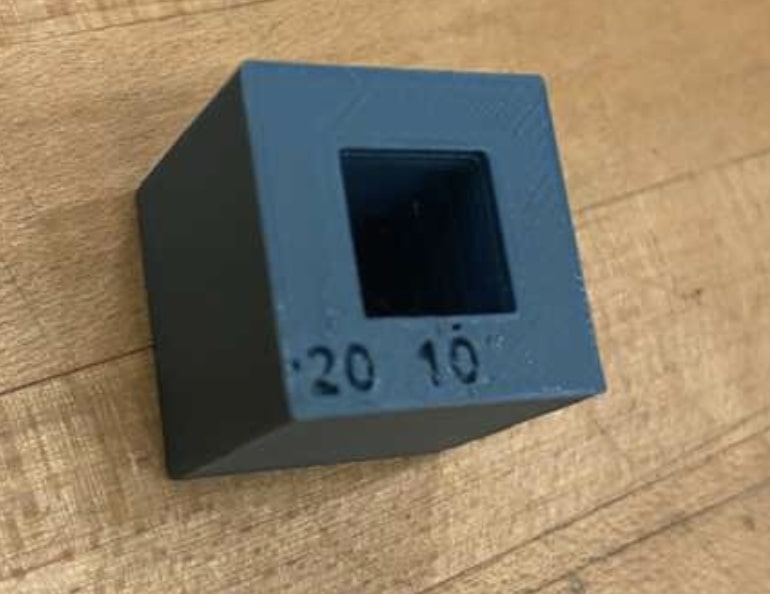 The cube was was a little less than 2 cm. This is important to know because that means that the Prusa might print objects that are slighly smaller than what we would expect.
Anisotropy
Anisotropy in 3D printing, it is defined as having physical properties that vary with respect to direction.As a result, an object will be stronger in the direction of the line and weaker along the axes that are orthogonal to the line. This object seems to be stronger on the bottom because it is in the direction that the line was printed.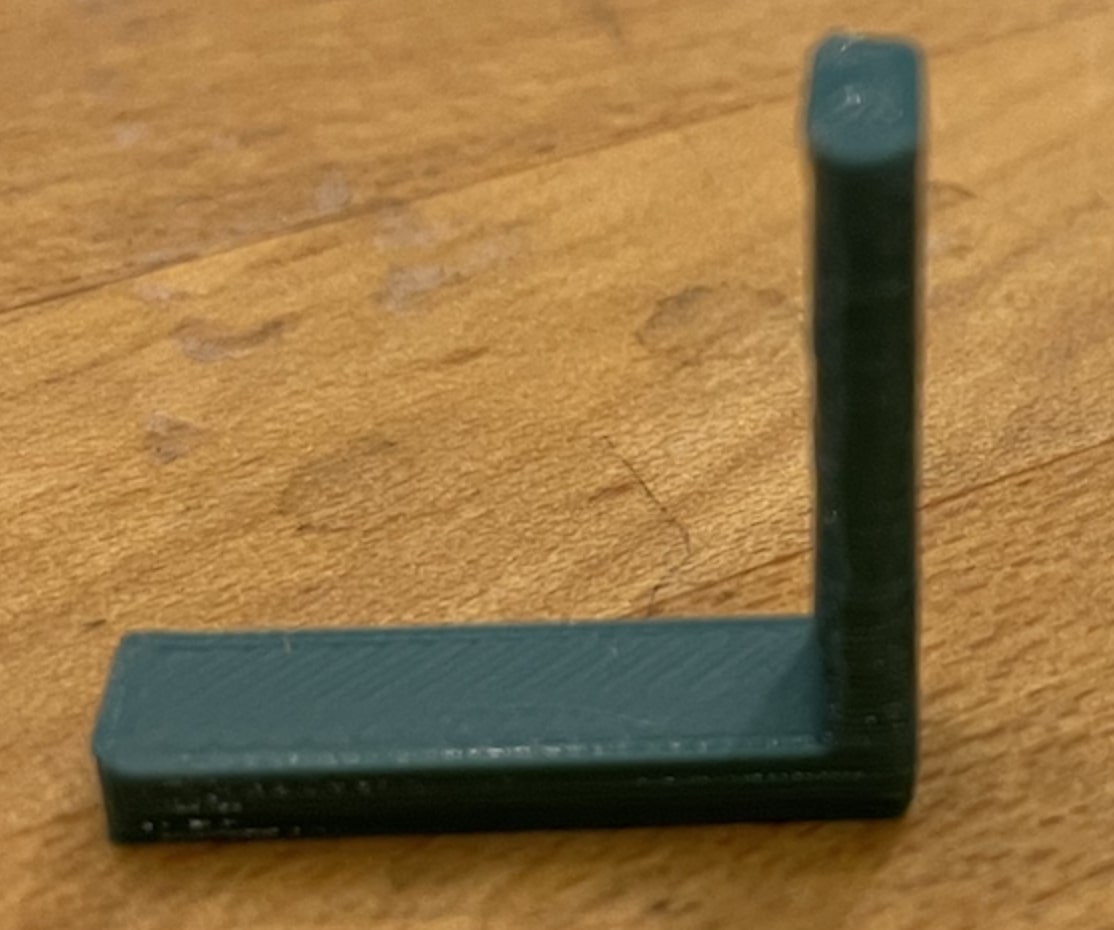
Surface finish
We were able to print the surface finish easily. However, there are lines along the outside of the sphere, which makes the surface look less smooth.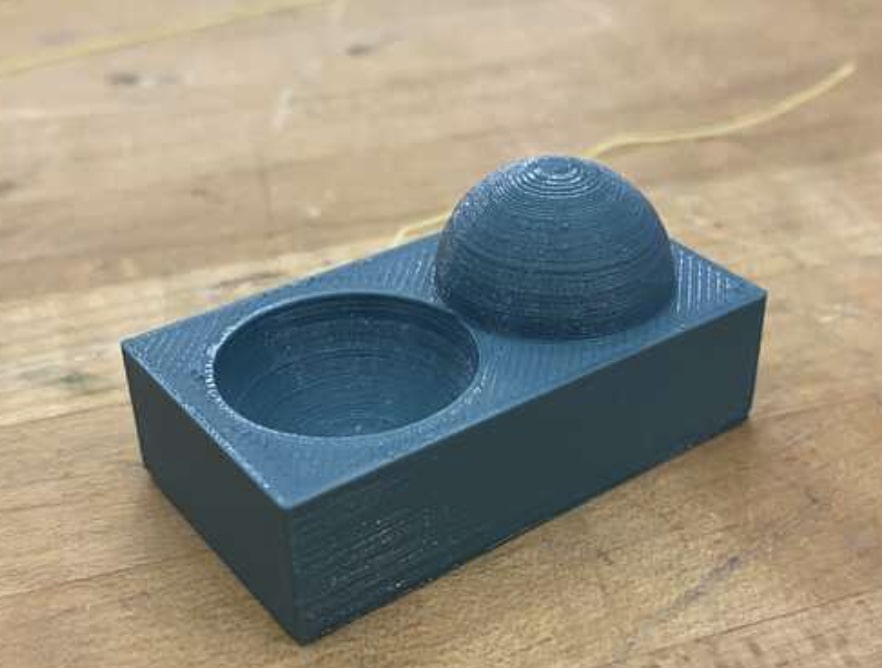
Infill
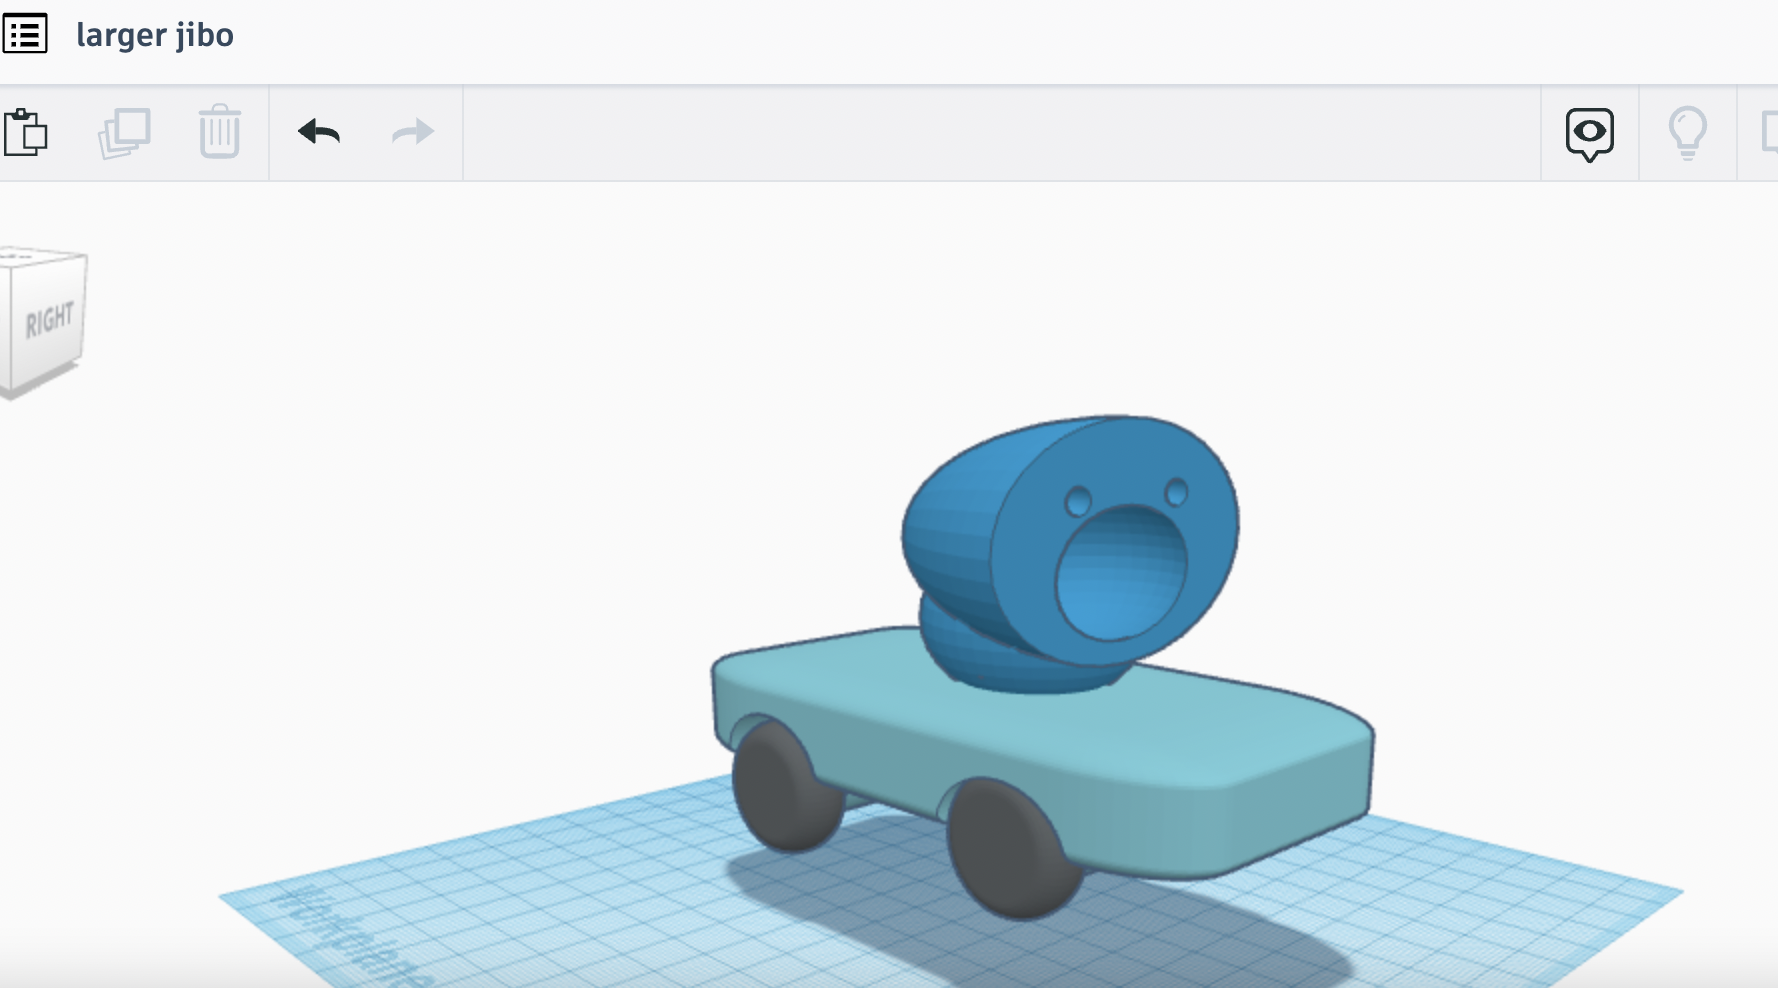
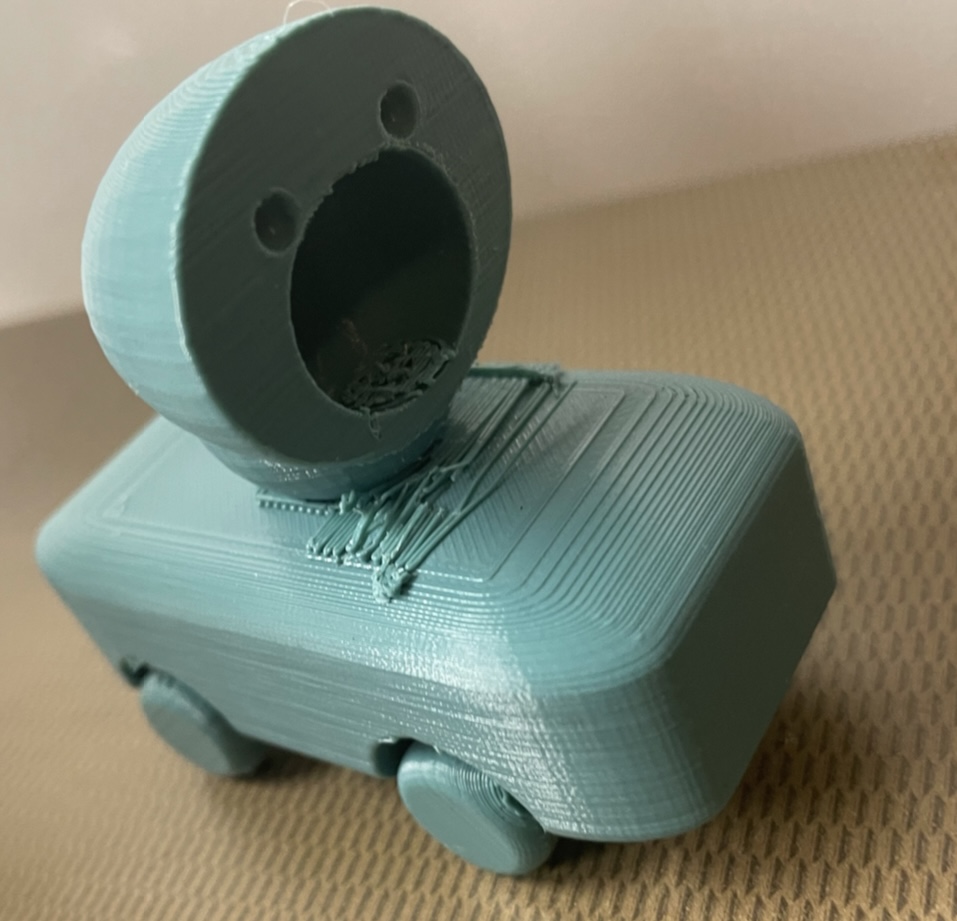
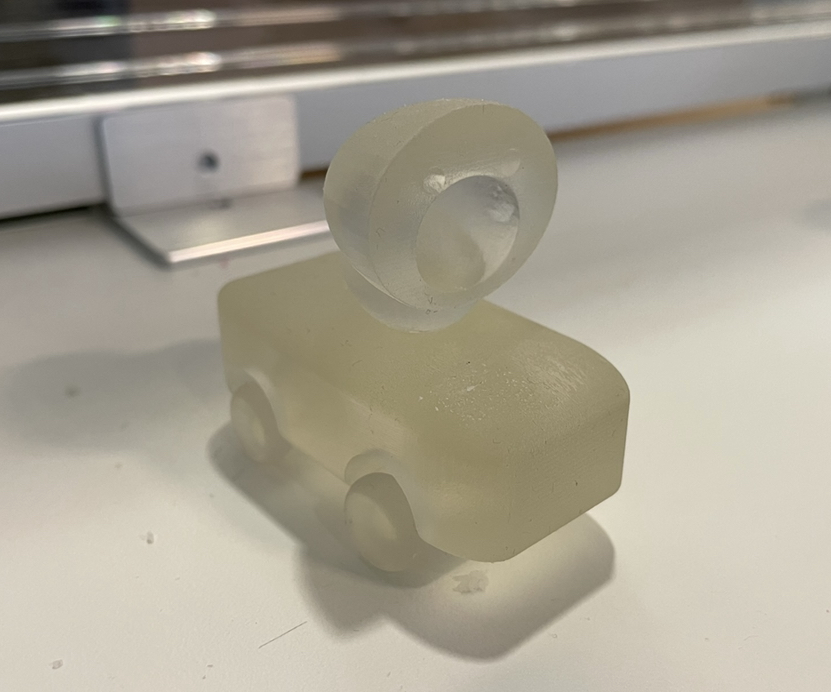
The "15" infill printed out a clear and outlined 15 on the bottom of the cube. However, we could not print the entire cube because the print crashed at the top of the cube.I 3D printed a Jibo Robot. I used Autodesk Tinkercad and Fusion 360. I used Tinkercad primarily to make the robot. First, I started by creating a cylinder for the axes. Moreover, I had to create holes to place the axes into the robot body. Moreveor, I had struggled to ensure that the axes appeared despite having mulitple holes in the car. Unfortunately, I didn't realize that I didn't allocate enourgh space for the tires. As a result, I went back to Tinkercad and made the wheels smaller than the gap. After 7 differnt prints , I decided to parameterize everything. The final 3d printed car was printed on the stratasys machine and the wheels move! After I was familiar with Tinkercad, I decided to experiment with Fusion 360.
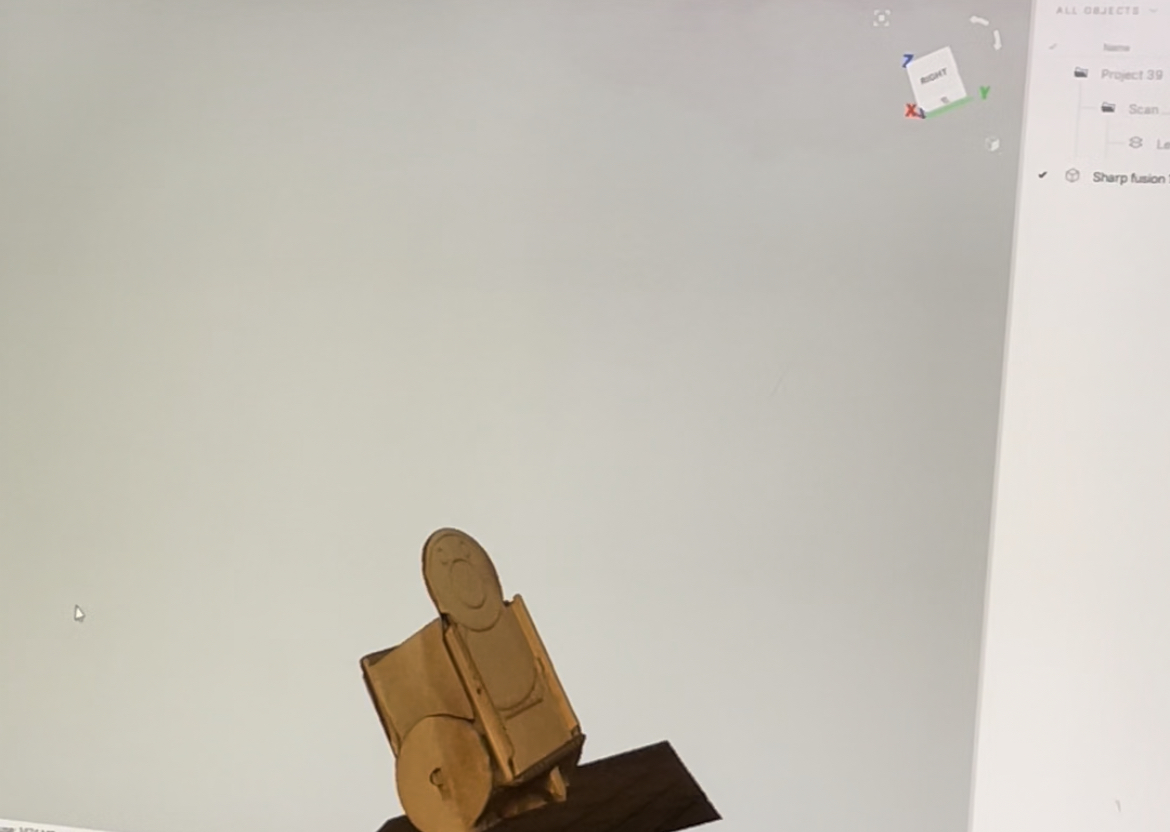
 Also, I used the Artec Leo to 3D scan my robot that I lazer cutted during Week 1. After I placed the SD card into the scanner, I was ready to start scanning. I started to scan my robot by walking around the object. Next, I used the Artec software to erase the plane that surrounds the robot.
 3d print files