About Me
Week 4 - Make Something BIG - CNC Machining
Design
This week I wanted to make a cube storage bin. I wanted to make something that could hold all of my miscillaneous things around my office. After several days of learning Fusion 360, here is the design that I decided to use: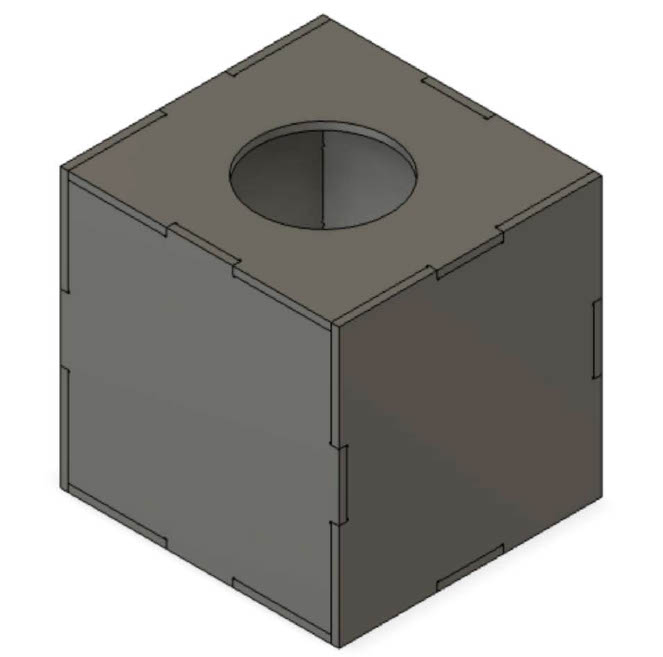
The process for creating this cube was not easy for me. This was my first time using Fusion 360 to design the entire project. I spent most of my time doing Fusion 360 tutorials on Thursday, Friday, and Saturday. One aspect of the project that took me a while was deciding the best way to draw a press-fit model on Fusion 360
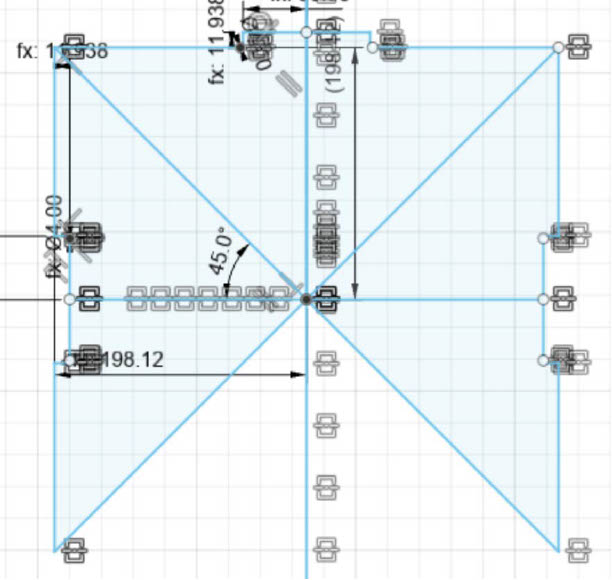
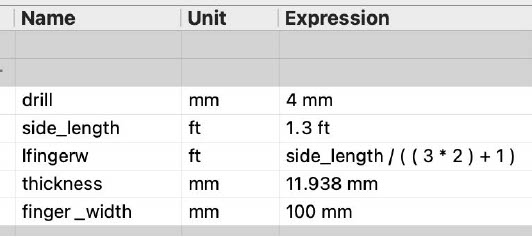
Overall, I learned a lot about Fusion 360 and how to ensure that the model components fit properly. The part of the design that took me the longest was creating the dog bone shape. I created a convex and concave dog bones. It helped that I did some Fusion 360 tutorials online. Fusion 360 took me a long itme to get used to because I didn't realize until later that I had to be in the perfect setting in order to edit a certain aspect of a component.
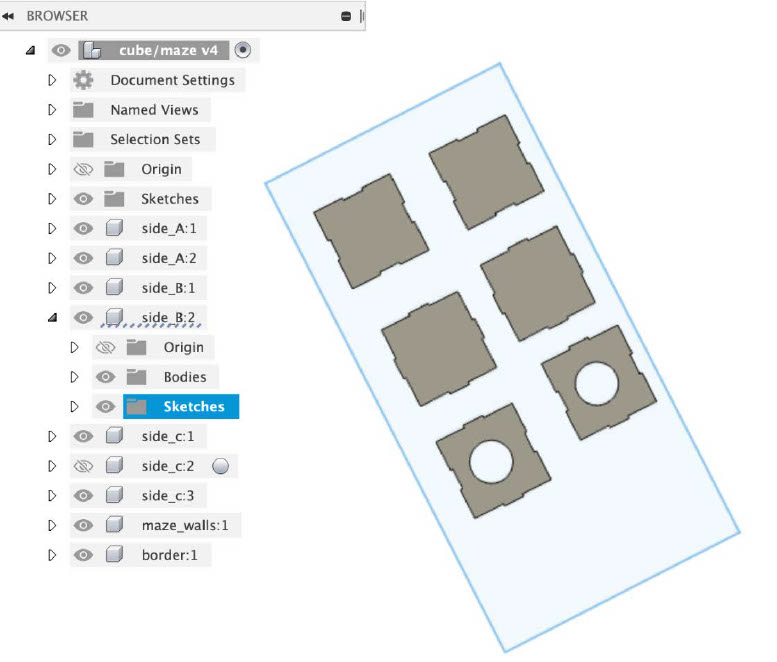
Some tips that helped me that ma help other Fusion 360 beginners include: (1) start by creating components, (2) ensure that all sides of your components are parametric (3) use the "Point to Point" feature to ensure that your design components all fit (4) if you want to change a component ensure that you're in sketch mode (5) use the mirror function to create the dog bones. Huge thanks to all the TAs and staff for helping me get caught up with Fusion 360.
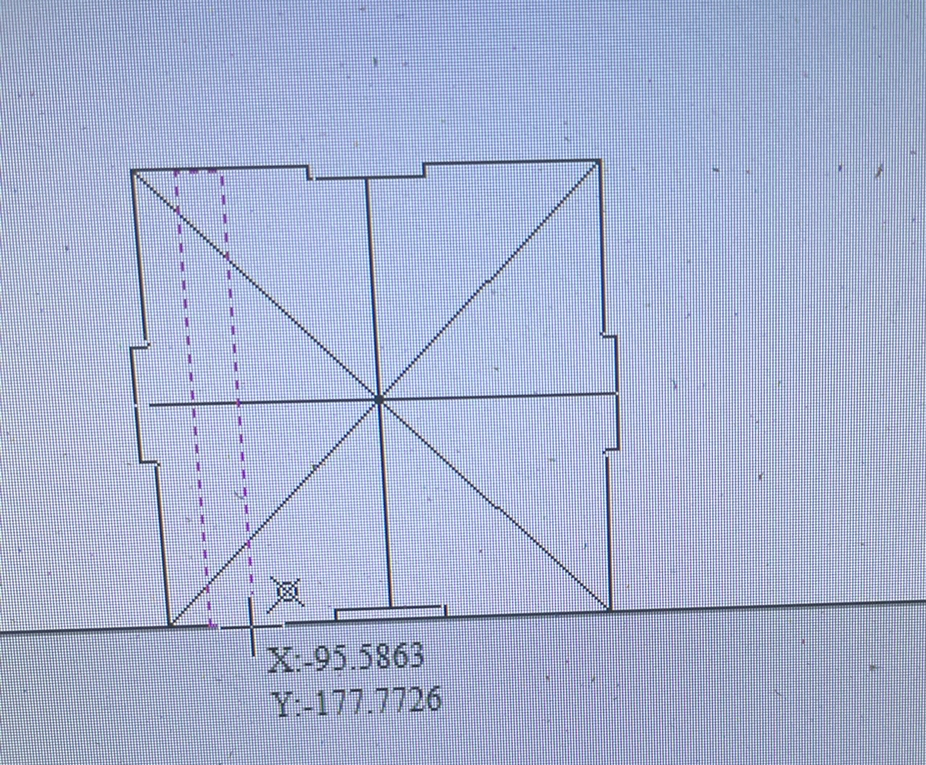
Next, I exported the Fusion 360 design by downloading a dxf file. After, we put the 8 x 4 OSB sheet on the machine and drilled nails into the 4 sides of the board. Another problem that I ran into was that there diagonal lines in VCarve when I imported some of the components.Unfortunately, I deleted lines that I wanted to keep when I tried to delete the lines that I did not want. Luckily, I could use the "Connect Two Vectors" tool on VCarve to remove the gaps in the my components. Also, I learned how to resize the components when I imported the components into VCarve. Next, I had to construct the CNC Toolpath. I made sure that I didn't put toolpaths on the dog bones because they would be hard to remove.
Originally, I set out to create a maze for my final project. Since the maze walls were really small, some of the pieces were stuck in the dust collection screen. As a result, we had to stop the machine in order to get the small blocks. Huge thanks to all the TAs and staff for helping me run the milling machine when I forgot the steps.
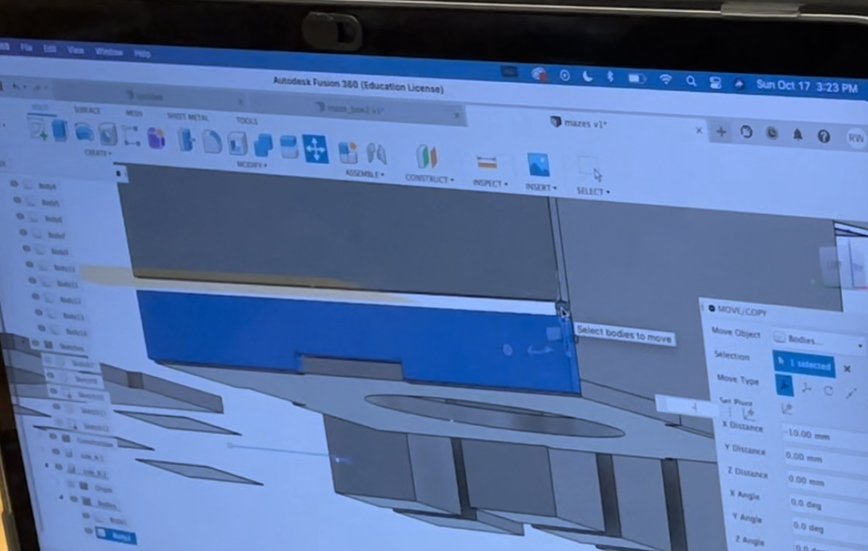
After struggling to put the components together, I realized that I made a mistake that could have been easily preventable. It turns out that making a cube is a lot more difficult than I thought. Unfortunately, I didn't realize until after I finished milling that all sides weren't the same size. I had to change two of the sides. Alfonso assisted me with fixing this mistake by using the "Split Body" feature, moving the bottom part down by about .47(which is the thickness of the board), and put the two pieces together by extruding one of the sides.
Once I completed the design, I milled the other two sides. This time all of the components fit!!!!
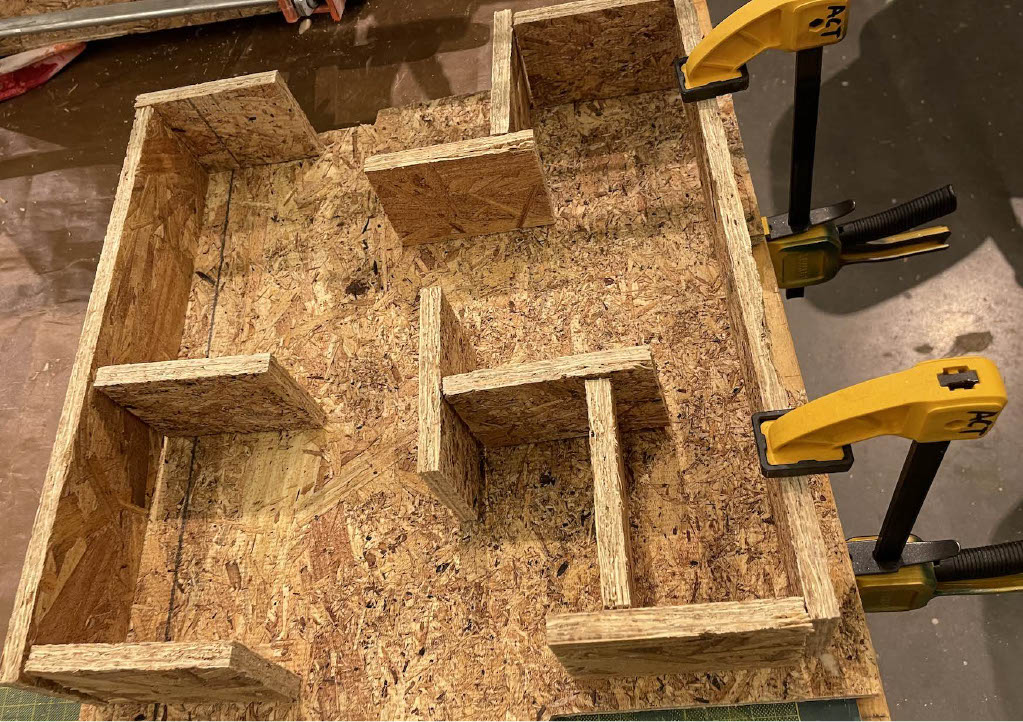
Next, I put wood glue on the corners of the design. I realized that I needed two people to help put the storage bin together. Huge thanks to David for helping me put the storage bin together.
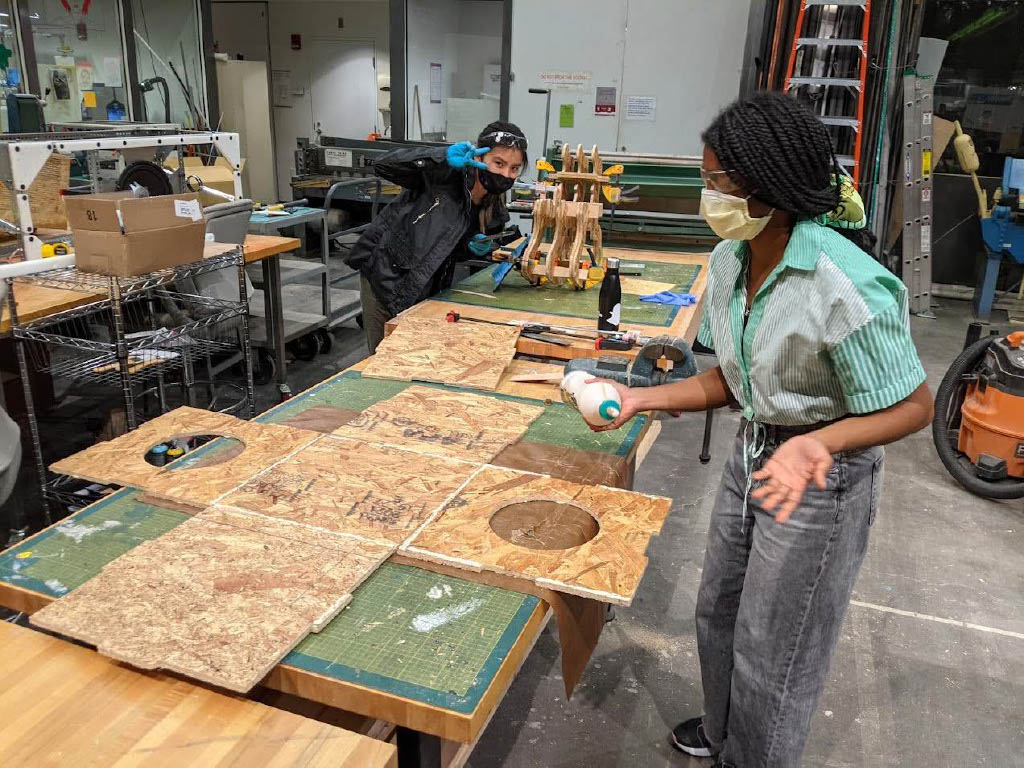
Next, I put clampers on every side of the storage bin for 24 hours. Mission accomplished!!!!!
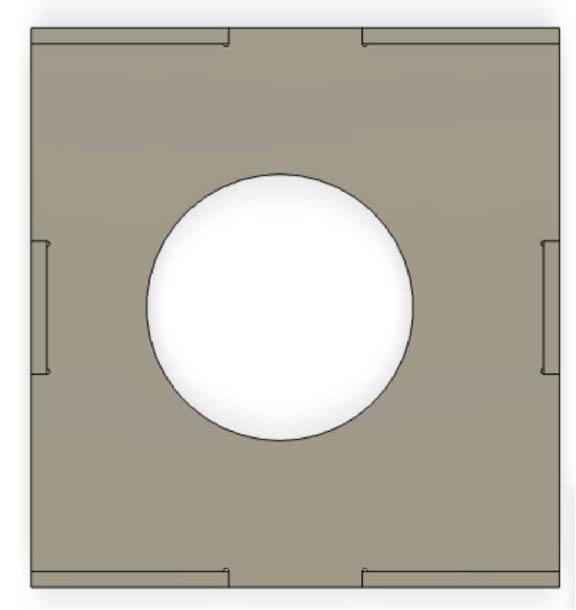
Also, I tried to construct a maze that I was going to use for my final project, but I ran into some errors. In order to make the wall sfor the maze, I cut out small pieces of wood that are acount 3 inches tall. Then I used sand paper to ensure that the bottom part of the wood was completely flat. Then I used wood glue to keep to attach the walls. However, I soon realized that it would be best to create slots in my box. Initially, I tried to use wood glue to put the pieces together, but I realized that would take longer than just creating another top.
Link to dxf file
box dxf file