Molding and Casting
I created a mold and casted it. I decided to make a daisy. Throughout this project, I was able to improve my Fusion 360 skills. I was thinking about creating a box to hold all of the components for my robot in the final project, but I decided to use 3D printing.
Group Assignment
My group reviewed the safety data sheets for each of your molding and casting materials, then we made and compared test casts with each of them. First, Tom showed us how to use PartWorks3D to create the mold. We followed these instructions to make the mold and define the parameters.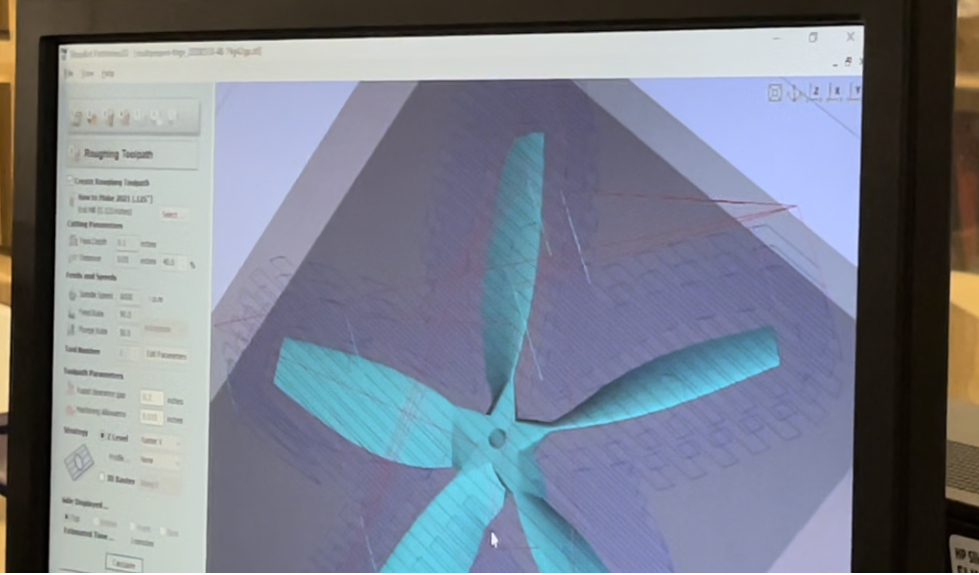
We used oomoo to create the mold from the wax positive. Also, we used a pumpkin and turtle mold.
Here are the steps that we followed to create the oomoo:
- Ratio: 1A:1B by volume
- Pot life(how long you have before mixing A and B together before they become a solid): 15 minutes
- Mix: Stir A+B before using for 3 minutes or until the two colors combined into one
- Ratio: 22 H20 : 100 powder by weight and powder to H20
- WAIT: 1-3 minutes
- MIX: 2-5 minutes
We minimized the bubbles by slowly mixing and making big circles with the stick and we poured the oomoo and hydrostone in one location. In order to create the hydrostone, we insured that the consistency was pourable. It was definitely a workout to mix all of the ingredients.
Design Mold
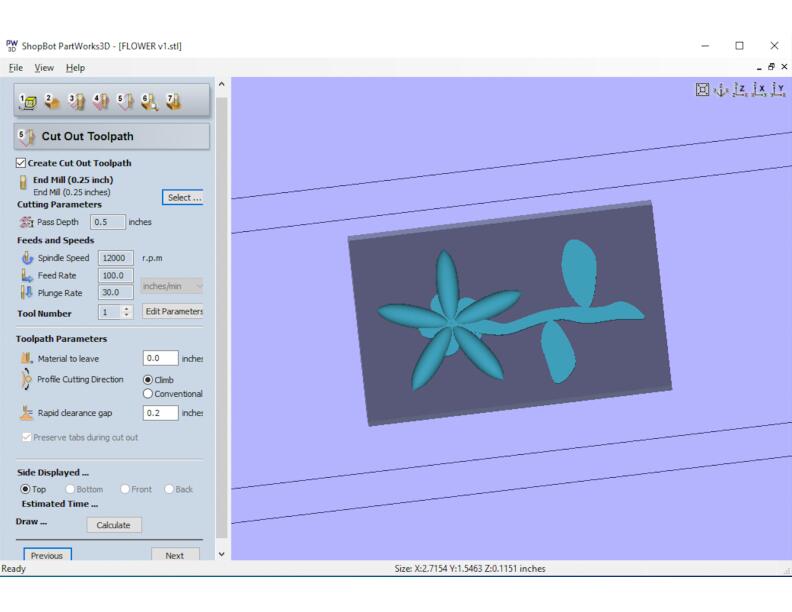
I designed a flower this week by using Fusion 360.It took me a few hours to complete the flower because I am still new to Fusion 360. Also, I had trouble making a design that . Instead of doing a project that contributed to my final project, I decided to do something that would help me play with different Fusion 360 feautures. In the past, I had a tendency to choose a project that was not for a beginner. As a result, this week I consulted several TAs to see what would be a challenging beginner project early on. Anthony's recitation was really helpful because I realized that I shouldn't include undercuts because we can't get the tool down without crashing. After asking a lot of questions, I realized that this limited some the designs that I could do, especially since I only wanted to do a one-sided mold because this was my first time doing molding and casting. In order to create some depth to the flower, I used the "Sketch", "Extrude", and the "Revolve" feature. Moreover, "Circular Pattern" was helpful for creating the petals.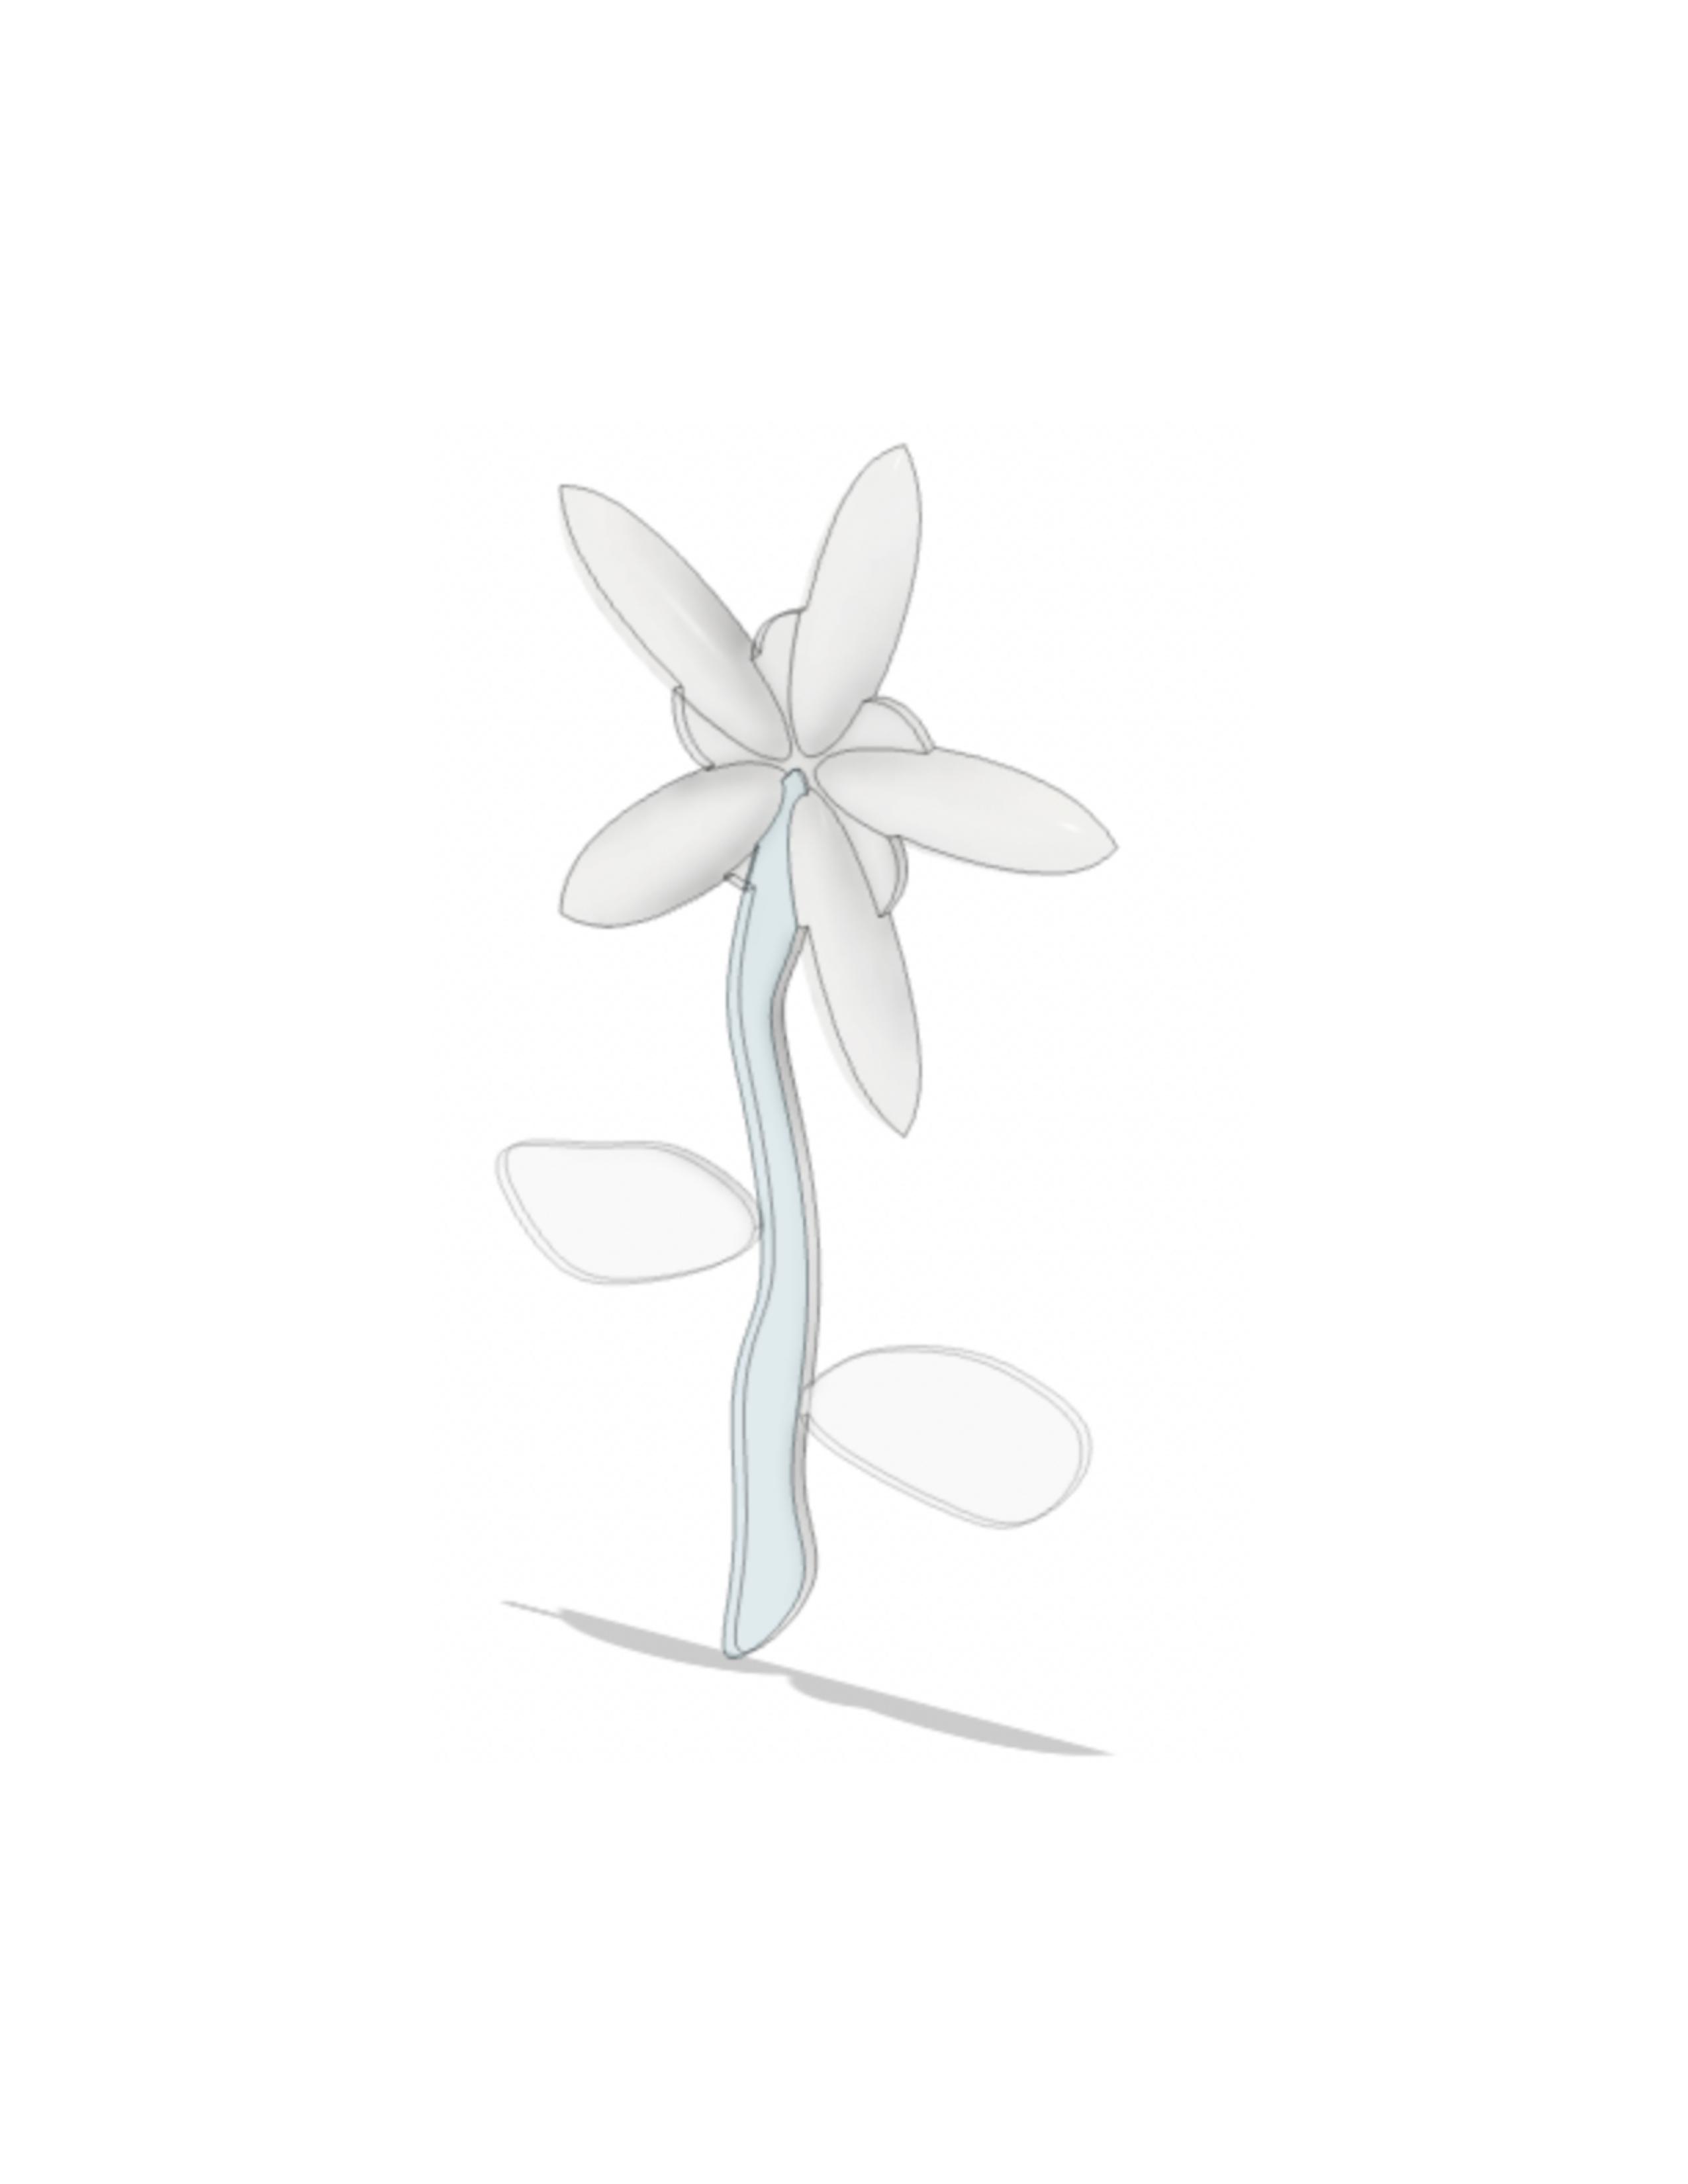
Milling
First I put a bead of hot wax on the corner of the OSB and the block.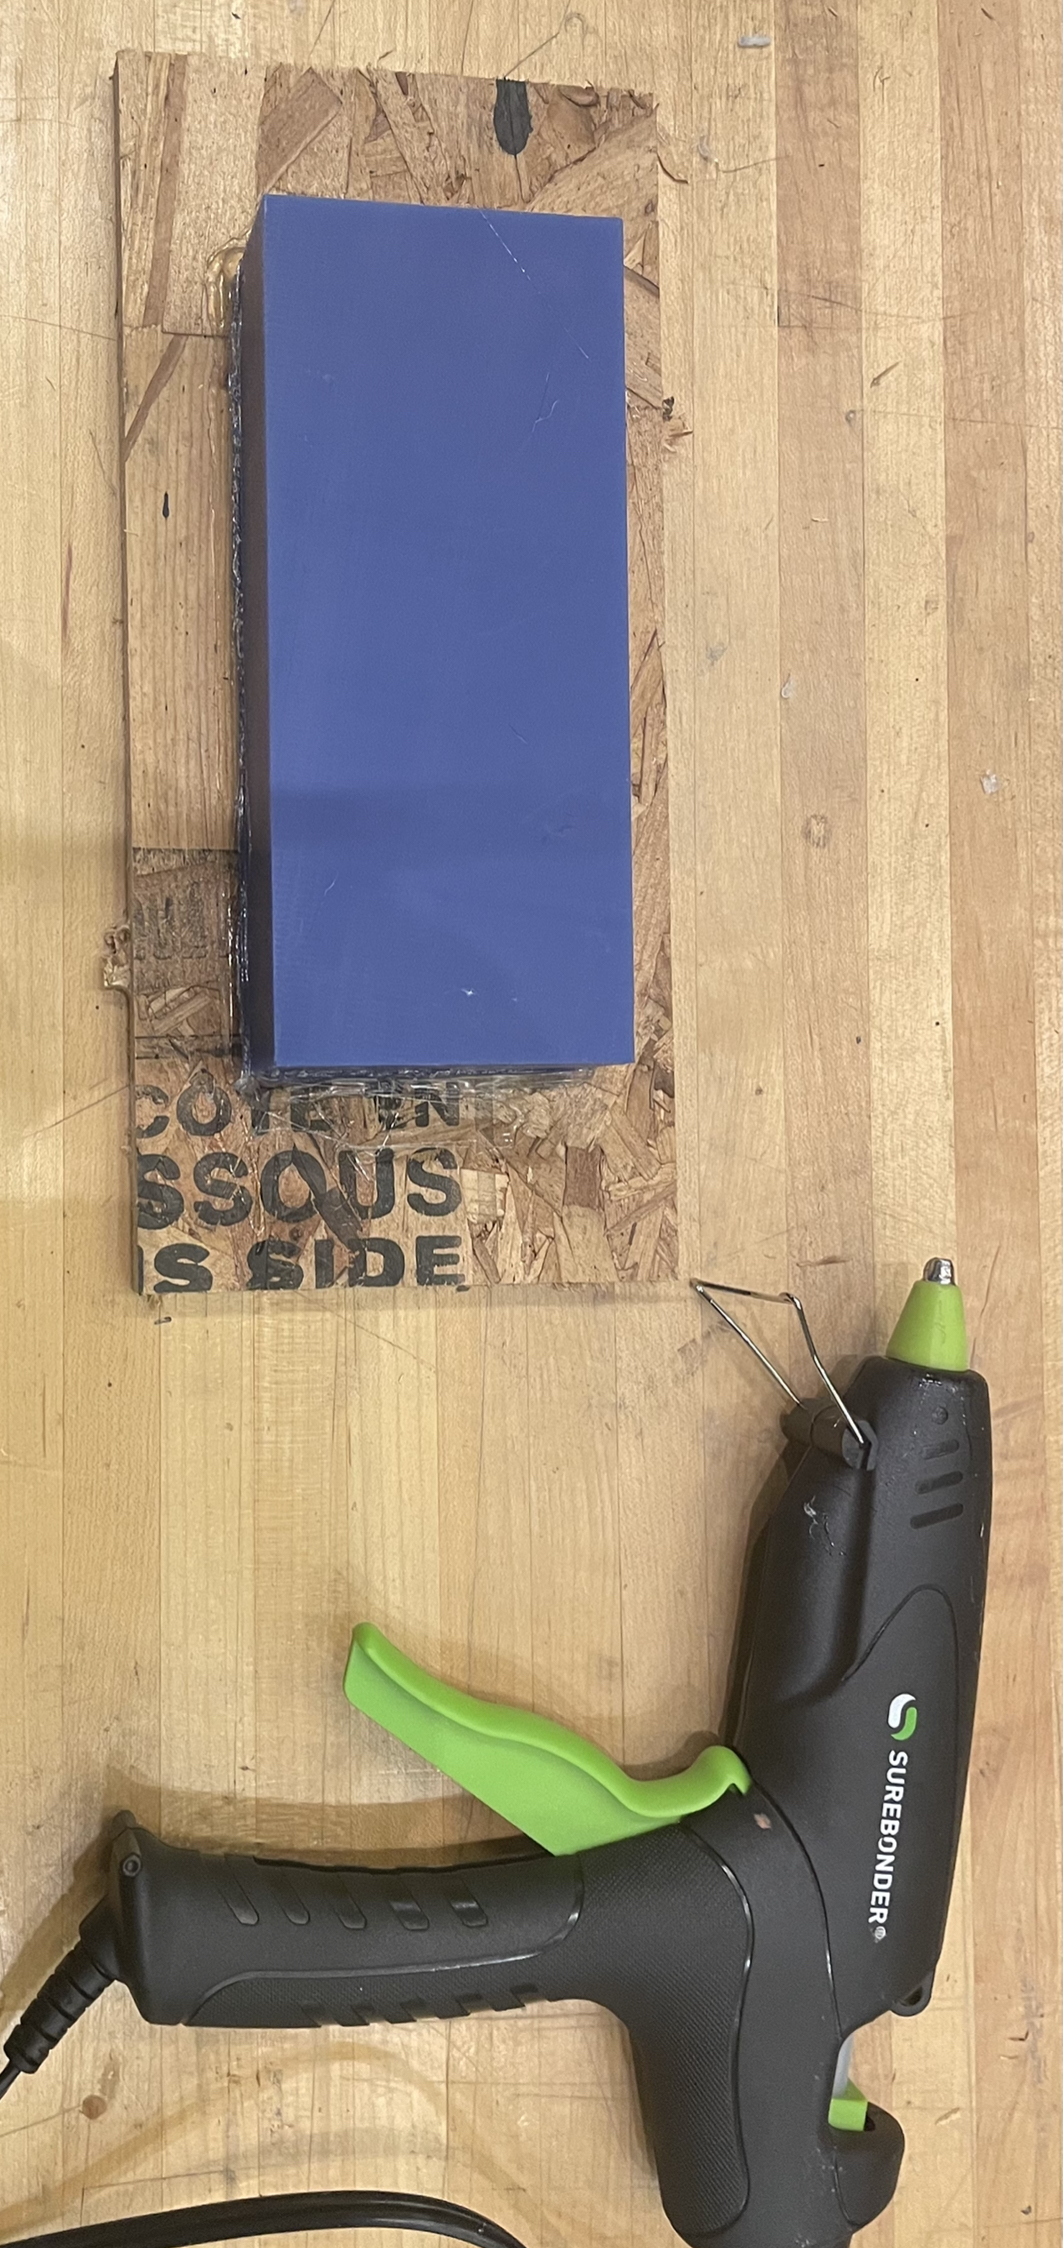
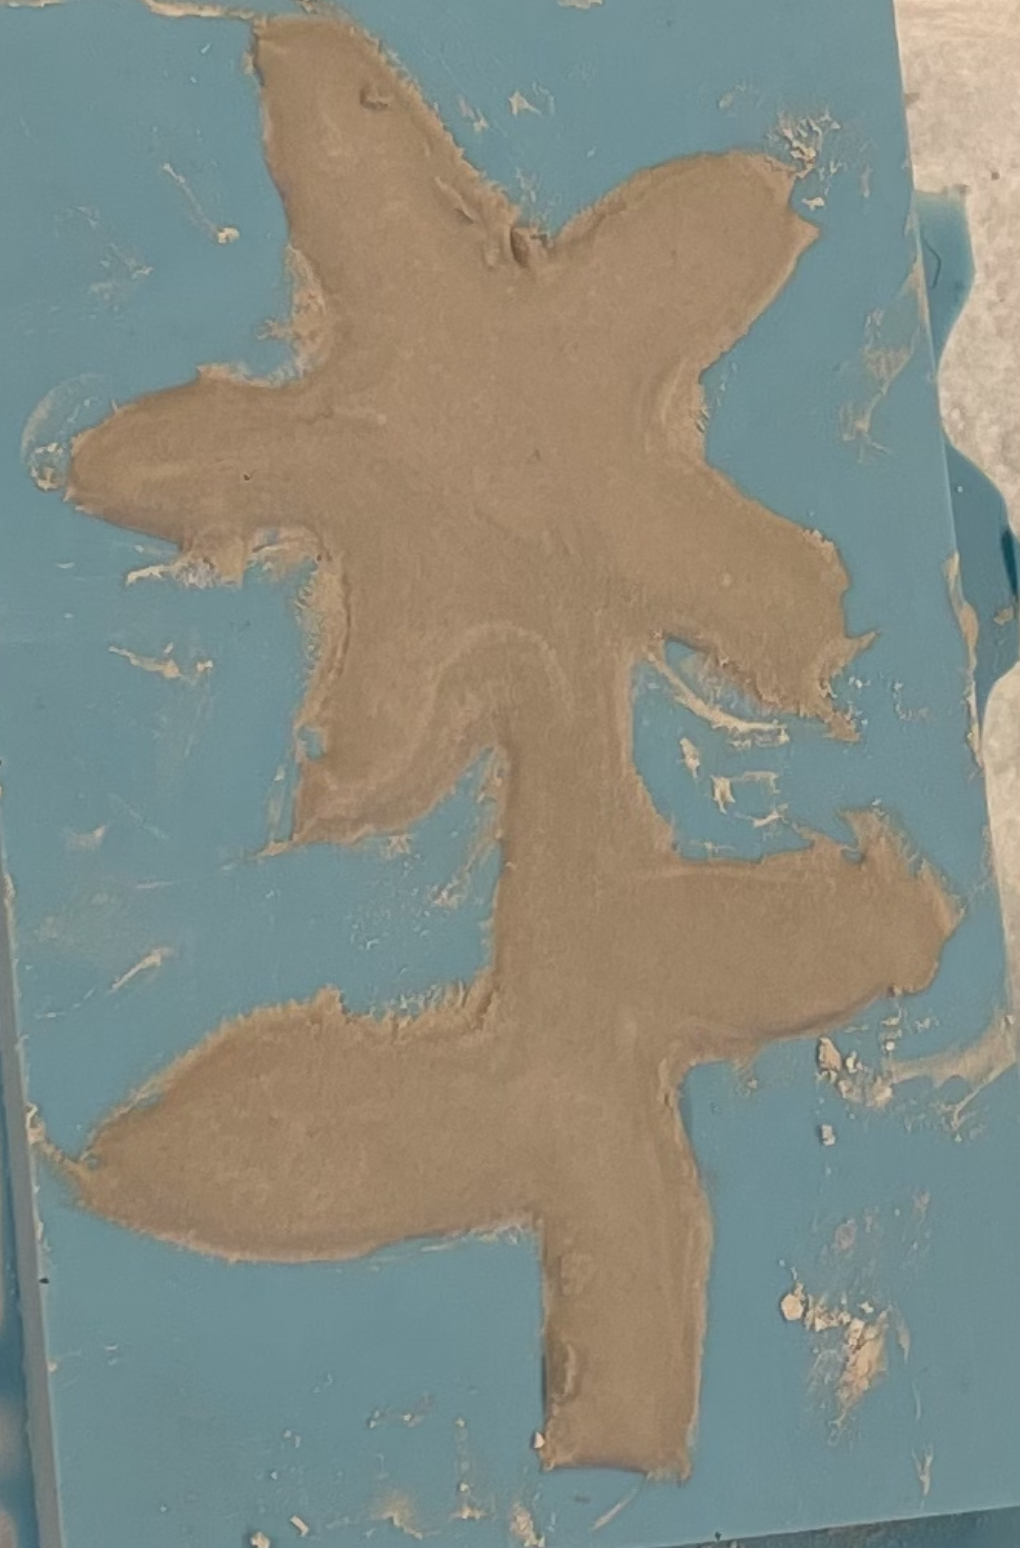
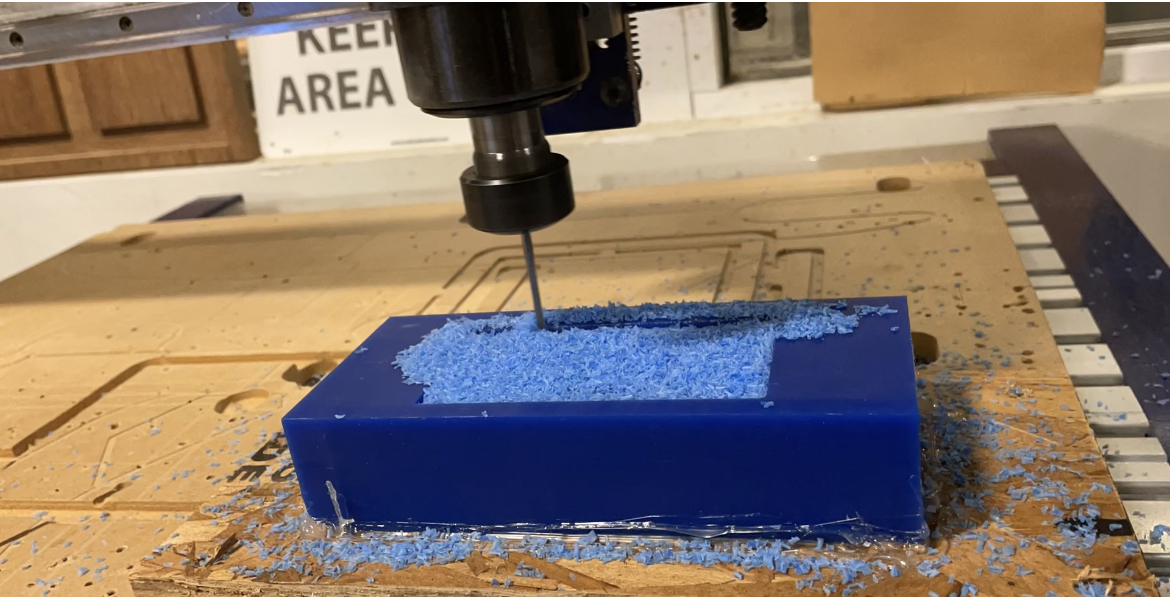 Unfortunately, it took me a few hours to setup the ShopBot, which was a lot longer than expected. The problem was that when the program created the toolpath, all parts of the flower were not showing. Only the 5 petals that had a rounded top were shown. Thankfully, Thaís and Rachana were there to help me with the settings. They suggested that I only change the x and lock the x,y,z ratio. It worked! YAY!Originally, I was incorrectly changing the x, y, and z so that it fit on the 7x3x1.5 block because the stl file was imported as a 100 inches, which was way too big.
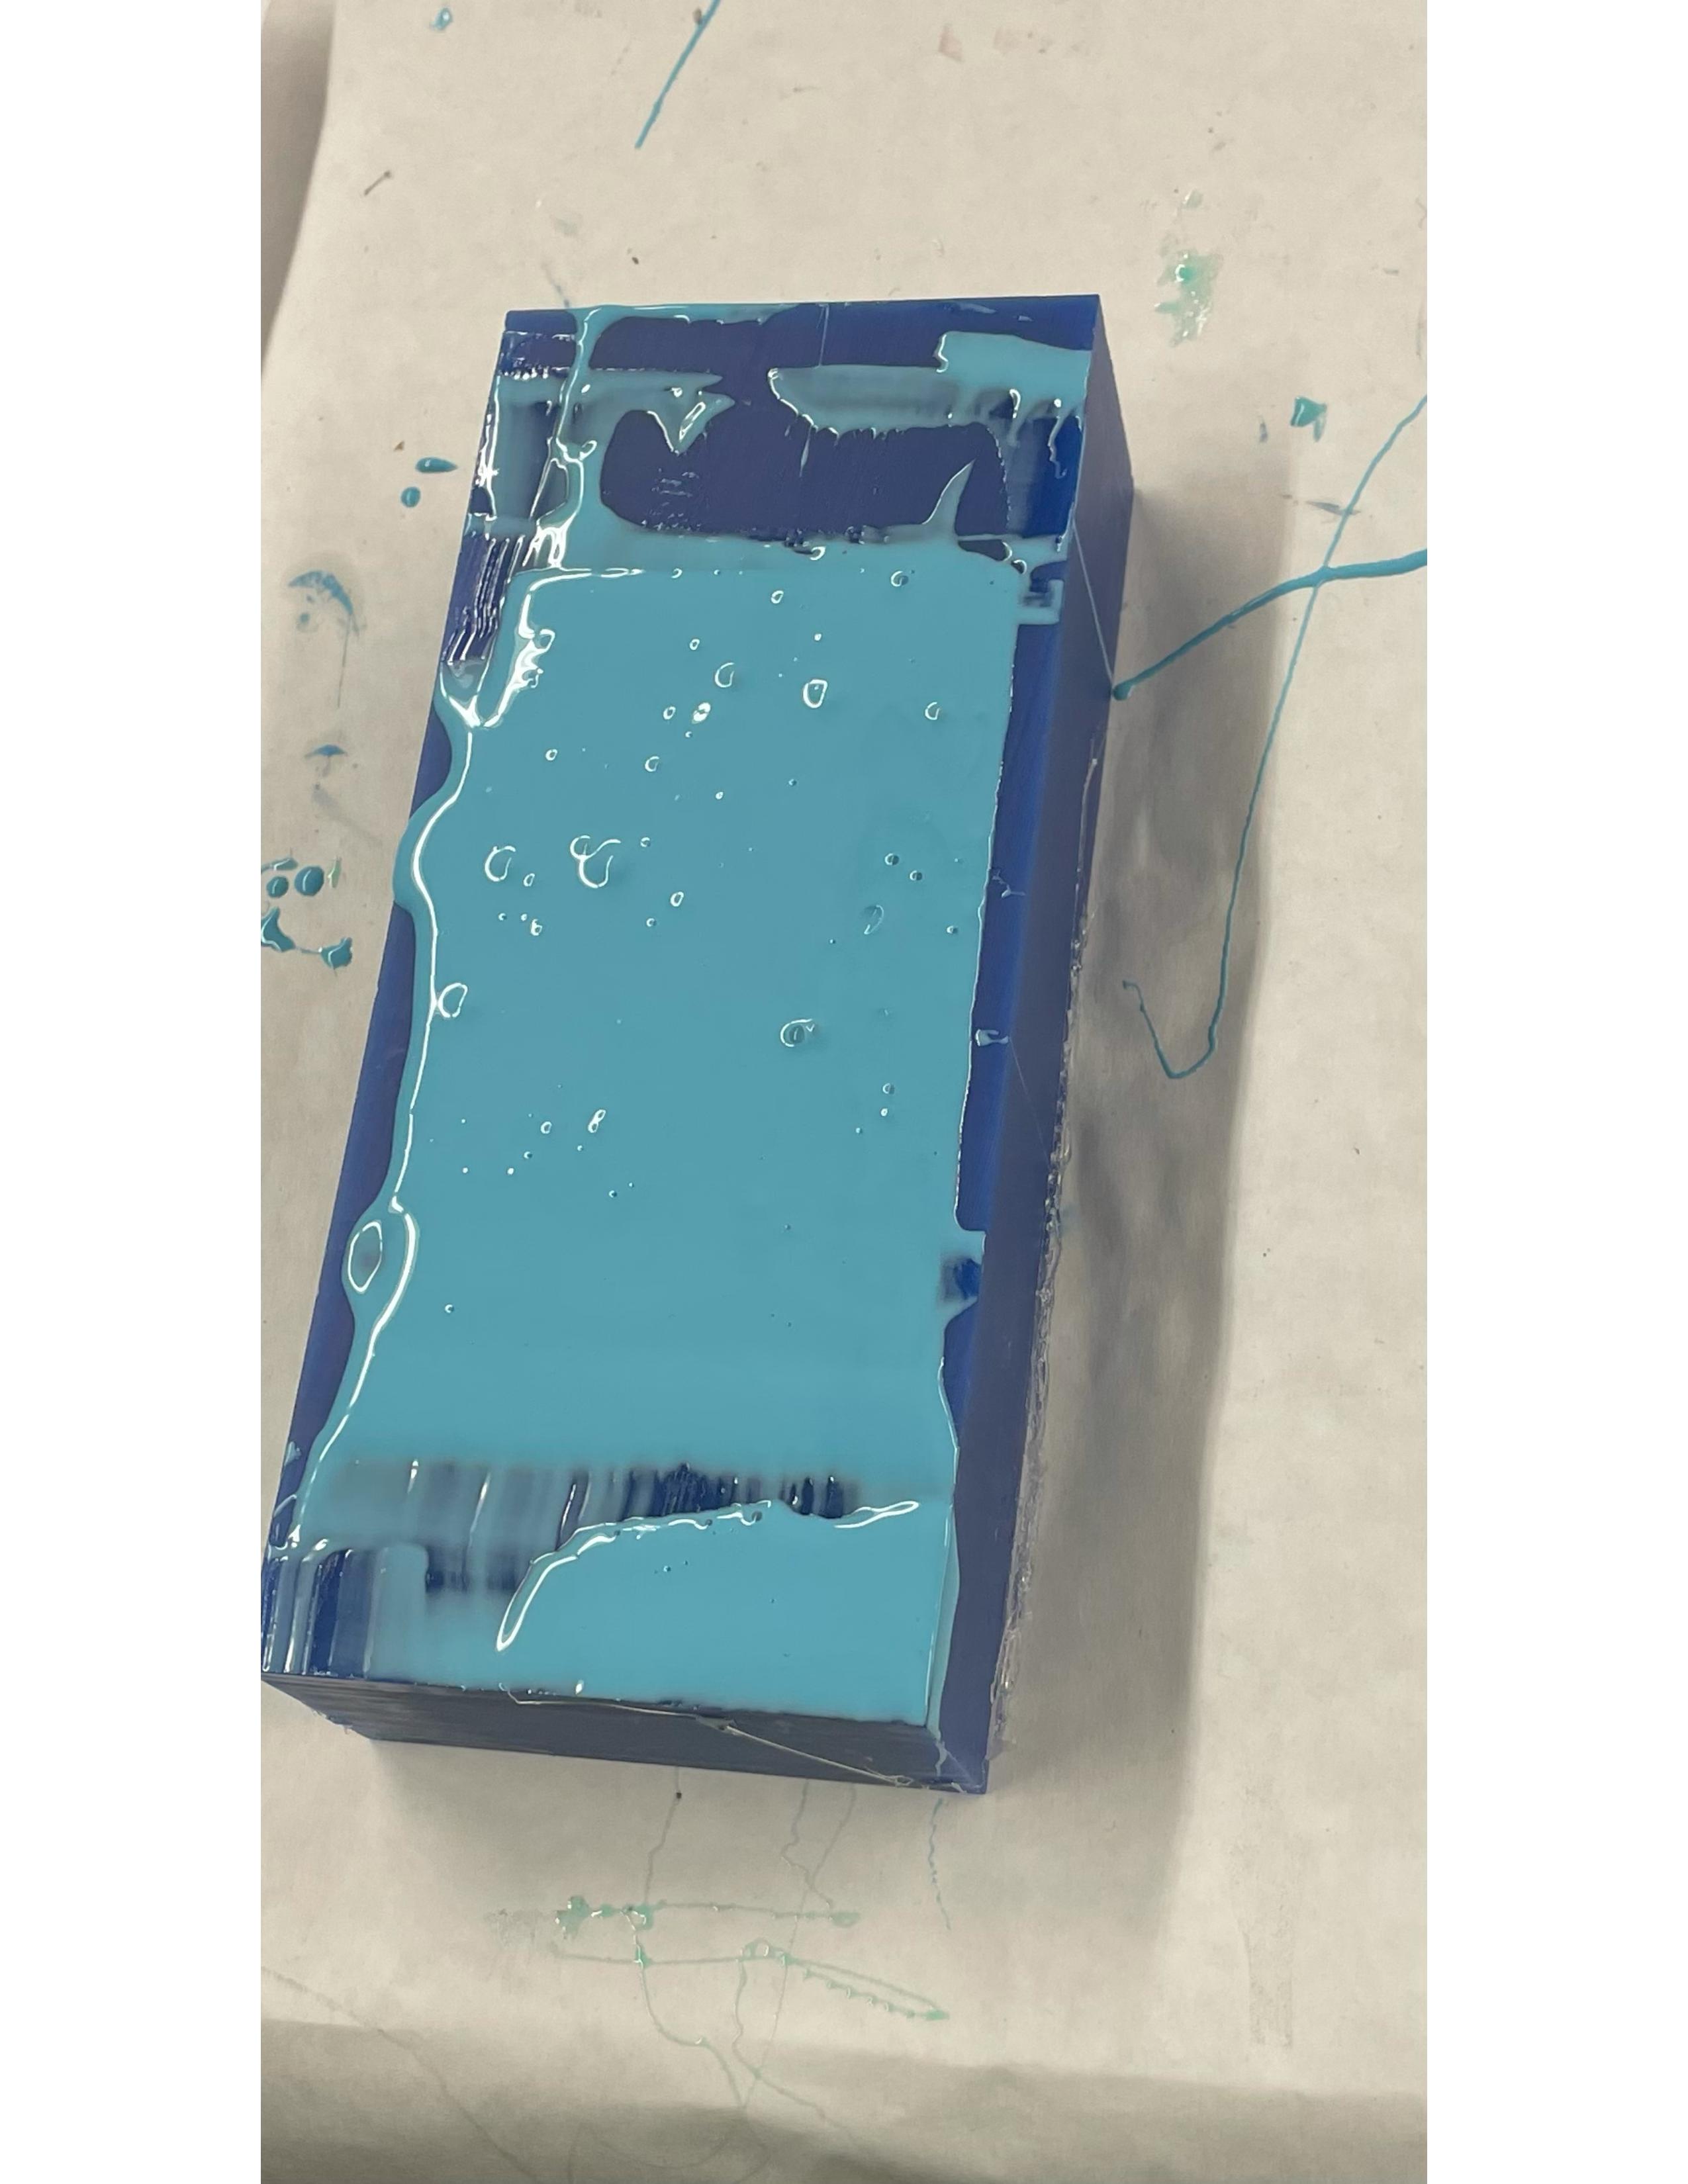
 It only took about 10 minutes for the ShopBot to finish. This was a lot quicker than I expected because PartWorks3D said that it would take about 1 hour to complete the milling the process. I vaccummed my block while the the ShopBot was milling too, so that I could see the design.

Casting
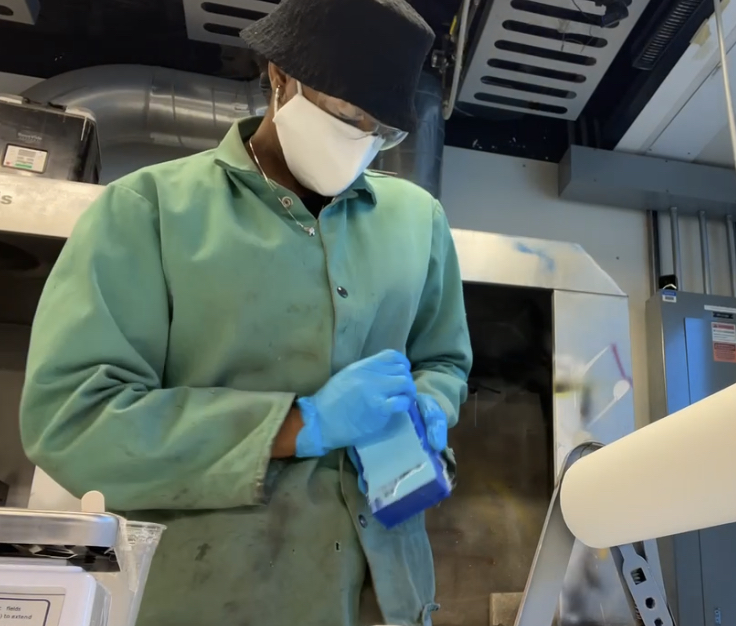
Next, I worked on creating the oomoo mixture. Thanks to Rachana for mixing the bottle labeld "A" while I mixed the bottle labeled "B". Teamwork helped this process go by smoothly.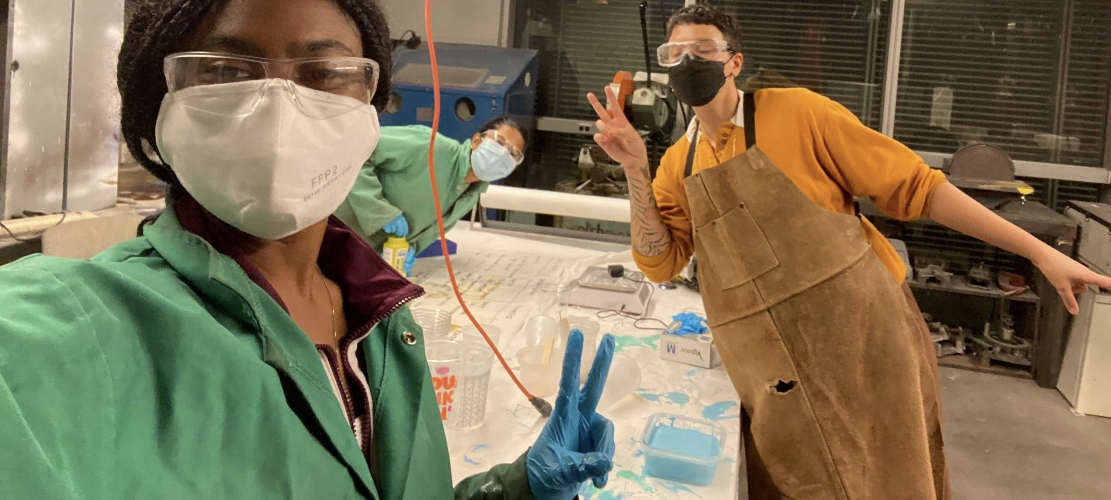
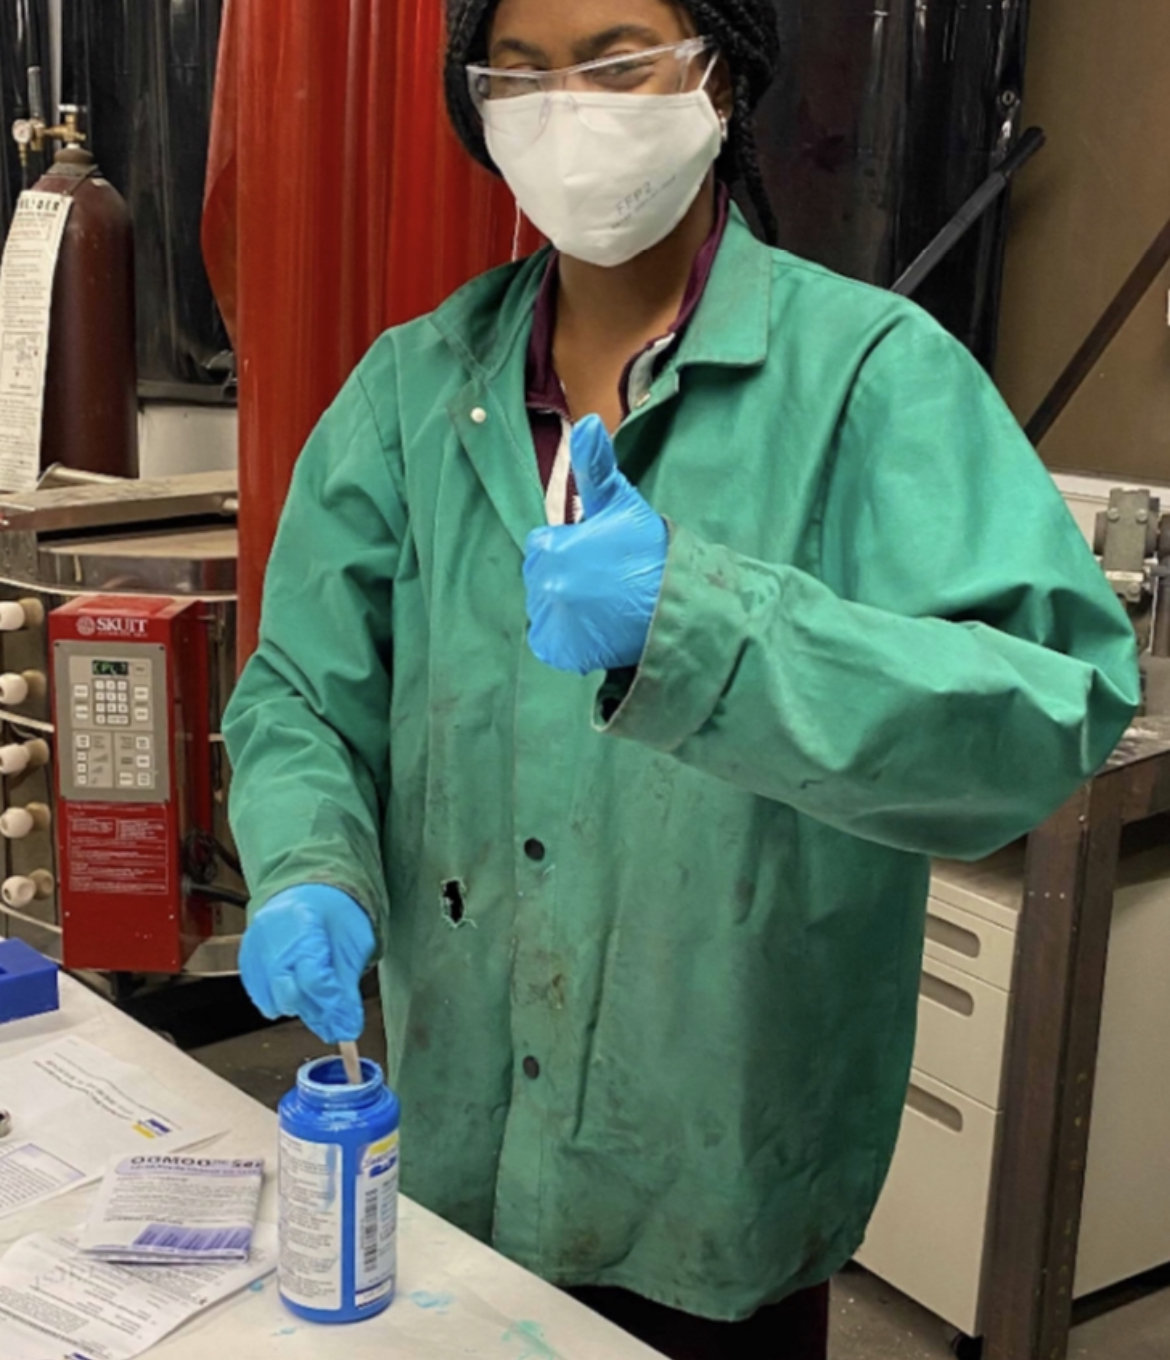 Here are the steps that I followed to create the oomoo:
- Ratio: 1A:1B by volume
- Pot life(how long you have before mixing A and B together before they become a solid): 15 minutes
- Mix: Stir A+B before using for 3 minutes or until the two colors combined into one
 Moreover, I tried to avoid air bubbles by putting the mixing stick all of the way to the bottom. Unfortunately, it took me about 6 minutes to mix A and B together because my arm was getting tiered. Unfortunately, there were bubbles at the top of the oomoo when I poured it onto the mold. Luckily, that didn't affect the outcome.
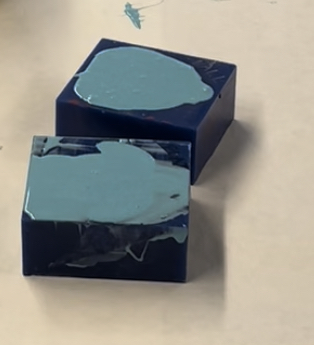
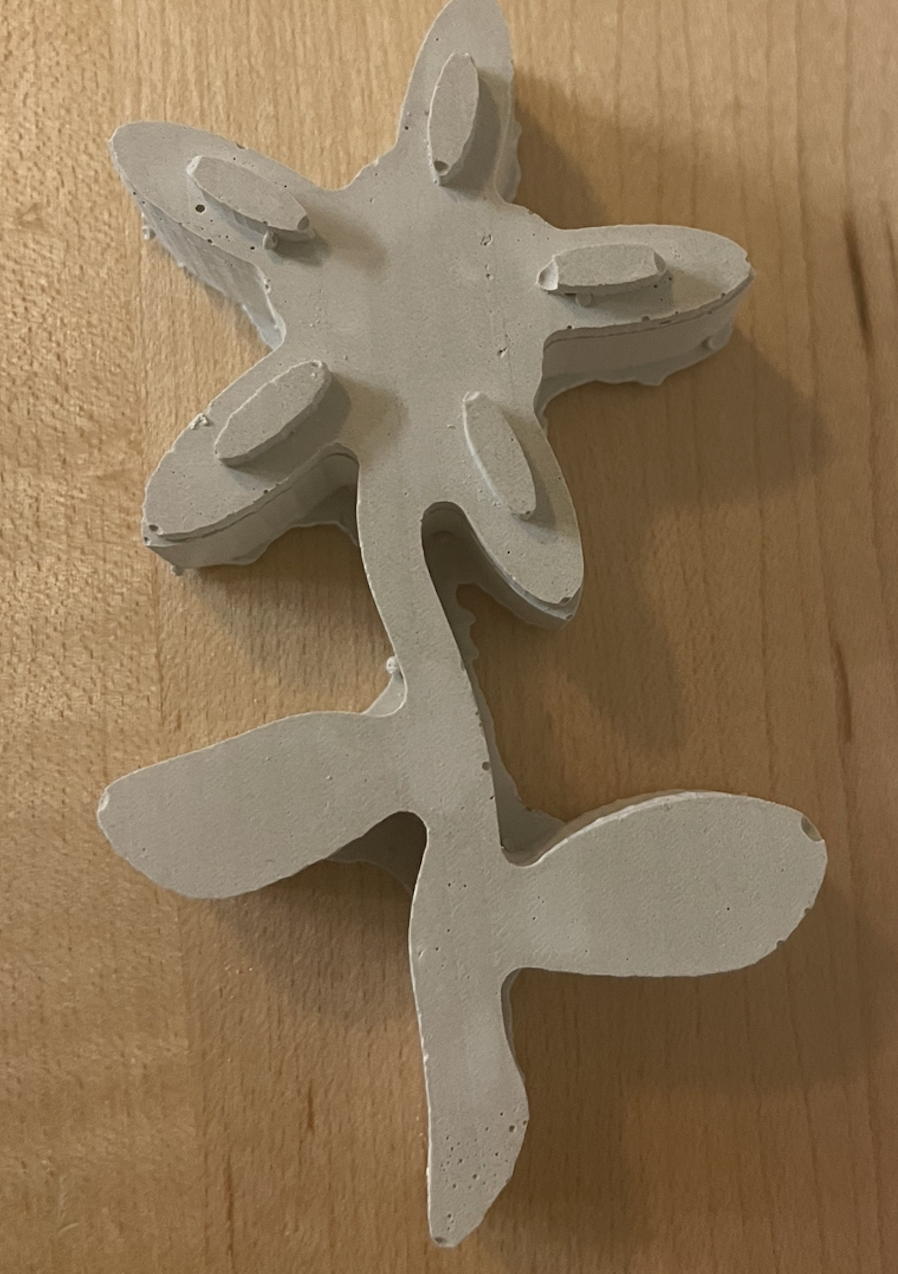
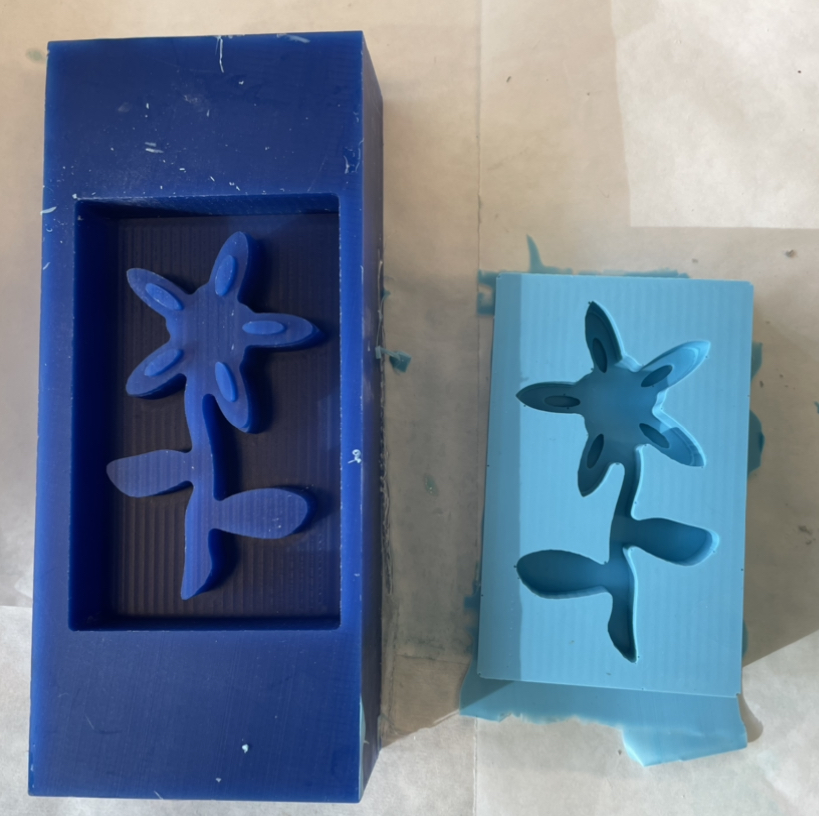 I left the oomoo in the mold overnight. It took me a few minutes to take the oomoo out of the mold. Since I have a tendency to rush, I made sure that I slowly pulled out the oomoo. Luckily, the oomoo mold looked perfect. I was really happy to see that the petals came out well defined and created another layer to the flower design. My fear was that the oomoo wouldn't show all of the details of the flower.
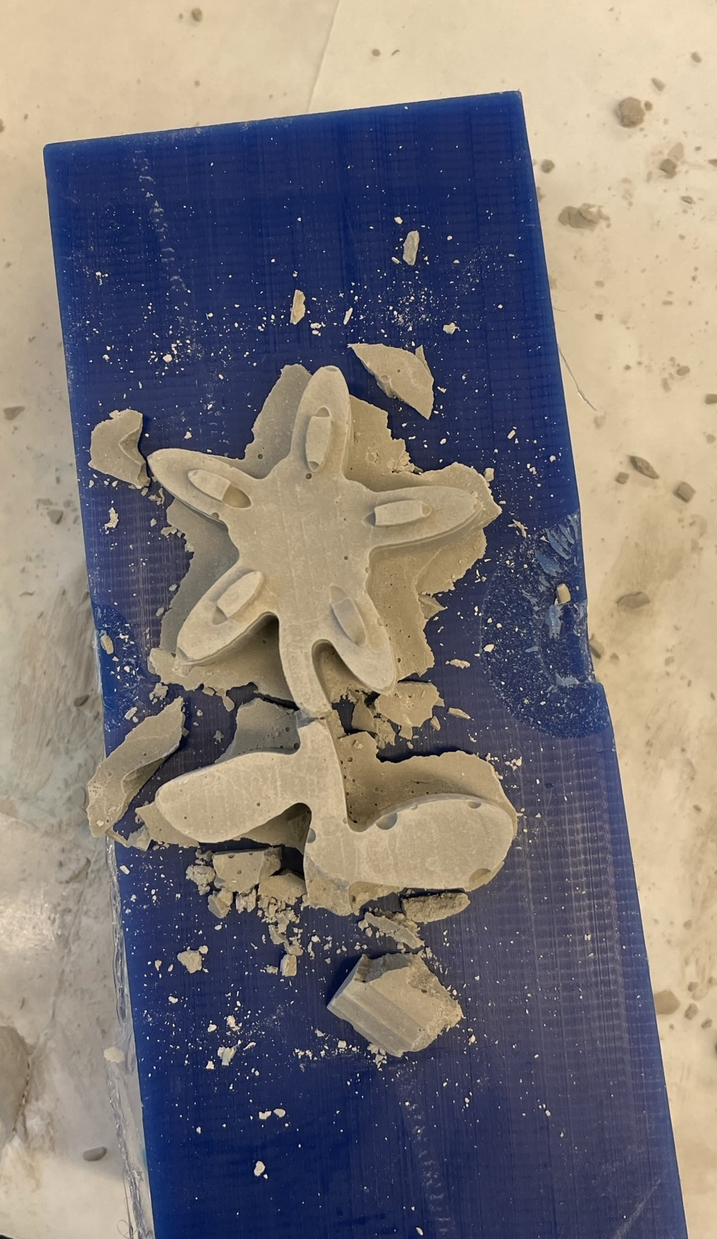
One of the most time consuming parts of this project was trying to get the correct consistency for the mold. The first itme, i followed the instructions. However, I should have added more water. The consistency was only a little m ore watery than Play-doh. Another mistake that I may have made was only leaving the hydrostone in the oomoo for 30 minutes. I should have waited at least an hour. As a result, the my flower broke because the hydrostone was too thicklso, the hydrostone didn't reach the edges of the flower.
 So I tried to make the hydrostone again by adding more water(around 5 more grams). This time the consistency was similar to icing.
 Also, I used a popsicle stick to push the hydrostone into the small edges of the flower. I left the hydrostone in the oomoo overnight. This time it came out beautiful!!!! Here are the instructions that I followed to make the hydrostone:
- Ratio: 22 H20 : 100 powder by weight and powder to H20
- WAIT: 1-3 minutes
- MIX: 2-5 minutes
Flower stl file
Link to mold files