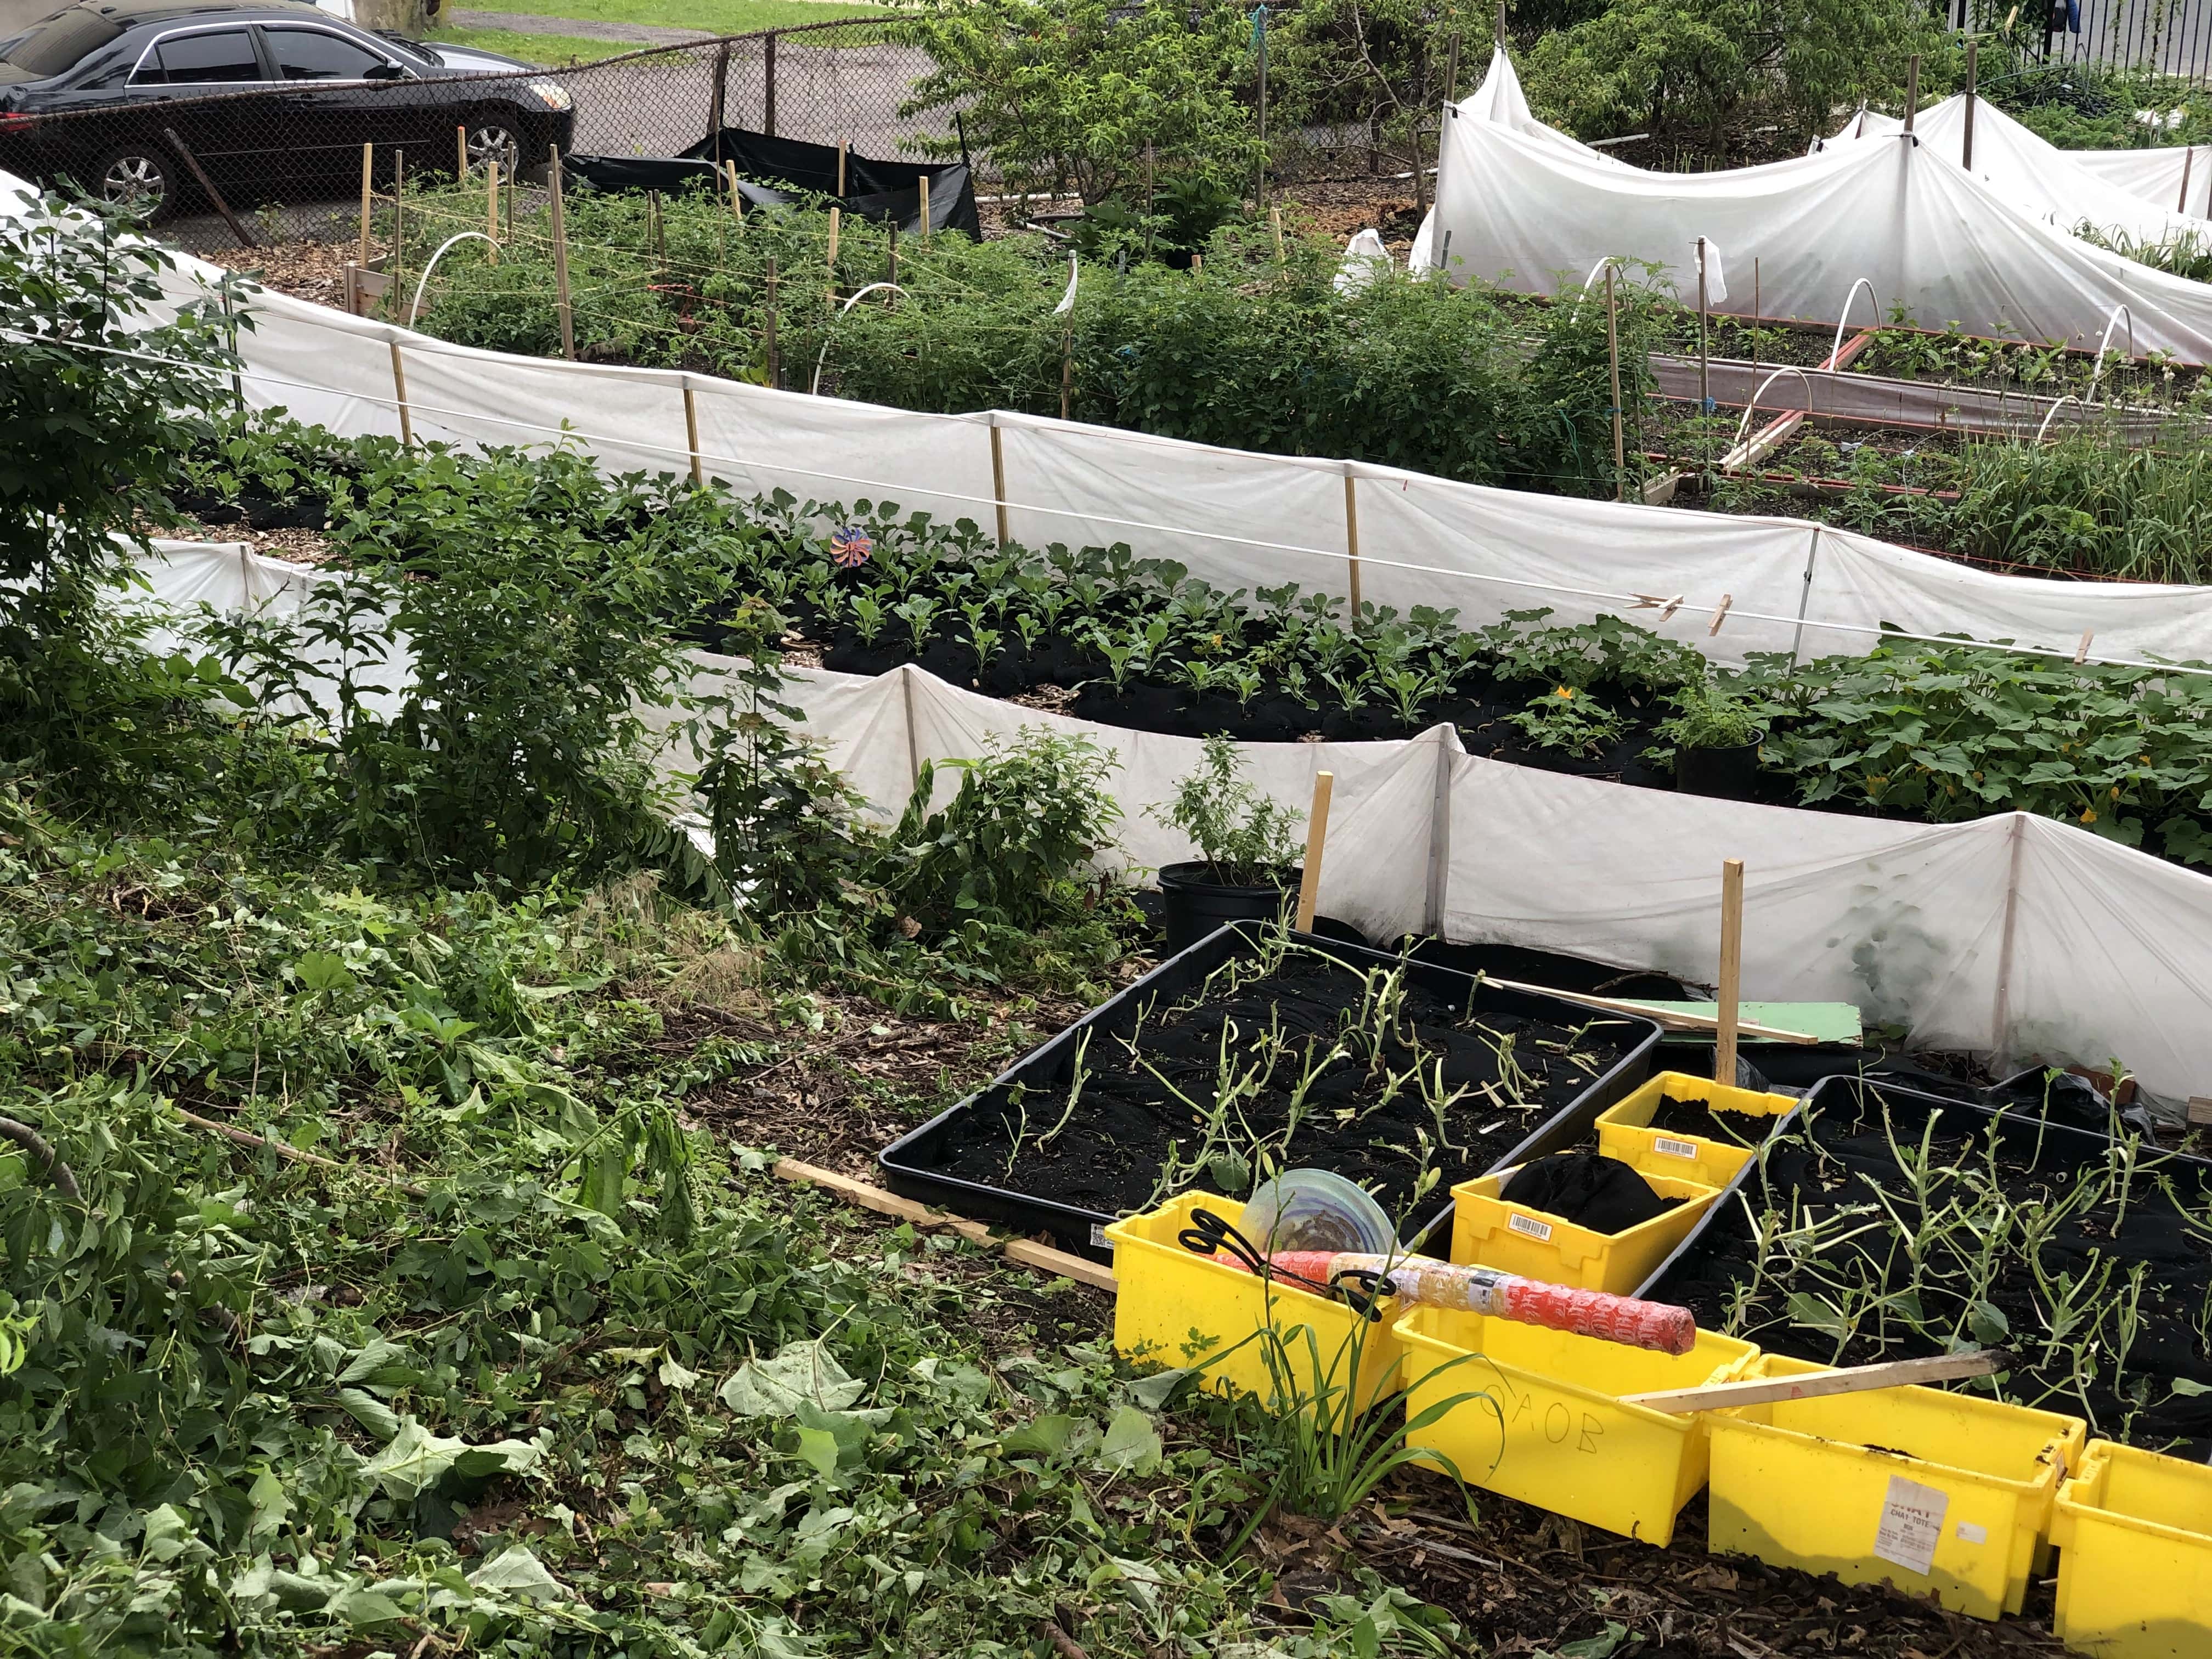
Some time ago, I volunteered at Oasis on Ballou, a micro urban farm in Mattapan. It was started by Apolo, an attorney-turned-grower who wanted to give his community greater control over their food options. He had pulled himself through numerous challenges, from playing politics to find a water connection to experimenting with grow bags and other alternatives to traditional in-soil production. Still, there were various challenges yet unconquered on his quarter-acre plot. Groundhogs had eaten through most of the kale and collards. Runoff from nearby train tracks left parts of the site waterlogged. As we made makeshift barriers, I saw a paradox: attempting to gain control in certain spheres came at the cost of a proportional loss of control elsewhere.
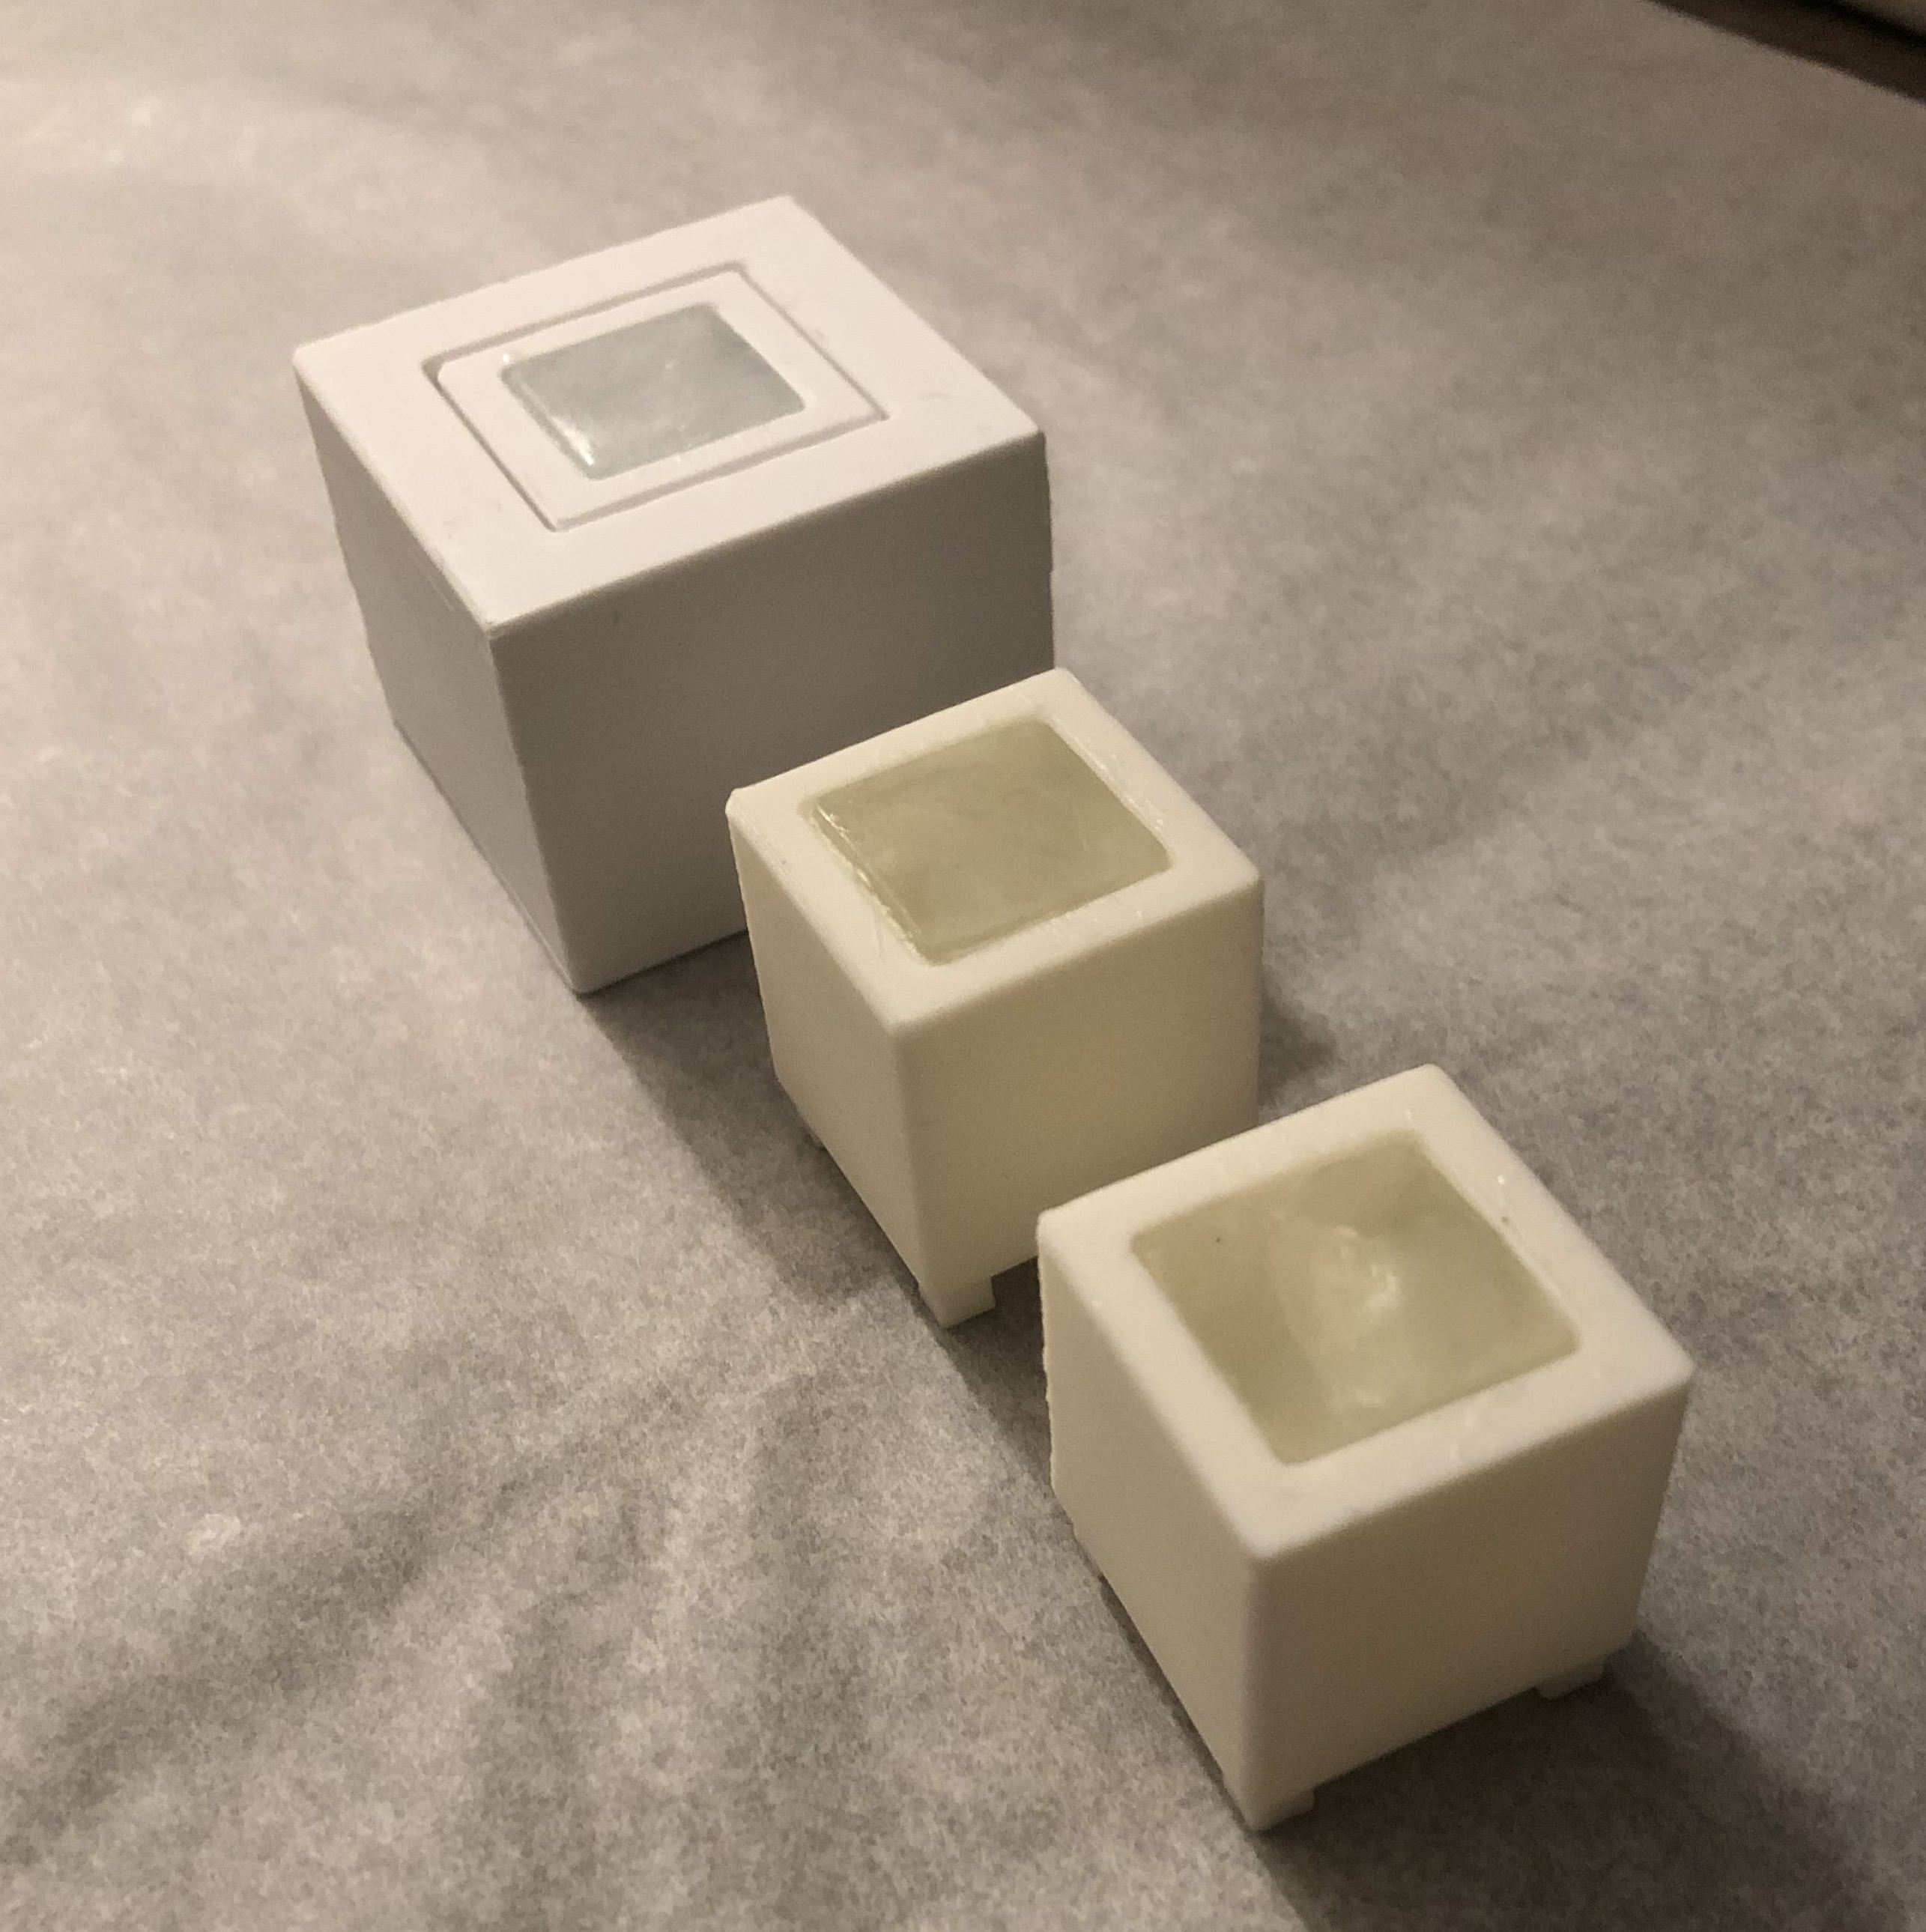
To begin this week’s assignment, I first created an inner box and outer shell in Fusion 360. The inner box (15.6 cm3) would be nested within the outer shell (27 cm3), and there would be air gaps (4 cm) between both components. I added four pegs (each 64 mm3) to the bottom of the inner box so that it wouldn’t be in direct contact with the shell. This design was inspired by a standard thermos. I planned to do an ice melting test to measure heat loss based on visual inspection (I didn’t have a thermometer on hand). For this reason, I left off the top of the container.
Fusion boxes
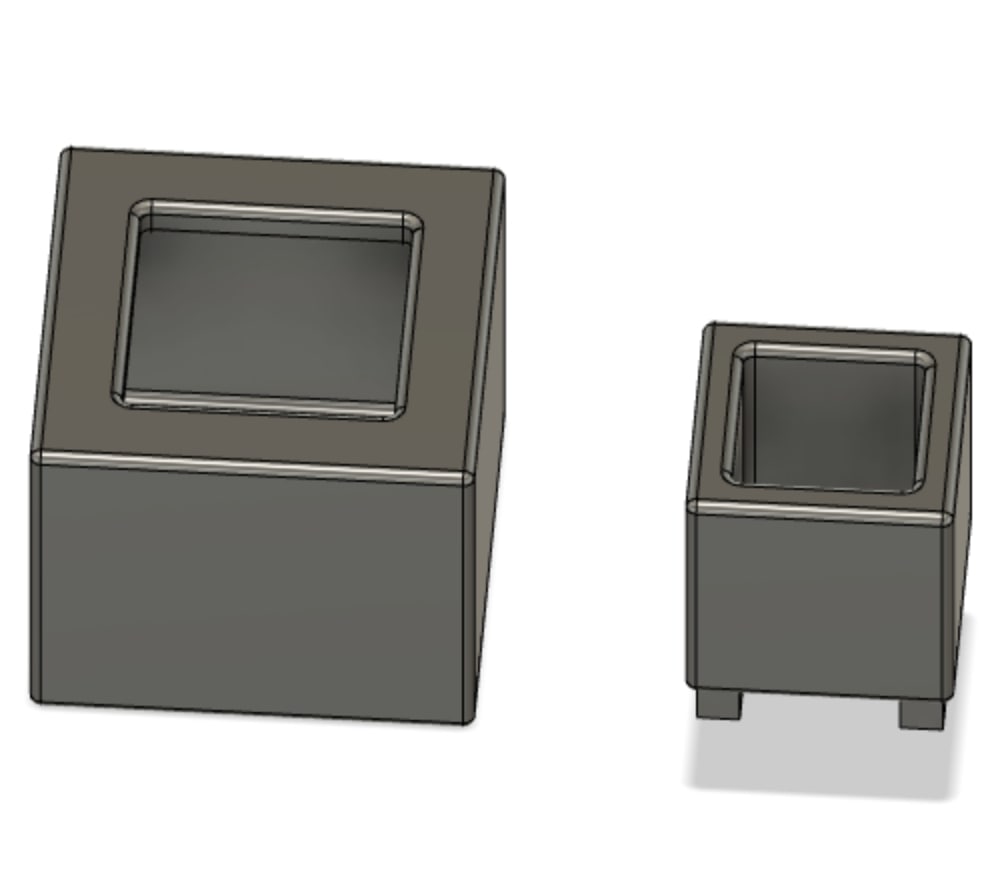
The shell had a slight overhang in order to accommodate the inner box and the gap. Based on the group project results, such a small overhang (4 mm) wasn’t going to be an issue. However, it did lead me to consider using supports as a potential insulating material, in the vein of fiberglass or Styrofoam. My design didn’t require any supports due to its small size, so I would most likely add them in the slicer.
Inner box in outer shell
The PLA support idea was viable, but a much better idea involved adjusting the infill percentage. Setting the infill to any percentage above zero would effectively accomplish the same thing (and prevent me from having to manually take out PLA support if it wasn’t needed). I was thinking of printing out boxes with various infills, but the process would take too long.
However, in the end, it didn’t make sense to worry about insulating material when an air gap was clearly going to provide the best insulation. This also stayed true to the original thermos concept (which had a vacuum gap in between double layered material). So, I kept the infill to 0%. Upon further reflection, I thought the outer shell was redundant, since there was an air gap already embedded in the inner box. I decided to print out inner boxes first and then assess.
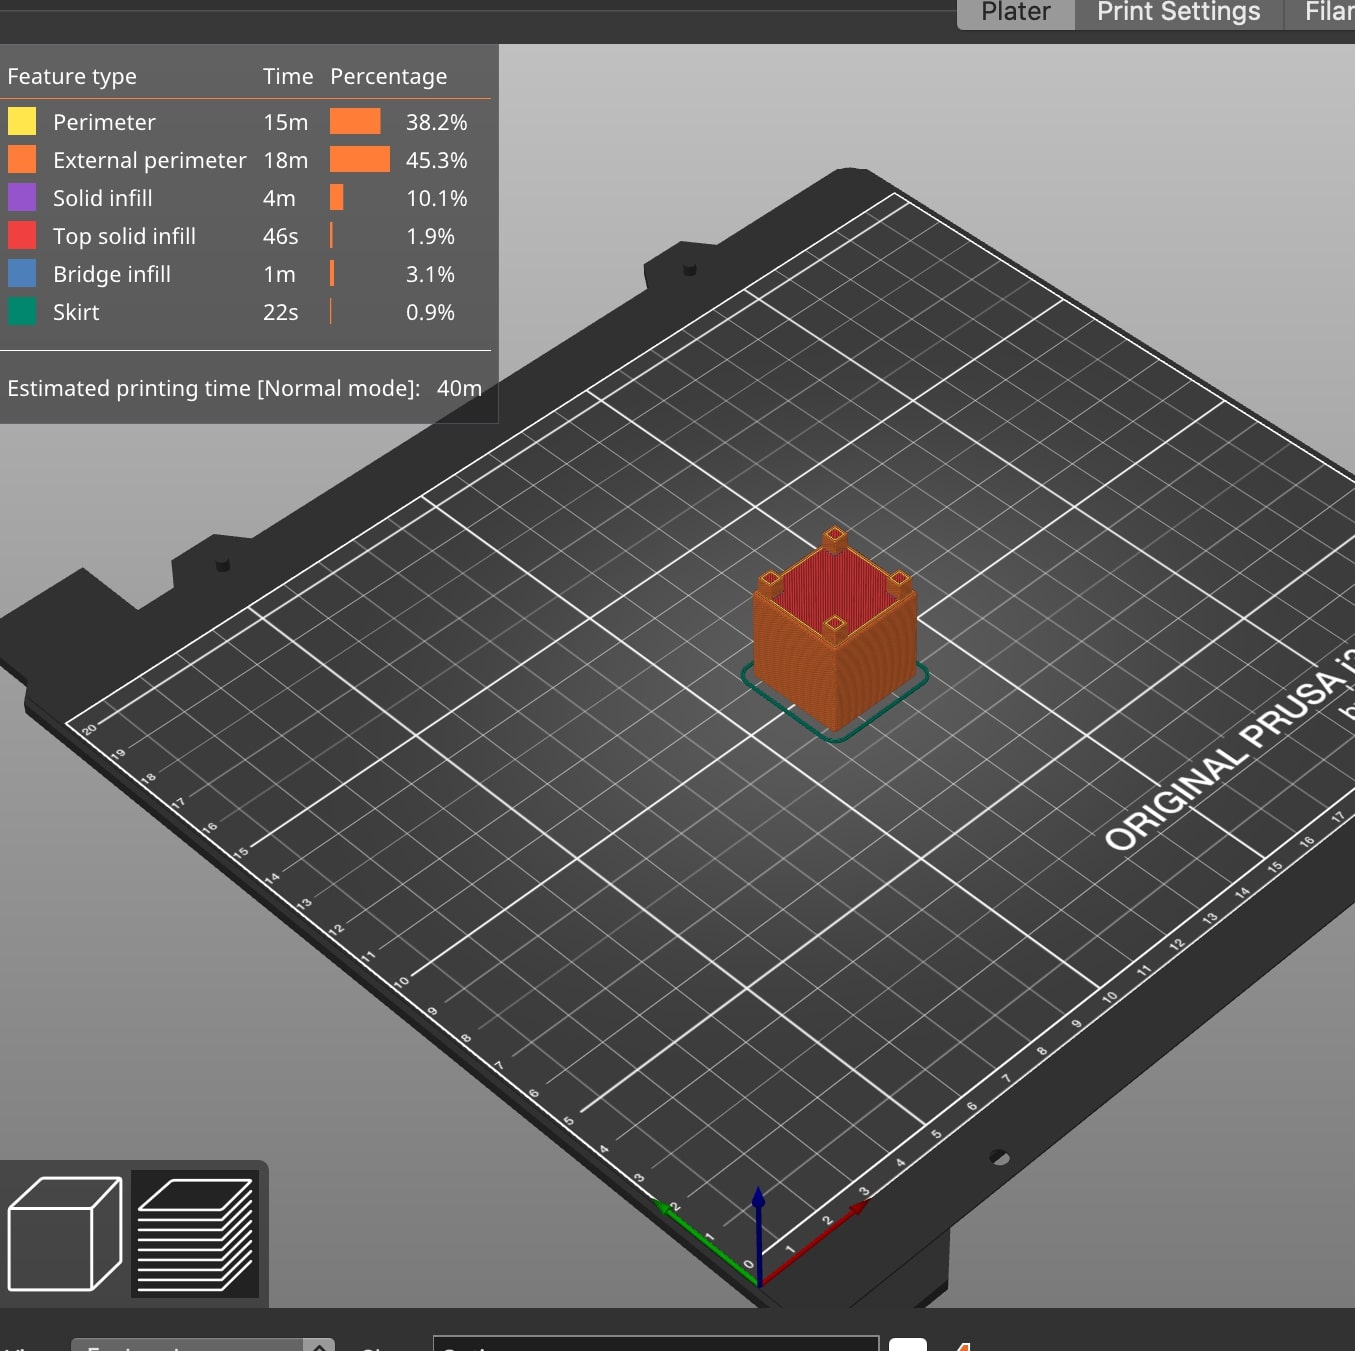
I set the inner box on the open face and then sliced it. I was advised to change the print settings to 0.20 mm since my design didn’t require a lot of detail. I was printing on a Prusa i3 MK3S with standard PLA. The total print time was about 40 minutes. I decided to print two, which came out to around an hour and a half. Five minutes into my first trial, the printer received an error message (something about the fan). I moved to an adjacent printer and there were no issues (though I was told I did not have to be so careful wiping down the printing surface with alcohol). There was some filament fuzz near the printer nozzle, but thankfully it didn’t affect the print. I was not sure whether the box would be water tight, so I added a layer of epoxy into both boxes’ interiors.
PrusaSlicer in action
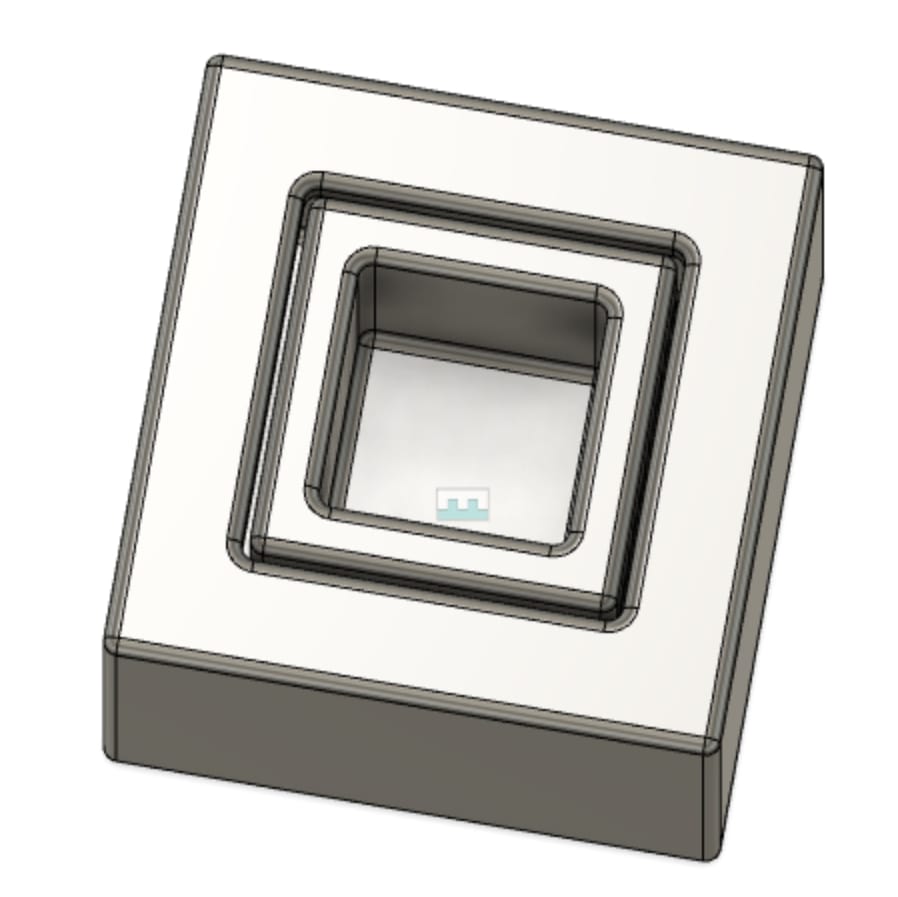
Due to time constraints, I printed out only one full container (inner box + outer shell). I combined the components in Fusion 360 using a rigid joint on the correct faces and then exported the STL file. I used the same settings in PrusaSlicer, but did not place the box on its open face, which meant the pegs on the inner box would have to be supporting the rest of the print. (Possible) because of this, the print messed up around the 3-minute mark. While troubleshooting, I realized that the inner box was not centered within the shell. I doublechecked that I was attaching the join at the origins of both faces, and then I redid both sketches for good measure. When all that failed, I manually offset the joint (around 0.25 mm) based on the preview in Fusion 360. When I exported the STL file to PrusaSlicer, it looked centered. I also checked to ensure that the base layers would provide enough support. One other potential error came from the fact that I initially designed the inner box to be about 0.5 mm inside the shell, as opposed to being level. I was analogizing from the laser cutting use case (where the “fitting” of pieces is an issue), but that reasoning was probably faulty for a 3D printed part. I changed the design to make both components level.
3D Printing the Boxes
The print time was one hour and forty minutes. I was told to always stay for the first few minutes, since that is when the majority of errors occur (anecdotally confirmed by my previous experiences). By luck or process, the print finished without any issues. I also added an epoxy layer to the full container’s interior.
Printed boxes
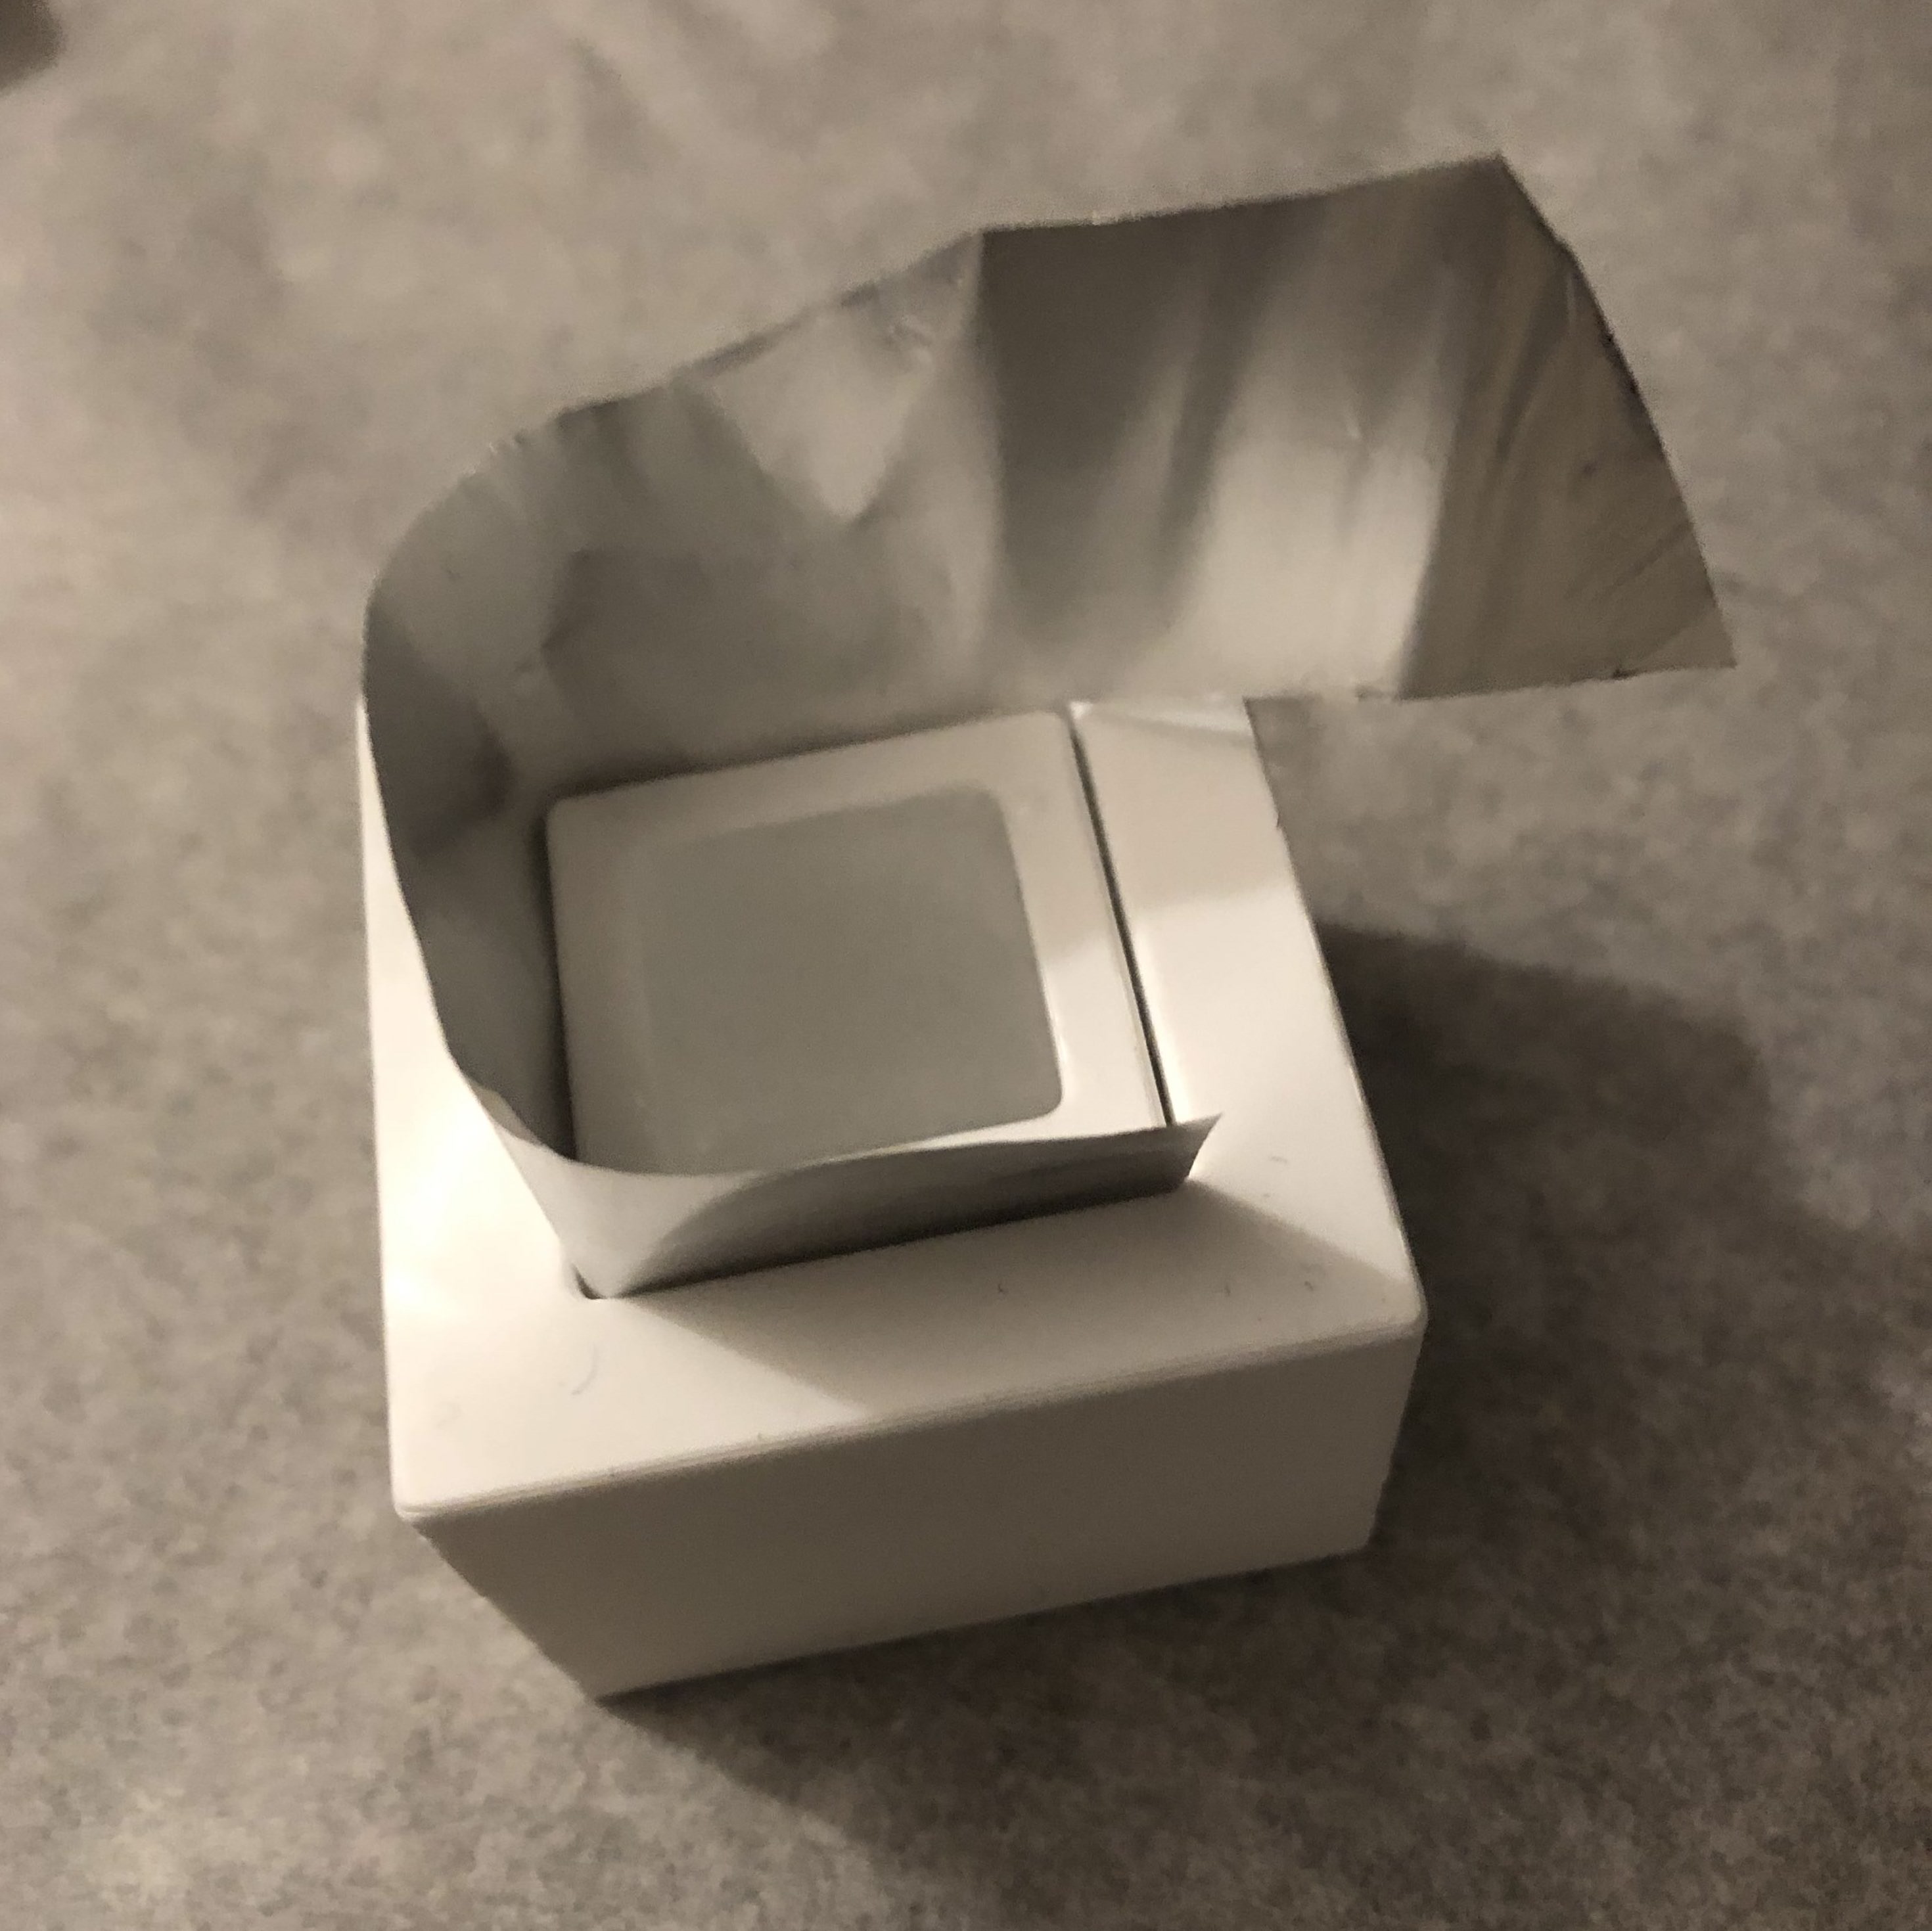
Next, I decided to “test” the insulating factors of the printed boxes. I poured water into each of the boxes and put them in the freezer. When the water froze, I took them out. I wrapped one of the two inner-box-only pieces in aluminum foil and I inserted strips of aluminum foil into the small slit between the inner box and the outer shell for the full container. I wanted to have a control (i.e. an ice cube of the same size not in a container) but I was concerned about breaking the boxes if I used them as molds.
Aluminum wrapping of boxes
I tried to see whether there was a standard amount of time to melt a certain volume of ice at room temperature. All I could find was an article that said a 1-inch ice cube would take 45 to 60 minutes to melt. (https://howmonk.com/how-long-for-an-ice-cube-to-melt/). My ice cube in imperial units was about 0.25 inches.
The unwrapped inner box melted completely in 1 hour and 9 minutes. The inner box wrapped in foil melted completely in 1 hour and 15 minutes. The double container (with foil) melted completely in 1 hour and 28 minutes.
All of these times were in excess of the melting time for a 1-inch ice cube, which suggested that the PLA insulation worked well. I also had to keep in mind that because I left one face open (and heat transfer is directly related to surface area), the insulation rate was negatively affected. While there were observed differences in melting times, I had to consider that foil was only marginally more effective than air-gapped PLA insulation and that the full container was nearly double the volume of the inner box alone. This has useful scaling implications for my final project. In retrospect, one thing I should have printed was a single layer inner box (one without an airgap) in order to see whether the air gap was significant.
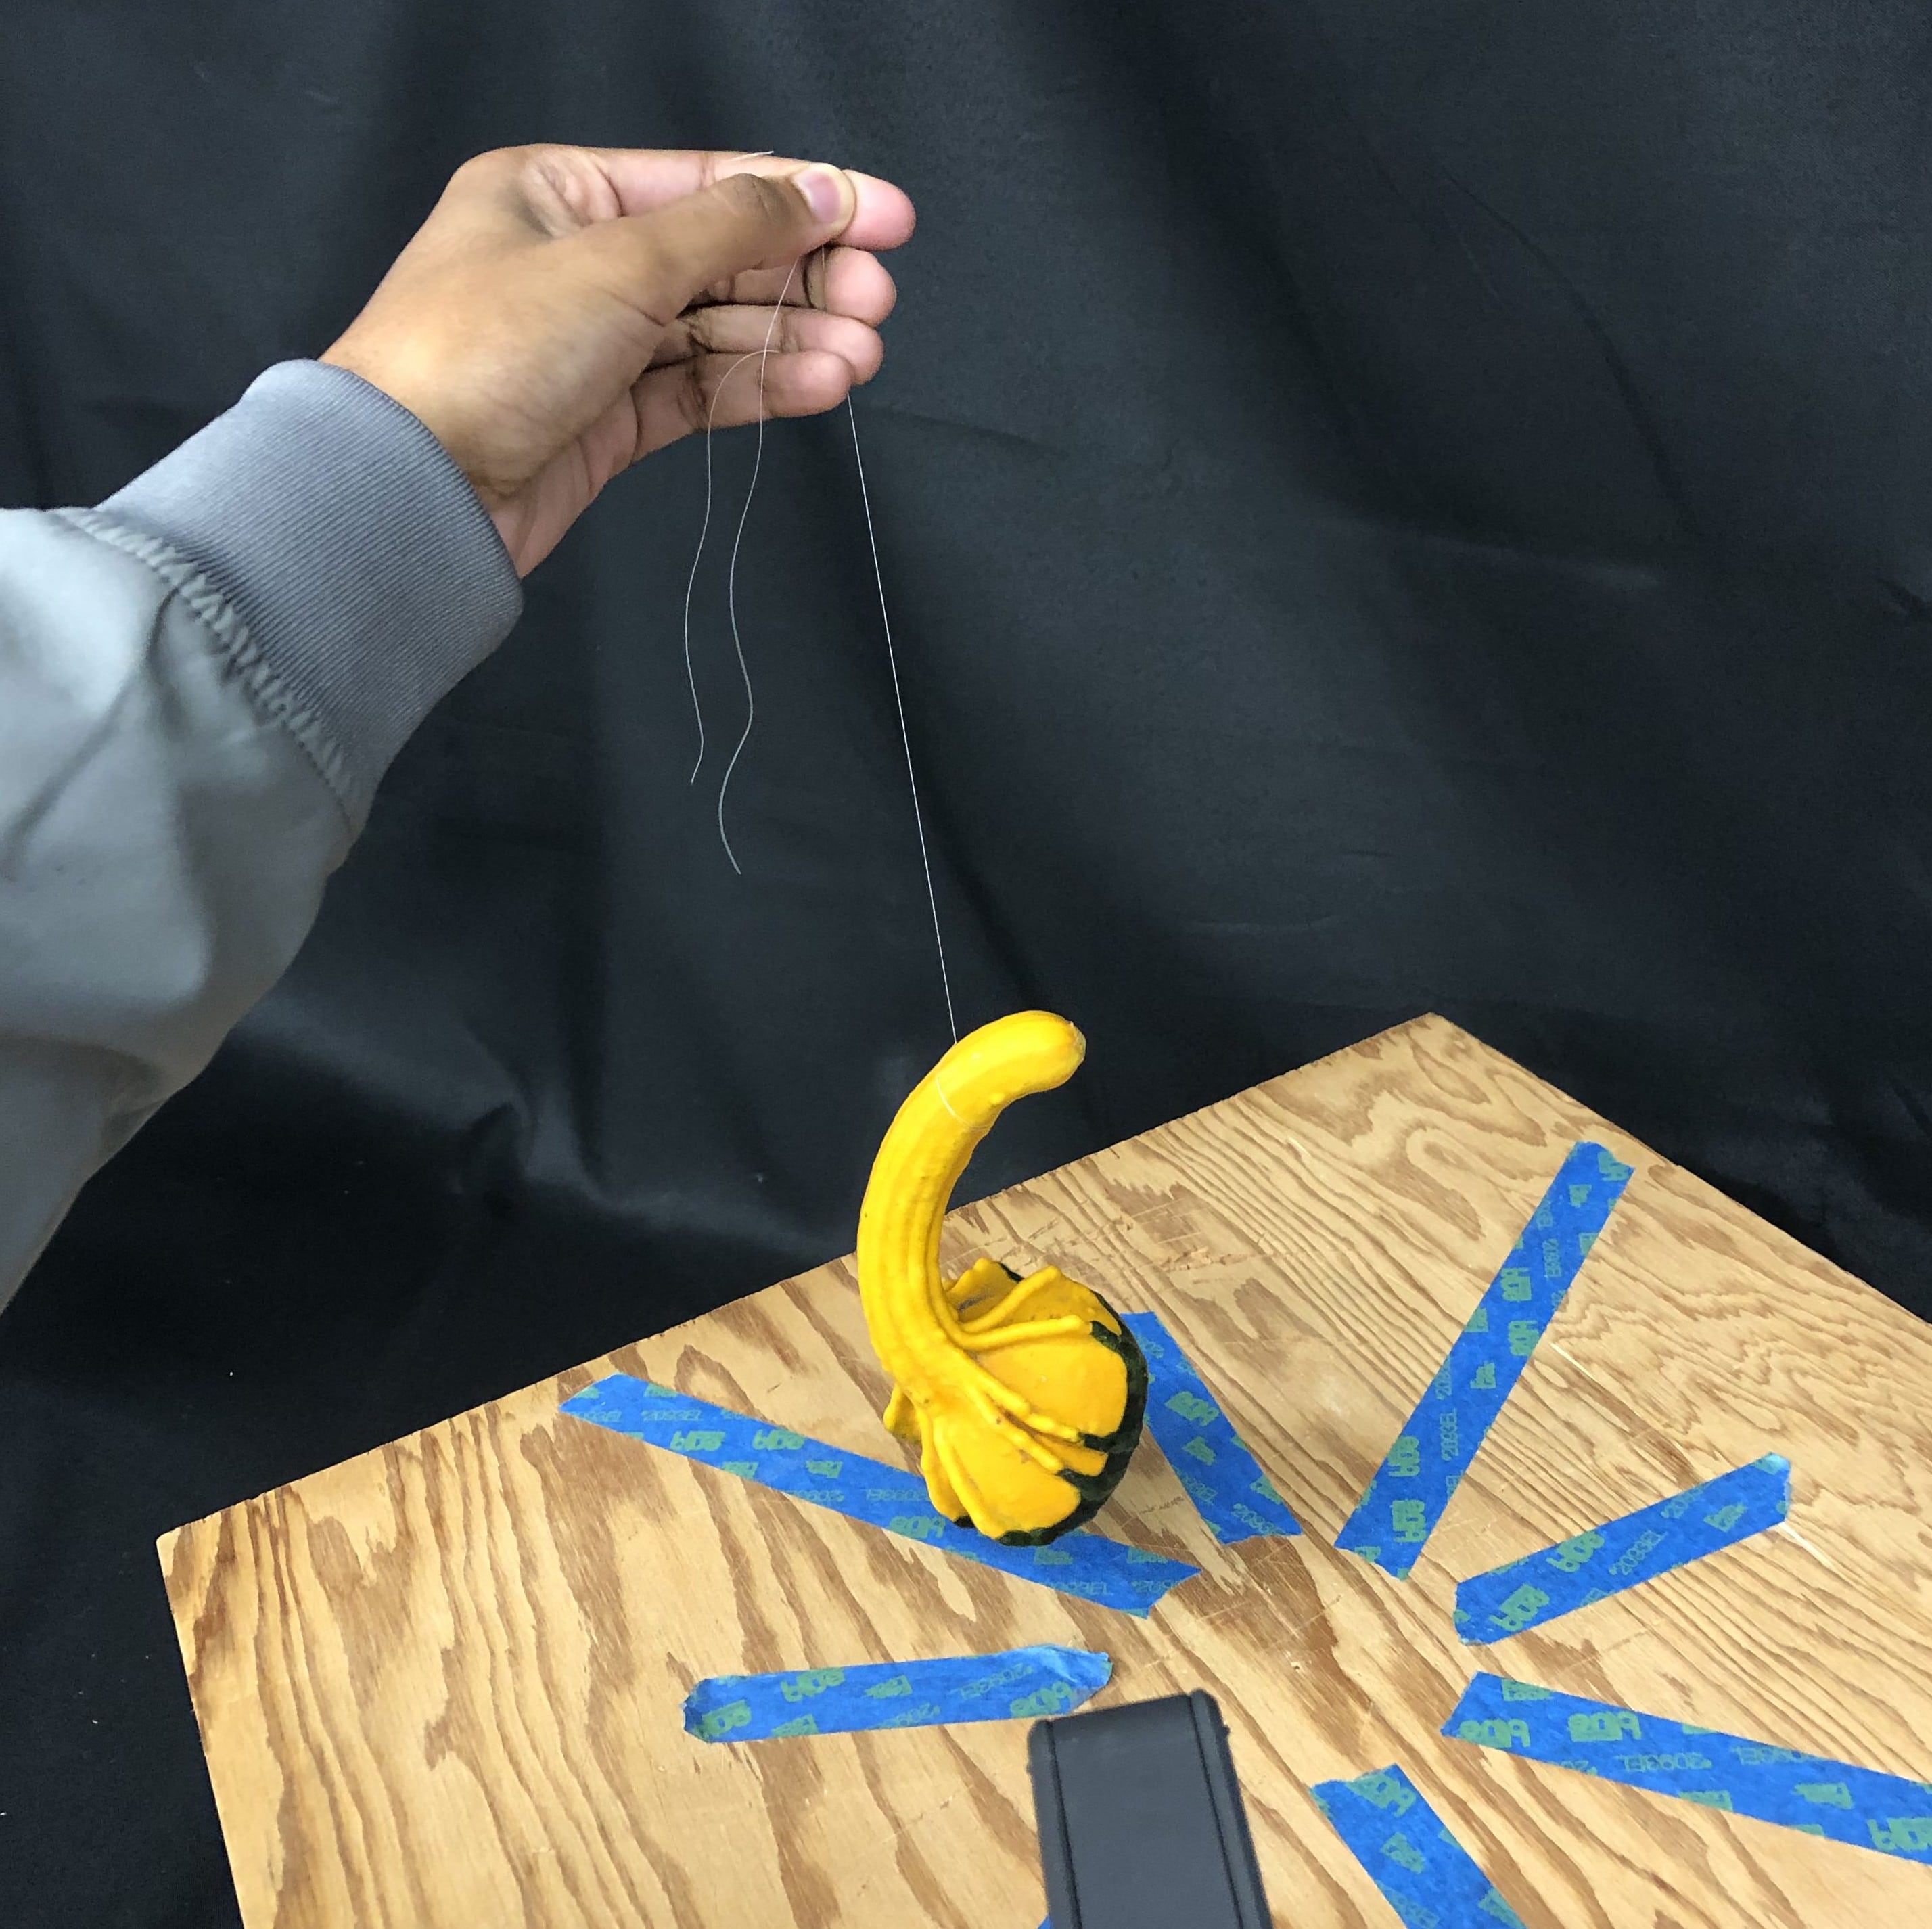
I could not think of a scanned object that would be useful for my final project, so I attempted instead to scan materials to stay on theme. Initially, I tried scanning different seeds and a coco noir pellet. The seeds were much too small, and the scanner wasn’t registering the pellet well on the surface (especially near the bottom). I tried to change the surface background, but it did not help much. I decided that a better course of action would be to string objects and hang them for scanning. Luckily, there was a farmer’s market right outside the lab, so I didn’t have to go far for food-related objects. I picked up three items that I thought would be interesting candidates, based on their symmetries, textures, and details.
First up was the gourd. I belatedly realized it was phallic enough to push this to a PG-13 assignment. Notwithstanding the movie rating of my assignment, I attached the gourd to a string and slowly spun it around while scanning.
Spinning the gourd
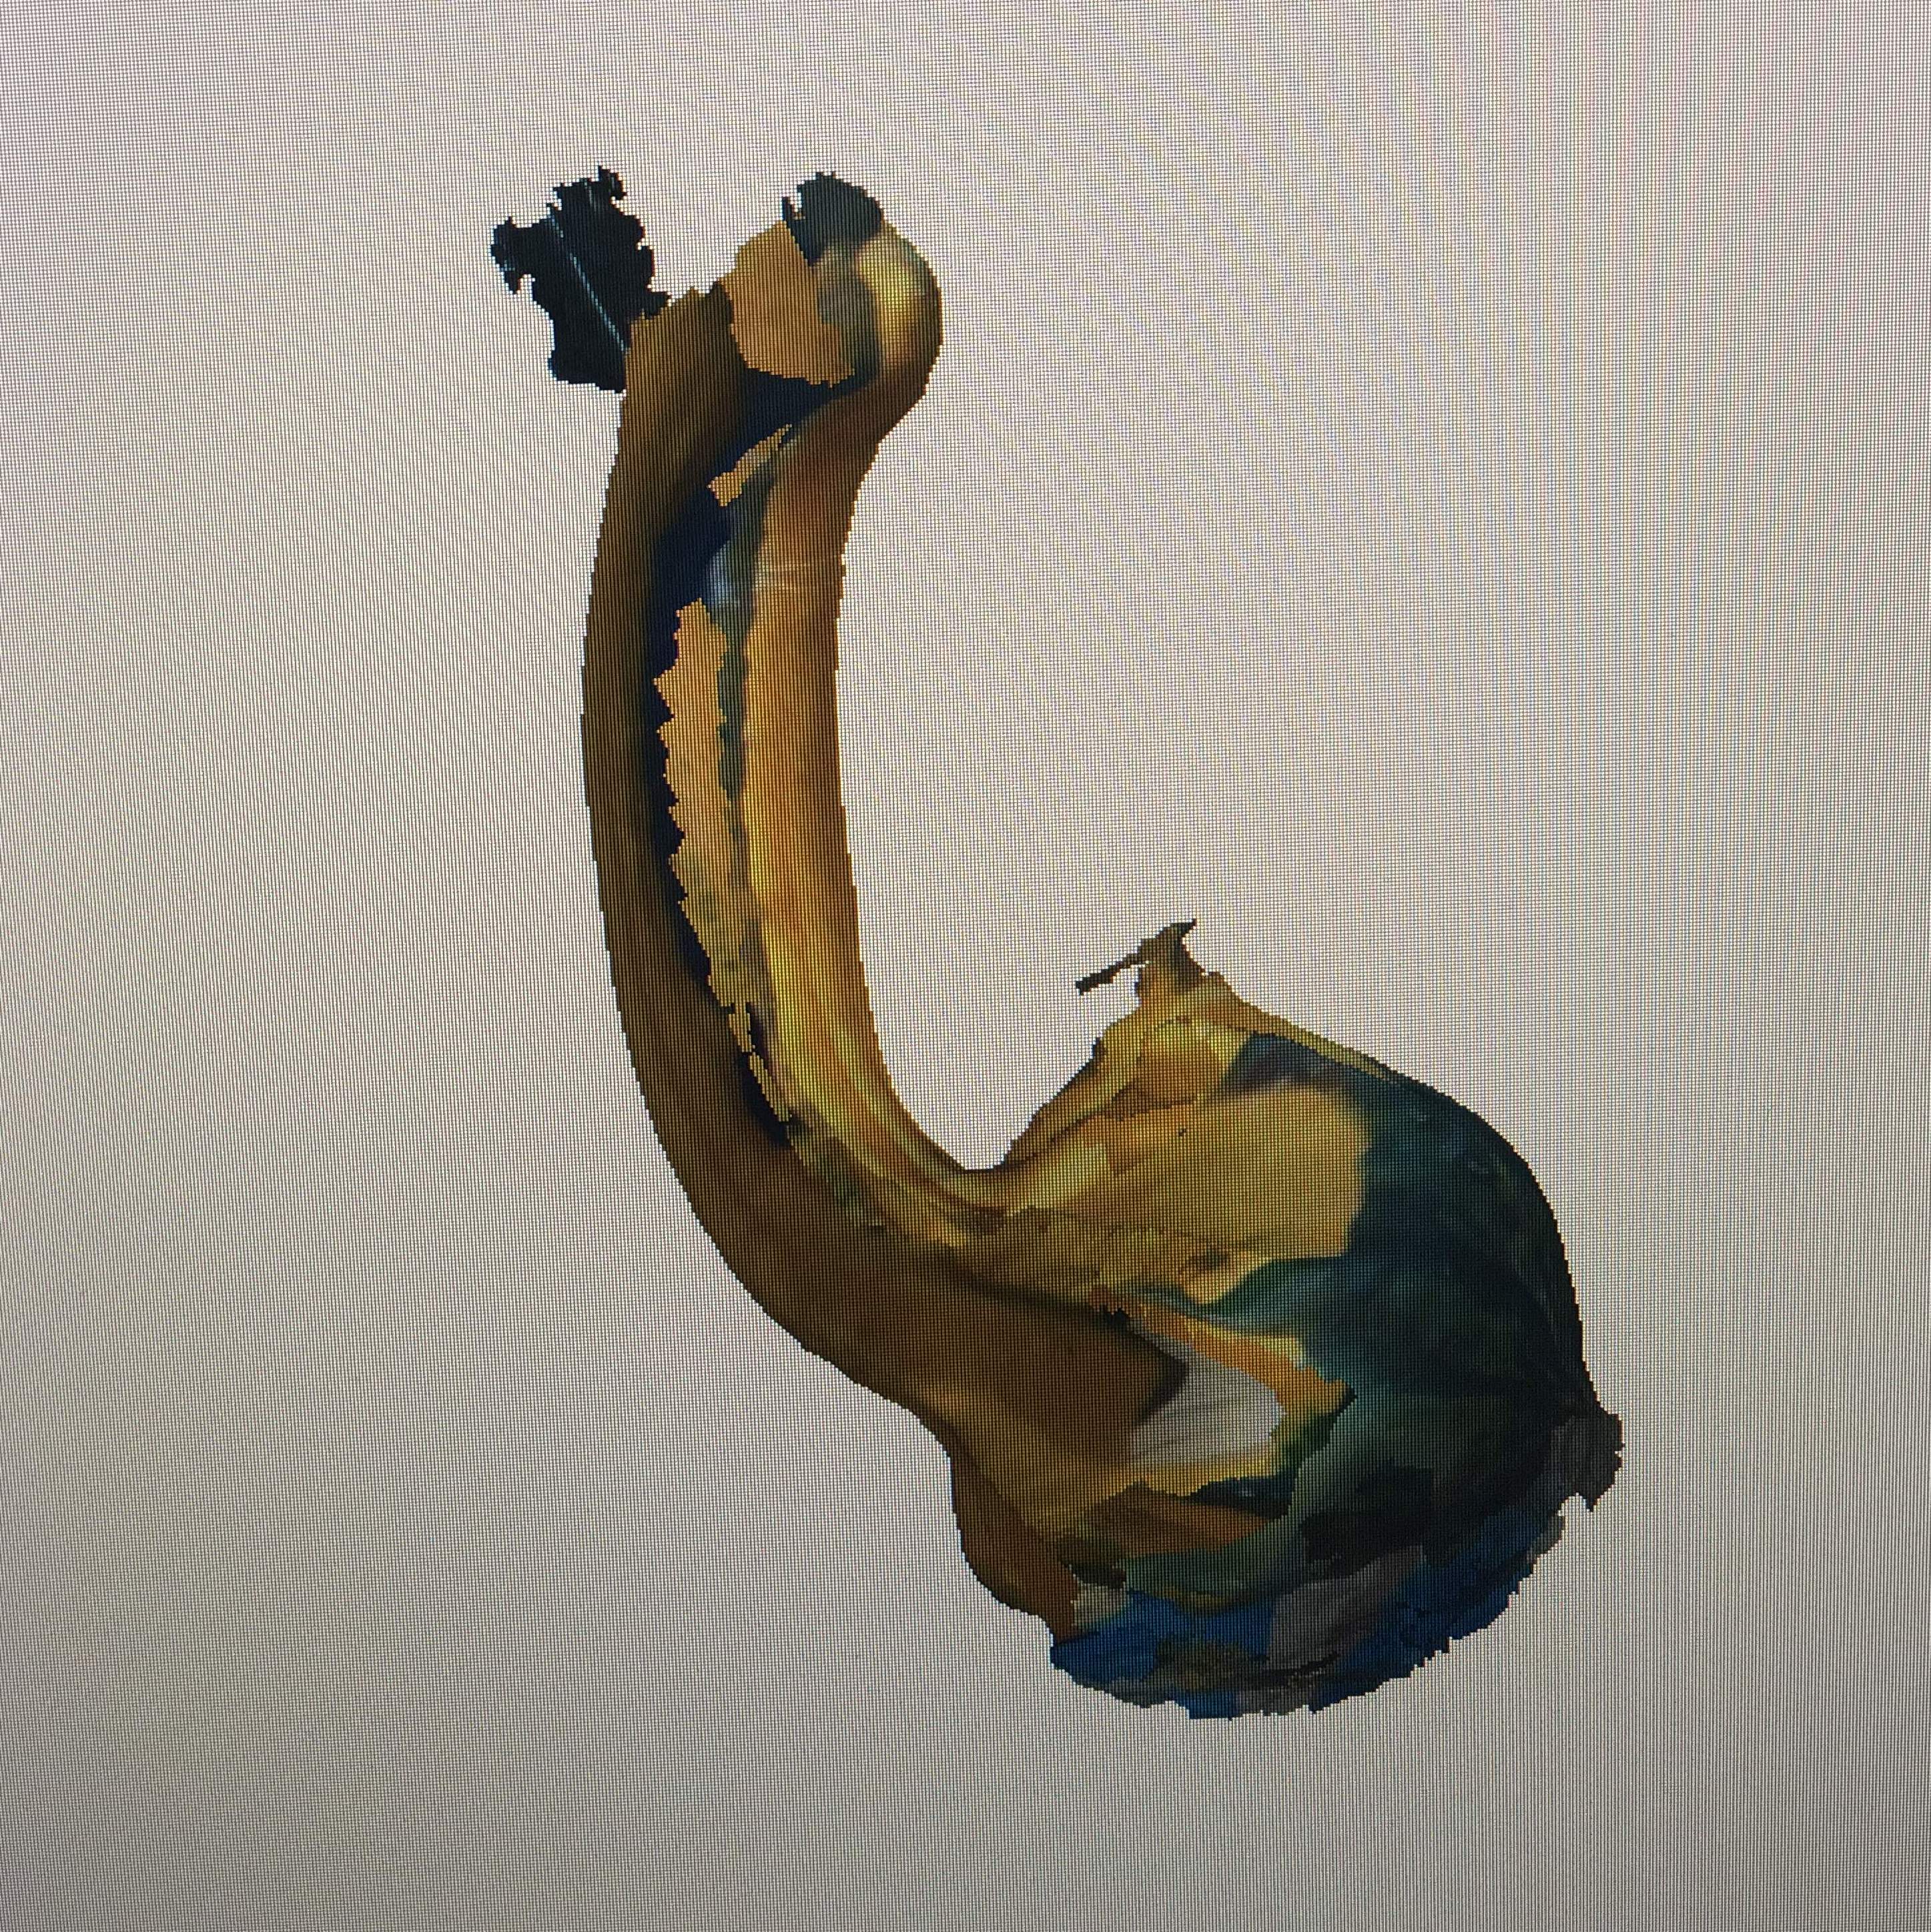
It worked decently, but I still had some issues with the bottom. The gourd had an interesting texture and only bilateral symmetry, so that might have been the issue.
Scanned gourd
The bell pepper was the biggest surprise. Perhaps it was too shiny or reflective? No matter how I oriented it, the scanner immediately lost track. I tried cutting it in half and scanning one piece, but that also didn’t work.
Lastly, and most successfully was the ear of corn. It was difficult at first to stabilize with the string, but it yielded the most complete picture. It was by far the most symmetric object, and the variations in texture were probably too minor to affect the scanning (basically, it was an edible cylinder). After trimming the object, I was left with a pretty good model. Not sure what use it will have. (photo of “pre-shucked” (AKA cropped) corn.