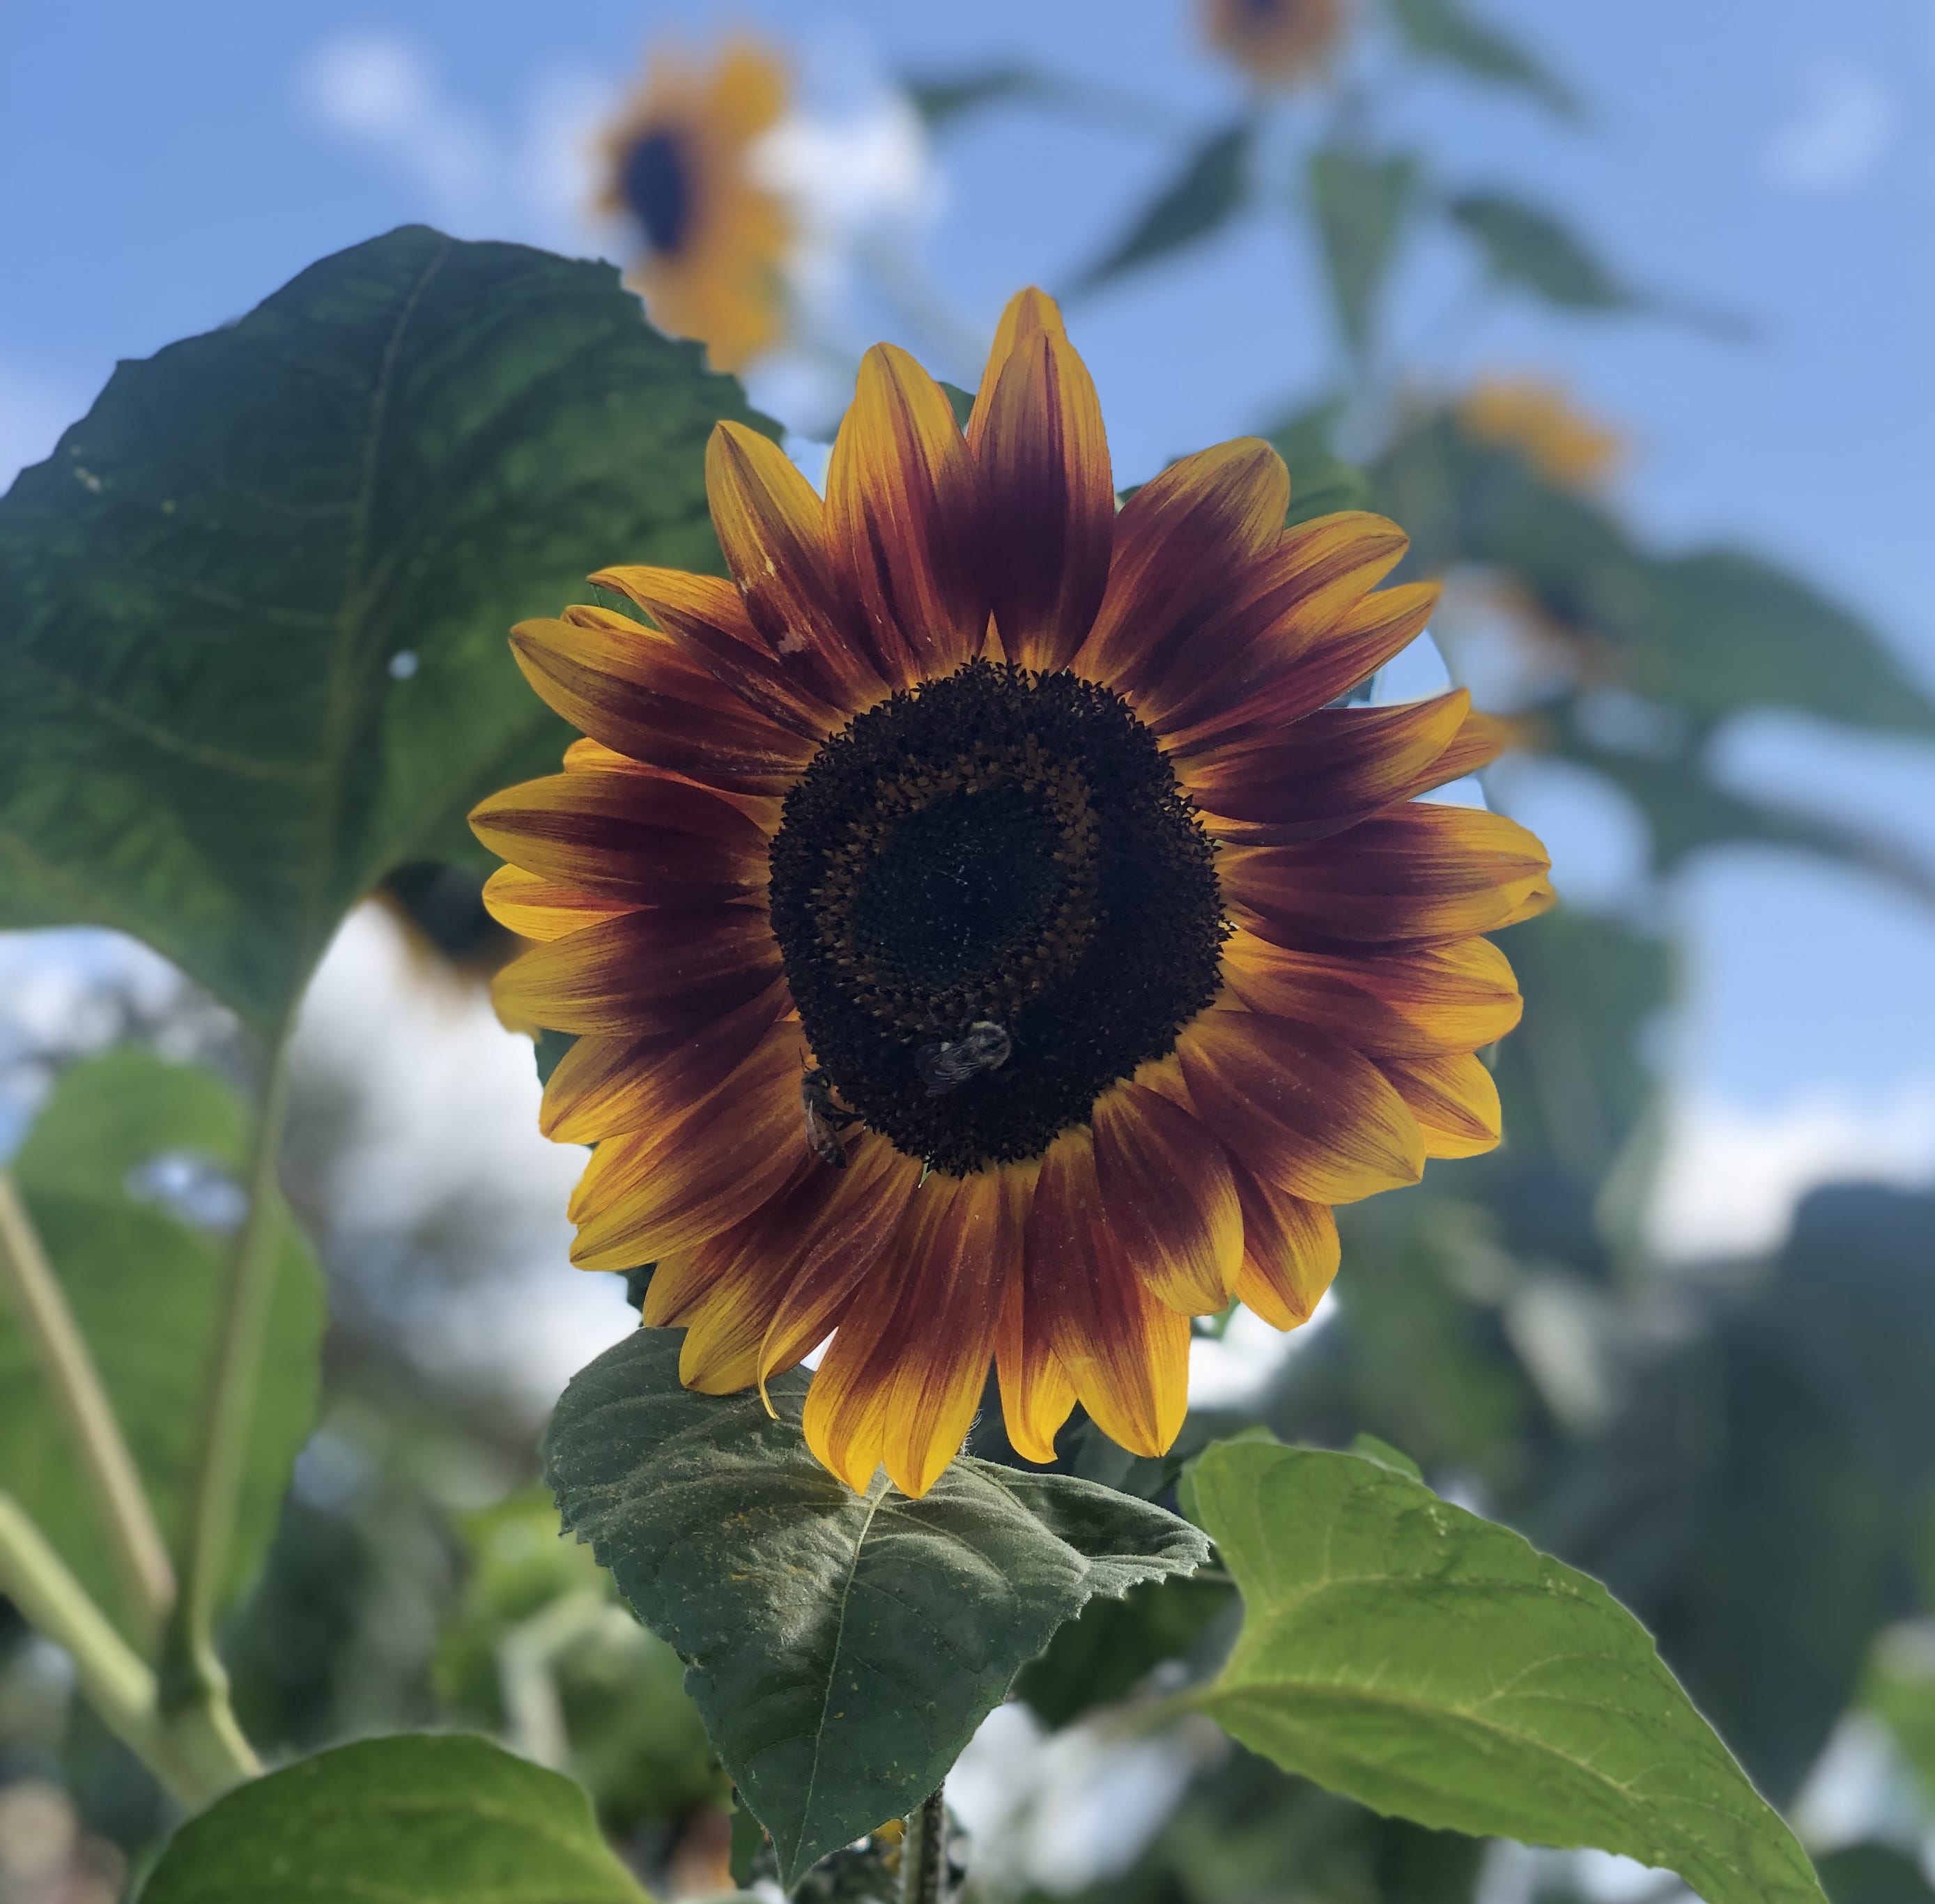
I learned recently that sunflowers are hyperaccumulators - that is, they have the ability to absorb toxic materials from the soil. Sunflower blossoms line the perimeter of the main farmsite in Mattapan, which serves both a practical and perhaps metaphysical function. Many of us find comfort in the "energy shift" that occurs when we touch the soil. Urban farms, in a way, transport and redirect toxicity that exists in their situated communities. We plant kale blocks away from gas stations, police cars and food deserts. We build trust and healing in spaces normally condemned due to interpersonal and structural violence.
Throughout these past few weeks, I have accumulated a dense quantity of knowledge, stress, frustration, imagination and the like. But this week wasn't defined by the accumulation, but rather the blossoming that occured in response to that accumulation. I am finally starting to see the fruits (or flowers) of the work I started in the first week.
This week, we had to design, mill and assemble something big! Part of the extra credit was to not use glue (sadly not something I could accomplish)!
I decided that I would print out the lower half of my final project, which would be the area where nutrients could be mixed and dosed for the hydroponic system. It had three layers: the top layer is where one would add the fertilizer/nutrients; the middle layer is where the mixing would occur, and the bottom layer would have channels to be sent to the right areas of the hydroponic system.
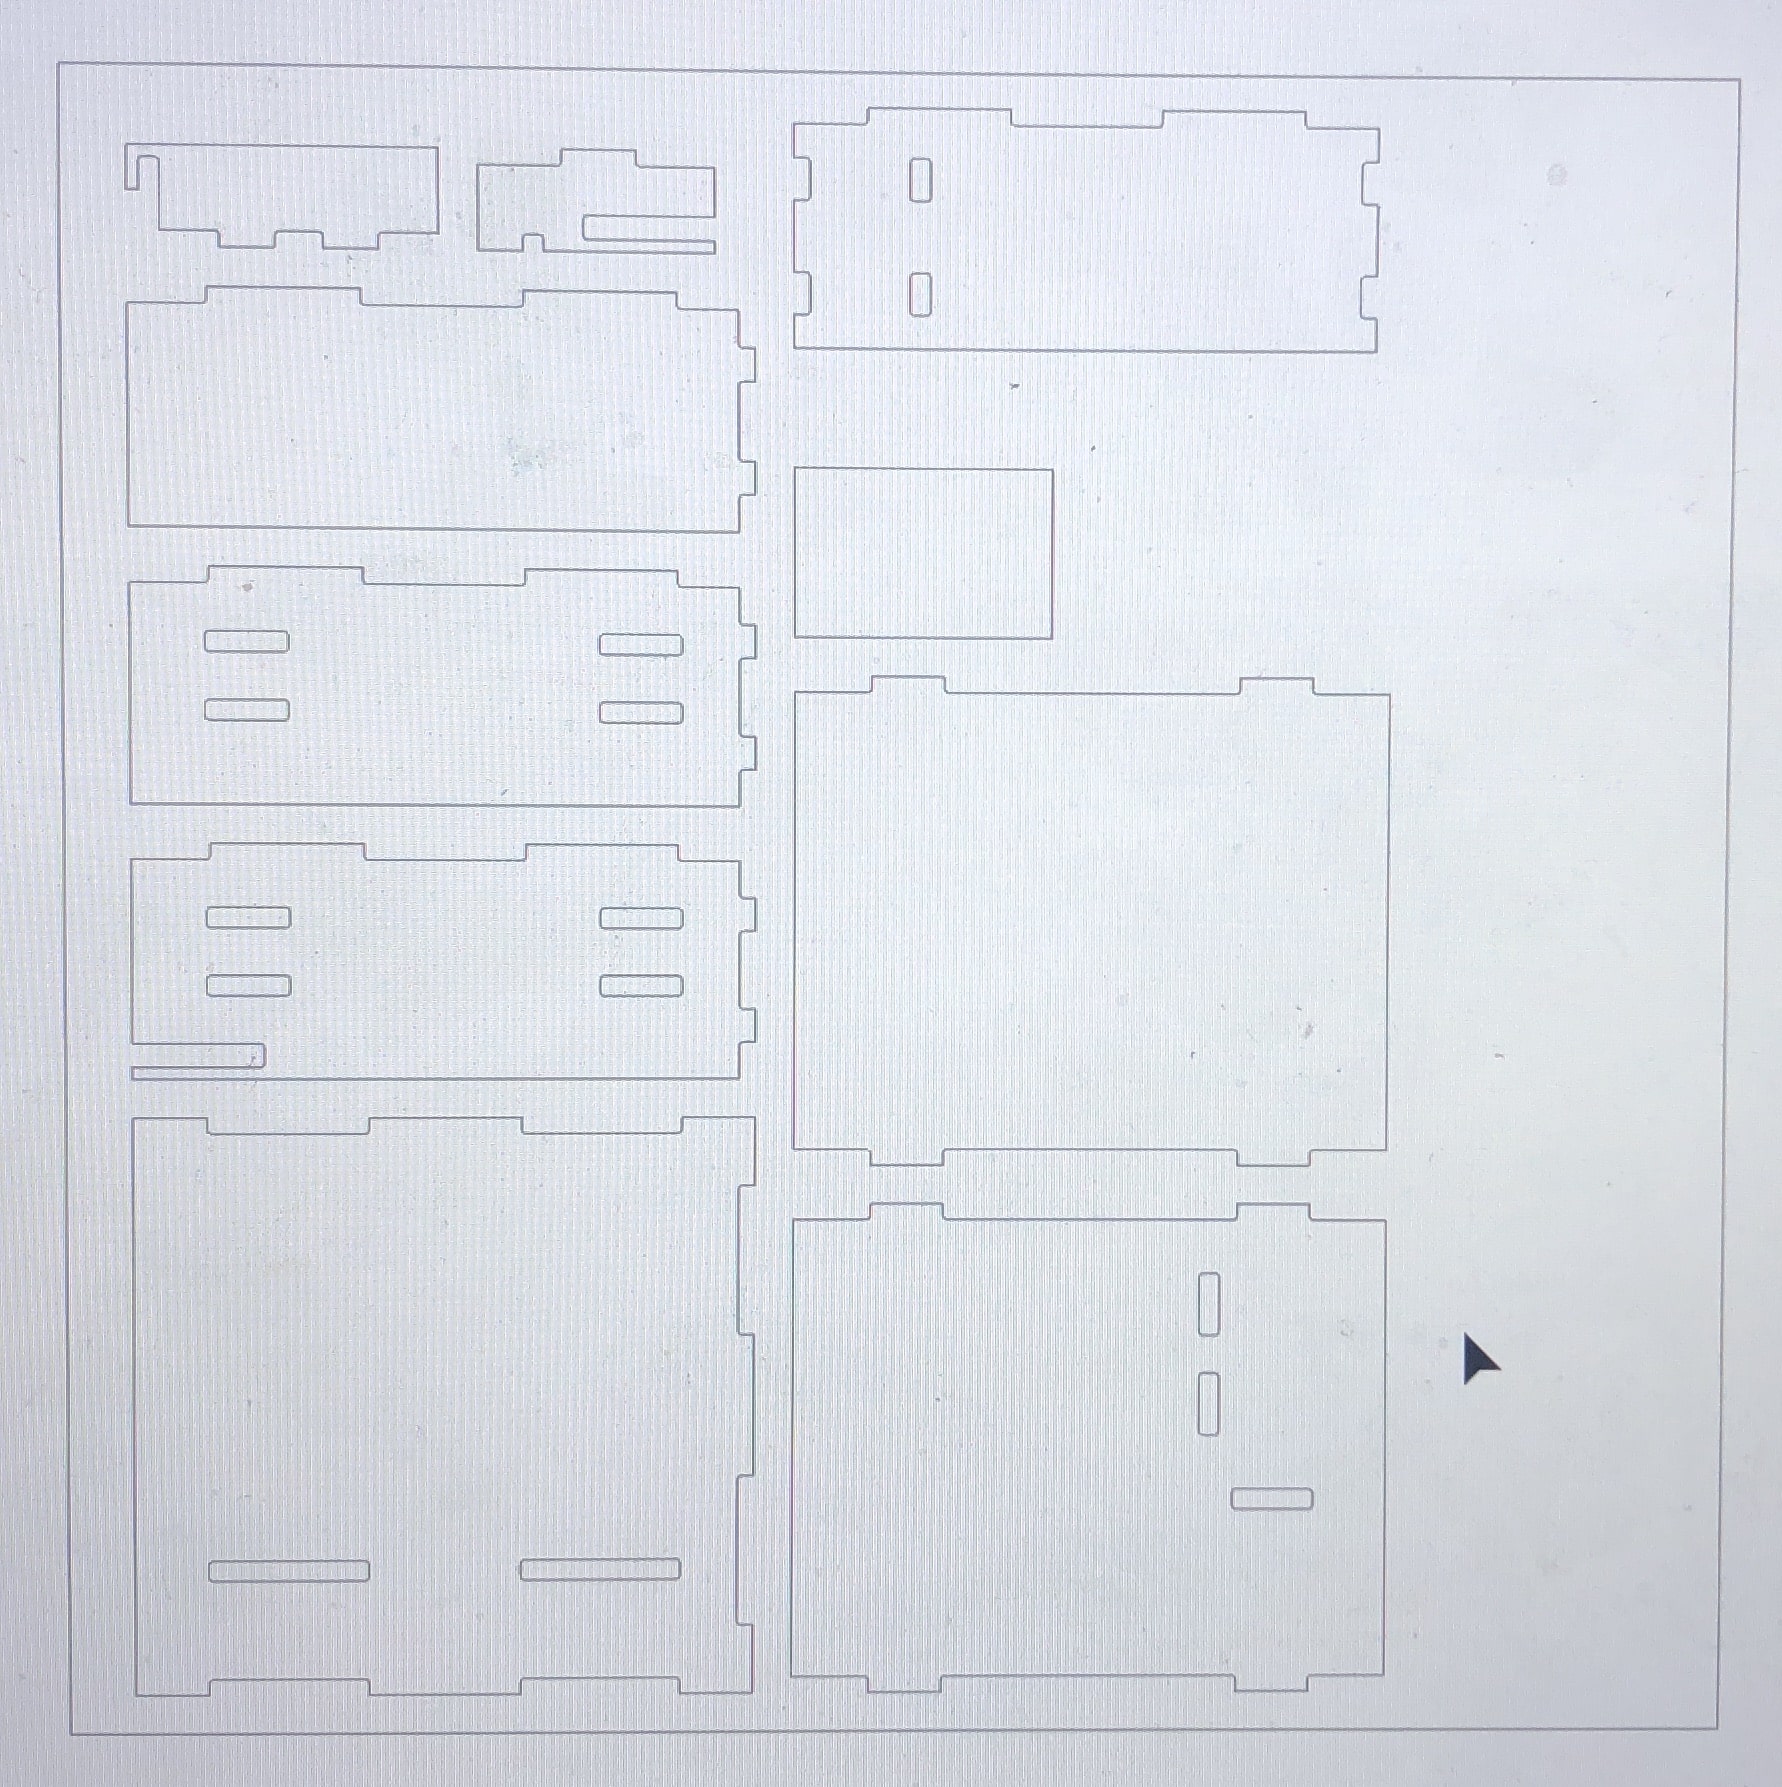
Drawers laid out
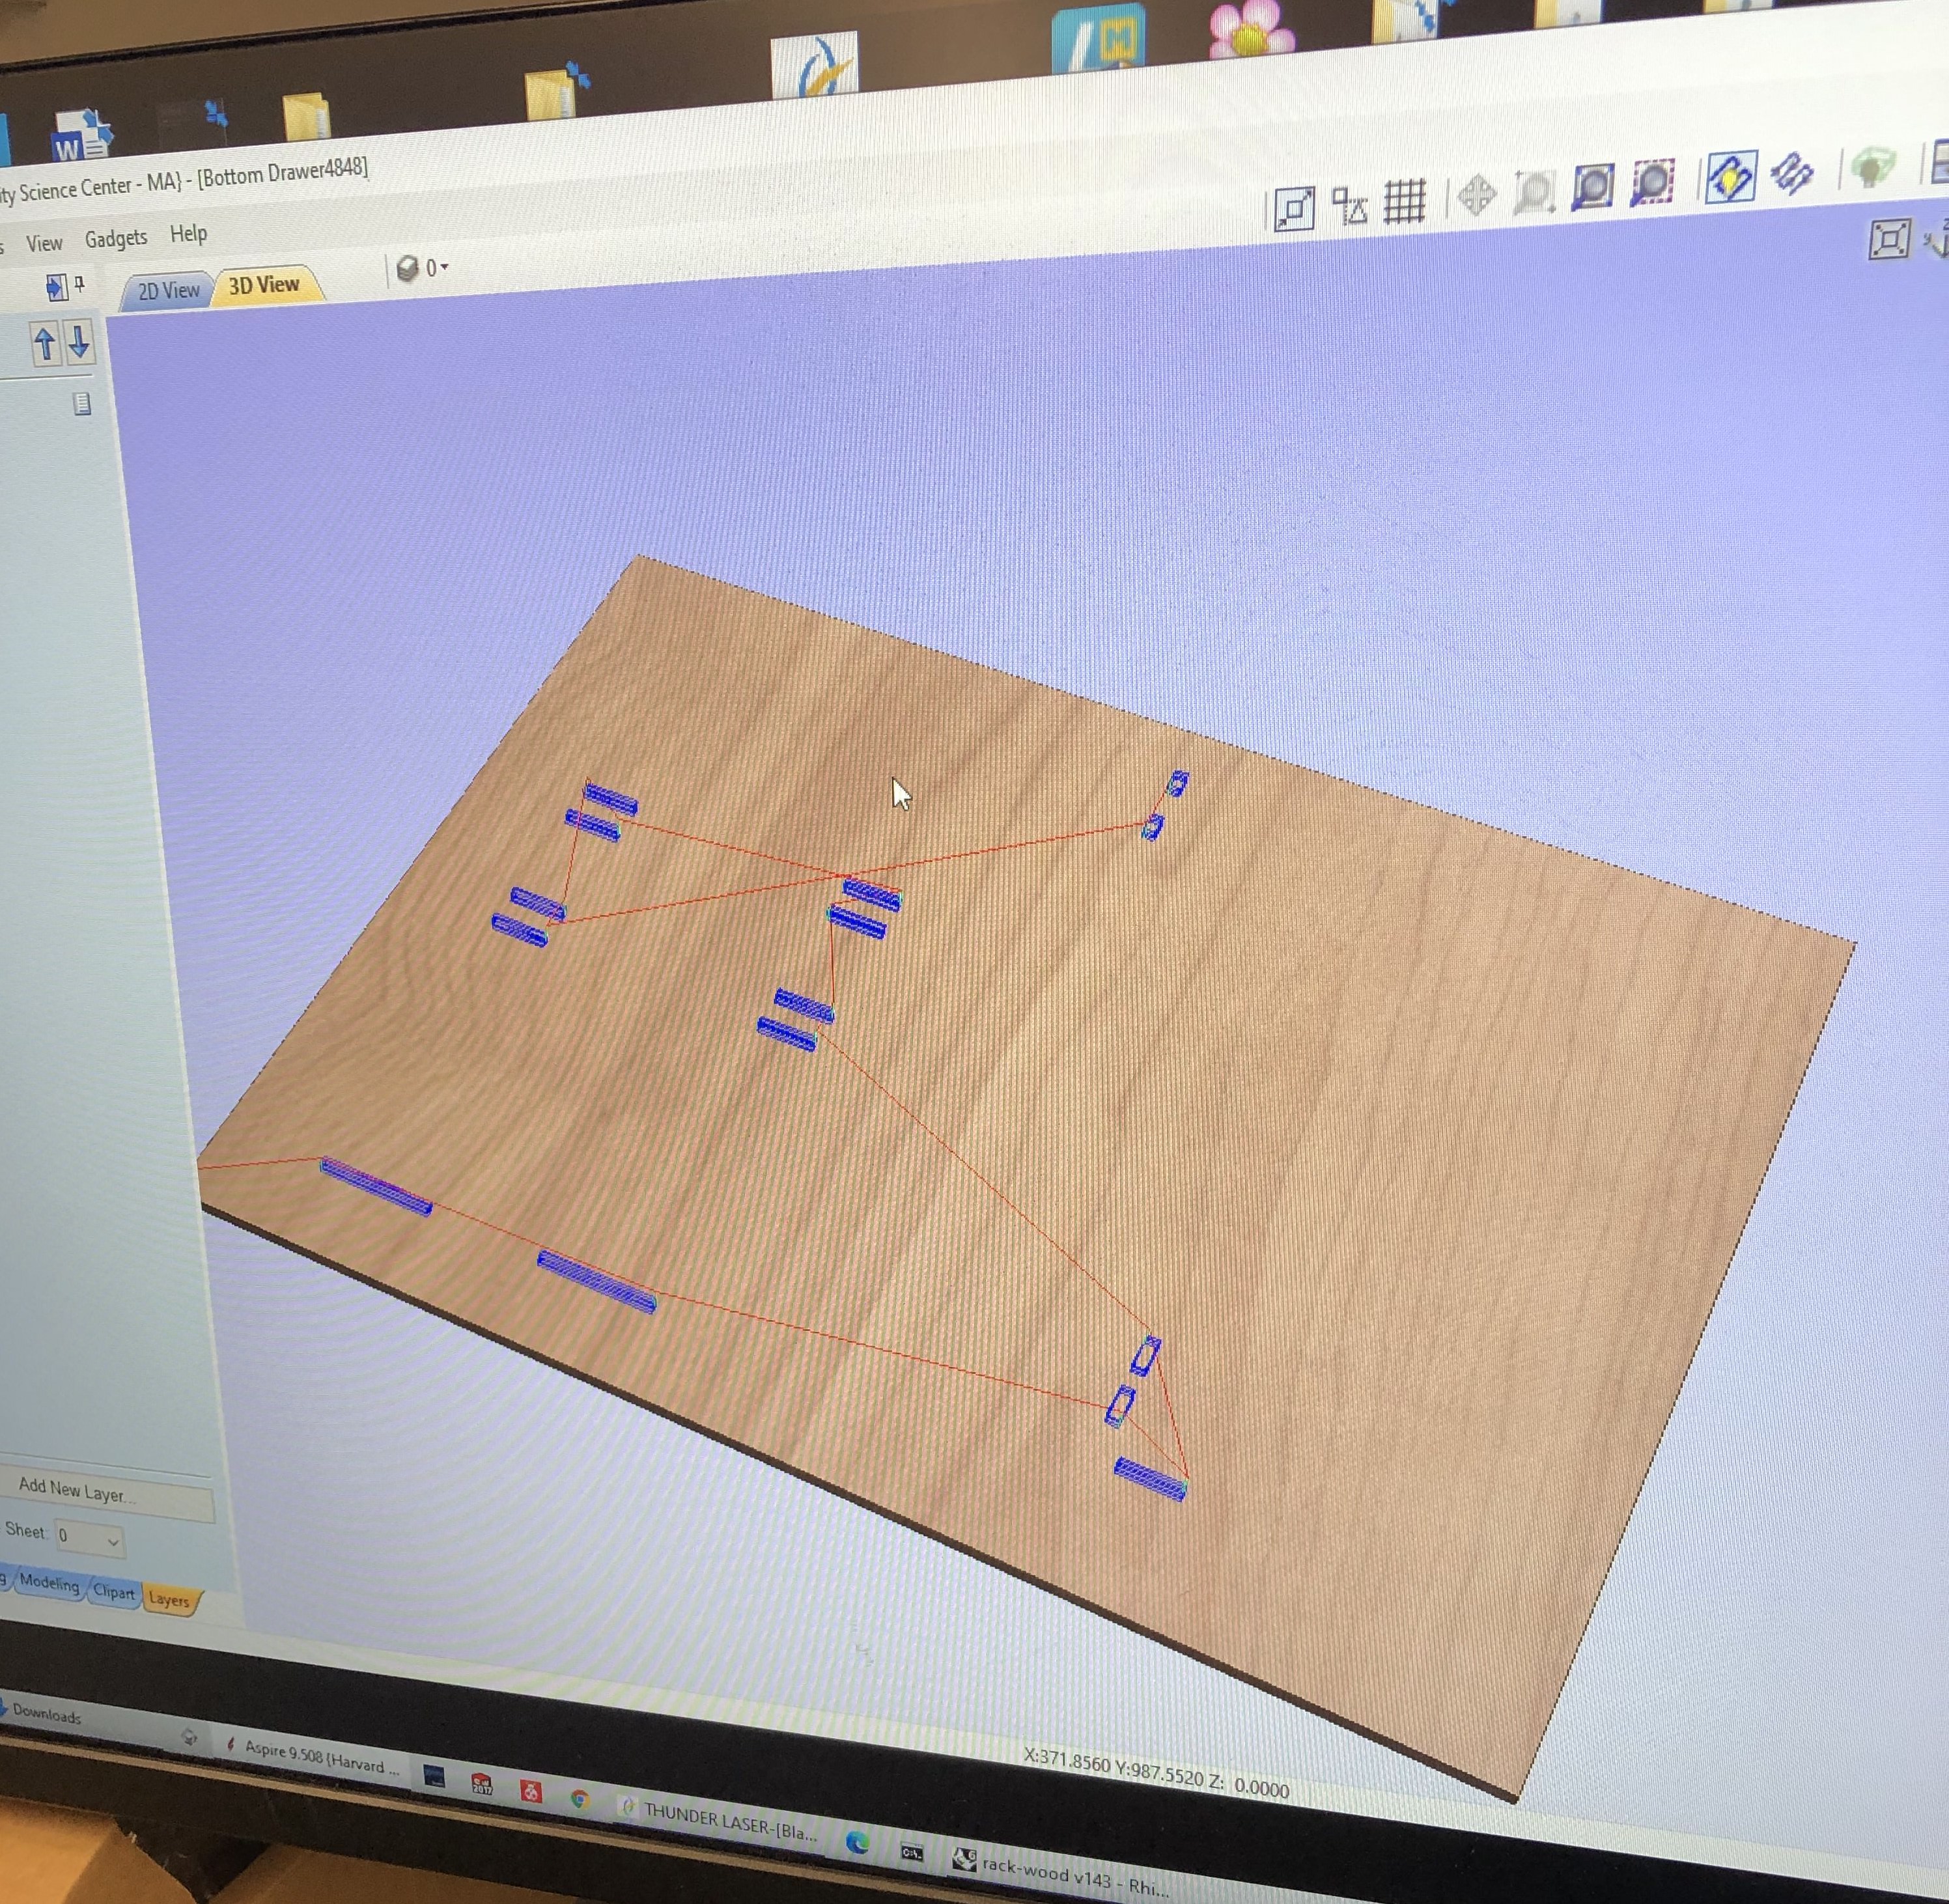
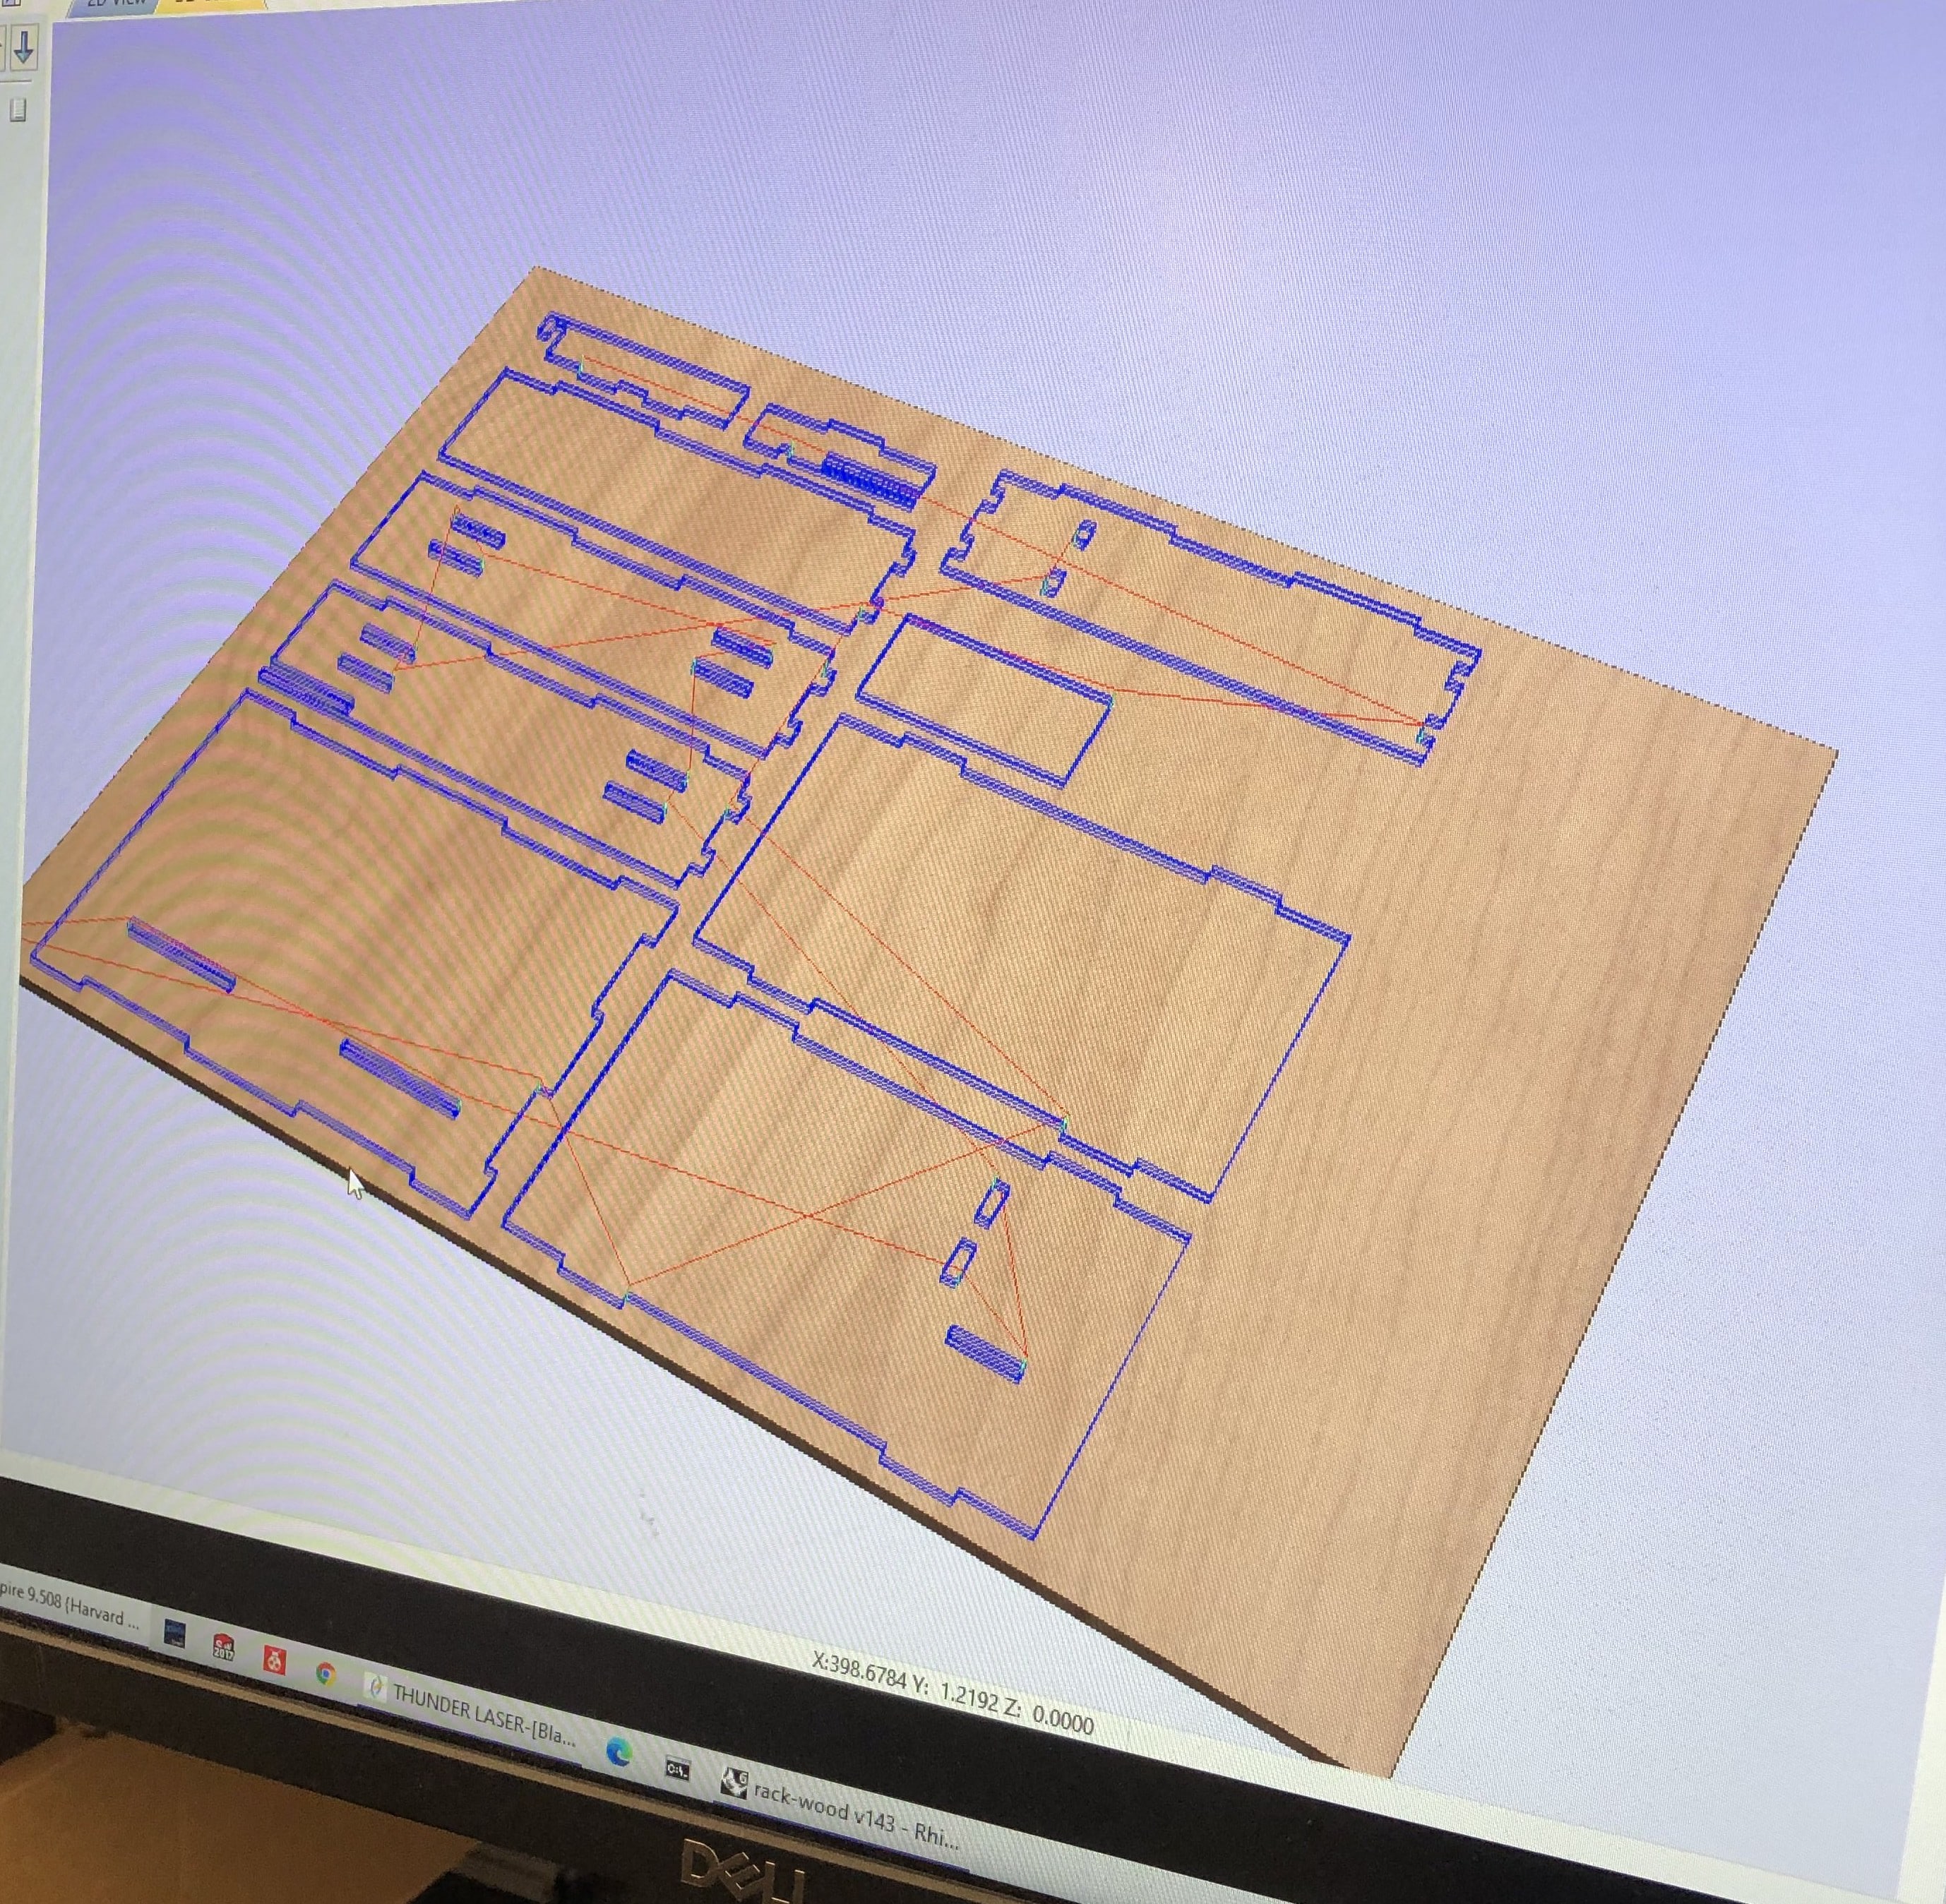
Learning Aspire took some time, but Joon made a helpful reference powerpoint for our section. I had to remember to change the machine vectors depending on whether I was doing pocket cuts or outline cuts, and ensure that the depth/pass number was correct.
Aspire Settings
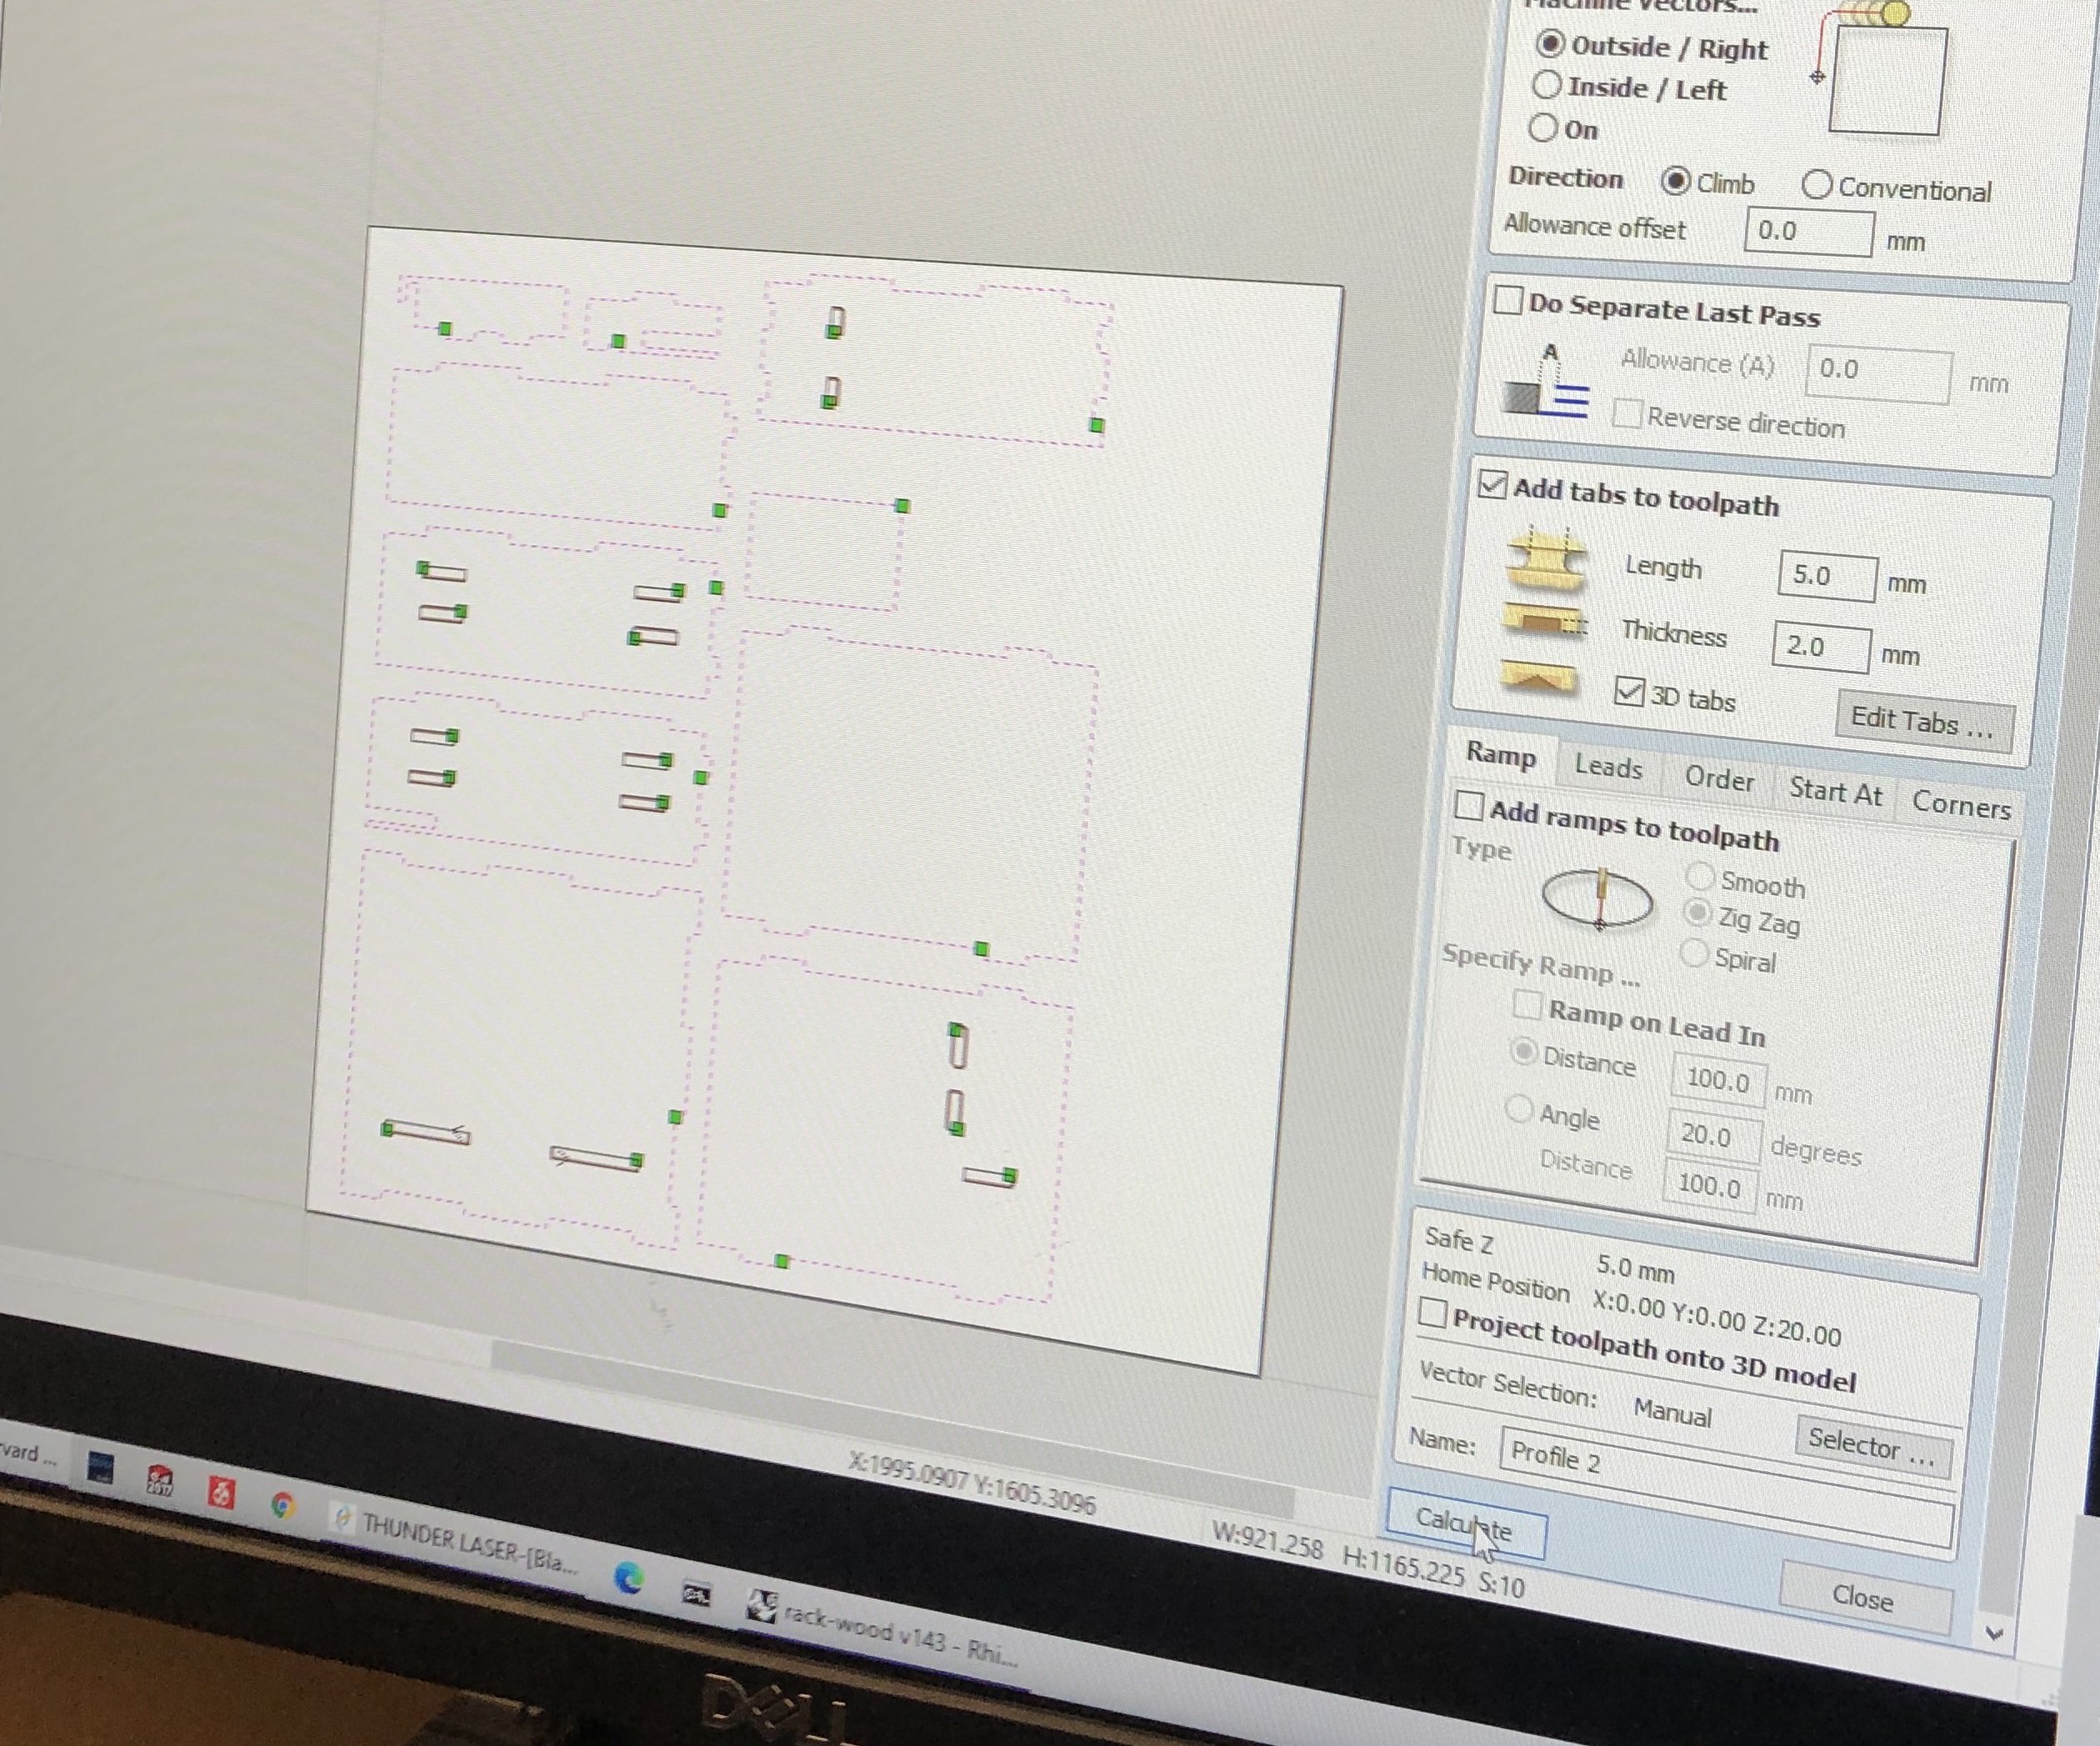
I think someone was printing something denser, because the default settings had 20+ passes, which I had to adjust to four. After I created all my toolpaths and added tabs, I was ready to send it off. It was interesting to see how the software traced out the paths in 3D view.
Pocket path
 Outer path
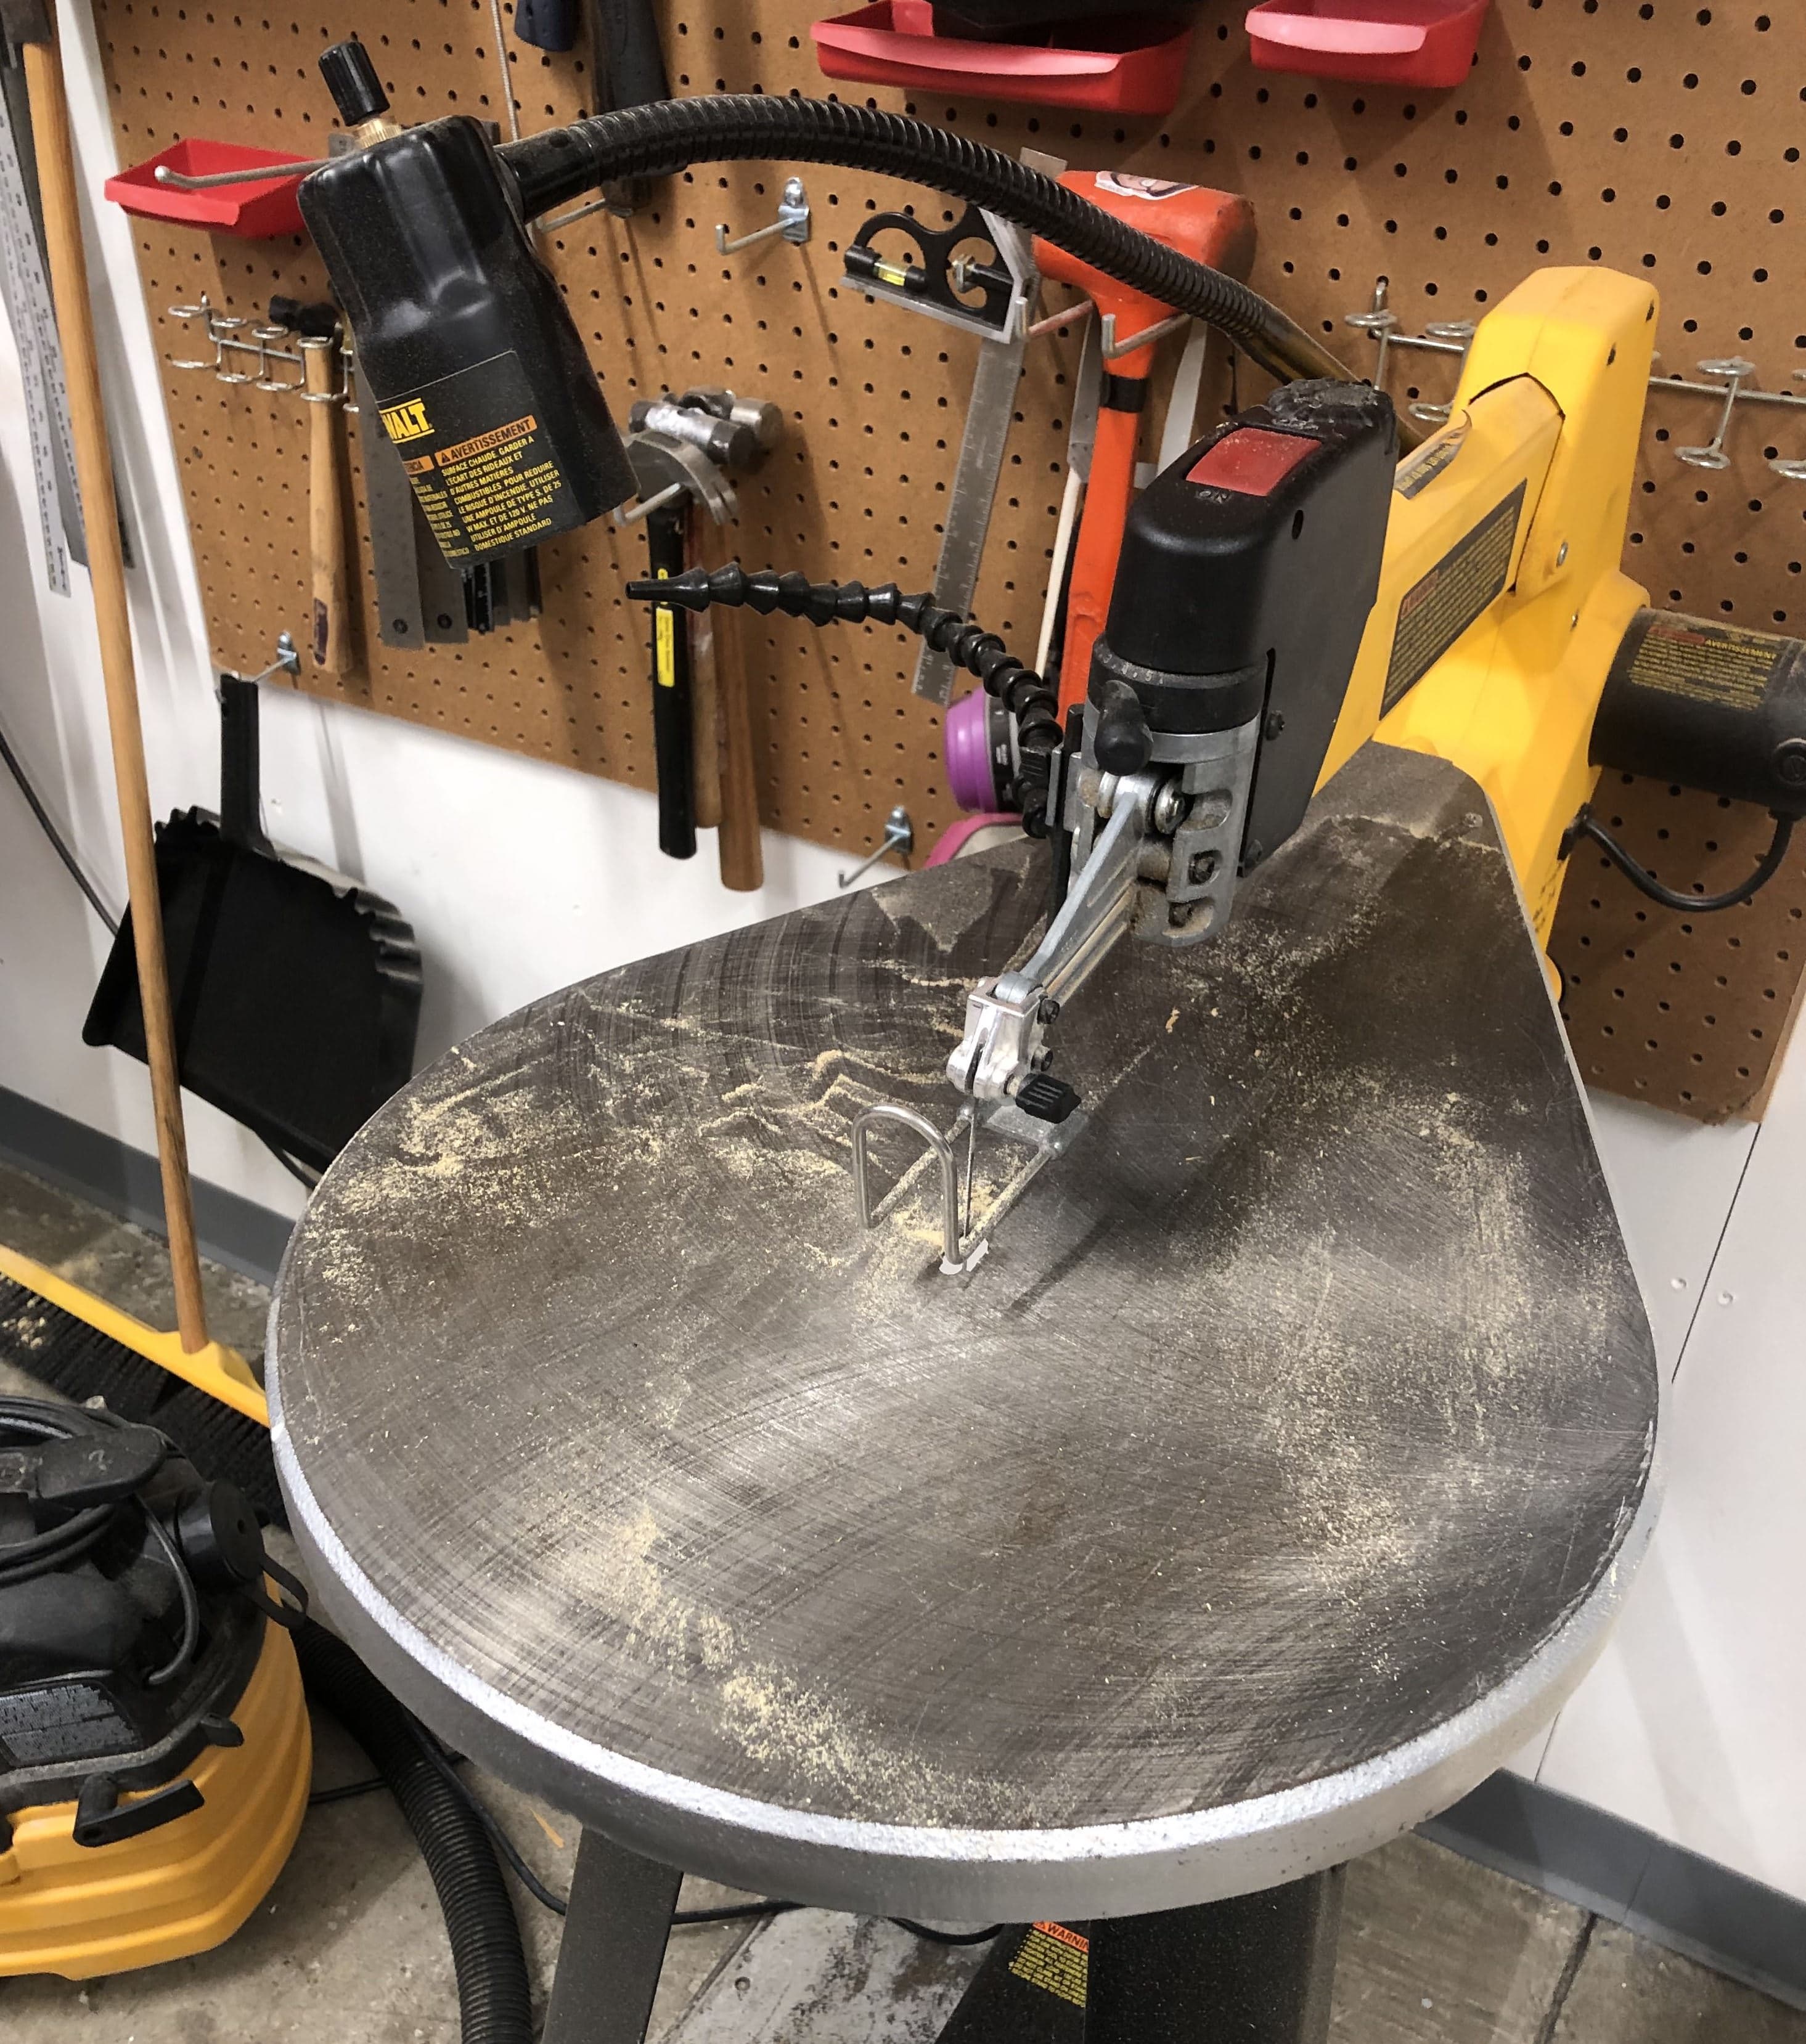
There were several things to be aware of when using the shopbot. First and foremost, it is loud! Milling boards also came with a bit of noise, but ear (and eye) protection was necessary for the shopbot downstairs. During the demonstrations, the bits broke when cutting through the polymer nails, so I tried to nail down the board in spots away from the path. The bit is spinning well over 10000rpm so it's no joke!
Downstairs shopbot in action.
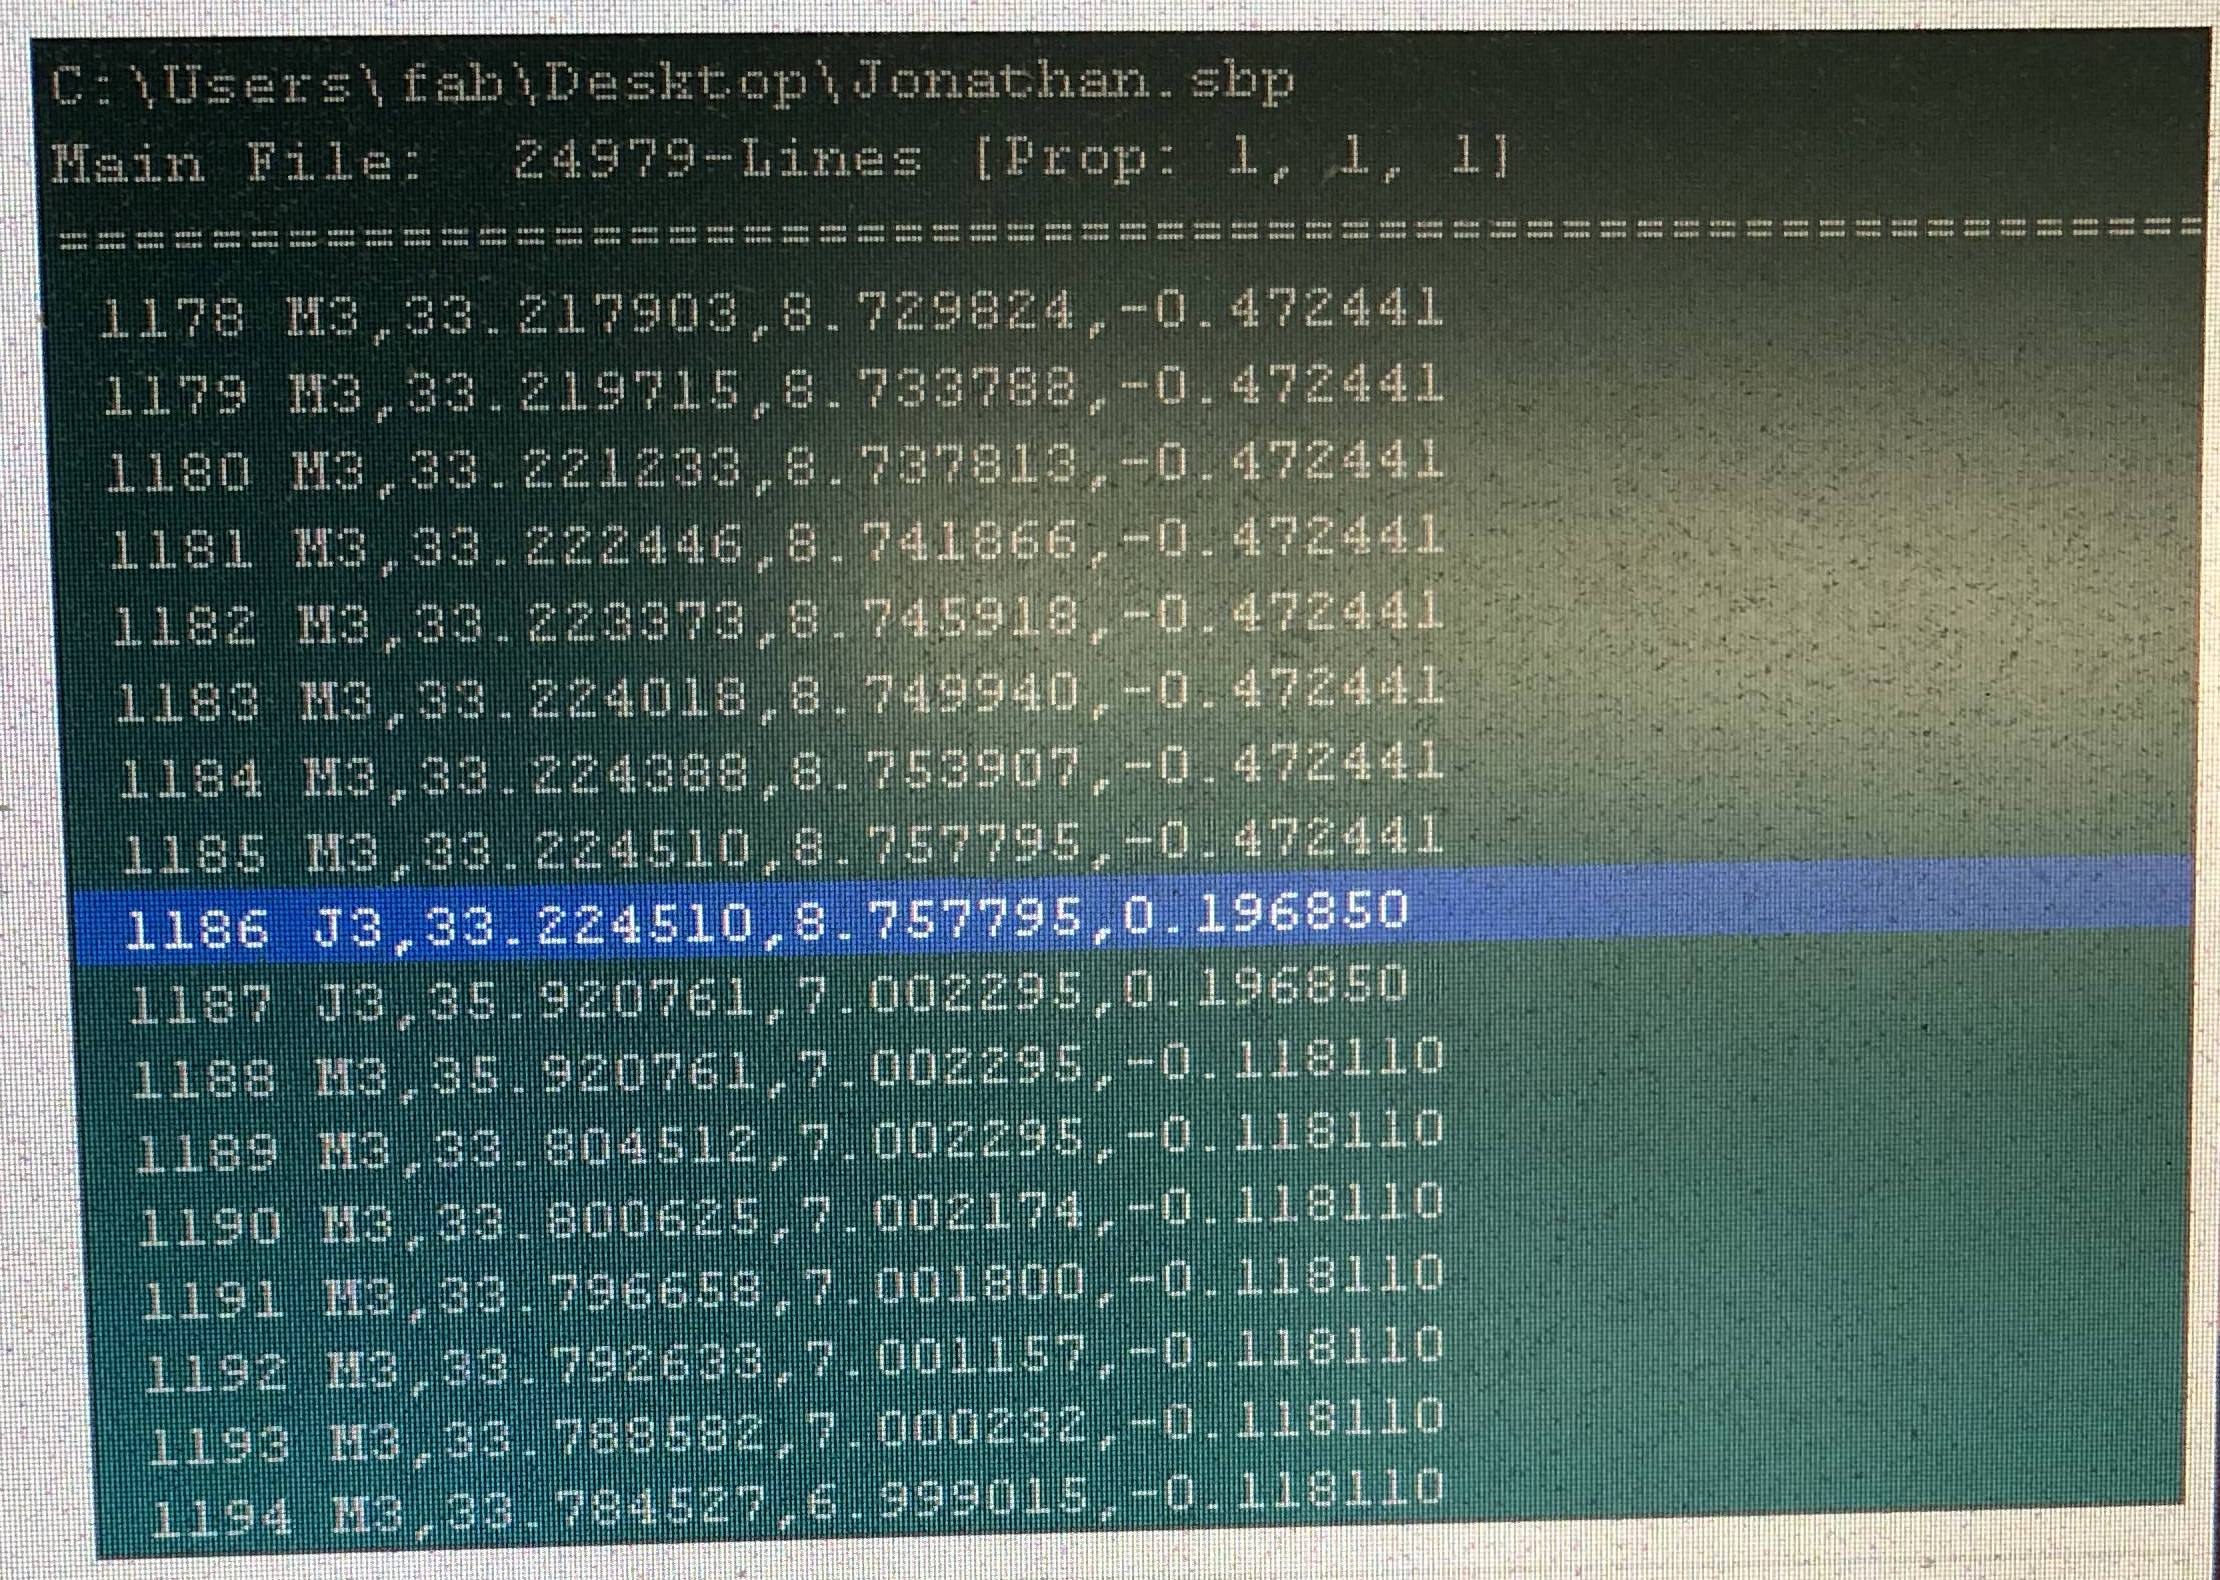
Something that might useful to know for the future is that you are able to stop the machine and recall a specific line of the toolpath (for example, if you need to troubleshoot without moving the board). This is because the machine is reading through thousands of lines of coordinates to cut.
Path Coordinates
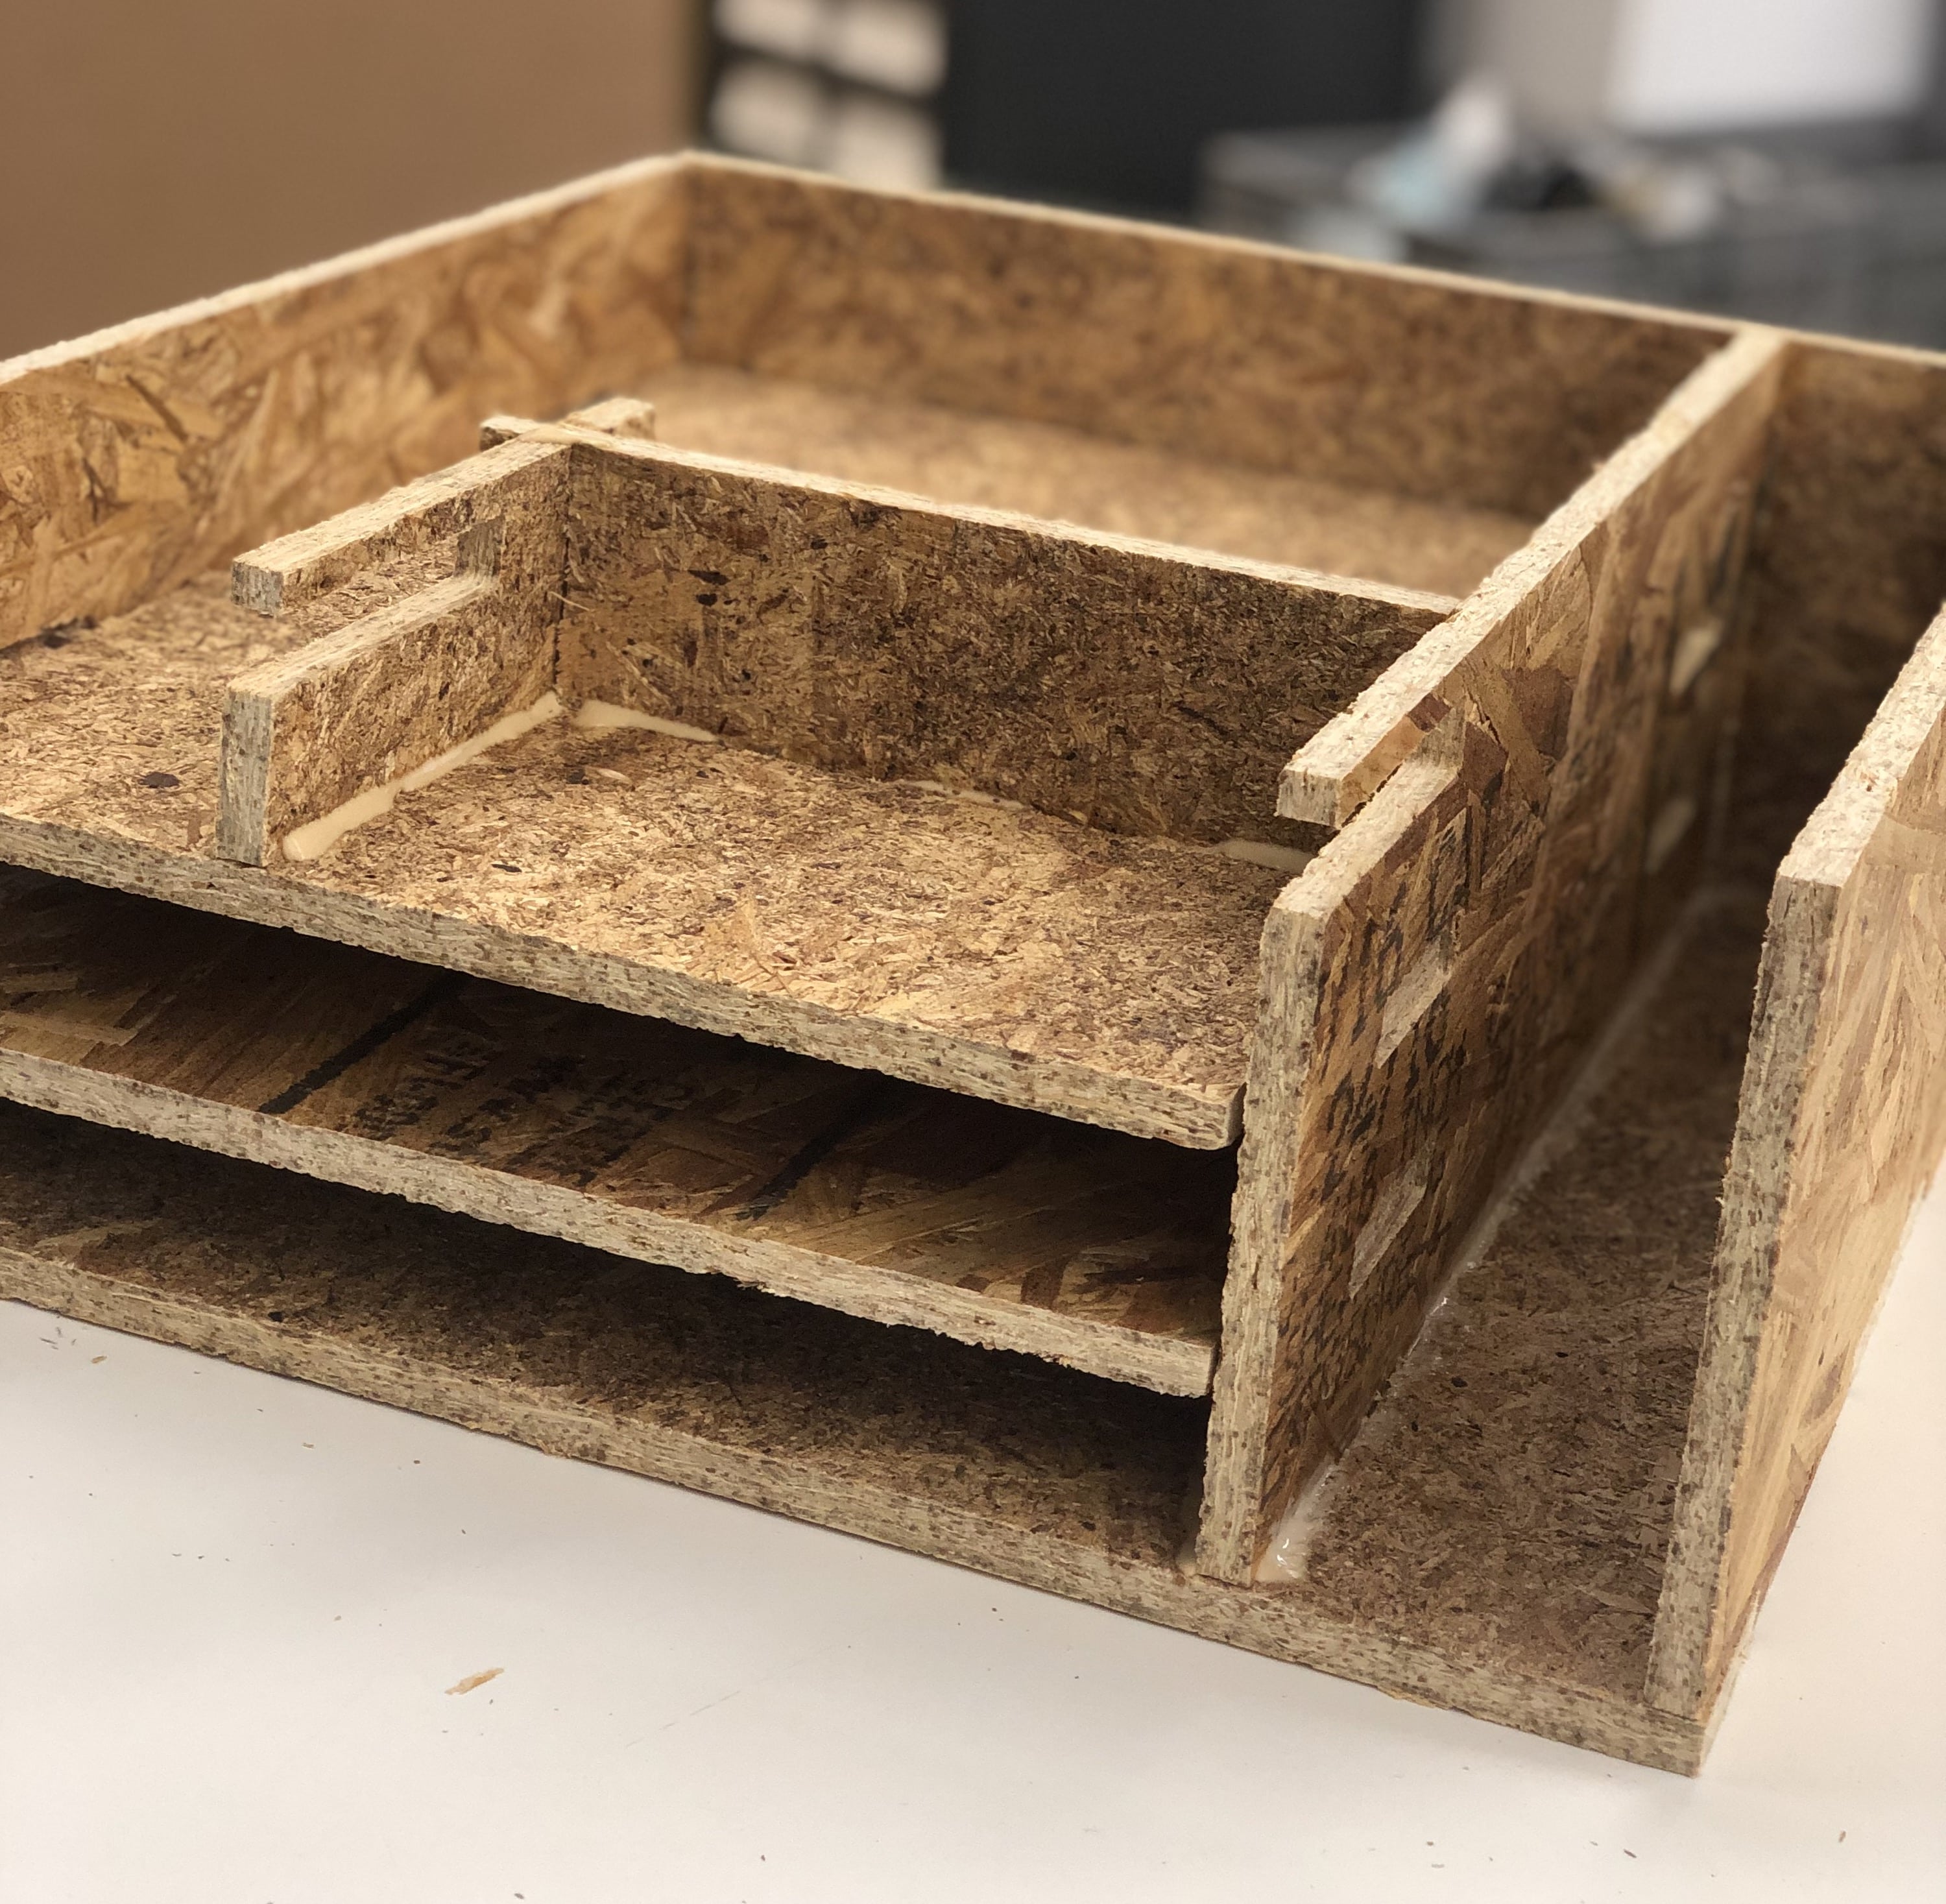
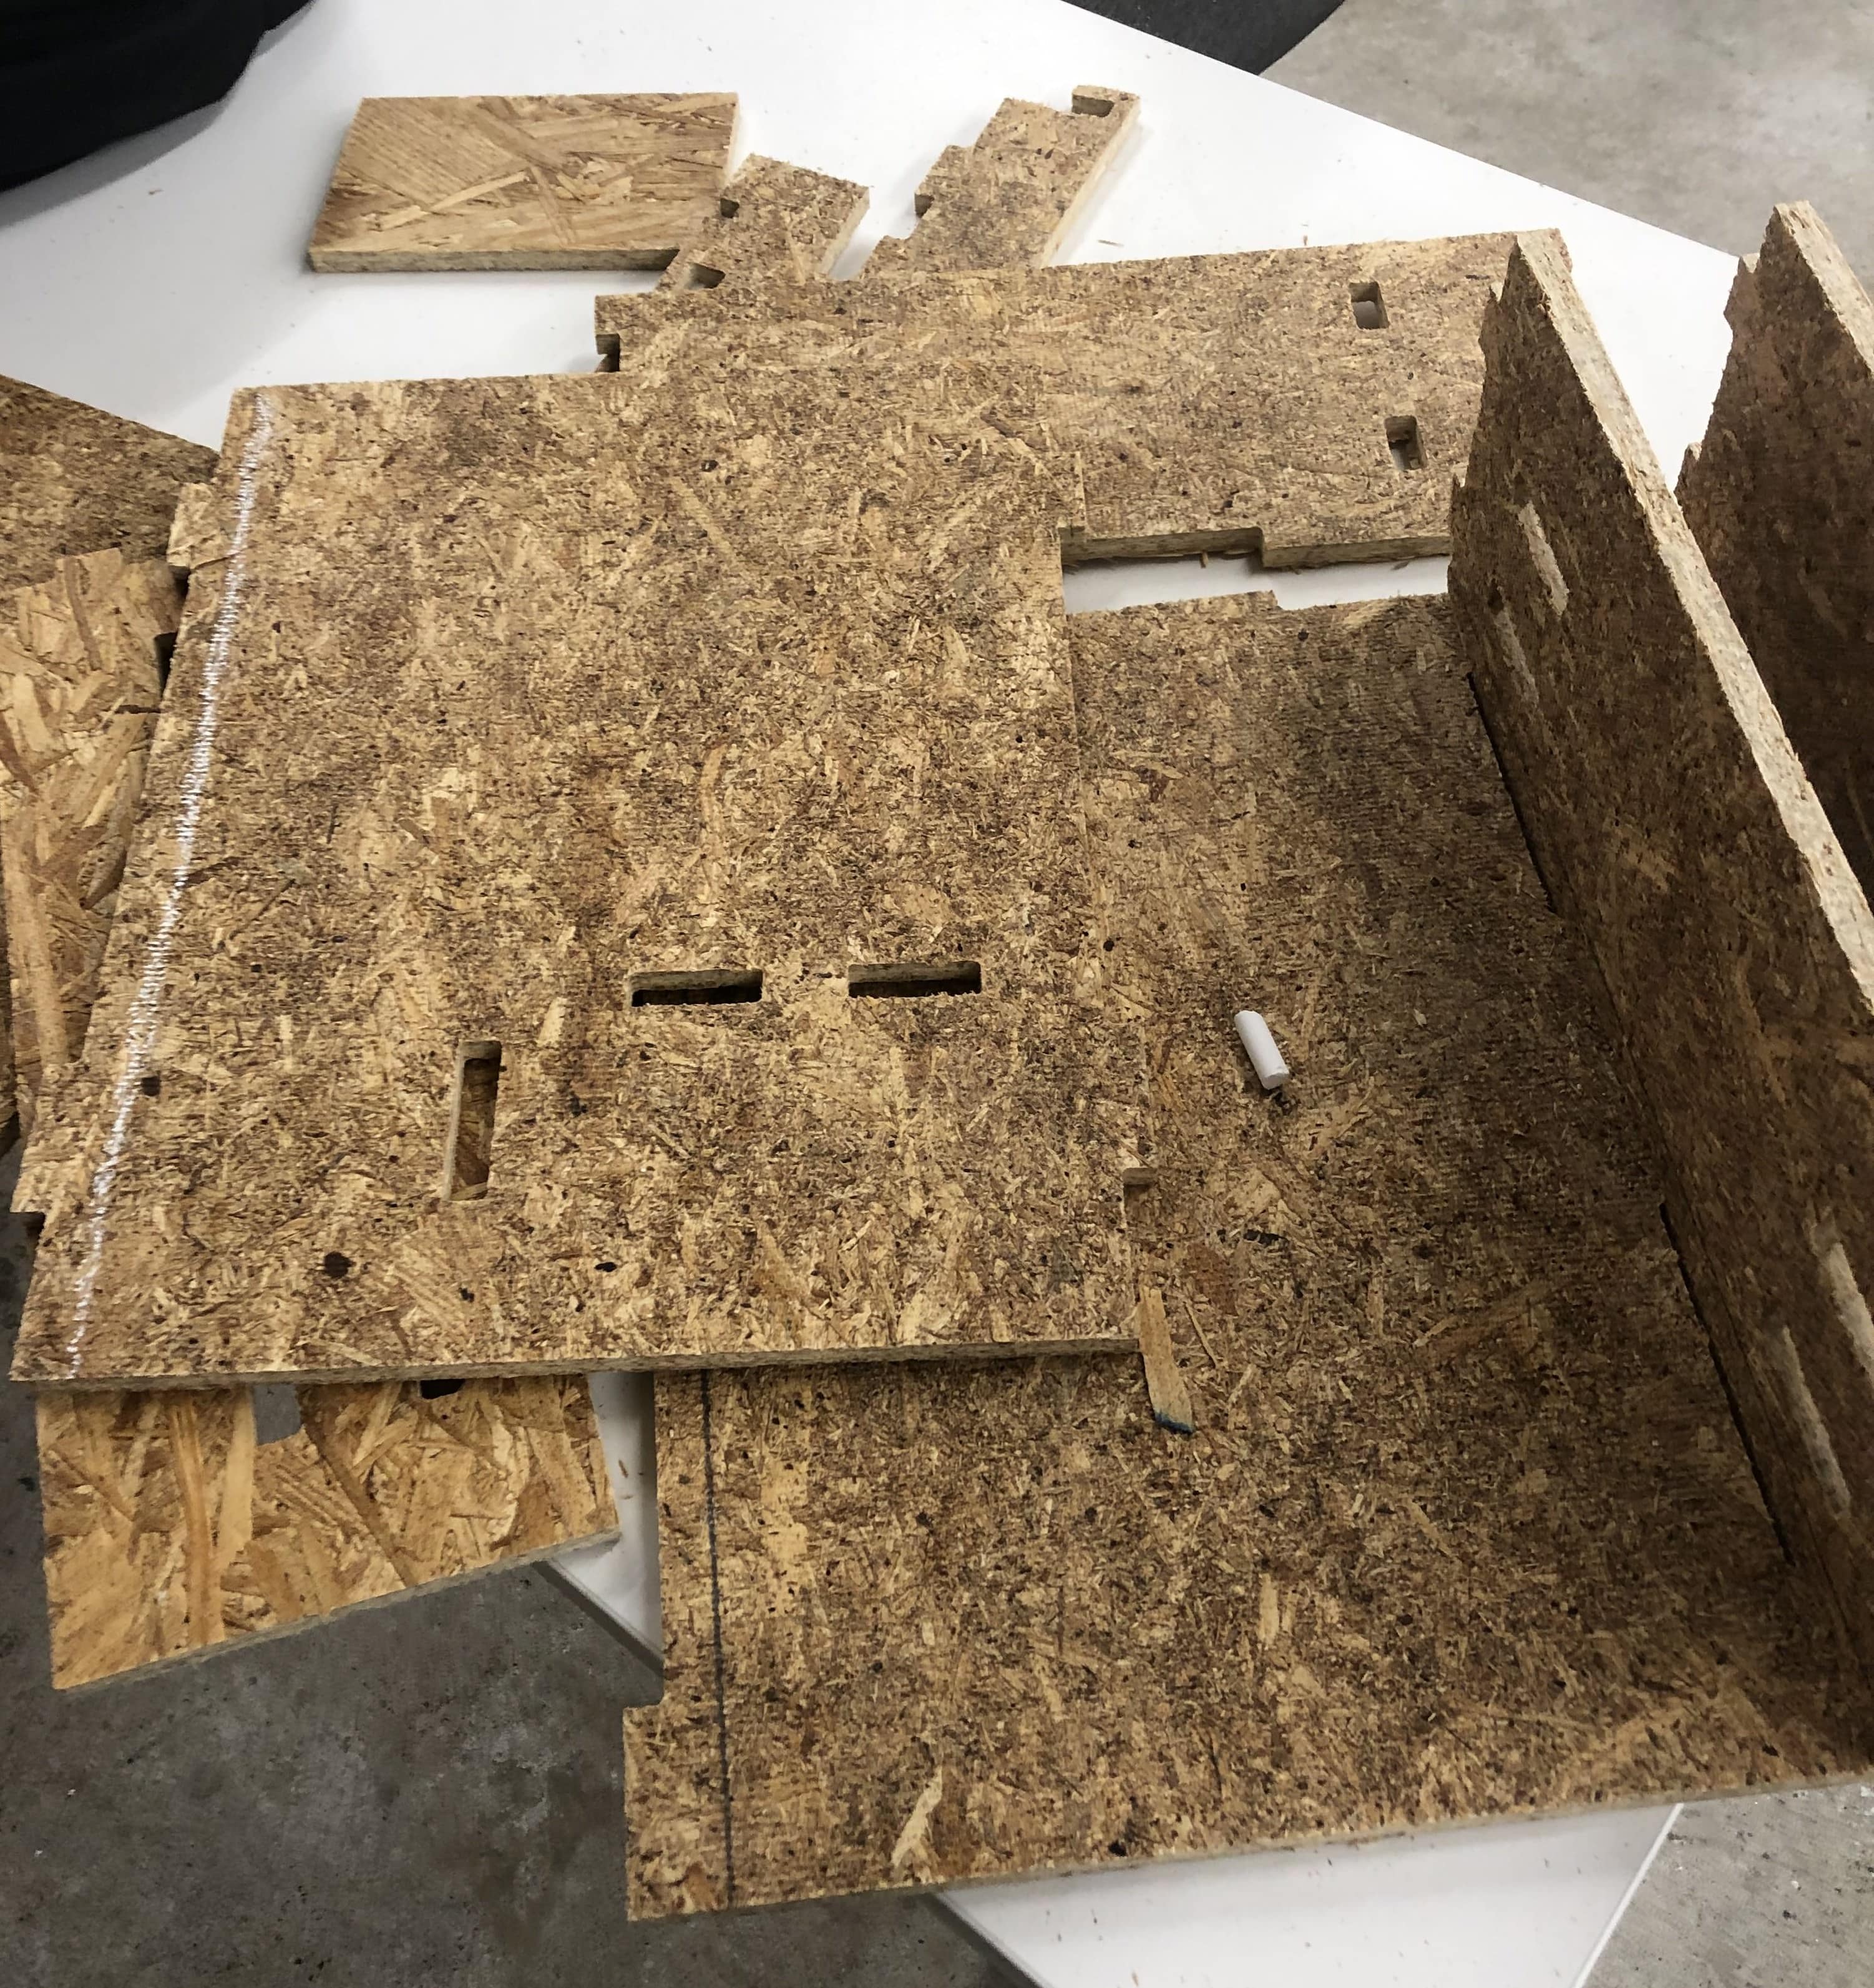
After I removed the pieces and vacuumed the shopbot, I was left with my bottom shelf! I realized that I made the joint too shallow on one of the boards, so I had to mark off a line with white chalk.
Cut boards
At first, I was using a handsaw to cut the board, but Rob showed me how to use the cutter we had in the shop. My hands weren't that steady so it wasn't a perfectly straight cut, but it got the job done in much less time.
Saving my wrists
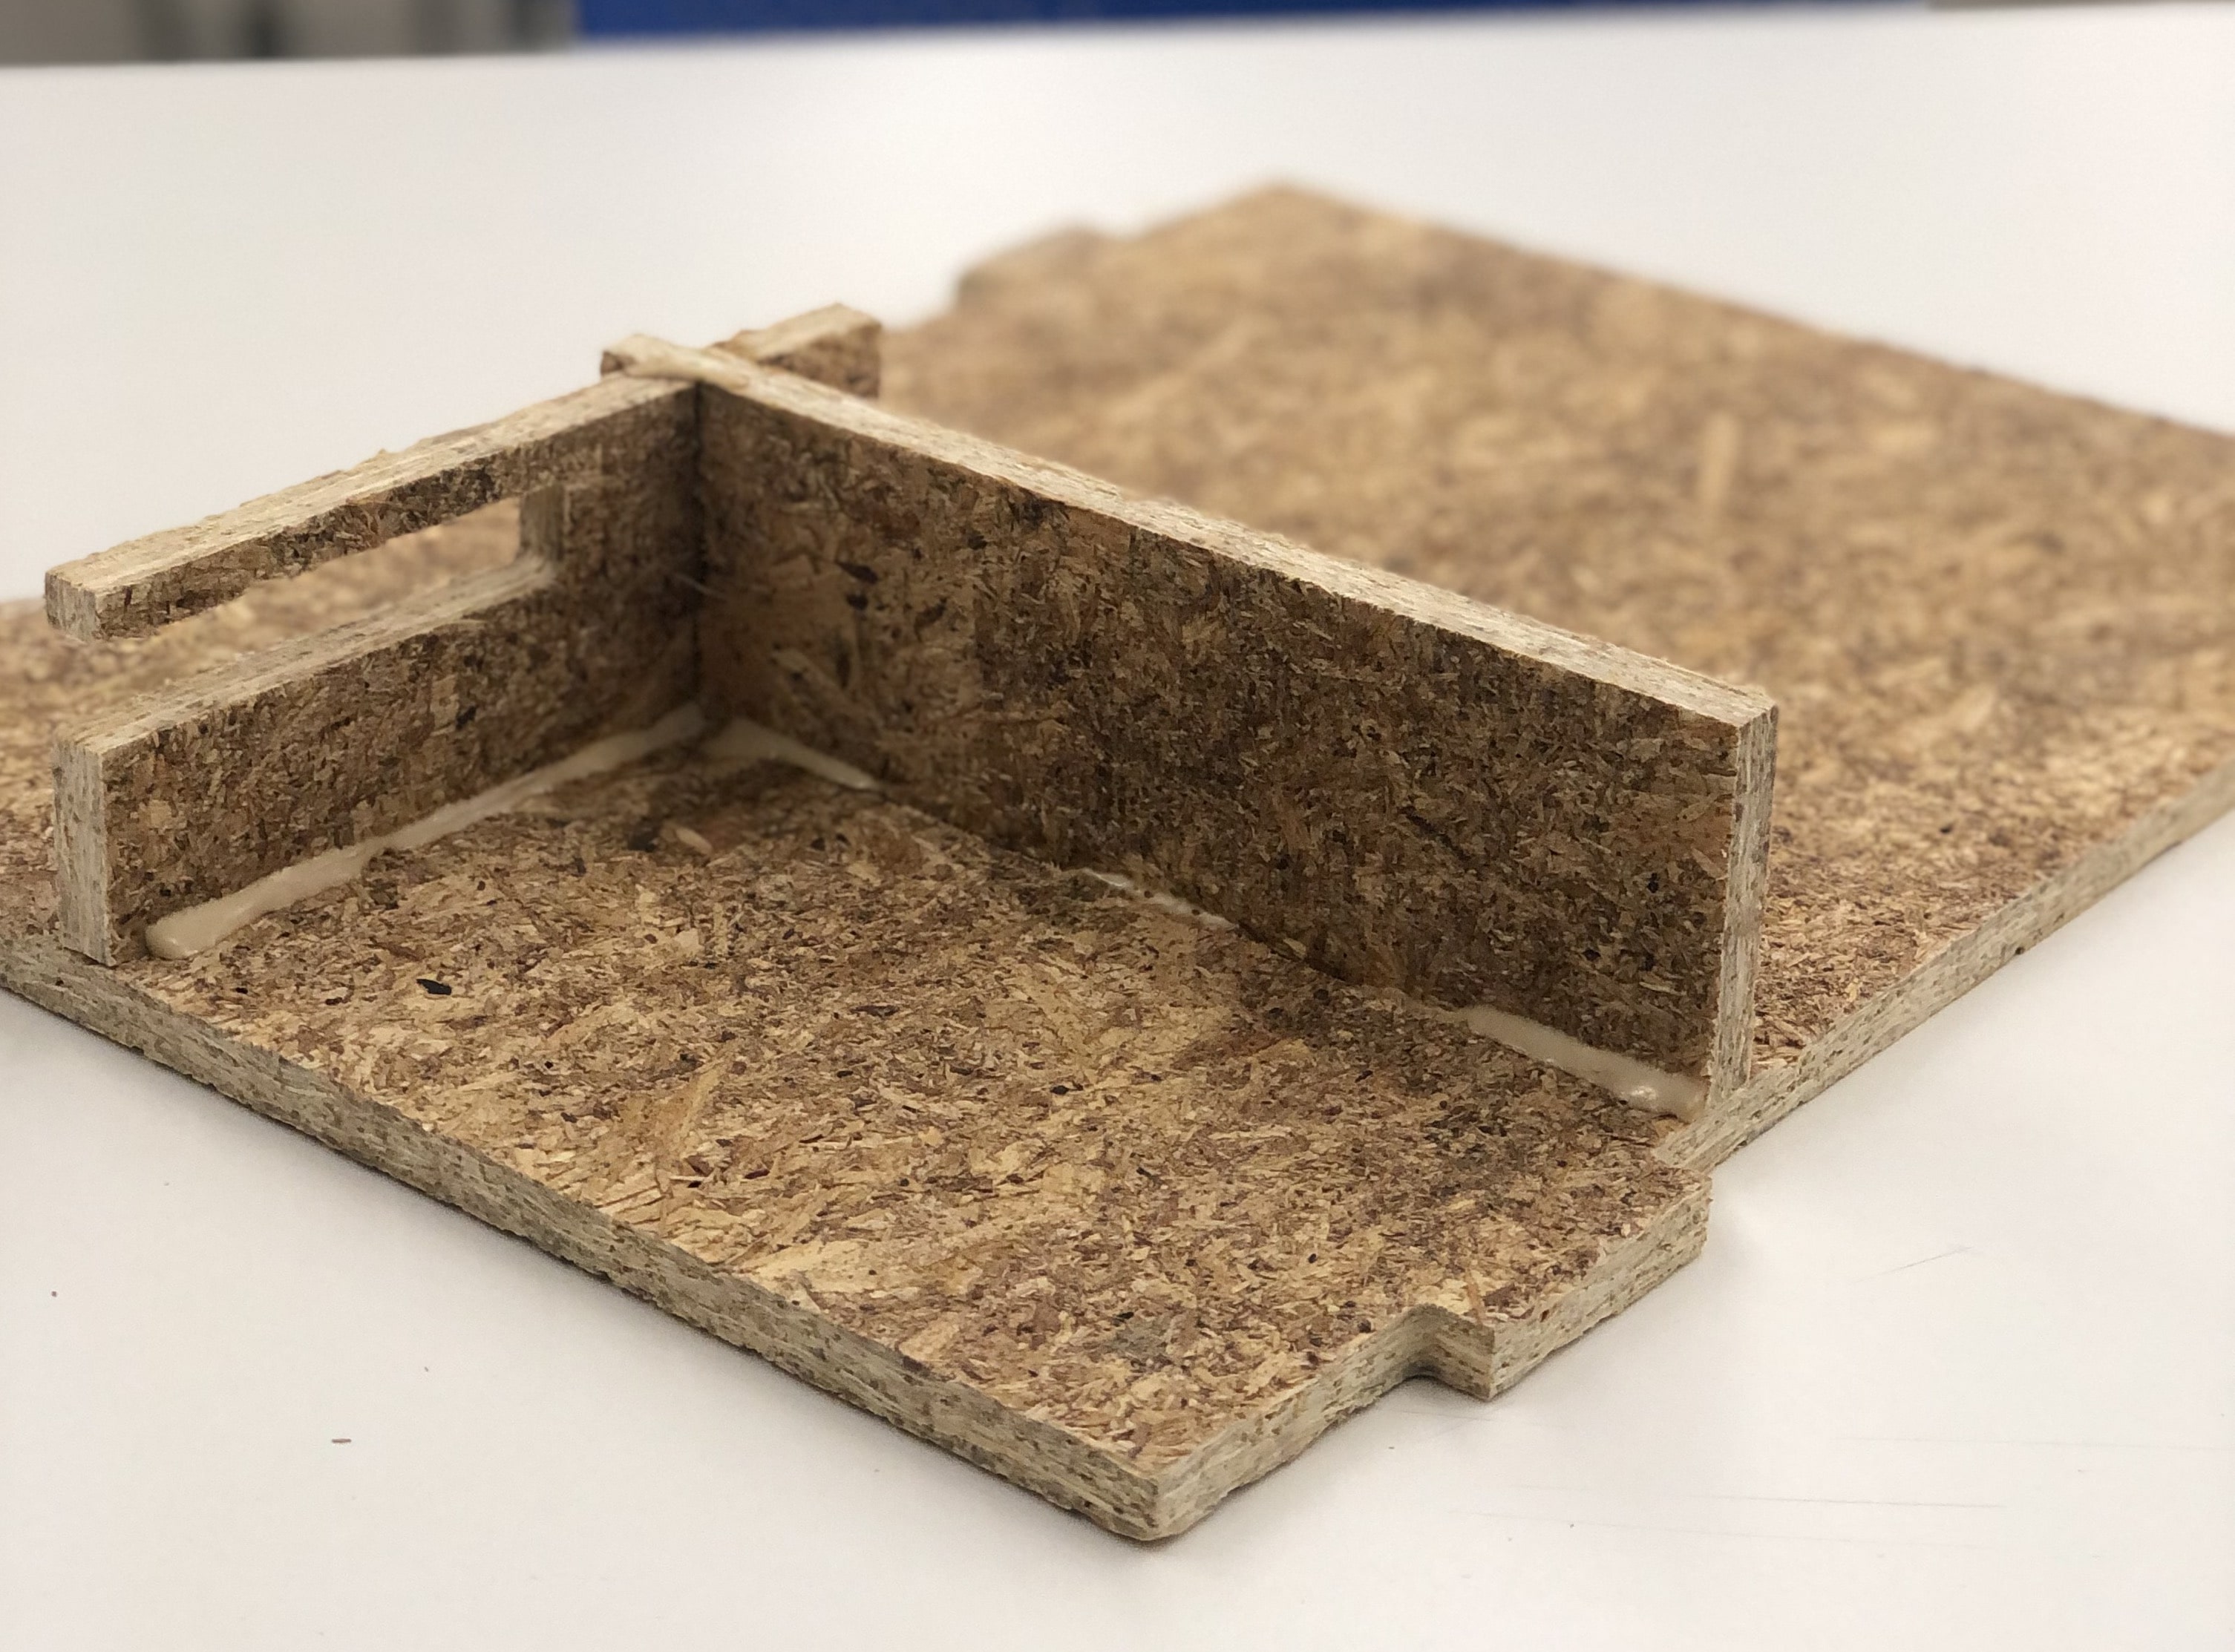
To assemble the shelf, I started with the nutrient drawer. Wood glue was my best friend.
Nutrient compartment
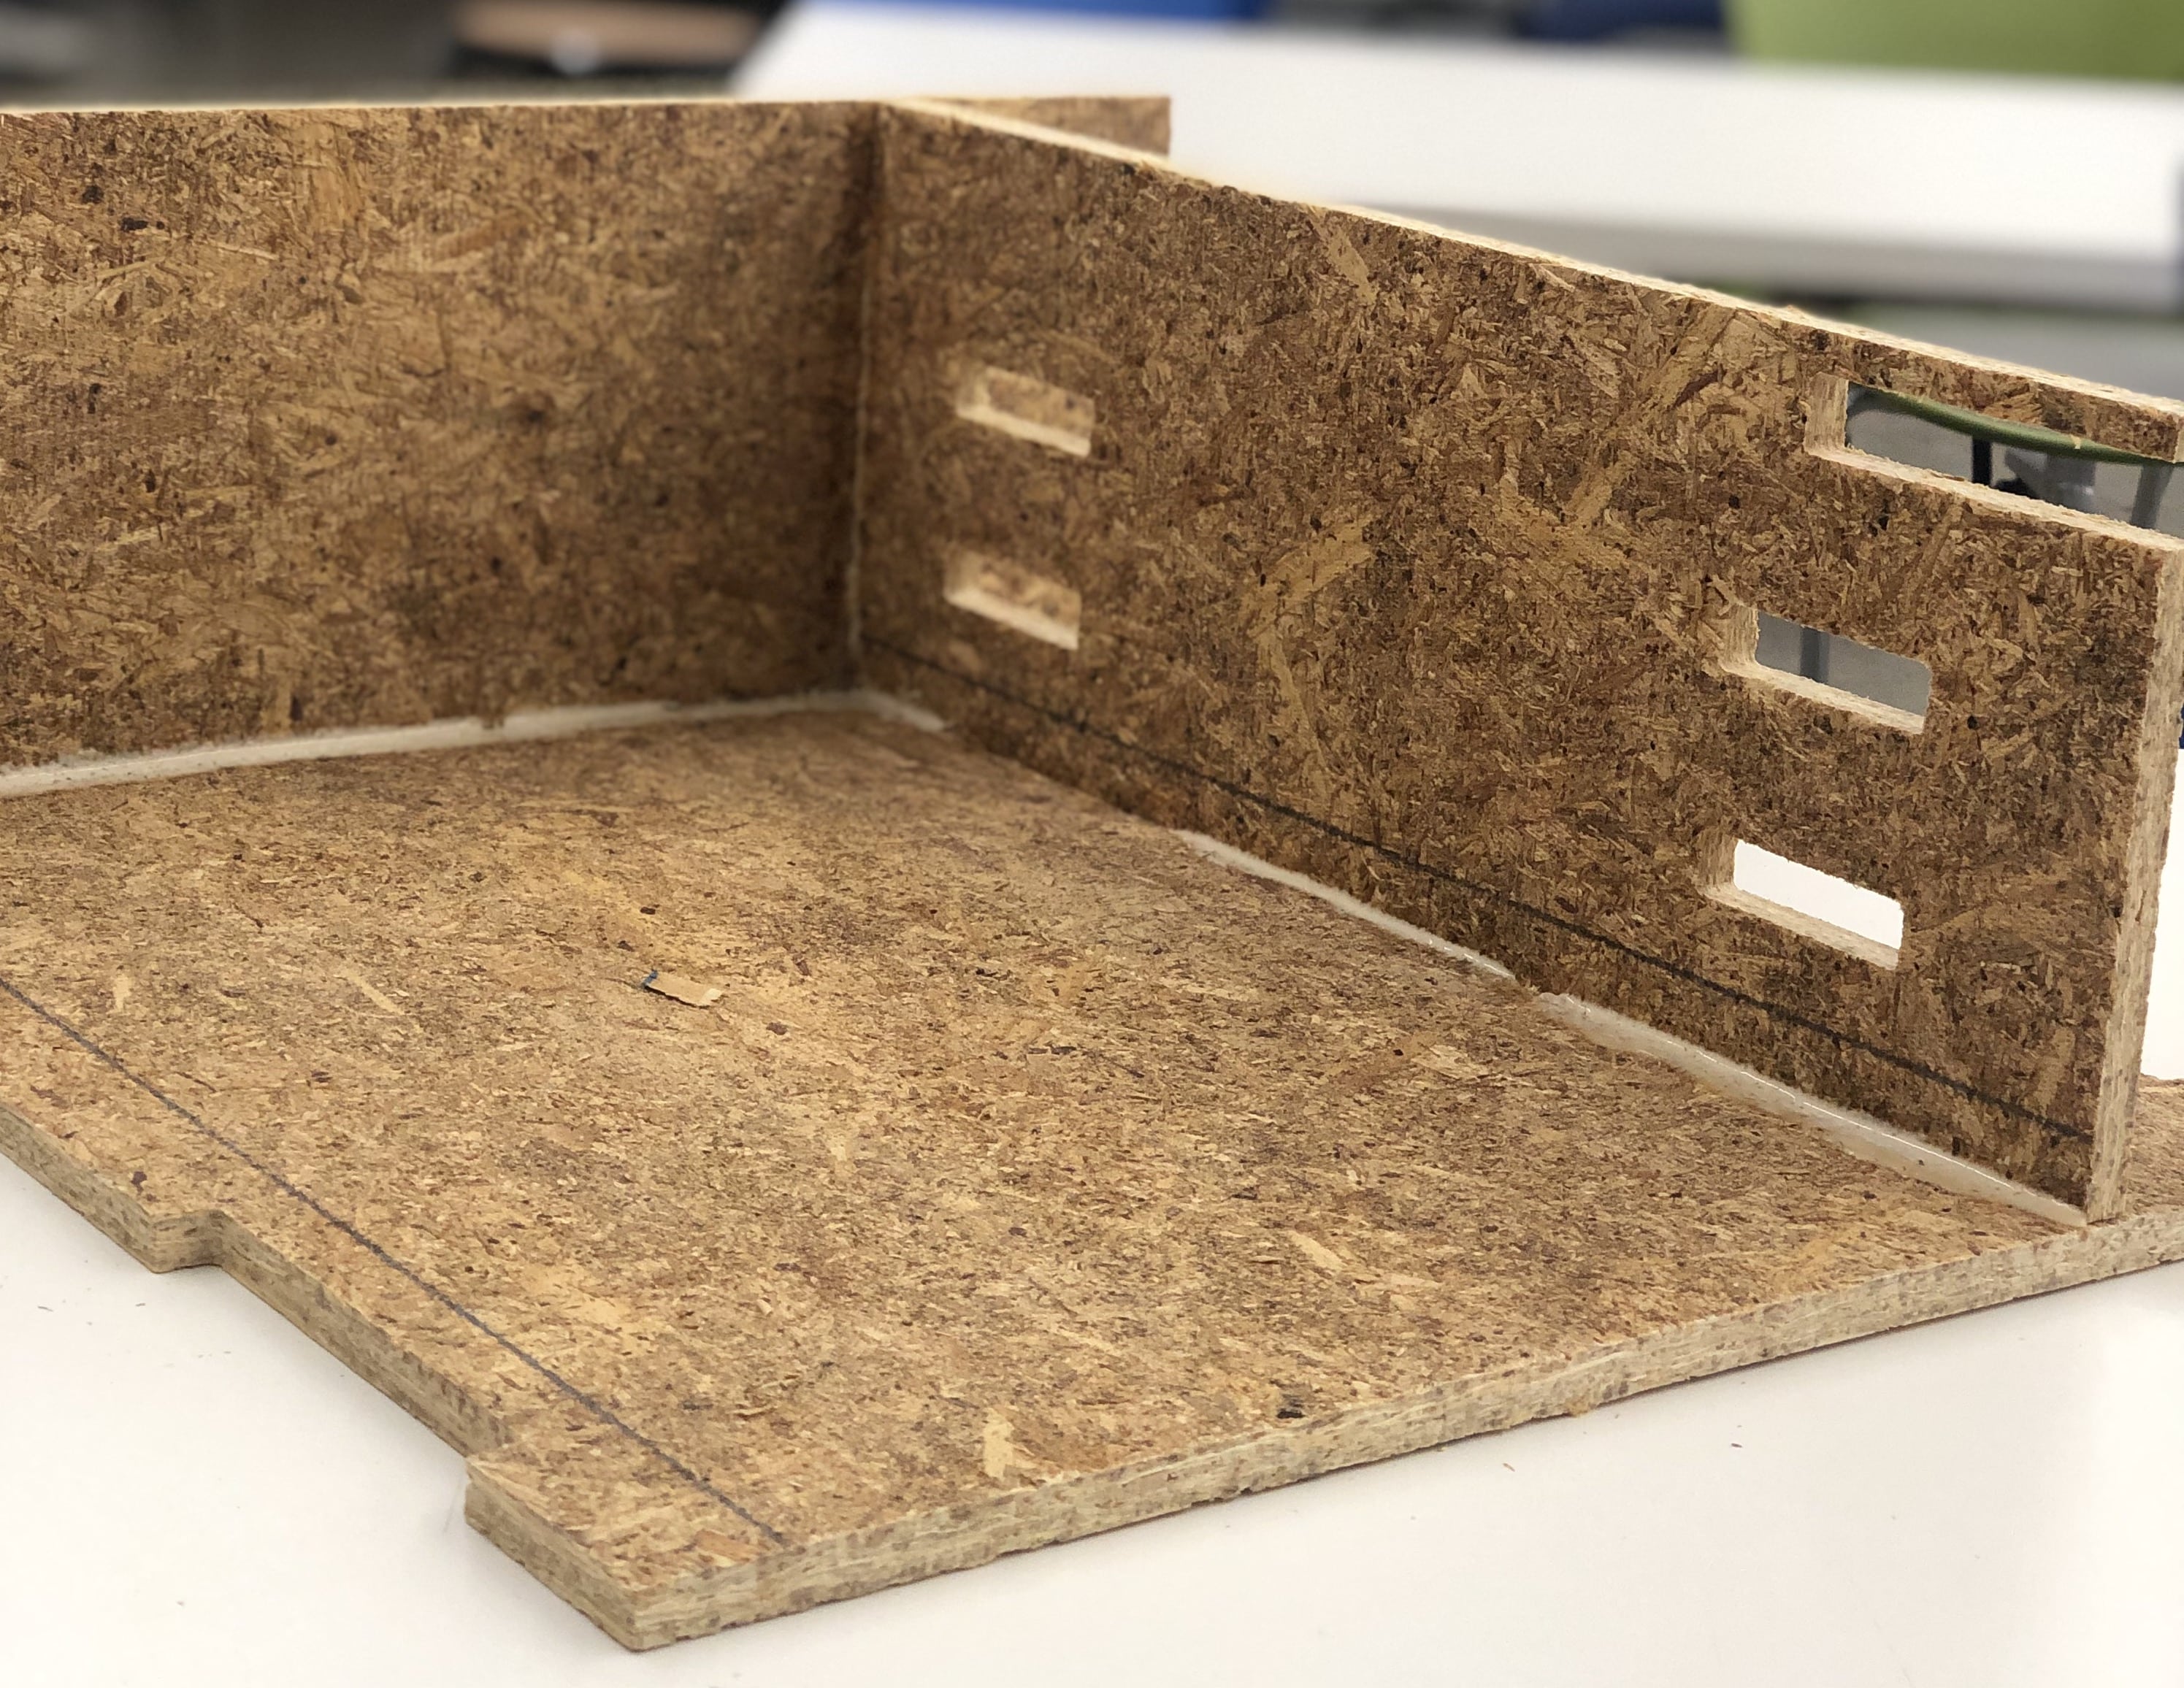
Next, I moved on to the base, where I would attach the levels to the shelf.
Base layer
In the end, I was left with a good model for how I wanted my shelf to look. Seeing it in 3D helps with conceptualizing improvements that I could make. For excample, having dedicated channels at the bottom. Overall, I'm happy with how it turned out!
Finished