Week 3: 3D Printing and Scanning
Prior Experience: 2/5
I have used a 3D printer in the Metropolis a couple times to print little trinkets off of Thingiverse. However, I've never designed my own object to print using CAD, so this will be a first. I have never done 3D scanning.
3D Printing
The Idea
Ideation turned out to be more difficult than anticipated. A lot of my initial ideas were either (1) something that could potentially be made subtractively or (2) probably too complex for me to CAD. For example, a sphere in a cube and this kind of nested fidget toy can both technically be made subtractively (albeit hard), while a klein bottle, a torus knot, and iris box all fall into the second category of being too complex. Ultimately, I decided I wanted to make some kind of fidget toy, as I like fidgeting sometimes.
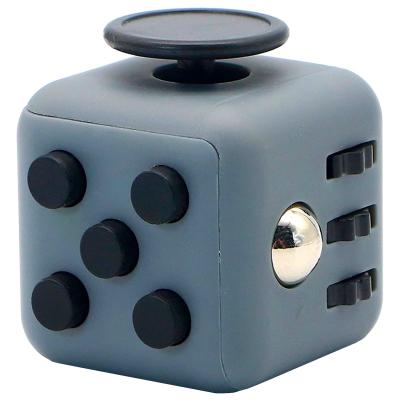
Inspired by the ball bearing in this fidget cube that I used to own (image below) and a ball-socket joint, I decided to make a cube with this rolling ball mechanism. One face would have a socket, in which there would be a ball nestled. This cannot be made subtractively because the ball is "stuck" in the socket (the diameter of the ball is larger than the diameter of the opening) and cannot be taken out. It would be near impossible to hollow out the thin gap between the ball and the socket using subtractive techniques.
CADing
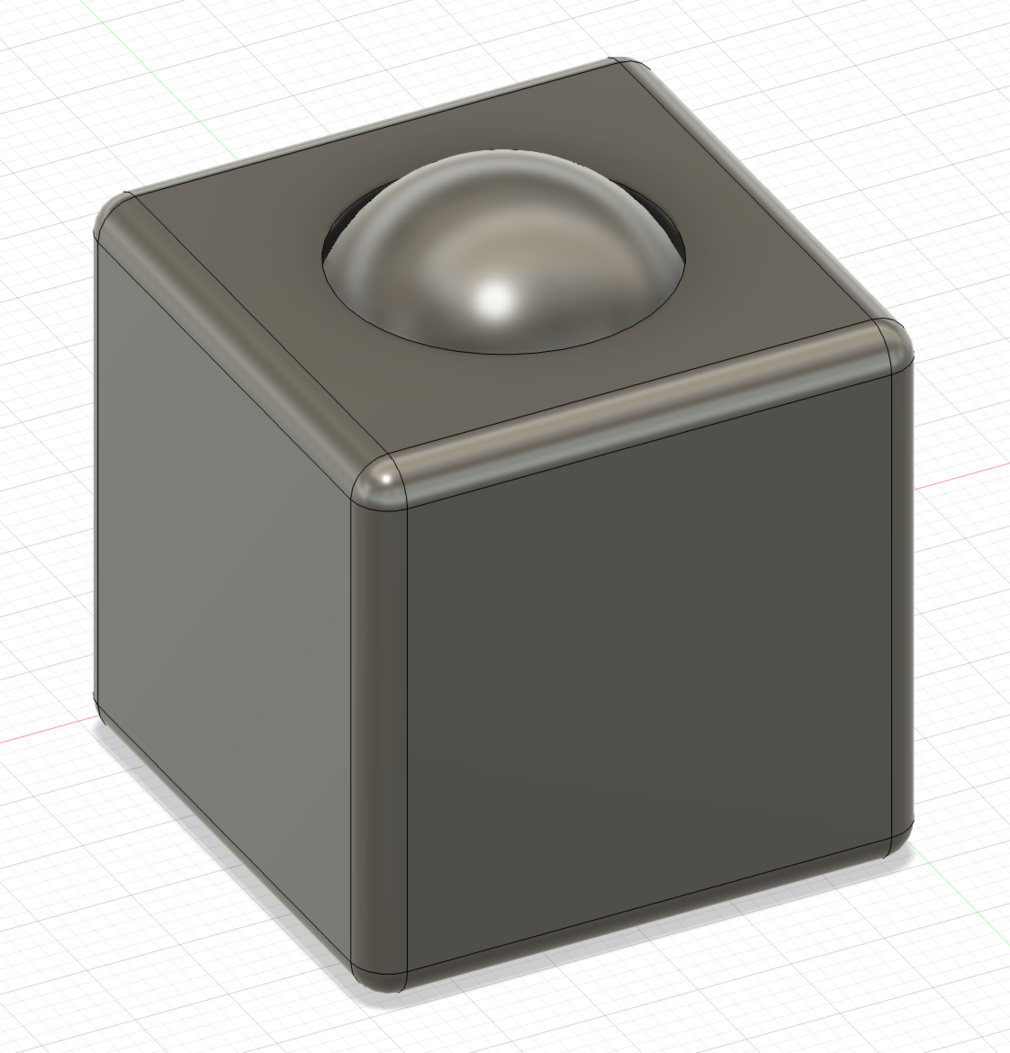
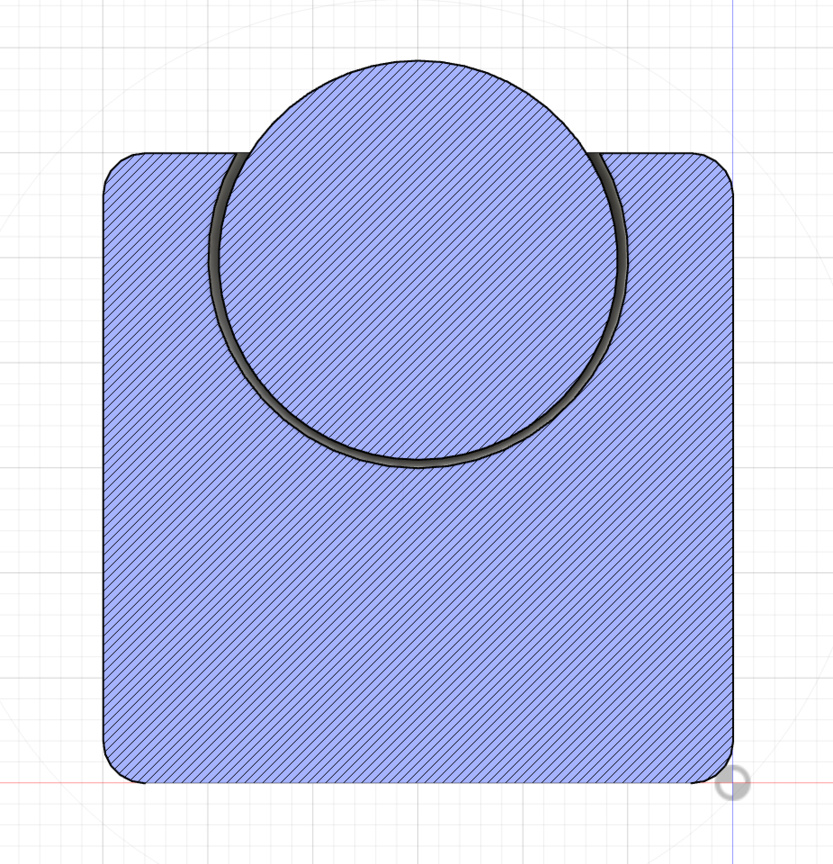
I first created a cube and sphere using Create. I then aligned the center of the sphere with the center of the top face of the cube. I then shifted the sphere down a little, so that the opening of the socket is smaller than the diameter of the sphere. I then used Modify: Combine (Cut) to intersect the sphere with the cube and create a socket on the top face of the cube. I then created another sphere to go into the socket. I made the diameter of this sphere slightly larger than the diameter of the opening. This ensures that the sphere cannot fall out of the socket. Finally, I moved the sphere into the socket and made sure that there was a thin gap separating the sphere and the socket.
In designing my object (including determining how much of a gap to leave), I got the help of this ball-socket joint tutorial video.
I also made sure to design parametrically. Changing the size of the cube changes all the other dimensions accordingly. This means that I can print however small or large of a fidget toy as I want.
Printing
To get ready for printing, I exported the CAD design as an STL and then used the Prusa software to slice it.
Since EDS only has two 3D printers (wrong: two Prusa, but three other ones), I decided to print in the Metropolis makerspace. I used the Prusa with PLA filament. I used 15% infill and the default settings for the rest. The print took a little less than 2 hours, which I thought was surprisingly long for such a small piece.
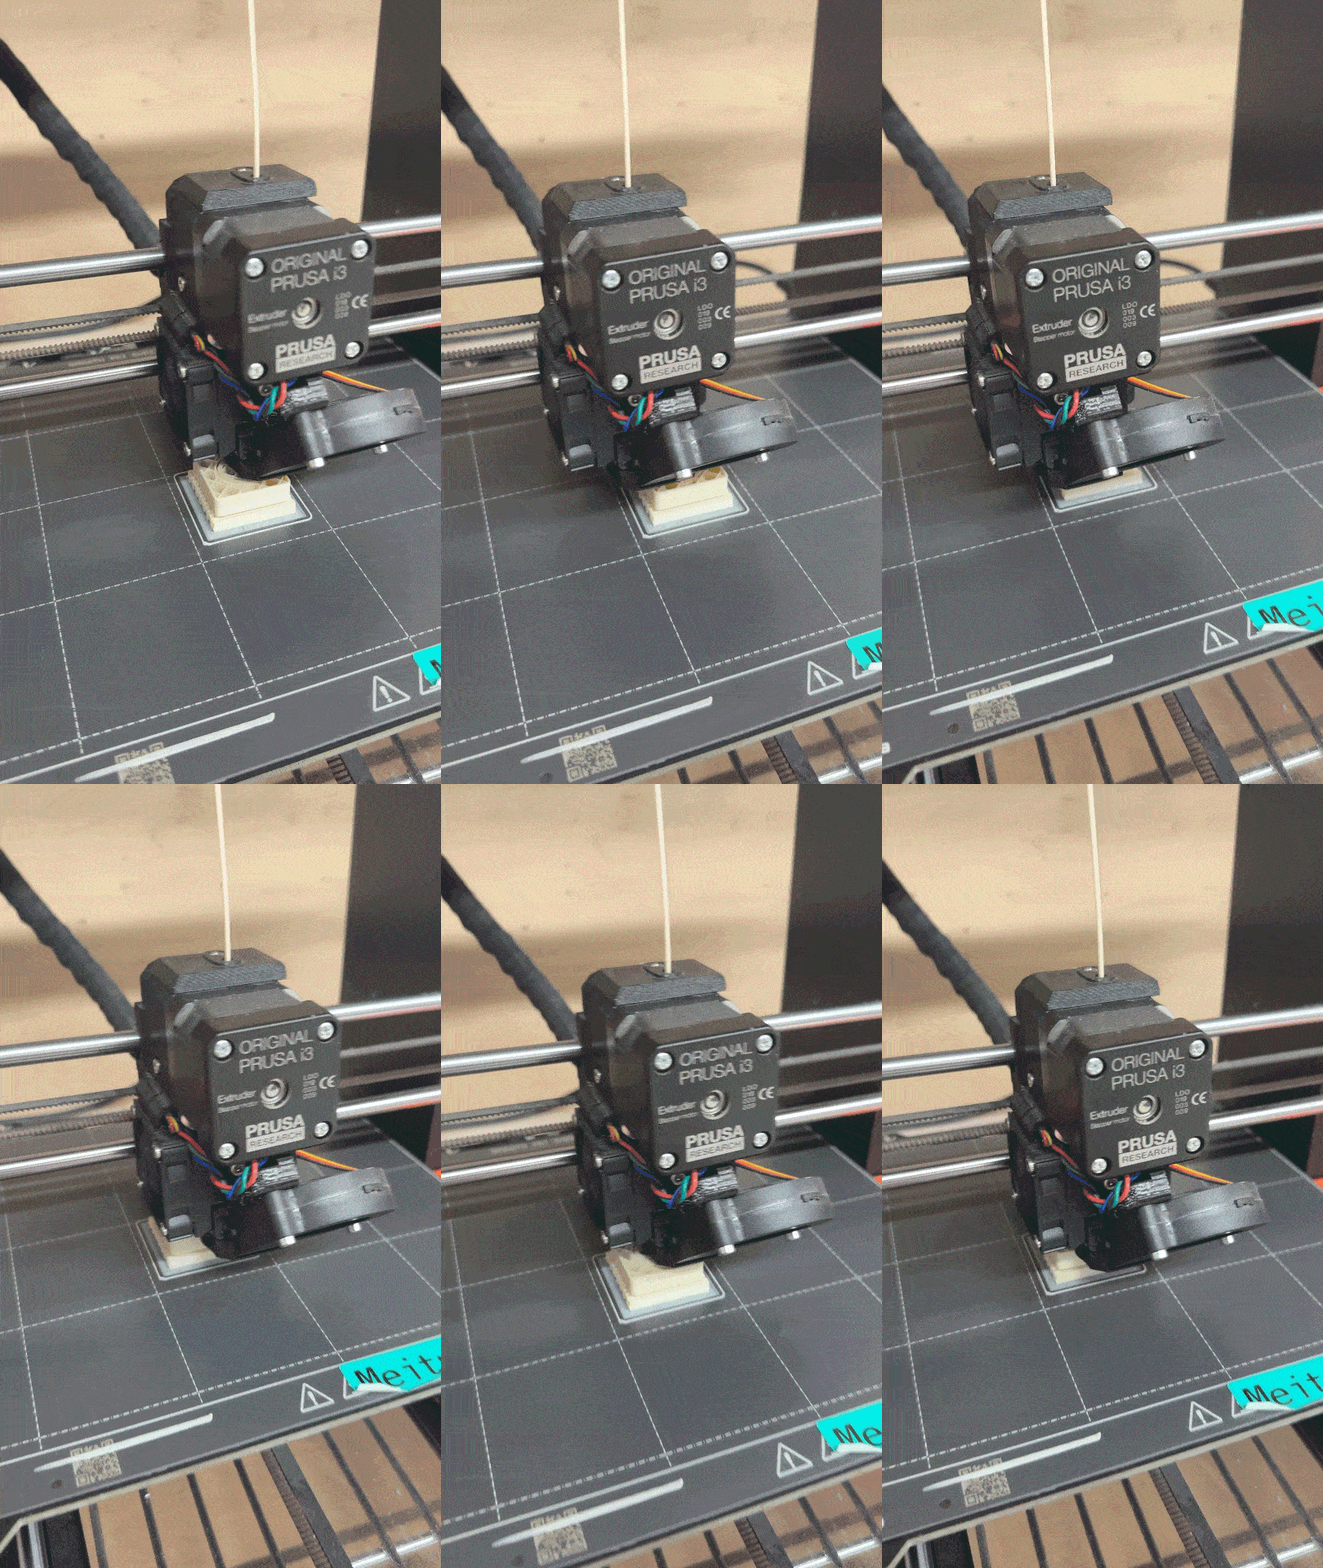
One thing to note is that I decided to print my object upside down (with the ball touching the ground) to minimize the number of supports needed (especially within the gap between the ball and the socket, since it would be very hard to remove those).
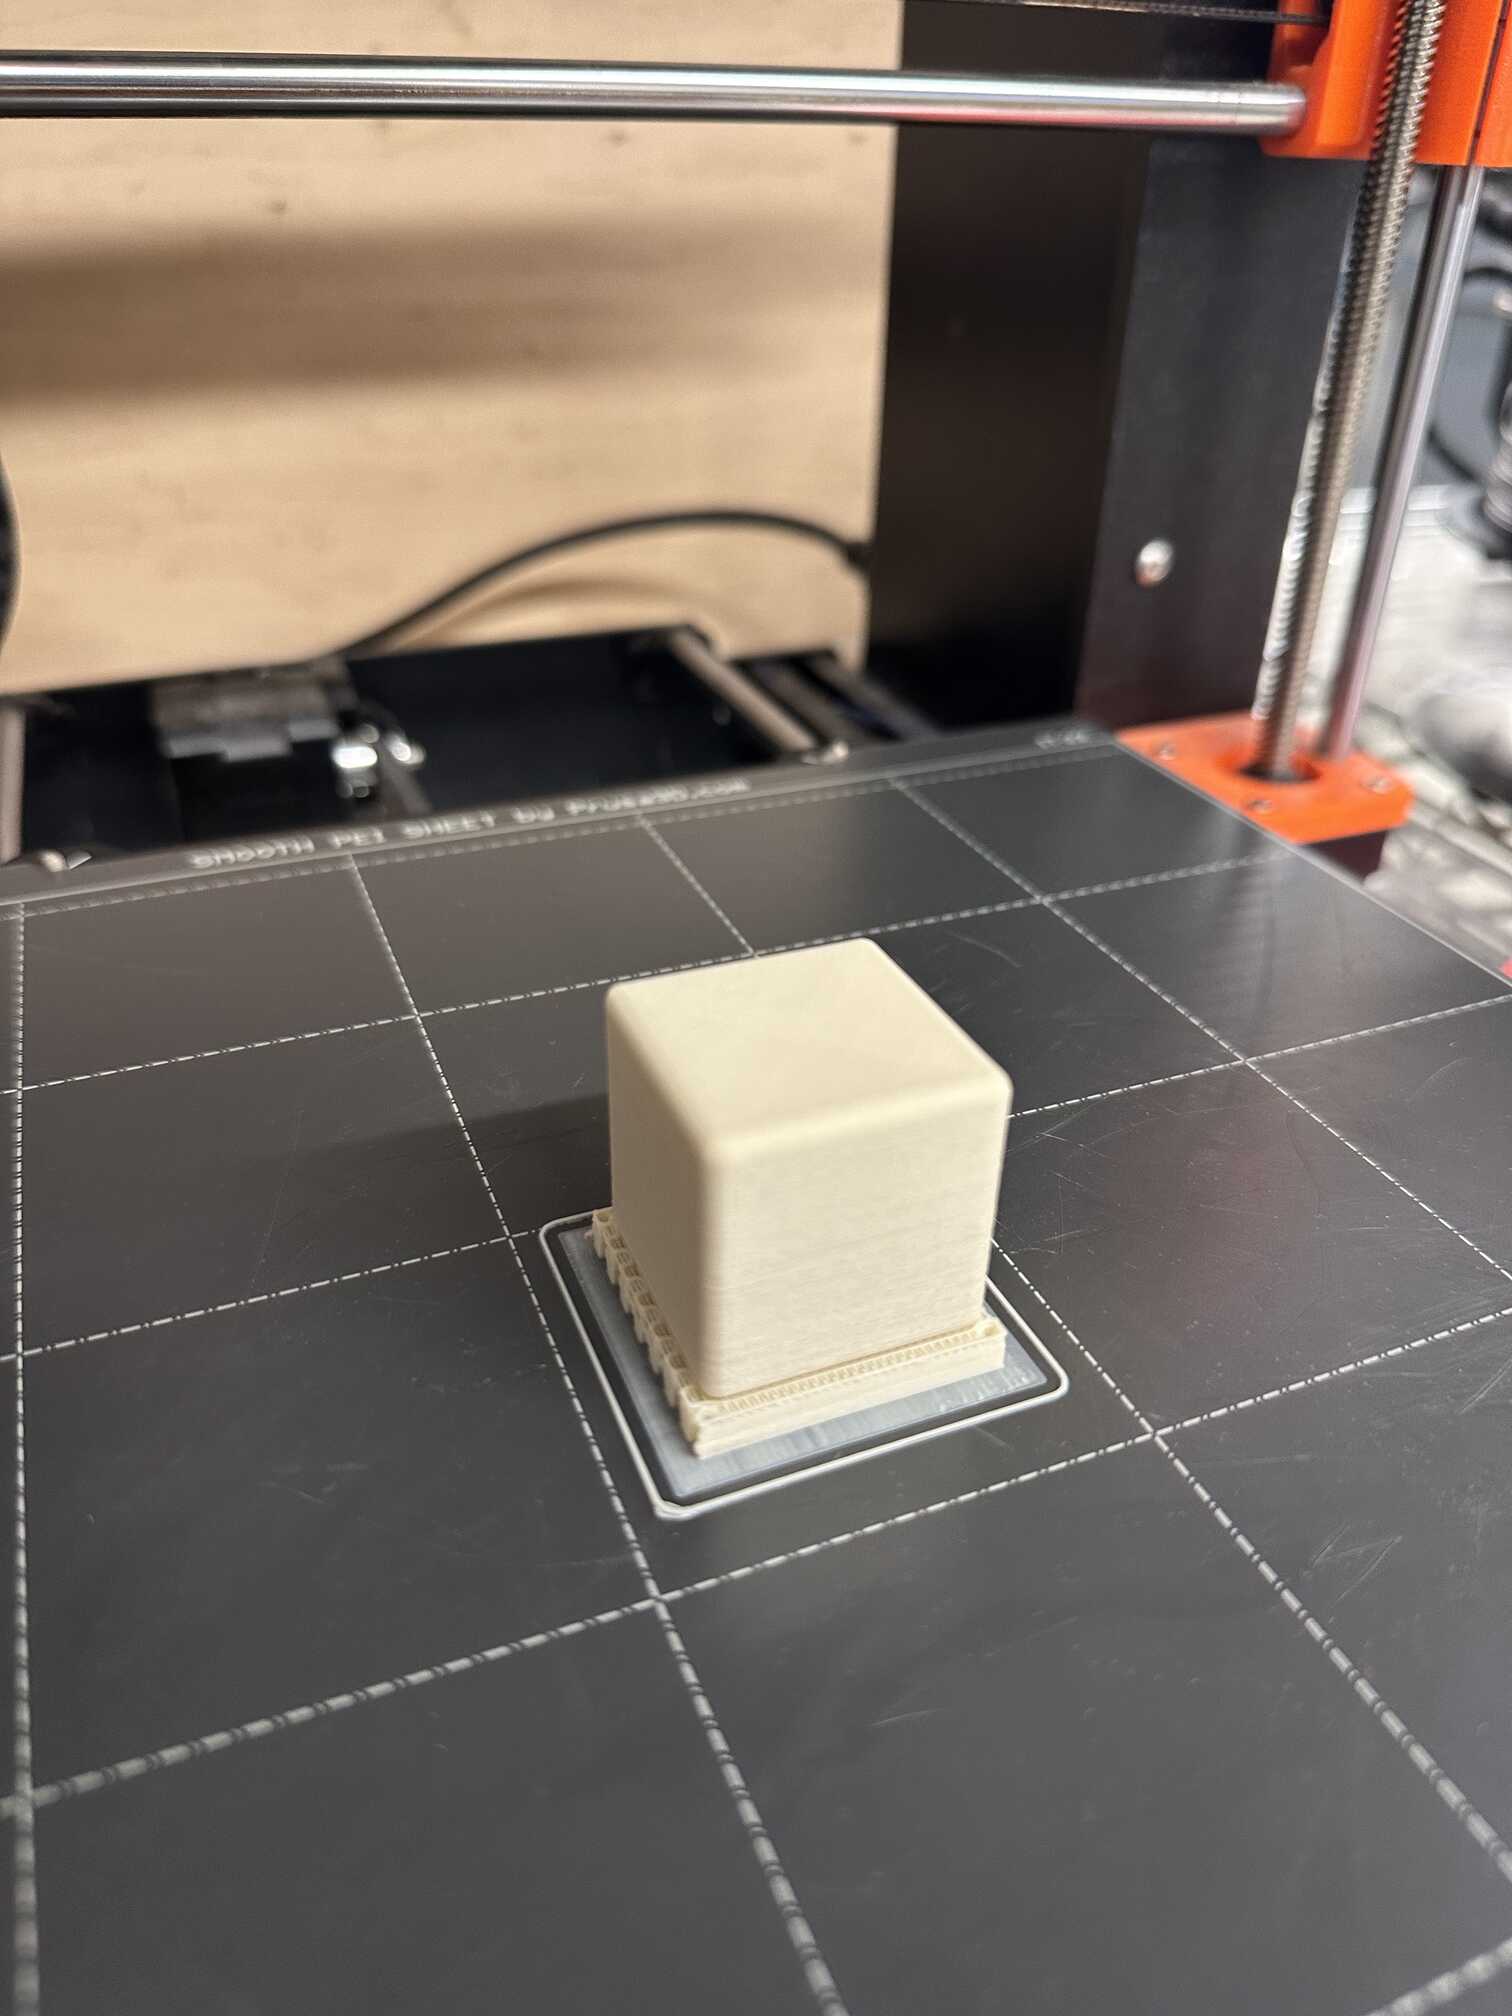
The Final Product
Here's how it turned out! I was worried that the ball would not move smoothly, but it does! It was a little difficult to remove the supports, but pliers did the job.
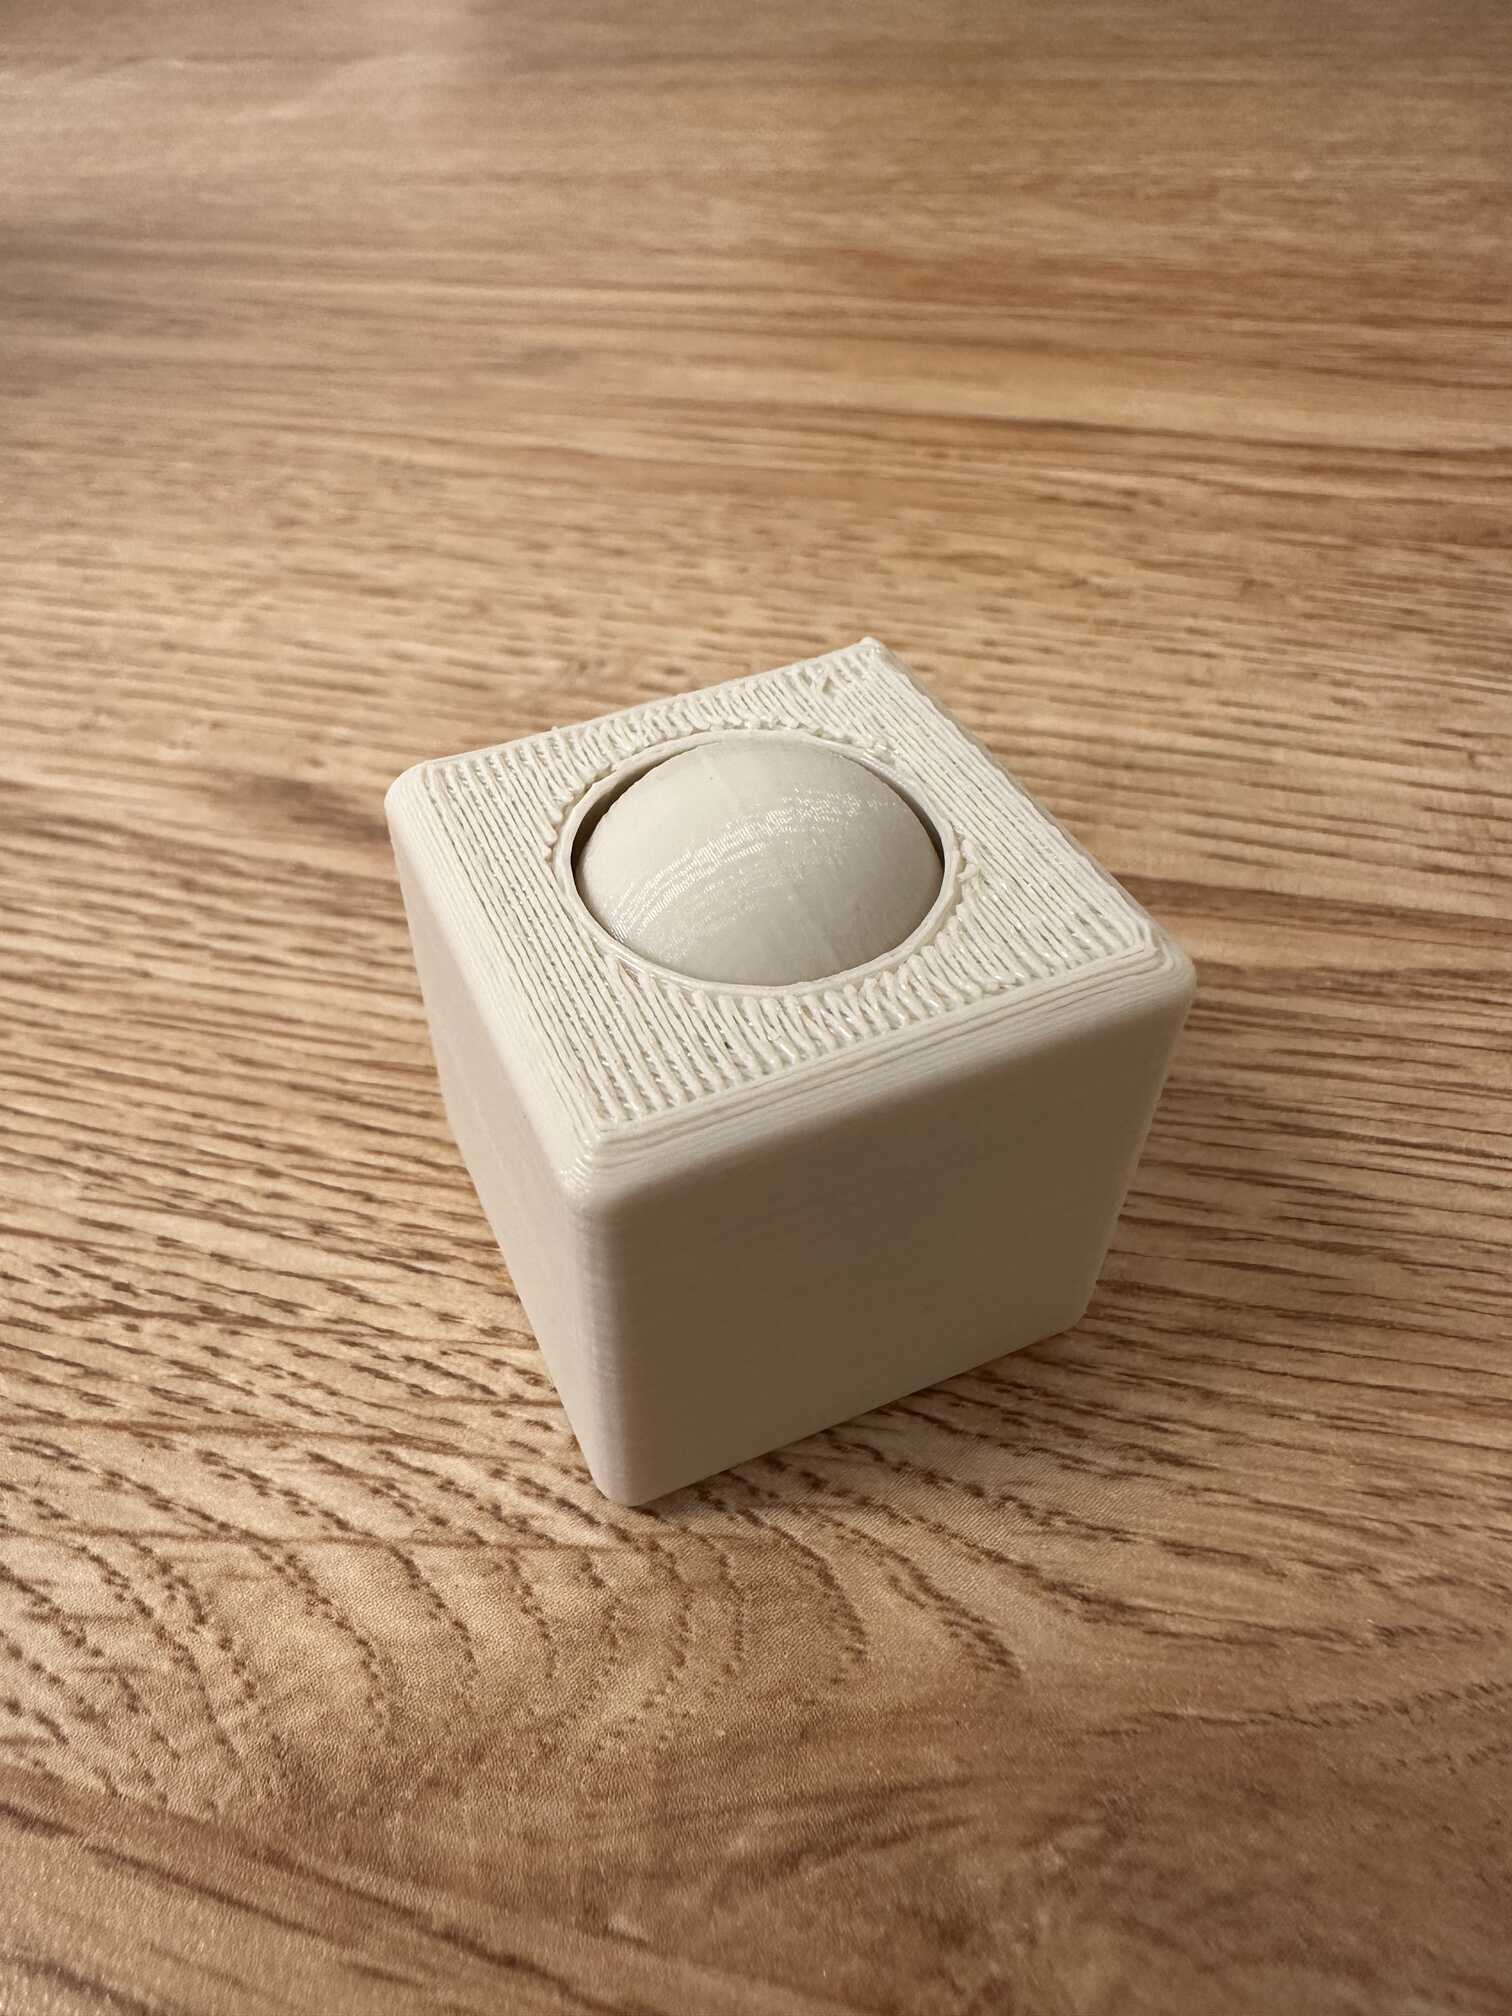
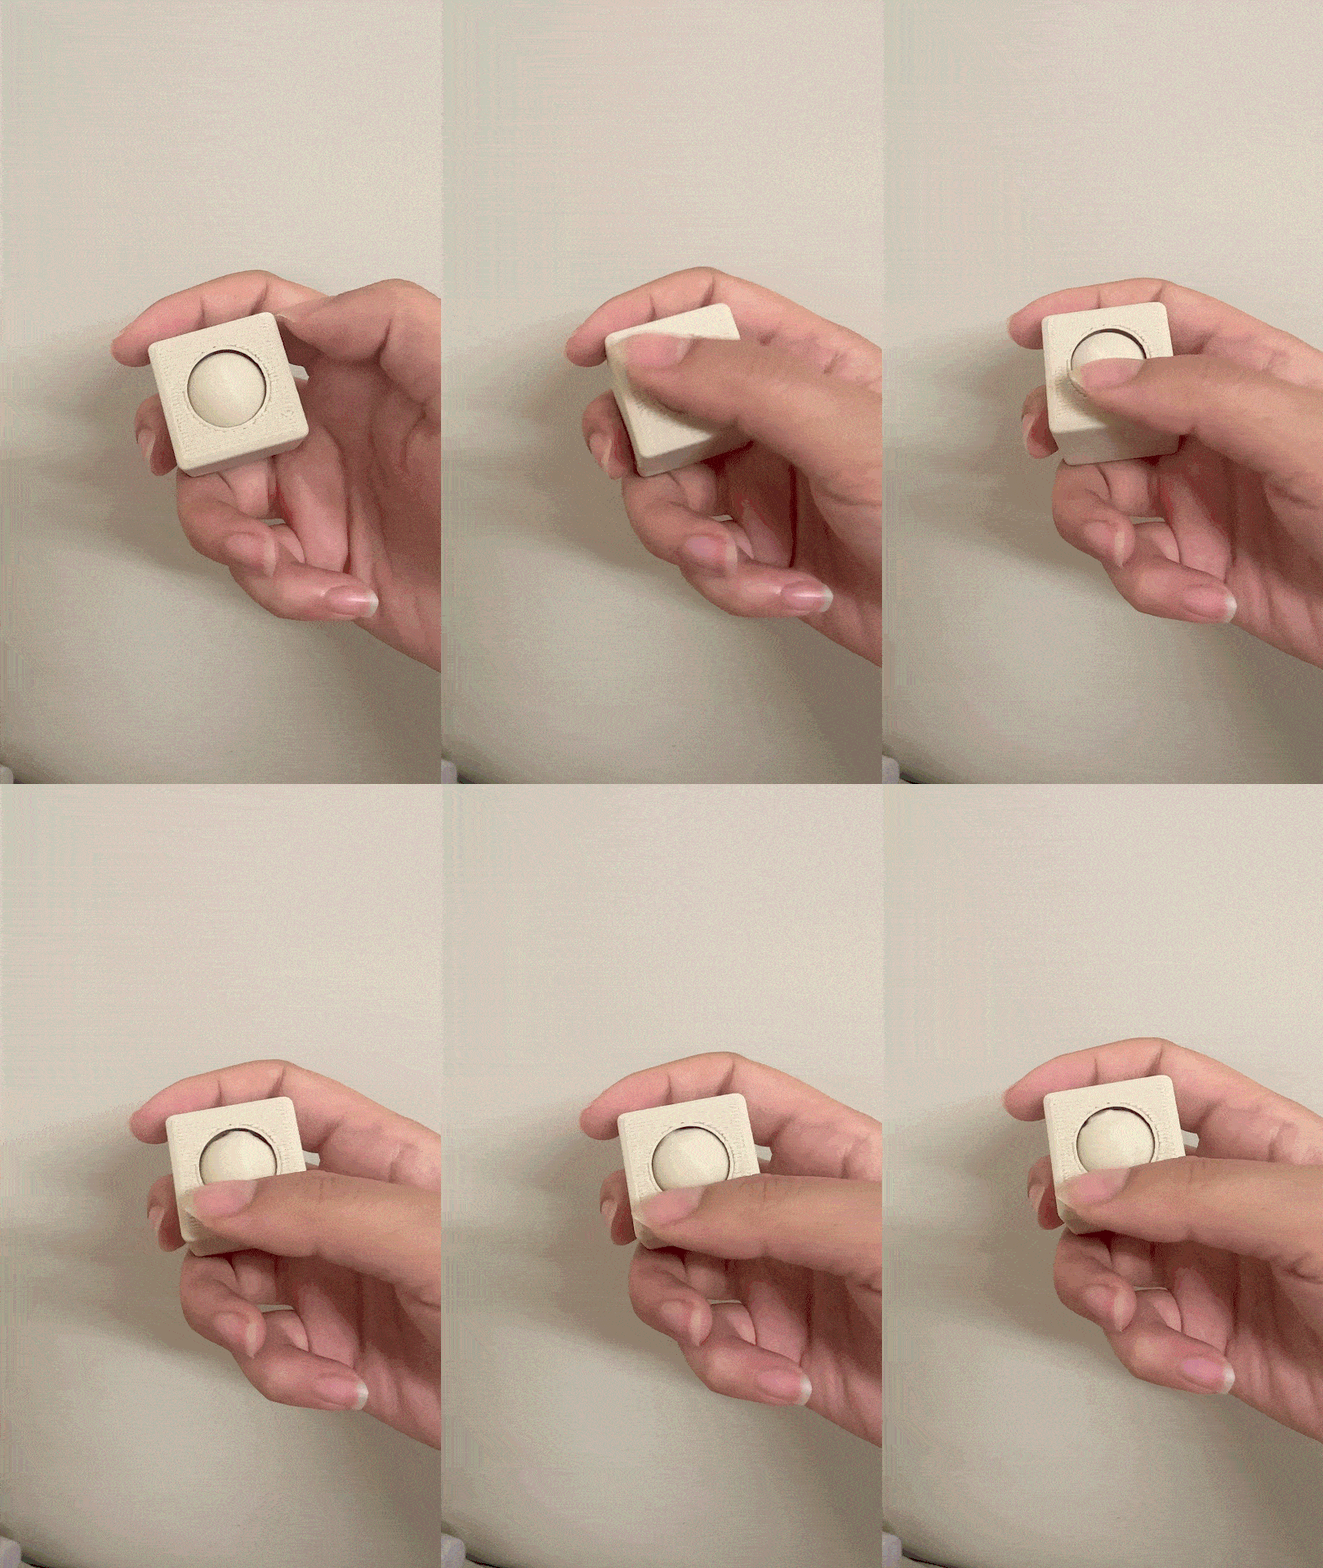
A few things I wish I could've done better: the top of the ball (or bottom from the printing point of view) was not printed well (there is a visible bump on the top); also, the top surface of the cube is not smooth since that was the bottom face when printing (perhaps a problem with the nozzle being too far away from the bed). I also wish the fit in the socket was a bit tighter (i.e. a smaller gap between the ball and the socket).
But overall, I'm fairly satisfied with the way this turned out. It's been super satisfying playing around with the fidget toy, flicking and spinning the ball.
3D Scanning
I used an app. It was a bit finicky to work with, but I got to do it in the comfort of my own room. I decided to scan a little mini figure (Smiski) that I have. I initially took around 20 photos (with a little background clutter) and it failed to process. So next, I took around 50 photos with the figure on a plain table, without any background clutter. It kind of worked this time, but it didn't get the head. I think maybe I didn't take enough photos from the head-down angle.