Week 9: Computer-Controlled Machining
Prior Experience: 1/5
I guess I used the machine to mill the wax for molding/casting week, but I've never made anything very big or out of wood.
The Idea
I wanted to make something that would be functional. After debating between a chair, stool, table, and shelf, I decided to go with a stool for its simplicity and versatility. I wanted to make something simple yet sleek, so I decided to go with a 3-piece press-fit stool.
CAD
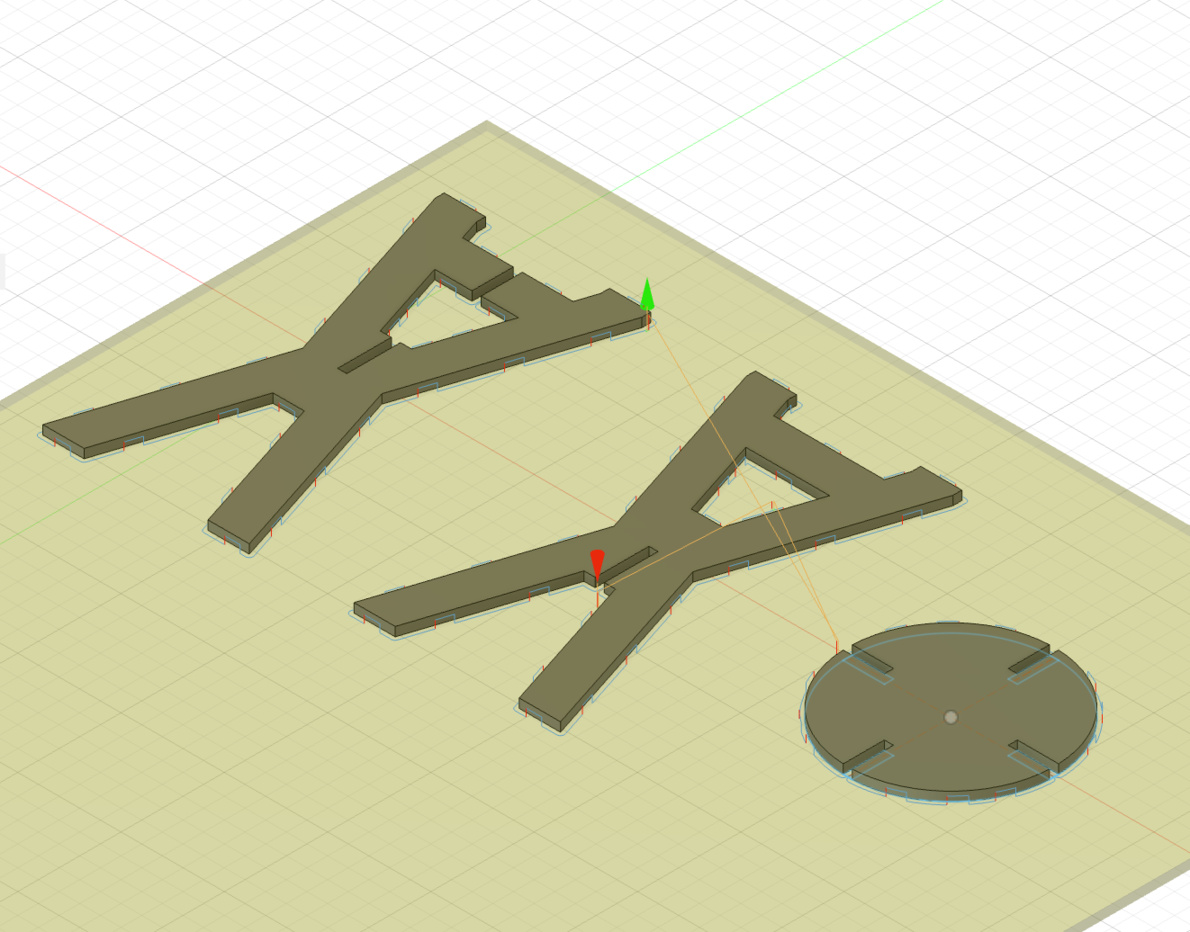
Gaining inspiration from previous projects, this is the stool design I landed on. I made used a lot of mirroring, copying, and symmetry to make the two nearly identical leg pieces. I made sure to make everything parametric, so that it would be easy to adjust the dimensions of the stool and the thickness of the wood.
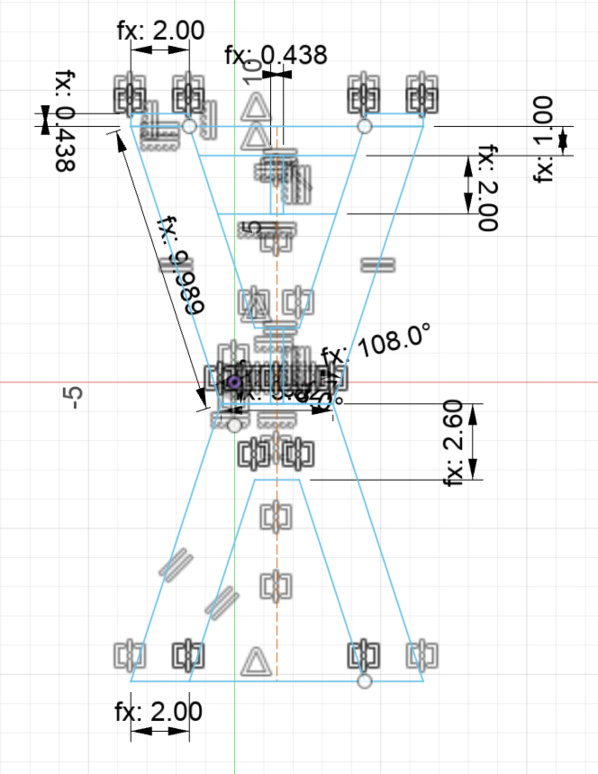
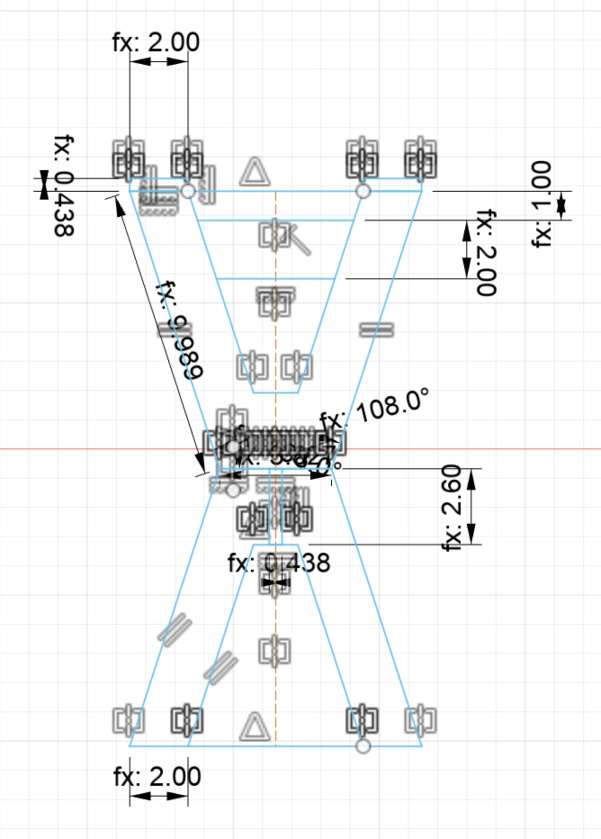
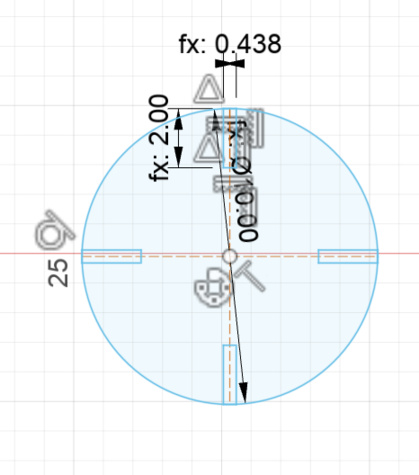
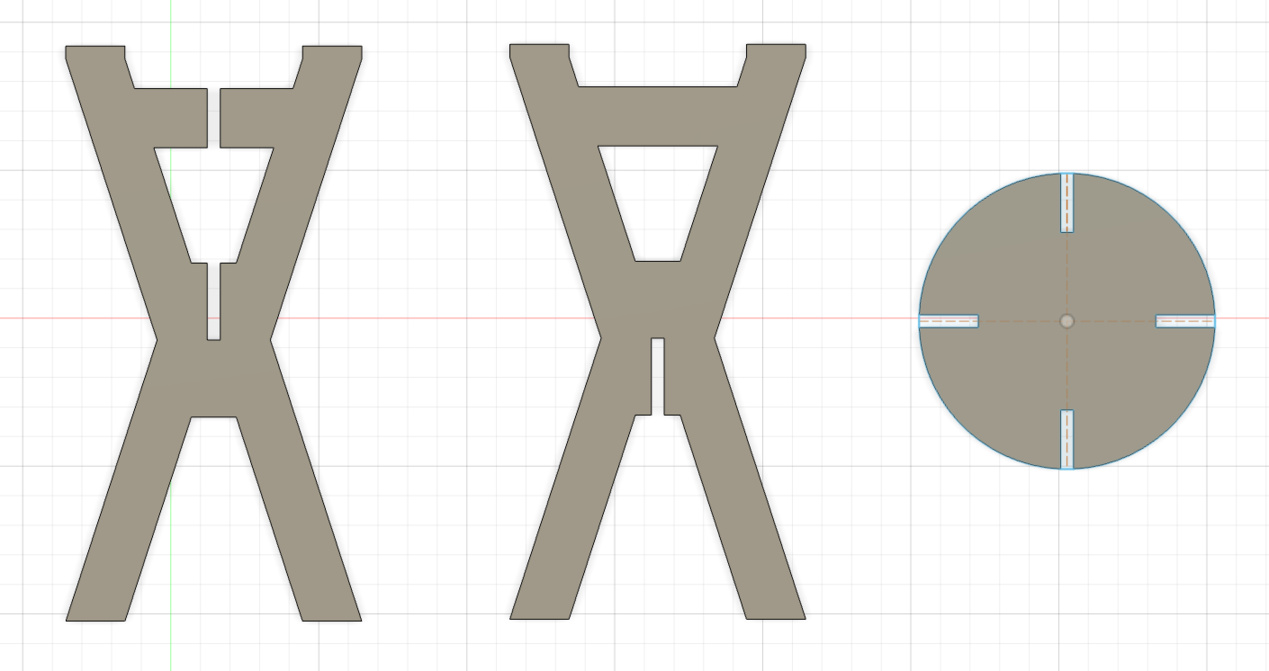
CAM
Anthony walked me through the CAM. We created a 2D contour, added the tool (3/8'' flat endmill), and then adjusted the settings including feeds and speeds. We also created small tabs all around the pieces, so that they would stay put and not fly out.
Then, Anthony created dogbones for the joints on his laptop's software.
Milling
First, I had to use a nail gun to secure the OSB board to the spoilerboard. Anthony demonstrated that the nails, despite being plastic, are quite strong. I did approximately a 7x7 grid of nails, paying close attention to the edges. It was essential to press down while nailing to ensure that the board would lay flat.
In terms of setting up the machine, like in molding and casting week, we had to zero the z-axis by using the metal block with a clip ("Auto Z Touch Plate"). The metal block aligns with the bottom left corner of the board, and the clip goes on the tool itself. This time, we also had to zero the x and y axes by aligning the flutes.
Then, we uploaded the file to the software and started milling. I started off with a low feed and spindle rate, and slowly increased as I listened to the machine. The milling was set to take only 4 minutes!
Halfway through the job, something unfortunate happened. Weird noises were made, so we stopped the machine. It turns out that the last person did not screw on the tool very well, so it moved down as the job went on. So, it went all the way through the spoilerboard and Anthony was very sad. We re-tightened the tool and tried again. But because it had already tried to cut through the board once, the board did not have enough tension for it to be cut through.
So, we stopped the job once again, and Anthony suggested that I manually cut out the remaining piece. Since one leg piece was cut already, I could use that to trace out the remaining neary identical leg piece.
I cut the tabs with the oscillating saw (which is like the ones they use to cut off casts--Anthony demonstrated that it can't cut through skin). Since it vibrated so much, it was a little difficult to get the hang of, and some of the tabs I did a very bad job at cutting off (there was still a large chunk of it left).
Manually cutting the remaining piece was a bit annoying. I had to use the bandsaw to cut off the remaining material and follow my traced outline. The joints were tricky because they were so thin, but Anthony helped me out. It was nice to learn to use the bandsaw again, which I had last used during my FPOP (and not very well, I remember all my cuts being super not straight).
Finally, I filed down the rough edges and remaining tabs with a file, then assembled the stool. Assembling the leg pieces together required using a hammer, but they fit together nicely. The circle fit right on, but that meant that the fit was bit loose. Finally, I used the oscillating saw once again to level off the leg pieces with the circle.
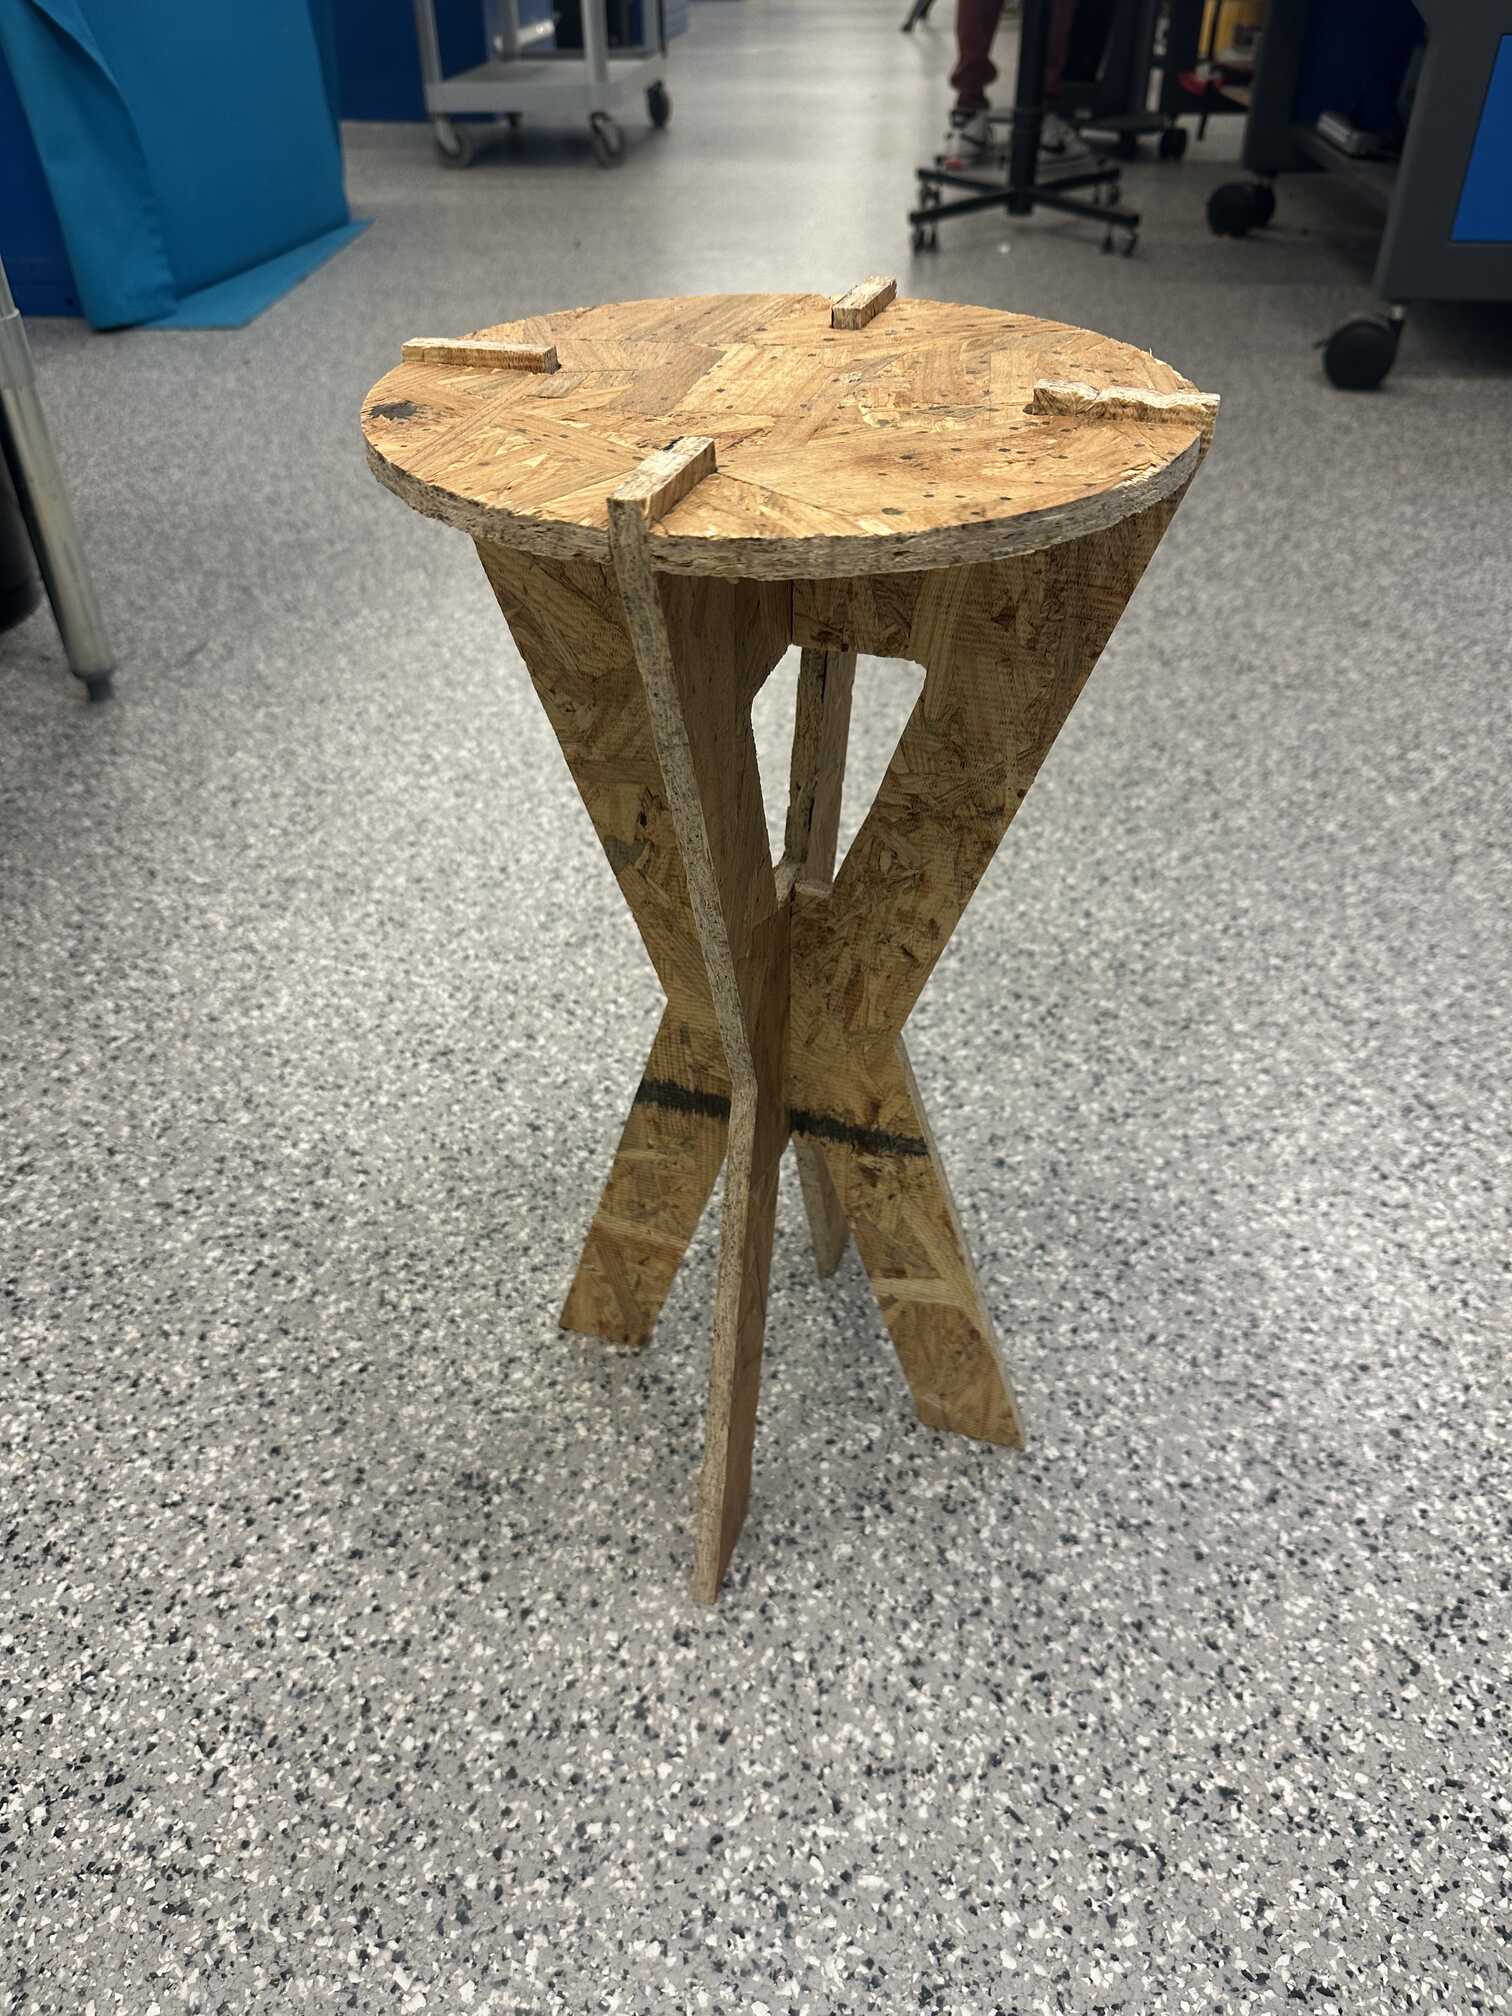
I sat on it and it didn't break! It made some suspicious noises though...