Week 6: Molding and Casting
Prior Experience: 0/5
I have 0 experience in molding or casting. It seems more intuitive than electronics though, so I am not as scared.
The Idea
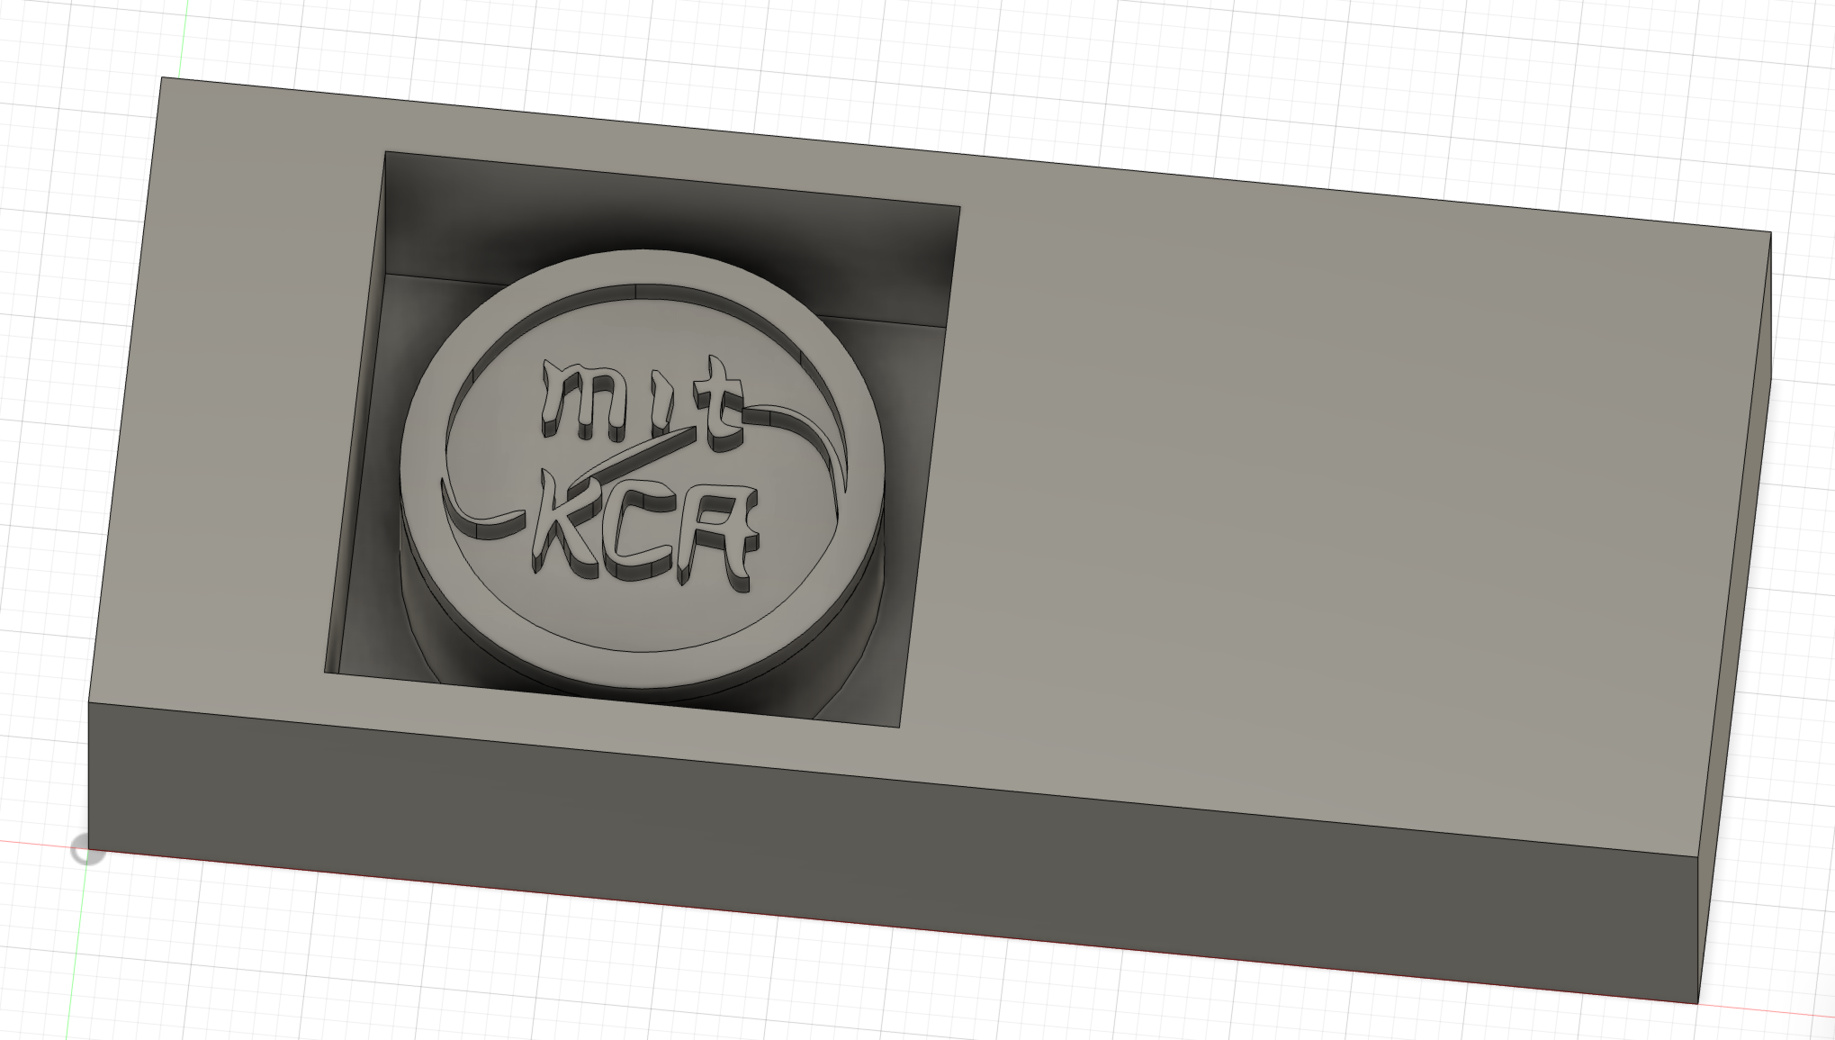
I wanted to create some sort of stamp that I would want to produce a lot of. I decided on a stamp of my club's logo. Maybe I can cast many stamps and give them out as gifts. I reused the same svg that I created using Adobe Illustrator for vinyl cutting in Week 1.
CAD
First, i created a block of the provided dimensions. Then, i created a square hole in it, and extruded a cylinder from the base of the hole. Finally, I added the design to the top surface of the cylinder, and extruded it. I designed it parametrically, so the stamp can be resized as needed.
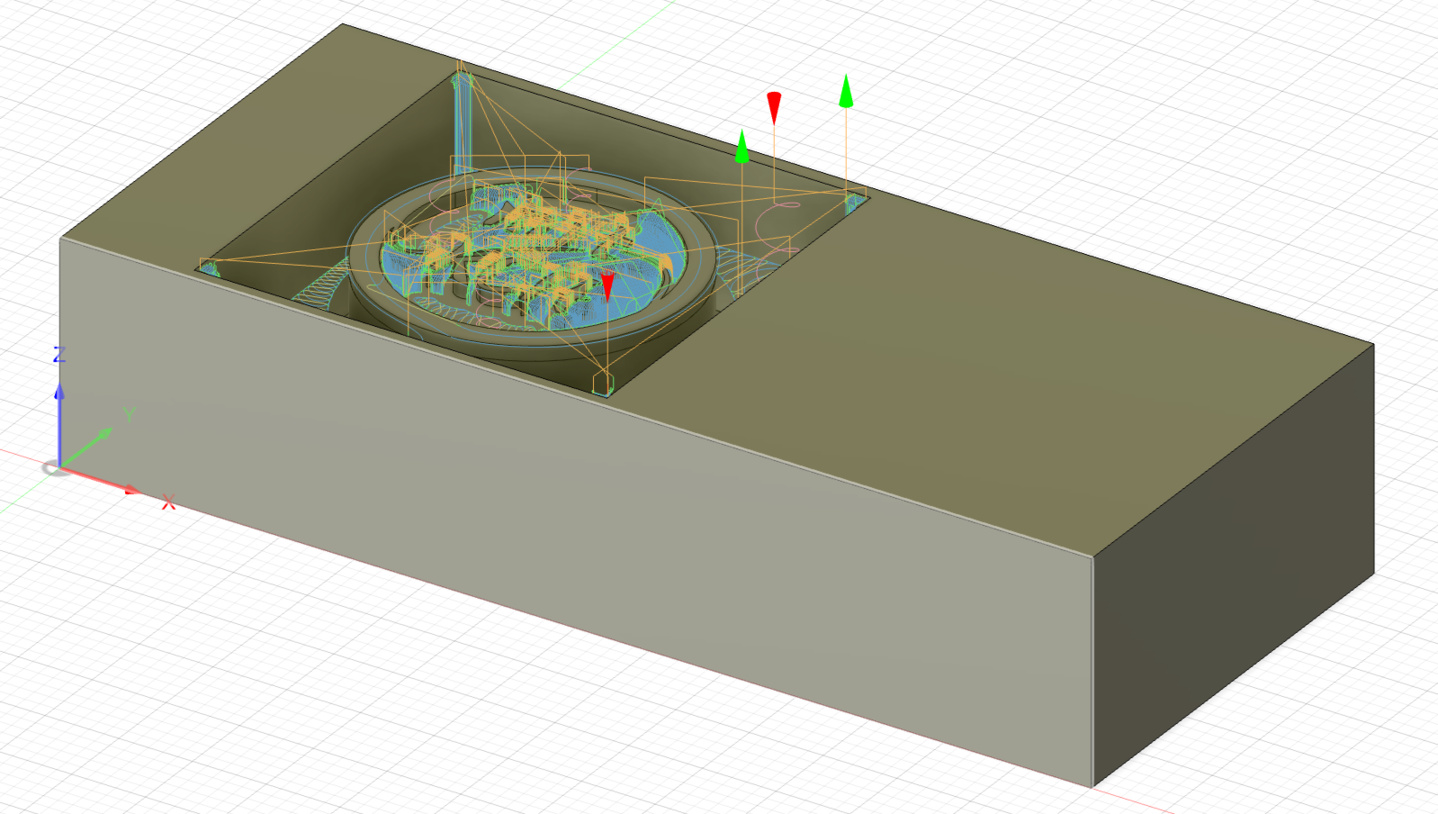
CAM
Anthony helped out a lot with the CAM. We added two tools, the 1/4'' flat endmill (adaptive) and 1/8'' ball endmill. It also involved adjusting the feeds and speeds. It was nice to be able to see a simulation of the milling. Here we can see the toolpaths.
Milling the Wax
Anthony also walked me through the milling process. The most important step was zeroing the z-axis which was done by clicking "Auto Z Touch Plate" and using a metal block with a clip. Since there were blocks on the spoiler board to position the wax block (and thus position the same for everyone), there was no need to zero the x or y axes. Similar to the othermill for PCB milling, I used a pair of wrenches to change the tool. We initially started off with a low feed rate, but then slowly increased it after listening to the machine.
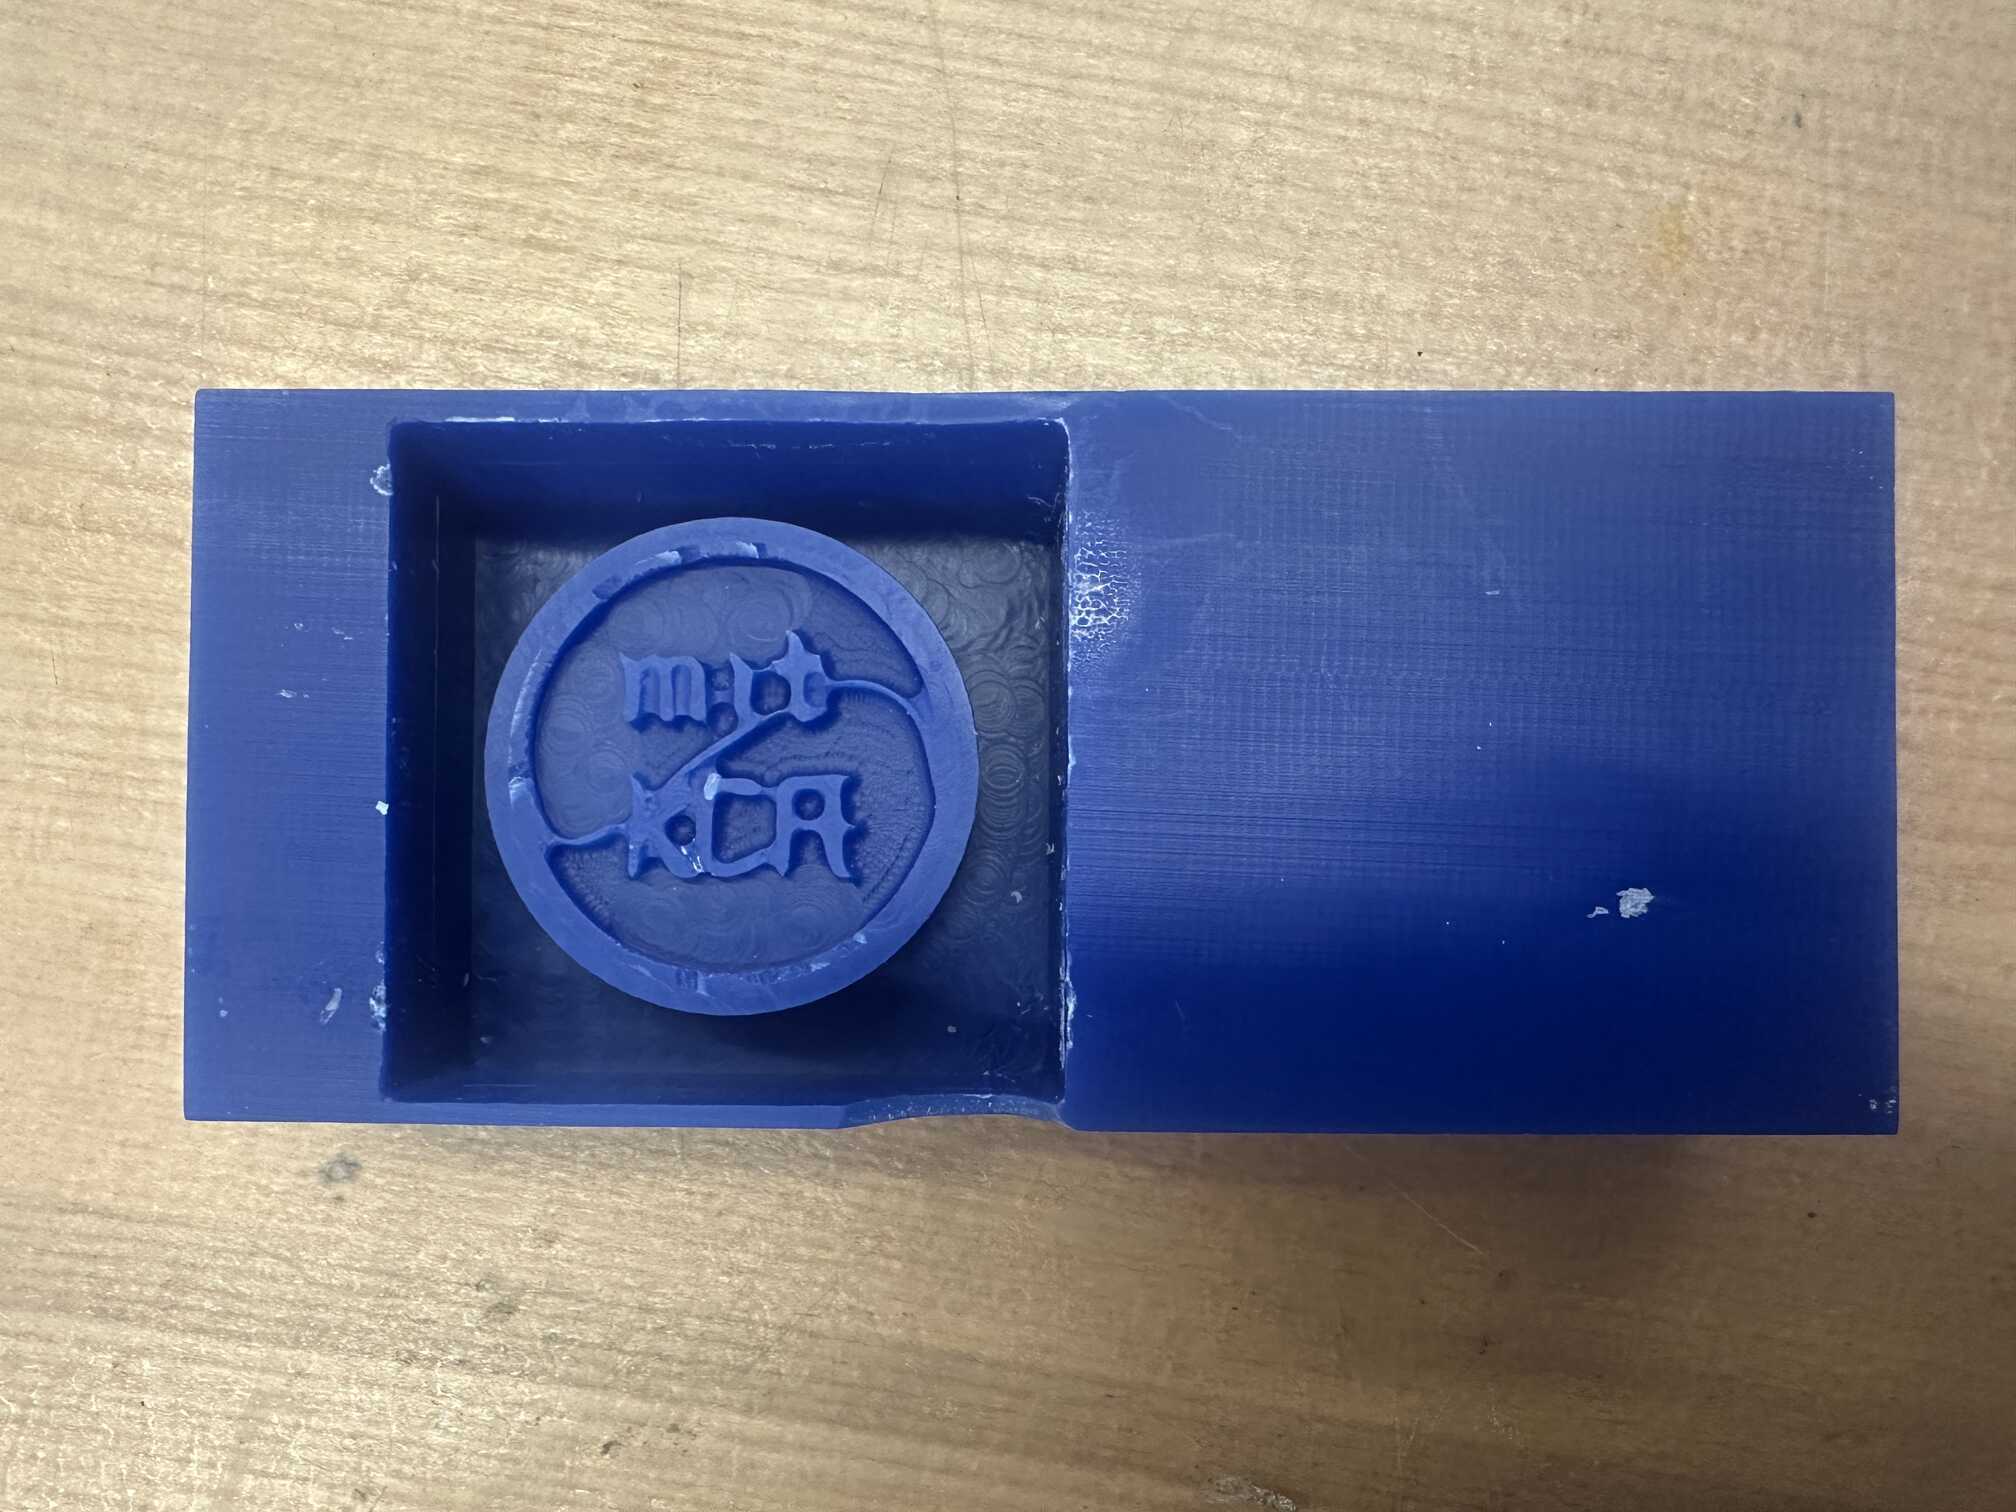
Unfortunately, because some of the details in the design were too small (smaller than the width of the endmill), they were not expressed completely. Anthony said that I can clean it up manually (carve out the parts that the machine didn't get to) either on the wax, or after I pour the hydrostone. He suggested doing it later because then any mistakes I made would only be in the one copy.
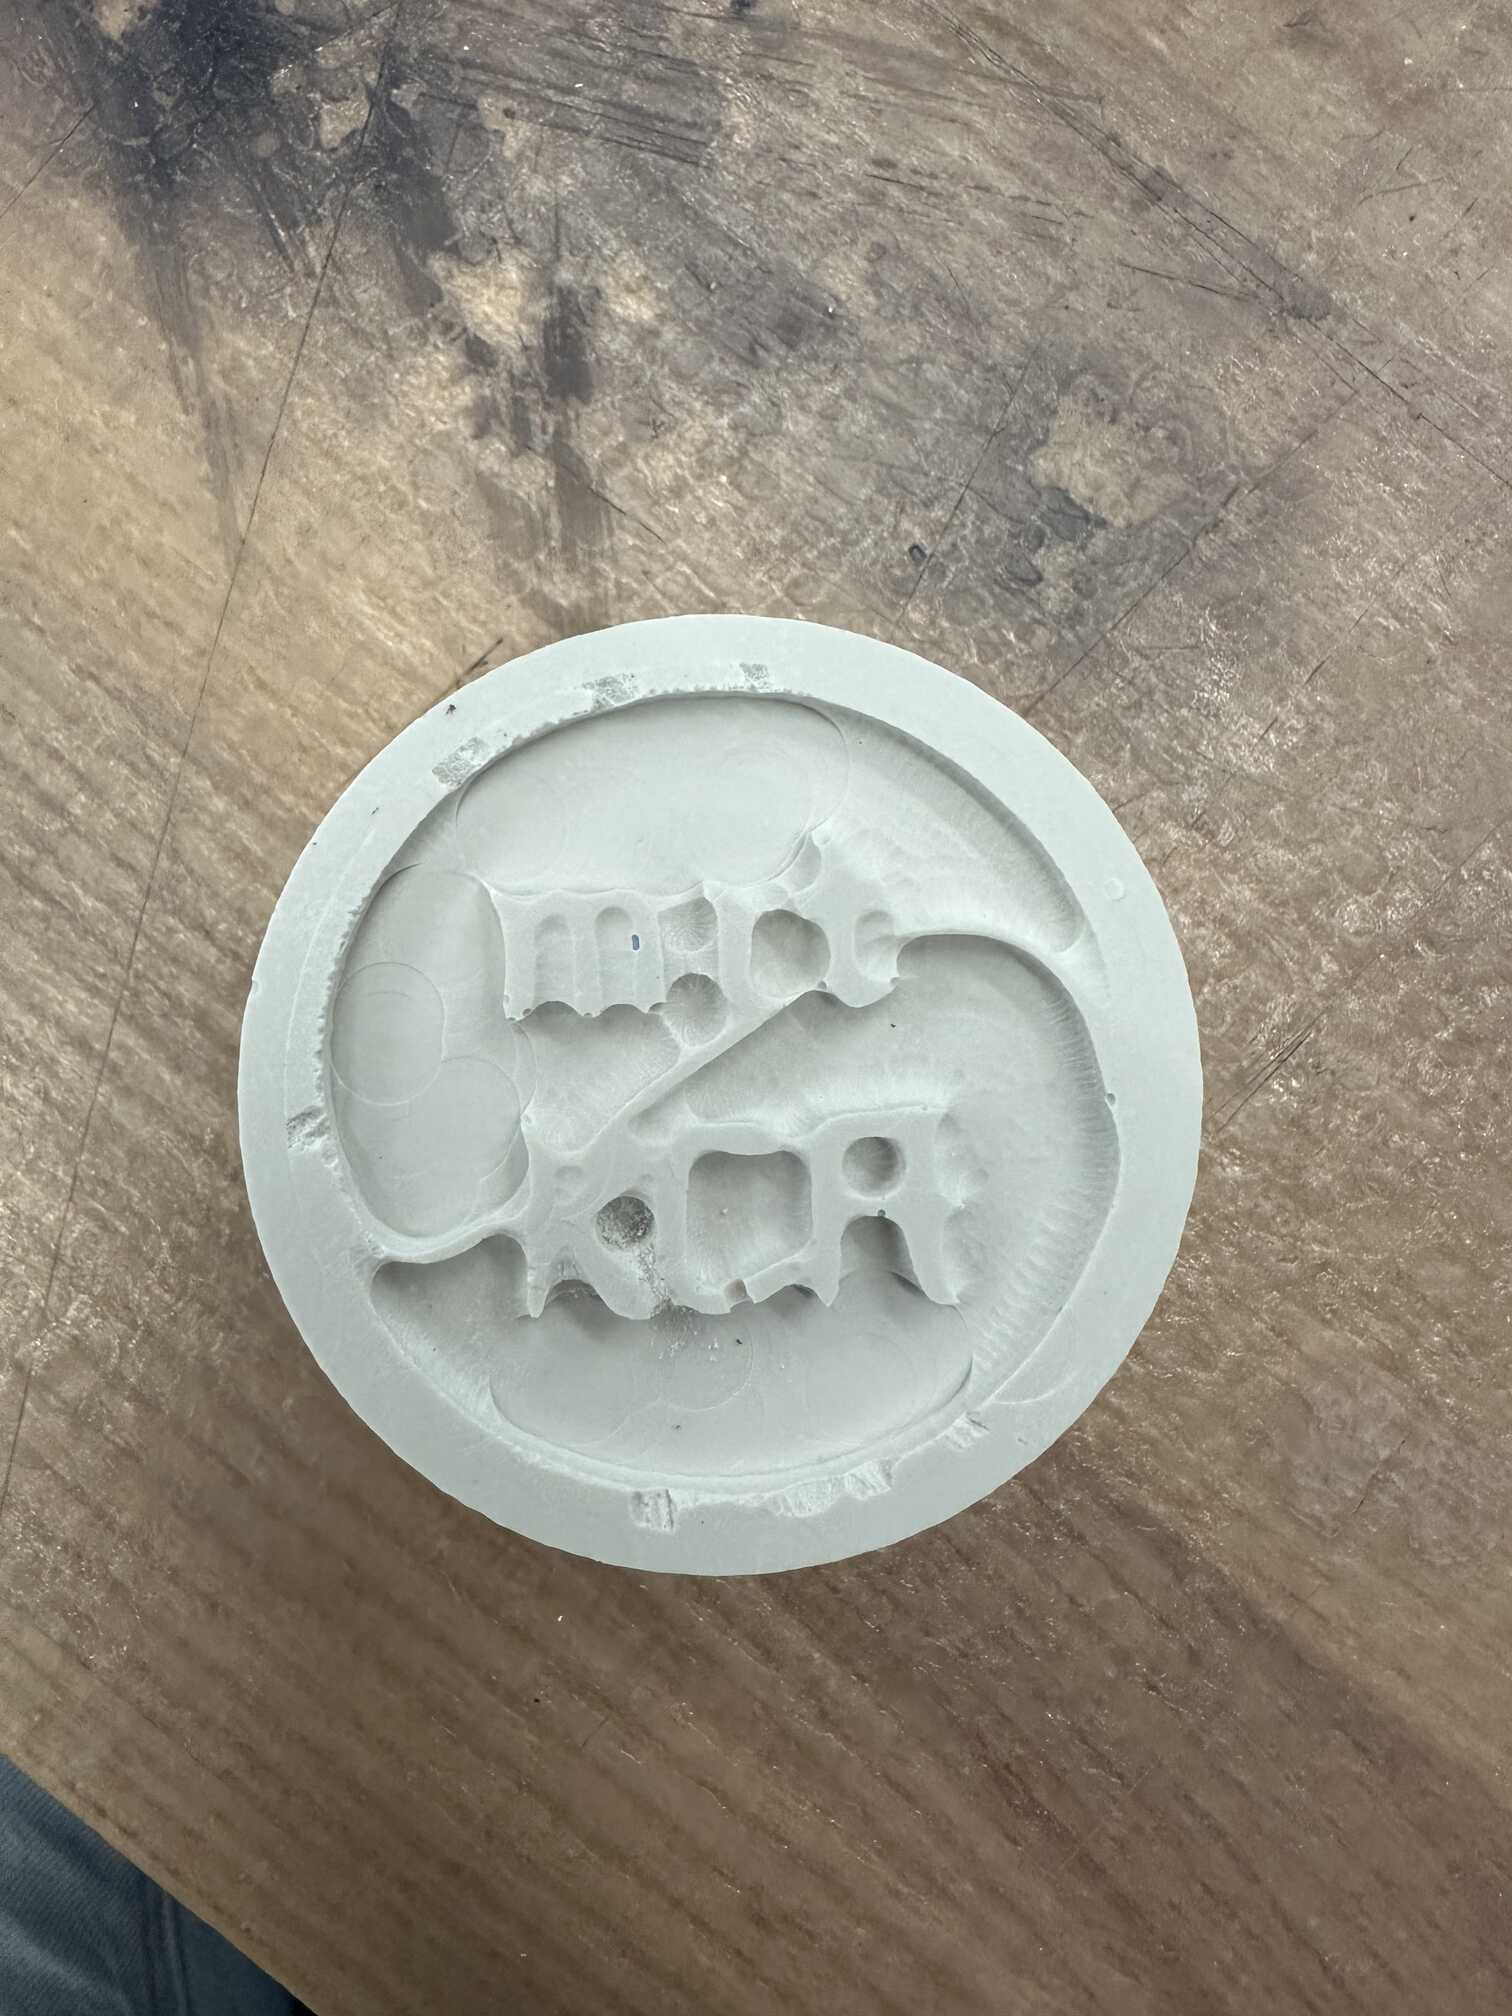
Pouring
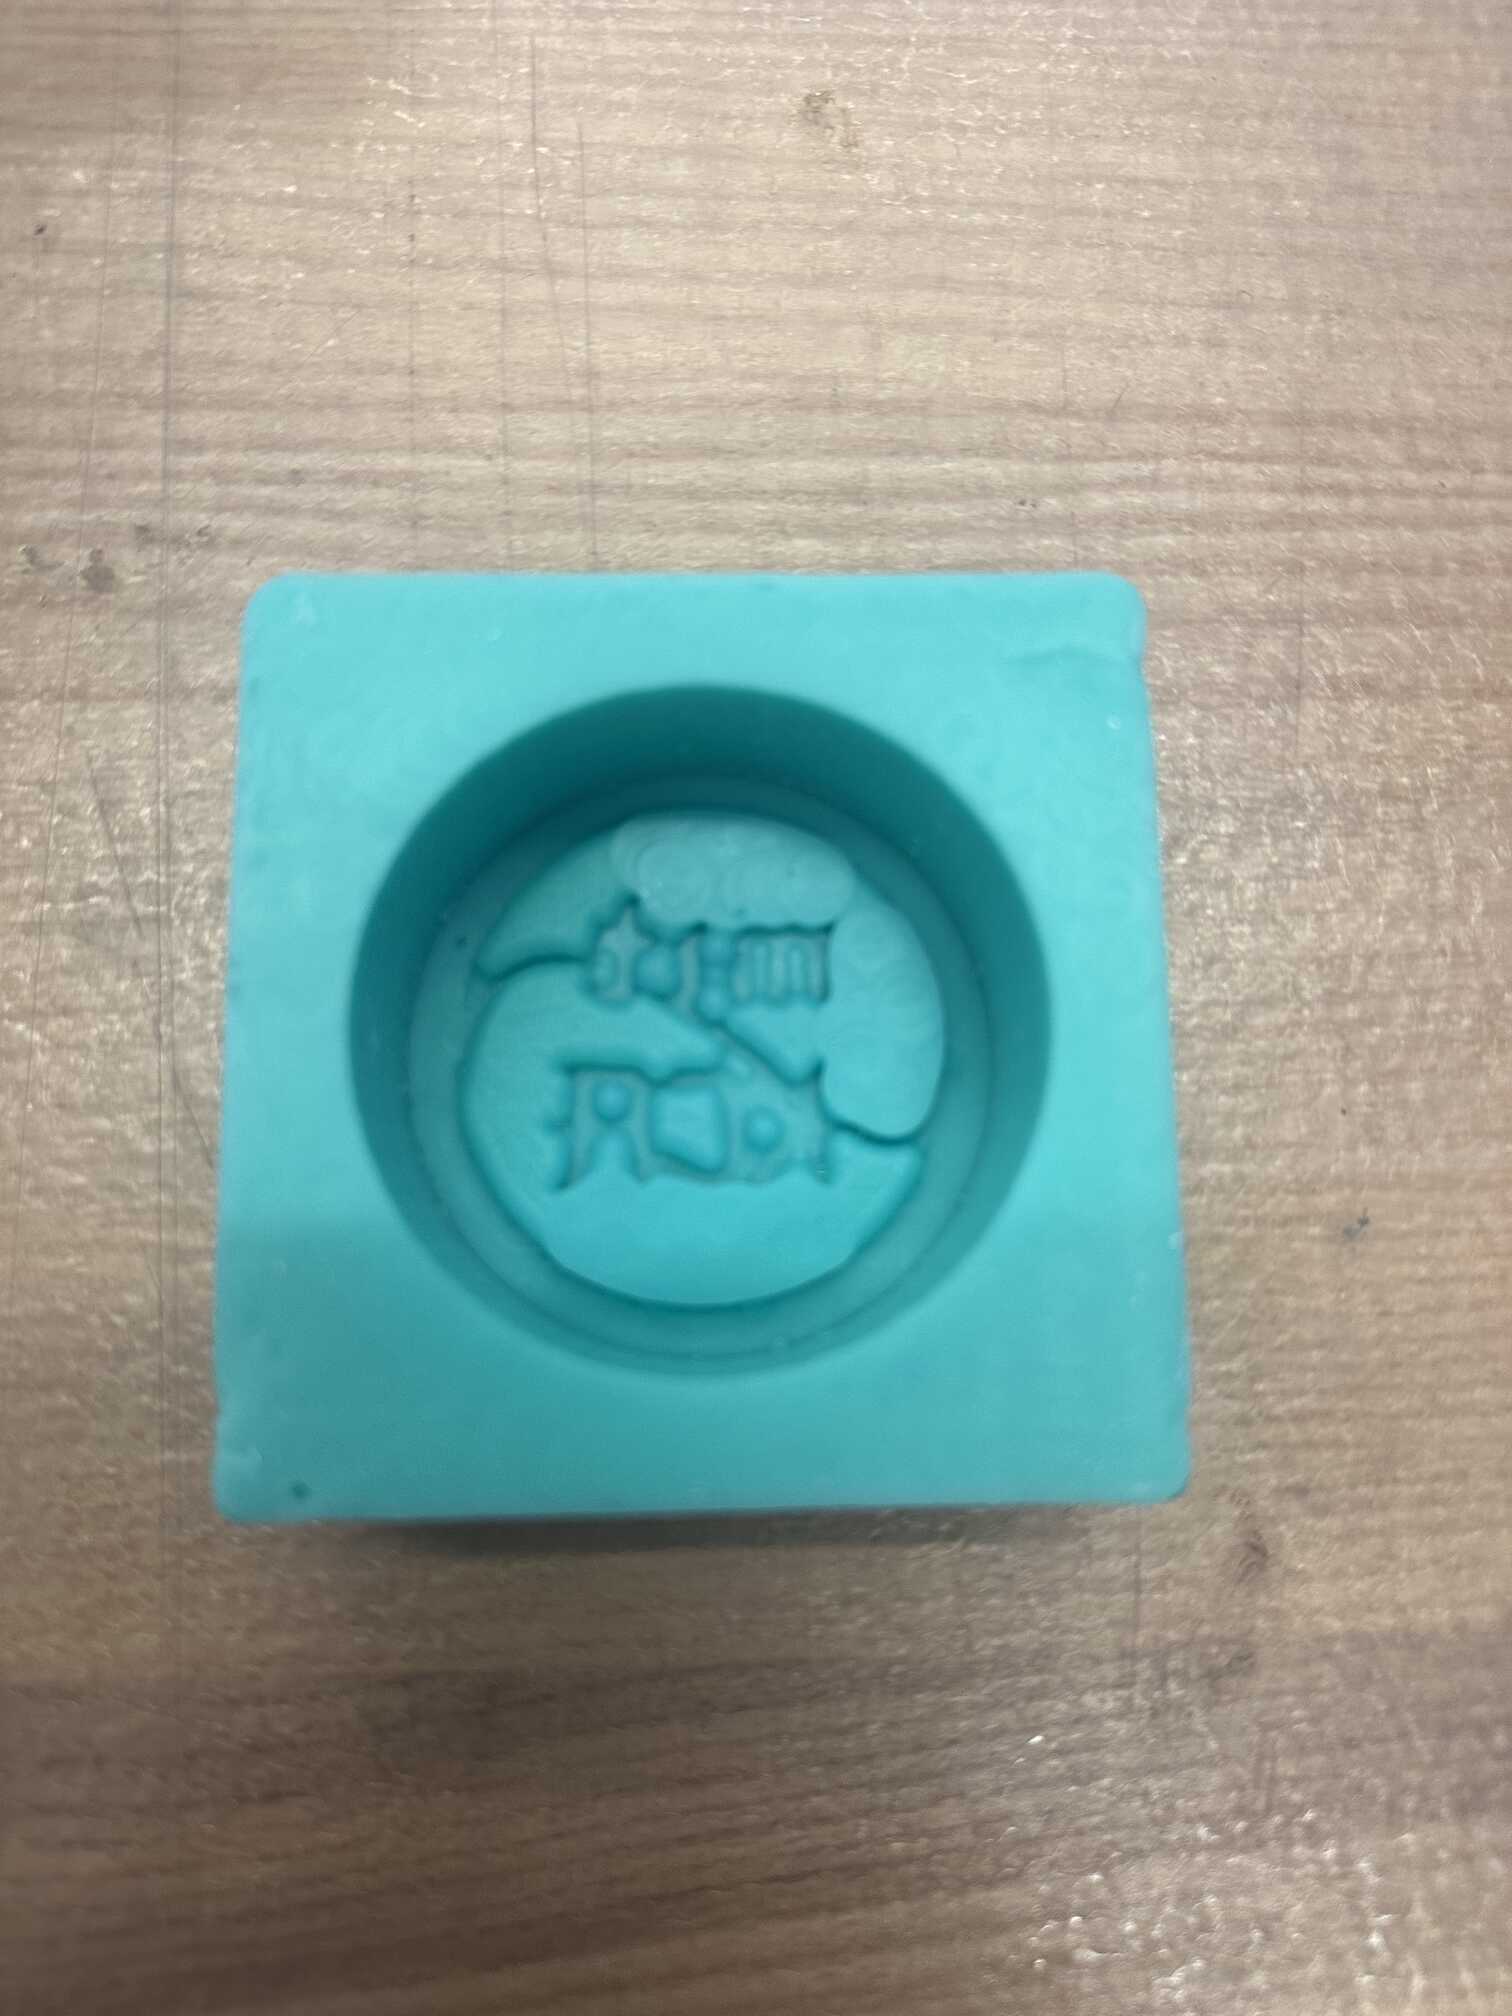
First, I measured the volume of the mold by pouring water into it. I then mixed a 1:1 ratio of the two substances and poured the Oomoo into the wax mold. I then let it cure under the heat lamp. This step was fairly straightforward. I'm a bit suspicious of how it looks (it seems like there are even fewer details now).
Casting
Finally, I mixed the hydrostone and poured it into my mold. 1 hour later, I had a stamp! Unfortunately, I had to do some detailing work (digging away with a sharp tool) at the end because some of the details were lost during milling. This was rather tedious and it didn't turn out super clean. It was also super difficult to scratch away at the hydrostone because it had hardened so much. I kind of regret not doing it earlier on the wax mold, which would have been much easier since it's wax.
I don't have a stamp pad, so I haven't tried it yet, but I'm excited to try it out and show my club members!