Massachusetts Institute of Technology
MAS 863 How To Make (Almost) Anything | Fall 2011
Vernelle Noel - vernelle@mit.edu |
|
Week 1 - Final Design Proposal Week 2 - Make Press Fit Kit Week 3 : Make FabISP in-circuit programmer Week 4.1 : Make Something BIG Week 4.2 : Final Project Review Week 5 : Molding & Casting Week 6 : Embedded programming |
This week was THE BIG ONE... working on our Final Projects. MAC GYVER-DOM ALMOST ACHIEVED!!!!!!!! My project was creating an interactive bridge, that lit up as you walked along it. The bridge was digitally fabricated and put together with no glue or other fasterners, purely friction-fit. I used RGB LED's for lighting, and ModKit for programming. First of all I would like to thank: Initally my design plan for my bridge was to use 3 RGB Led's and 3 IR Emitter/Detectors per platform. However, after testing the IR Emitter/ Detectors they were not giving me what I needed... that is, satisfactory detecting and reading of light. An entire day was spent testing and tweaking this, and in the end, it was decided that I should just use phototransistors. I used the same board design for my phototransistors that I used for input week. I now had to rush deliver components, AGAIN! Time, planning and money adds up! So, I milled and stuffed all of my 10 Fabduinos, 10 RGB led boards, and 35 phototransistor boards (minus the phototransistors). For a grand total of 55 boards! After having my boards I measured, cut and created my wire connectors that would be forming connections between the Fabduino, RGB and sensor boards, Bridge, and PC (for programming). A BIG learning lesson for me in this assignment especially was learning about debugging. My approach was very shot in the dark, until Ed taught me and explained to me that it is step, byt step, by step. This was definitely a learning experience, a new experience for me. I had to check the following (Debugging): 1. Check light values and know that calibration for the particular environment would need to happen. 2. Ensure RGB LED Board worked by loading programs for testing. 3. Fix traces on phototransistor boards. 4. Replace resistors. 5. Check that both phototransistor boards worked by loading programs for testing. 6. Connect these 3 boards back to the Fabduino using the physical connectors that I made. 7. Load program to run the interaction. 8. Test. 9. If light(s) do not work, try again step by step. 10. Situate sensors on platform 11. Situate RGB Led My phototransistor boards were damaged in the cutting out process. Mistakenly in cutting them out, I cut off an important trace for all 35 boards... this meant I had to surgically fix each and every tiny board. I also had to replace the resistor from a 100K (which in initial testing worked), back to a 49K. Pressha! So that was my work plan for each platform. After getting everything working for ONE platform, I tested them and placed the components on the bridge platform. I also placed tracing paper below the platforms to aid in the diffusing of the light. I used foil paper to try reflecting the light better below the platform. I was spending a lot of time channeling Mac Gyver. Installation worked and now I had to test the programming. It also worked... SUCCESS!!! I still had to finalize, confirm and test the powering of my installation. After many hours, broken finger nails, sore fingers, debugging, sleepless nights, and so much more, I was only able to complete four platforms. But I am happy at being able to do this assignment! Thanks Neil, and fellow students... I really enjoyed this class, the group emails, and working with you all!! Resources: 2. Programs I explored during this class 4. Txt file to myself on procedure for uploading material to site Links: |
|||||||||
Top 10 List of things to Plan for during your |
|||||||||
 |
|||||||||

|
|||||||||

|
|||||||||
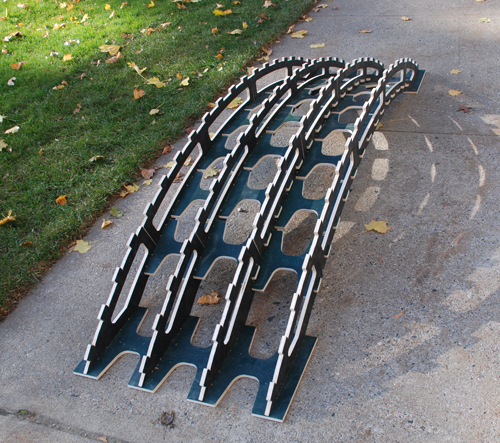
| INTERACTIVE GARDEN BRIDGE | |||||||||
|
|||||||||
| Assembly of Garden Bridge | |||||||||
 |
|||||||||
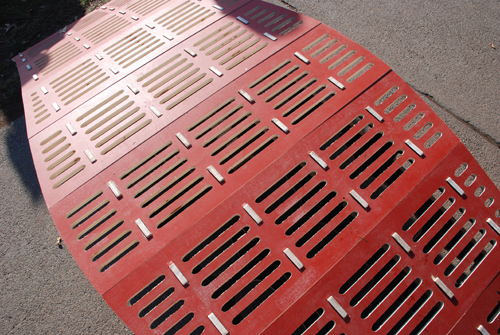
| Complete bridge with connecting top plates | |||||||||
 |
|||||||||
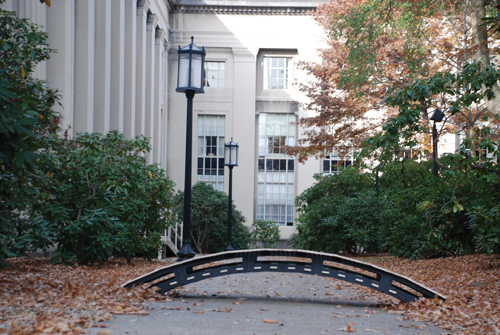
| Beautiful isn't it!! | |||||||||
 |
|||||||||
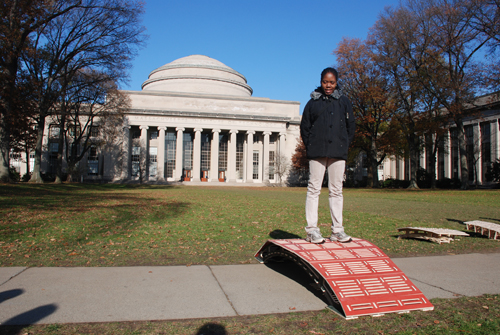
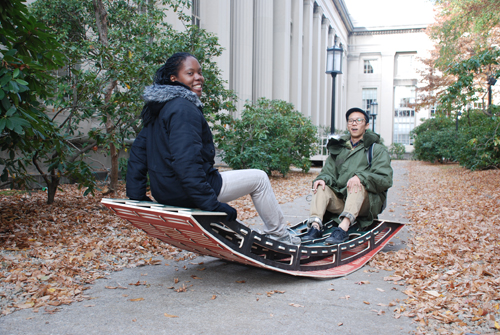
| Me on the bridge | |||||||||
 |
|||||||||
| It's not just a bridge, it's a seesaw too! | |||||||||
 |
|||||||||
| Circuit for Phototransistor boards | |||||||||
 |
|||||||||
| Circuit for RGB LED boards | |||||||||
 |
|||||||||
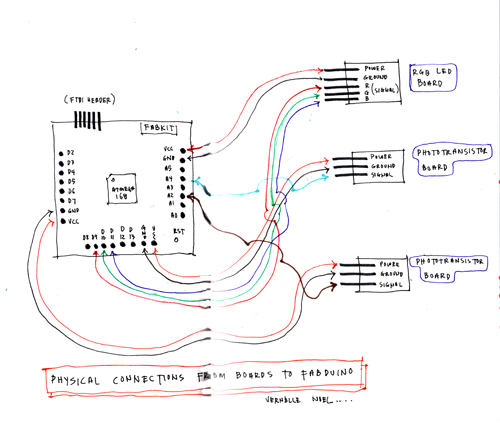
| Sketch of connection between tiny boards and Fabduino | |||||||||
|
|||||||||
 |
|||||||||
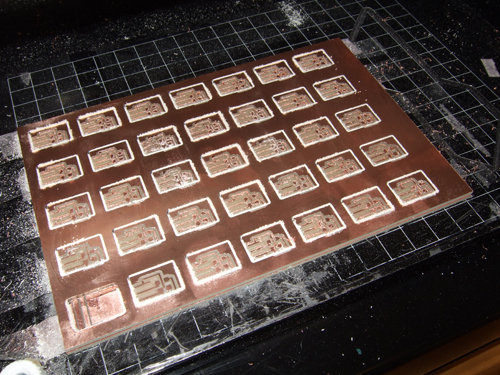
| Mill, mill, mill a million of phototransistors! | |||||||||
 |
|||||||||
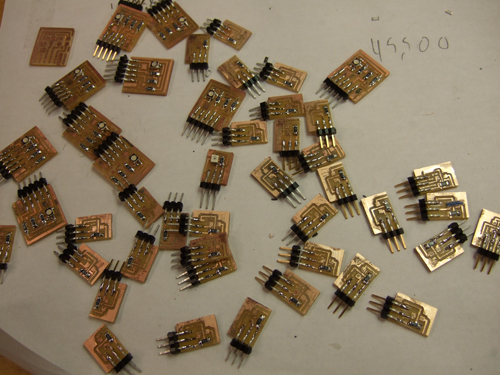
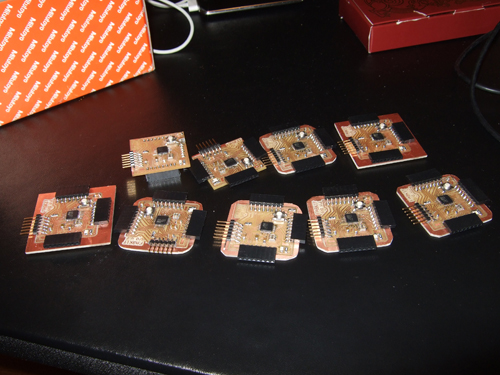
Boards Ahoy!!! |
|||||||||
 |
|||||||||
| Fabduinos locked and BOOTloaded! | |||||||||
 |
|||||||||
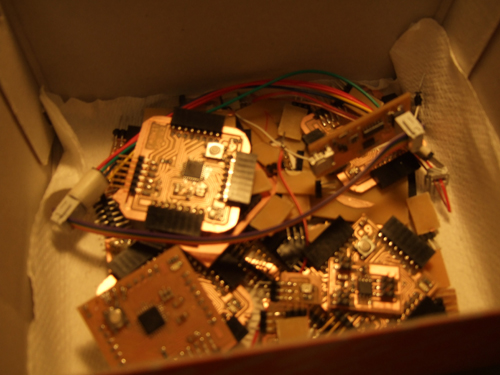
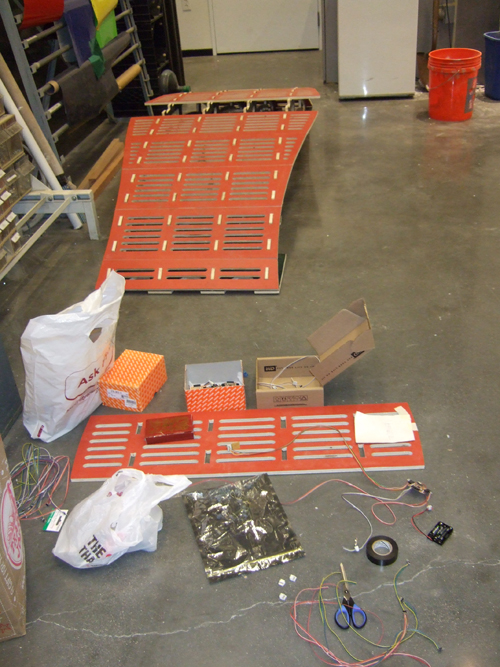
| Box of Fabduinos, RGB Leds, and Phototransistors | |||||||||
 |
|||||||||
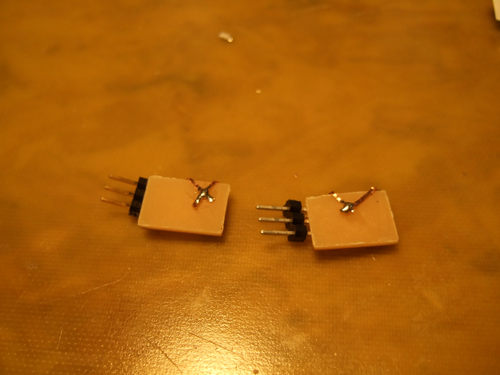
| Board surgery - fixed tiny boards with tiny soldered copper ties ;-) | |||||||||
 |
|||||||||
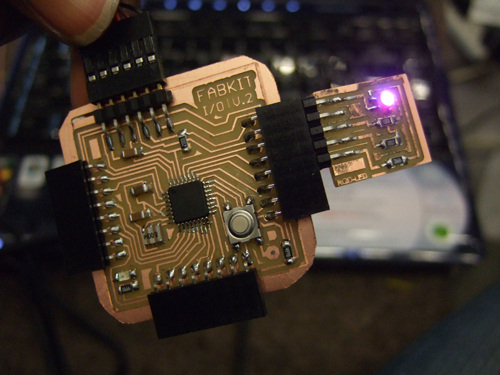
| Schematics of the Fabduino | |||||||||
 |
|||||||||
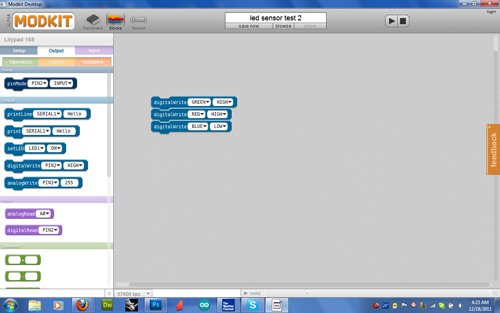
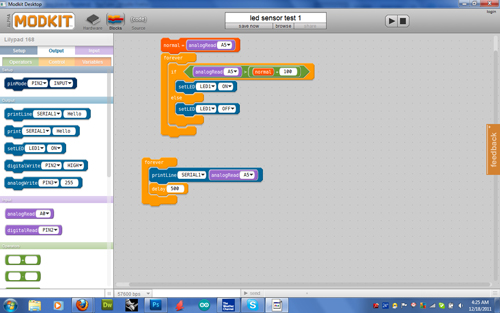
| Program "written" to test RGB Leds | |||||||||
 |
|||||||||
| Blue LED on | |||||||||
 |
|||||||||
| Red and Blue LED on | |||||||||
 |
|||||||||
| Program "written" to test phototransistors | |||||||||
 |
|||||||||
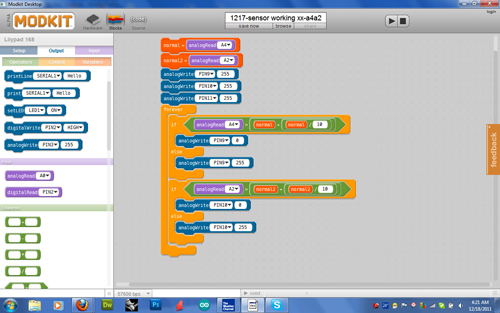
| Program written to run phototransistors and LED's | |||||||||
 |
|||||||||
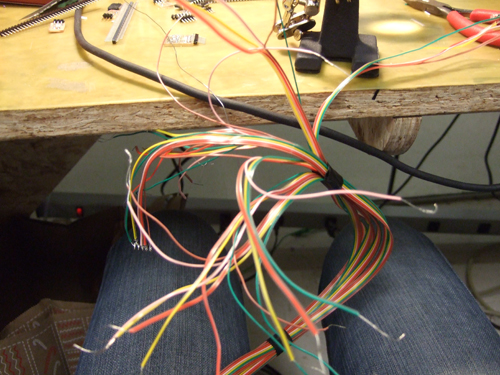
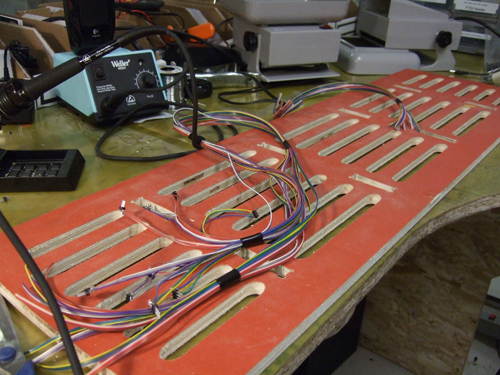
| Wire bouquet needed to run between phototransistors, sensors, Fabduinos, and power supply | |||||||||
 |
|||||||||
| One platform of bridge used to test logistics, circuits and boards | |||||||||
 |
|||||||||
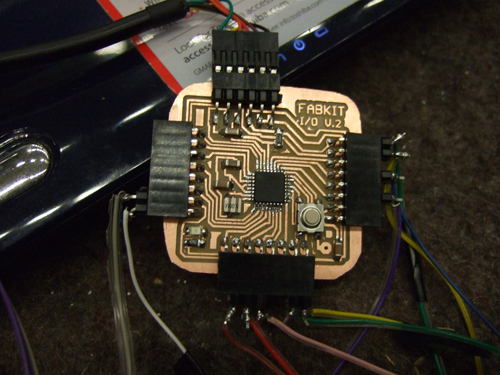
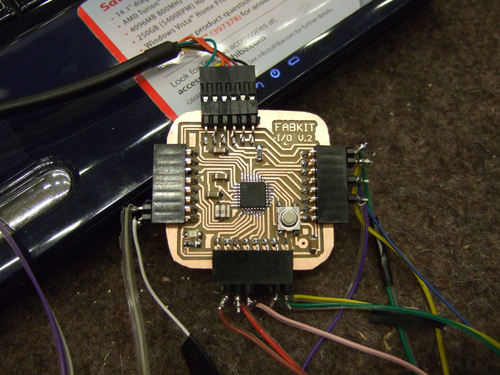
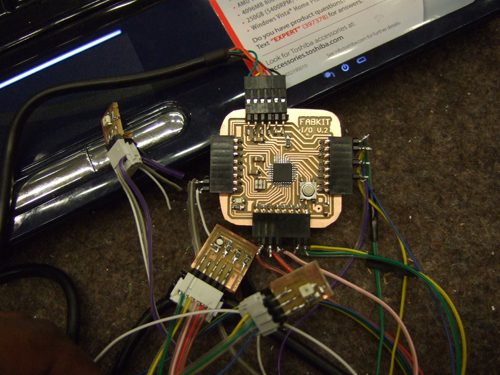
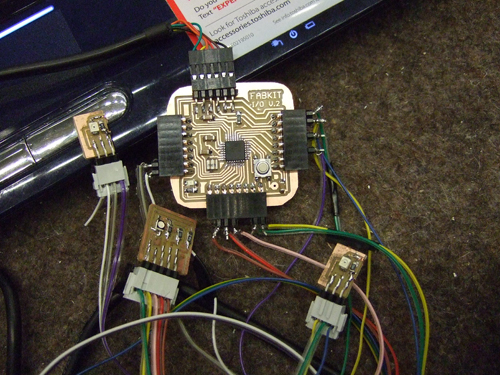
| LED boards and phototransistor plugged into Fabduino which is then programmed with the FTDI cable from my pc | |||||||||
 |
|||||||||
| I think it looks pretty cool! | |||||||||
 |
|||||||||
 |
|||||||||
| If only Mac Gyver could see me now..... | |||||||||
 |
|||||||||
| Bit by Bit we'll get there... | |||||||||
 |
|||||||||
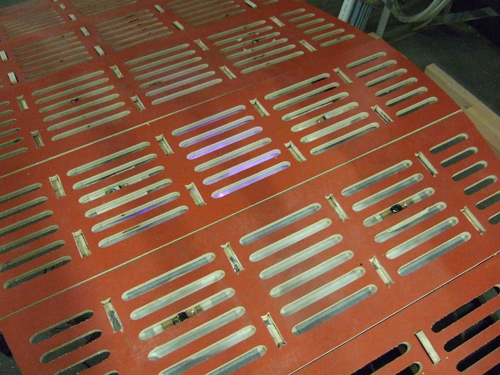
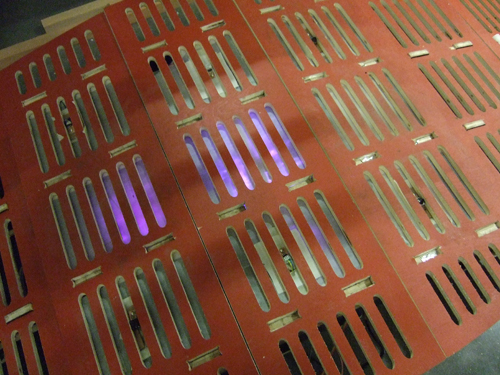
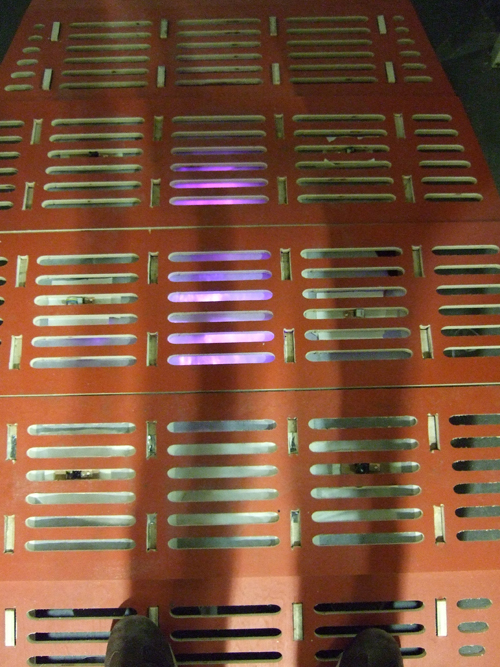
| Success! First platform lit up when light going into to sensors was reduced/ blocked | |||||||||
 |
|||||||||
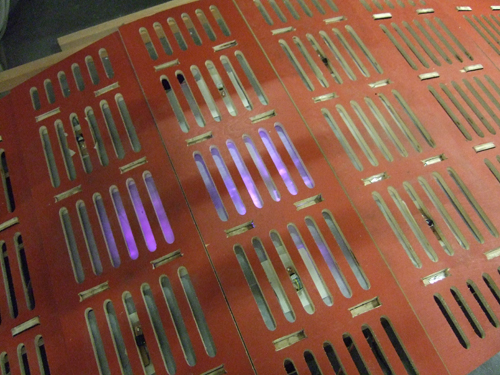
| Platform Number two.. DONE! | |||||||||
 |
|||||||||
| Need to work on diffusing light better.. and using more than one LED per platform | |||||||||
 |
|||||||||
| Another shot! | |||||||||
| Video | |||||||||
<<<Previous..................Next >>>
|
|||||||||
Home | Blog | Flickr | vernellenoel.com